Log (By Day)
Log (By Category)
Pictures
Pics of Me Working
Links
Monday September 4, 2006
Horizontal Stabilizer
(Horizontal Stabilizer)
8.0 Hours
| Previous - Index - Next |
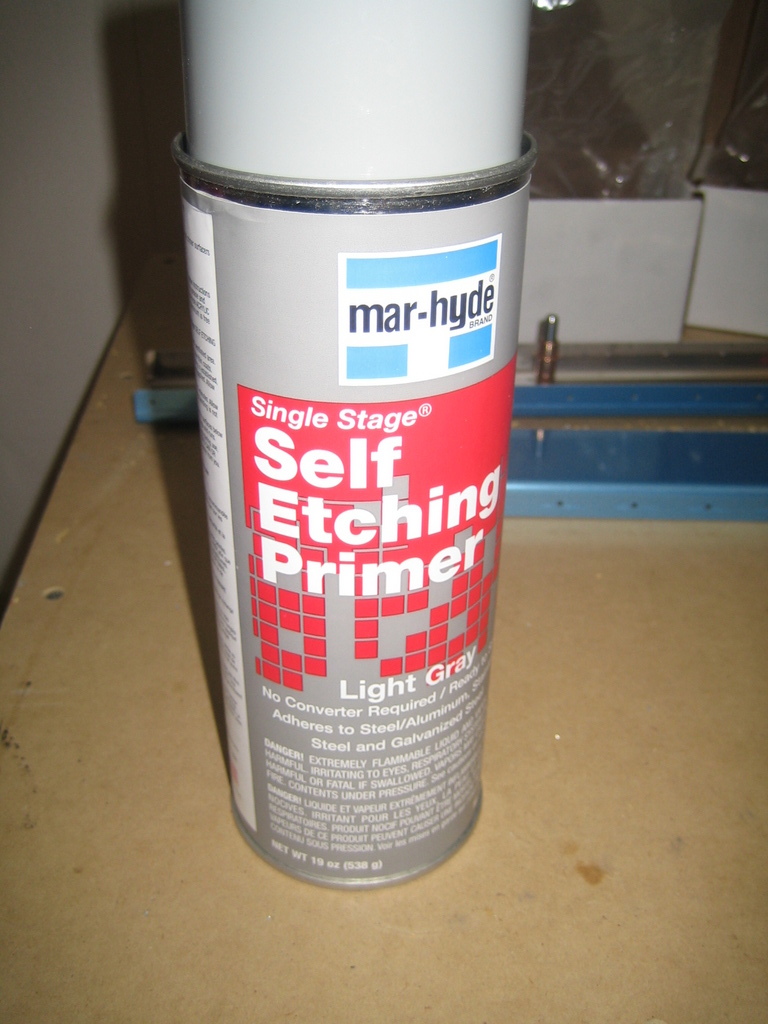
On Friday I finally found a place that stocks the Marhyde self-etching rattle can primer that some people have recommended to me. I went to Benton Harbor and picked up three cans.
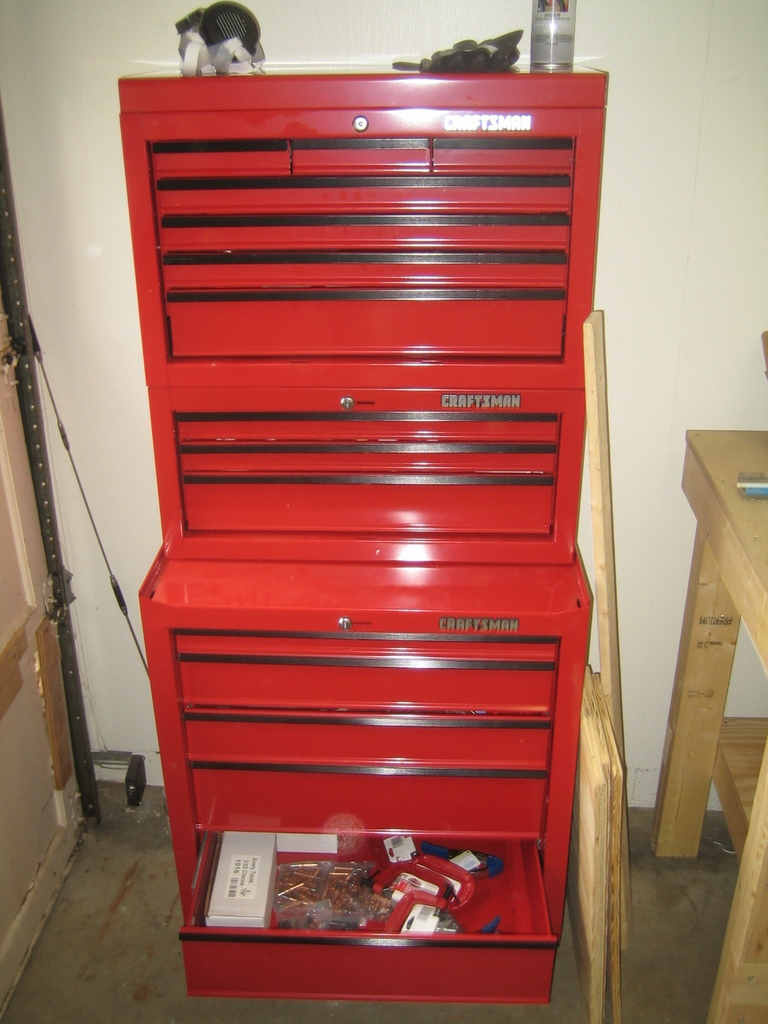
The last piece of my toolchest had arrived at Sears, so I picked that up.
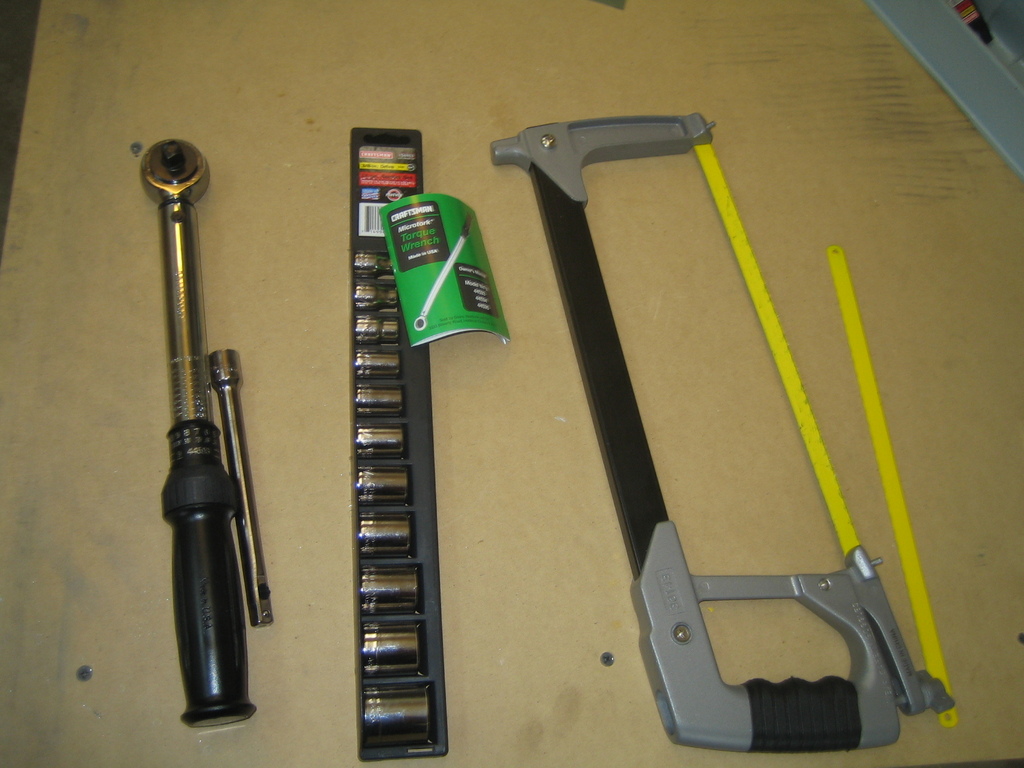
While I was there, I got a torque wrench, some sockets, and a new hack saw with some better blades.
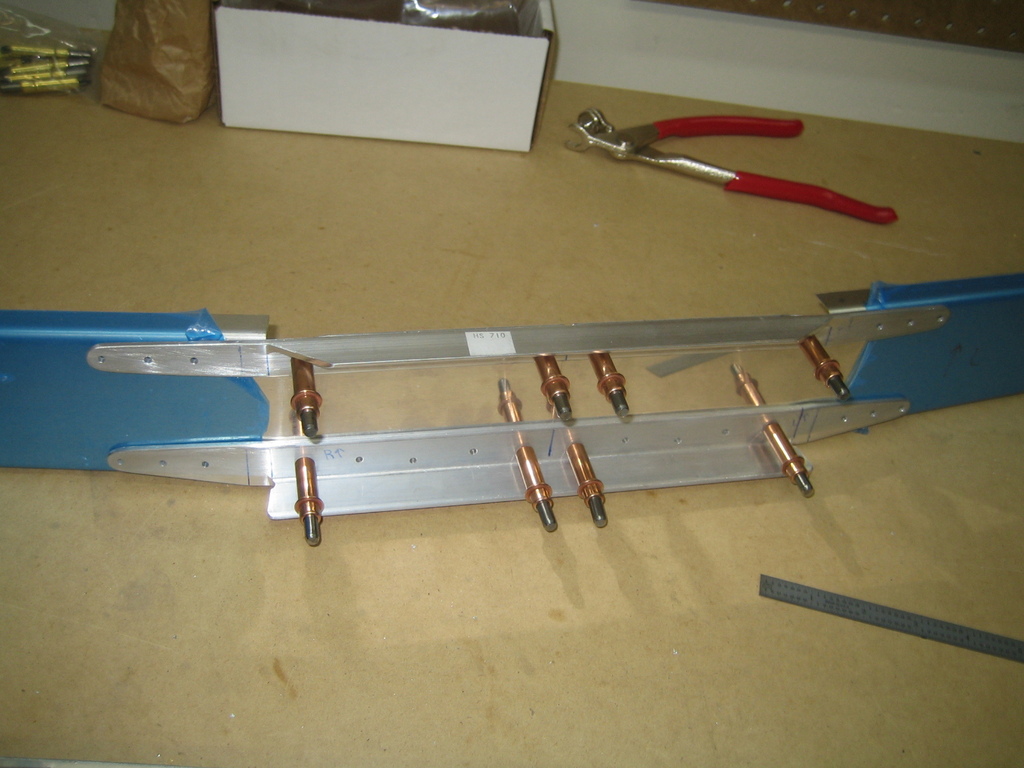
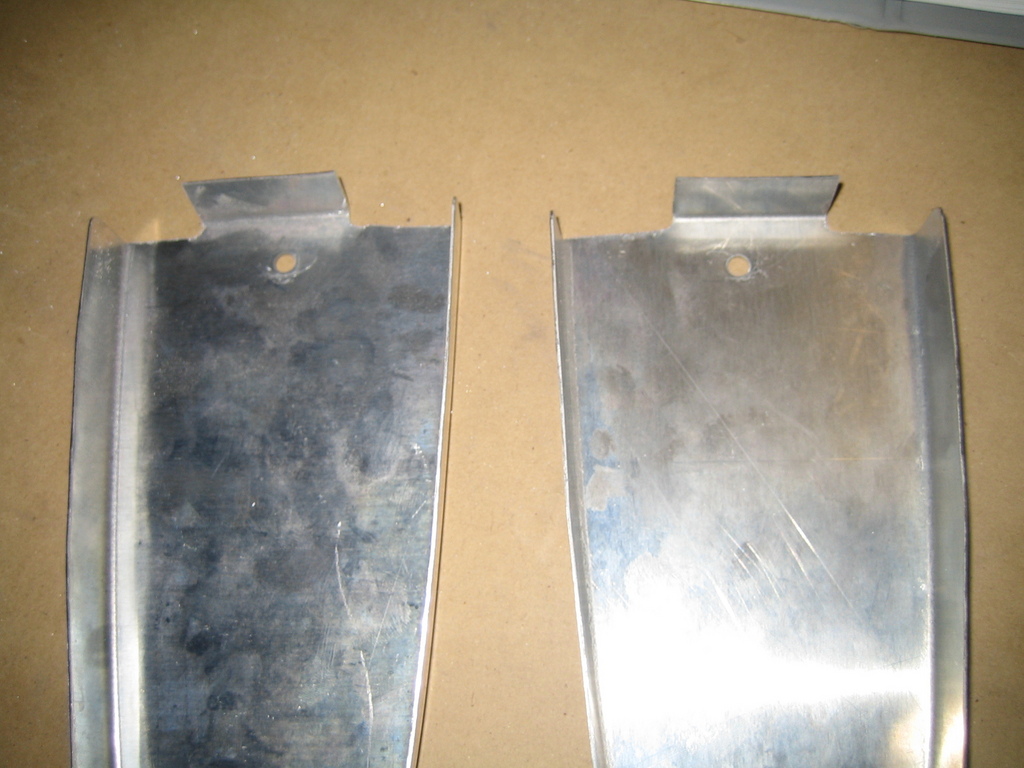
Later that afternoon and on Saturday I spent a whole lot of time finishing the tapering and radius of the ends of the HS-710 and HS-714 angle stiffeners. I used the hack saw to rough cut the tapers and ground them the rest of the way with the bench grinder. Then I radiused the ends with the Vixen file and finished them off with some Emery cloth smoothing. They aren't perfect, but they're pretty darn close.
The leading edge of each side of the horizontal stabilizer is canted back 6 degrees. This means that both ends of the front HS spar and the now-tapered ends of the stiffeners need to be angled back. The plans call for a simple cardboard template to check the angle, which I made. I used my bench vise, some wooden blocks, and a rubber mallet to bend the stiffeners. The hand seamers worked ok for bending the spars.
Here's the center of the front spar with the stiffeners now tapered, radiused, smoothed, and bent!
One of the leading edge ribs (one each side) in the HS has to fit in between those two angle stiffeners that I've been working on. Since they come with full length flanges, they have to be trimmed back so they can fit flush against the spar. I blindly followed the measurements on the plans and came out with this.
It looks ok, but it caused me grief today.
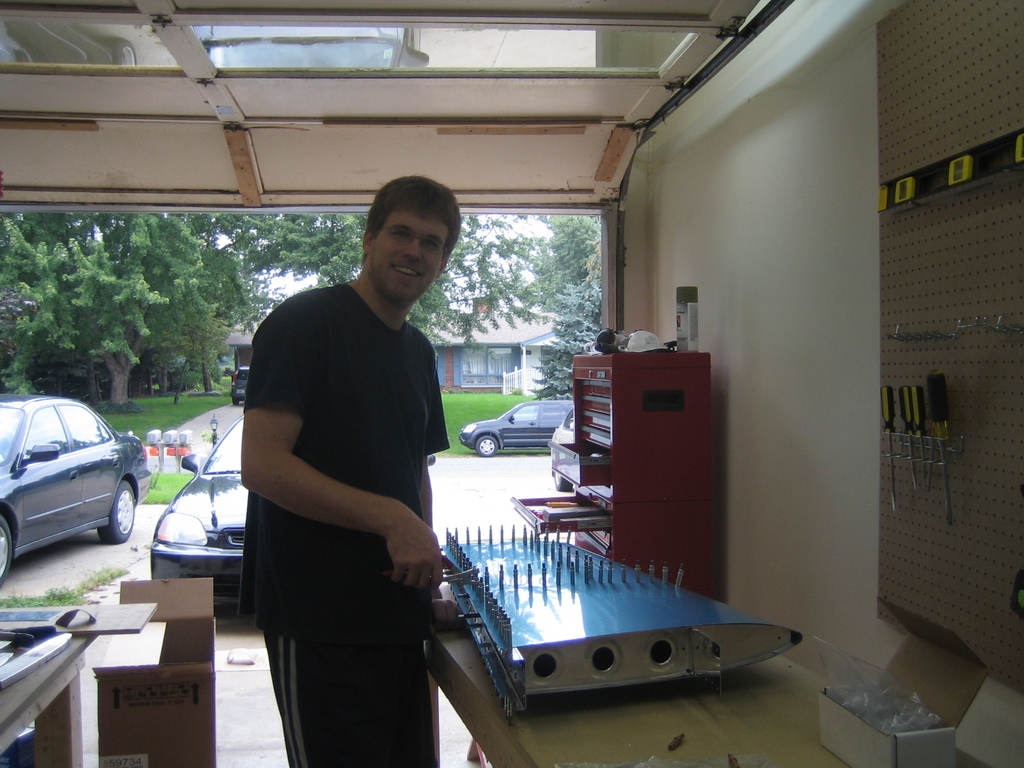
Today, I started by prepping all of the HS ribs with the normal edge-prep routine. I also fluted and straightened flanges where necessary. Then I started putting things together for drilling. It looked so cool with the skin on that I grabbed Emily and had her take a picture of me looking dumb with the cleco pliars. (Yes, I went a little overboard with clecoes on this thing. I really wanted it solidly in place before I started drilling new holes.)
Well, to make a long story short, everything was going swimmingly well, when I noticed this problem.
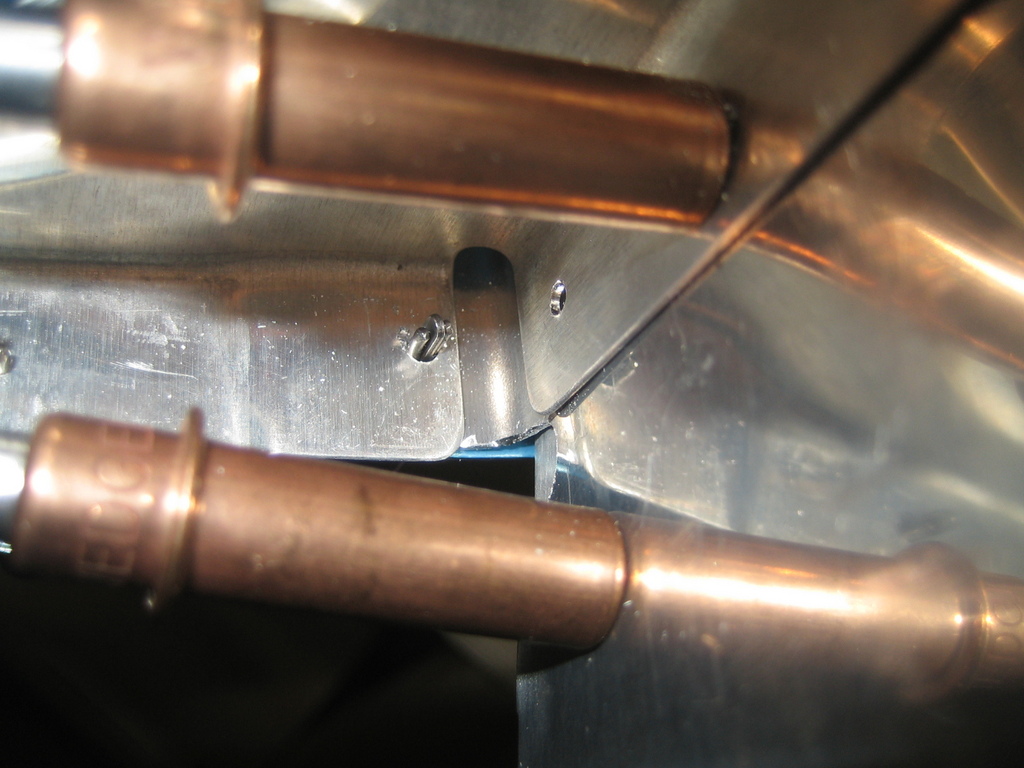
For those of you who are interested, this is one of two spots on the left side where you drill through HS-405, HS-702, and HS-601PP. The flange on HS-405 is indented so that it can fit snug under the flange on the front spar. Unfortunately, that bit of flange isn't long enough to give enough edge clearance when you match drill from the whole on the skin over this spot. So the hole is really close to the edge, completely violating the edge distance rules.
If that wasn't enough, it looks like I trimmed too much flange away from that HS-404 piece and I wasn't very careful when I drilled the pilot holes for this spot.
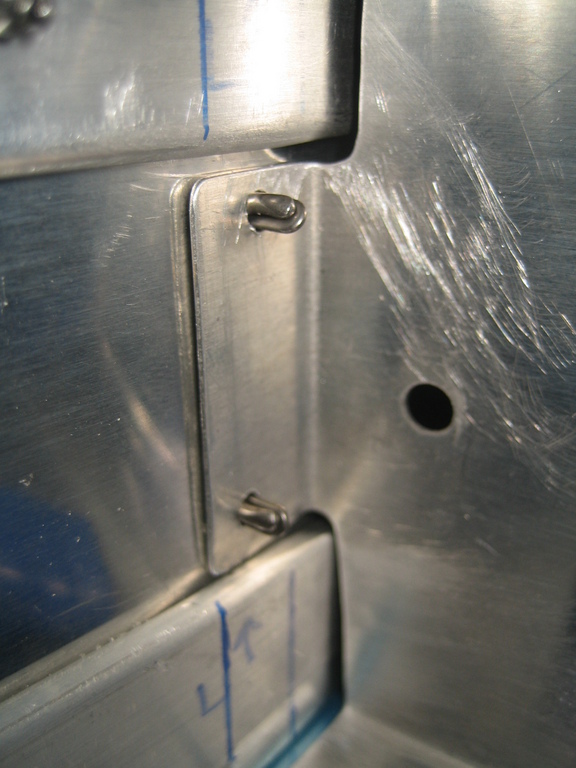
This one was completely my fault. Another spot where the hole is way too close to the edge of the metal. Doh... I think the moral of the story for me is, before doing this kind of custom trimming, I should kind of look ahead to see what the part is going to have to do later. I didn't realize when I trimmed it that it needed to be so snug against the stiffener for this rivet hole.
I sent an e-mail off to Vans support with pictures of the problems, so we'll see what they say. I saw a few people on the VAF boards talking about a similar problem in this area where Vans told them to keep building.
I kind of want to see what they say before I keep working on this, so I quit for the day.
UPDATE: I lied. I came back out to the shop later and assembled the right HS. Now I'm waiting on Vans before I do anything further.
| Previous - Index - Next |
This work is licensed under Attribution-NonCommercial-NoDerivatives 4.0 International![]()
![]()
![]()
![]()