Log (By Day)
Log (By Category)
Pictures
Pics of Me Working
Links
Saturday November 5, 2022
Rudder Bottom Tip Sanding & Filling, Tail Stiffener SL, Flap Position Sensor
(0.8 Hours
Aft Fuselage, 0.7 Hours
Center Fuselage, 1.2 Hours
Rudder)
2.8 Hours Total
| Previous - Index - Next |
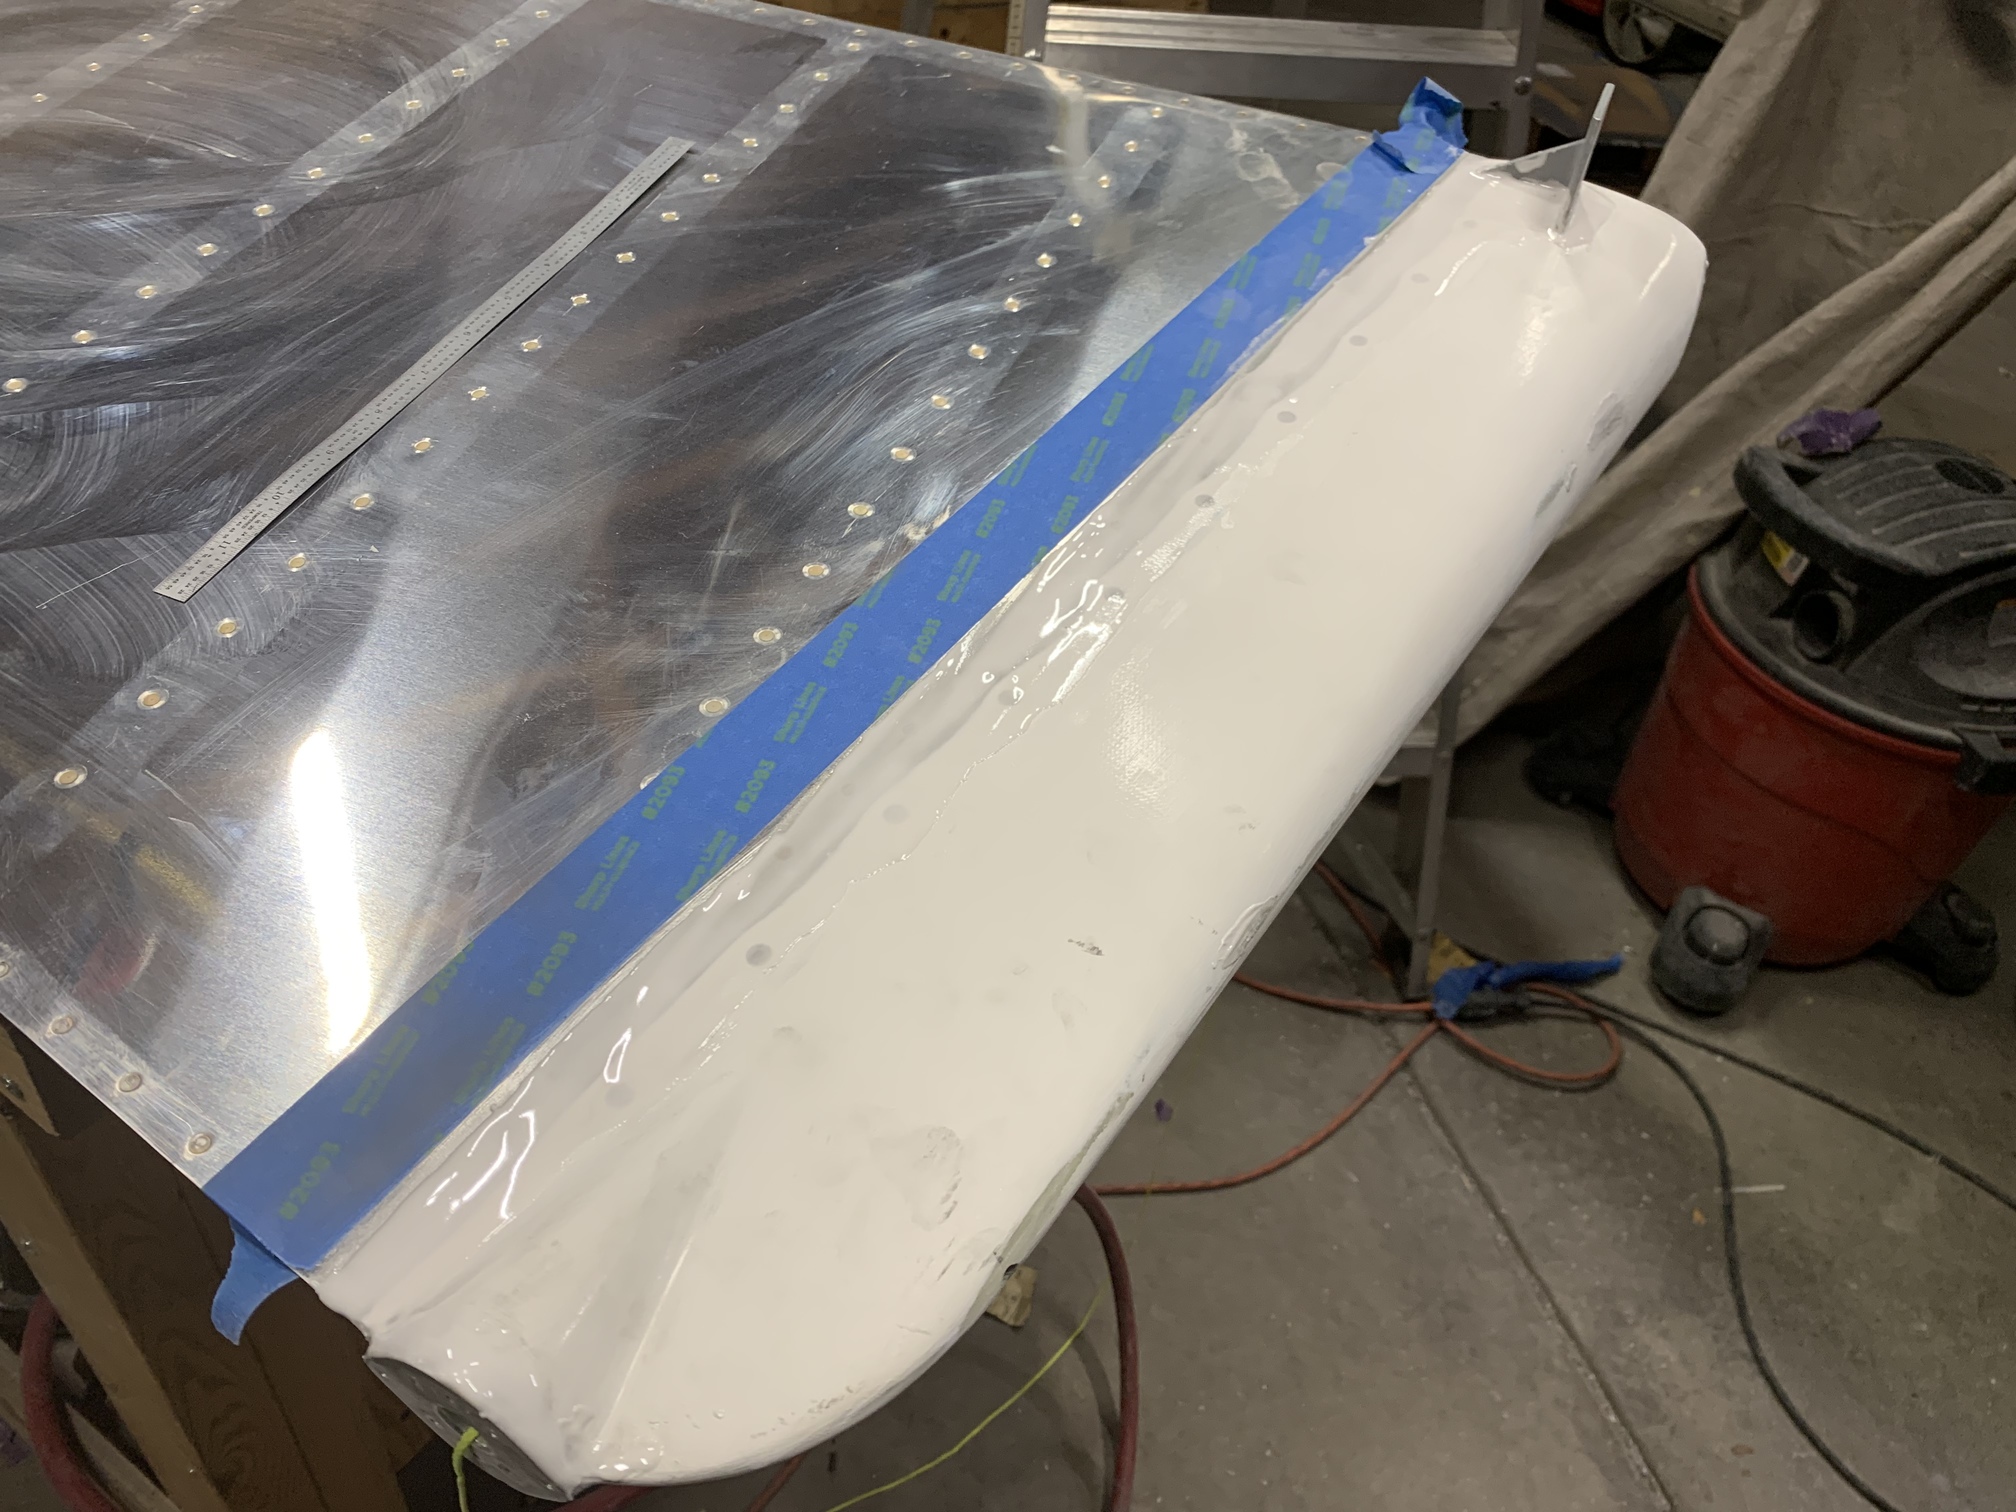
I sanded down the left side joint on the rudder bottom tip. It looks pretty good.
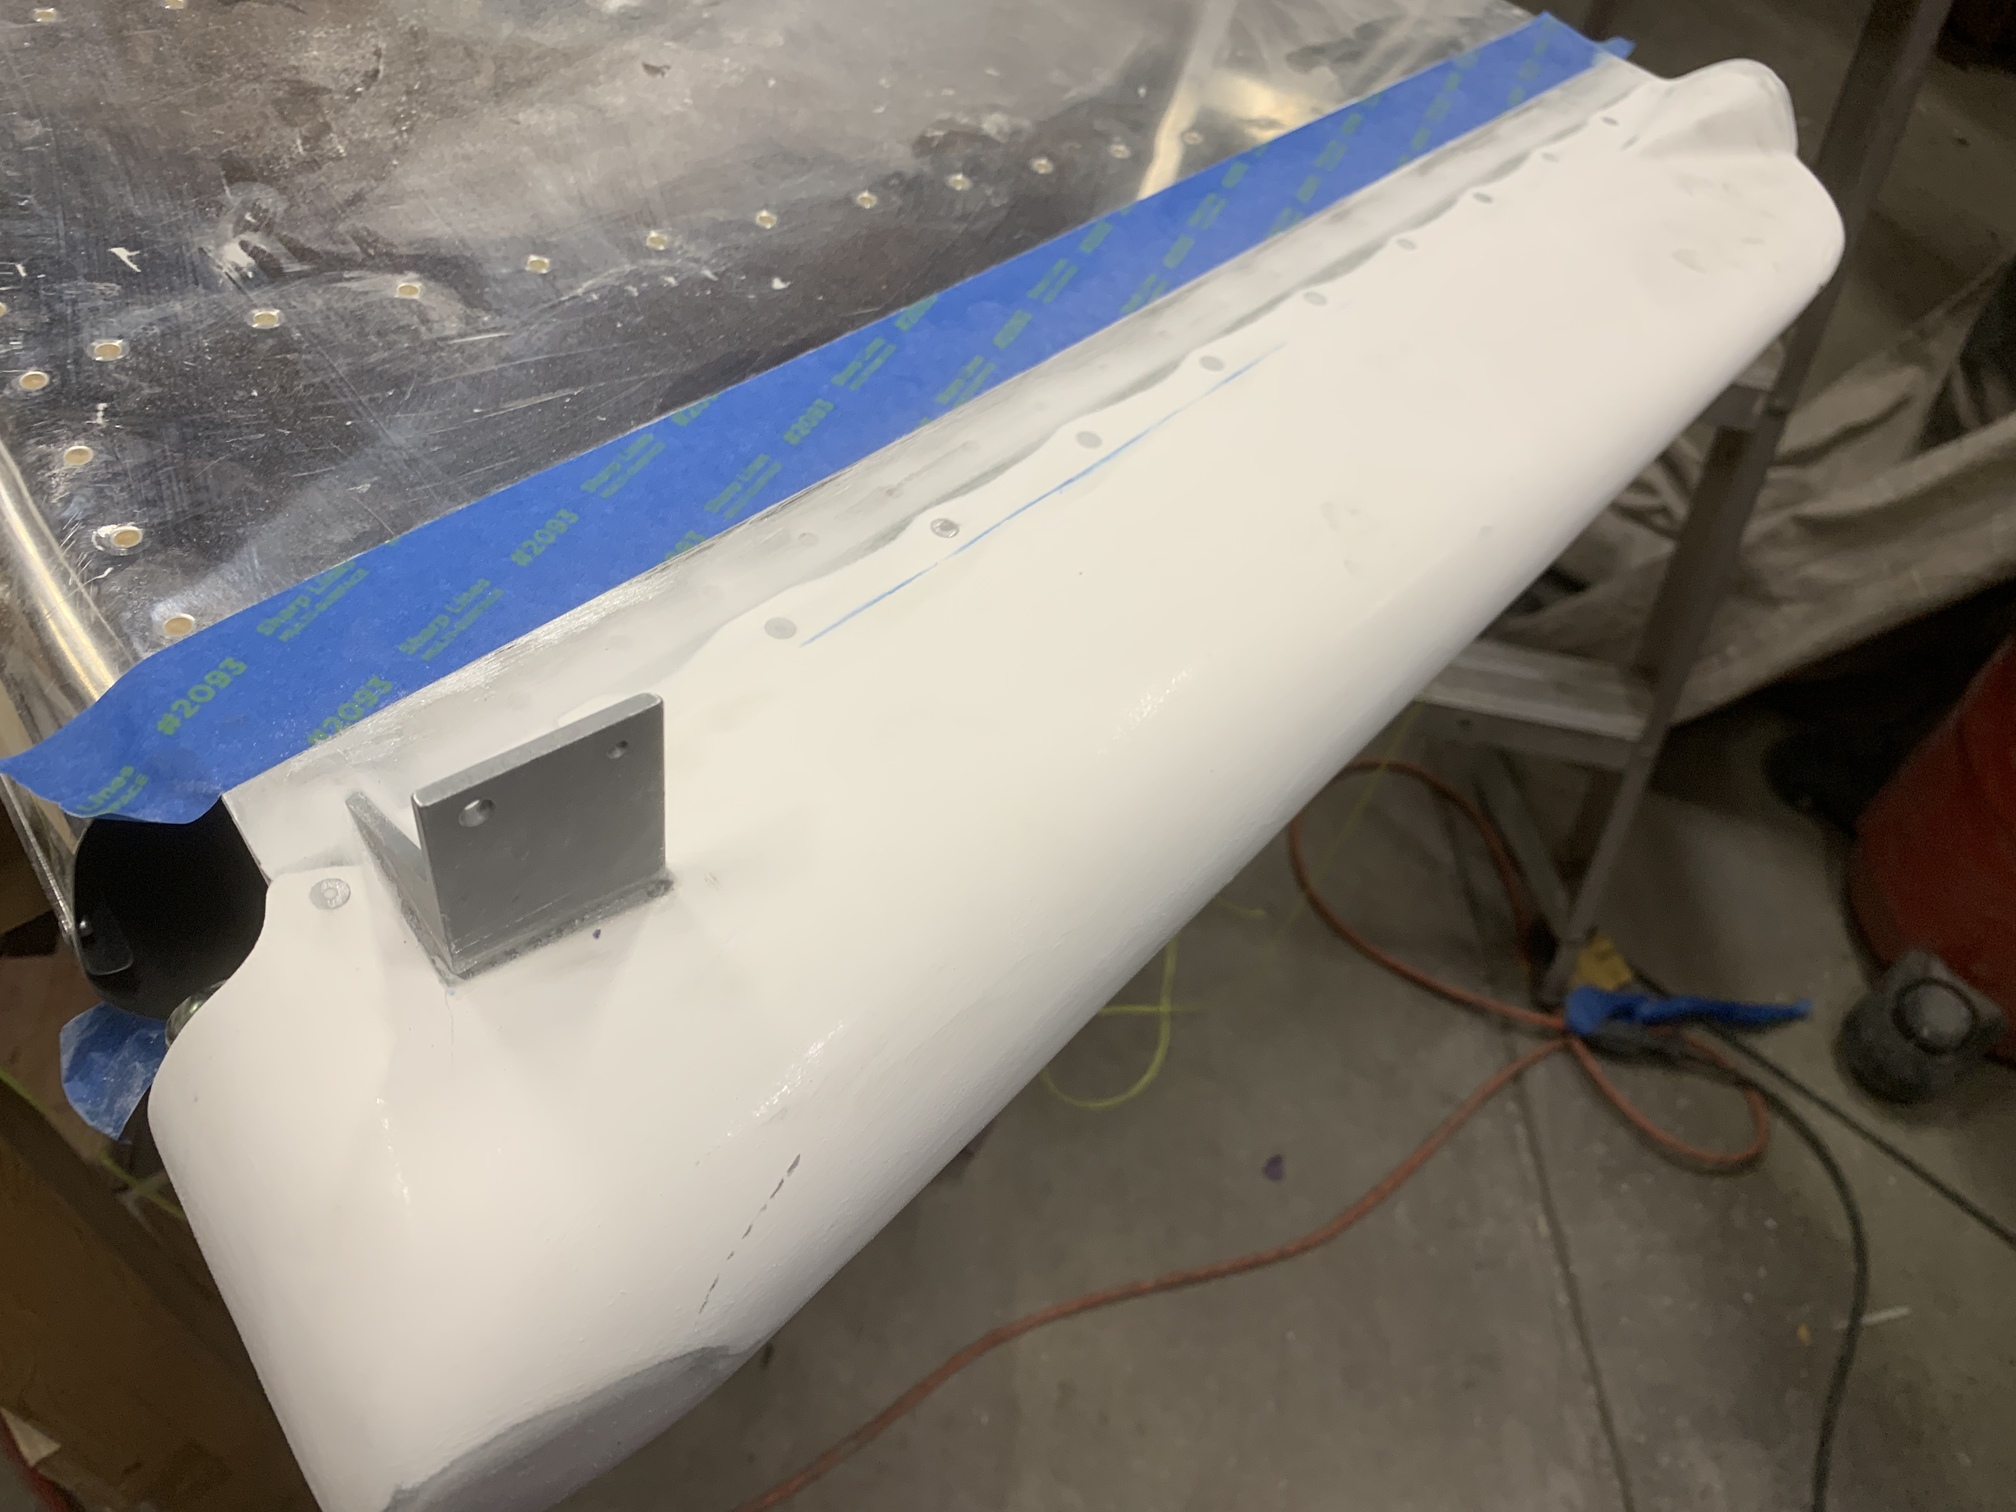
Then I laid down a coat of epoxy/micro on the right side.
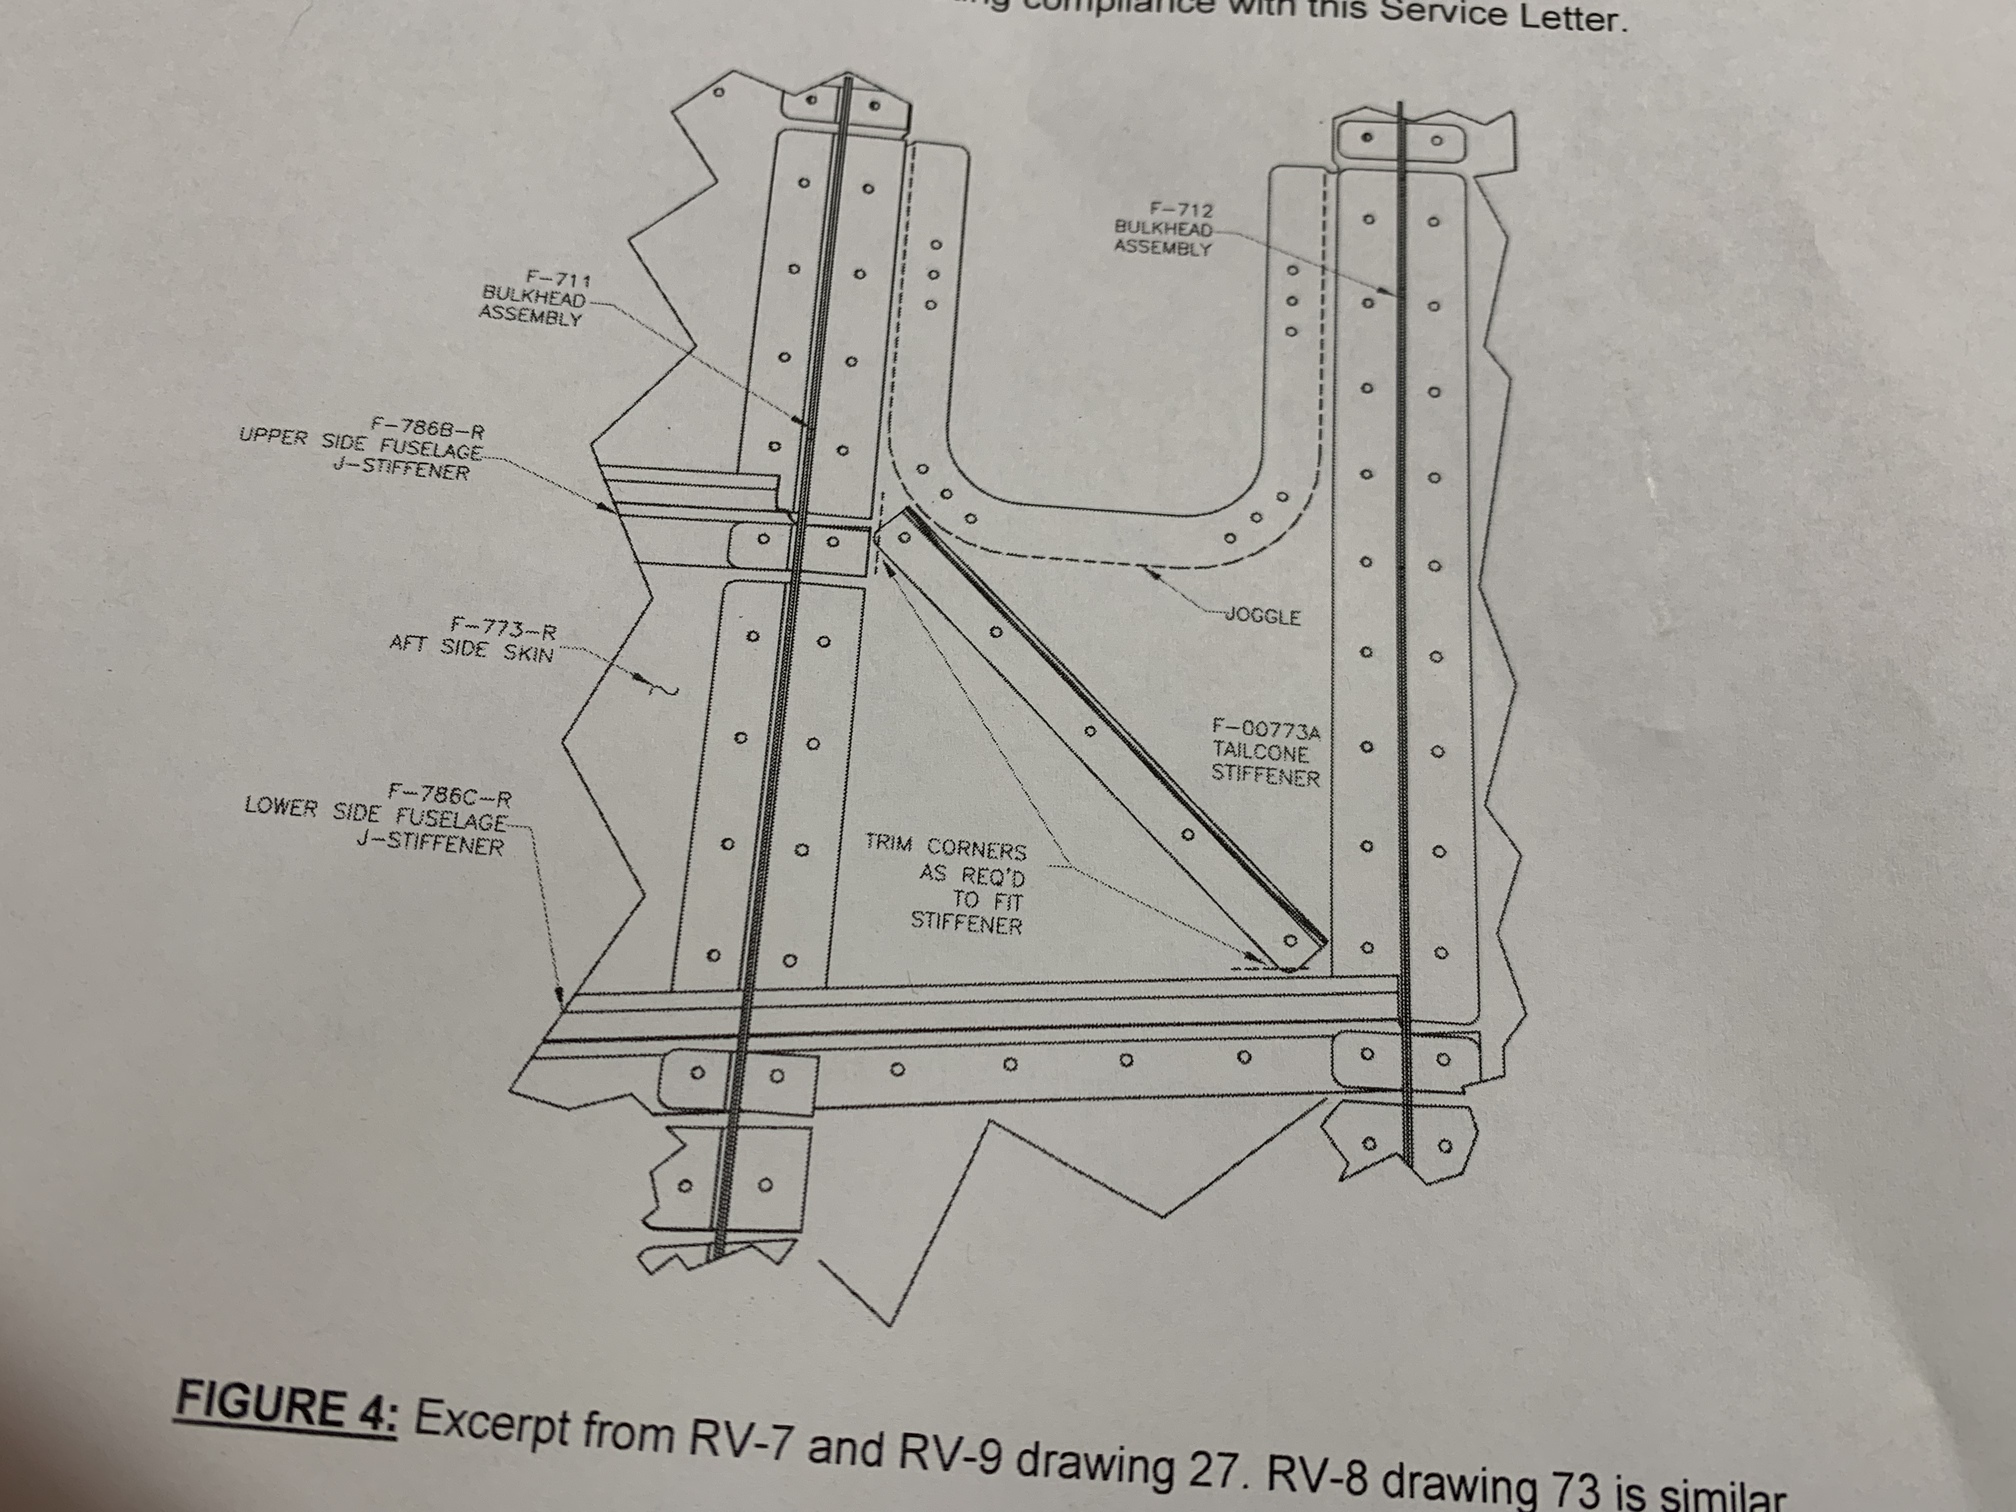
I recently went through all of the service bulletins and letters for the RV-7 on the Van's web site and found this one about a tail stiffener. In some circumstances, a high load through the tailwheel in a RV-7 can result in permanent deformation of the tailcone skin. This letter outlines the addition of a couple of small stiffeners to help carry load to the bulkhead. I ordered the stiffeners a couple of weeks ago.
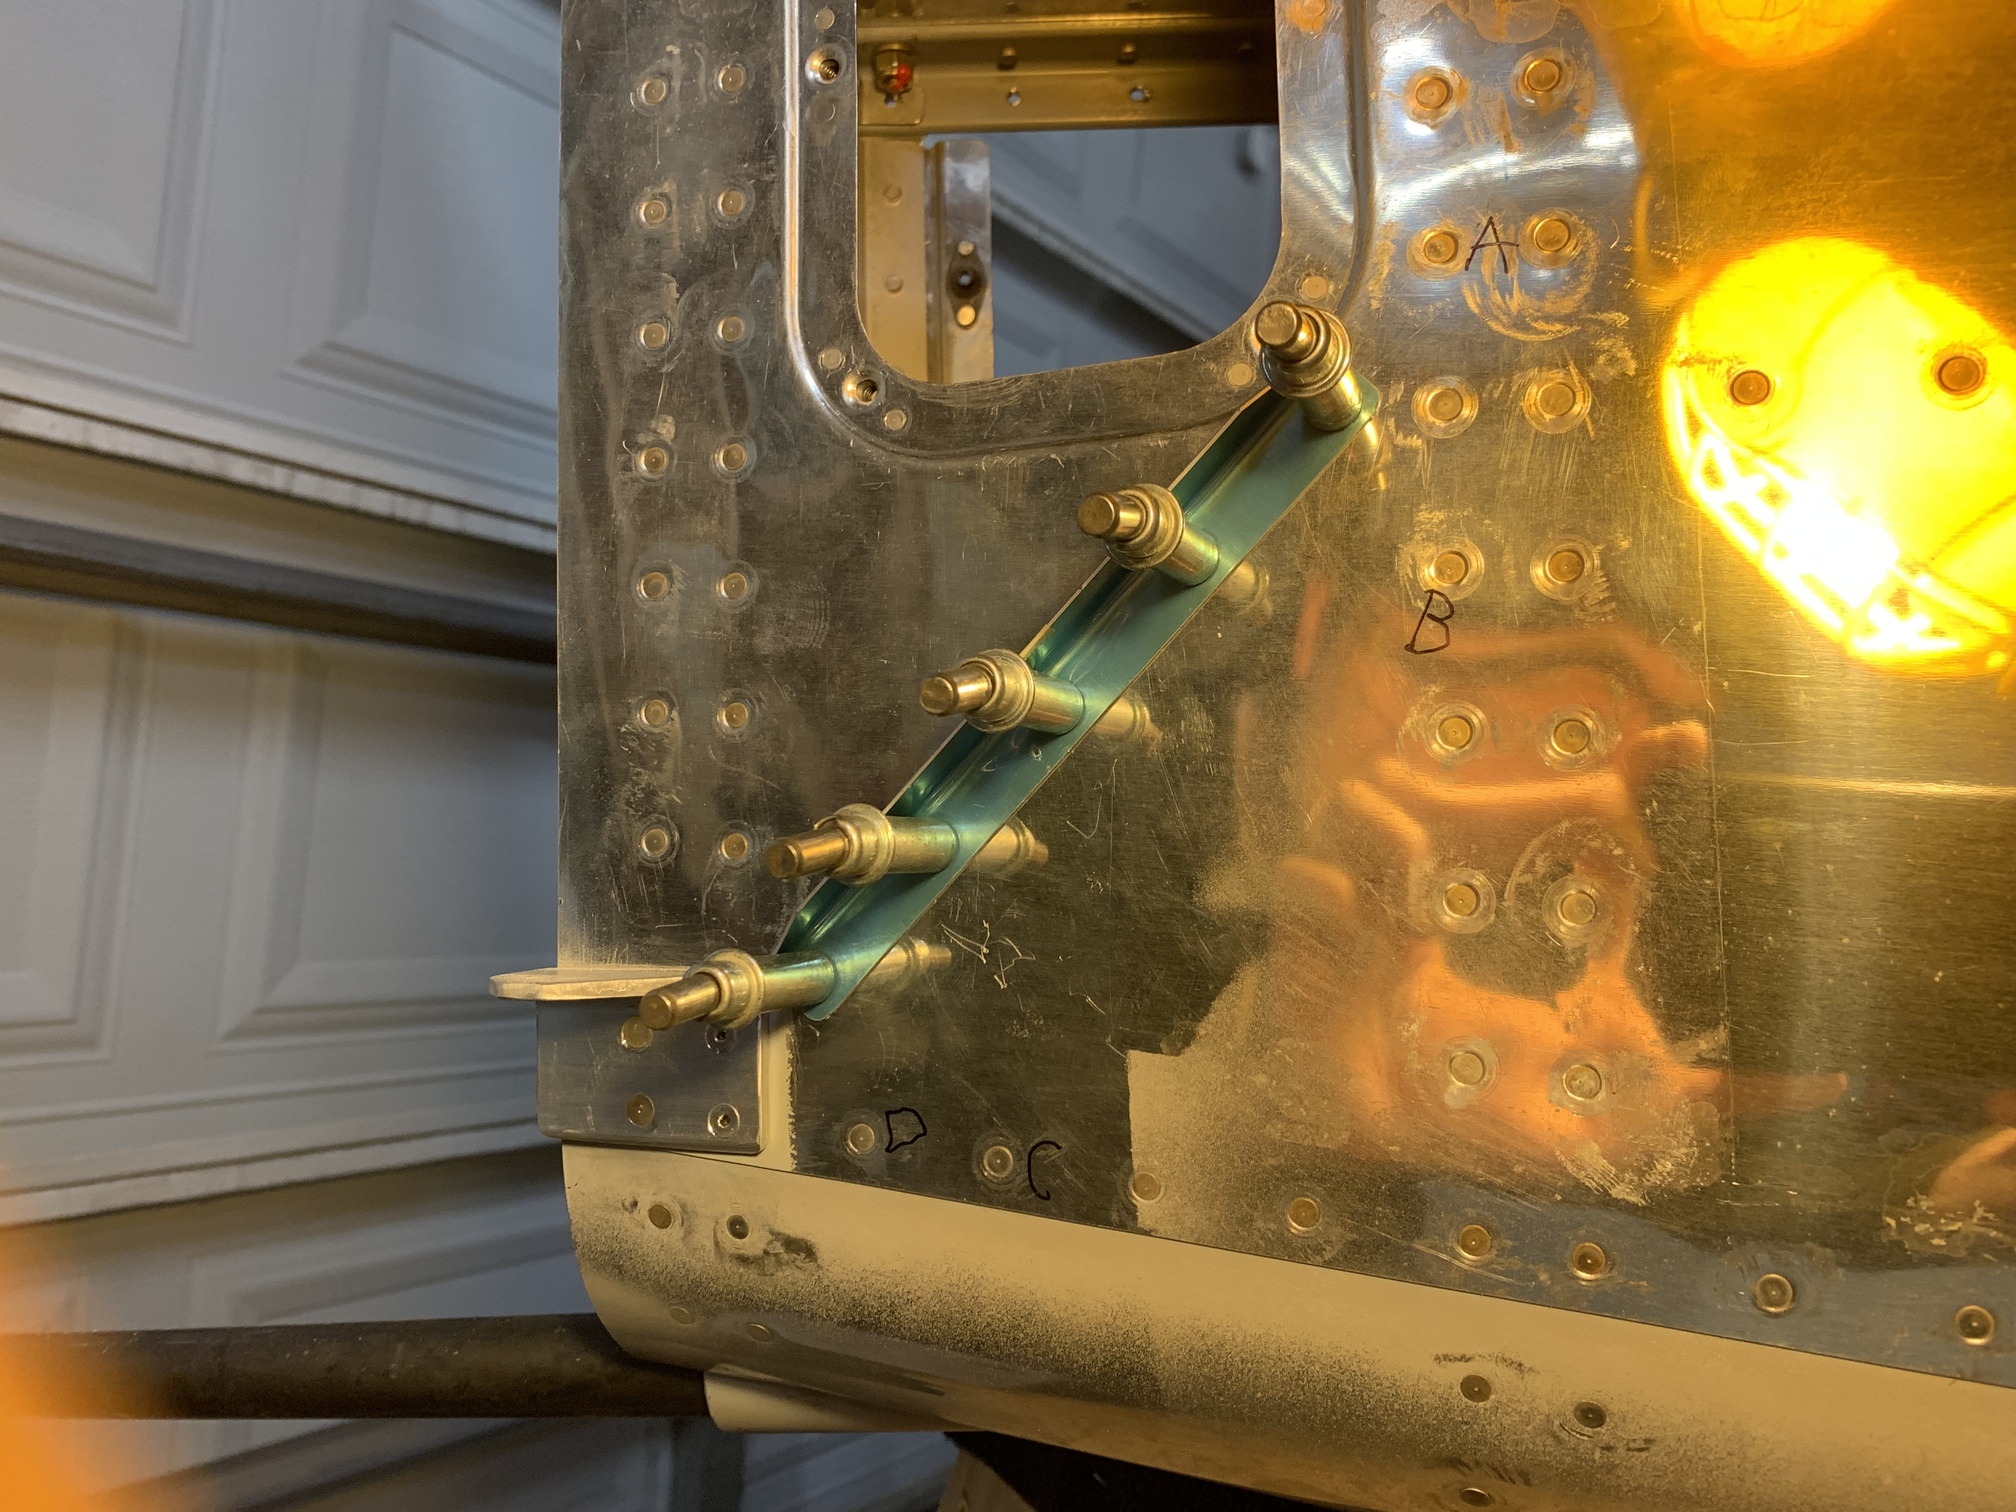
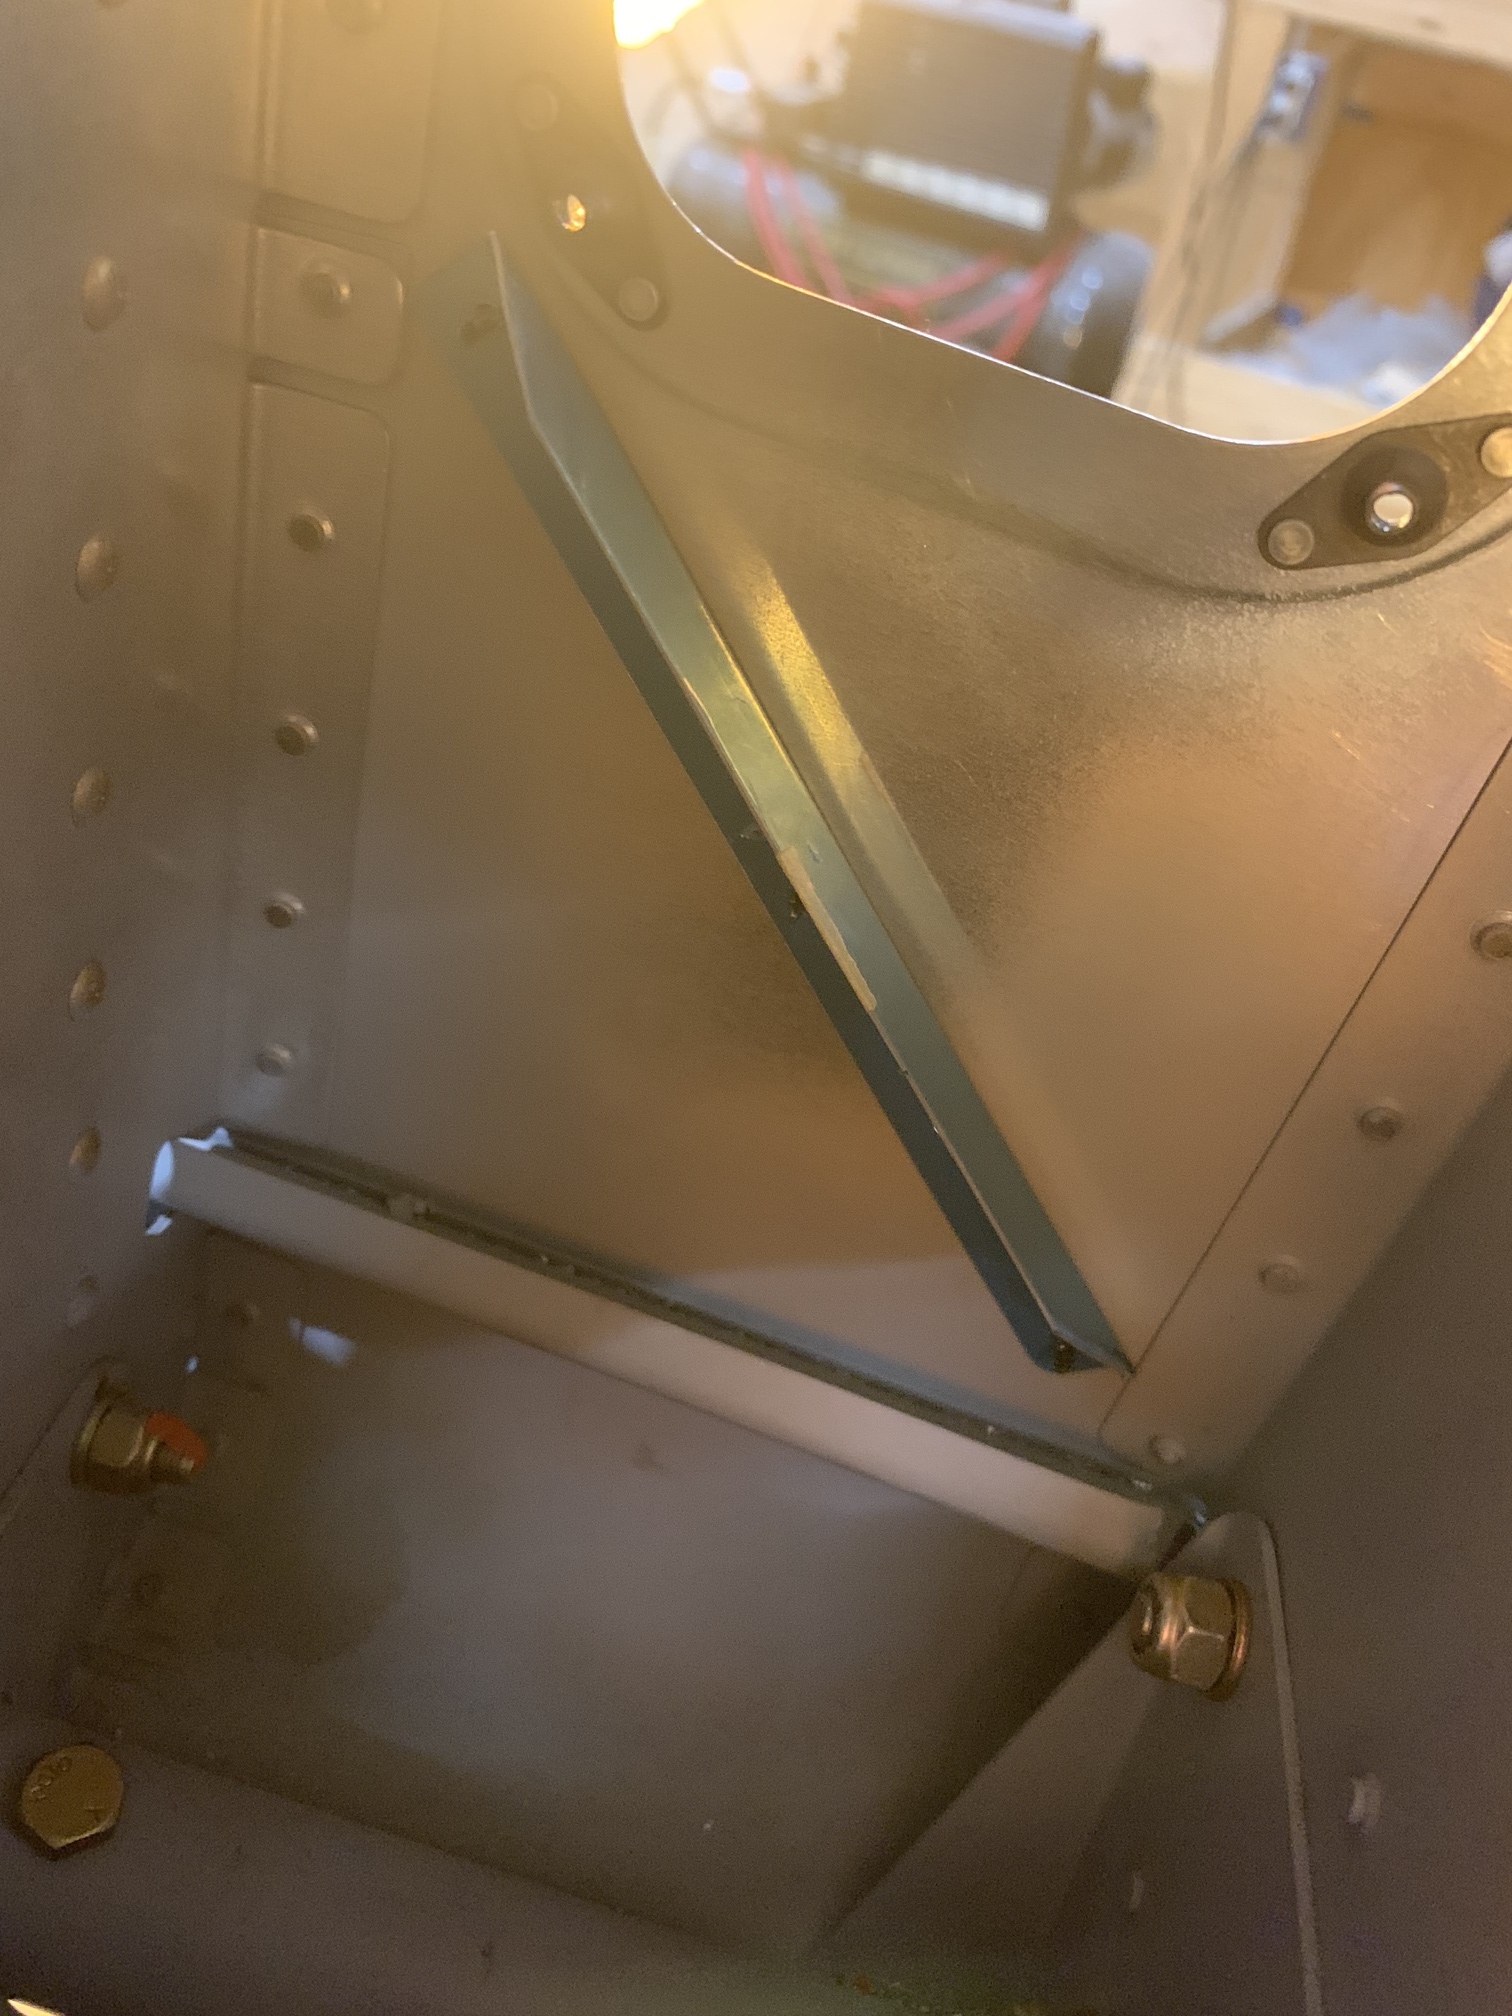
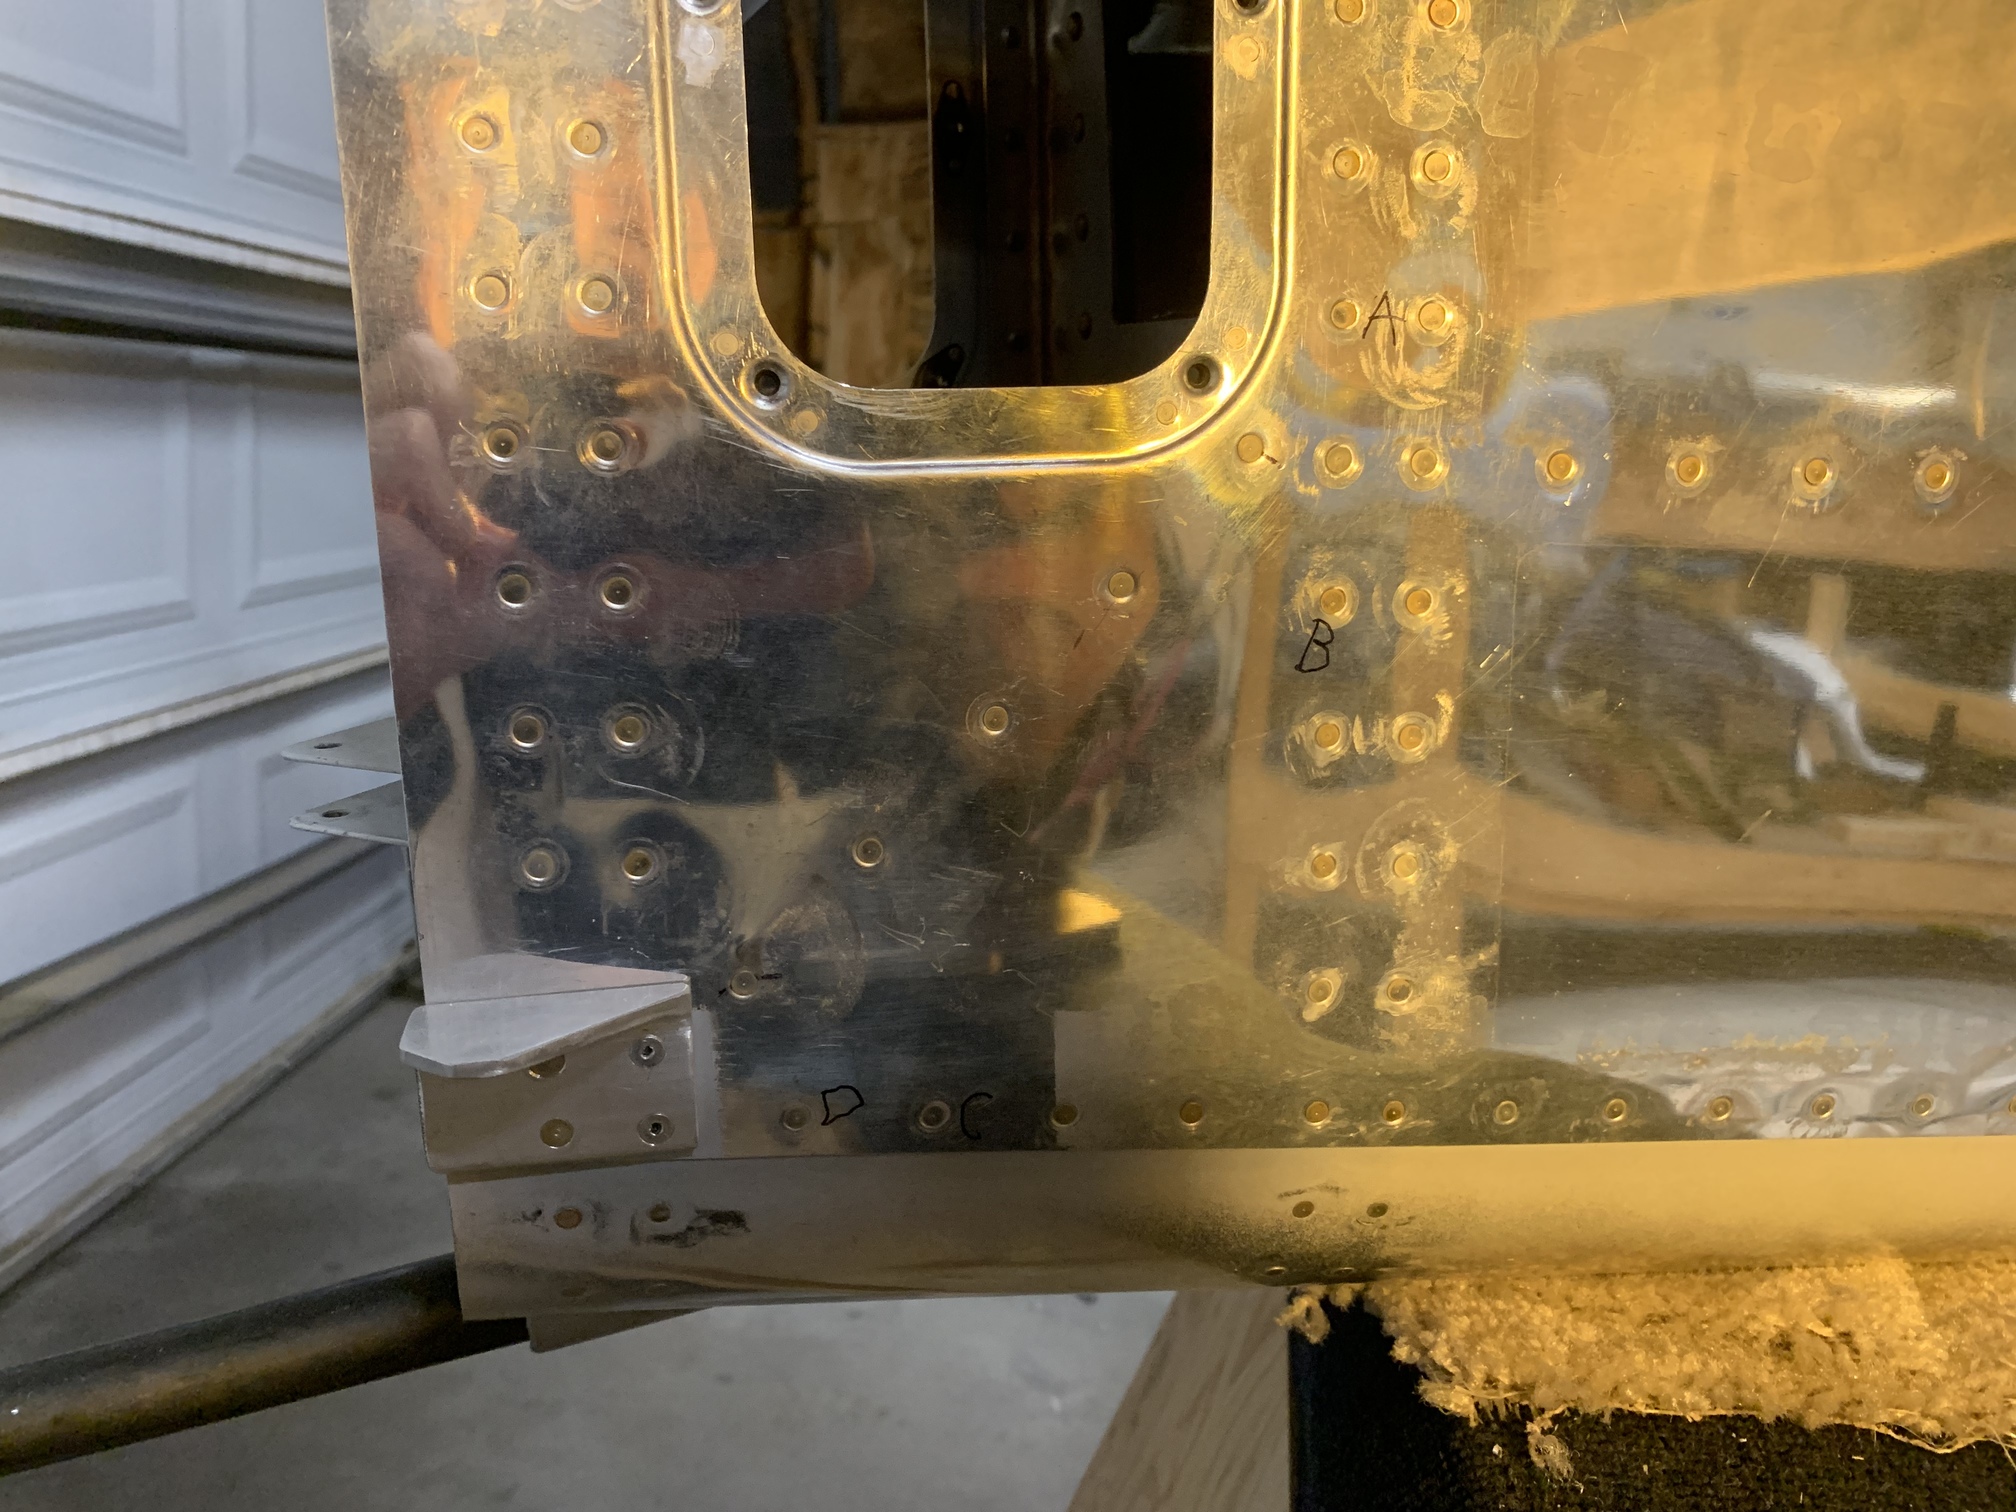
I measured for the outer two holes per the letter and then cleco'd the stiffener in place and back drilled the other three holes. I did this on both sides.
And here from the inside. I had to trim the lower, aft edge of this stiffener to clear the flange from the aft bulkhead.
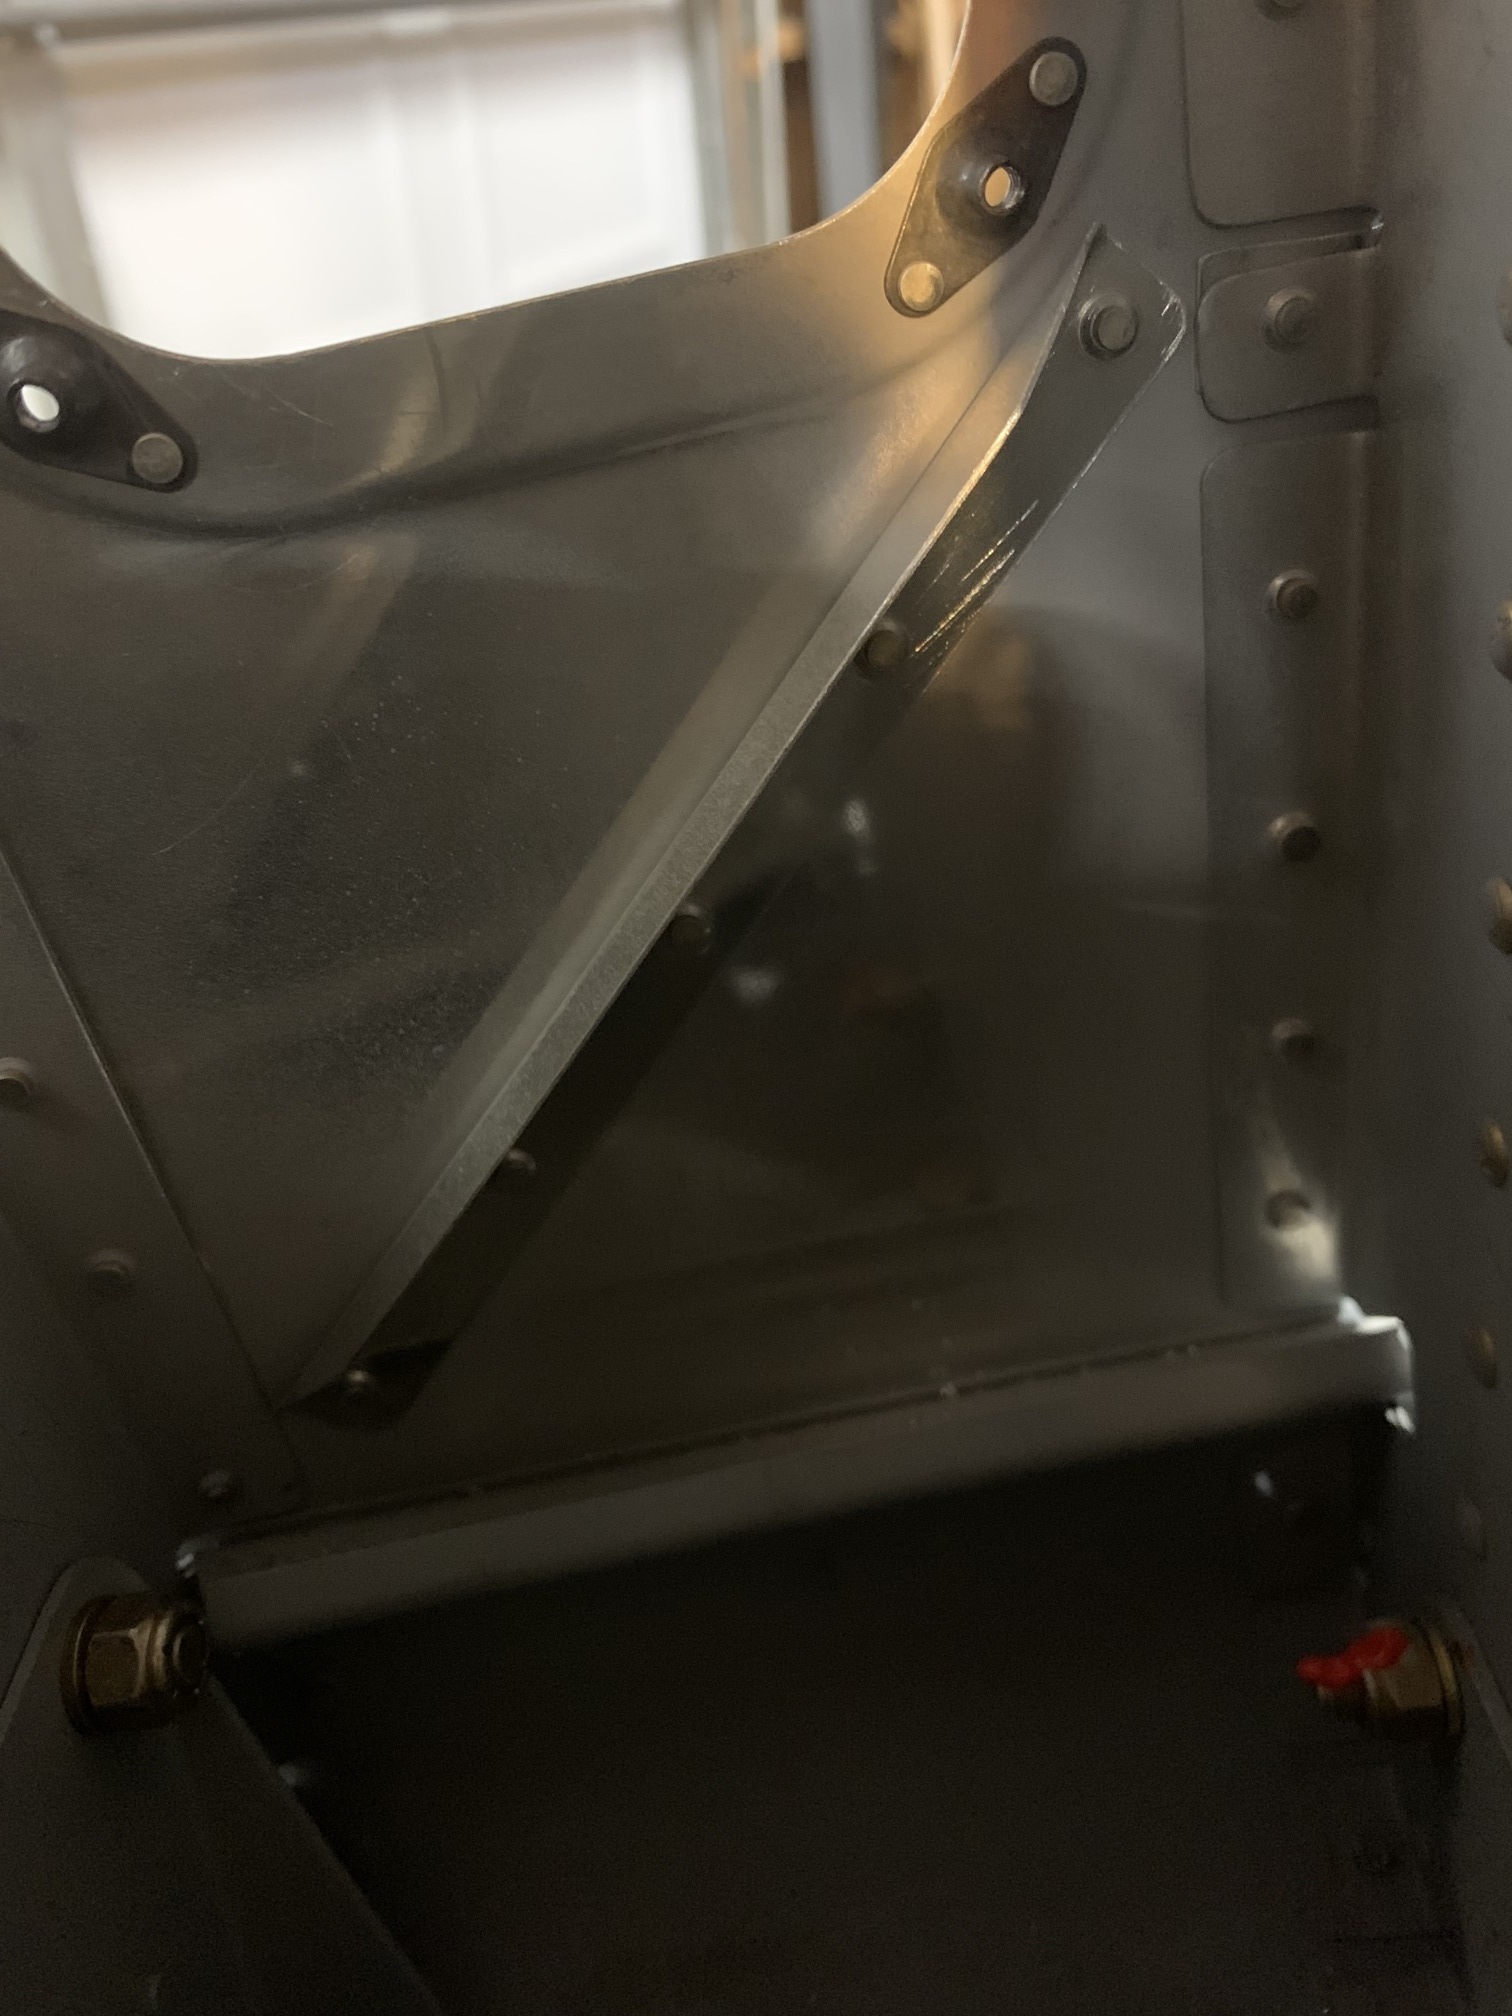
Then I dimpled, primed the stiffeners, and riveted them in place.
Again from the inside.
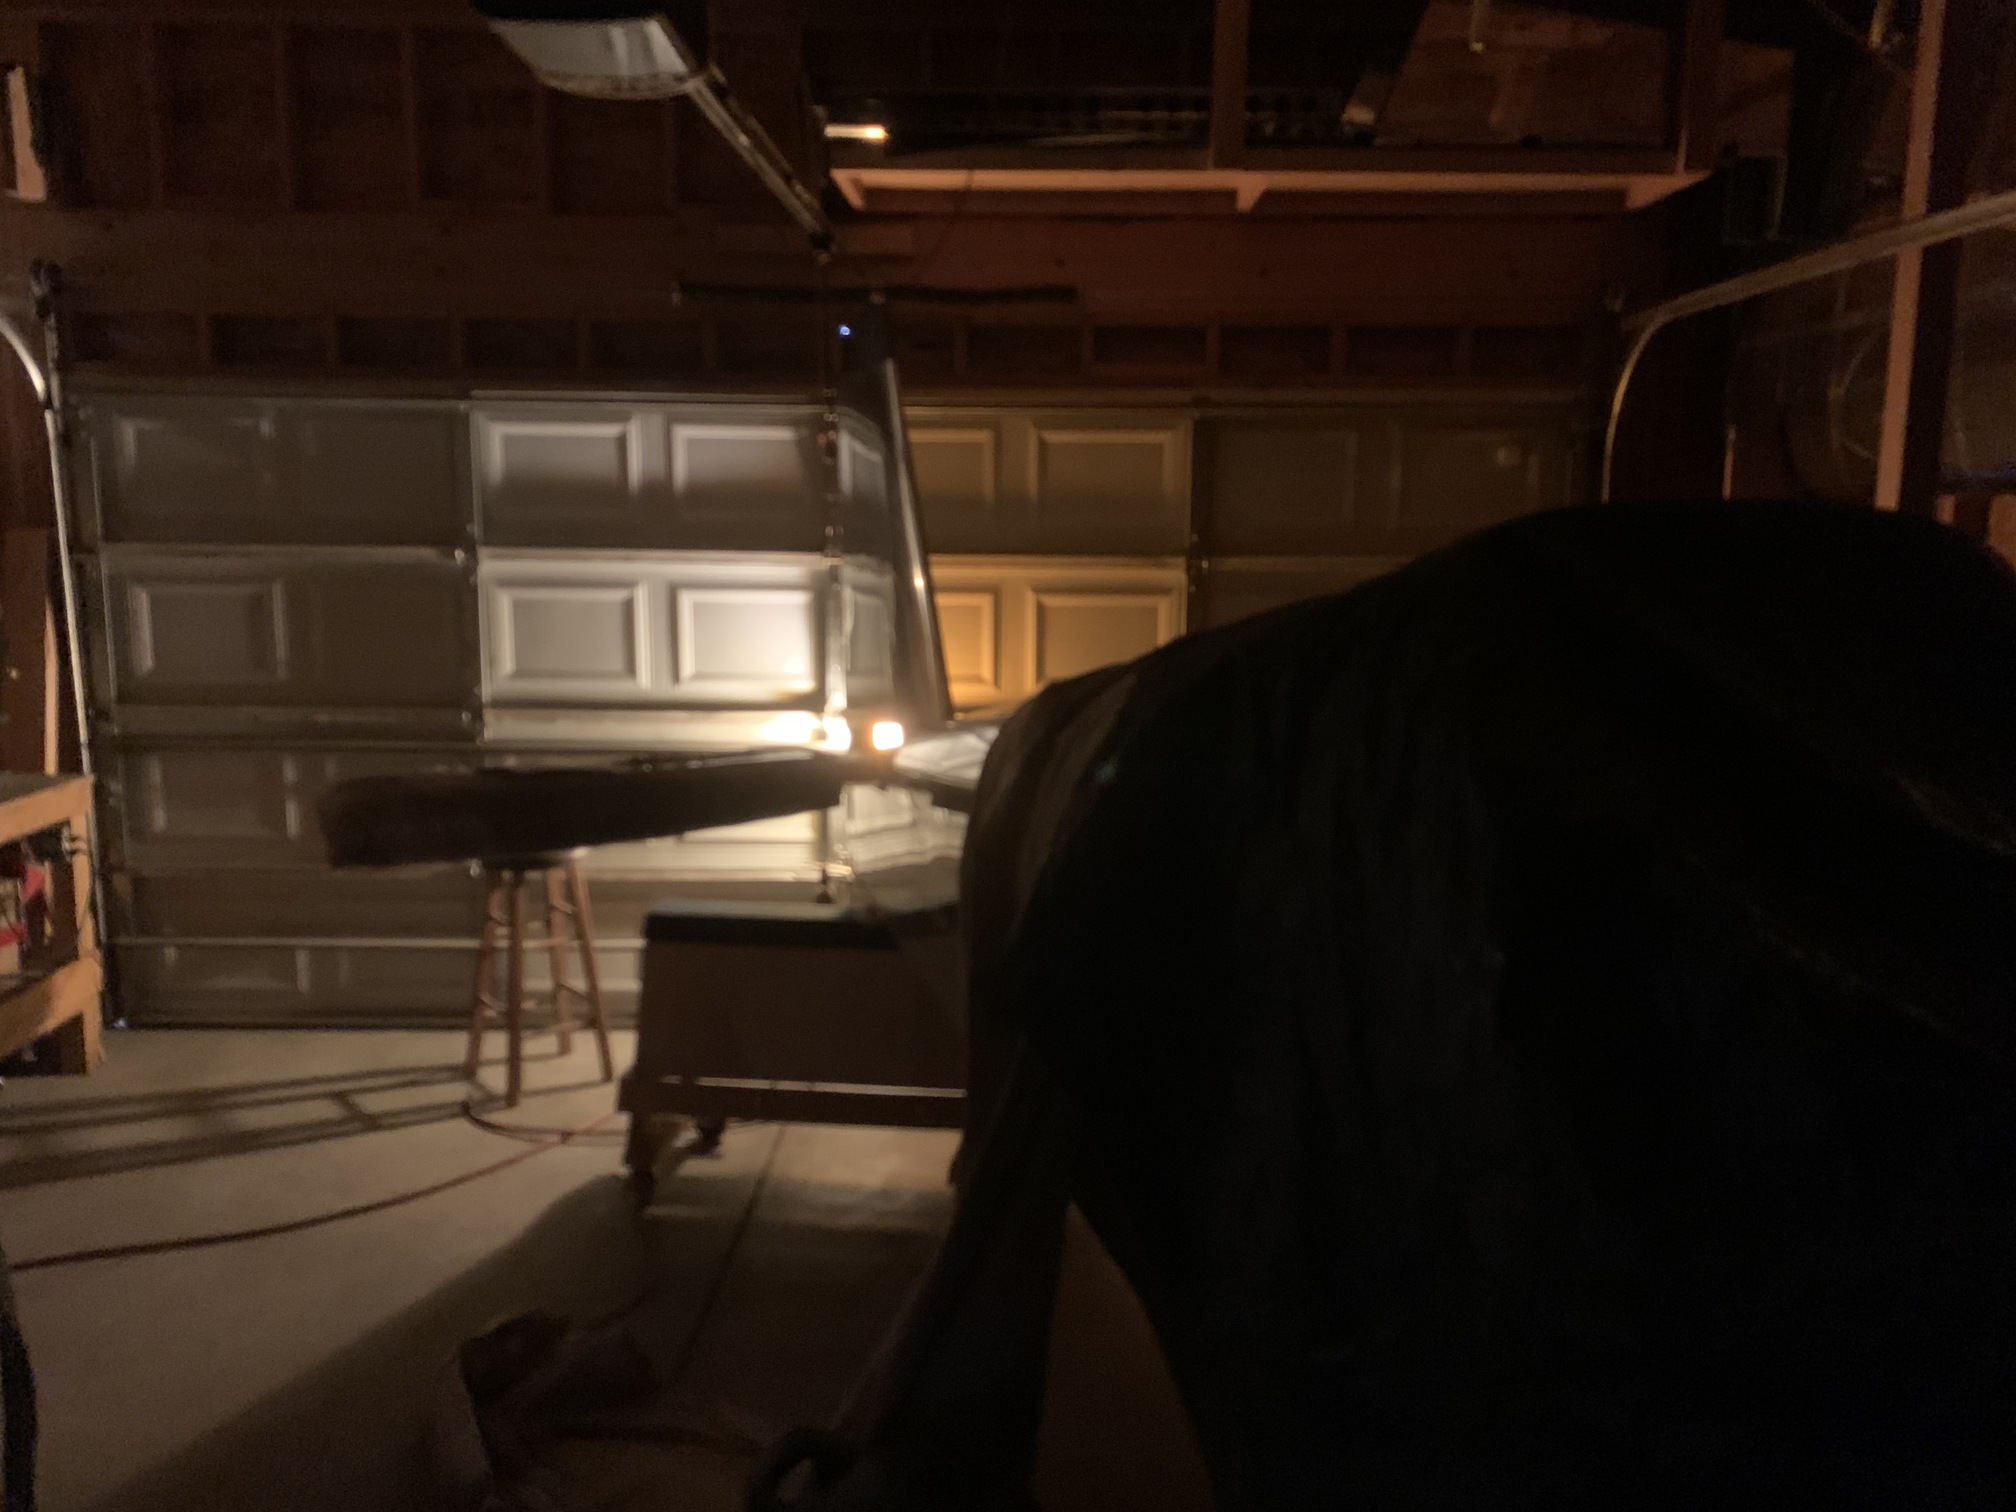
I caught this cool shot of the empennage when I left my shop light on and turned the rest of the lights off.
I started working on the flap position sensor, which is a Ray Allen POS-12. I needed some lightweight RC plane hardware, so I went to a local hobby shop and got some 2-56 threaded rod and a couple of clevises for the ends. Then I started to figure out how to mount one end to the flap weldment. There are lots of helpful pics on VAF from people who have done things like this. Most seem to use an Adel clamp on the weldment, but I like the idea of riveting a scrap of aluminum sheet (like this example from an RV-8).
| Previous - Index - Next |
This work is licensed under Attribution-NonCommercial-NoDerivatives 4.0 International![]()
![]()
![]()
![]()