Log (By Day)
Log (By Category)
Pictures
Pics of Me Working
Links
| ||||||||||||
Wednesday March 7, 2007
Trim Tab Bending, Drilling, Etc
(Left Elevator)
4.2 Hours
| Previous - Index - Next |
I ordered the new trim tab from Vans on Sunday evening and the thing arrived here today, via USPS. Don't ask me how it got here so fast...
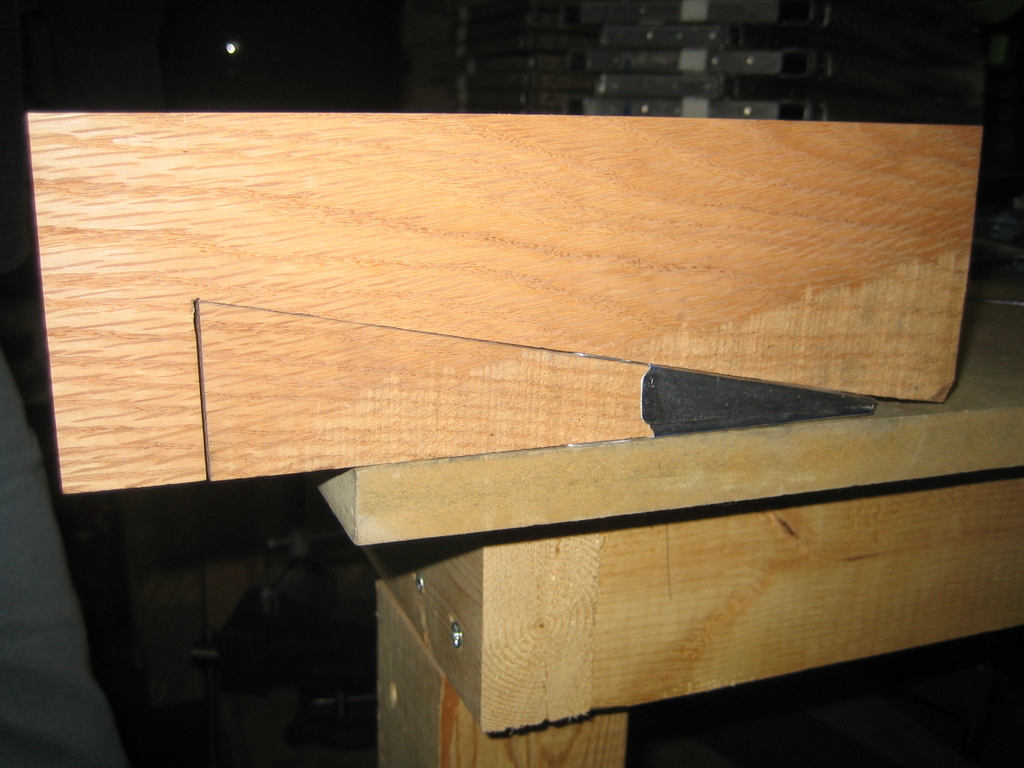
Anyway, I edge prepped it, then bent it in my bending brake. Then my dad came over to help me think through the tab bending process and to lend a hand keeping it all steady.
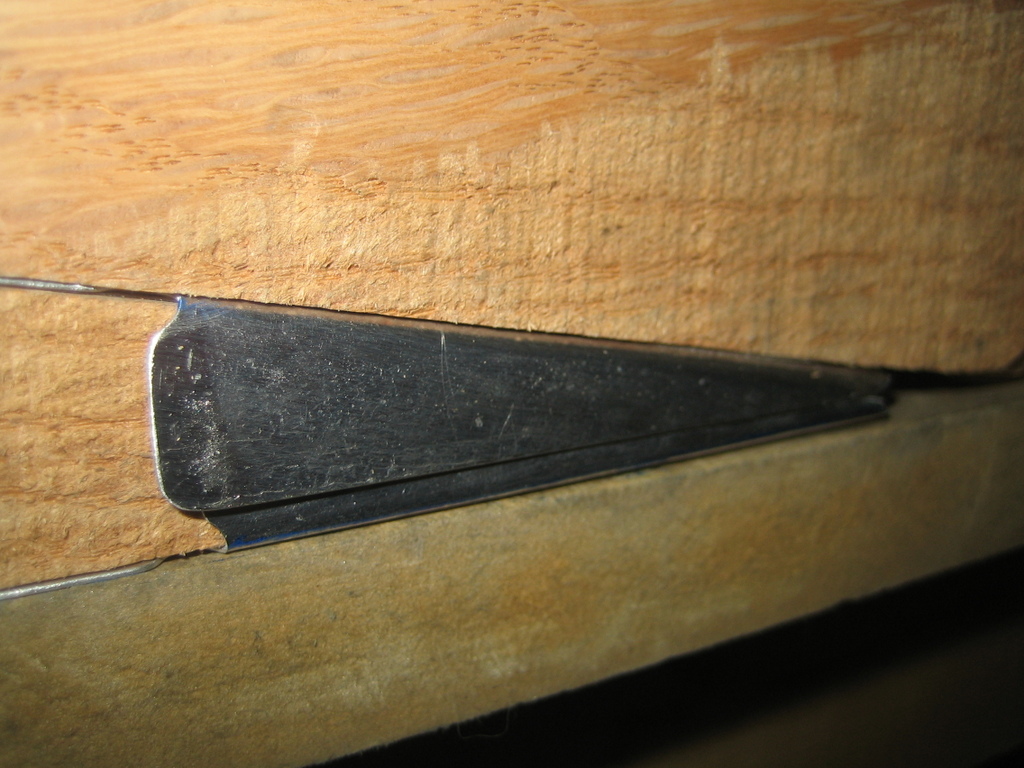
We were very careful tonight and kept everything clamped to the table as well as we could. The results were excellent. Here's the smaller tabs on the outboard edge that I had trouble with on my last attempt.
With the end tabs now bent, we moved on to drilling the tiny control horns to the trim tab. These will ultimately connect to the trim servo pushrod.

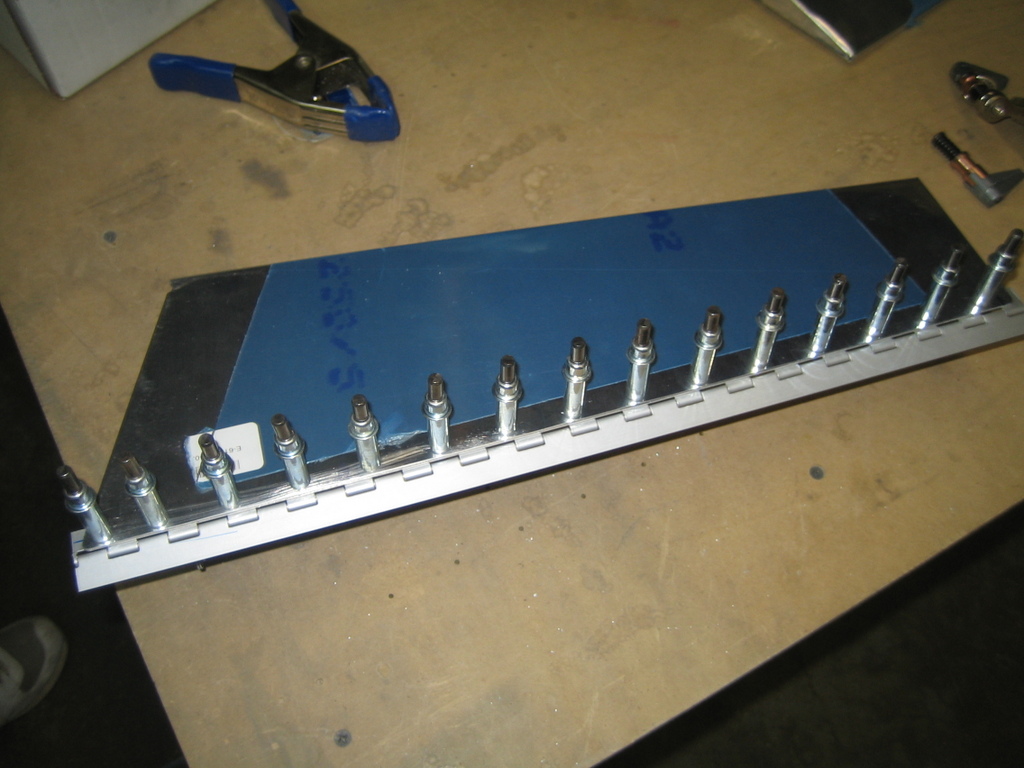
The trim tab is connected to the left elevator via an aluminum "piano" hinge. It comes completely undrilled, so it must be aligned and drilled to the trim tab. We drew a centerline down the hinge, per the drawings, clamped it to the trim tab and the trim tab spar, and then drilled all of the holes. I think it came out pretty well.
Later, I disassembled everything, countersunk the upper flange of the trim tab spar, dimpled everything else, deburred all of the holes, and then primed the flanges of the control horns and spar where they will sit flush against the skin.
Tomorrow, I should be able to start riveting it together and drill the hinge to the elevator.
| Previous - Index - Next |
This work is licensed under Attribution-NonCommercial-NoDerivatives 4.0 International![]()
![]()
![]()
![]()