Log (By Day)
Log (By Category)
Pictures
Pics of Me Working
Links
| ||||||||||||
Saturday March 24, 2007
Wing Jig, Drilling
(Wings)
5.0 Hours
| Previous - Index - Next |
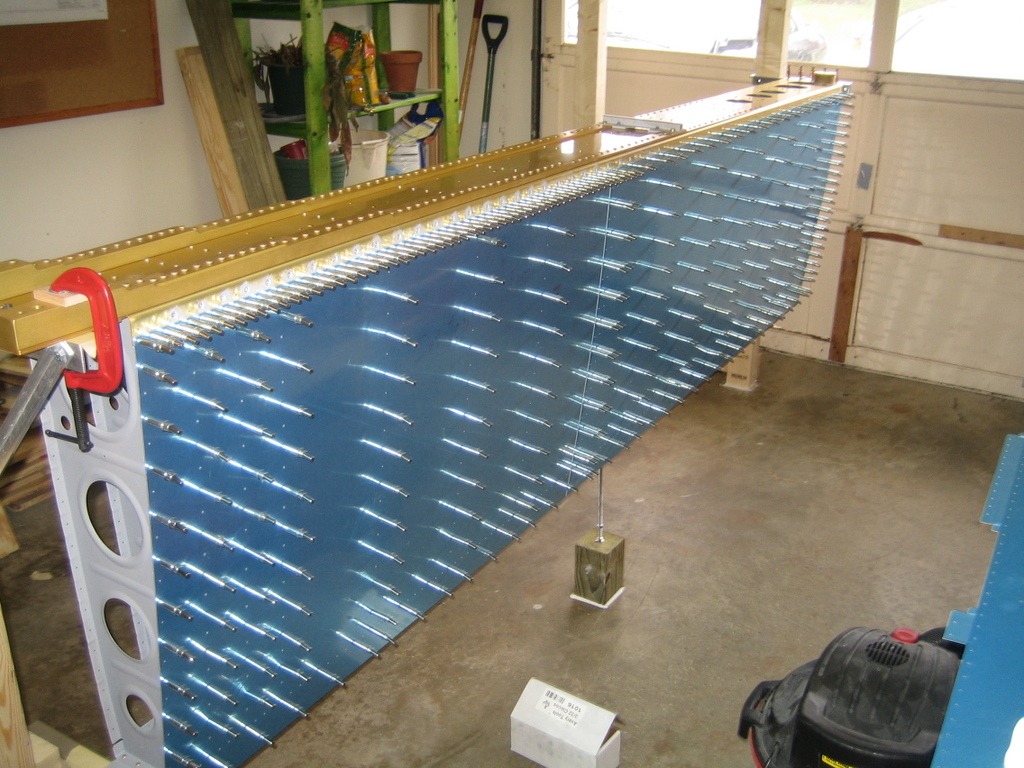
The first thing I did today was to finish the lower wing supports in my wing jig.

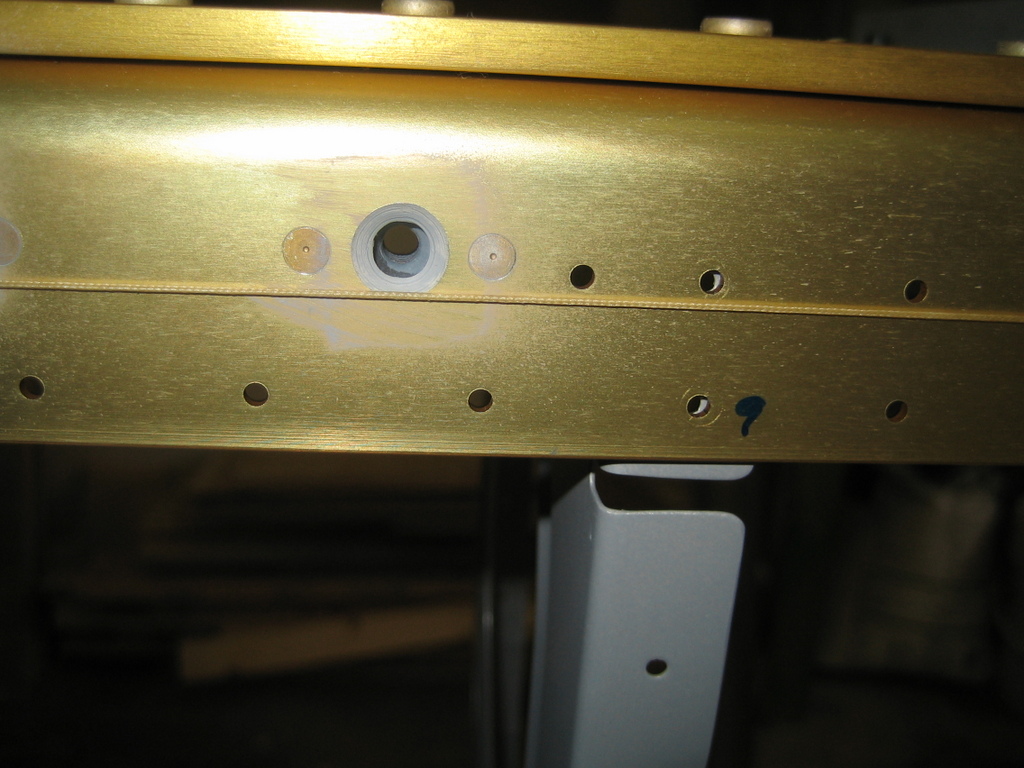
Then, I hung this small string along the side of the spar to gauge the amount of sag in the middle of it. The string needed to be in line with the lower line of holes.
I made this little jack out of 4x4, thread rod, and some nuts and washers. This idea is copied from numerous other builder web sites.
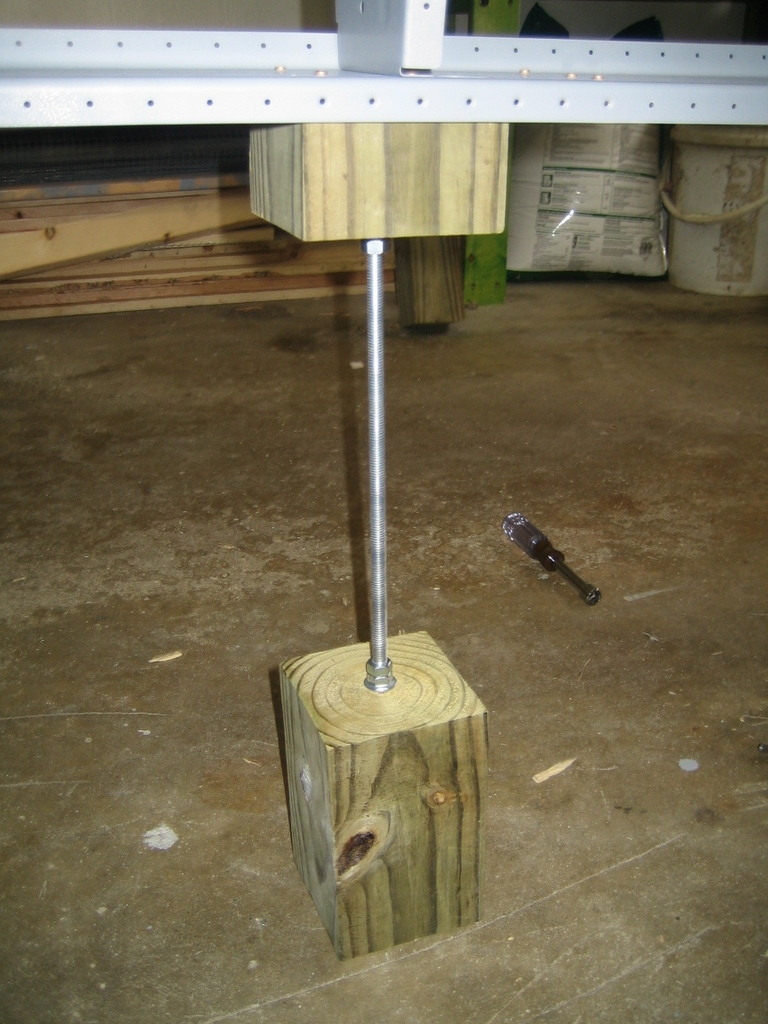
After jacking the wing up, the line was where it was supposed to be and the spar was relatively level.
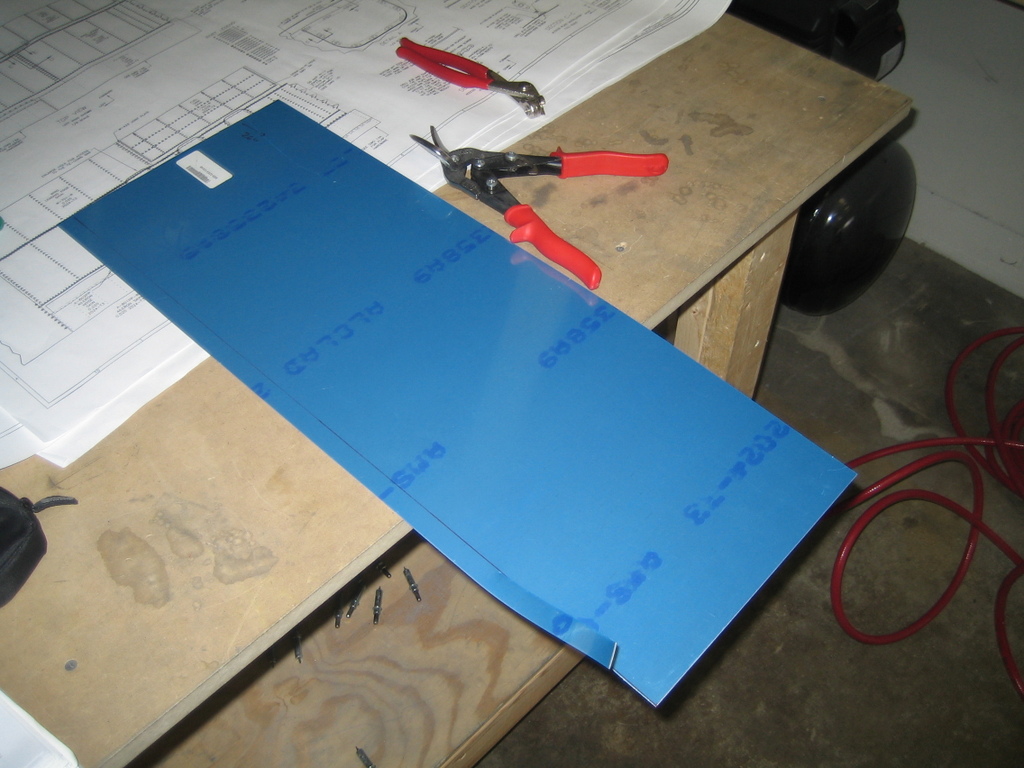
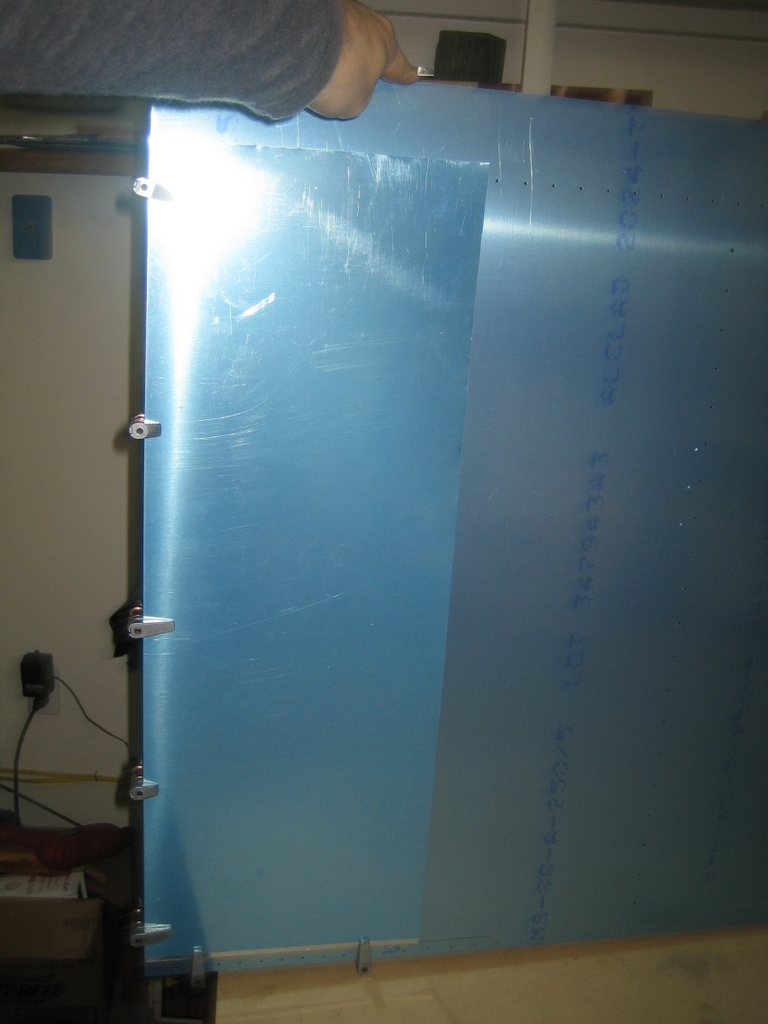
The wing skin gets reinforced with a sheet of aluminum right next to the cockpit. This area is where people will have to walk to get in and out of the plane. The reinforcement sheet has to be trimmed out of a larger sheet.
Then I clamped the sheet to the wing skin for drilling, since the it's not pre-punched.
As (bad) luck would have it, a Cialis ad was playing when I took this shot...

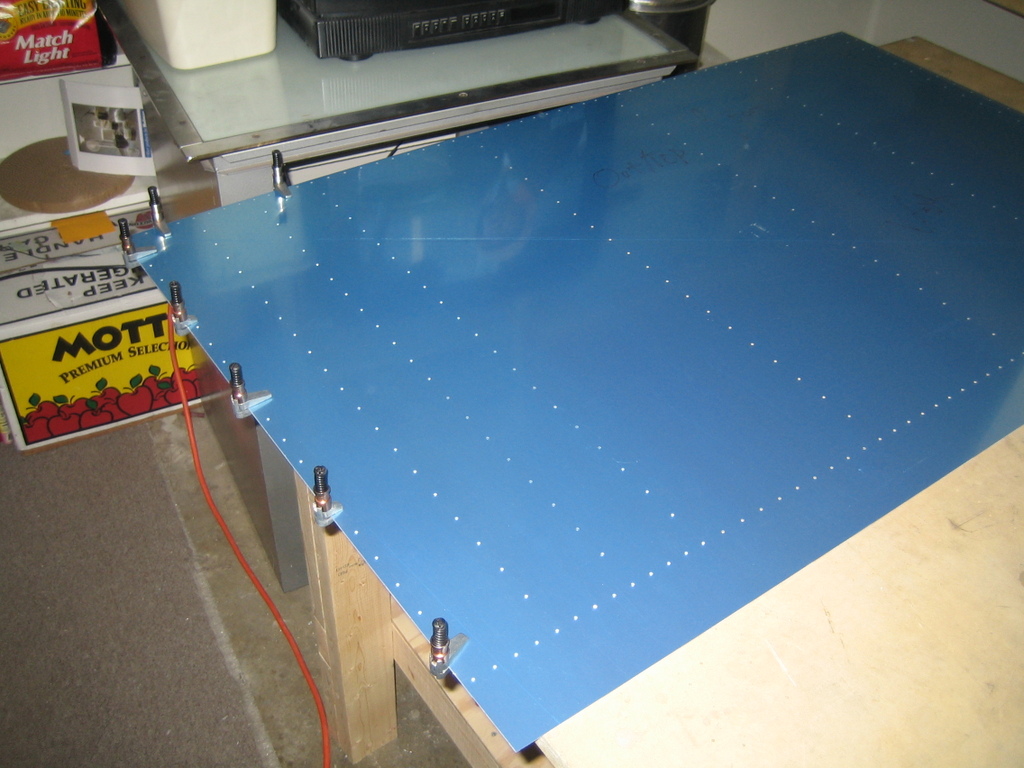
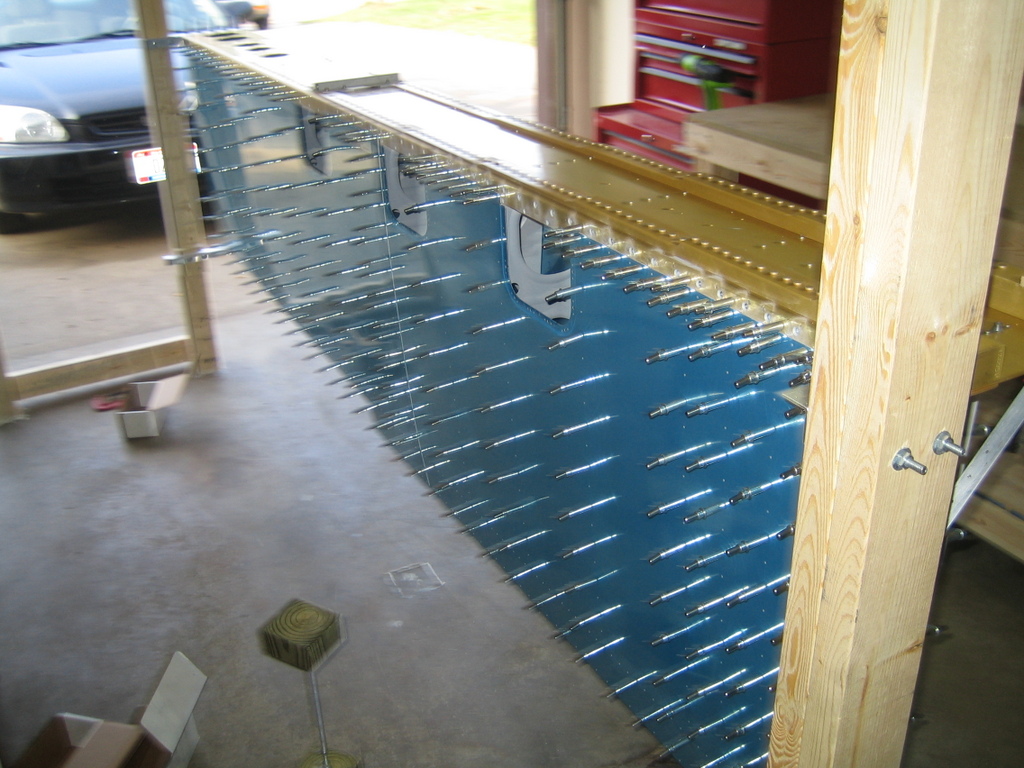
Next, I clecoed the top skins and the reinforcement sheet to the wing for drilling.
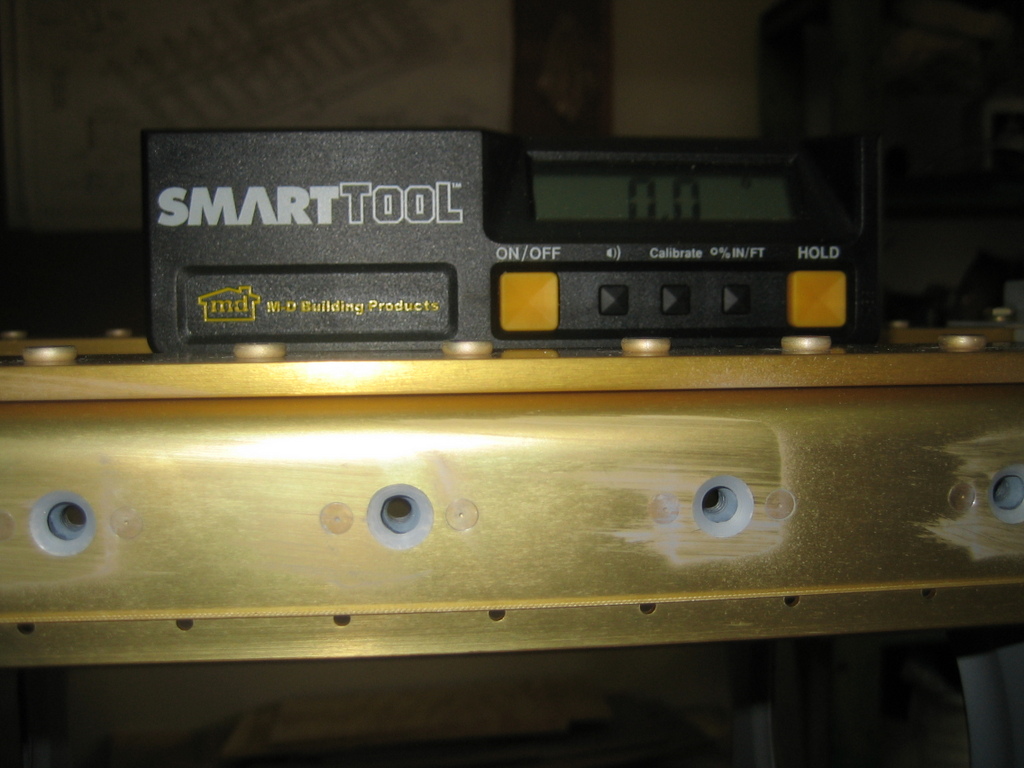
Before drilling, I used this plumb bob to check for twist in the wing. I did this by measuring the distance between the plumb line and the rear spar at both ends of the wing. I adjusted the rear spar and clamped it into position at both ends so as to eliminate any twist.

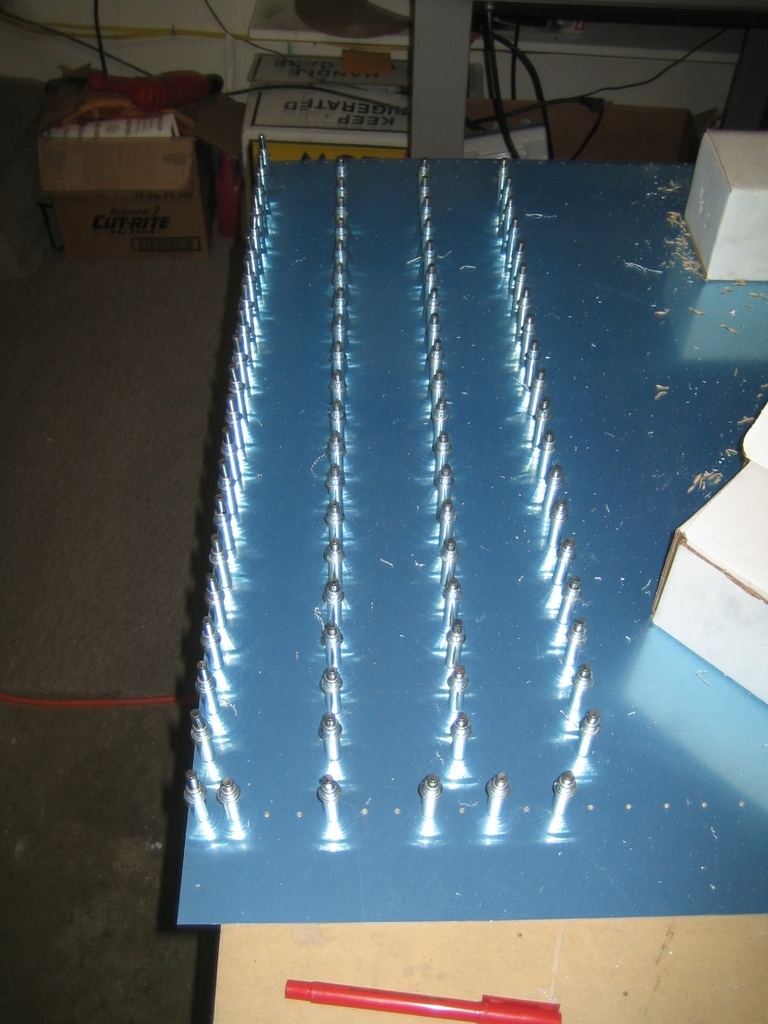
After match drilling the top skins to the wing spars and ribs, I clecoed the bottom skins on and drilled those. I was sick and tired of using the cleco pliars by the time this was all over.
After the bottom skins were drilled, I removed them from the wing.
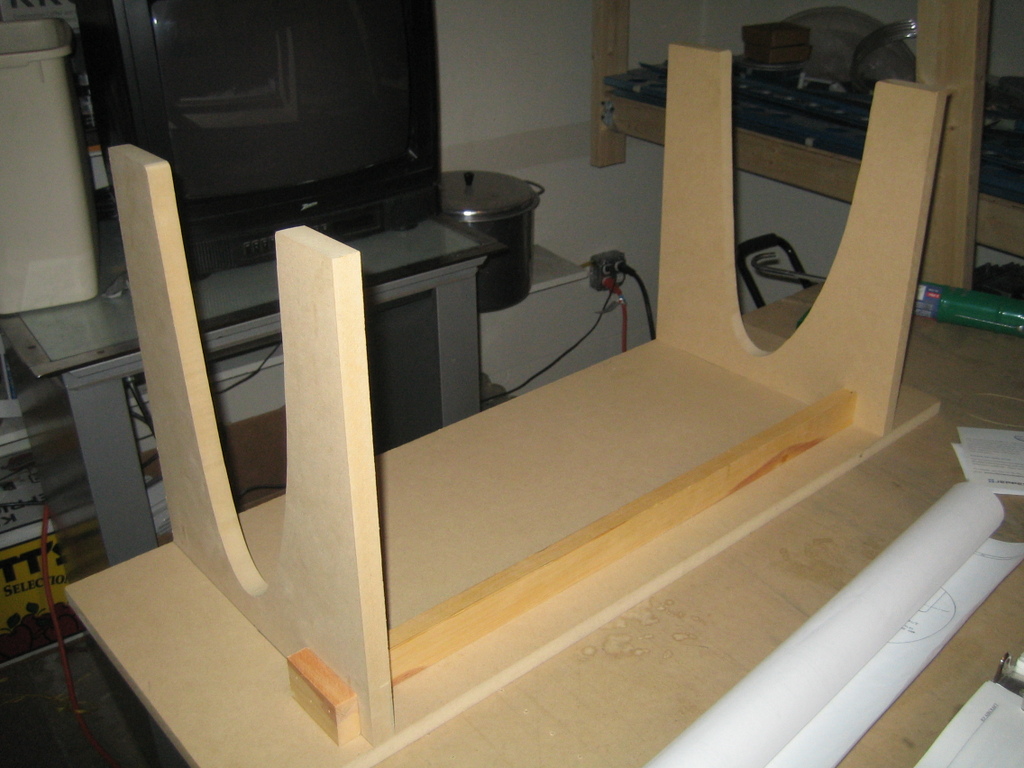
Later, I went to my dad's house and we put together this cradle for assembling the wing leading edge and fuel tank assemblies.
| Previous - Index - Next |
This work is licensed under Attribution-NonCommercial-NoDerivatives 4.0 International![]()
![]()
![]()
![]()