Log (By Day)
Log (By Category)
Pictures
Pics of Me Working
Links
| ||||||||||||
Sunday March 23, 2008
Fuel Tank Prep
(Fuel Tanks)
6.0 Hours
| Previous - Index - Next |
We spent the day yesterday skiing at Loveland ski area. It was a blast and totally worth the utter exhaustion I experienced last night. That preempted any work in the shop.
Today, I started by cutting the fuel tank access hole in the inboard fuel tank rib. This must be the world's slowest/crappiest fly cutter. Unfortunately, it was the only one I could find.

The hole came out quite nicely, though--nearly perfectly sized.
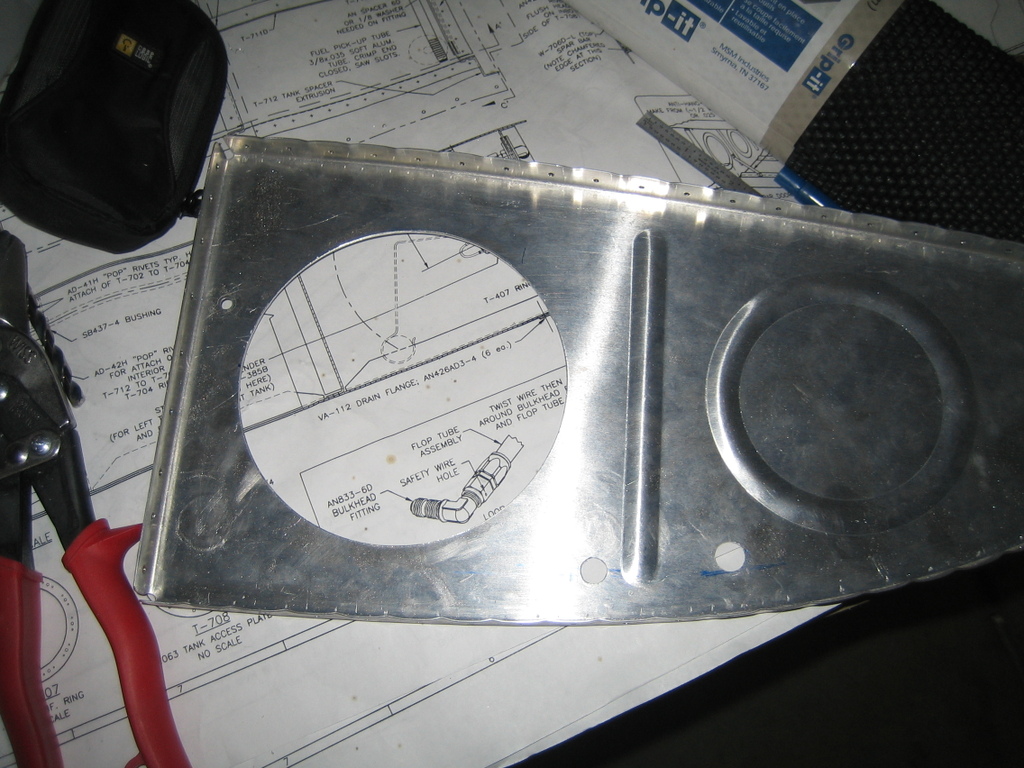
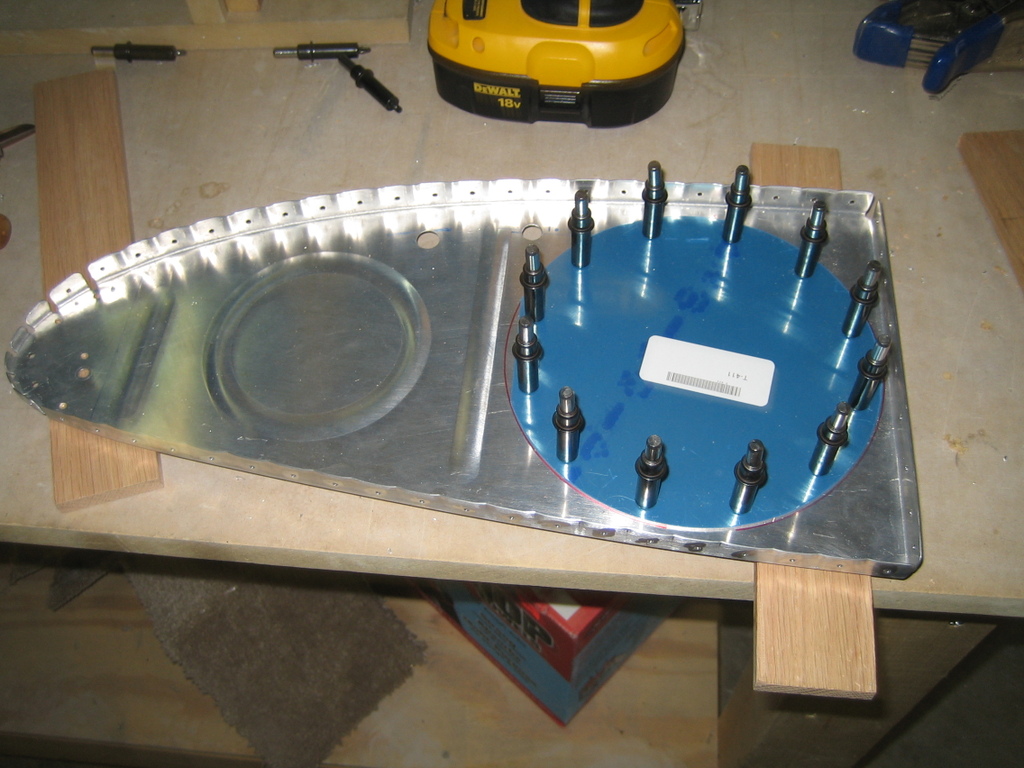
I clamped the stiffener ring in place on the wrong side of the rib to trace an outline. This was the only way I could think to get the cover in the right spot.
It would have been difficult to get the alignment worked out otherwise, since the cover covers the hole.

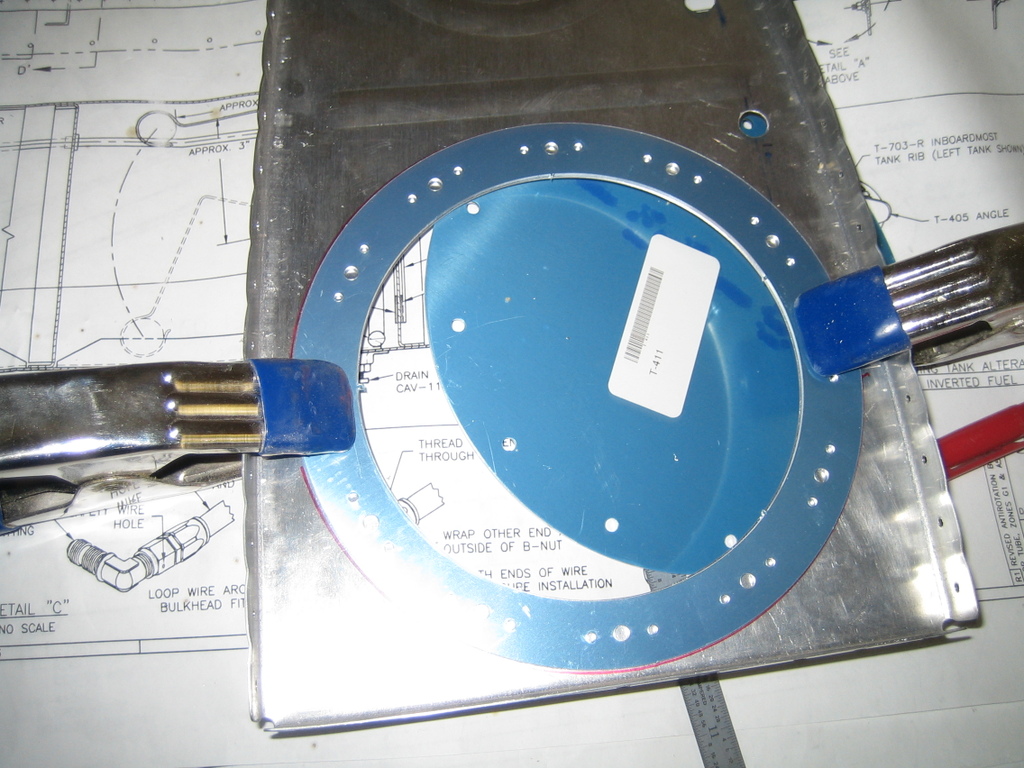
I drilled the cover to the rib.
Here it is completely drilled.
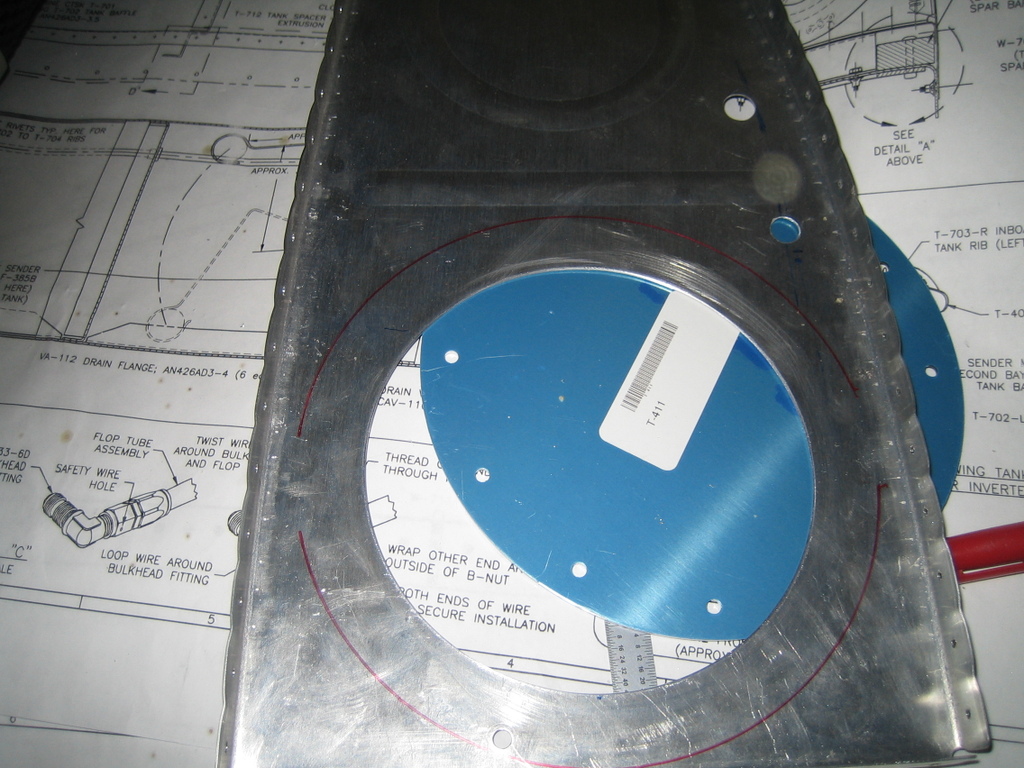
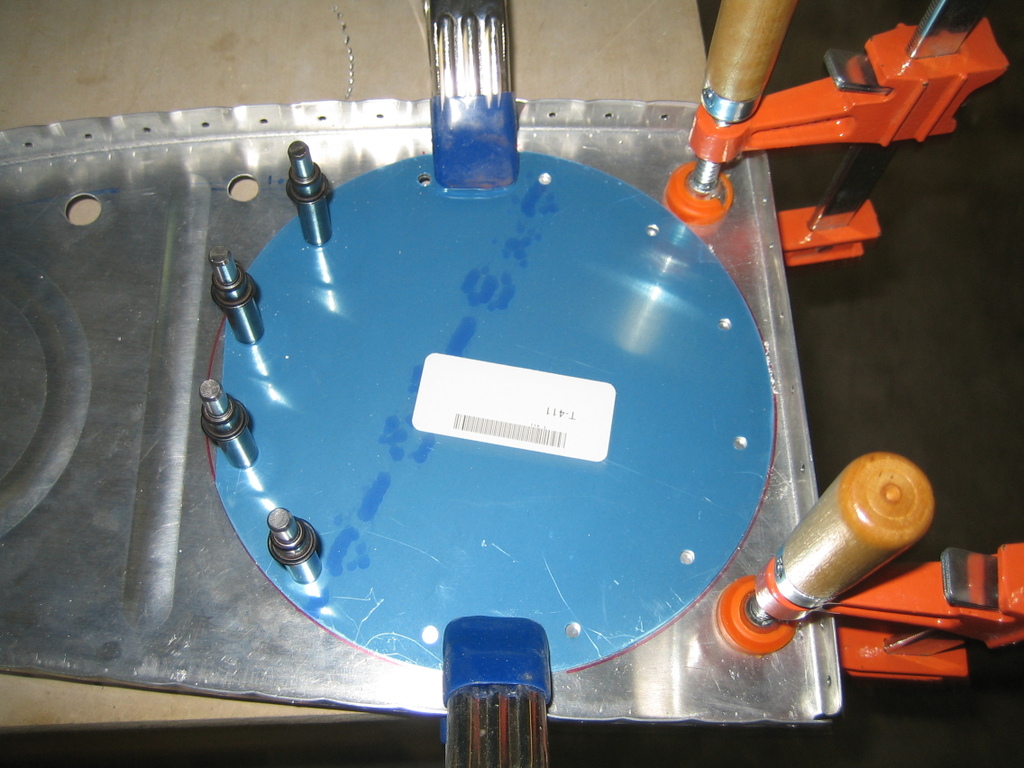
Then I clecoed the stiffener in place on back of the rib and drilled holes for the nutplates.
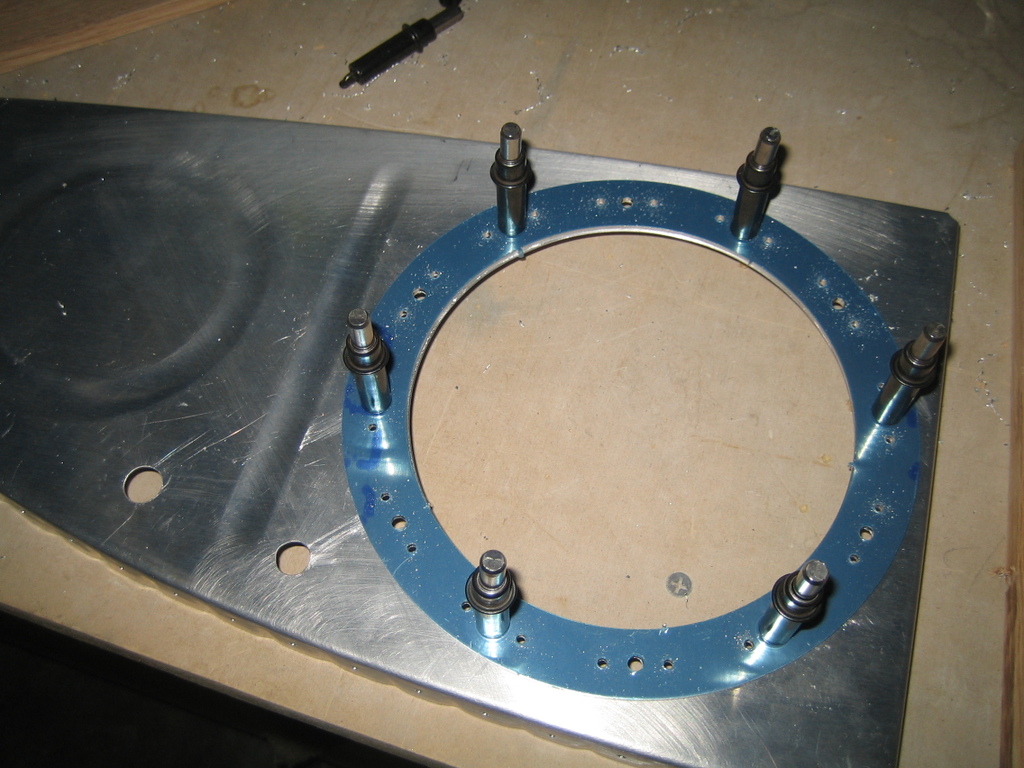
Here is the stiffener and nutplates riveted to the rib after some dimpling and countersinking.

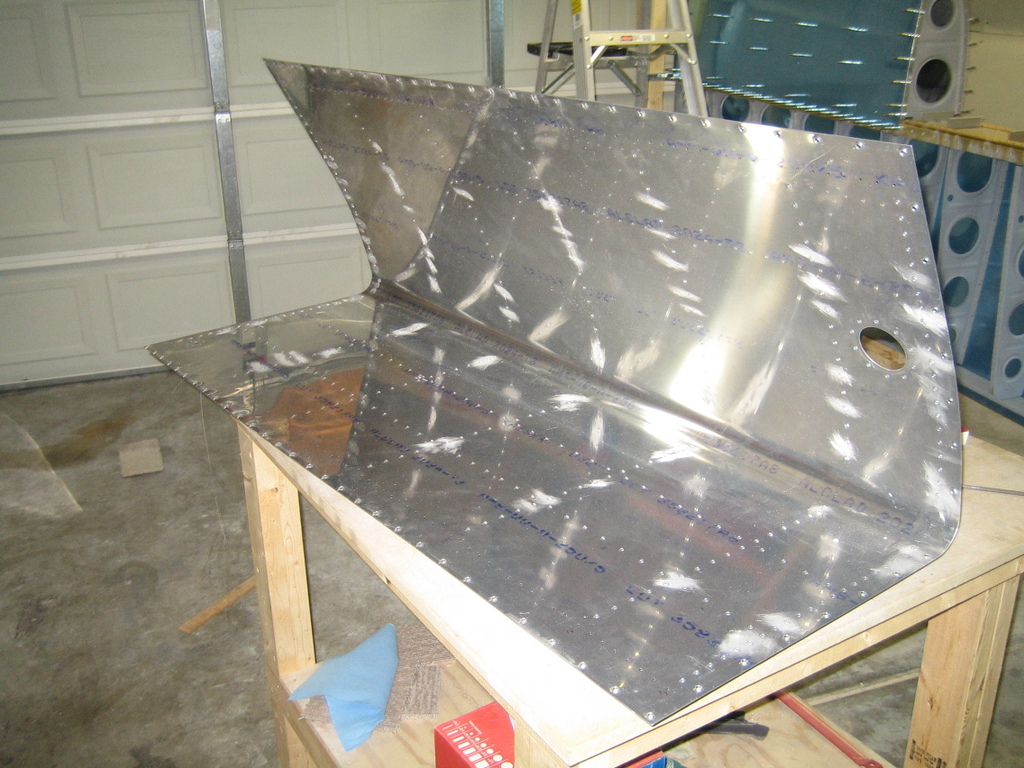
I spent a good long while deburring holes in the tank skin and then dimpling everything. I made sure not to dimple the holes for the drain valve flange, since it sits on the outside of the skin. Every other hole in the skin gets dimpled.
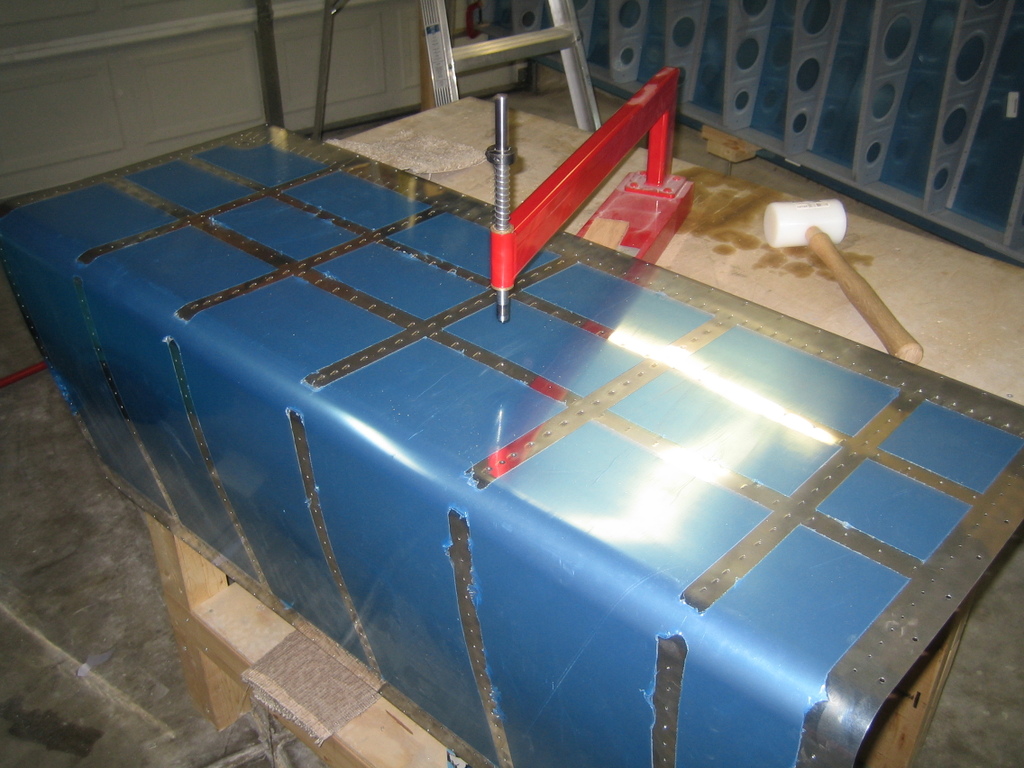
It took a while...
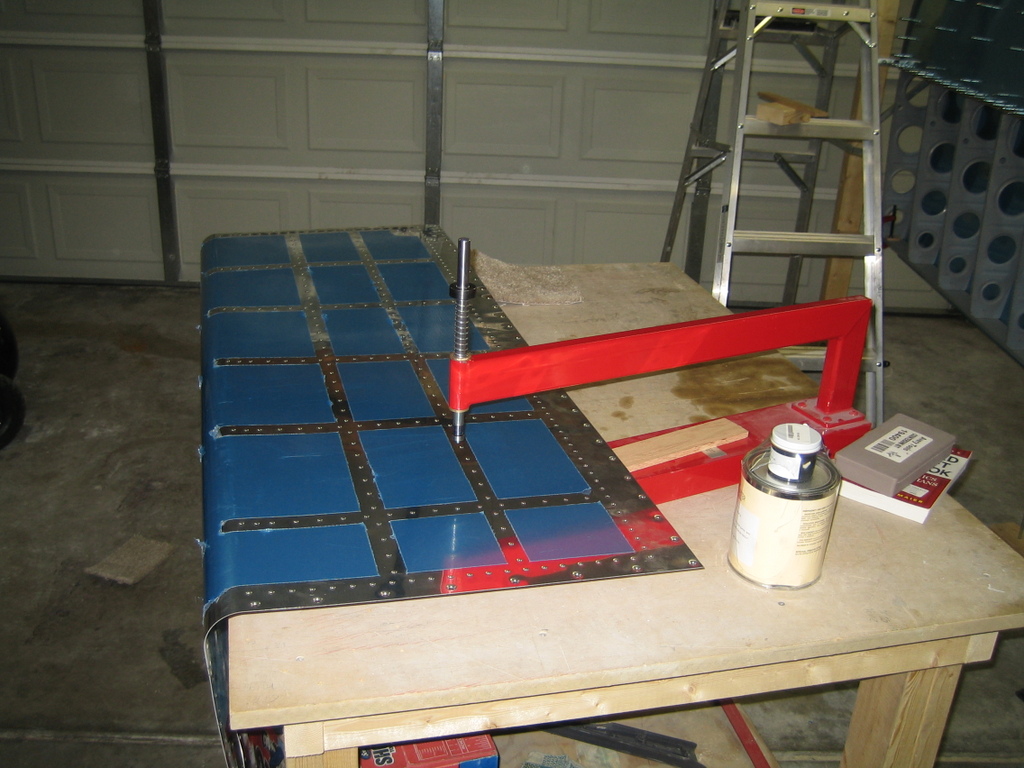
Here is the tank skin ready to go, except for cleaning and scuffing.
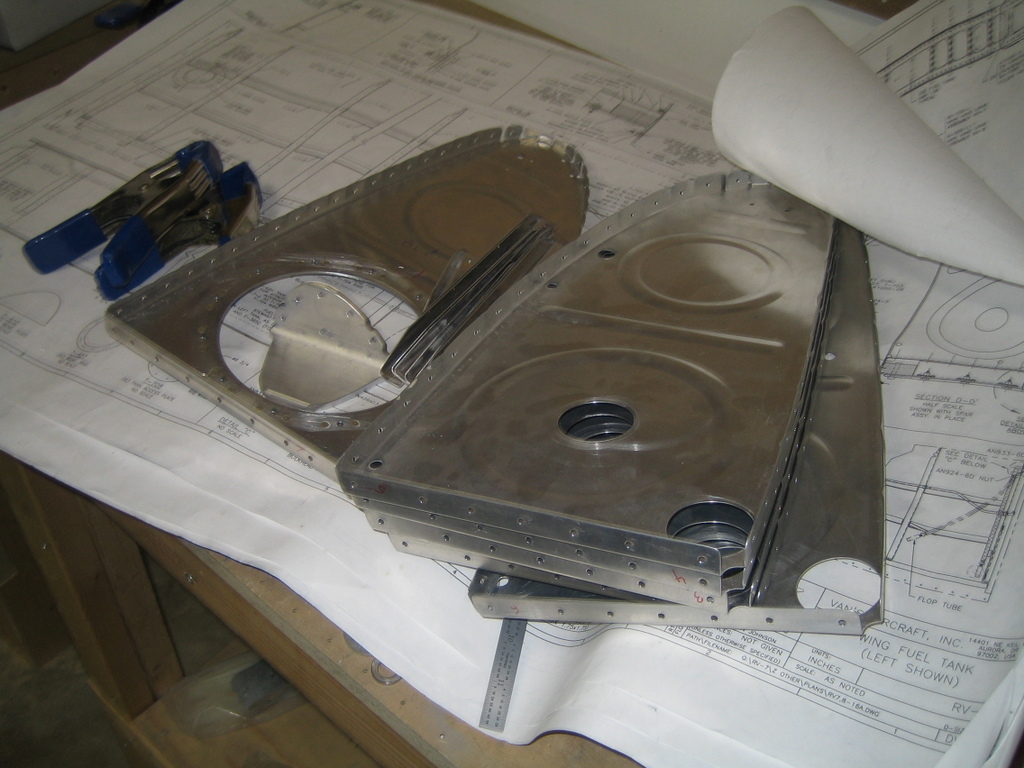
Finally, I deburred all of the holes in the ribs and stiffeners. These still need to get dimpled.
I'm getting pretty close to beginning to seal the fuel tanks. I had better order some new sealant from Van's--my old stuff is expired. I'm going to be out of town most of next week, so I should have it by the time I'm ready to start.
| Previous - Index - Next |
This work is licensed under Attribution-NonCommercial-NoDerivatives 4.0 International![]()
![]()
![]()
![]()