Log (By Day)
Log (By Category)
Pictures
Pics of Me Working
Links
| ||||||||||||
Sunday April 6, 2008
Fuel Tank Misc
(4.0 Hours
Fuel Tanks, 0.5 Hours
Wings)
4.5 Hours Total
| Previous - Index - Next |
I spent a few minutes first thing today finishing the dimpling on the leading edge skin. This thing is ready to rivet now, except for some spot priming that I want to do on some areas where I had to sand out some scratches on the inside.

Next, I mounted the fuel pickup tube and anti-rotation bracket to the fuel tank's inspection plate. This will be the outside of the plate.
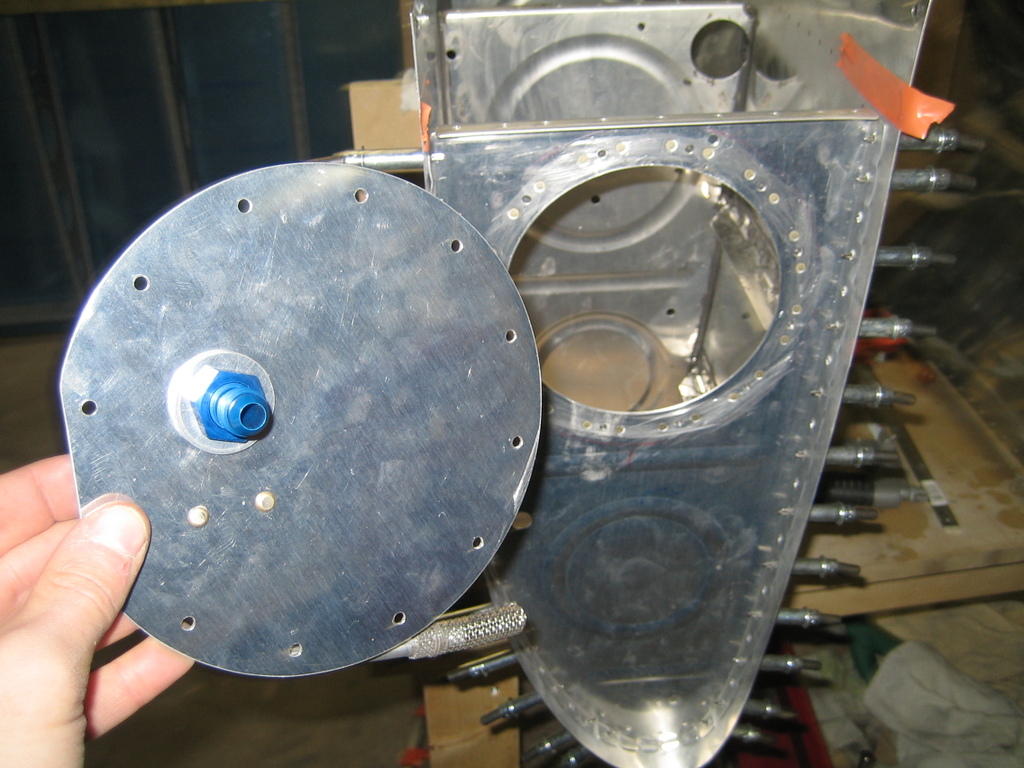
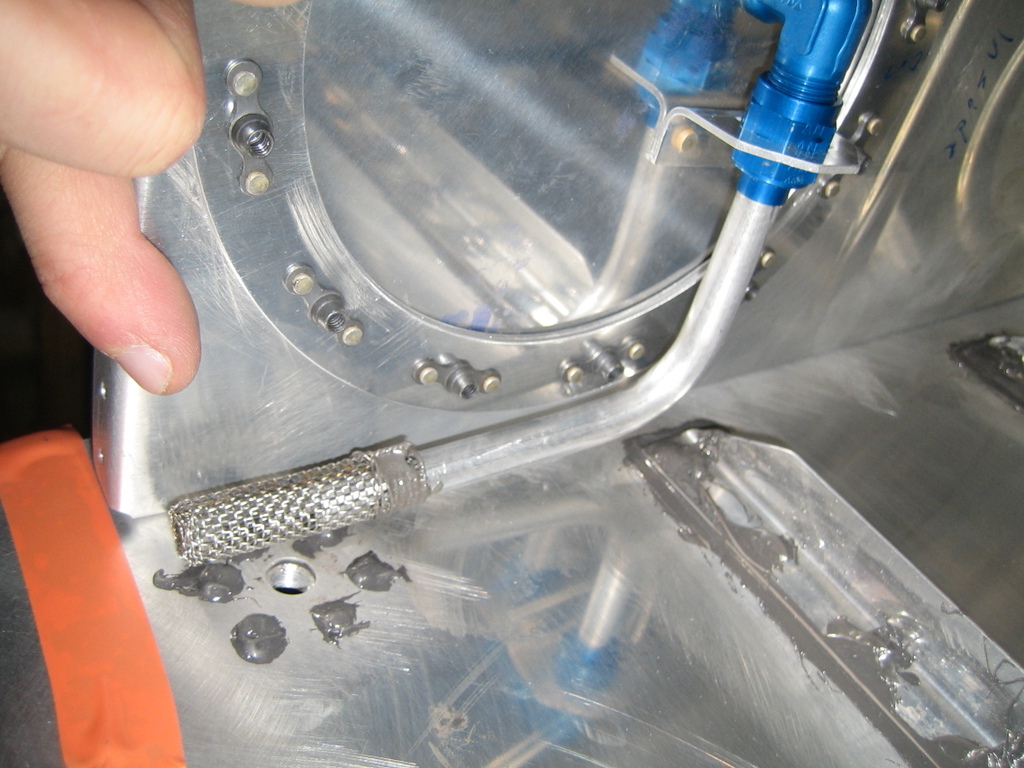
And here's the inside section with the pickup tube.

The tube is aligned with the lowest area of the tank in order to be able to pick up as much fuel as possible.
Next, I got out my flaring tool and practiced flaring some 1/4" tubing. I finally got the hang of it.
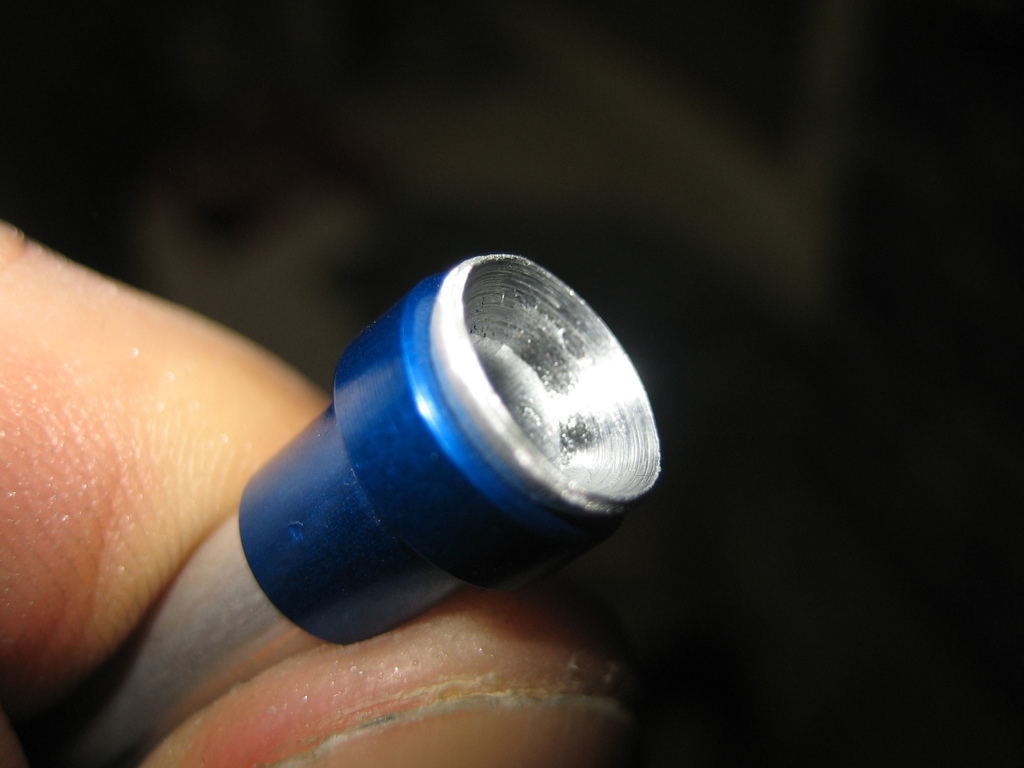
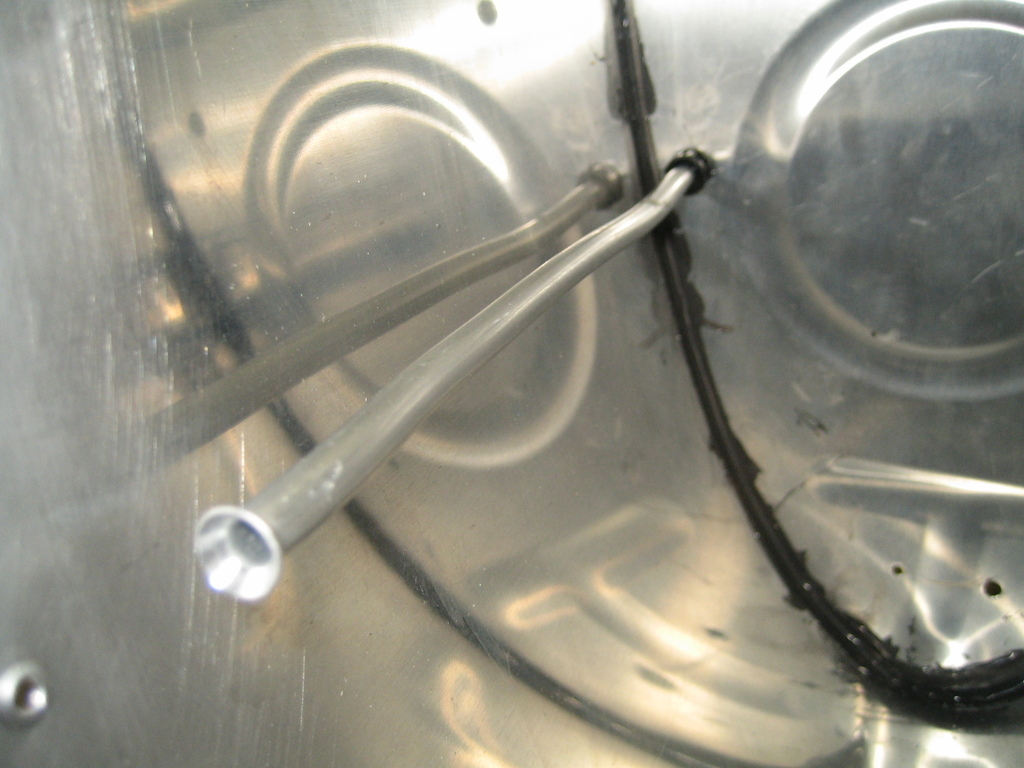
Here's the vent line installed in grommets through the interior of the tank. You can see that I had flared the end of it. Unfortunately, I forgot to put the sleeve and nut on the tube before I flared it, so I had to cut off the end, slide on the fittings, and re-flare it.
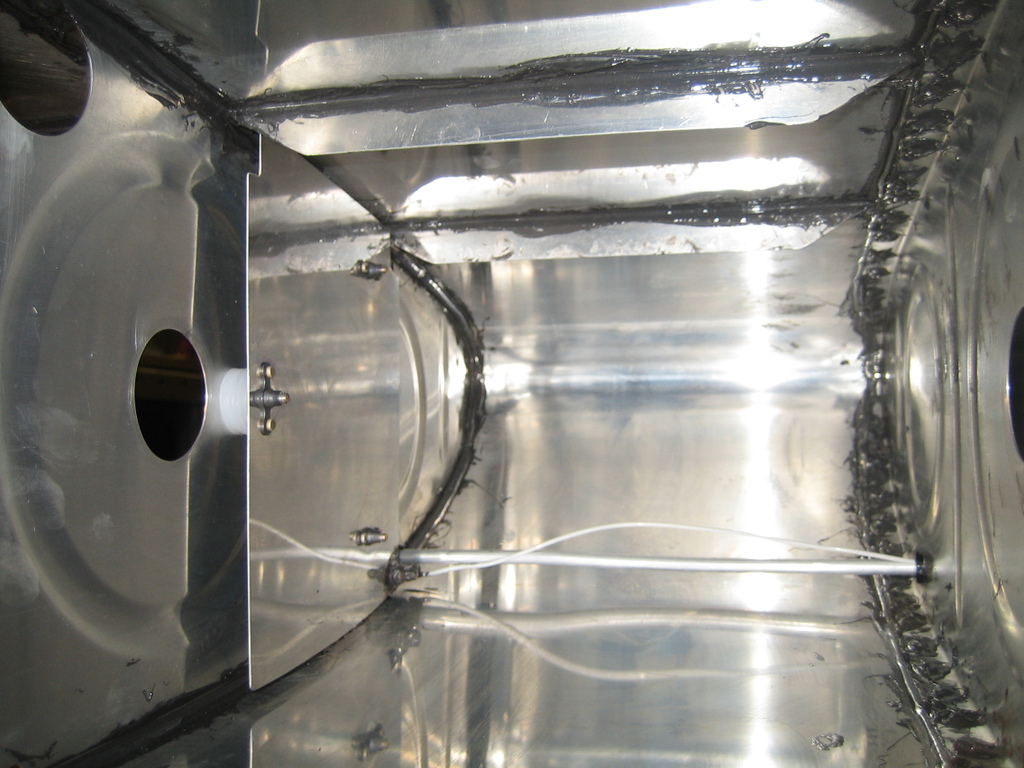
I spent the rest of my time in the garage today installing the capacitive fuel senders. These things are not much fun to install. They are in, though. Here's the inboard plate.
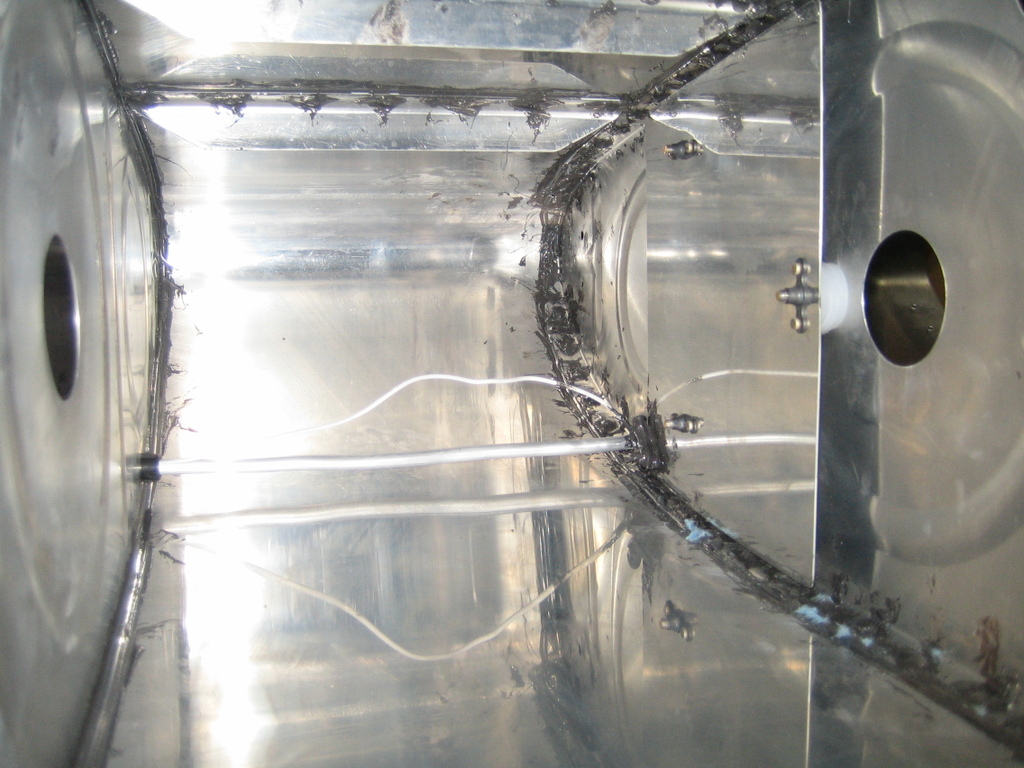
And the outboard plate. Once I have the vent line in its final position, I will tidy up the fuel sender wiring and dab some sealant on there to keep the wire in place.
| Previous - Index - Next |
This work is licensed under Attribution-NonCommercial-NoDerivatives 4.0 International![]()
![]()
![]()
![]()