Log (By Day)
Log (By Category)
Pictures
Pics of Me Working
Links
| ||||||||||||
Thursday April 10, 2008
Fuel Tank Sealing
(Fuel Tanks)
4.6 Hours
| Previous - Index - Next |
Tonight, I began by finalizing the placement of the vent line. Here's the outboard end, where I cut off the end and did a pretty nasty looking bend to get the end of the line a bit higher up.
The other end got torqued down.

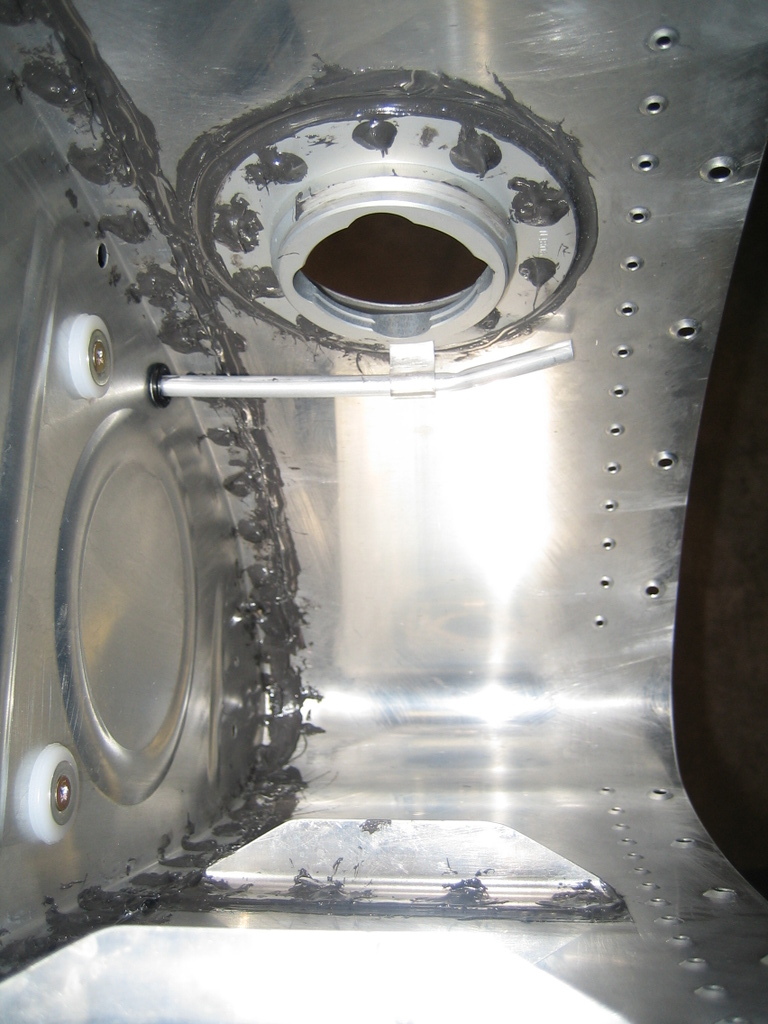
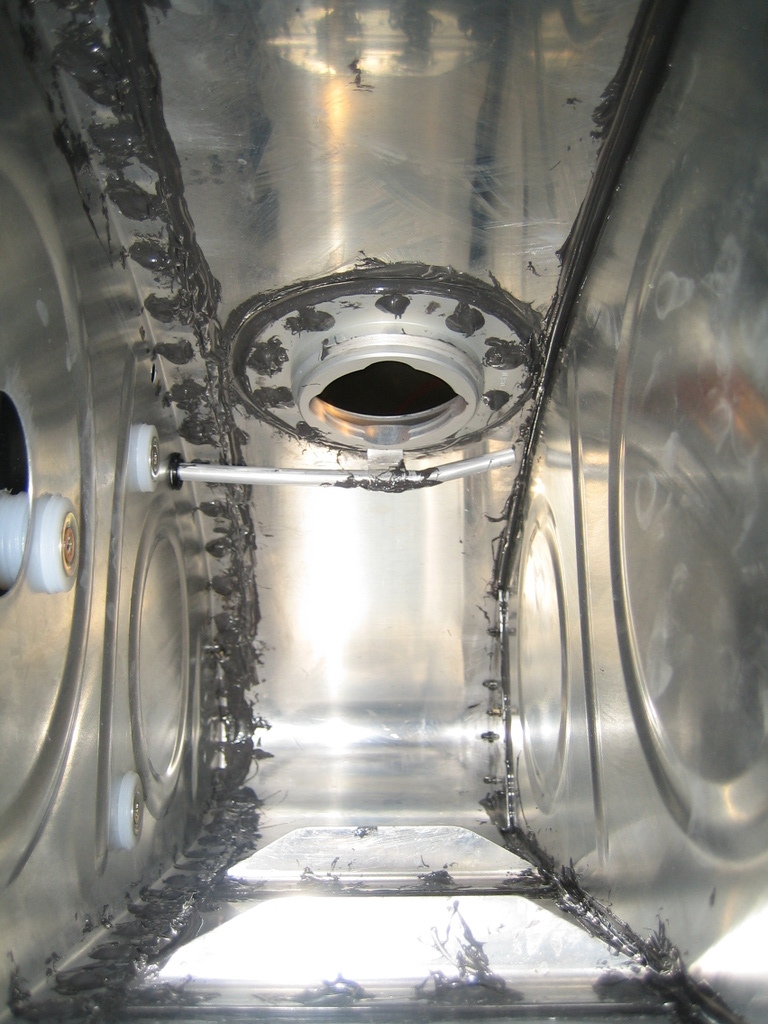
Then, I mixed up some sealant and sealed a few miscellaneous things: the fuel sender wiring to the vent line in a few places (this helps keep it in place) and the vent line fittings where they meet the inboard rib.
Then, I buttered up the outboard rib and riveted it in place. You can see the electrical tape I laid down to keep sealant off of the skin where the joint plate will rest. It's nice being able to squeeze these rivets. I had to drill out one on this rib. Also, note the sealant on the tooling hole near the top of the rib.
Another shot inside, now with the rib in place.
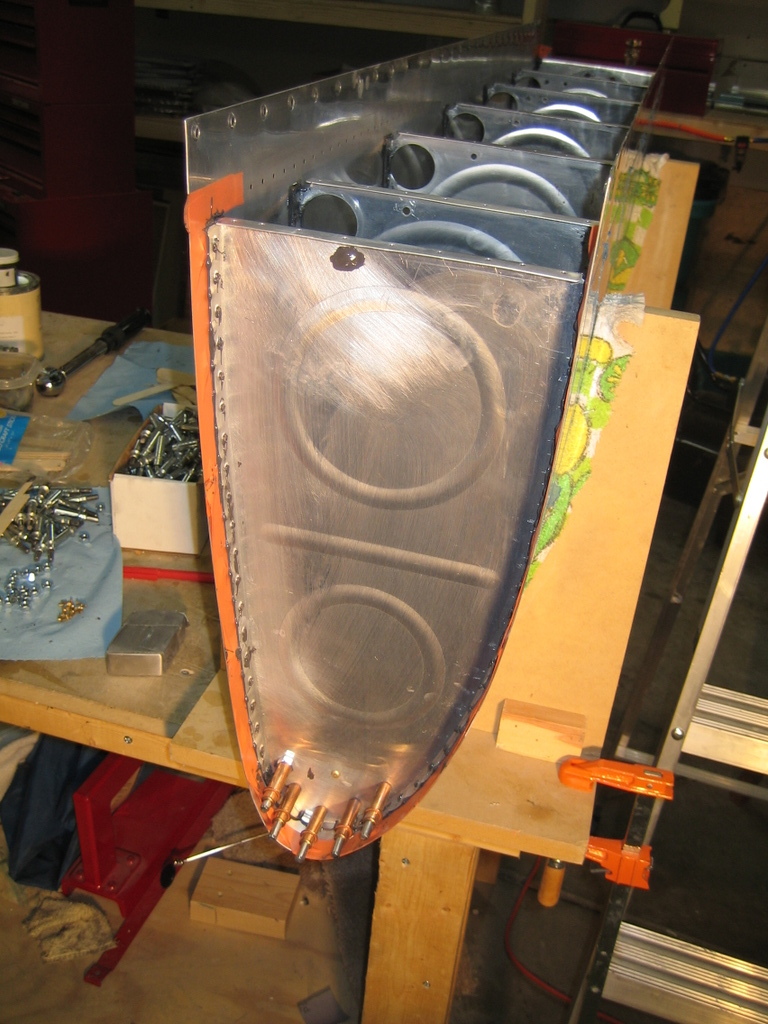
Then Emily came out and helped me rivet the T-410 in place on the nose of the outboard rib. I don't know why, but we had bad luck tonight--I had to drill out 3 of these 6 rivets.
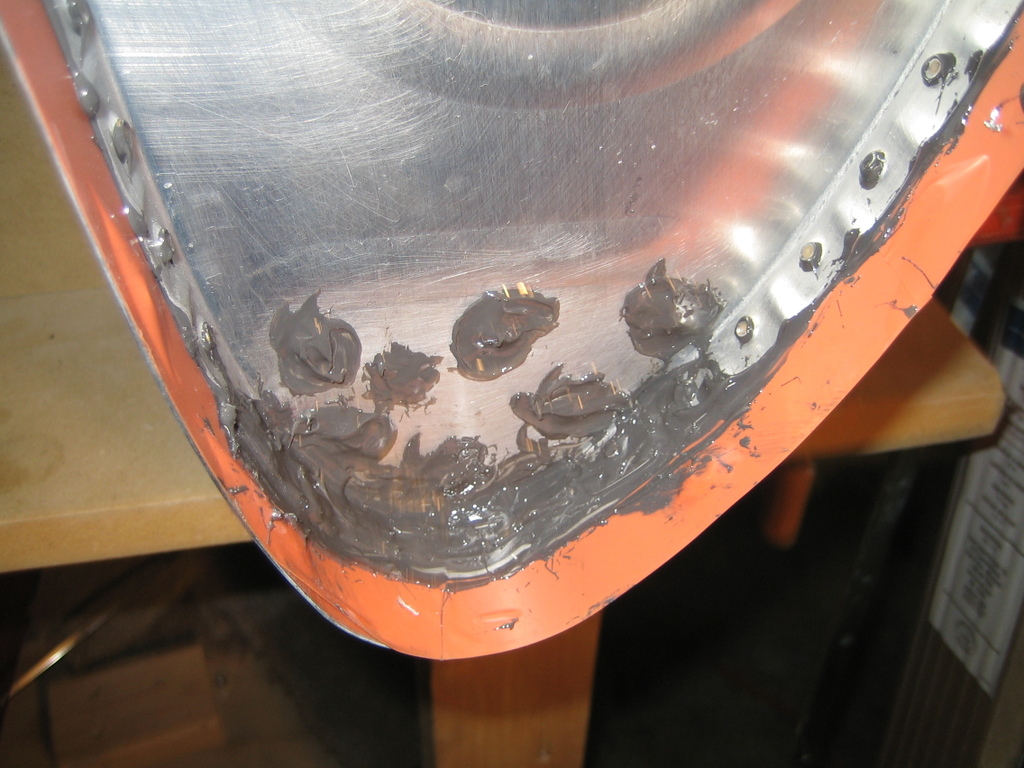
I heaped generous amounts of sealant in the nose of the outboard rib and made sure there was a good fillet around the inside edge.
Finally, I cleaned off the dirty clecos from last night and tonight. That was an hour right there.
I pretty clearly underestimated how much time I would need to wrap things up on the tank. However, I should be able to close it up on my next session, which will be tomorrow. I can't wait to be done with the sealant and MEK (until the next tank, of course)!
| Previous - Index - Next |
This work is licensed under Attribution-NonCommercial-NoDerivatives 4.0 International![]()
![]()
![]()
![]()