Log (By Day)
Log (By Category)
Pictures
Pics of Me Working
Links
| ||||||||||||
Friday April 11, 2008
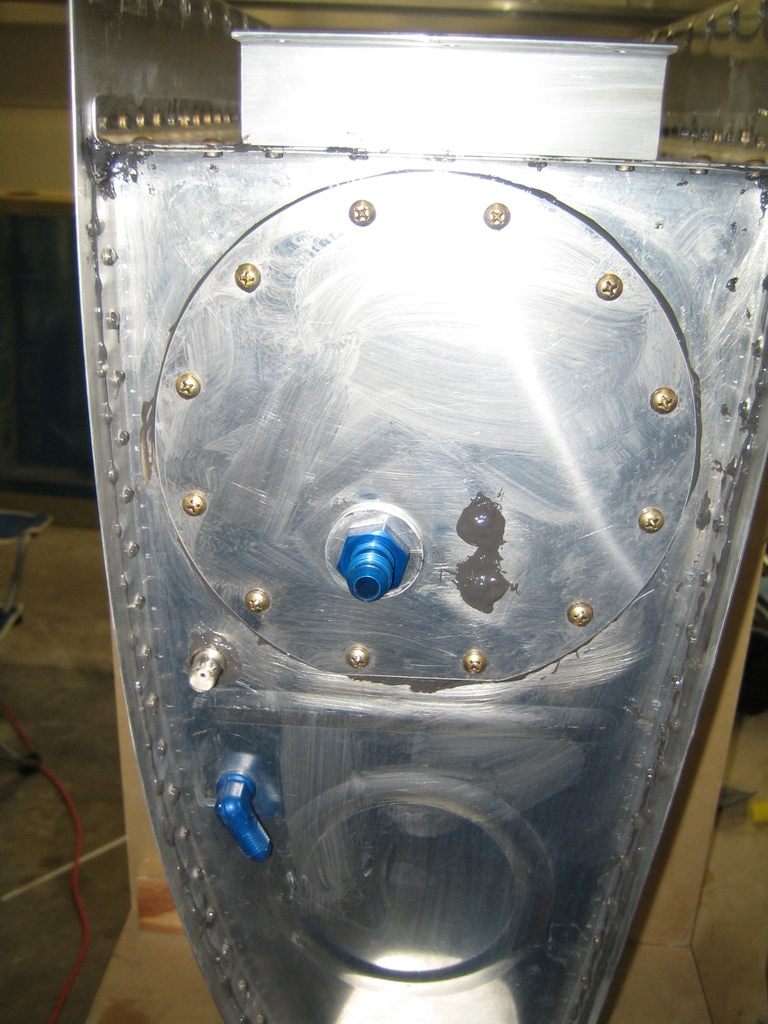
Finished Sealing Tank
(Fuel Tanks)
6.8 Hours
| Previous - Index - Next |
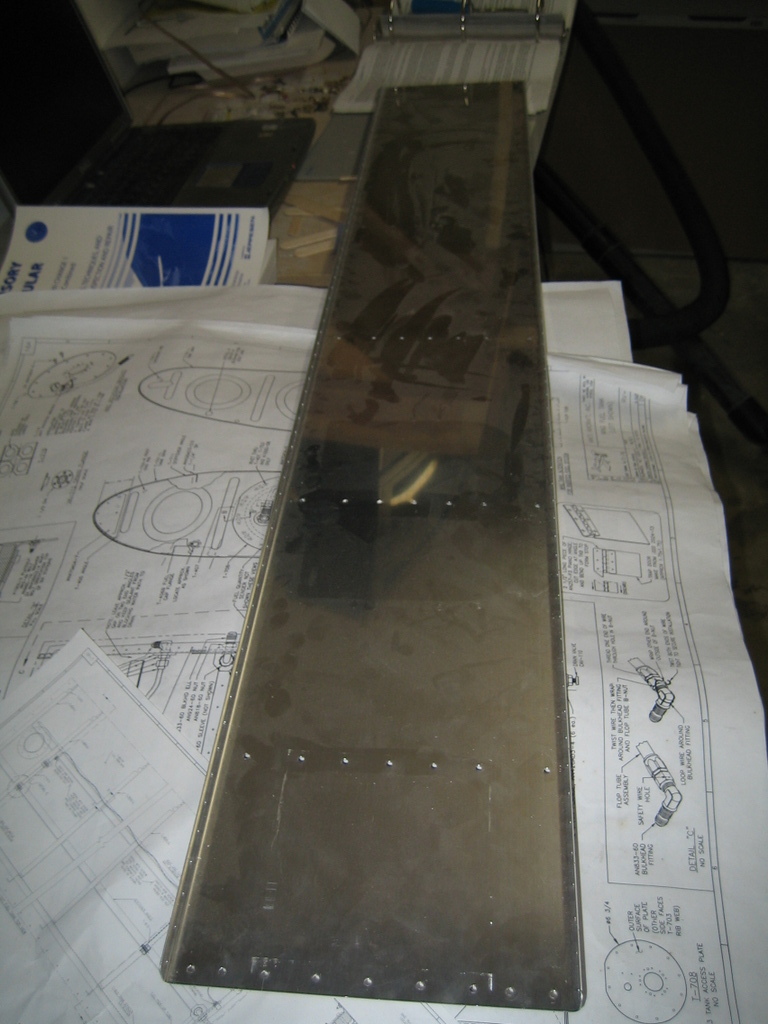
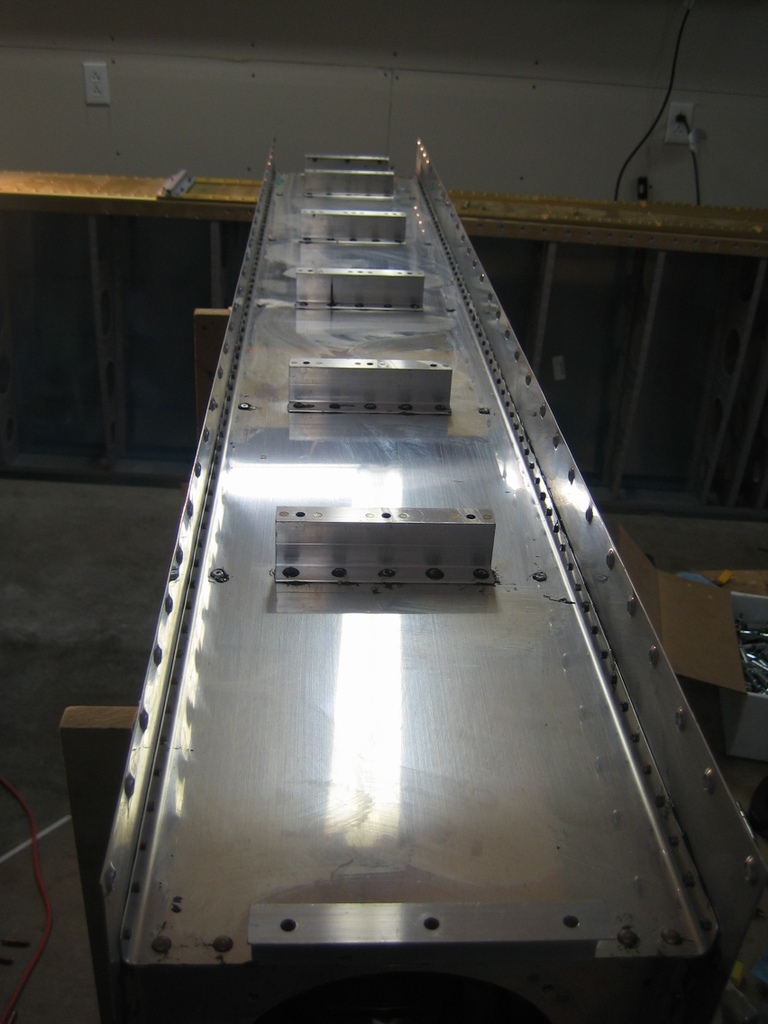
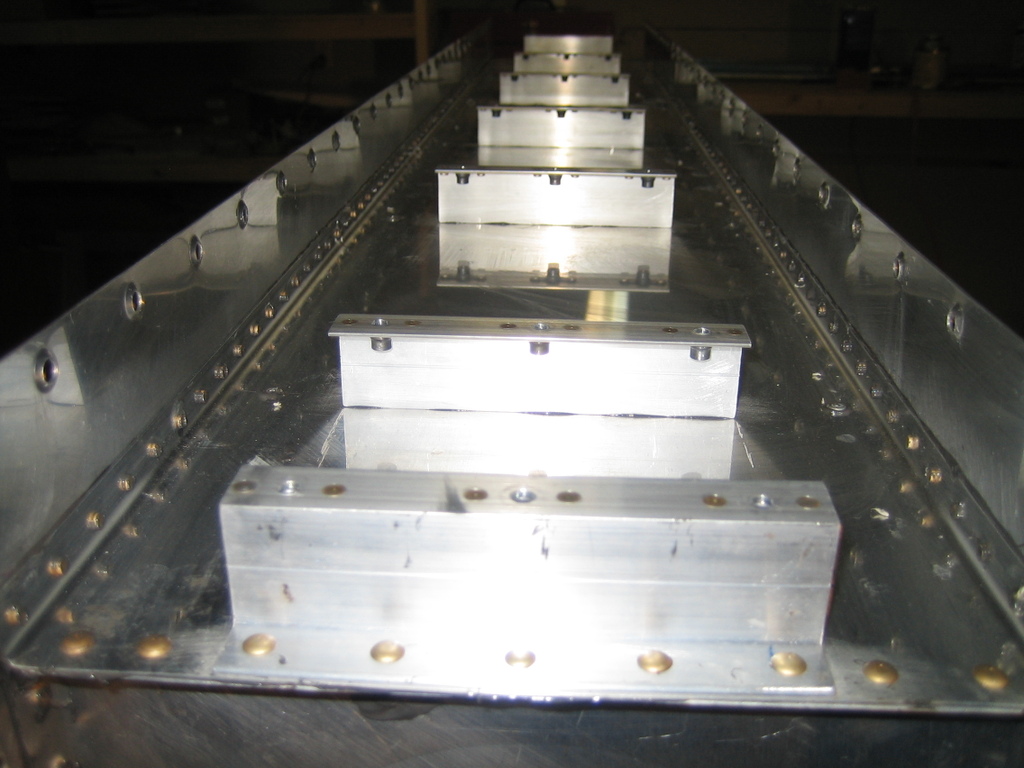
The first thing I did today was to prepare the fuel tank baffle for installation. This meant deburring holes and edges. I also removed the Z-brackets from the spar and prepped them.
I went to Harbor Freight and bought a cheap $6 rivet puller. I then ground down its head so that it would fit in against the Z brackets to pull those rivets.
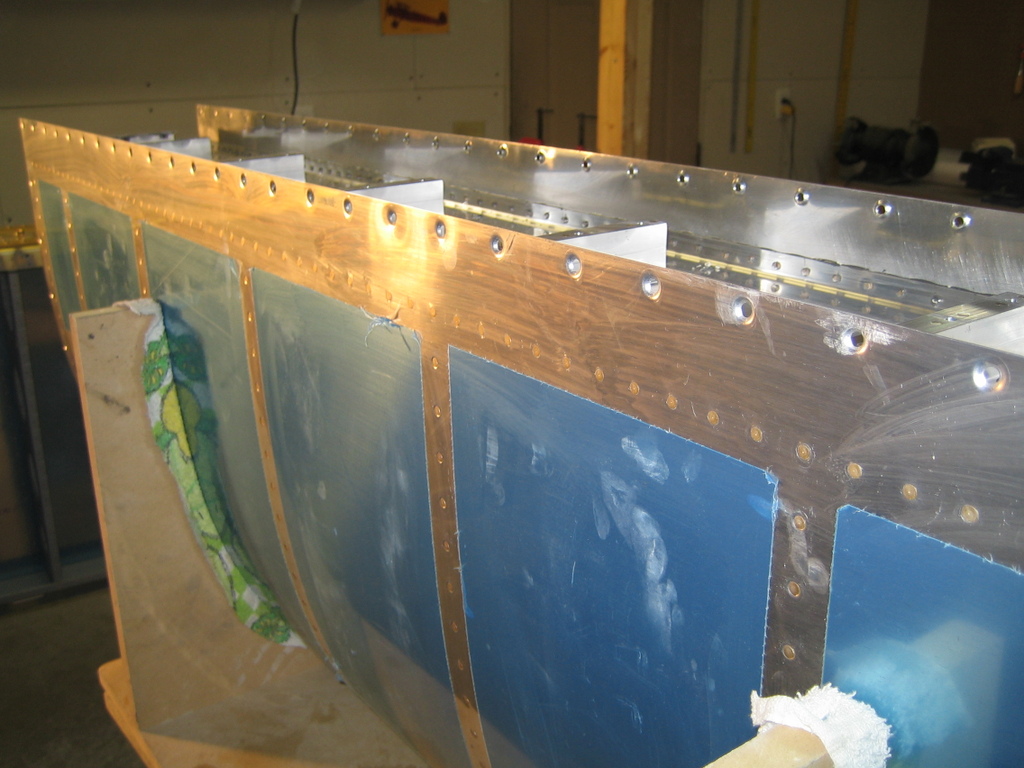
Many hours later, the baffle was installed. From mixing the sealant to wiping down the tank with MEK, it was slightly over two hours. Emily had to help me shoot rivets on the inboard Z bracket, since I couldn't figure out any way to squeeze those rivets.
Look, no clecos!
This was a lot of work...
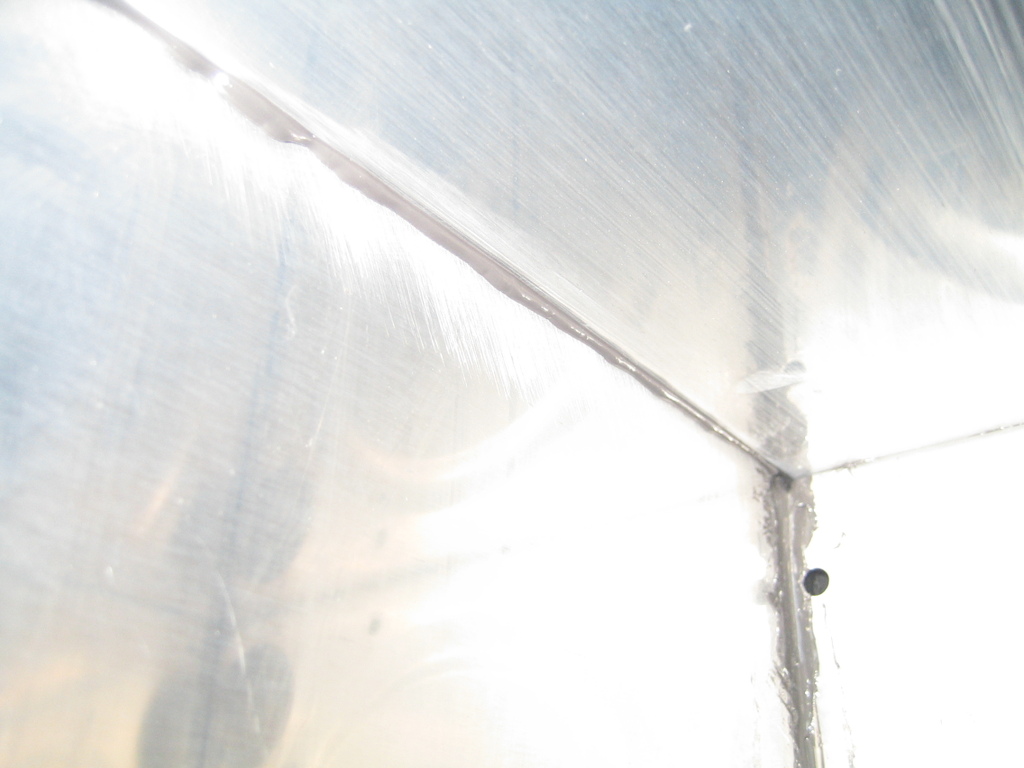
This is a shot inside the tank from the inspection cover hole. You can see the nice bead of sealant pushed out by the baffle.
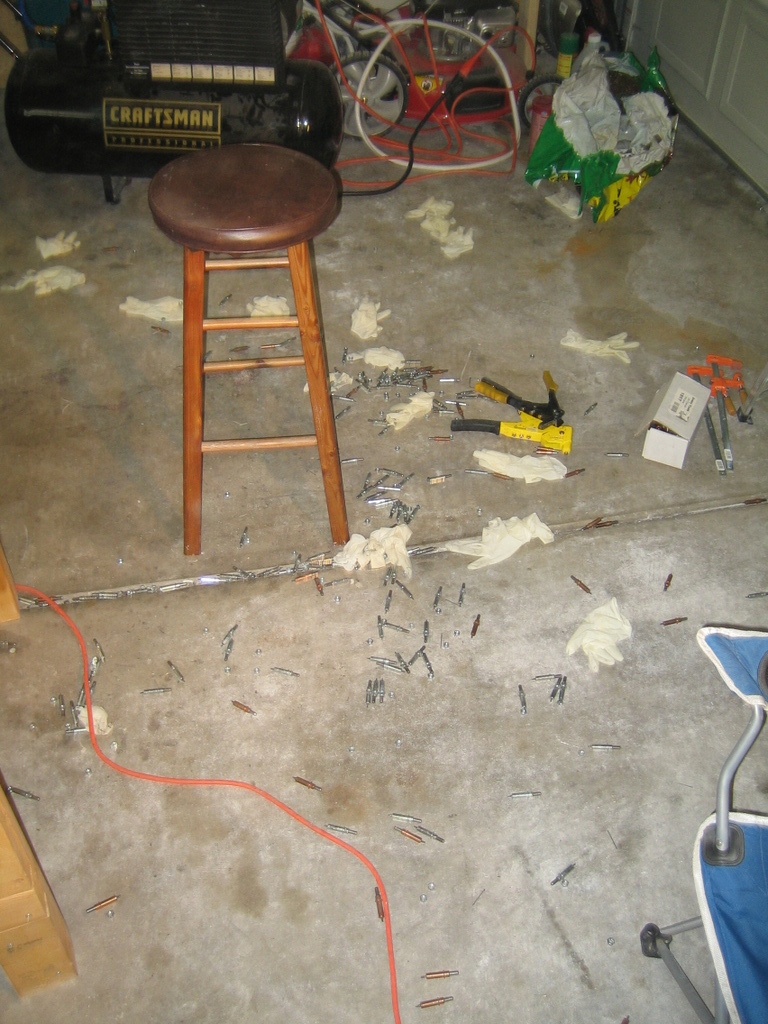
Here's the mess of dirty clecos left over. It took me another hour just to clean everything.
Later, I sealed the inspection cover in place.
Tomorrow morning I'm going to run to Target to grab a bicycle tire pump so I can pressure test this sucker.
It's kind of hard to imagine why two hours of actual sealing and riveting took almost seven hours to complete, but I swear that was my actual time in the garage today. A lot of that time was spent cleaning tools (and the garage) as well as studying the plans and instructions to make sure I knew what I was going to do once I got started.
| Previous - Index - Next |
This work is licensed under Attribution-NonCommercial-NoDerivatives 4.0 International![]()
![]()
![]()
![]()