Log (By Day)
Log (By Category)
Pictures
Pics of Me Working
Links
| ||||||||||||
Saturday April 12, 2008
Fuel Tank Leak Testing & Wing Prep
(0.3 Hours
Fuel Tanks, 2.4 Hours
Wings)
2.8 Hours Total
| Previous - Index - Next |
I woke up this morning thinking about the tank and wondering if it would leak, so I ran to Target and bought a bike pump. When I got back, I rubber banded a balloon to the vent line fitting and attached the pump to the filler attachment provided in the tank test kit. I inflated the balloon and sprayed the tank down with soapy water. The only place I saw any kind of leak with a visual inspection was at the balloon to vent line interface. My rubber bands were not sealing tightly enough.
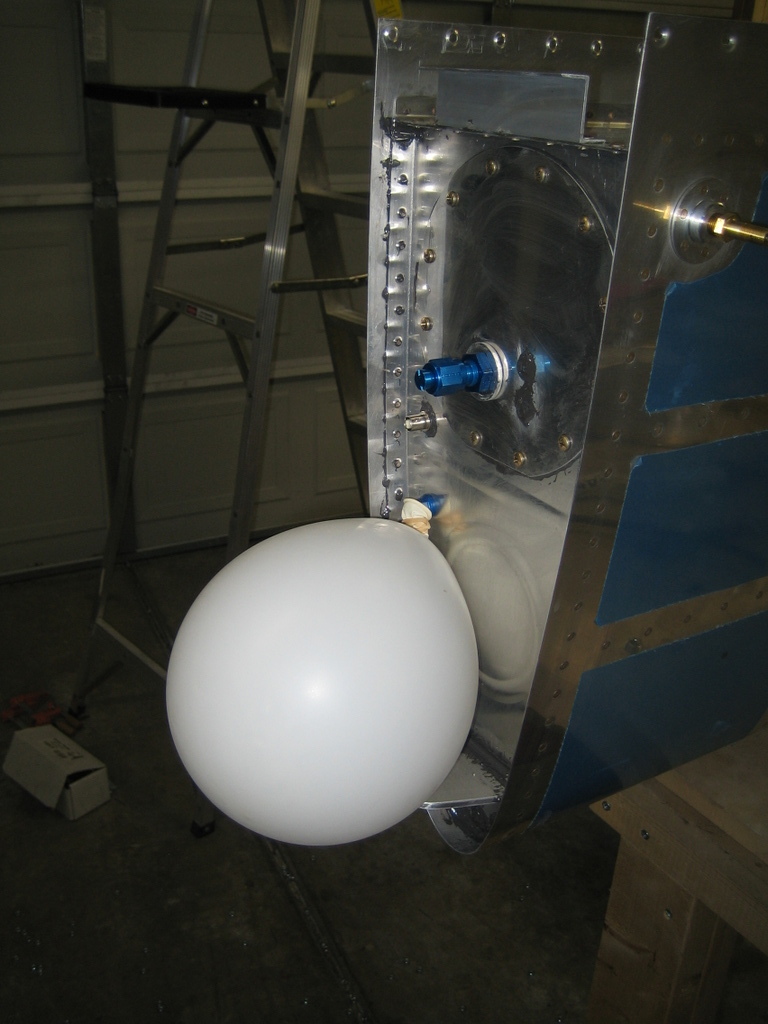

So I made a little fitting with some scrap 1/4" tubing and AN fittings to go from the vent line fitting to my balloon. In the process of re-inflating the tank, I was a bit aggressive with the pump and blew out a little section of sealant in the corner of the inboard rib and the baffle--where the sealant was probably a little tacky still from last night. Anyway, I mixed up a small amount of sealant and re-filled this hole. I will wait until sometime tomorrow to retest the tank.
The good news is that I didn't spot any problem areas with the soapy water. However, I don't want to declare the tank to be leak free until I leave the balloon inflated for a few hours without a significant decrease in pressure.
Next, I shot some primer on the leading edge in a few places where I had to sand out scratches.
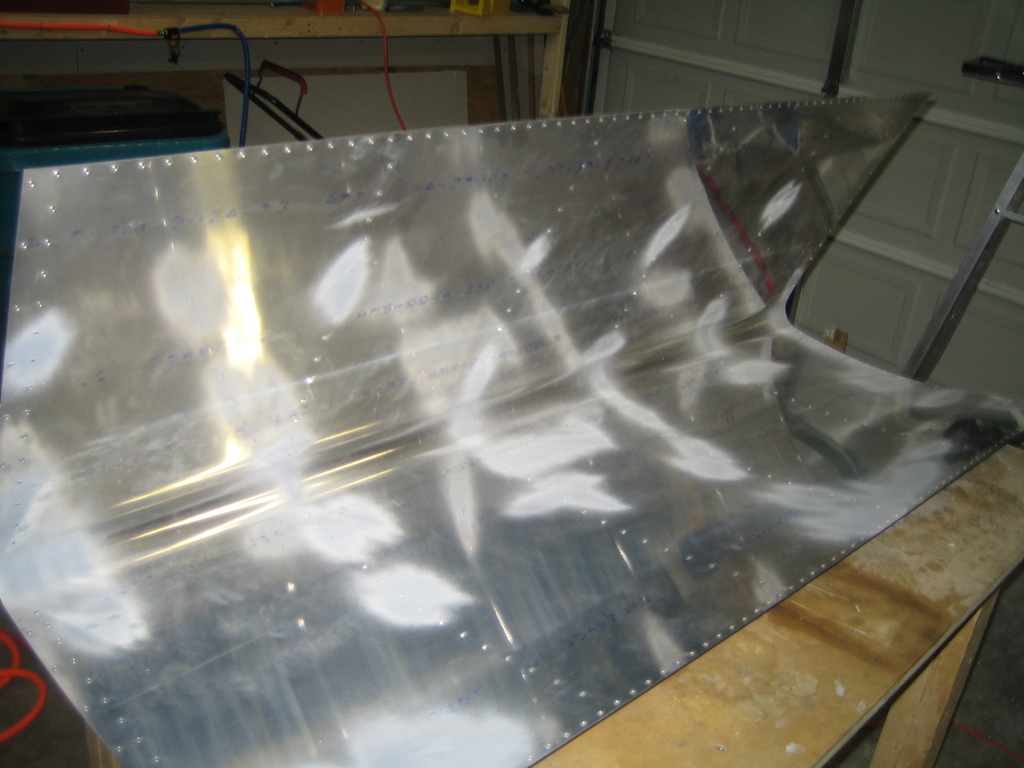
Then, I pulled the outboard top skin off of the wing and deburred and dimpled it completely. The only thing left to do to it is to work on the "scarf joint" where it overlaps the inboard skin.

My sister came over in the afternoon and we spent most of the rest of the day playing with the Wii, so no more plane work today.
Tomorrow, Emily may help me rivet the leading edge section together and then I will set about installing one of the landing light kits.
| Previous - Index - Next |
This work is licensed under Attribution-NonCommercial-NoDerivatives 4.0 International![]()
![]()
![]()
![]()