Log (By Day)
Log (By Category)
Pictures
Pics of Me Working
Links
| ||||||||||||
Saturday July 12, 2008
Fuel Tank Drilling, Prep
(Fuel Tanks)
7.5 Hours
| Previous - Index - Next |
Apologies for the somewhat sporadic pictures today.
I started this morning by bolting the fuel tank Z-brackets to the spar. Then, I set the fuel tank in place on the wing. Happily, the fit between the fuel tank and leading edge is almost perfect on this wing. If you remember, the gap there on the right wing caused me a lot of concern.
Then, I drilled the spice plate and the inboard Z-bracket. I removed the leading edge and drilled the outboard Z-bracket. Next, I removed the fuel tank skin and interior ribs, and drilled all of the remaining Z-brackets through the baffle. Here is the wing, with the Z-brackets bolted on prior to drilling.
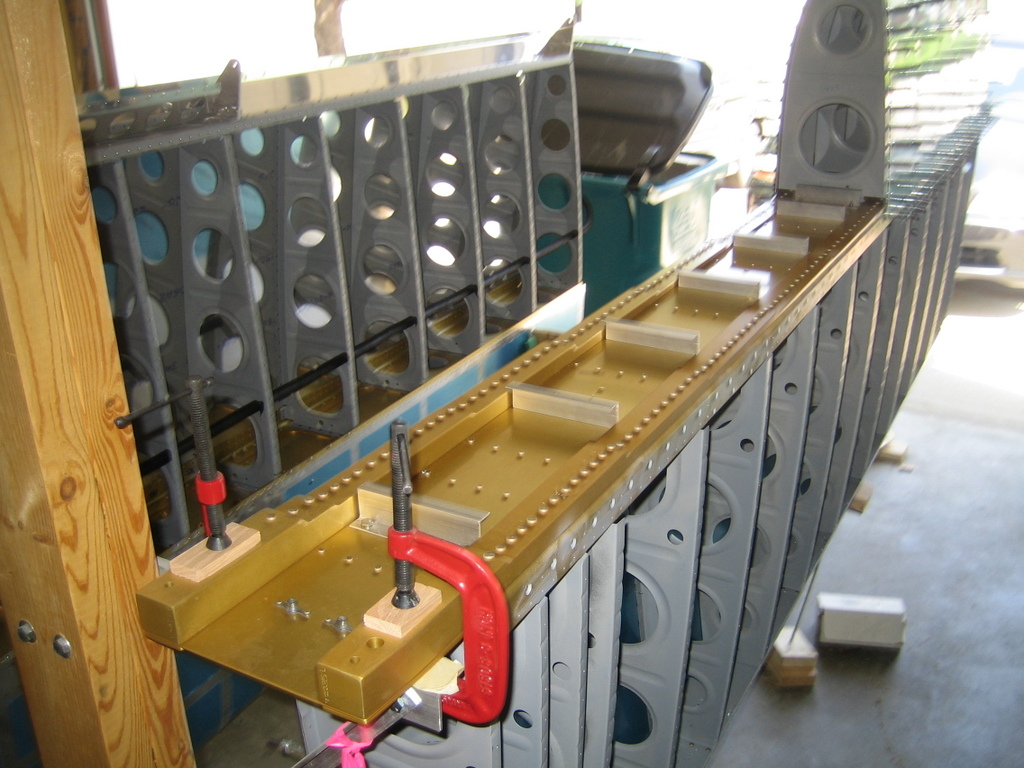
Next, I re-assembled the fuel tank in the cradle and final drilled everything. I also countersunk the skin to baffle rivet holes.

I deburred all of the holes and edges of the fuel tank baffle and set it aside until its needed.
I match drilled the fuel tank filler neck and drain flange.

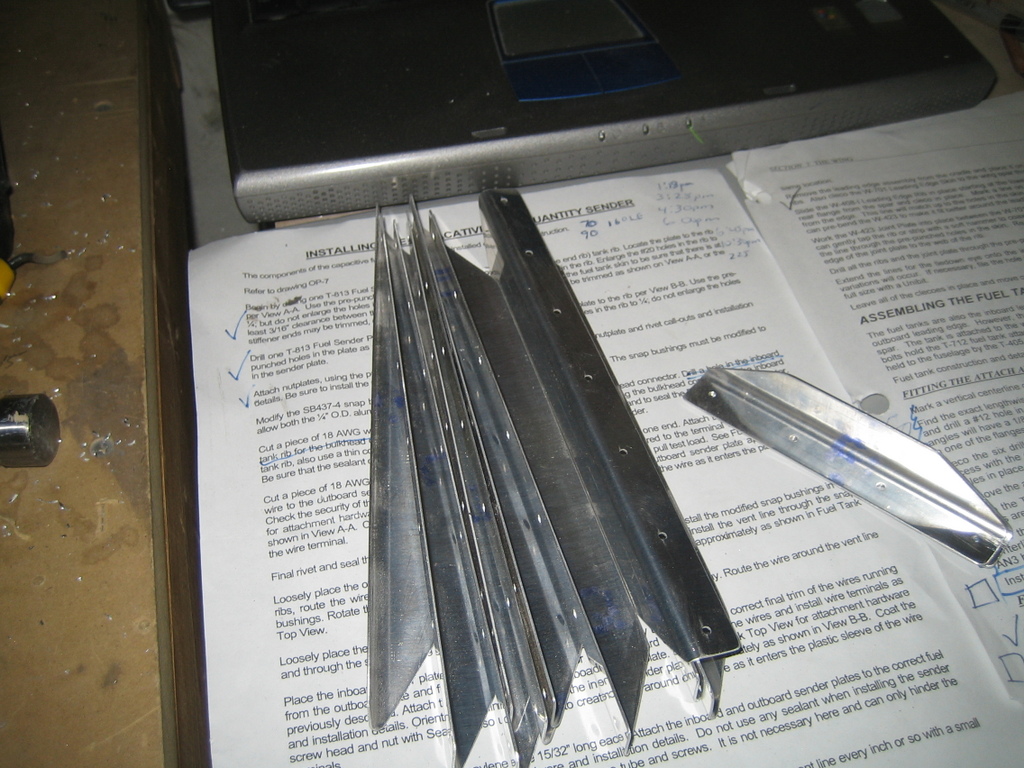
Next, I drilled the reinforcement plates into the noses of the inboard and outboard ribs. At some point in here, I also drilled the capacitive fuel sender plates to their respective interior ribs.

Then, I snipped out the stiffeners and smoothed them out on the bench grinder. Although I didn't take a picture, I also drilled them to the fuel tank skin.
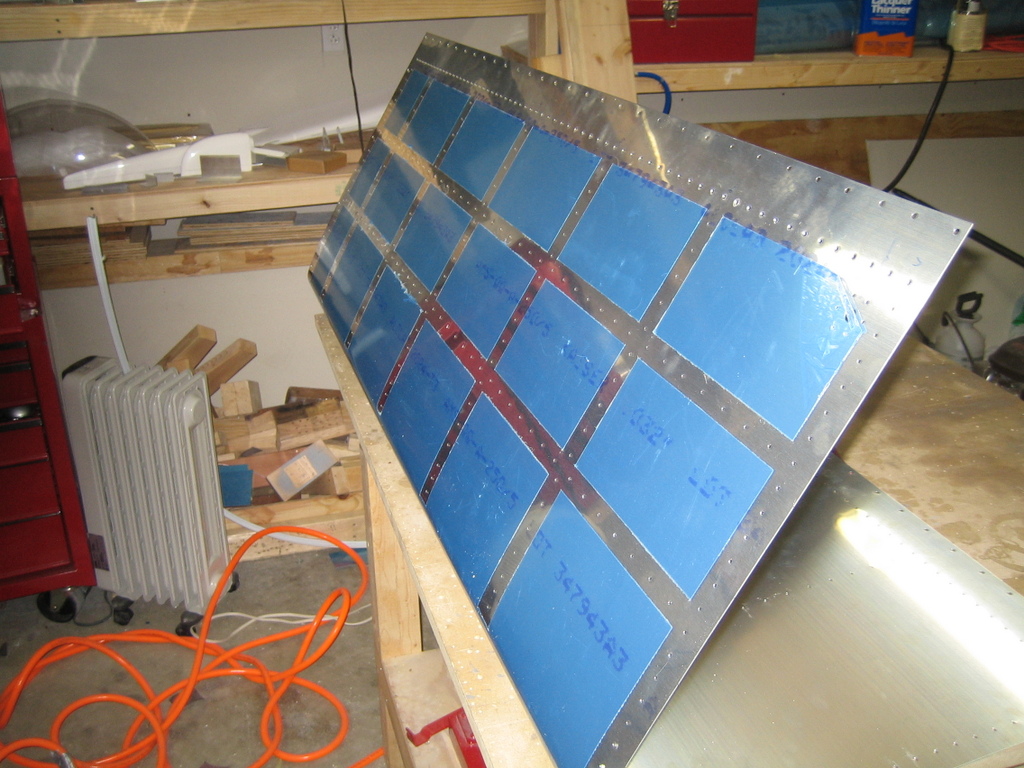
I cut the access hole in the inboard rib using my crappy fly cutter and drilled the cover plate and stiffener ring to the rib. I also drilled holes for the vent line and capacitive fuel sender wiring, as you can see.

Finally, I deblued along the rivet lines on the skin and deburred all its holes.
| Previous - Index - Next |
This work is licensed under Attribution-NonCommercial-NoDerivatives 4.0 International![]()
![]()
![]()
![]()