Log (By Day)
Log (By Category)
Pictures
Pics of Me Working
Links
| ||||||||||||
Sunday October 5, 2008
Fuel Tank Misc, Began Aileron Pushrods
(1.0 Hours
Ailerons, 4.2 Hours
Wings)
5.2 Hours Total
| Previous - Index - Next |
I had neglected to install these nutplates on the capacitive sender plates, so I did that.

I installed the vent line in the tank; then, I stuck the outboard sender plate in its bay and routed its wire through the grommets to the inboard sender's bay.
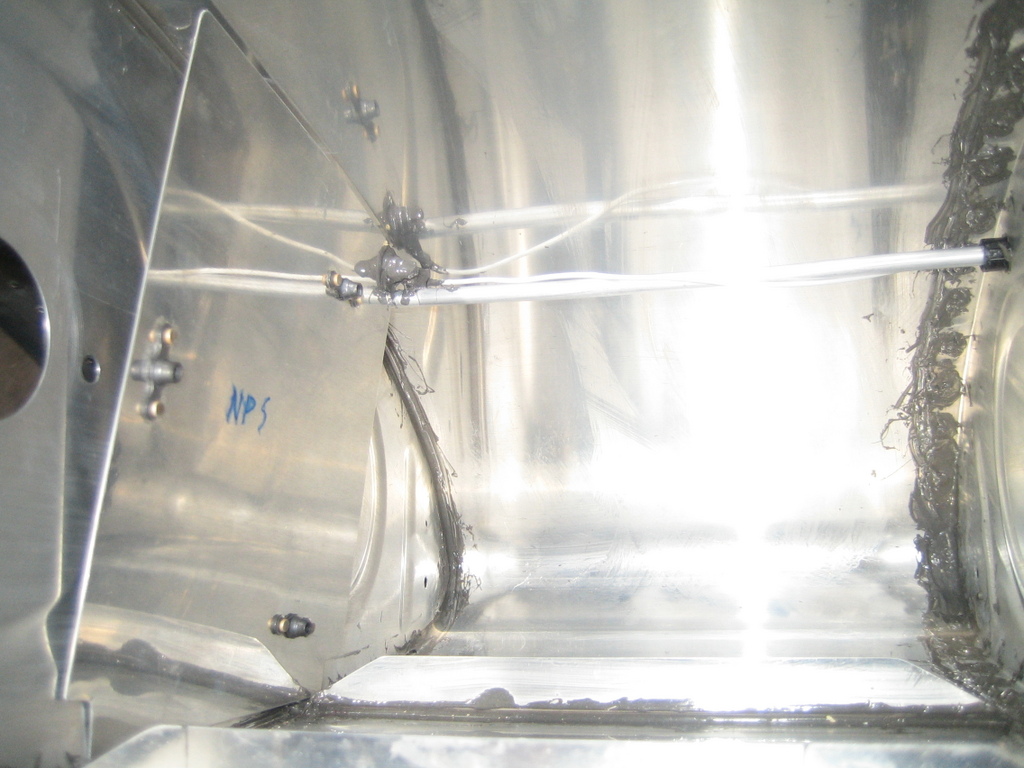
Here's the vent line in the outboard bay. This was not its final position, don't worry!

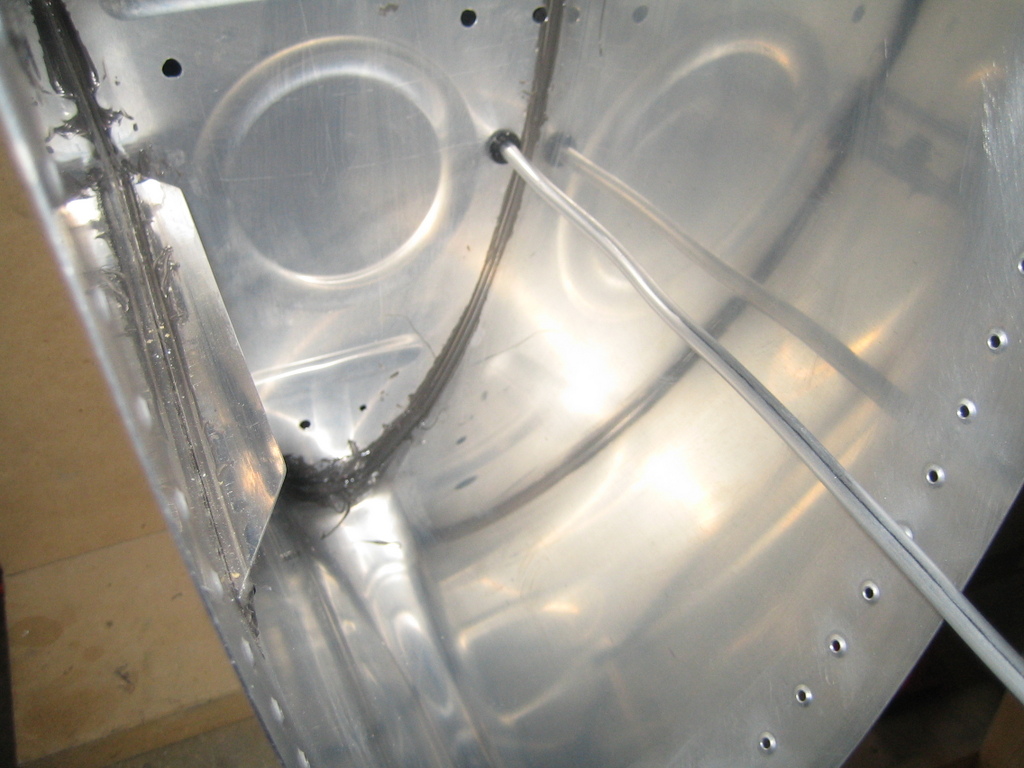
And the other end of the vent line sticking out of the inboard side of the tank.
Then, I went ahead and riveted the outboard rib in place on the tank. This one's easy, cause you can squeeze the rivets. I shot the rivets on the nose reinforcement plate solo.
Lots and lots of goop all over so the fuel stays in the tank...
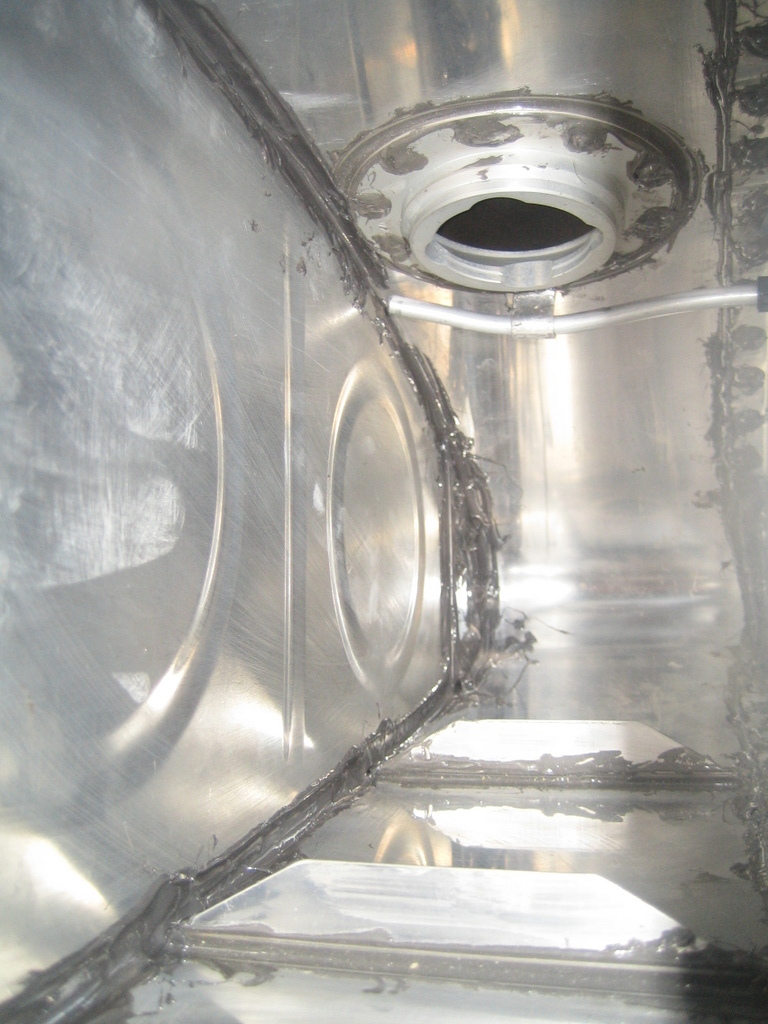
I started installing the outboard capacitive sender plate permanently, but quickly realized that having riveted the outboard fuel tank rib in place makes it impossible to get a normal screw driver in there. I'll stop by Home Depot tomorrow to pick up a stubby or right angle philips driver.
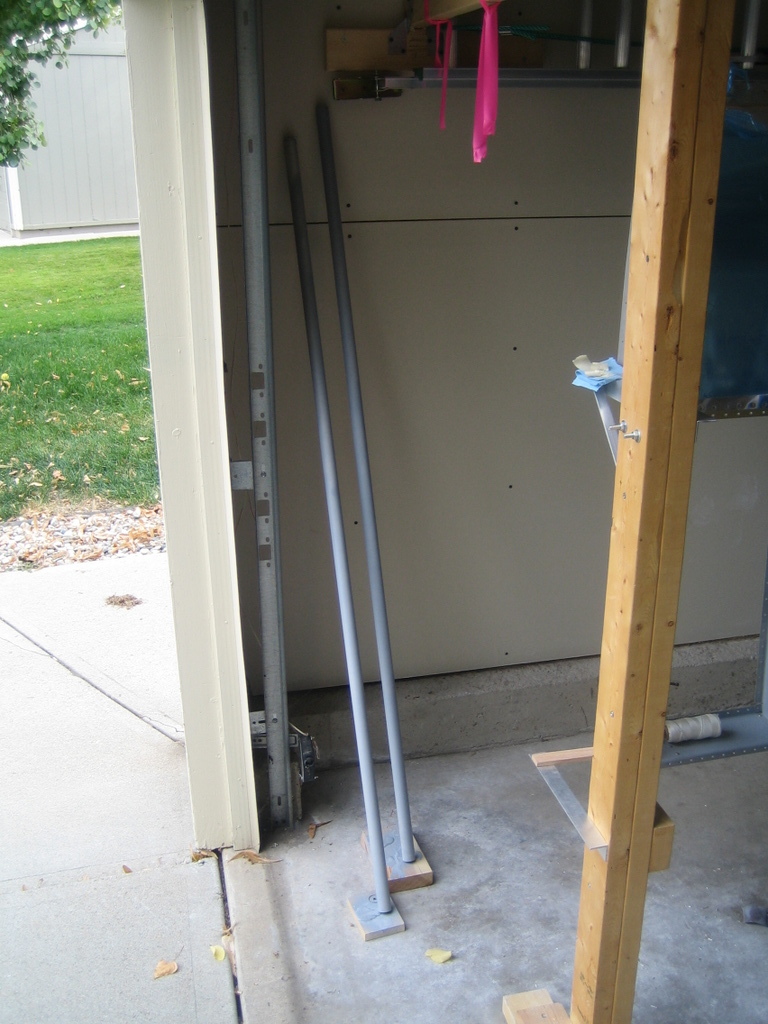
I have to wait for some parts (wire terminals and a screw) to finish the capacitive fuel sender system, so I started working on the aileron pushrods. Basically, these rods connect the stick in the cockpit to the ailerons. These long aluminum ones in the next shot extend from the fuselage to a bellcrank in the wing..
Van has you prime the tubes, inside and out, so I did that.
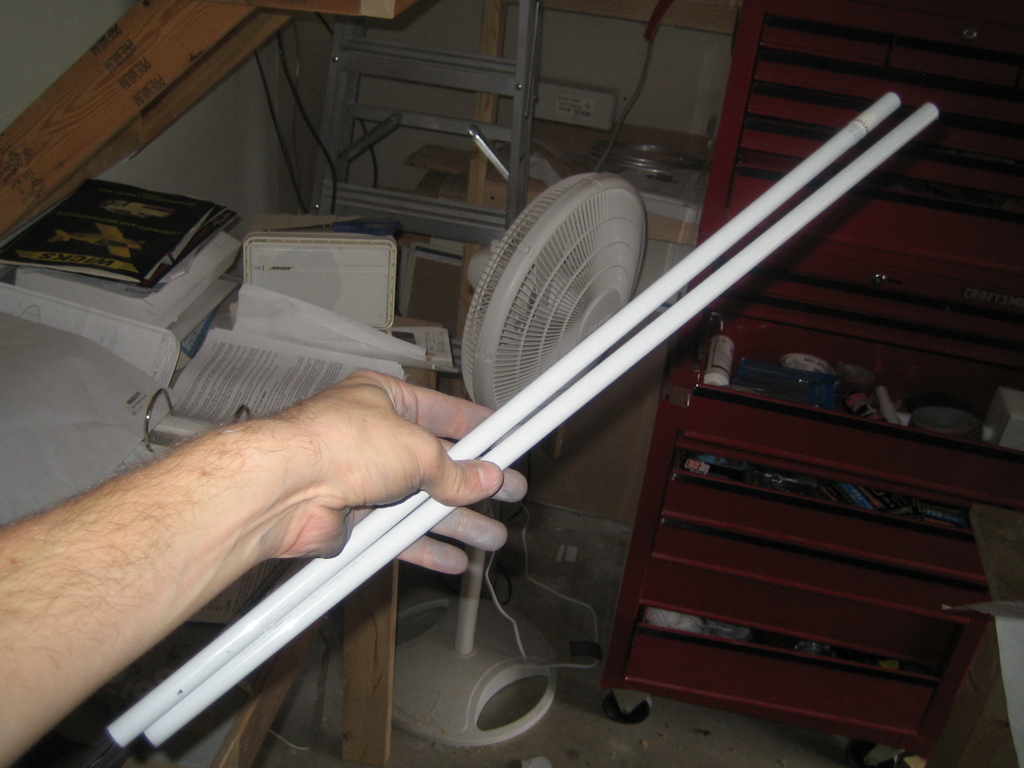
Here are the shorter steel tubes that connect the bellcrank to the ailerons.
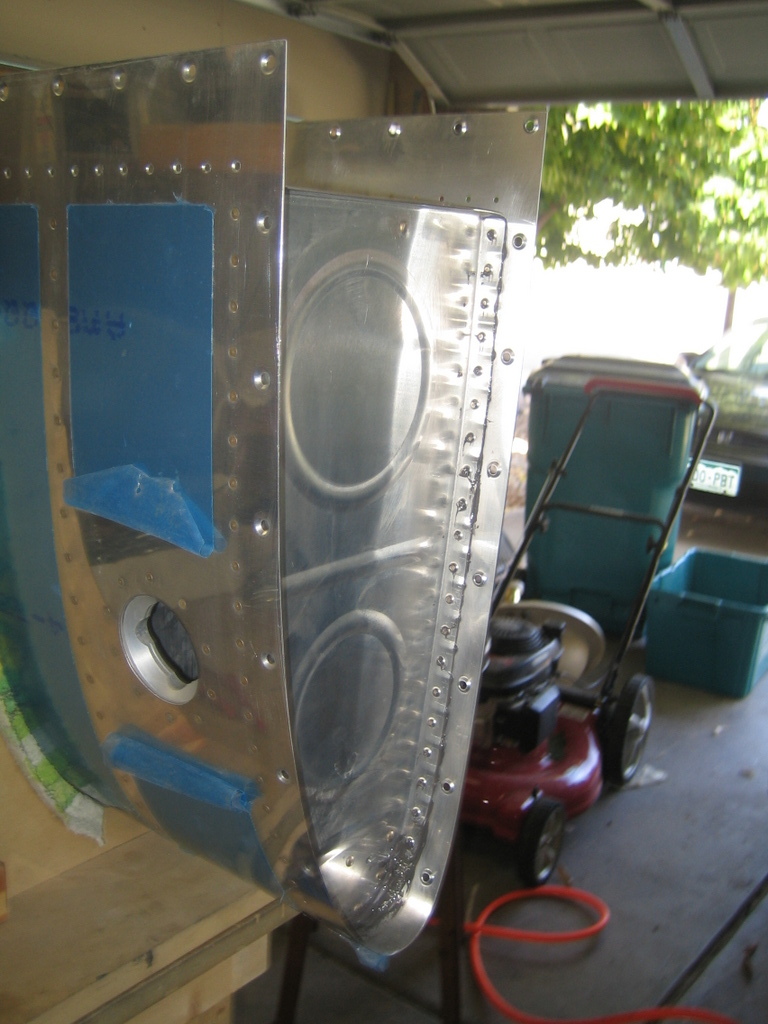
Random shot of the mess that is the garage.

| Previous - Index - Next |
This work is licensed under Attribution-NonCommercial-NoDerivatives 4.0 International![]()
![]()
![]()
![]()