Log (By Day)
Log (By Category)
Pictures
Pics of Me Working
Links
| ||||||||||||
Saturday October 11, 2008
Aileron Construction, Fuel Tank Misc
(8.0 Hours
Ailerons, 2.0 Hours
Fuel Tanks)
10.0 Hours Total
| Previous - Index - Next |
First things first this morning, I deburred and primed the aileron spars and reinforcement plates.
After they'd had a chance to dry, I riveted the reinforcement plates to the spars...
...being very careful not to rivet the holes that later connect to ribs.
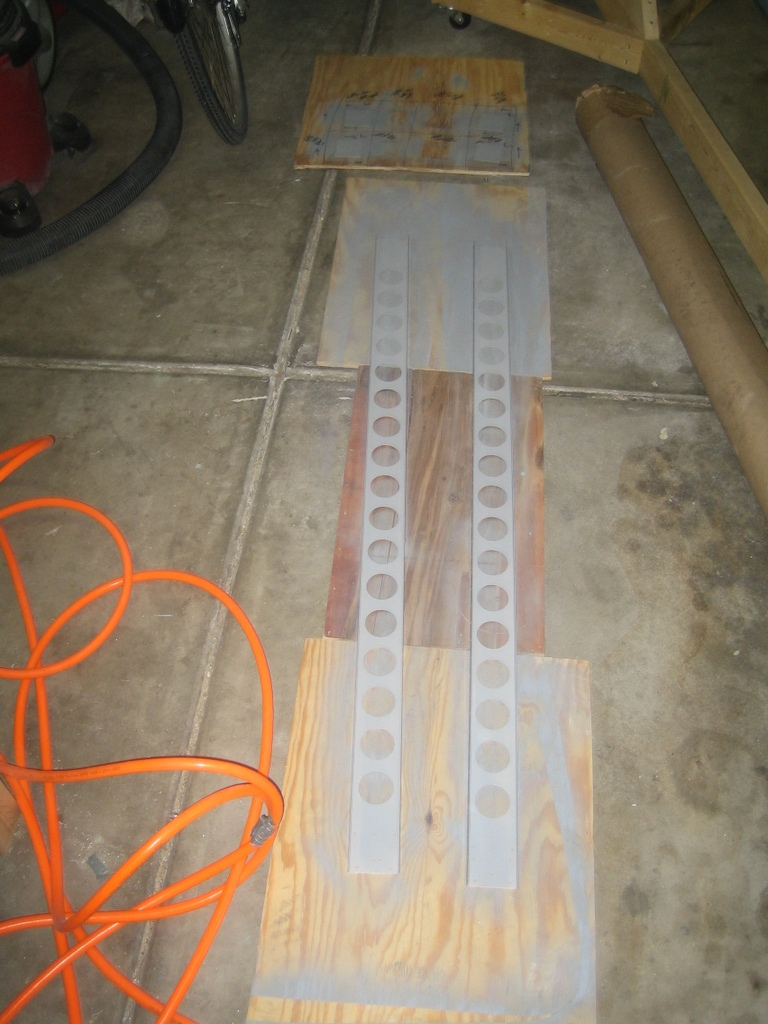
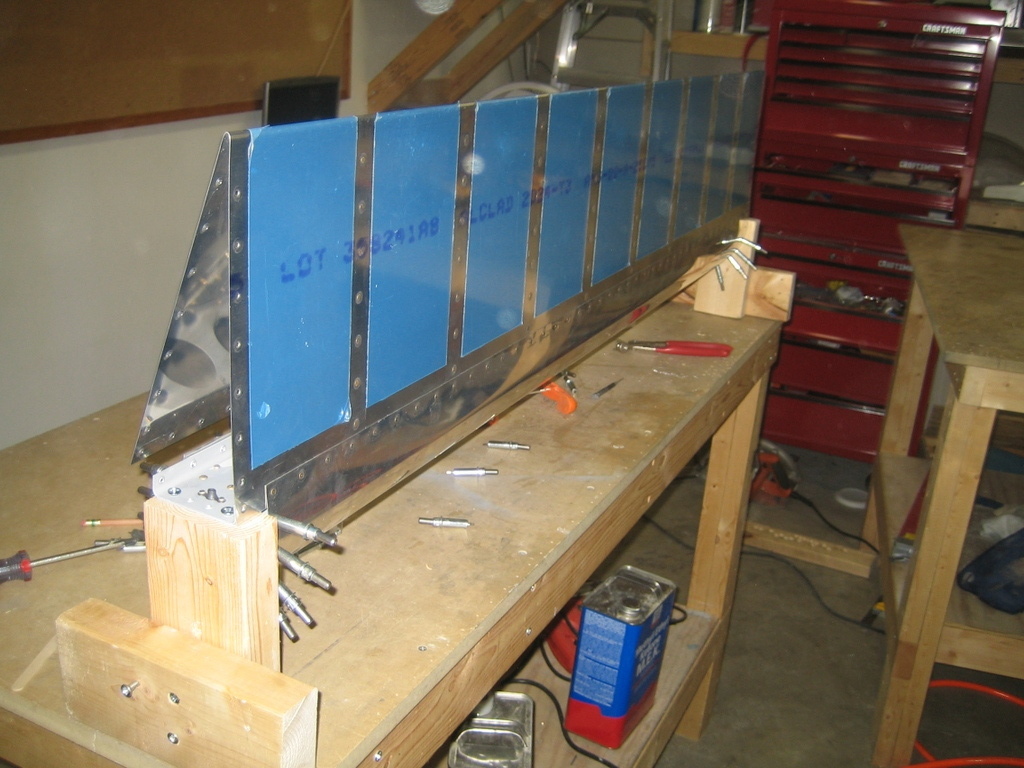
Fast-forward an hour and here's the aileron cleco'd together after (or just before) being drilled.
You can see the steel pipe sitting in the nose of the aileron that serves as the counterweight.
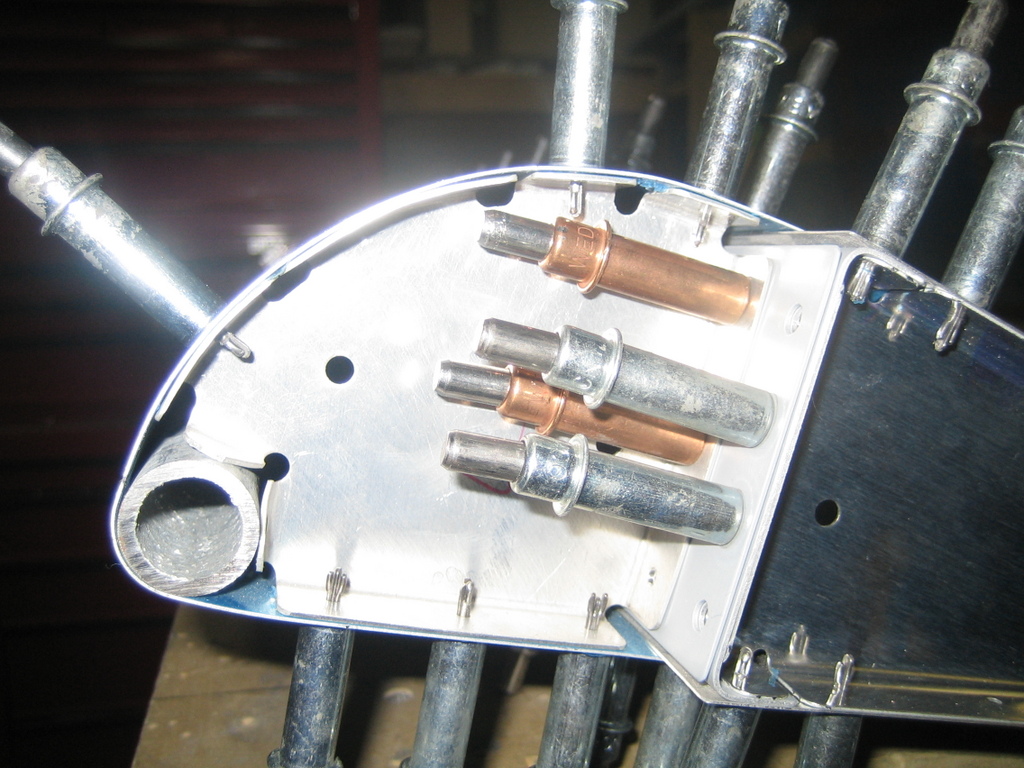
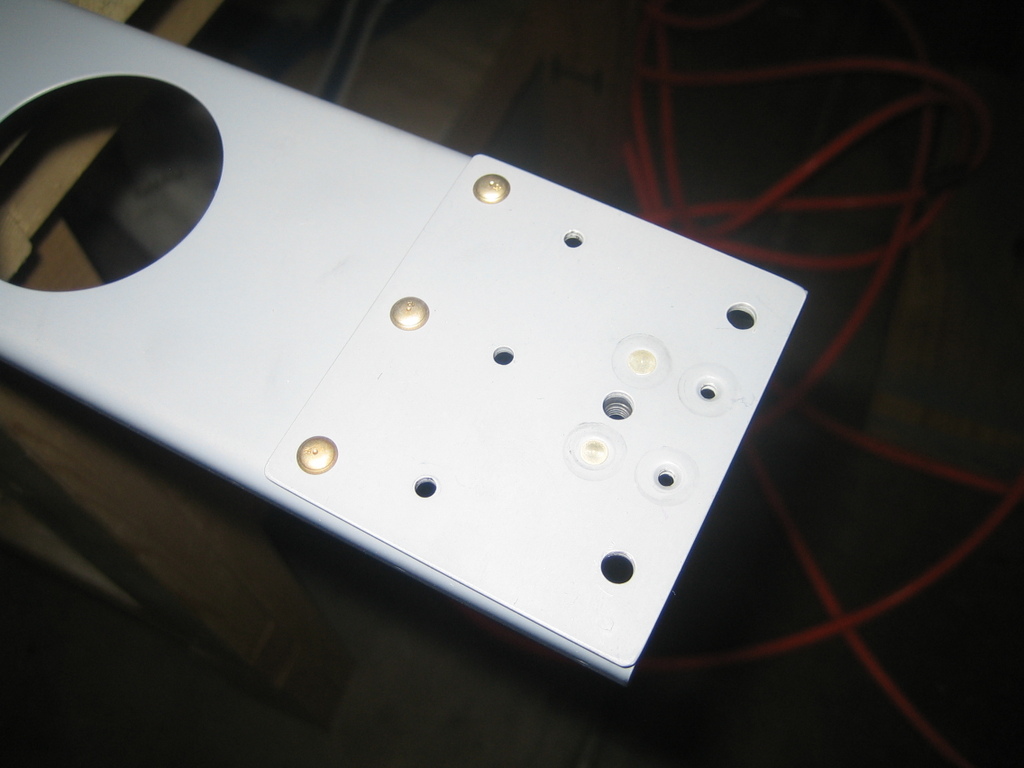
The holes featured in this shot have to be countersunk in the steel pipe, which was a little interesting. I used lots of Boelube for all of the steel drilling and countersinking. Then, I used the steel countersinks as a female dimple die and dimpled the skin into them. It ended up working pretty well.
At this point, I prepped and primed the counterweight pipe, the part of the nose skin where the pipe rests, and the nose ribs.
I switched gears to the fuel tank for a few hours, since my wire terminals had arrived in the mail. I soldered one to a new wire and attached it and the outboard wire to the inboard sender plate, covered the hole mess in goop, and fastened the inboard sender plate in place.
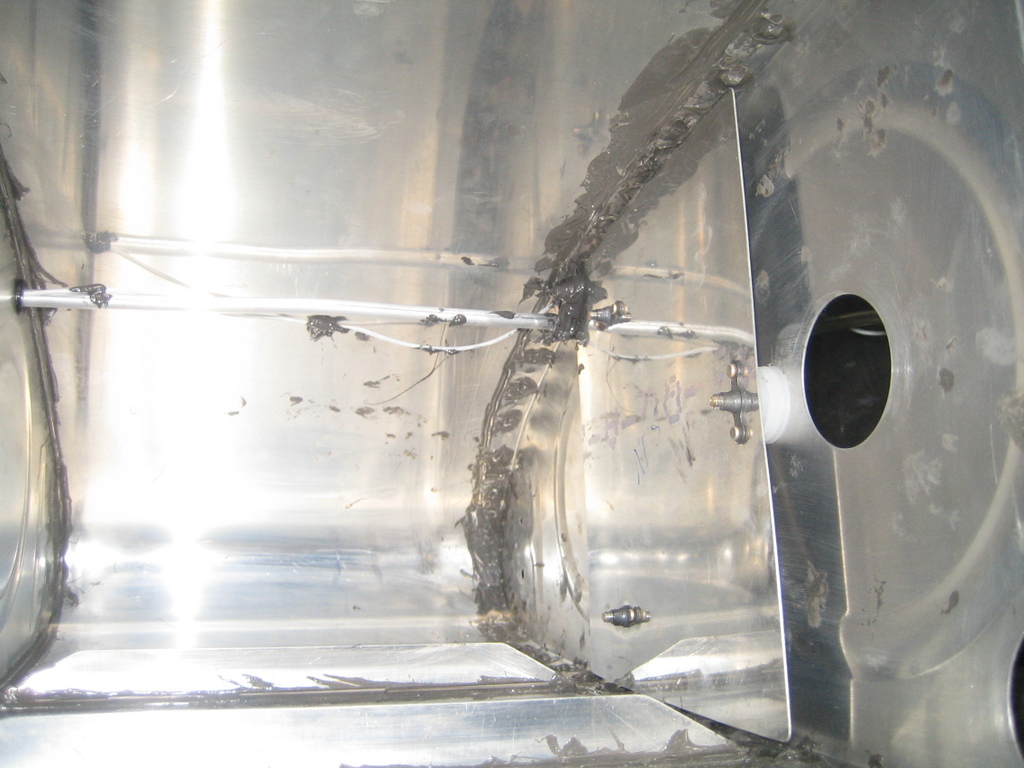
I threaded the new wire out to the inboard fuel tank rib and soldered it to the recently exposed BNC connector. Then, I smothered both the BNC connector and vent line fittings in proseal.

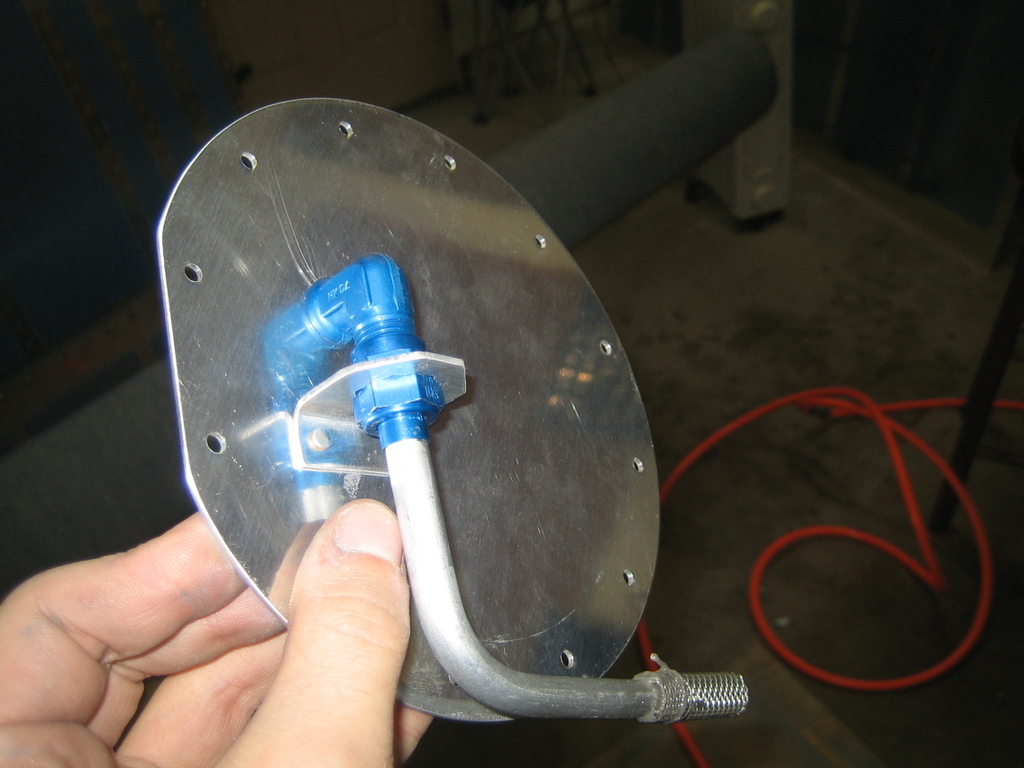
Next, I prepped the access plate with the fuel pickup tube and related anti-rotation bracket. Then, I sealed it with proseal around the fittings and bracket rivets.
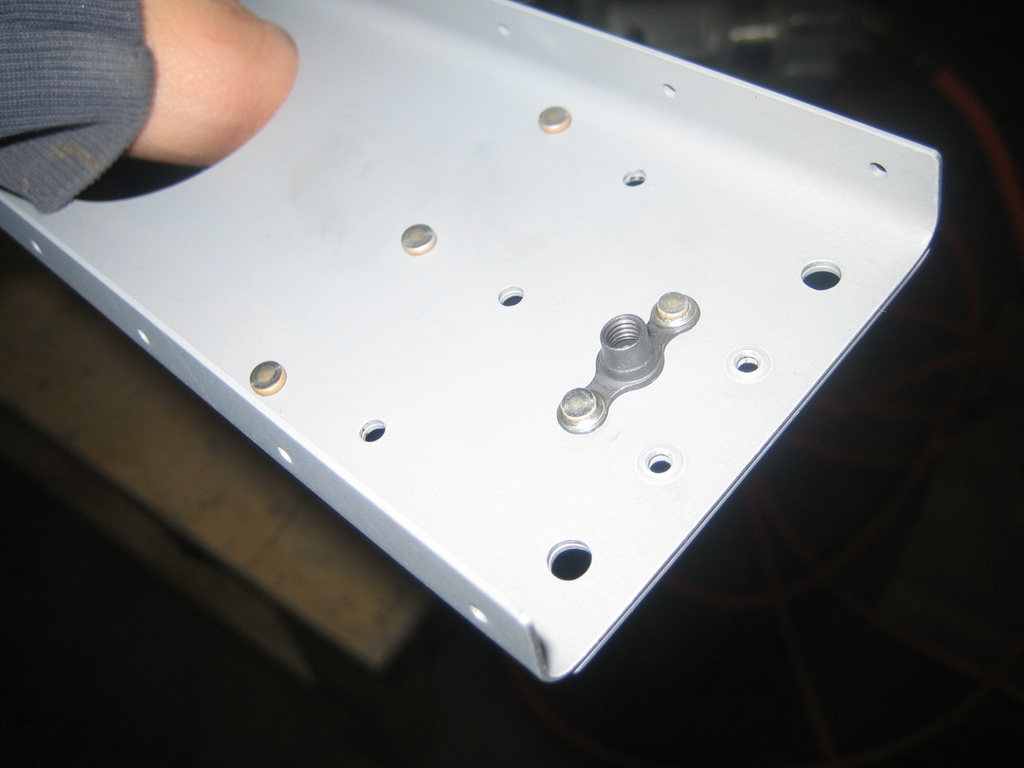
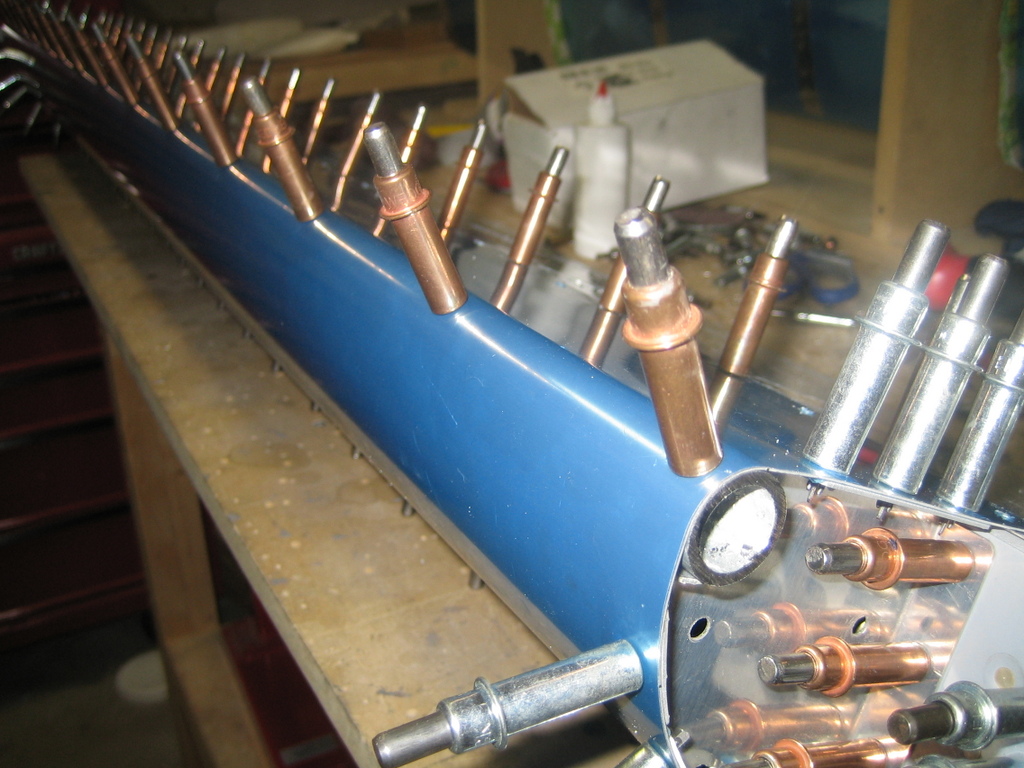
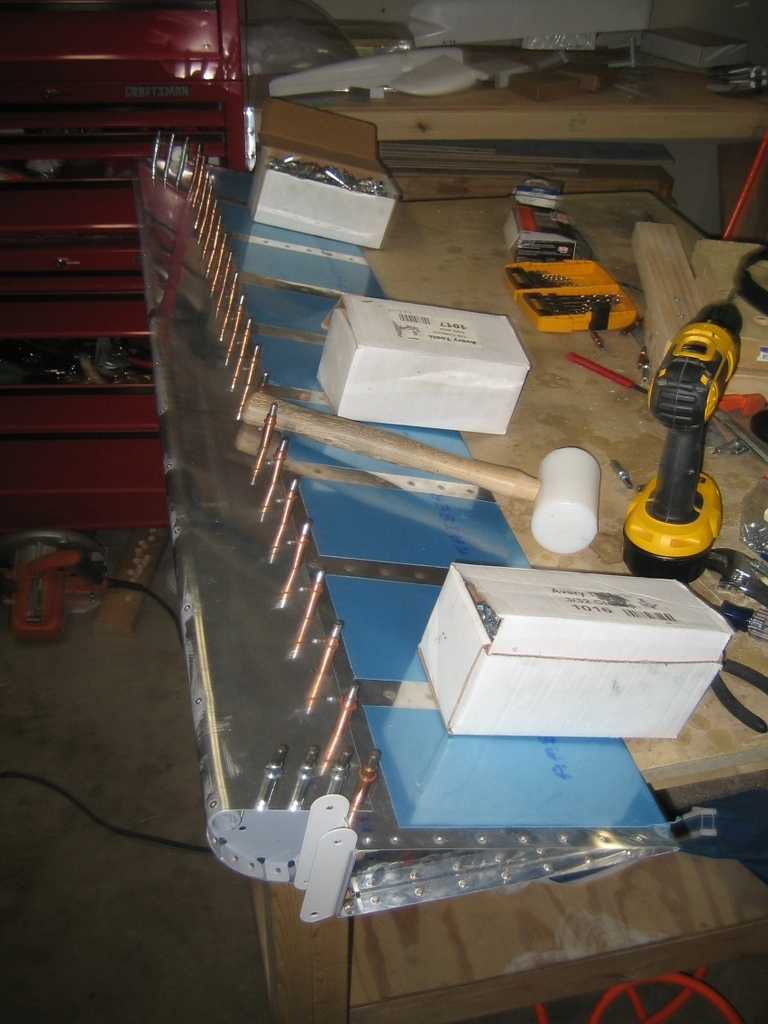
With the aileron parts now dry, I got back to work on them. Here, I've riveted the nose ribs to the counterweight pipe on the left aileron.

I attached that assembly to the nose skin. Then, I clecoed on the spar and rear skin for riveting.

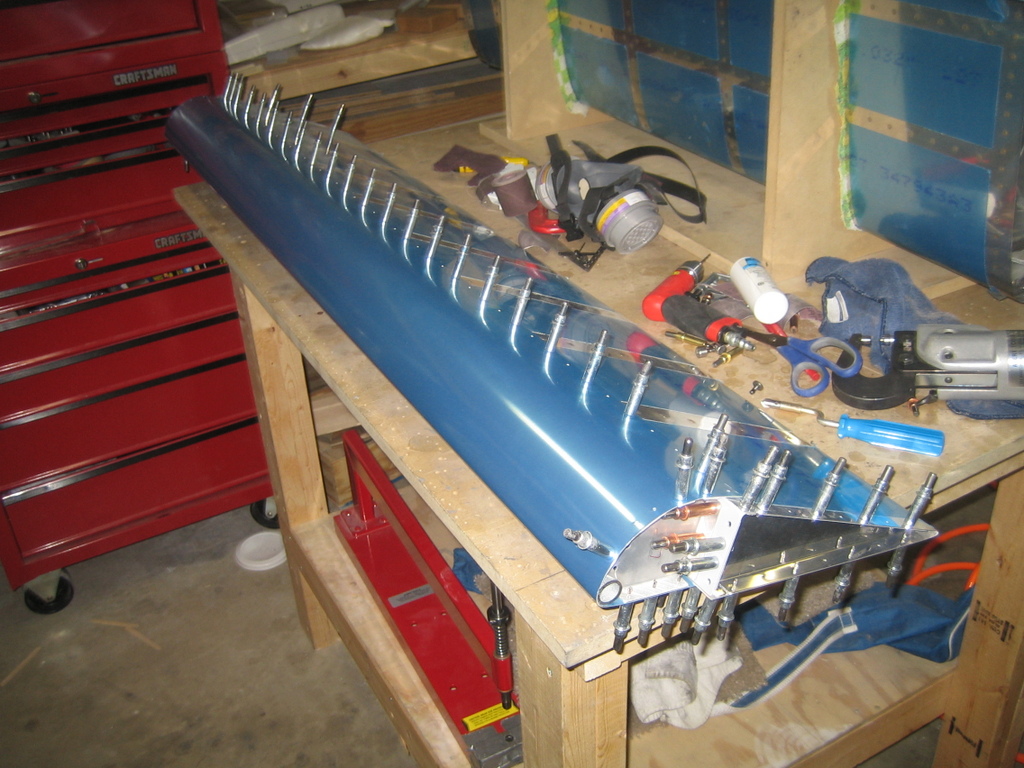
I was at a loss as to how to secure the aileron while riveting the top row of rivets. Here's an idea I stole from Brad Oliver (who stole it from Chad Jensen), for riveting the top row of rivets on the aileron. It worked great and preserved what little of my sanity remained by this time.
Not every rivet was perfect, but I've learned that you have to accept that if you want to stay sane.
Finally, you flip the aileron upside down on a flat surface and weight it down. I spent about 30-45 minutes trying to get the hinge brackets installed. Each time I'd do something wrong (bolt or washer or nut on the wrong side) that would require removal and re-doing. By the way, DON'T install the inboard bracket until you've riveted the bottom nose rib to nose skin rivets. I then riveted the nose skin to the counterweight pipe using countersunk blind rivets (they turned out really nice).
It was after 11pm and I'm pretty sure the primer fumes in the closed garage had made me a bit loopy, so I quit. I'll finish the left aileron tomorrow.
| Previous - Index - Next |
This work is licensed under Attribution-NonCommercial-NoDerivatives 4.0 International![]()
![]()
![]()
![]()