Log (By Day)
Log (By Category)
Pictures
Pics of Me Working
Links
| ||||||||||||
Sunday June 21, 2009
Longeron Bending, Part 3
(0.5 Hours
Aft Fuselage, 6.5 Hours
Longerons)
7.0 Hours Total
| Previous - Index - Next |
This morning, I got the bend in the right longeron done quickly. It does help to step away from the bending process for a bit.
The next step is to drill the side canopy decks to the longeron in the area of the curve. Notice also that the instructions have you tape a piece of aluminum sheet to the outside edge of the longeron to simulate the skin.
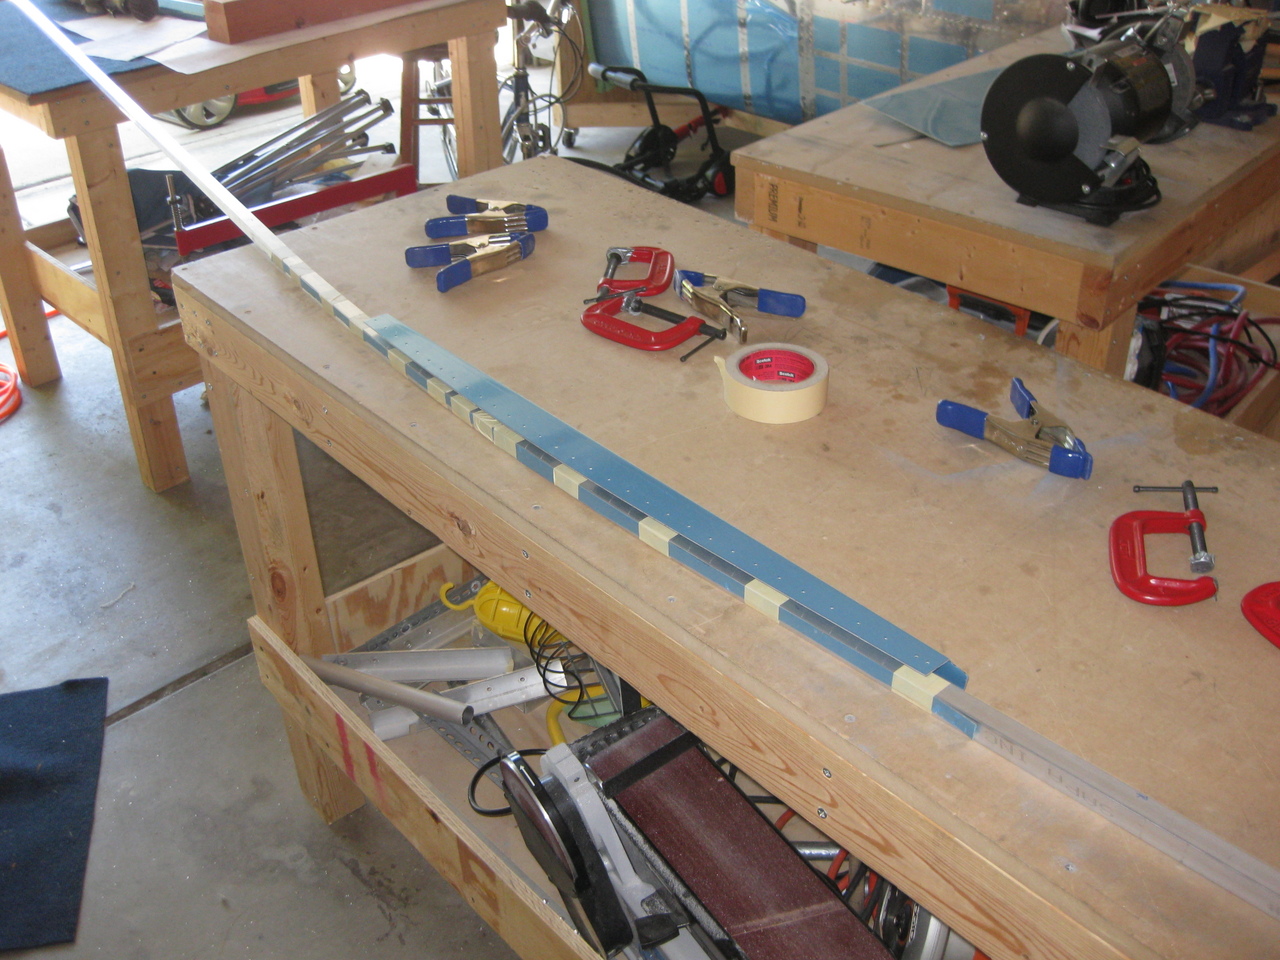
I very carefully clamped things in place and drilled.

It came out great. The bend of the longeron closely follows the edge of the deck.
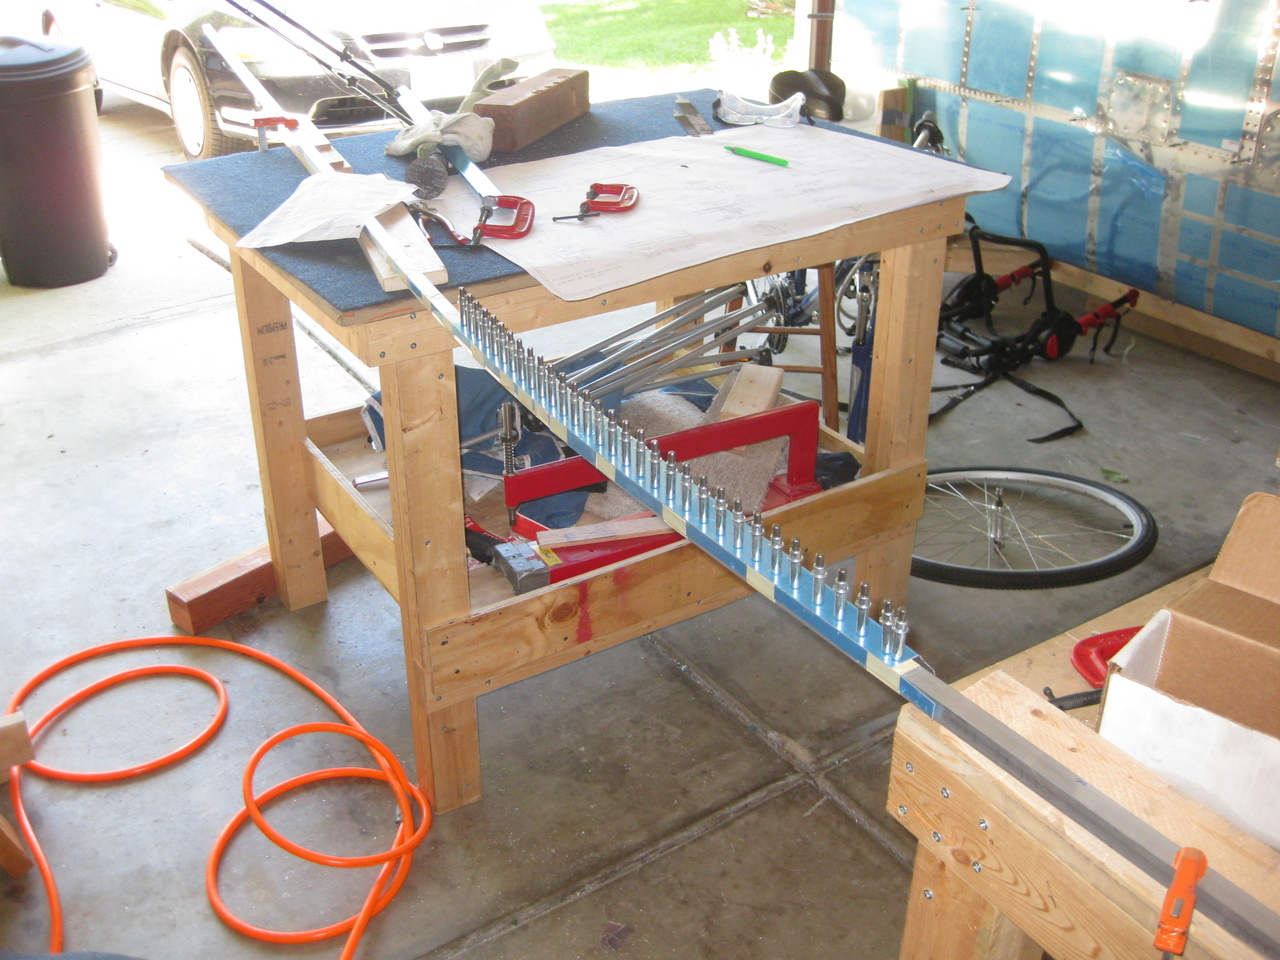
Then, I bent and drilled the left longeron in short order. The second one is easier and quicker, for sure.
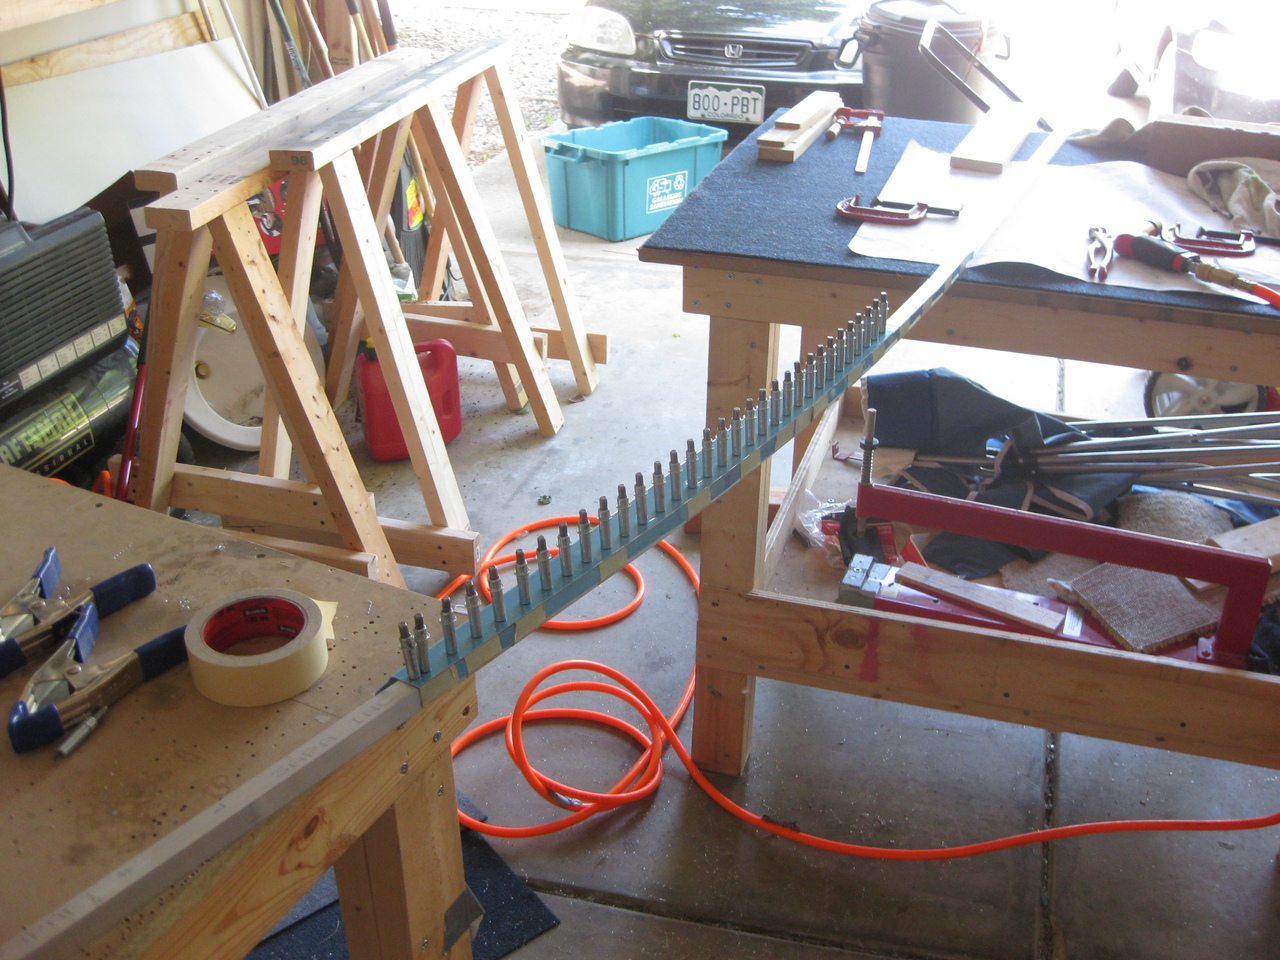
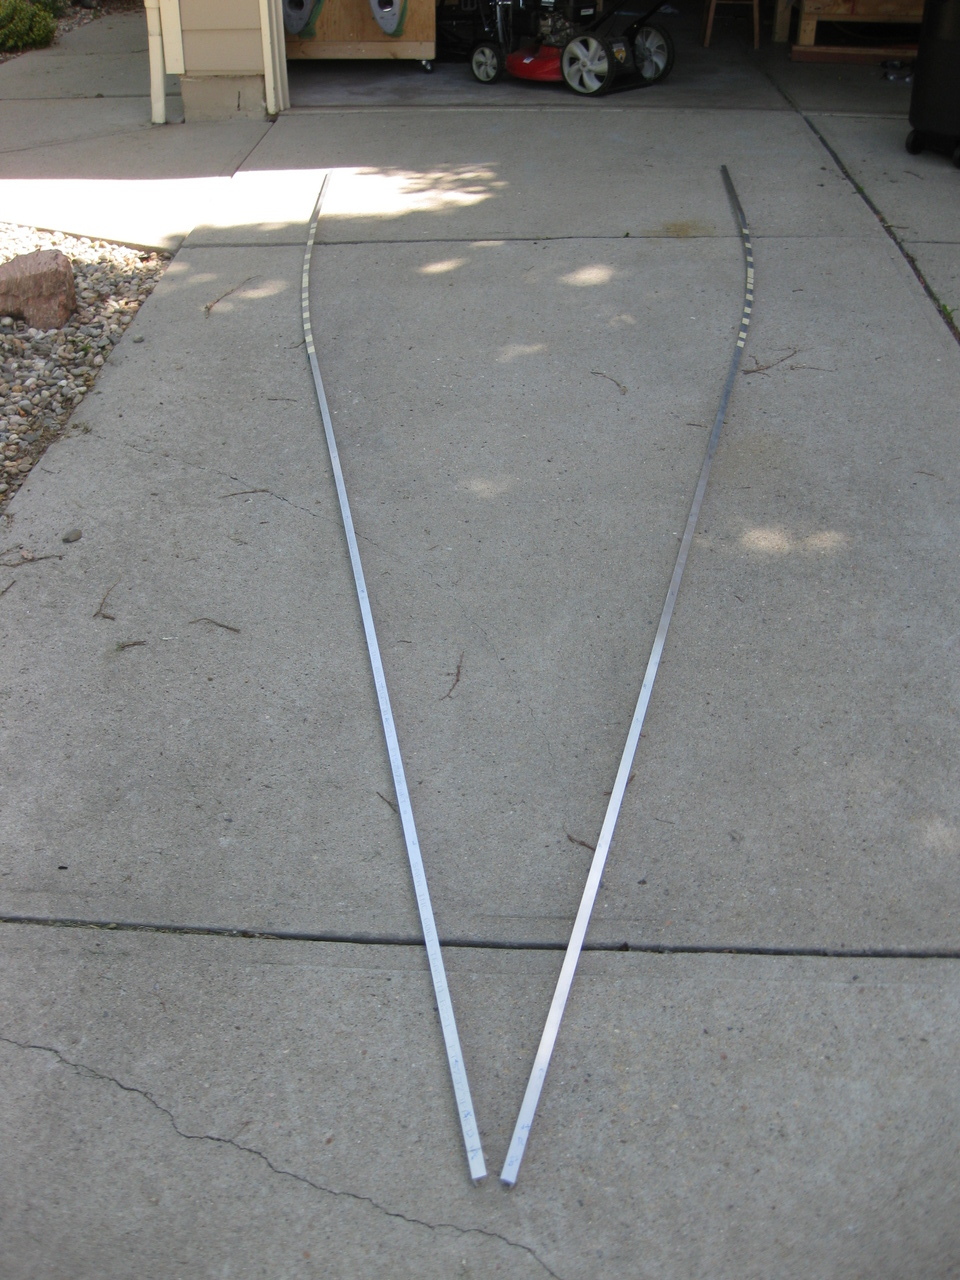
Then, I put the sharp downward bend and twist in the front 28" of the longerons. You can kind of see the downward bend in this picture.
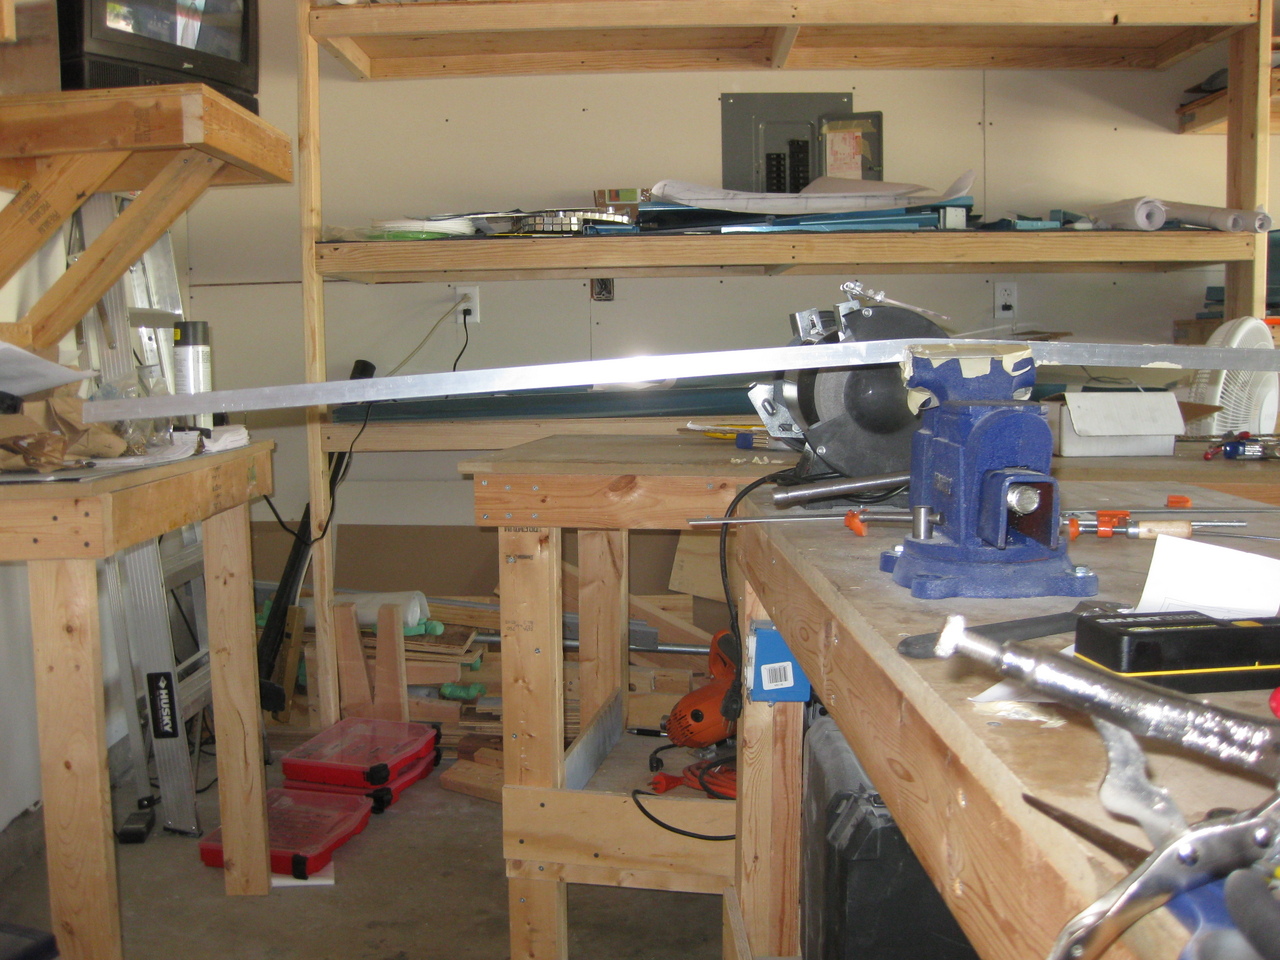
The longerons are done for now! That wasn't so bad... Anyway, try to imagine the rest of the airplane in between these things.
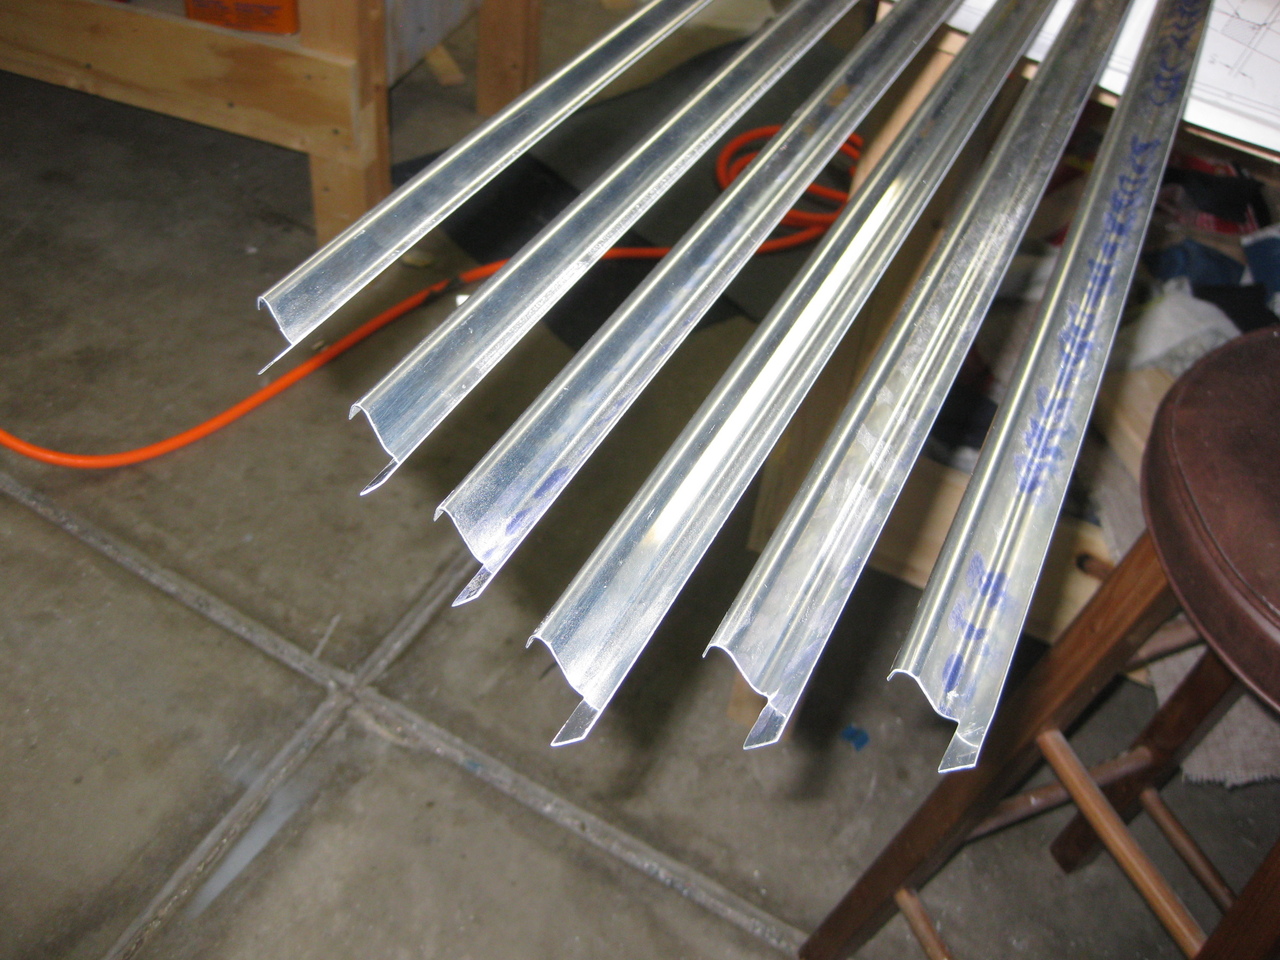
I pulled down these J-channel pieces and started looking at what is required of them. It looks like there are 6, two of each length. Then, the ends have to be tapered or something.
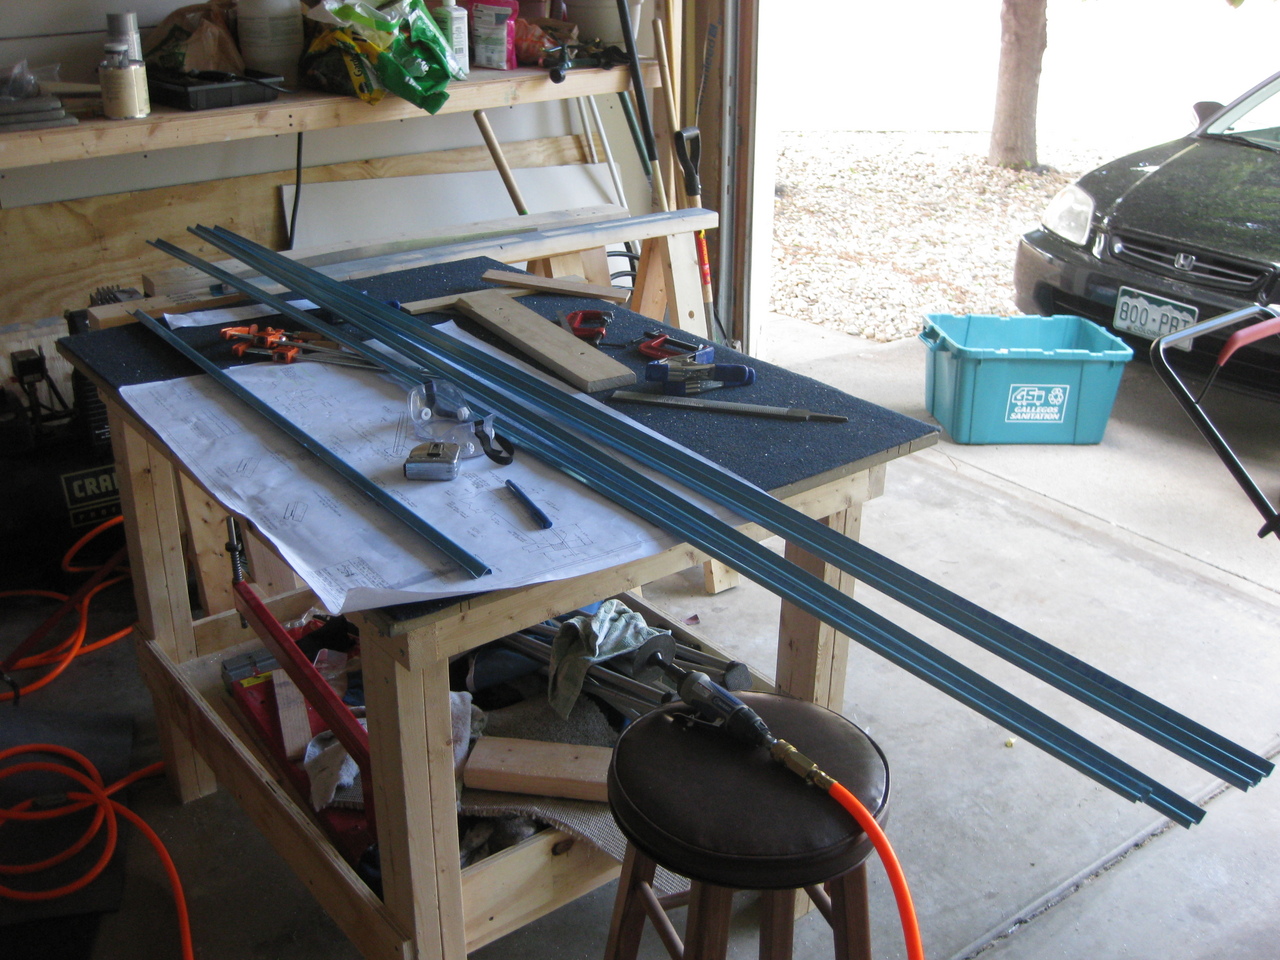
I decided to come out later and work some more. I got the J-channel stiffeners trimmed to length and trimmed up the ends as prescribed.
Once that was done, I moved on to the part that the manual describes as "the fun part." I was excited to finally be assembling part of the fuselage!
My excitement was short-lived, however, as I quickly ran into one of the worst fitting parts of the entire kit. This aft bottom skin is very thick and does not want to conform to the bulkheads.
I'd had a long day and decided that this would be better dealt with another day.
| Previous - Index - Next |
This work is licensed under Attribution-NonCommercial-NoDerivatives 4.0 International![]()
![]()
![]()
![]()