Log (By Day)
Log (By Category)
Pictures
Pics of Me Working
Links
| ||||||||||||
Sunday June 28, 2009
Cleco'd Aft Fuselage, Started Drilling
(Aft Fuselage)
6.7 Hours
| Previous - Index - Next |
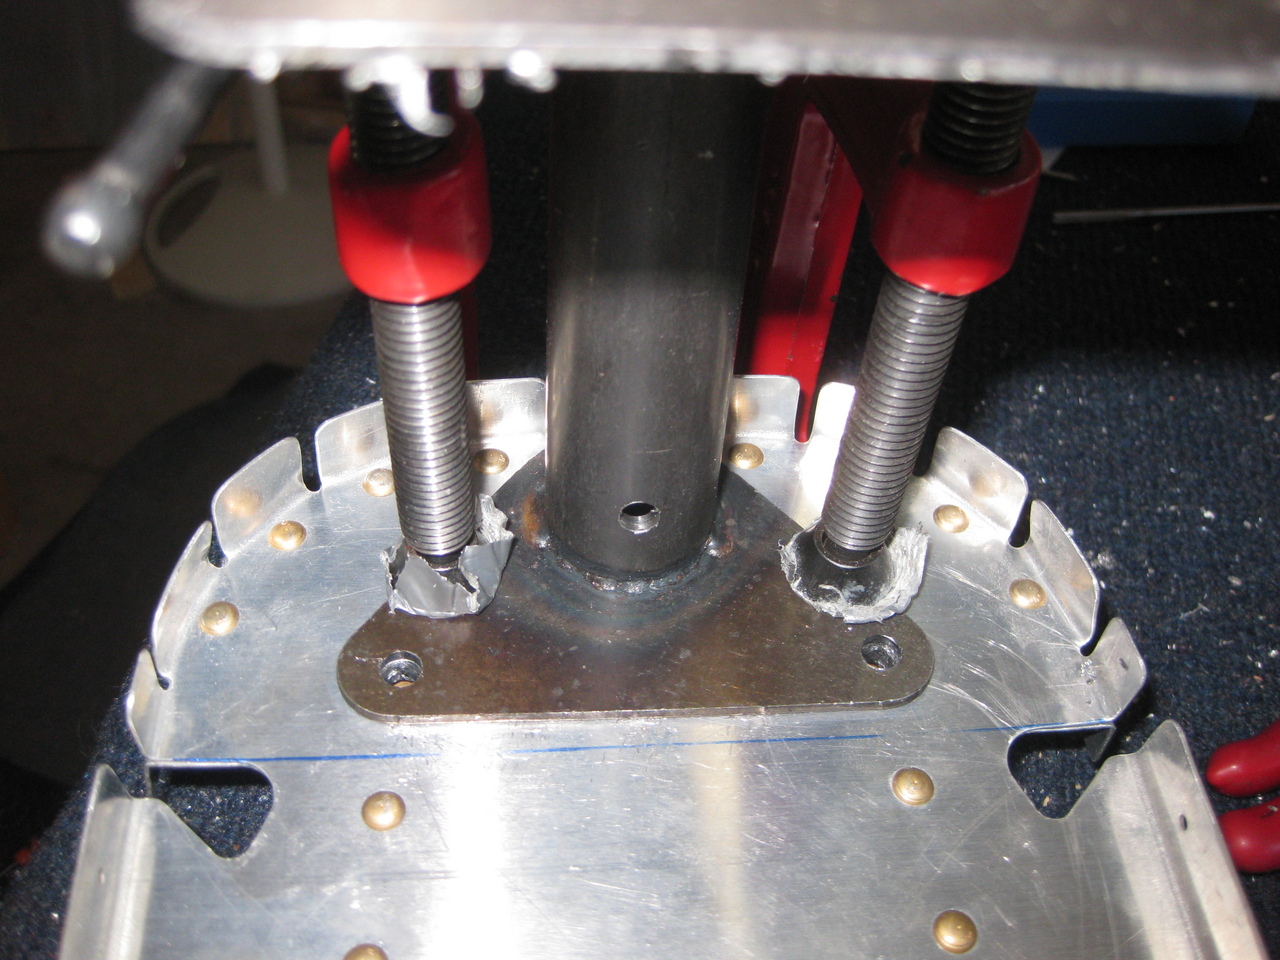
I finished fitting the "mouse hole" in the aft bottom skin to the tail spring mount. Then, I carefully clamped the mount to the F-711 bulkhead and drilled and reamed these 1/4" bolt holes.
Then, I drilled these holes for keeper rivets in the F-712 bulkhead.

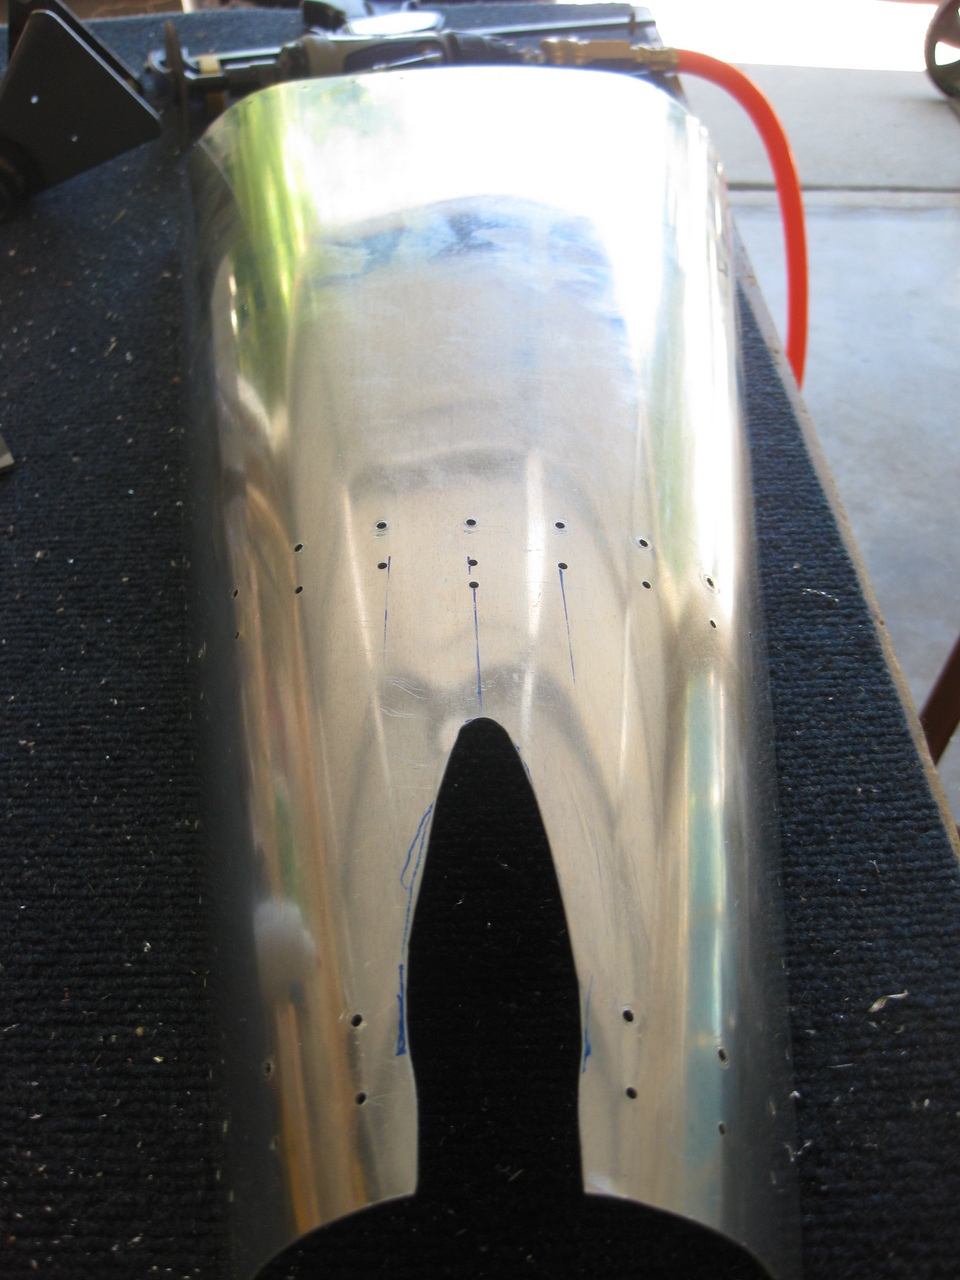
Here's the current revision of the mouse hole. I think I'll still open it up in a few places before installing it permanently.
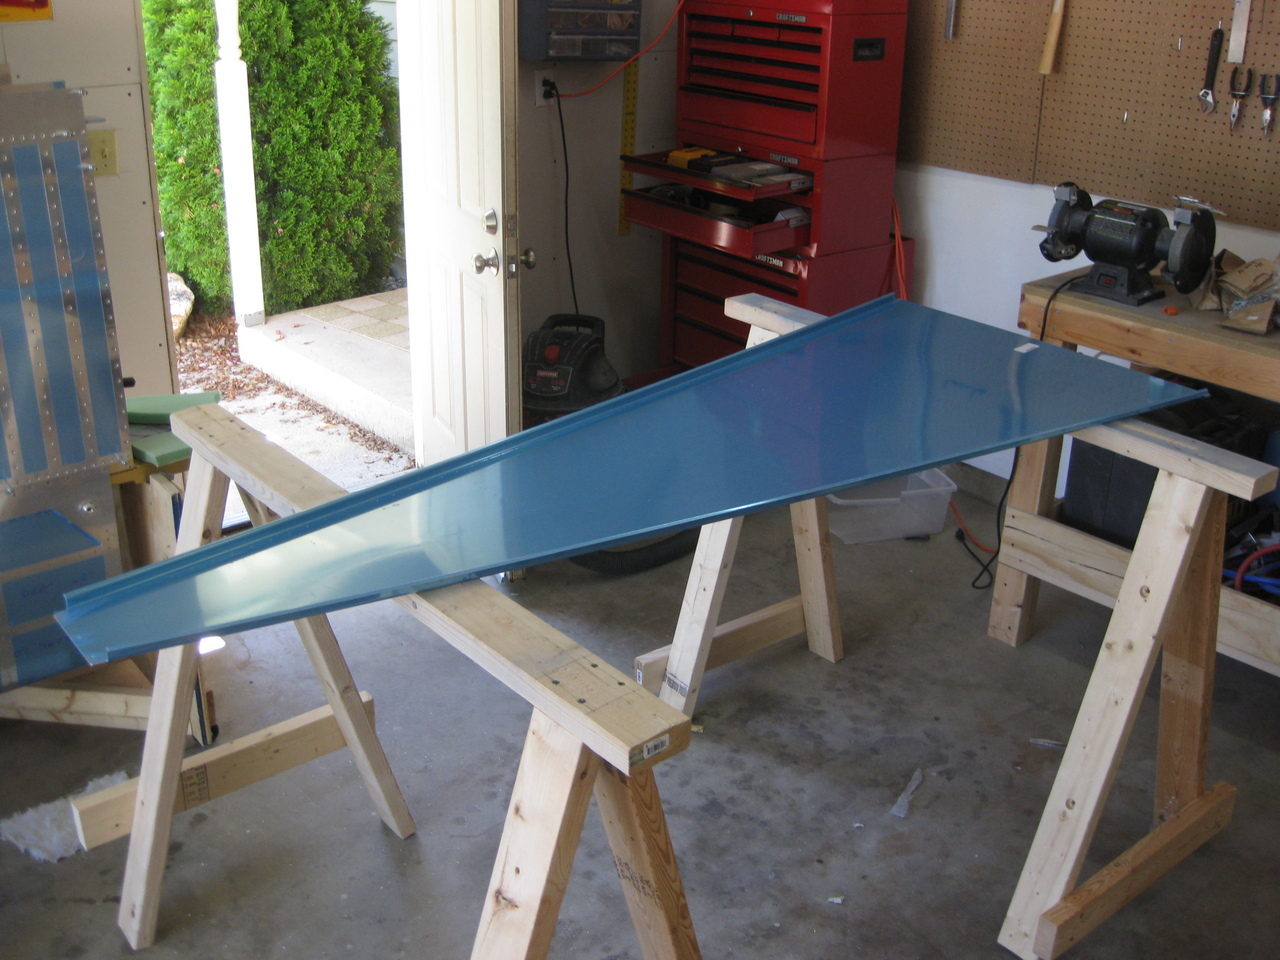
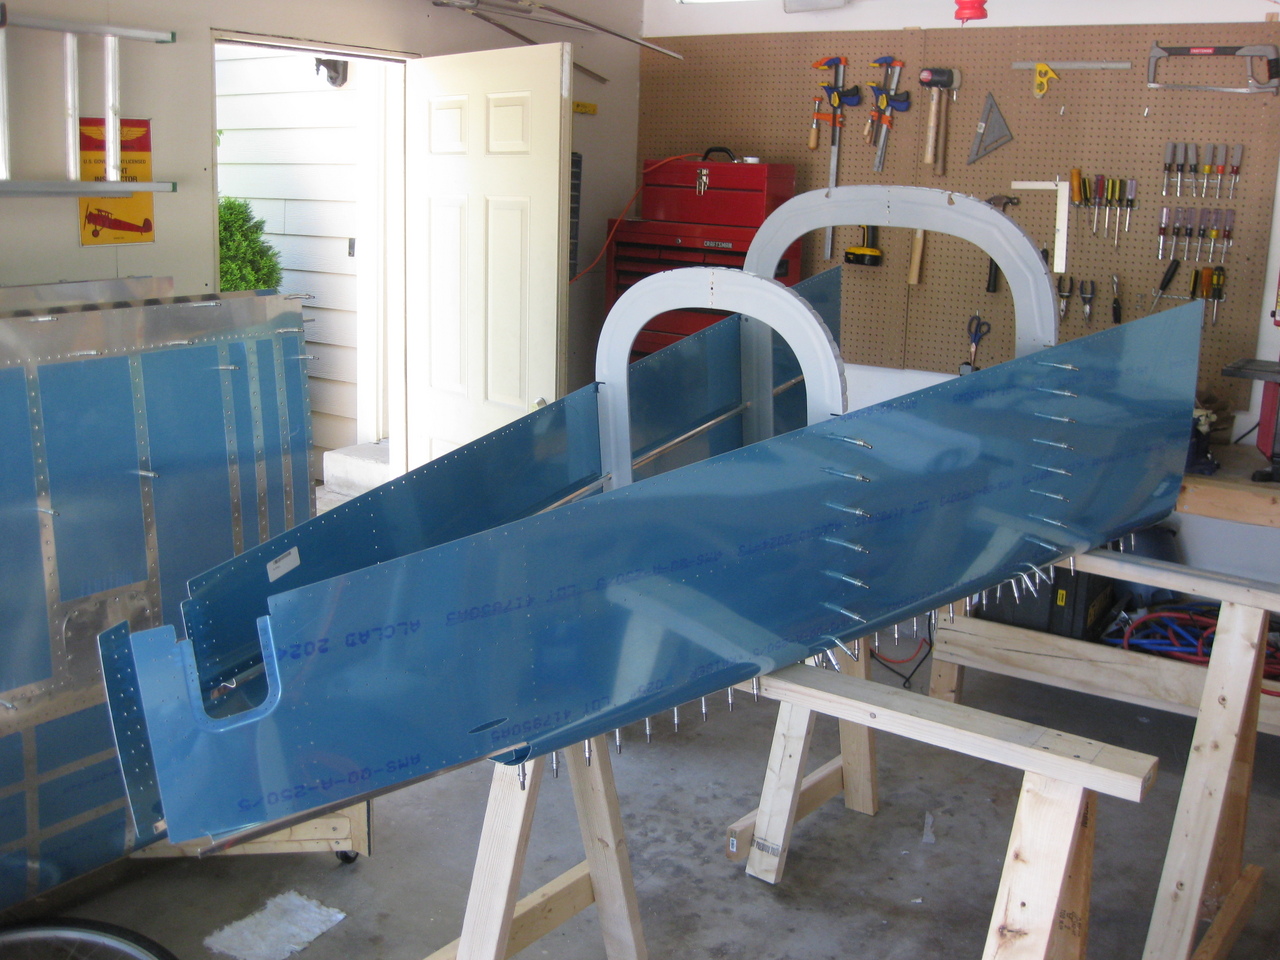
Then, it was time for some fun stuff: assembling the aft fuselage! I laid out the aft bottom skin on two of my sawhorses.
Then, I cleco'd the 707 and 708 bulkheads in place.

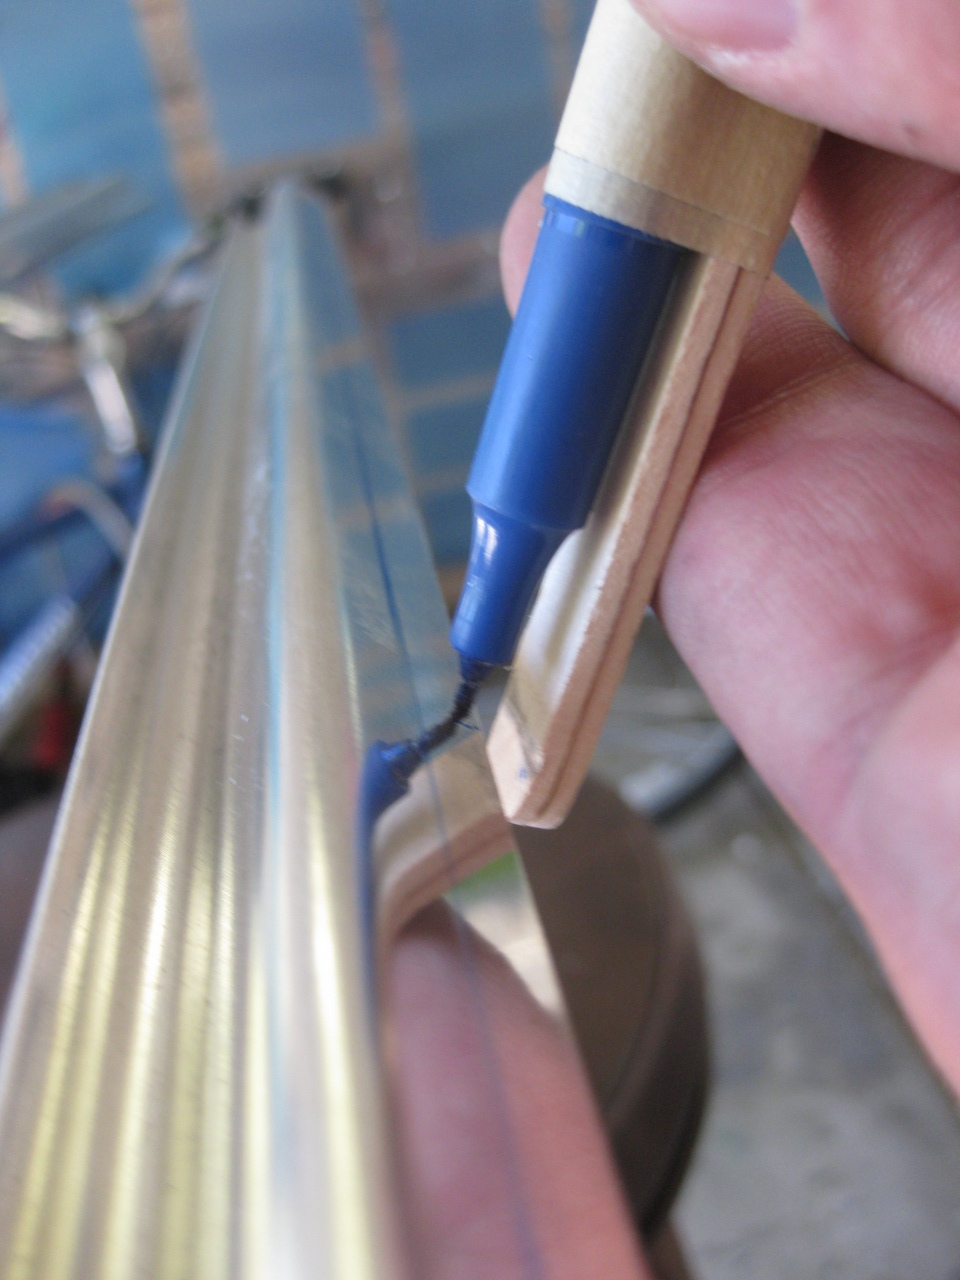
I needed to draw a centerline down all of the J-channel pieces, so I stole this method from Brad Oliver. It worked pretty well.
I slid the J-channels in place and then Emily helped me cleco on the side skins. This is starting to look very cool!
I installed the 706 bulkhead.

Also installed the F-711 and F-712 bulkheads as well as that 1@#&*%@# aft bottom skin.
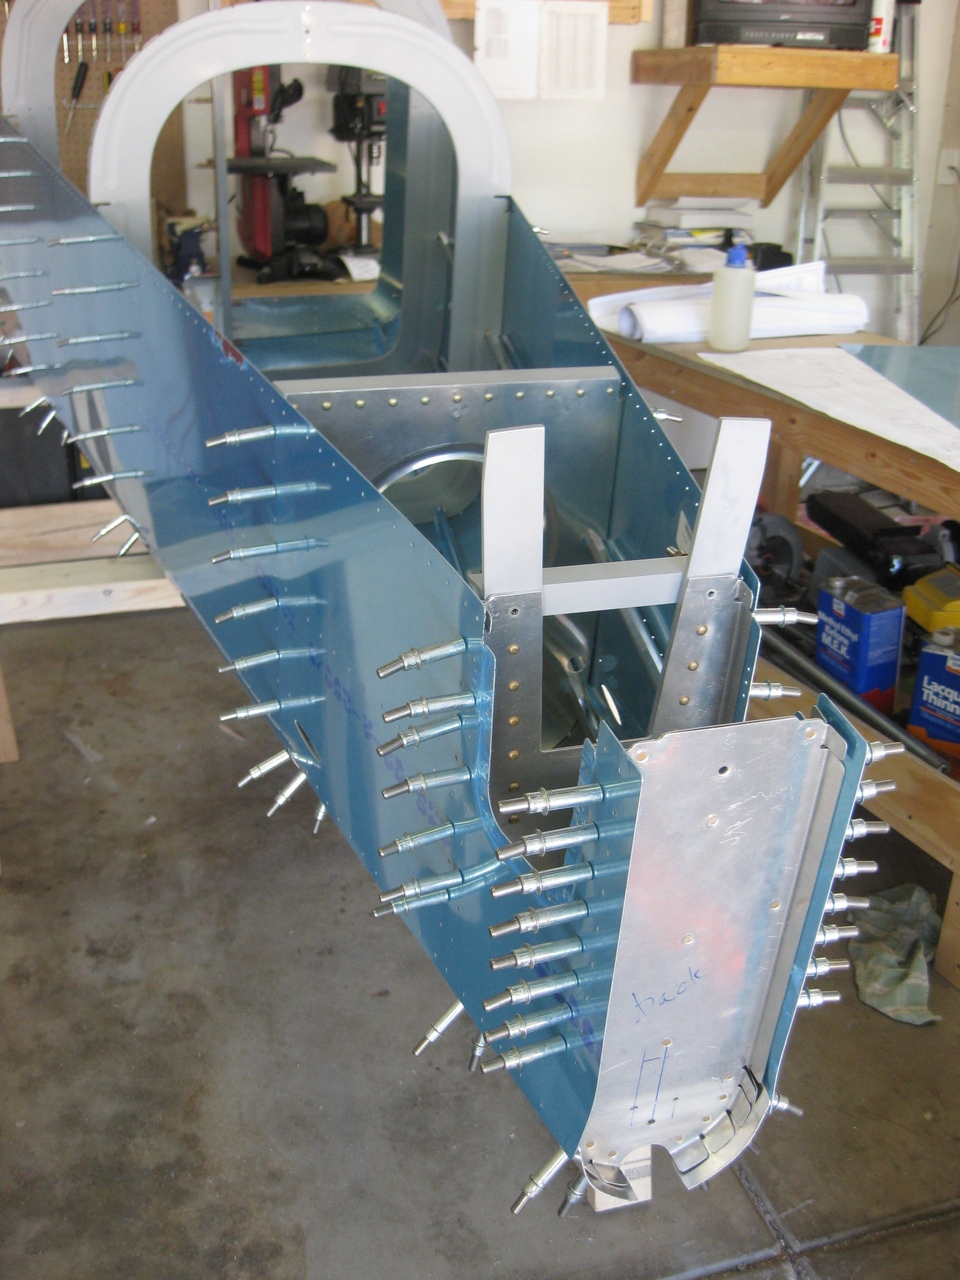
You can see in this picture how badly things are still fitting back here. Anyway, I chose to ignore that for the time being and strung up plumb bobs at both ends of the fuse to check for twist. This end looks good.
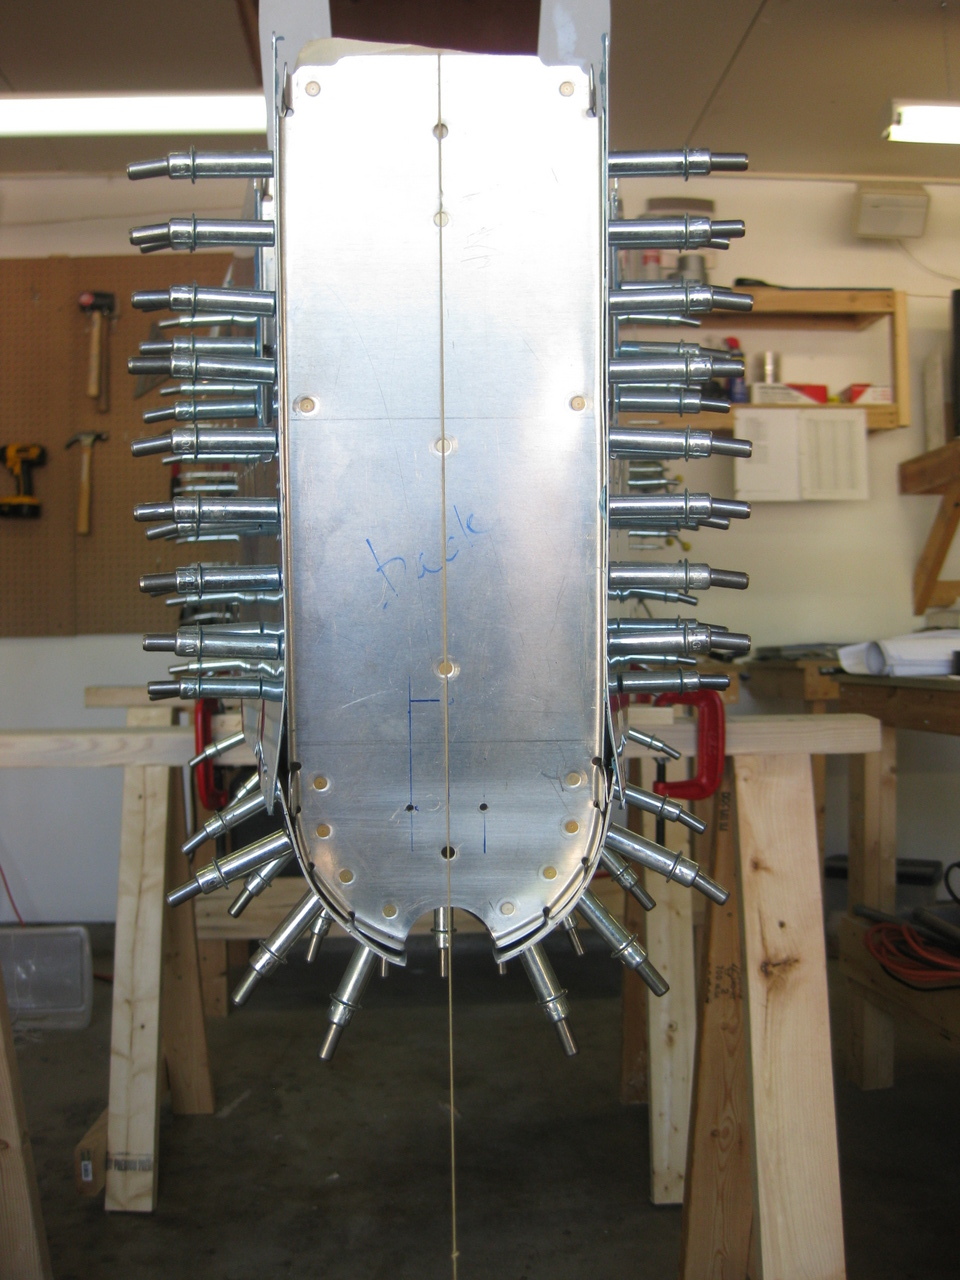
And so does this end! I used little wood wedges clamped to the sawhorses to keep the fuse from moving too much. As it was, though, I still had to check for twist every 15 minutes or so as I was drilling.

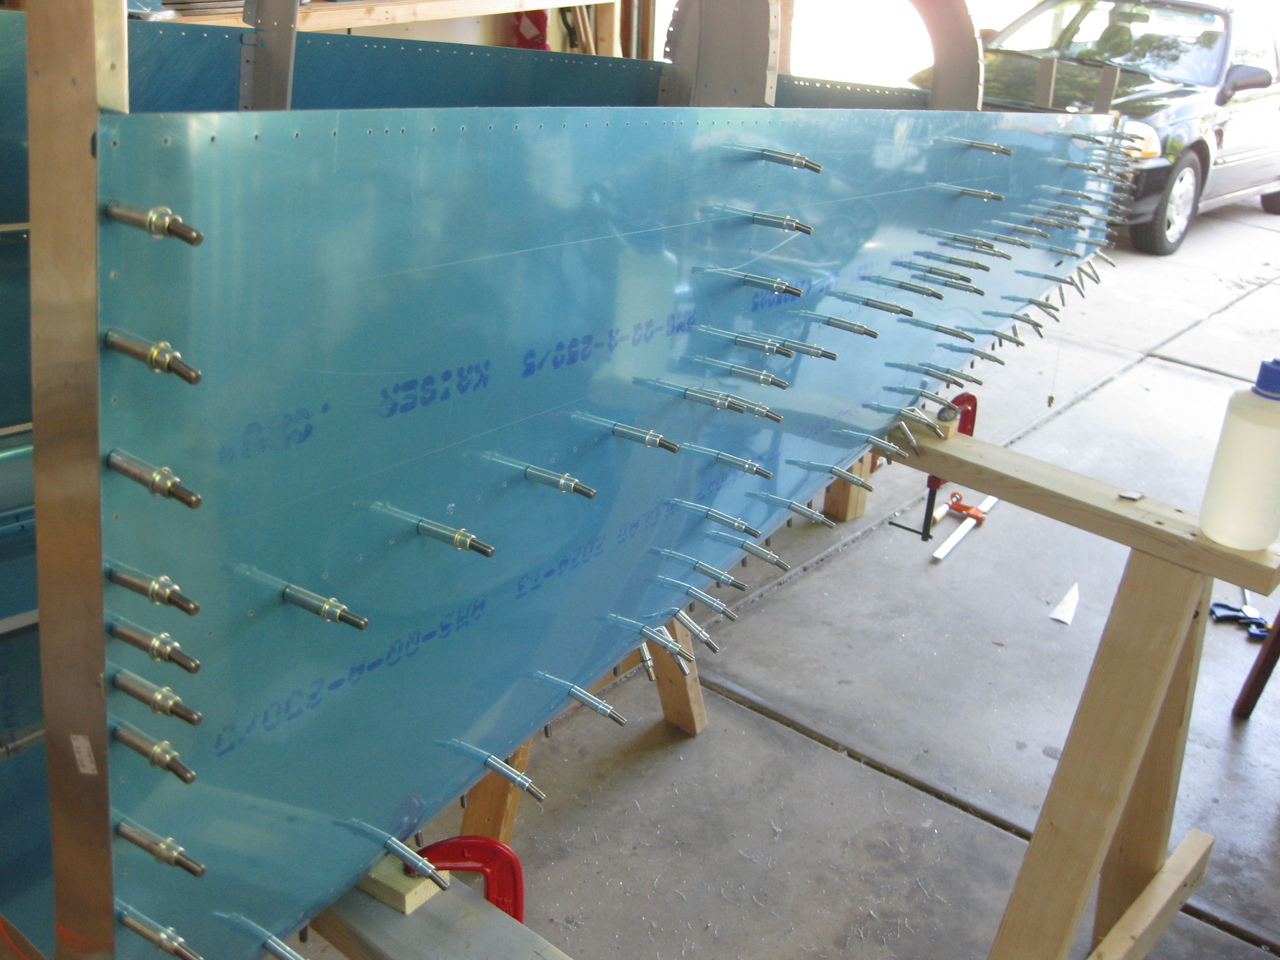
I started drilling the J-channel to the side skins. I took my time, very carefully making sure they were lined up as I went. I drilled about every fourth hole initially.
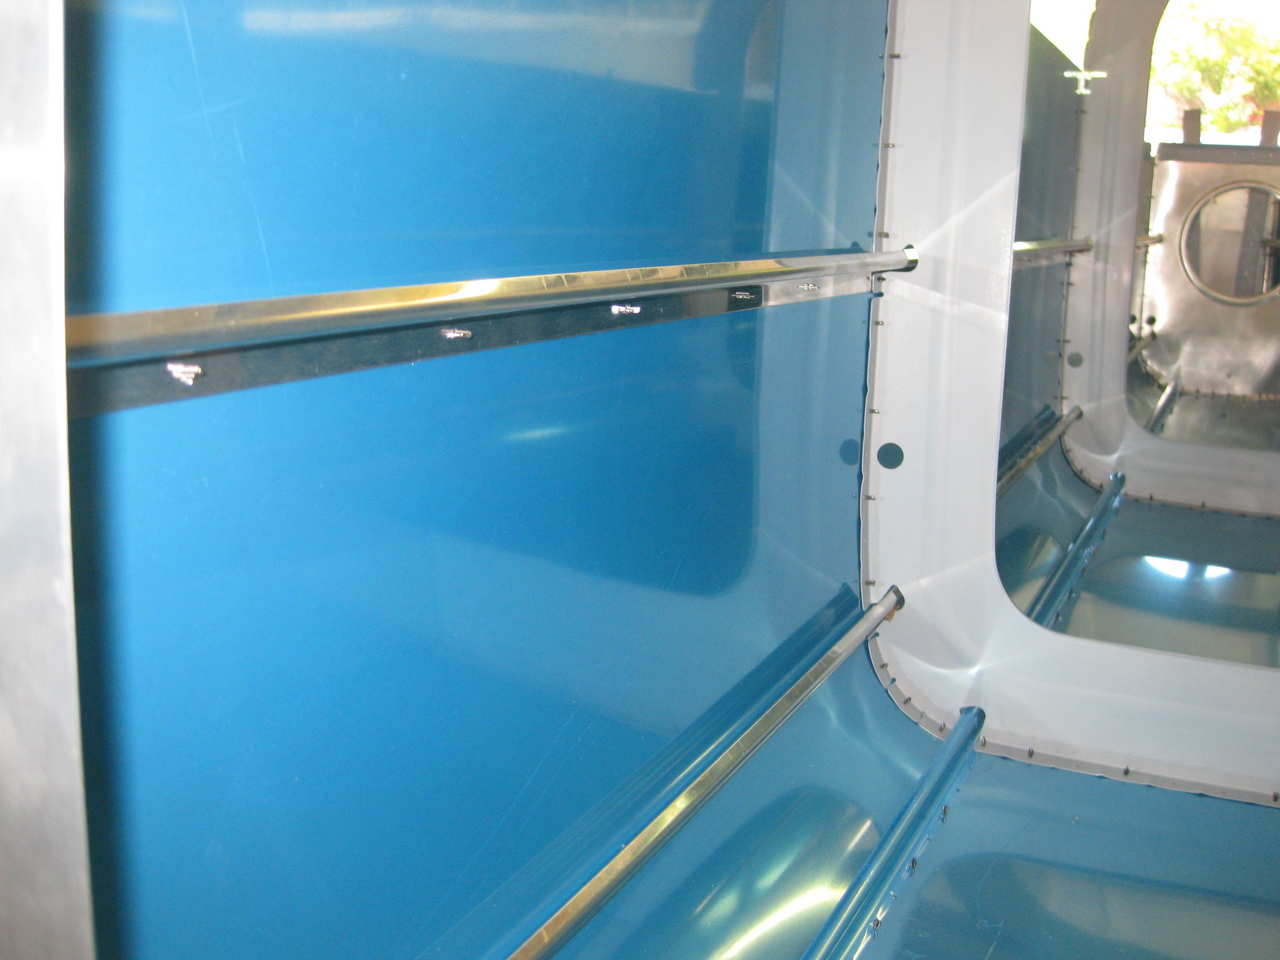
Then I came back through and drilled the holes between.
I still need to finish drilling the J-channels into the very aft section of the fuse (the part that is ill-fitting). That's going to take some clamping and careful pulling of parts into alignment.
| Previous - Index - Next |
This work is licensed under Attribution-NonCommercial-NoDerivatives 4.0 International![]()
![]()
![]()
![]()