Log (By Day)
Log (By Category)
Pictures
Pics of Me Working
Links
| ||||||||||||
Saturday April 17, 2010
Fuselage Riveting
(Fuselage)
2.7 Hours
| Previous - Index - Next |
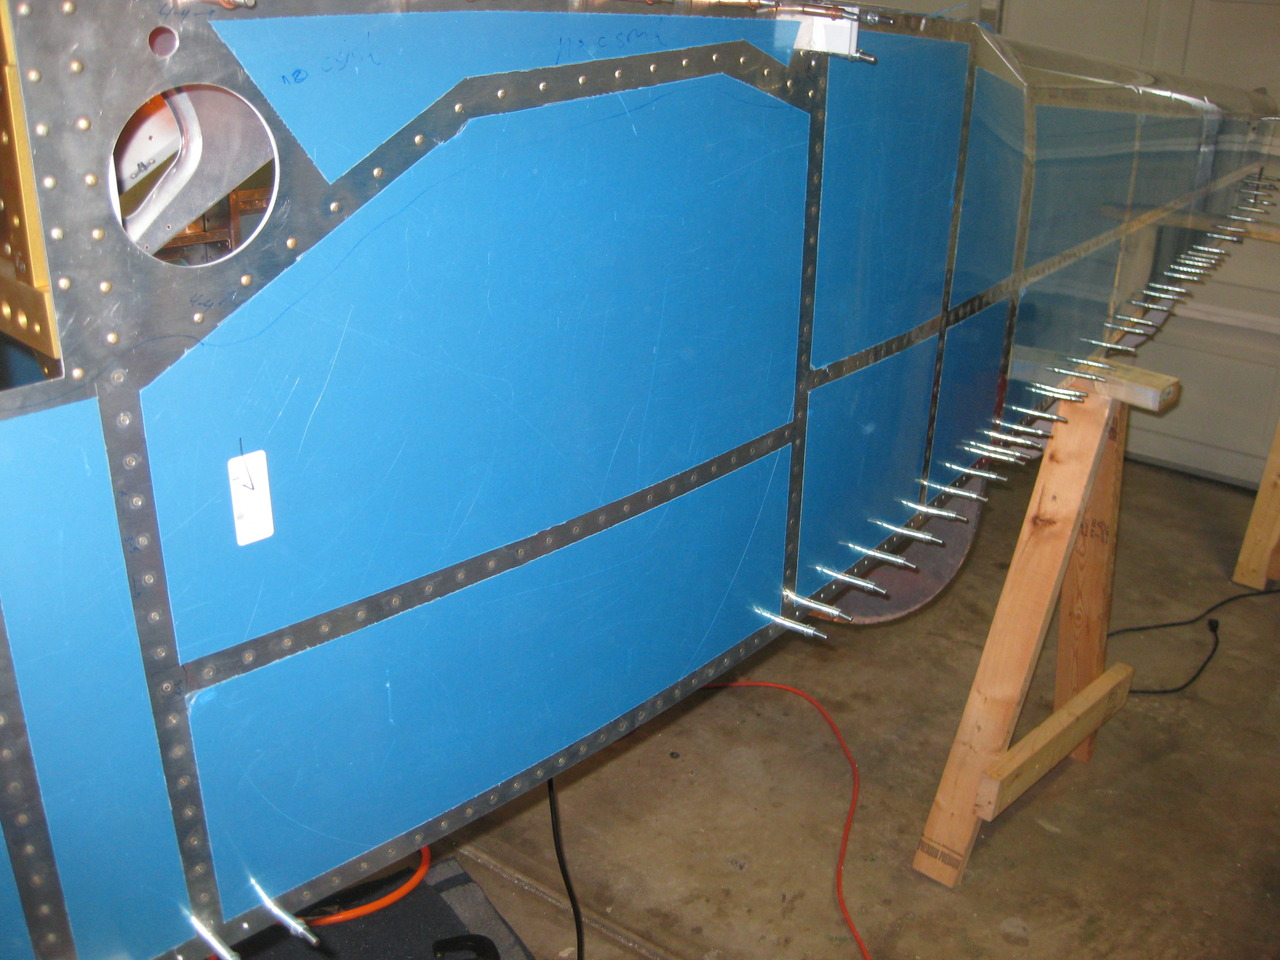
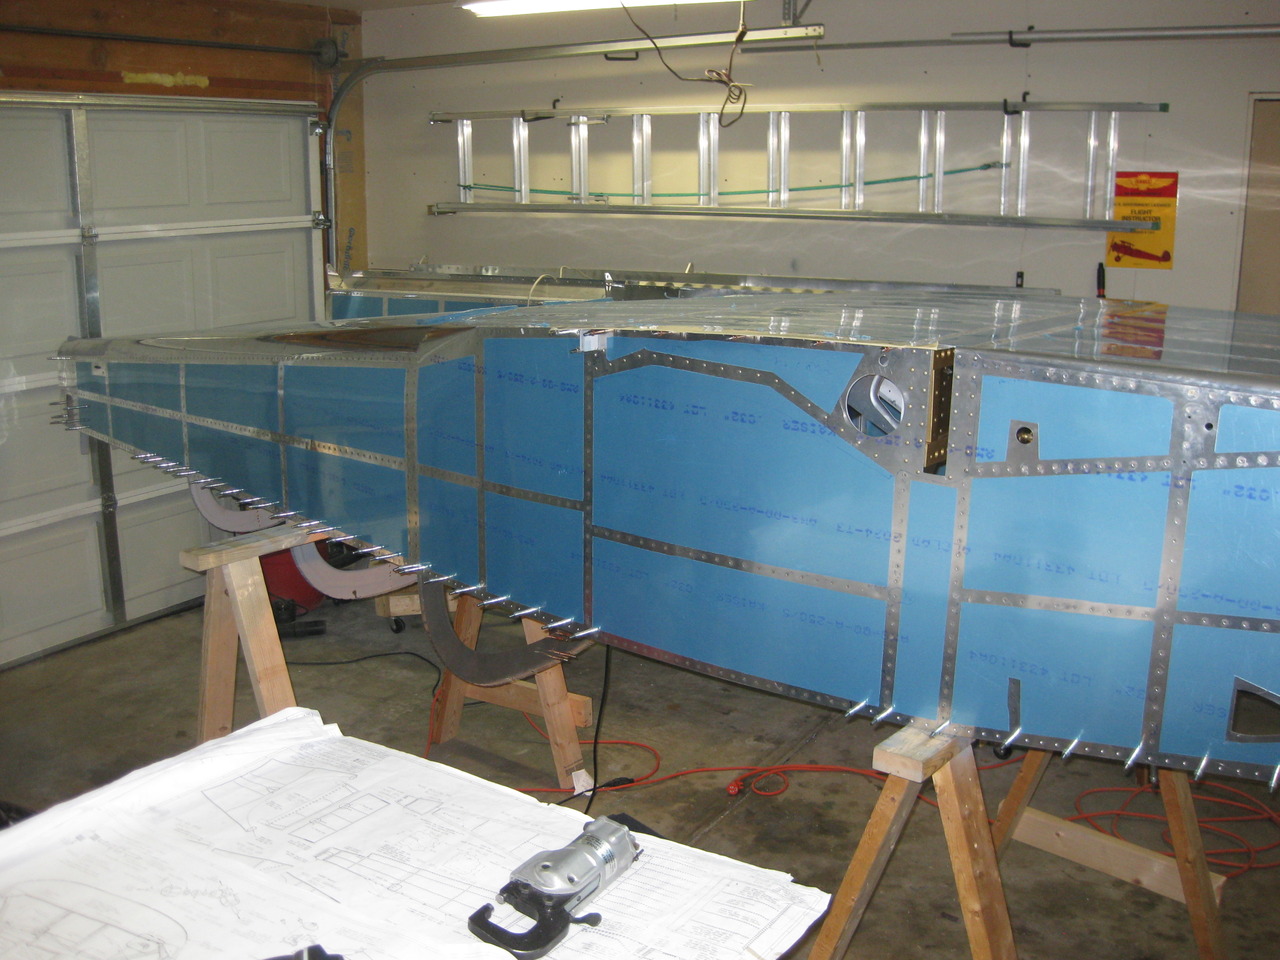
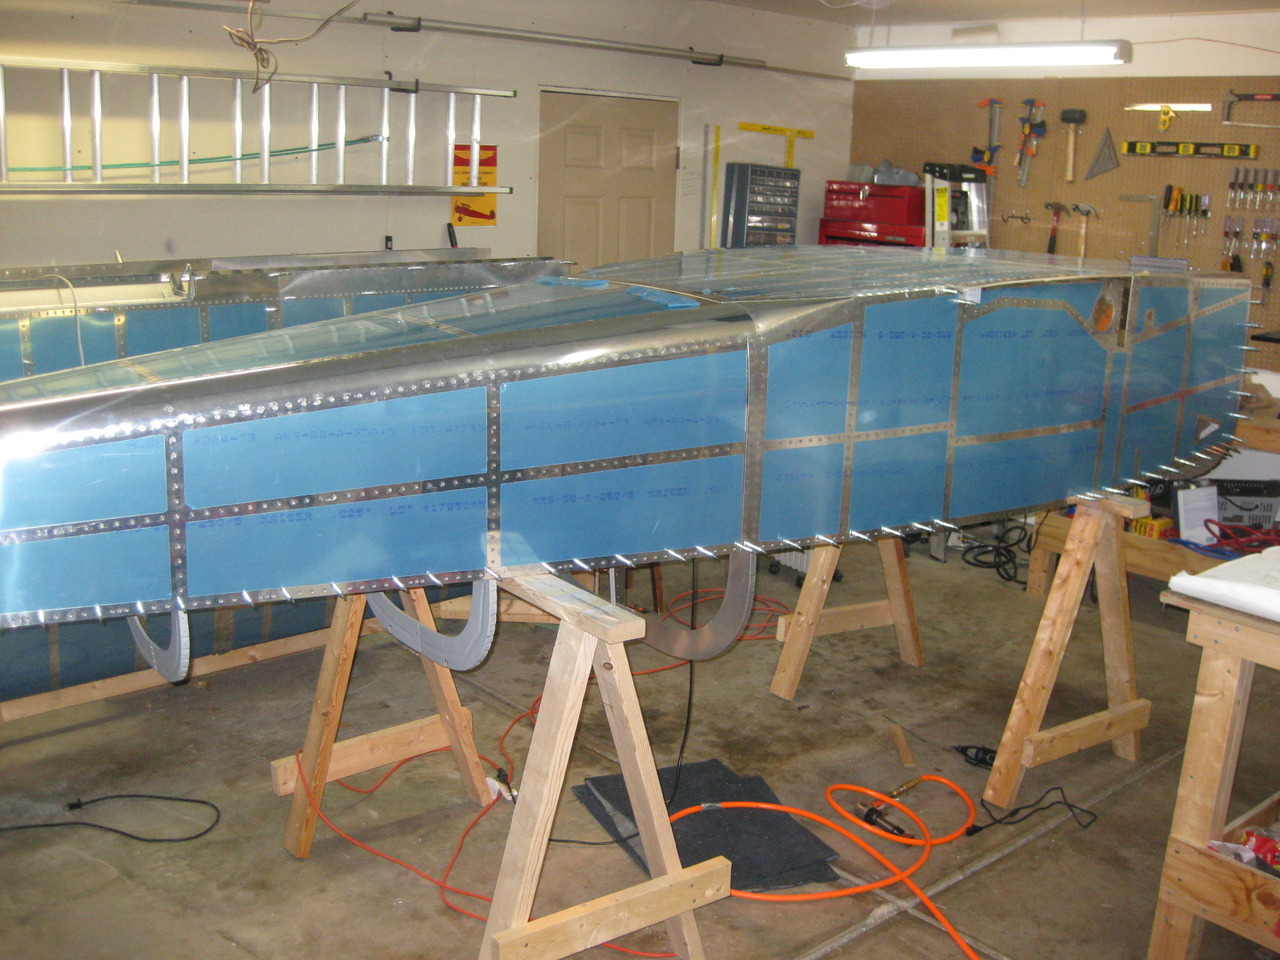
I worked on the plane for a while today. There were a few rivets that I was not happy with, so I drilled them out and re-set them (with my new tungsten steel bucking bar!). Then I started riveting the side skin to the longerons. I don't know why I didn't do this before.
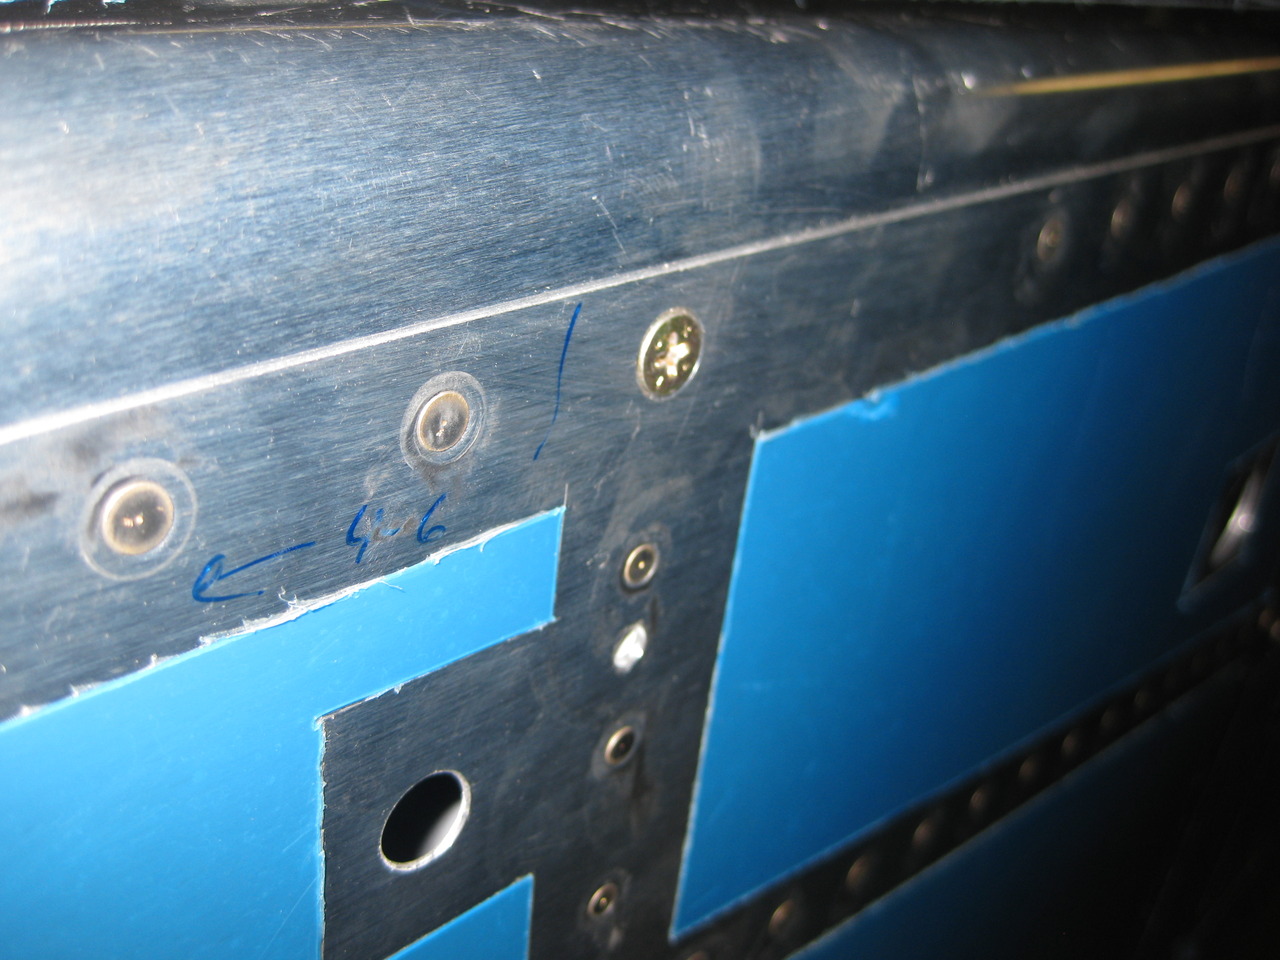
You have to be very careful to not fill holes that will later connect to top skins. This section here (at the bottom of the picture) is at the side of the cockpit, under the canopy side-rail, so they get riveted now.
Aft of the cockpit, these occasional keeper rivets keep things snug until the top skins are installed.
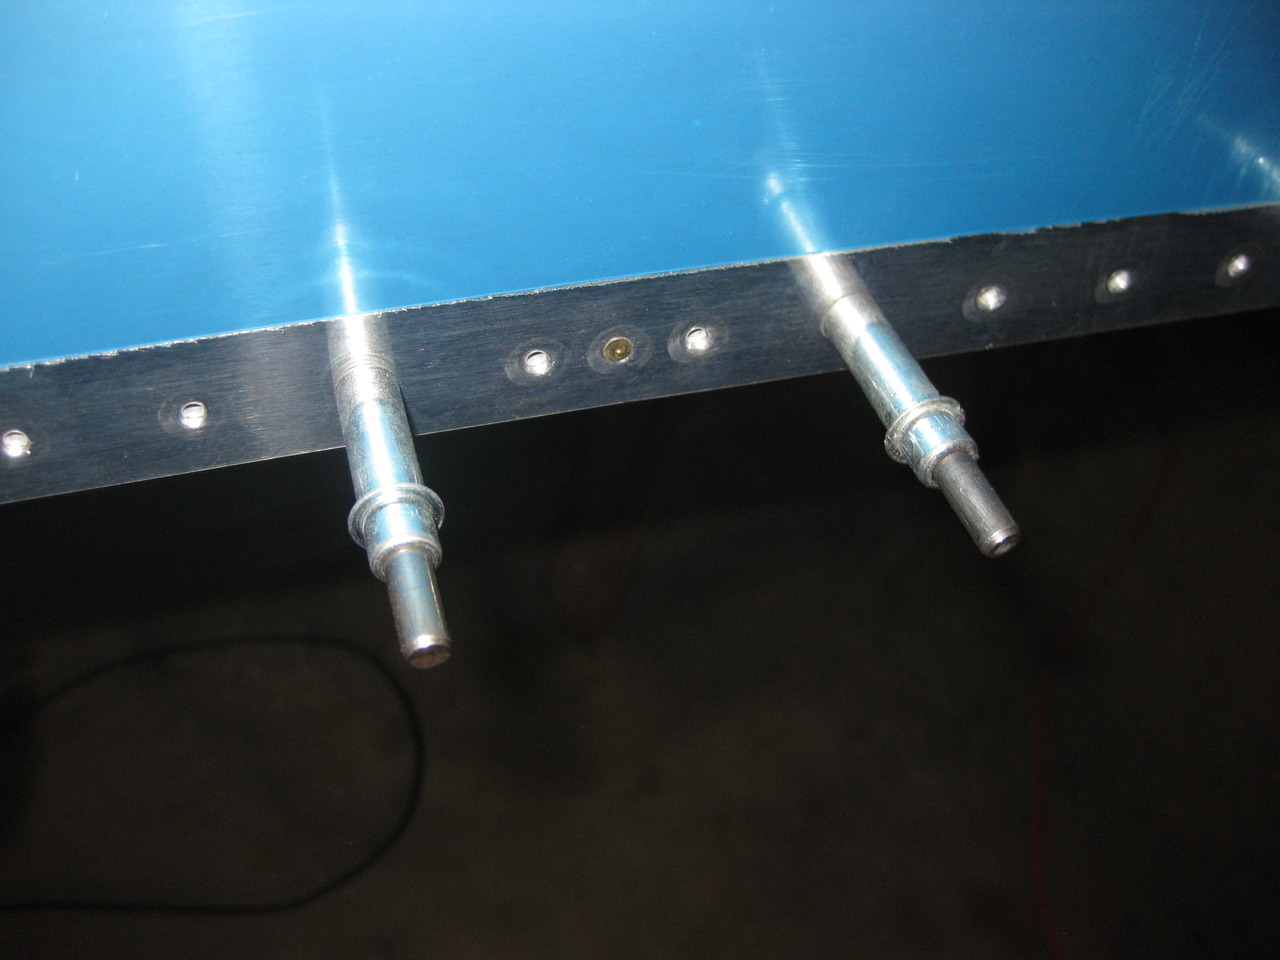
I also riveted this section in the aft where the horizontal and vertical stabilizers nestle into the fuselage, so there is no top skin.
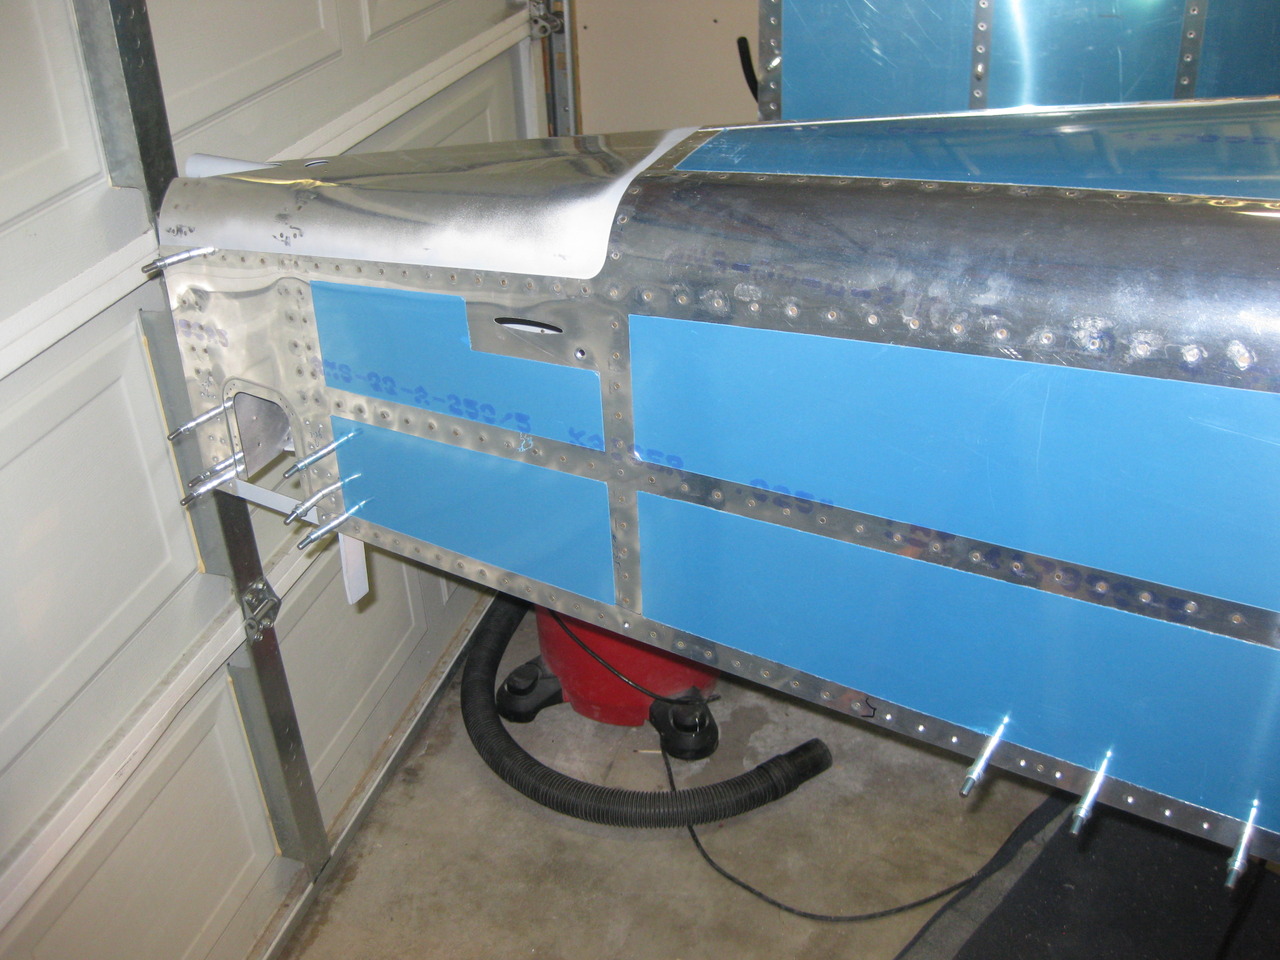
I installed and tightened these screws just below the fuel tank attach bracket mount points.
I was not happy with the fit between the longerons and the vertical stiffeners in the baggage area side skins--they were rubbing. I drilled out a number of rivets on each side, enough to bend the stiffeners away from the longeron and skin, filed them down, and re-riveted them to the side skins.
The fuselage is very close to being ready to flip over. Emily just needs to help me with the remaining rivets in the area of the wing attachment. In the meantime, I can build a new shorter stand on which to rest the front of the fuselage.
| Previous - Index - Next |
This work is licensed under Attribution-NonCommercial-NoDerivatives 4.0 International![]()
![]()
![]()
![]()