Log (By Day)
Log (By Category)
Pictures
Pics of Me Working
Links
| ||||||||||||
Tuesday May 12, 2020
Began Wing Mating
(Mating Wings)
6.5 Hours
| Previous - Index - Next |
So it's been a long, long time since my last update. Life has gotten in the way, but I'm now in a house with a garage big enough to work on the plane again and I have some time to devote to it occasionally, although my job demands a lot of time.
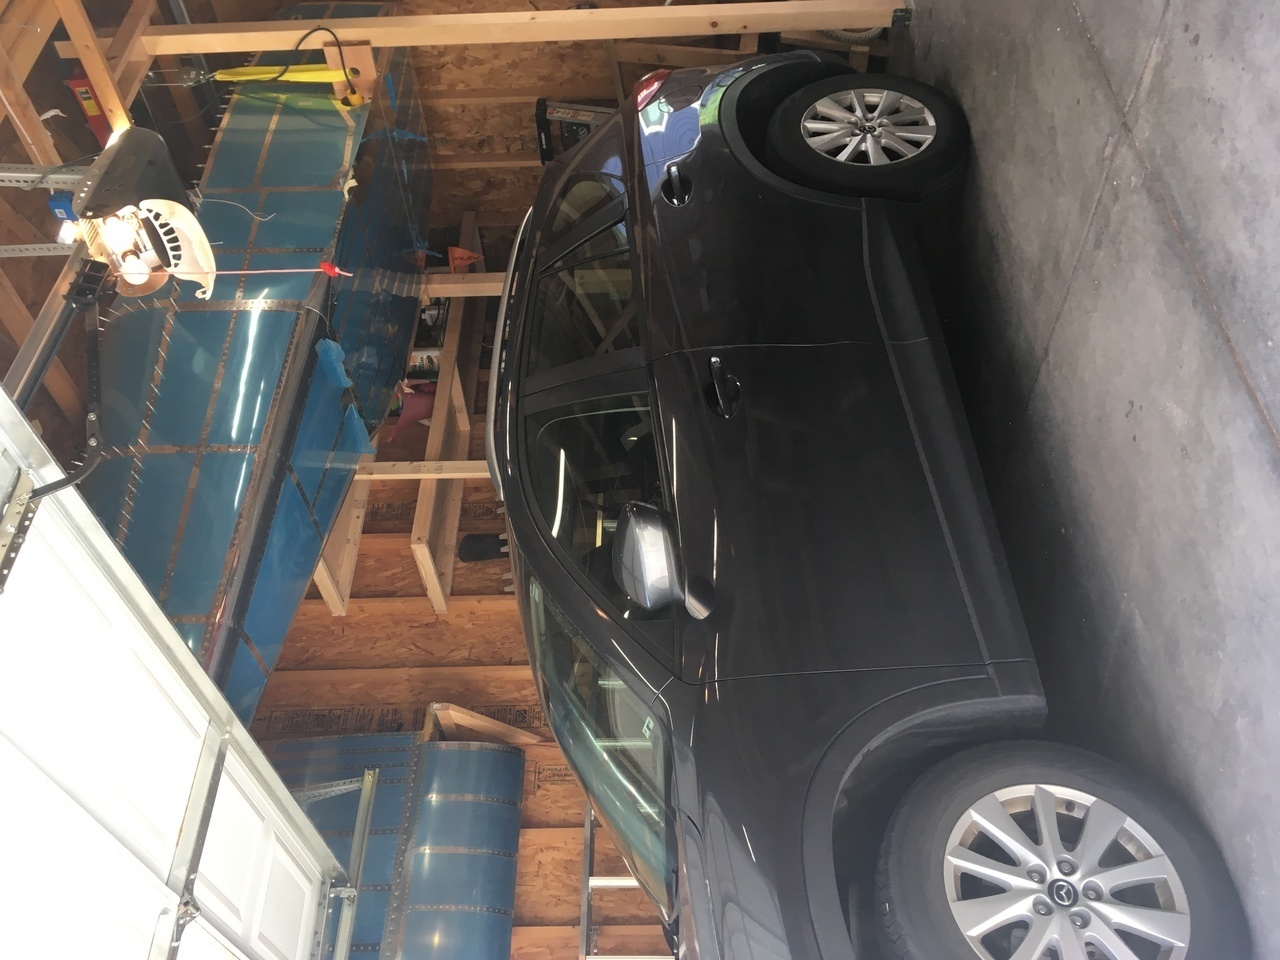
When we first moved into this house two years ago, I engineered a way to raise the fuselage up into the rafters so I can still park my car under it in the winter.
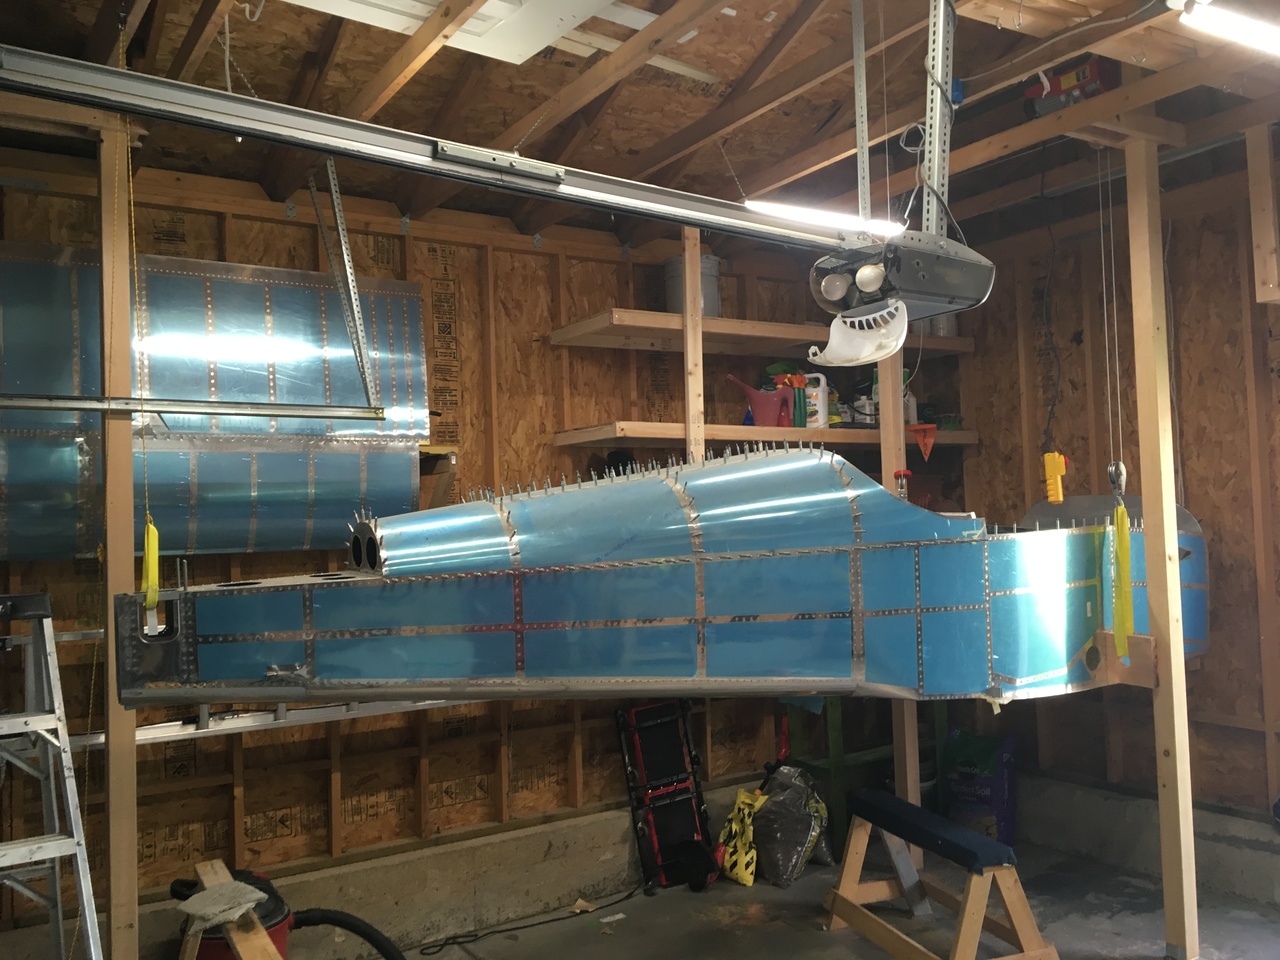
The structure is completely independent from the roof trusses of the garage--all of the weight is placed on three 4x4s and a welded steel cross piece. It incorporates a powered lift and some high grade pulleys and bolts to raise and lower the fuselage. I had a structural engineer vet the design for 500lbs or so.
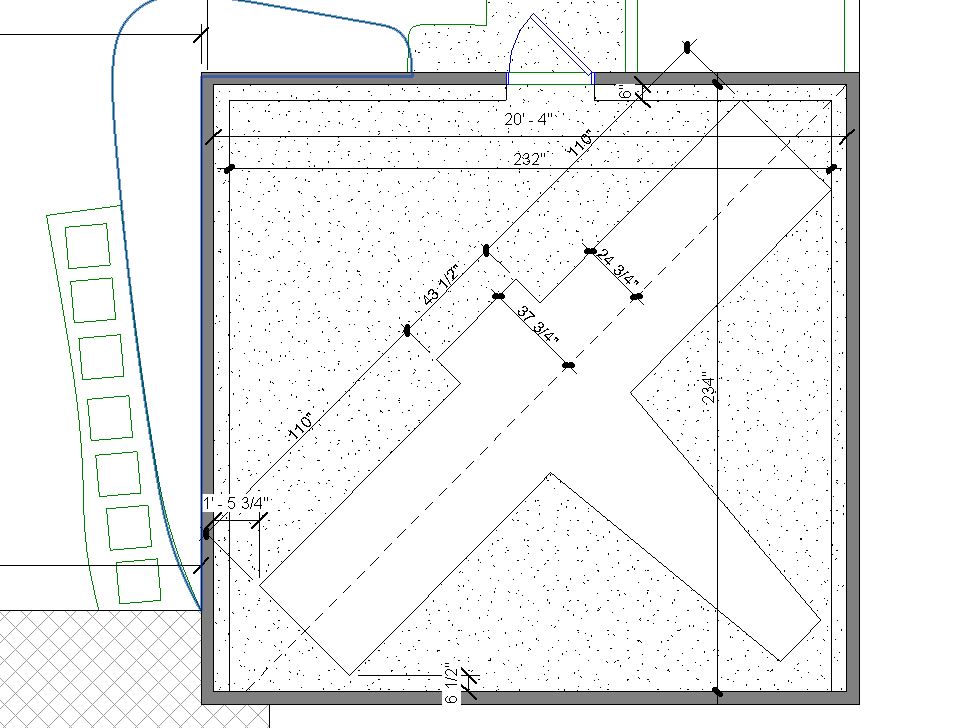
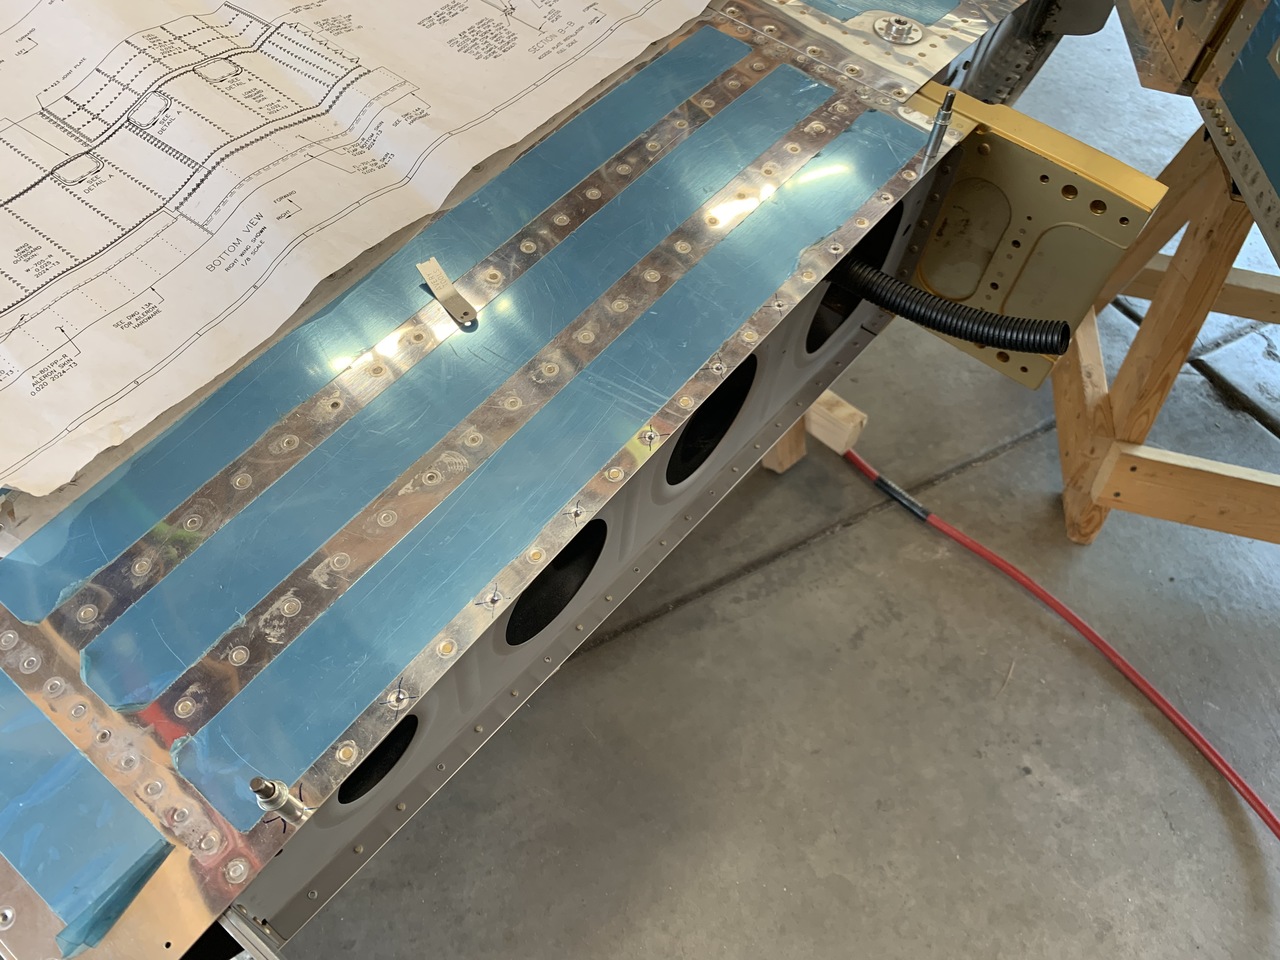
Anyway, I now have some time to work on the plane again. Looking back at the project, the next step was to mate the wings and drill the rear spars. I was a little concerned that the plane wouldn't fit in the garage with both wings on, so I took some careful measurements and Emily whipped up a scale drawing. To my relief, it would fit with room to spare...
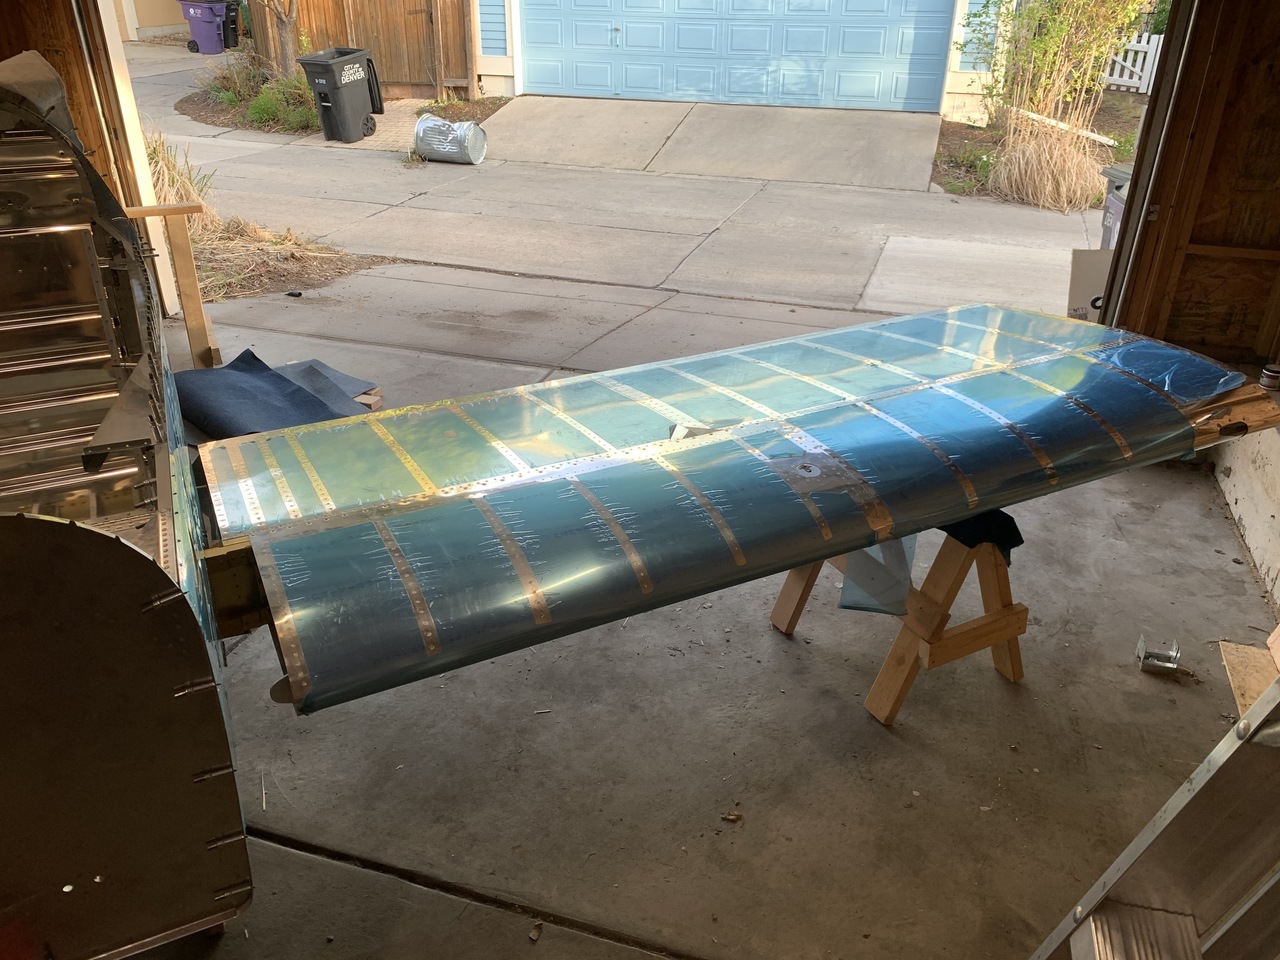
I spent many hours yesterday getting the plane down and rearranging the garage for this next step, including building two small sawhorses to hold the wings while they are being mated.
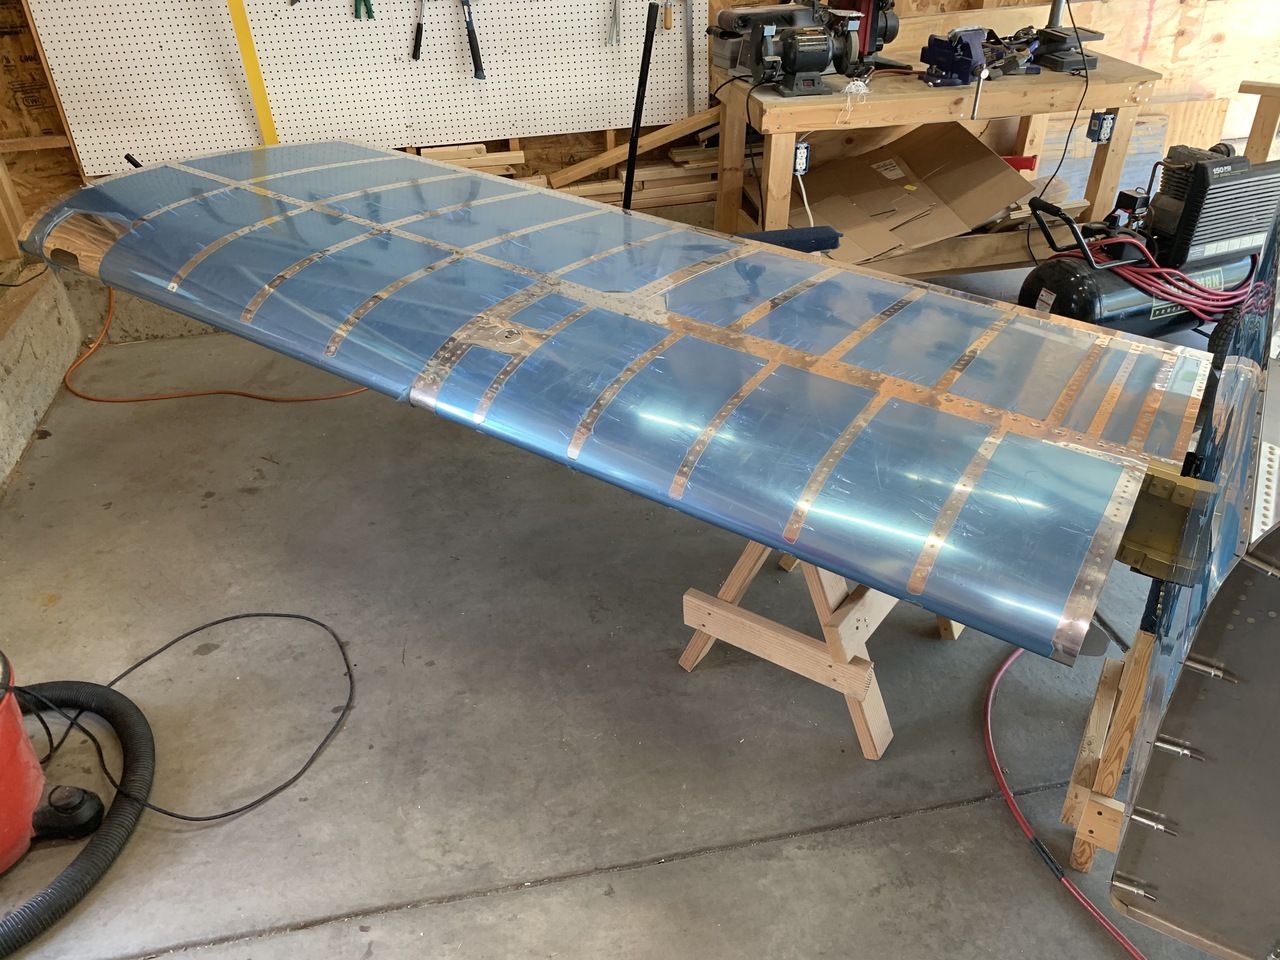
This is where I started this morning.

I don't know why I never mounted the ailerons and flaps to the wings, but I didn't. I spent some time today getting the pushrods and bellcranks ready to mount the ailerons, but then realized that somewhere in 10+ years of moves, I no longer had the bushings for the bellcranks and was missing a couple of AN3 bolts that I needed, so I ordered those and moved on. At some point, I'll have to take the wings off and mount these things before I finish the mating process.
I am off of work this week, though, so I wanted to keep going. Van's is very specific in the drawings and manual that you may not exceed 5/8" edge distance for the rear spar attach bolts. I marked the safe zone on the fuselage attach points and made templates for the rear spars so I can ensure I'm safe on all 3 pieces of metal before I drill.
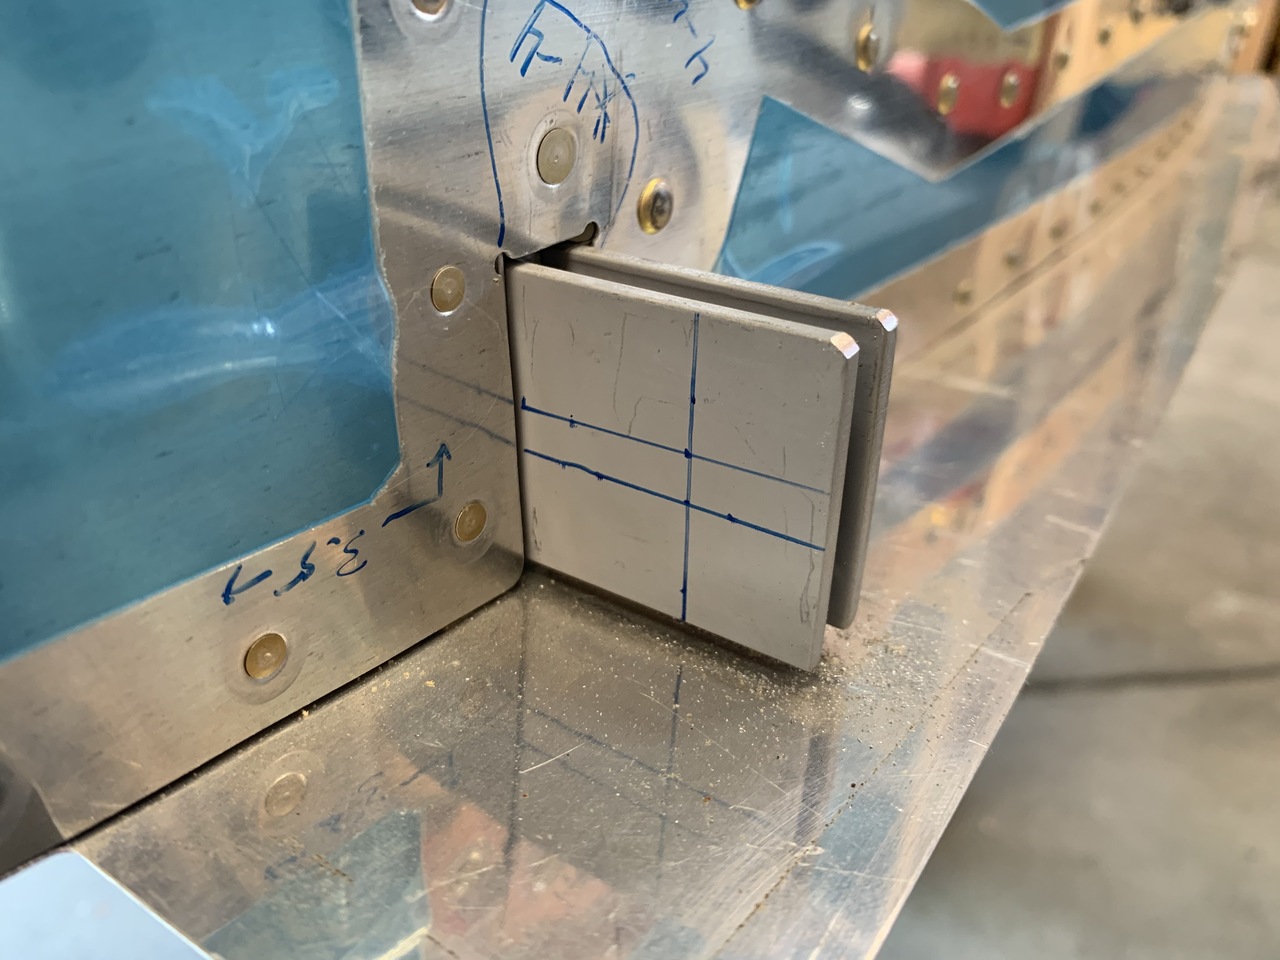
I also had to squeeze a few rivets here on the bottom, inboard end of the wing where the fuselage bottom skin will overlap. I left every other one empty where they will screw to the bottom skin eventually.
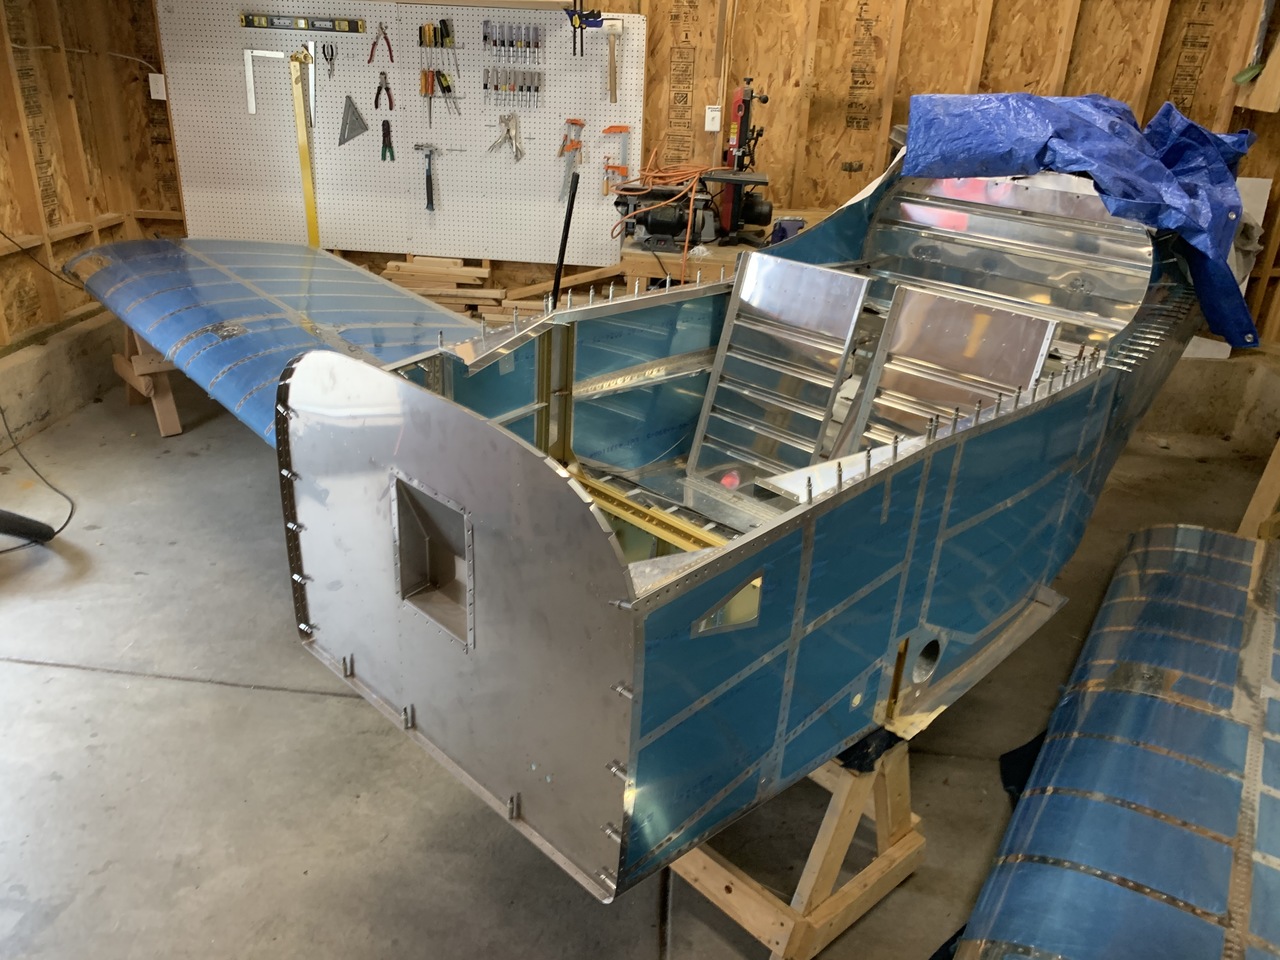
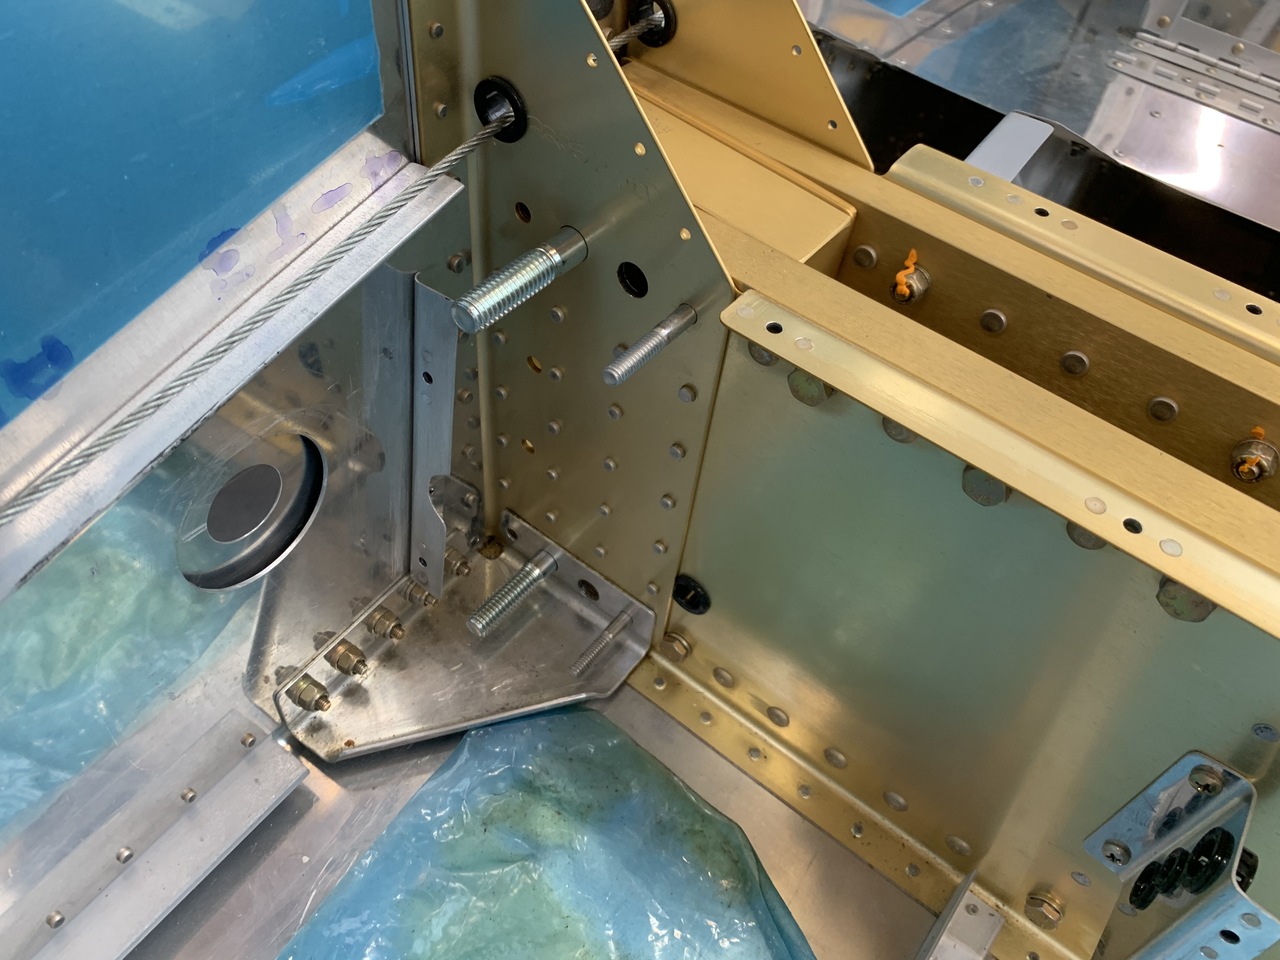
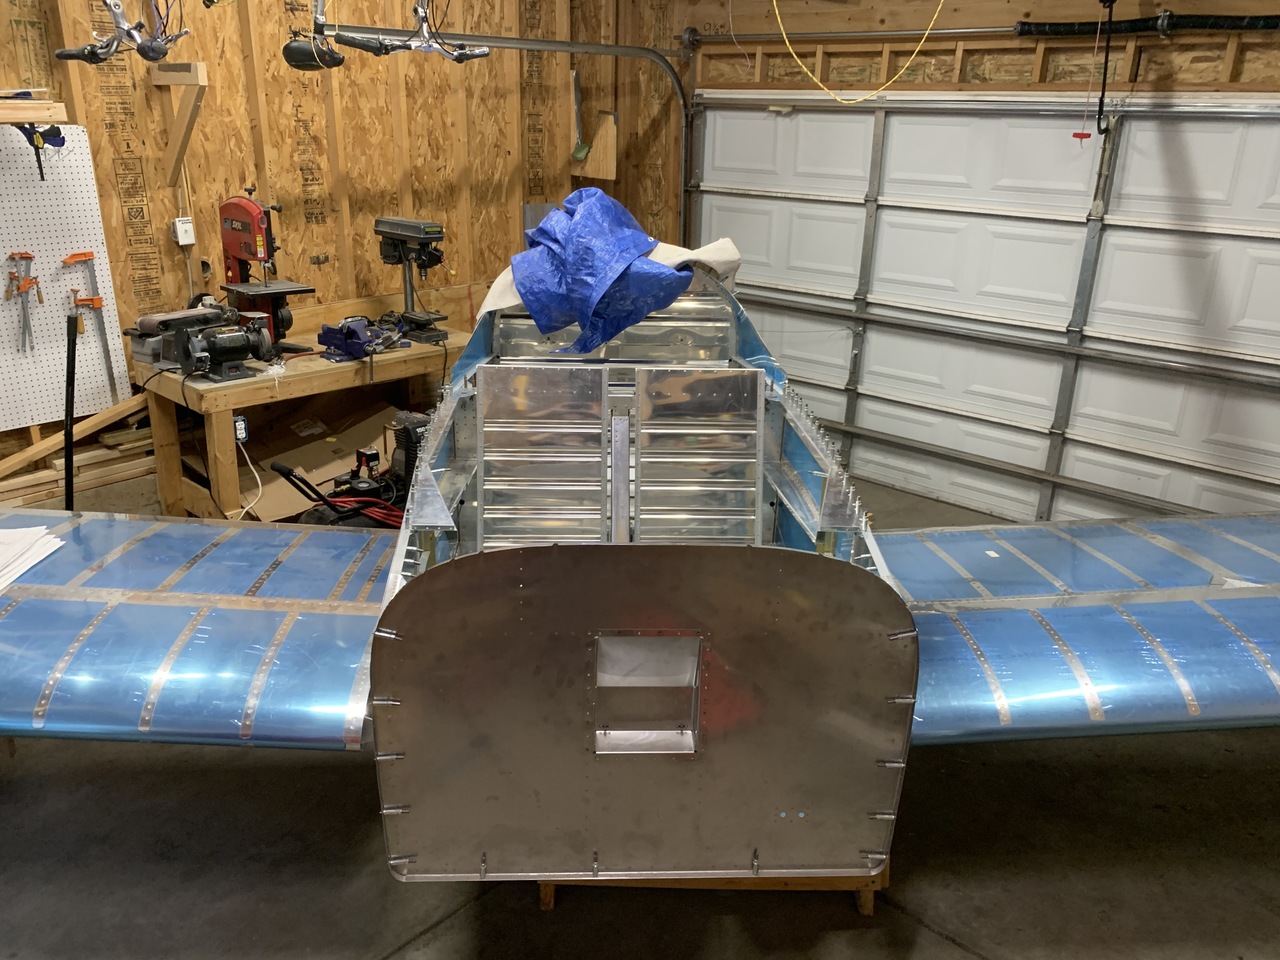
Then I started mating the right wing. It was a slow process, but not too difficult. I made a "drift pin" out of a 7/16" hardware store bolt and that made it much easier to get the spar into final position.
I used hardware store 7/16" and 1/4" bolts as per the Van's instructions. I forgot to lubricate them before I put them in, though.
It looks cool! Also, the dihedral is much more obvious than I expected.
Later in the day, got the left-hand wing mated as well. Forgot to lubricate the bolts again, but they went in easily enough that I hope it won't matter.
Looking really cool!
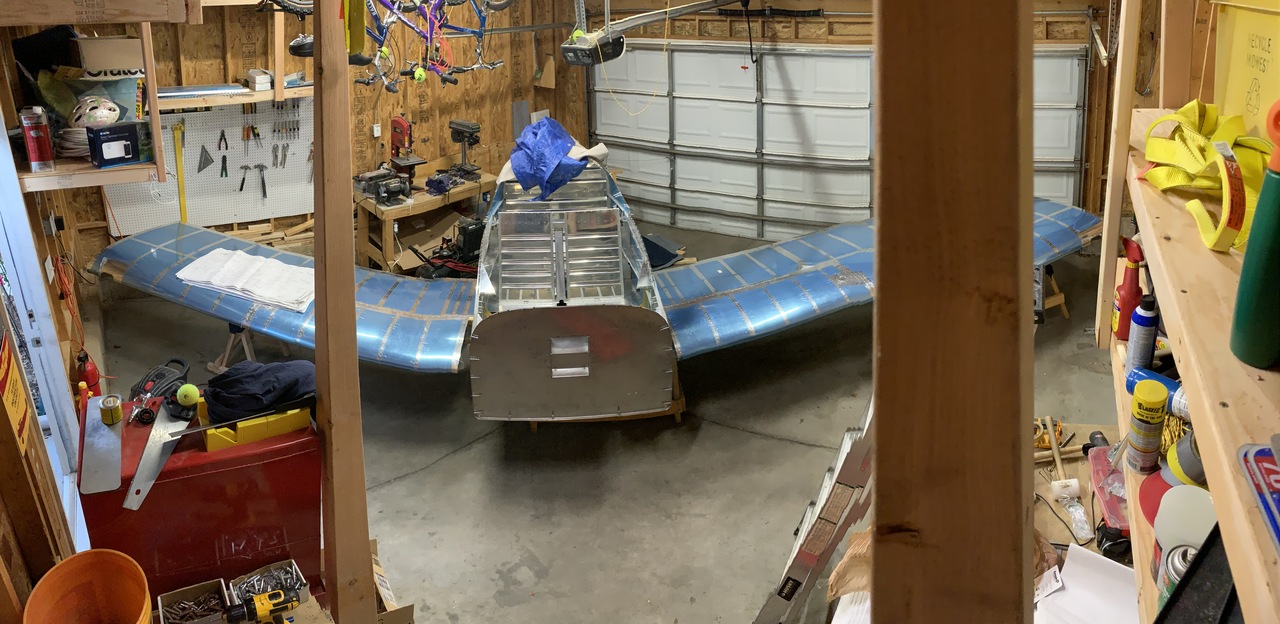
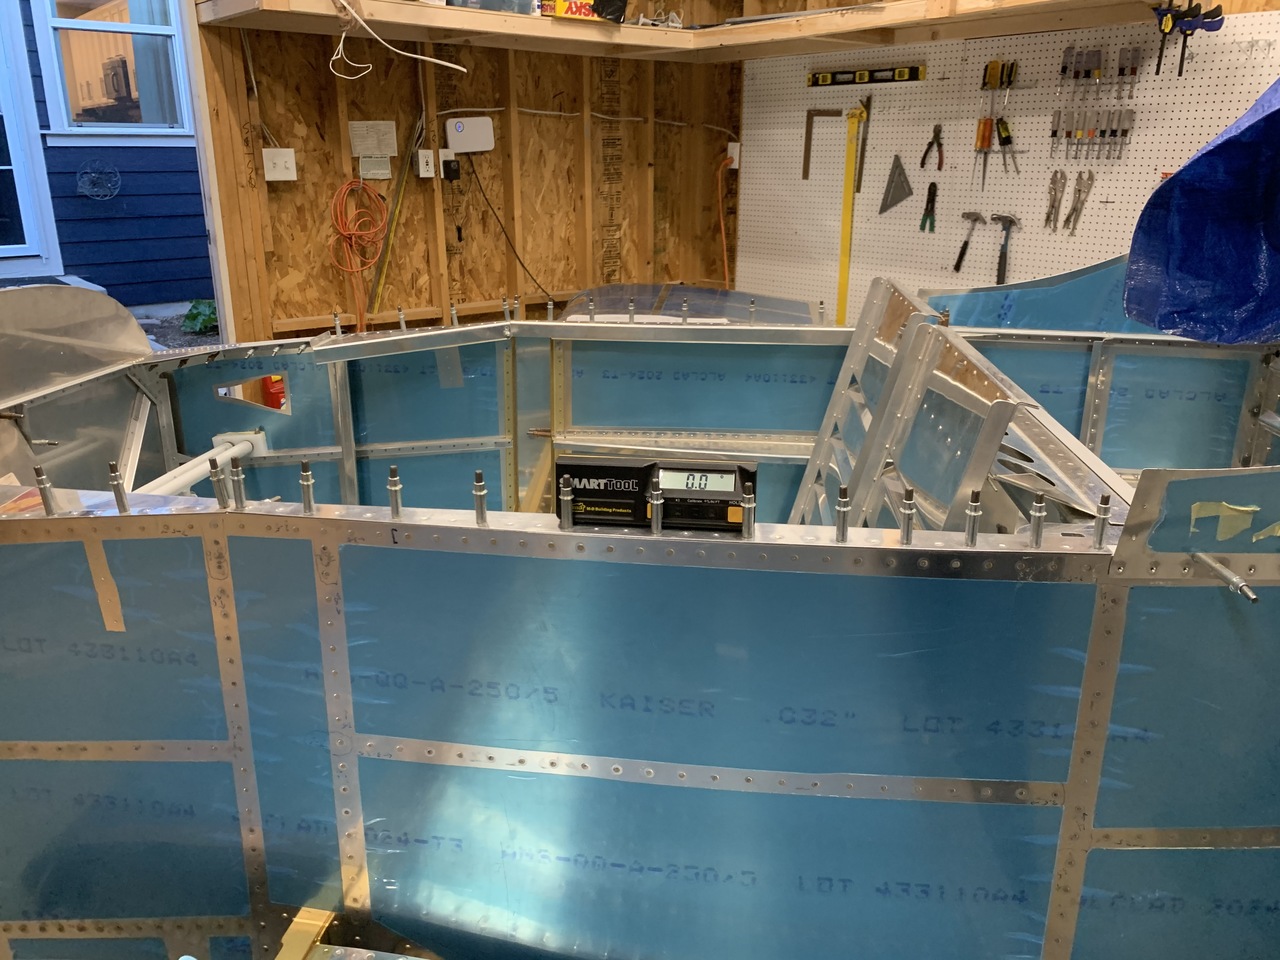
Then I set about leveling the fuselage, first side-to-side, both at the spar carry through and the longerons.
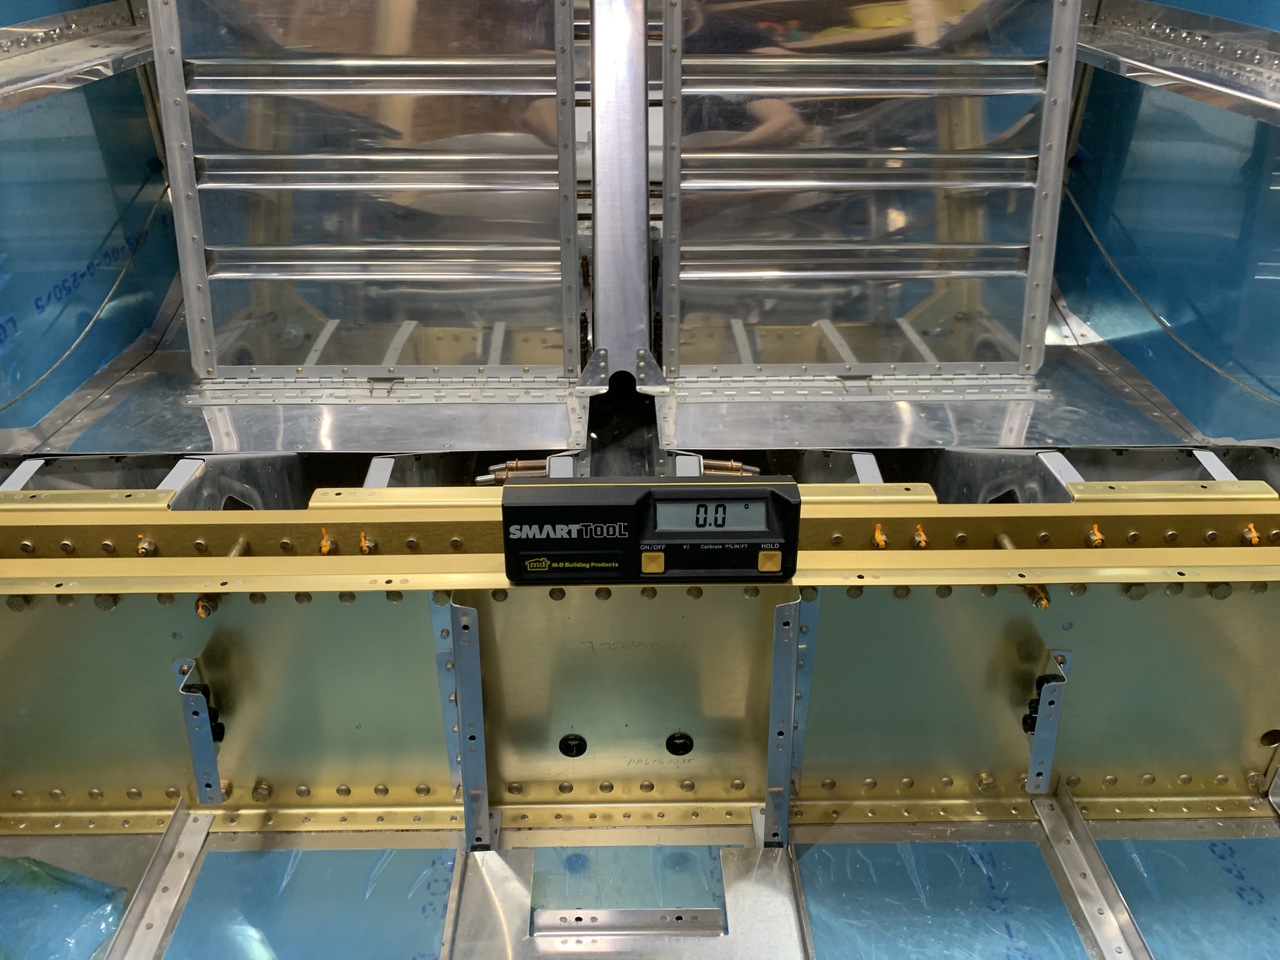
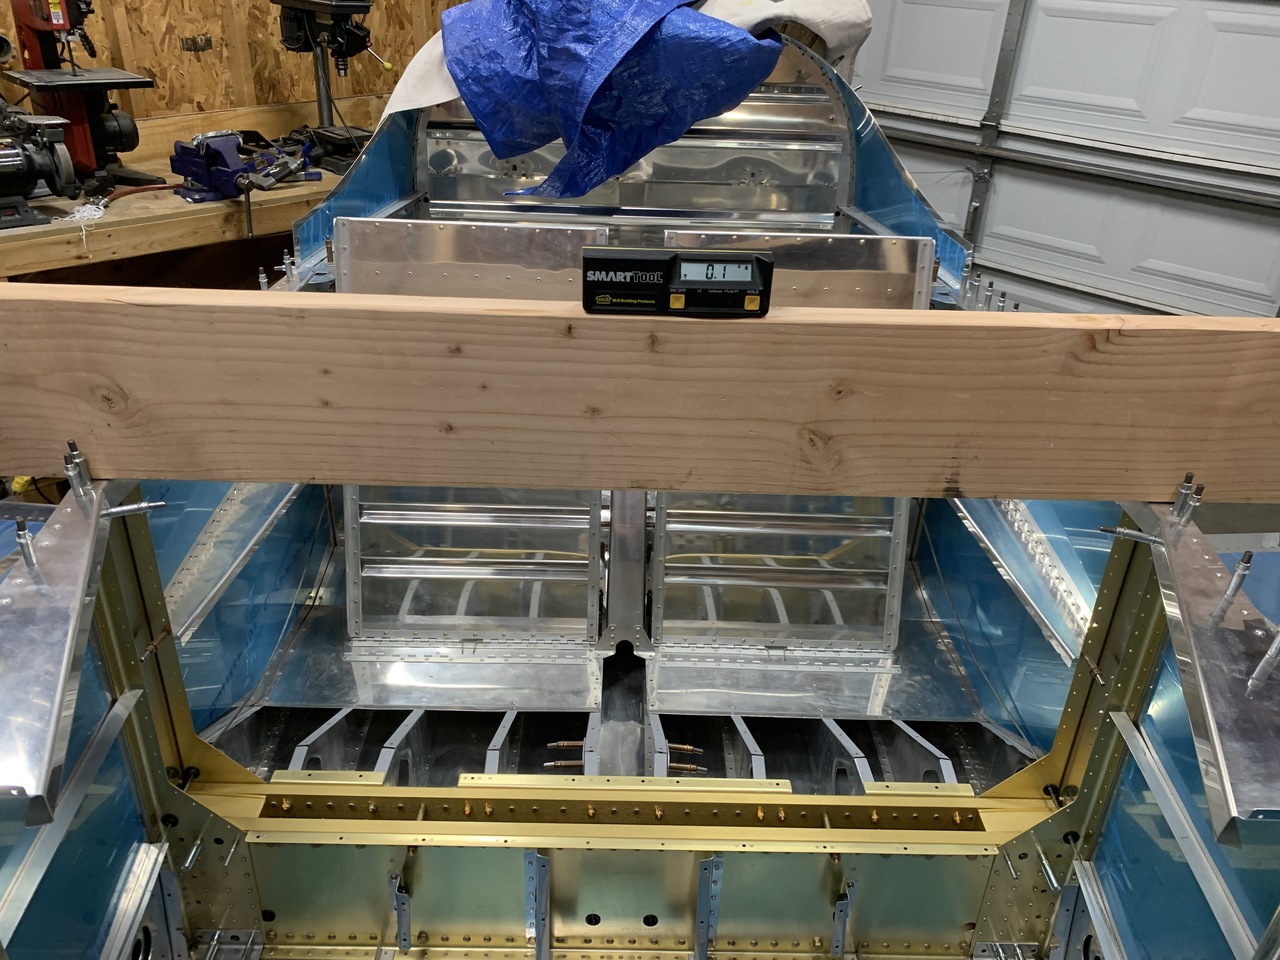
And then longitudinally. I averaged the two side rails and the center spar carry through.
Finally, I dropped 4 plumb bobs from the wings and stretched a string underneath all 4 to check sweep. It's really close, the tips are swept forward very slightly, but it's only 1/8" and it's the same on both sides. Van's instructions say not to worry if it's less than 1/2". I also measured from the wing tips back to the tail on both sides and got exactly the same measurement.
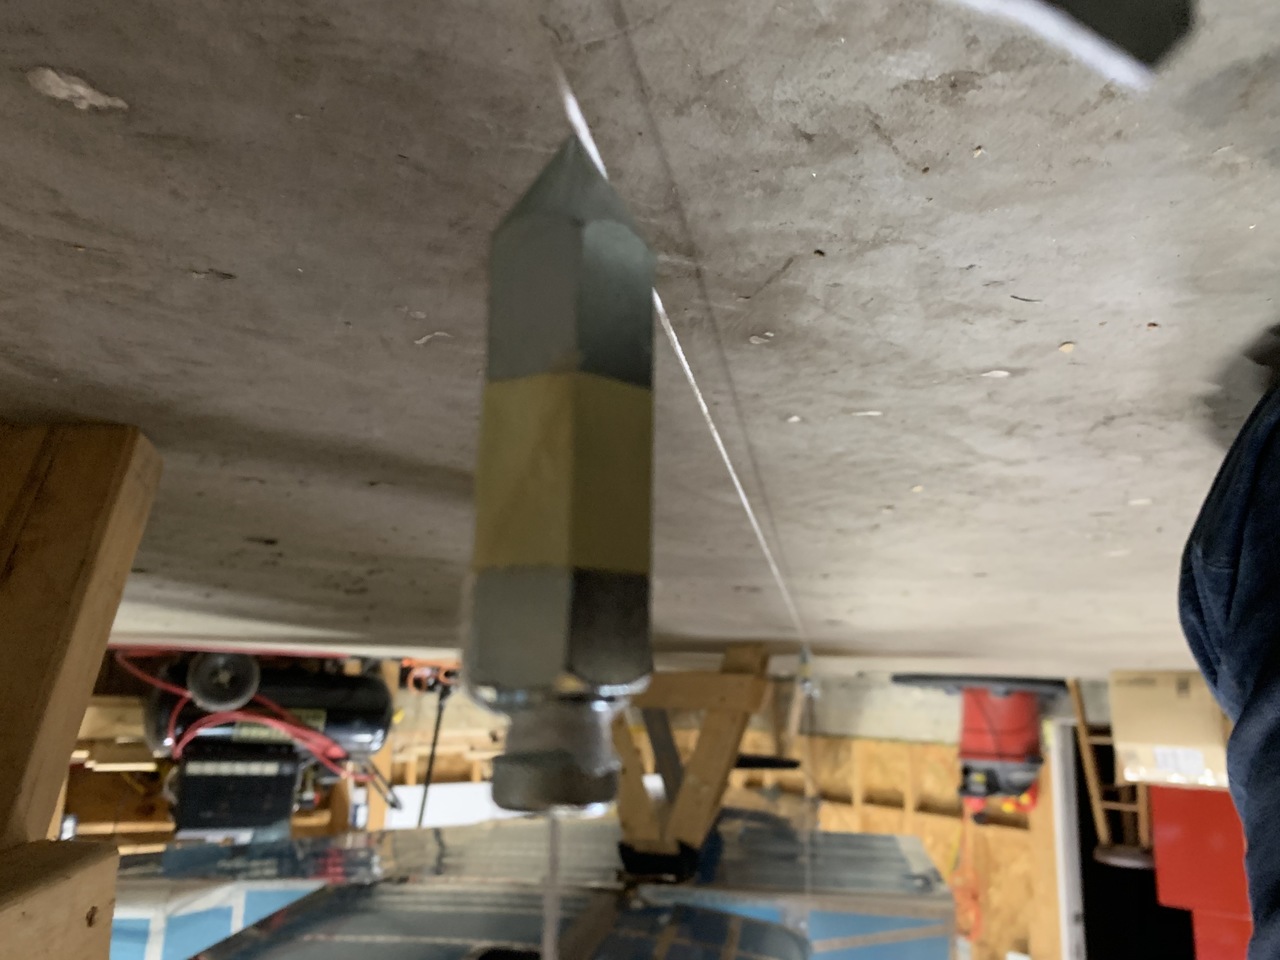
I'm relieved that the sweep turned out so well, because taking the wings off and filing down the rear spar attach points sounds like no fun.
Next up: setting wing incidence.
| Previous - Index - Next |
This work is licensed under Attribution-NonCommercial-NoDerivatives 4.0 International![]()
![]()
![]()
![]()