Log (By Day)
Log (By Category)
Pictures
Pics of Me Working
Links
| ||||||||||||
Thursday May 14, 2020
Fuel Tank Brackets, Center Control Column/Sticks, Mounted Ailerons, Installed Left Flap
(Mating Wings)
6.5 Hours
| Previous - Index - Next |
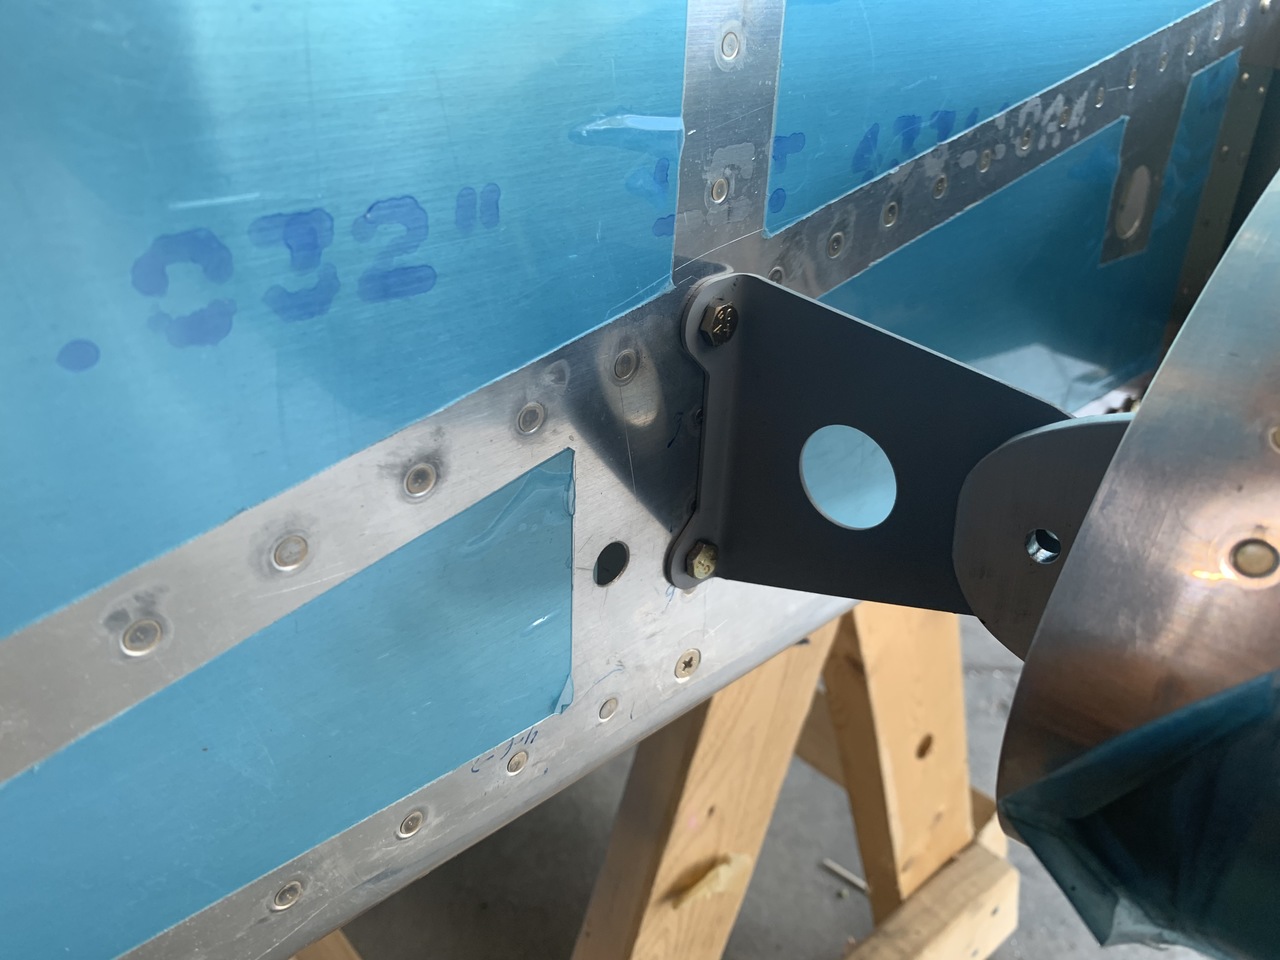
First thing today, I bolted the fuel tank attach steel brackets to the fuselage now that they've been primed. I won't bother bolting these to the wing now.
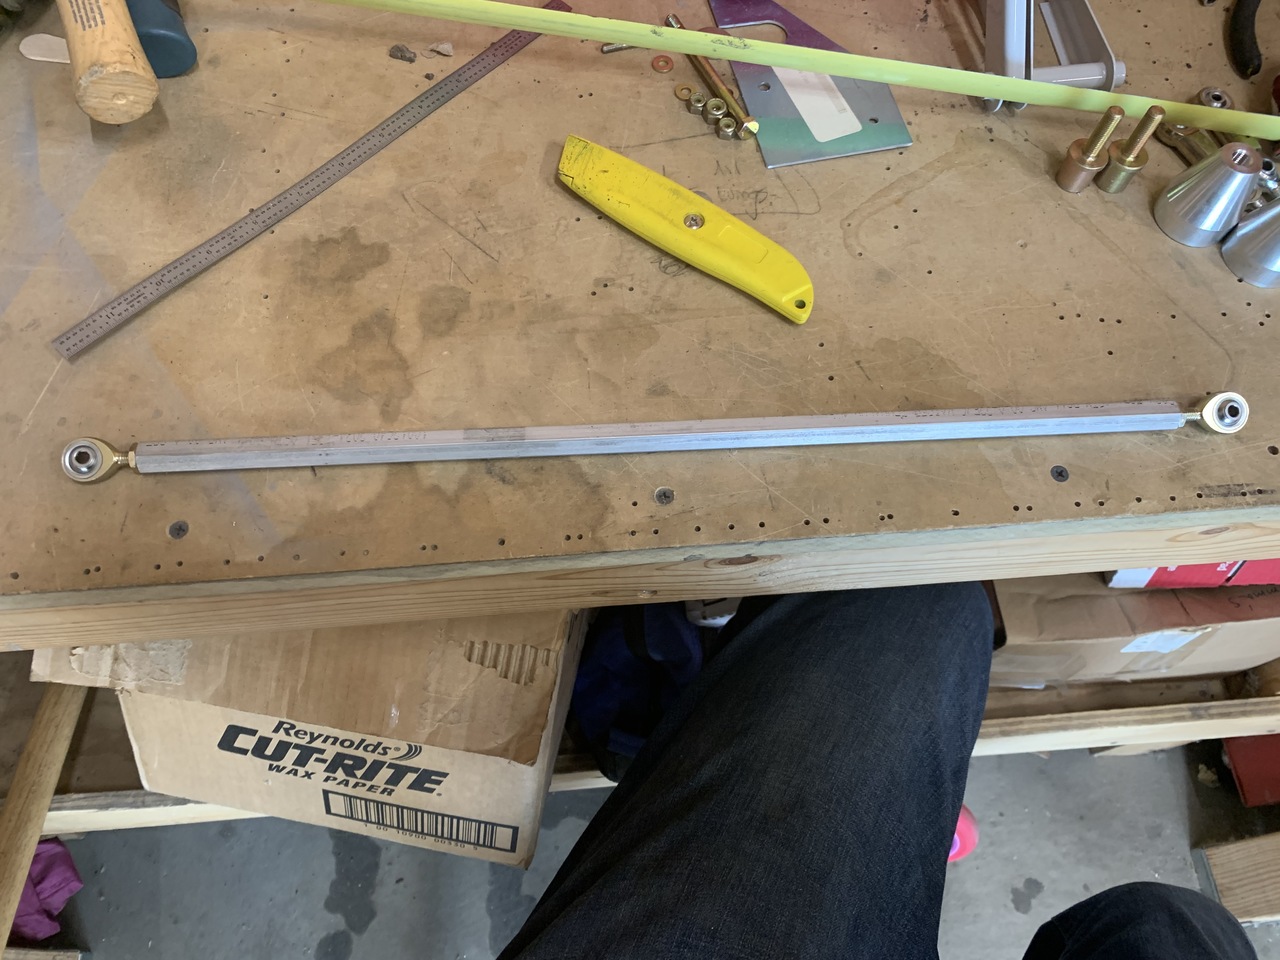
Then I got to work installing the central control column and sticks in the cockpit area. There are a lot of pieces and hardware to find and prep. This is the F-665 pushrod that transmits side-to-side inputs between the sticks.
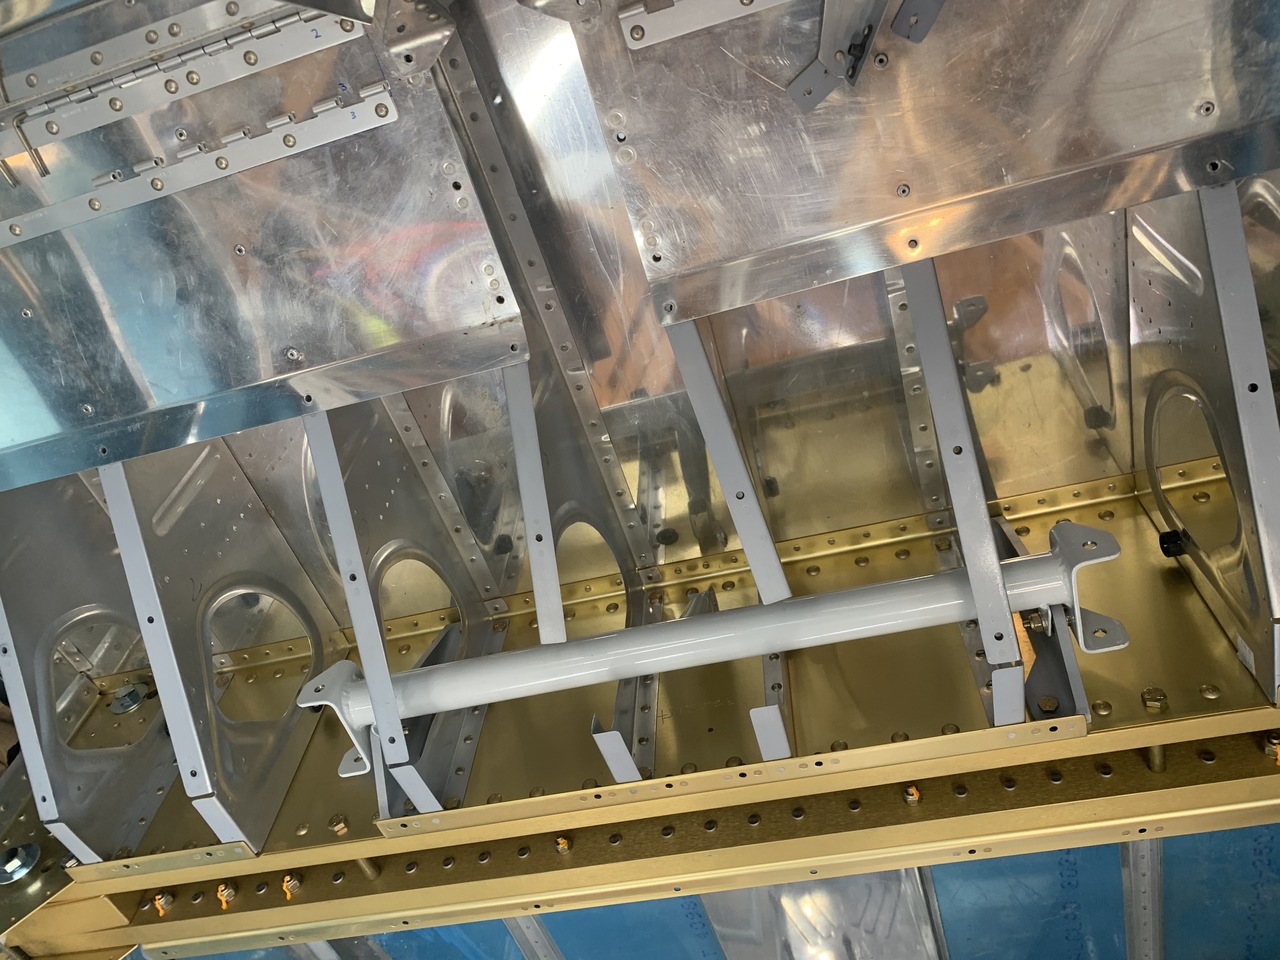
Here is the central column bolted into the fuselage.
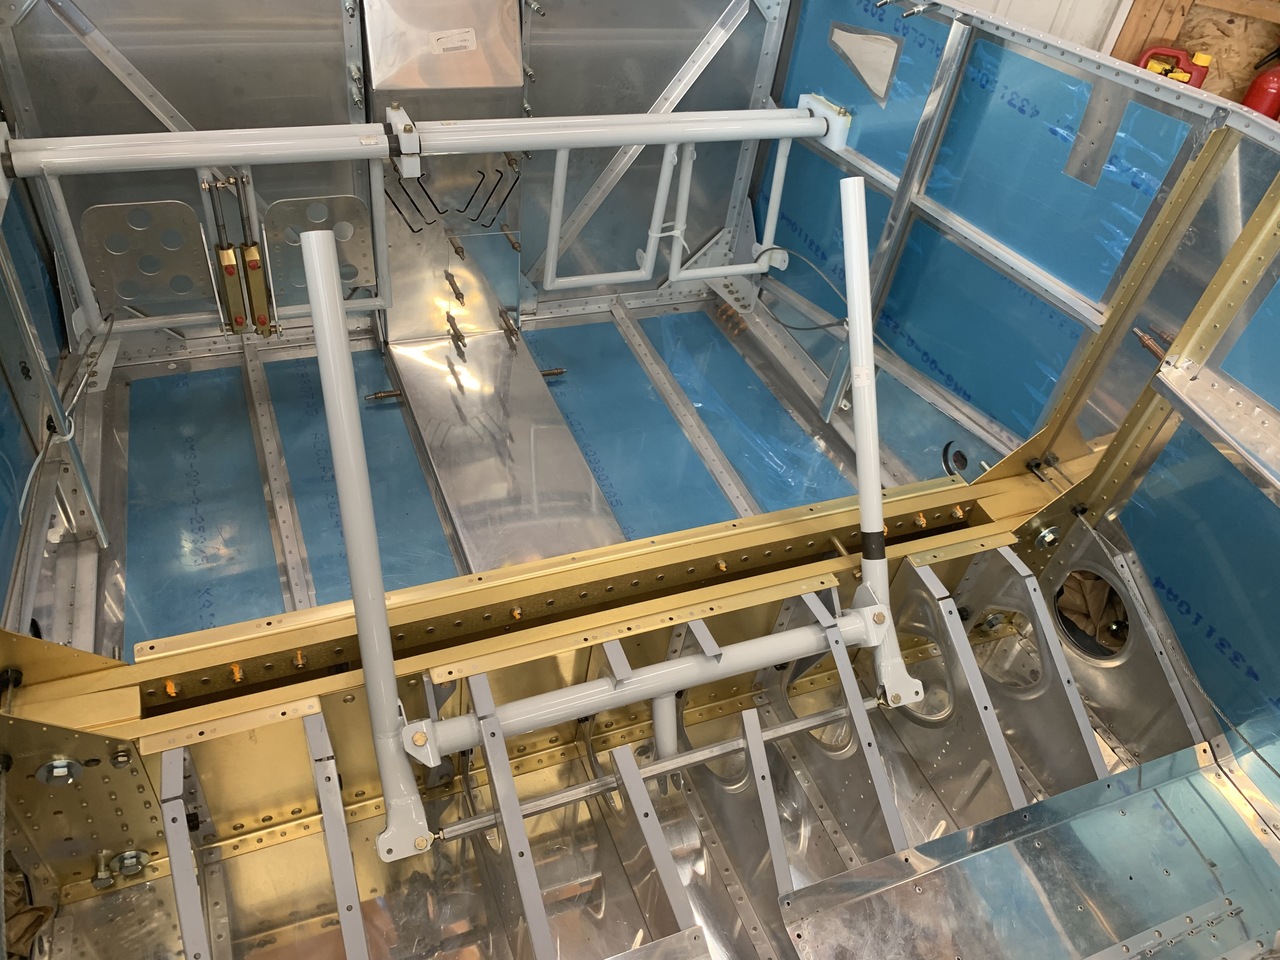
And here is everything bolted together. It took a while to get all of the hardware installed with everything moving freely and easily. It also took a while to dial in the length of F-665 so that the two sticks are exactly parallel. This eventually attaches to the two aileron push-rods and the elevator push-rod.
Then I decided to try to mount the ailerons and flaps, which I had put off because I don't have a part for the aileron bell crank. I realized I don't need the aileron rigged up to the controls to install it and the flaps, though. First, I made the little jig that the plans describe to get the aileron in its neutral position.
Then, I installed the left aileron. It took a little bit to make spacers and find/install all of the hardware.
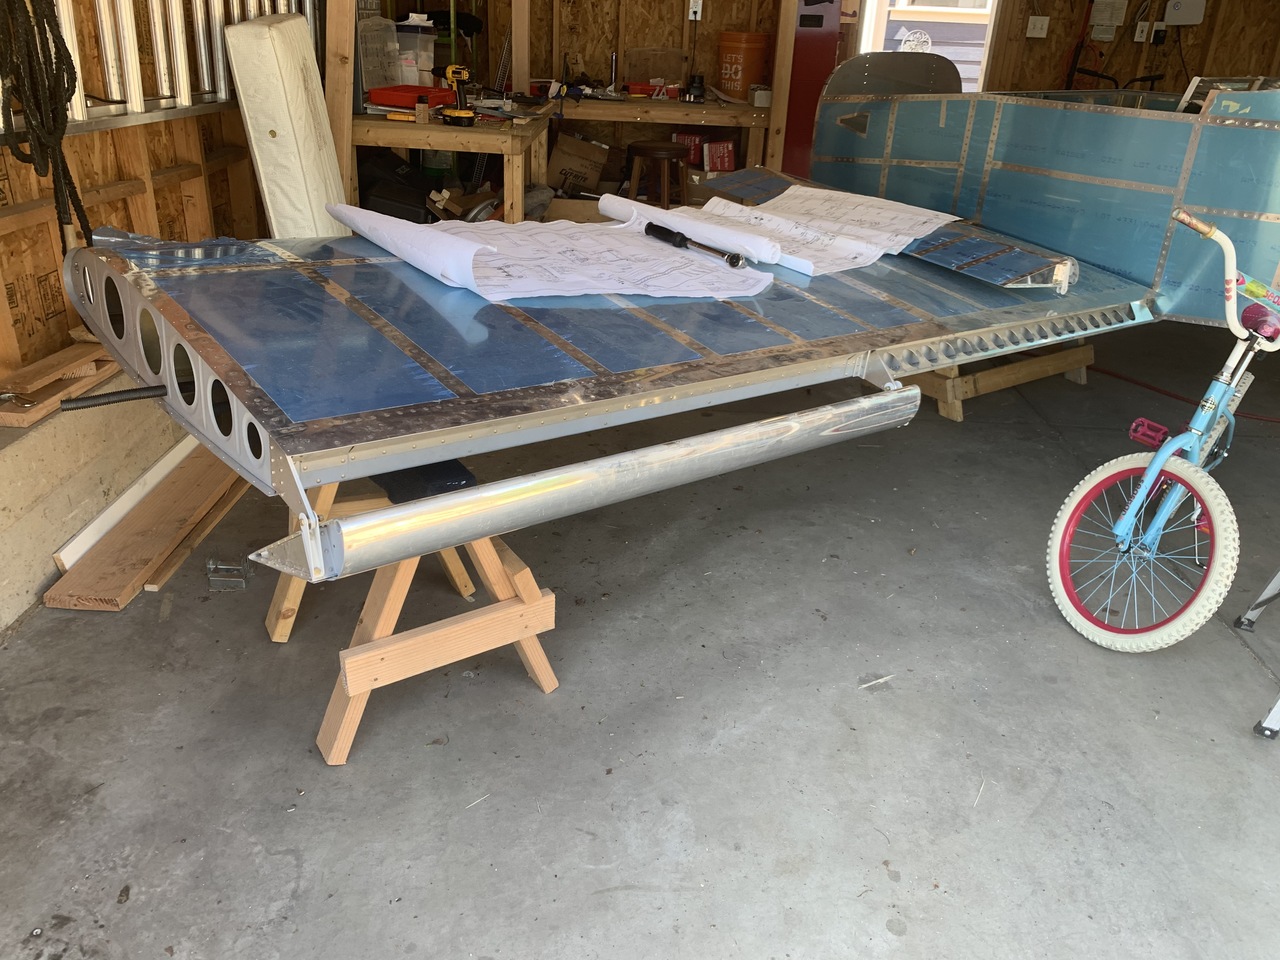
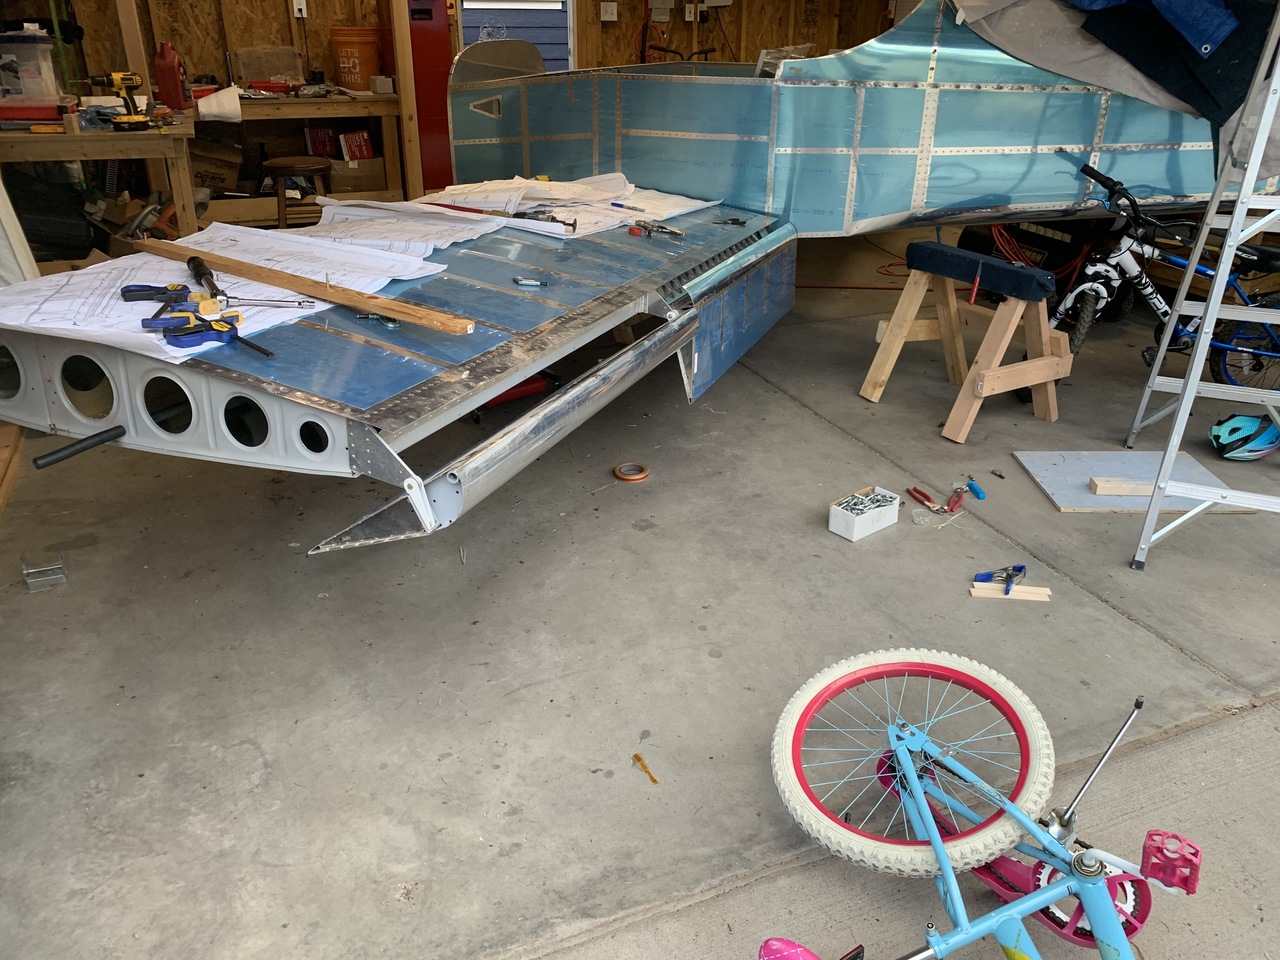
Here's the left aileron in trail with the wing (neutral).
I also installed the right aileron. They both move very smoothly.
Then I got to work on the left flap. Van's describes two ways to configure the hinge pin. You can either drill a hole in the inboard aileron attach bracket, or remove some hinge eyes here in the middle and split the pin in two.I opted for the latter.
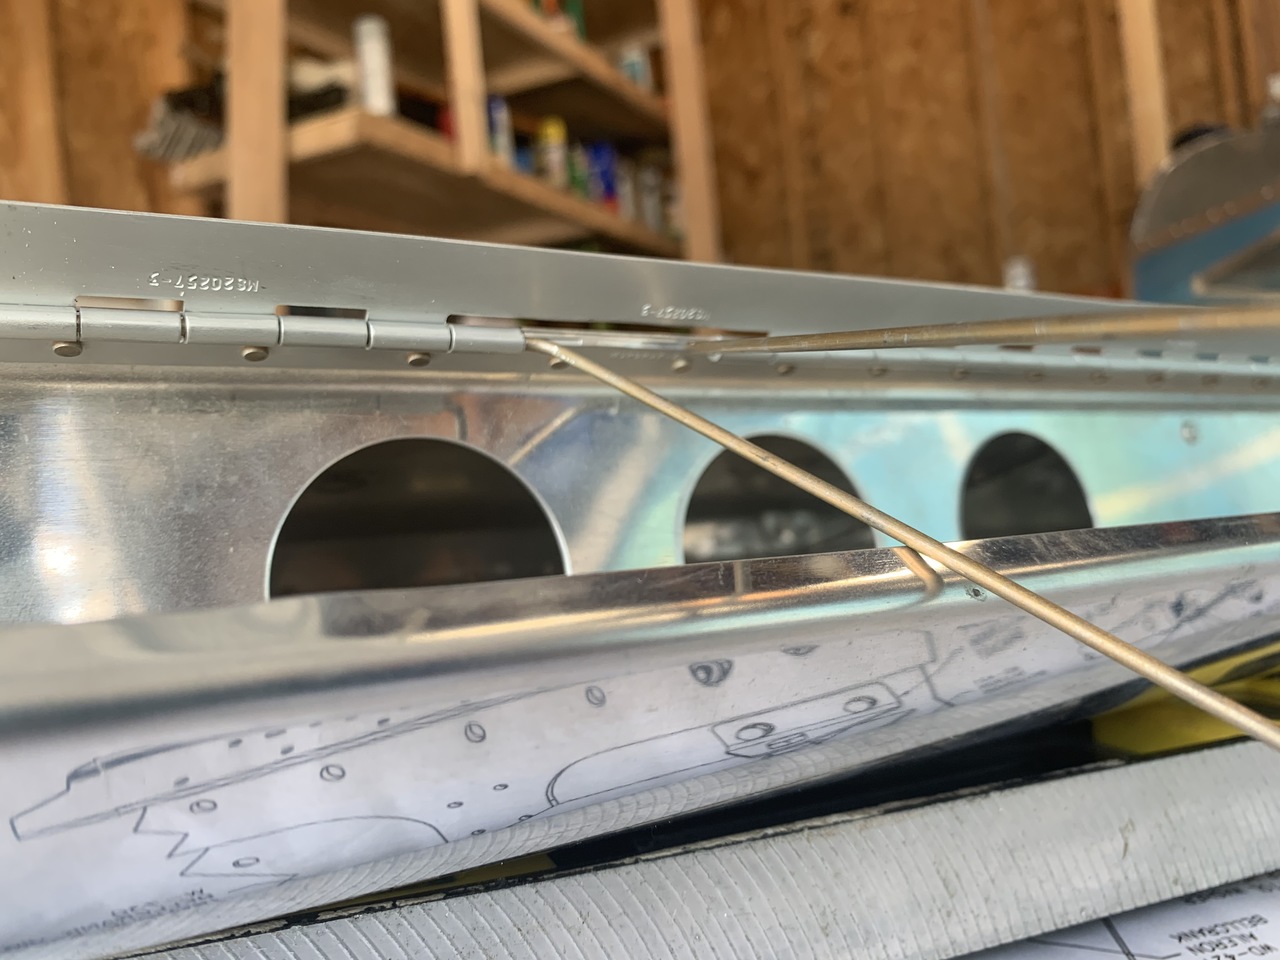
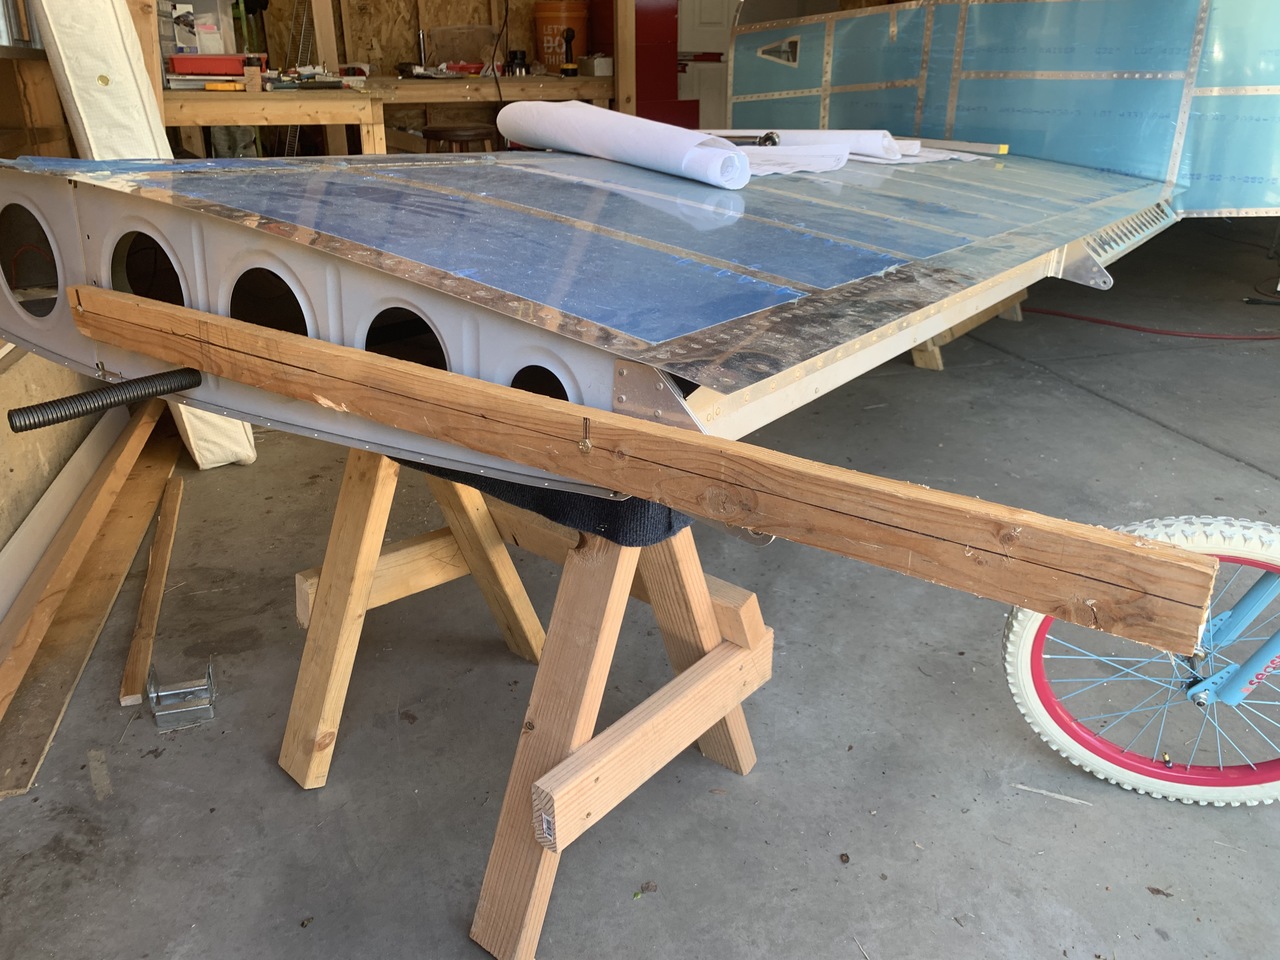
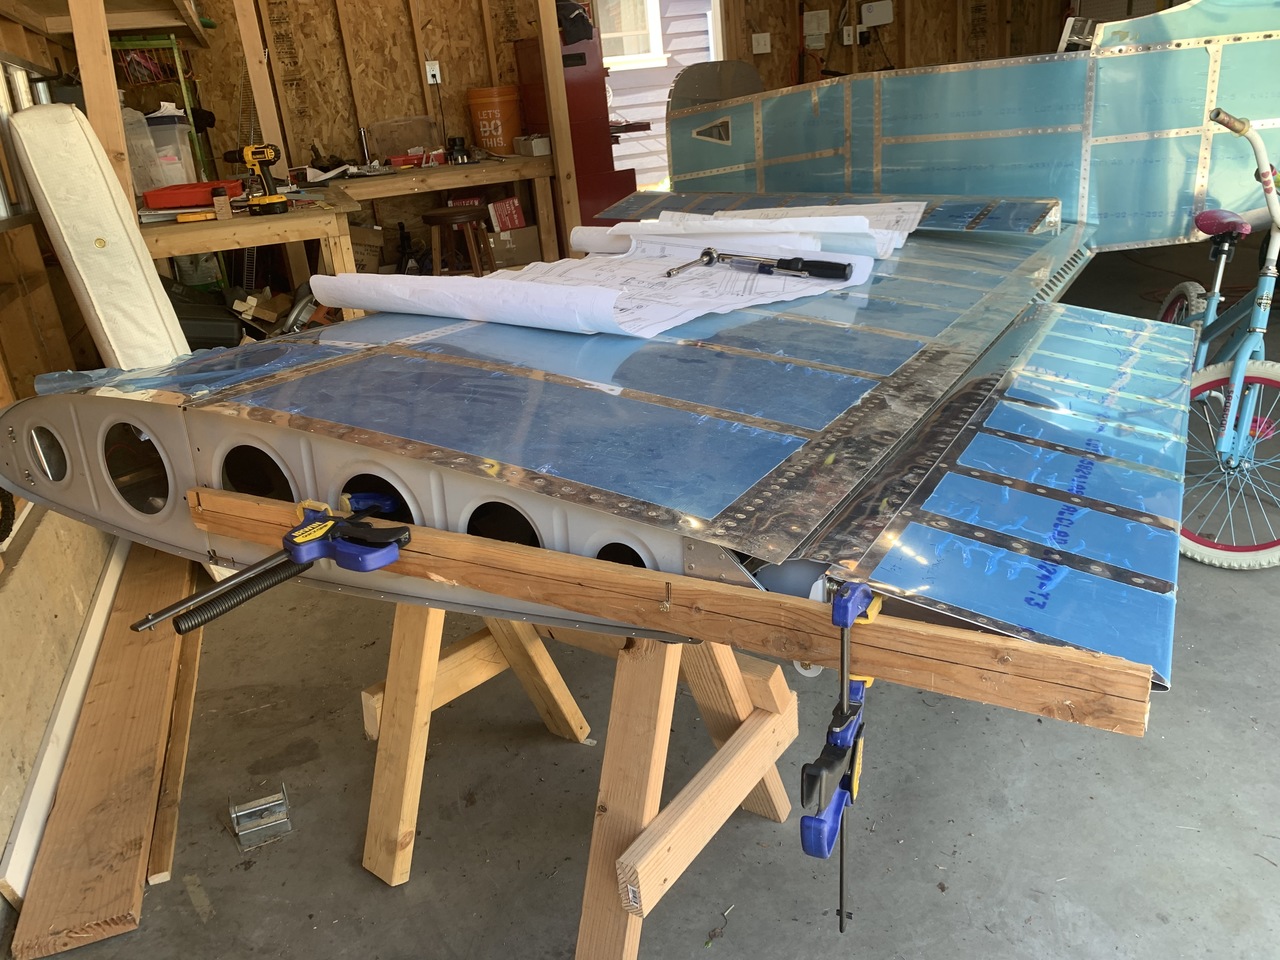
Then, I got the flap in place, which is a little tricky because the wing side of the hinge wasn't drilled yet. I clamped the flap to the aileron to support it on the outboard side and ensure the two were lined up. Then I used one of my sawhorses to support the inboard side of the flap. I got everything lined up exactly how I wanted it and clamped the outboard end of the hinge to the wing. I triple checked alignment again and then drilled the first hole. From there, I put a cleco in every new hole and carefully drilled the entire hinge toward the fuselage. It came out great.
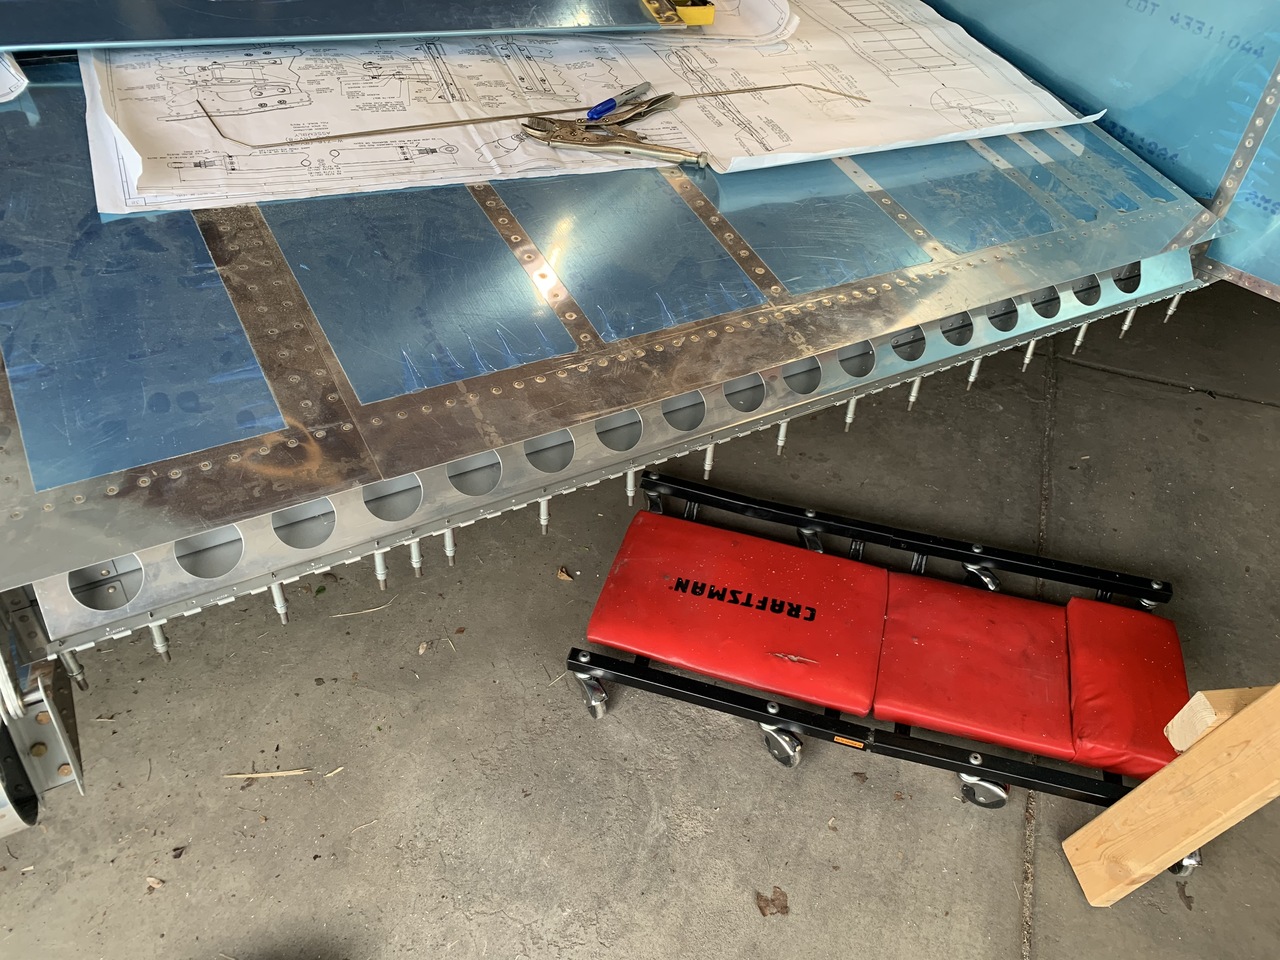
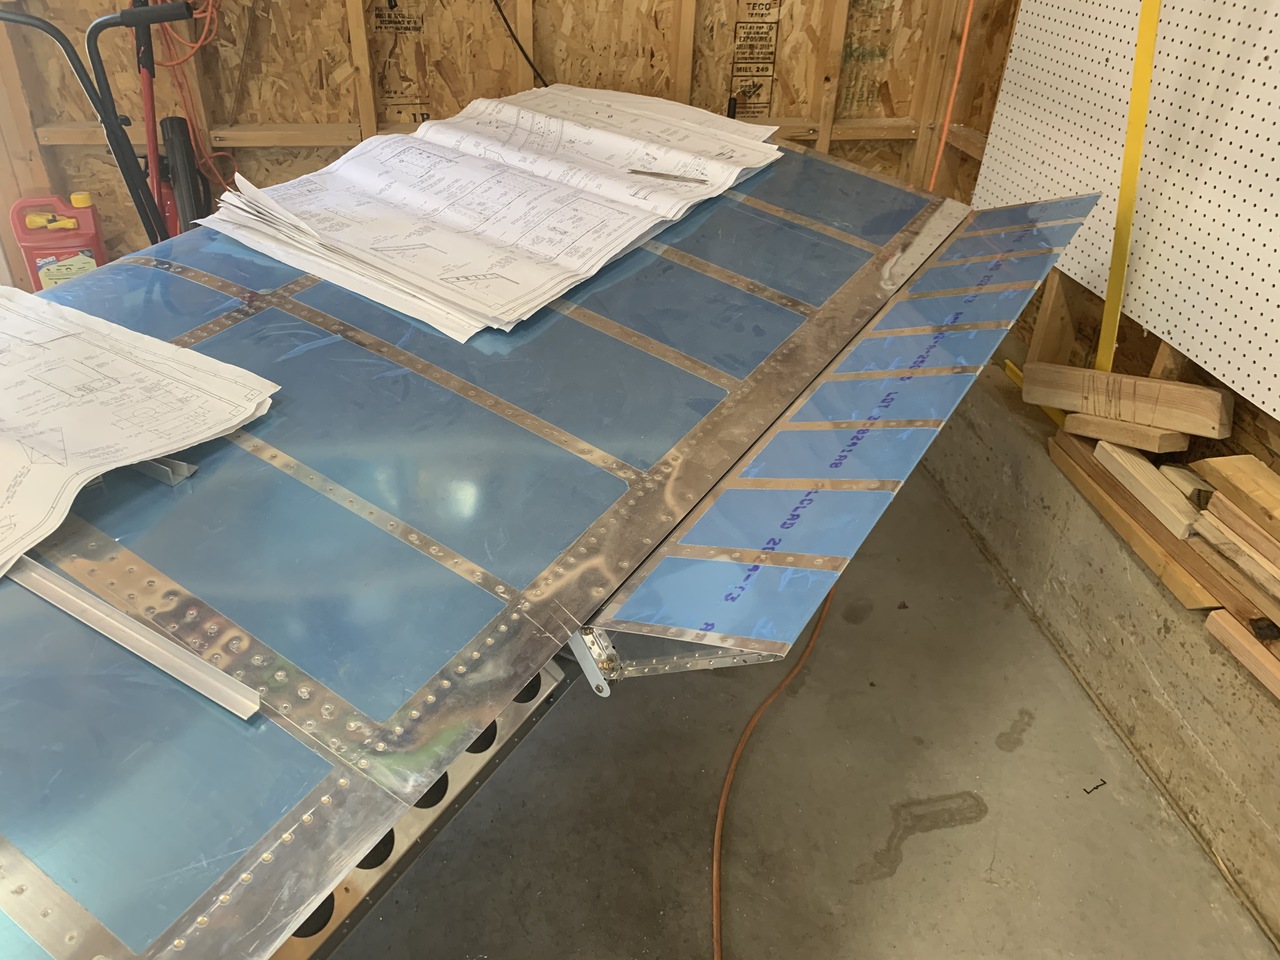
Finally, I deburred the hinge, trimmed the ends, and riveted it to the wing. Here it all is with the flap installed. The spacing between the aileron and flap is right at 1/4" as specified, and the trailing edges of the two surfaces line up perfectly. In this picture, they're just hanging because they aren't connected to any push rods.
Tomorrow, I'll install the R flap, start working on the flap push-rods, and some trimming where the inboard end of the flaps hit the fuselage. I'm waiting on the two brass bushings from Van's so I can rig the aileron push-rods. I also discovered today that Van's doesn't include the F-799 wing root fairings in the fuselage kit, even though they have you fit them at this stage. For some reason, they come in the finishing kit! I'm going to order them separately and do them now while the wings are attached.
| Previous - Index - Next |
This work is licensed under Attribution-NonCommercial-NoDerivatives 4.0 International![]()
![]()
![]()
![]()