Log (By Day)
Log (By Category)
Pictures
Pics of Me Working
Links
| ||||||||||||
Tuesday September 15, 2020
Drilled Elevator Horns
(Empennage)
2.5 Hours
| Previous - Index - Next |
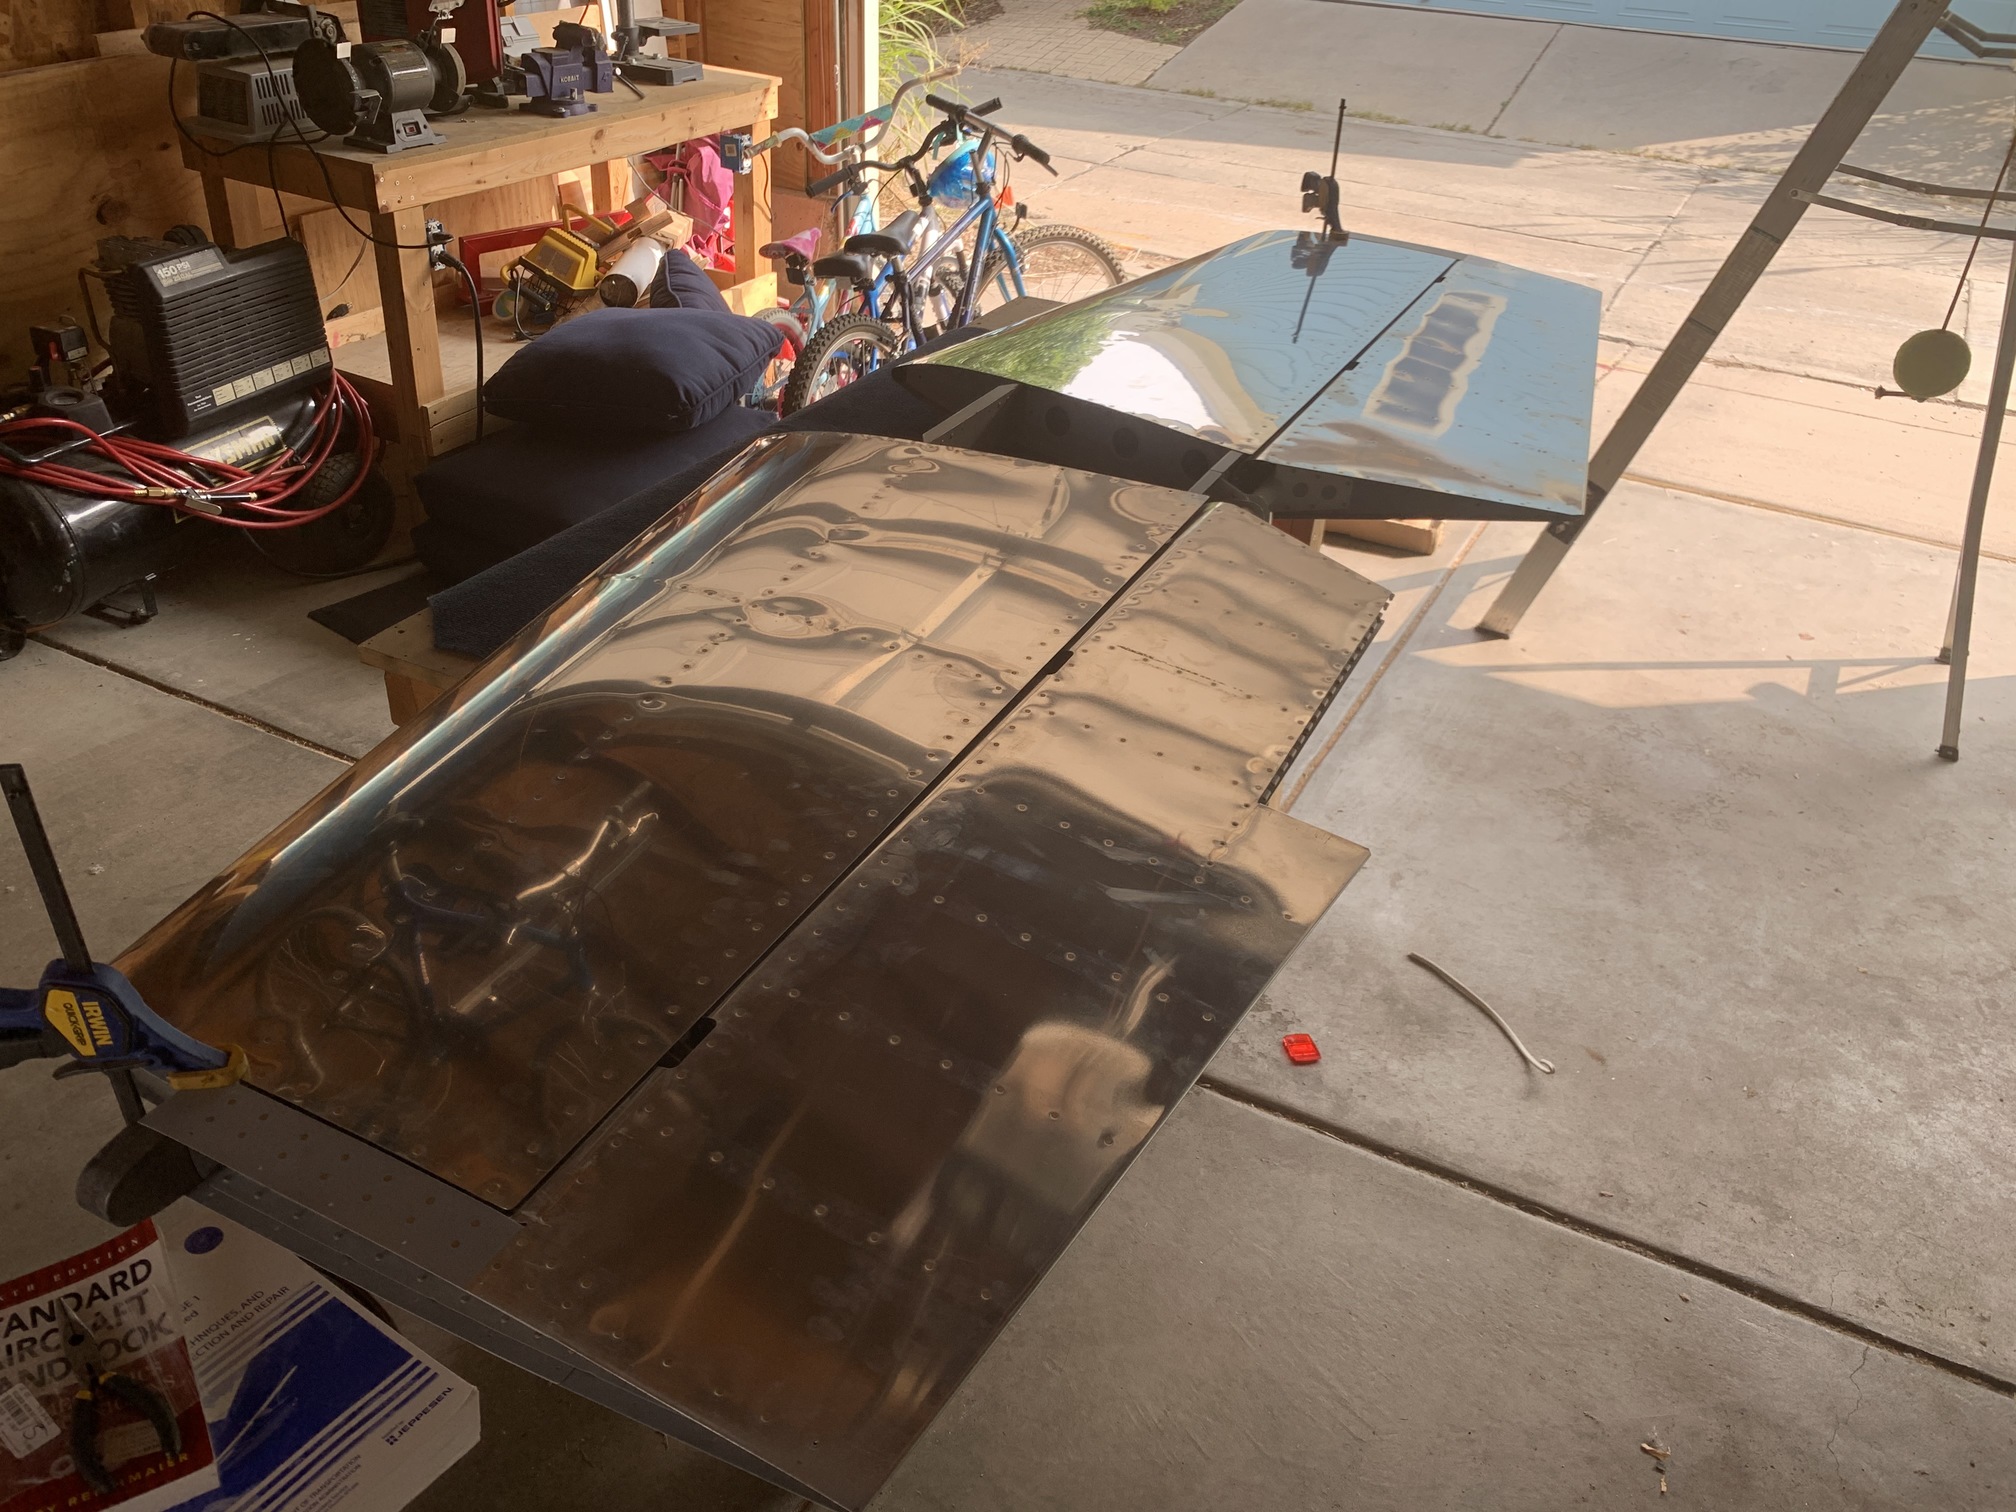
I've been super busy over the last few months, so wasn't able to work on the plane at all. I finally have some free time this week, so I got to work on mounting the tail feathers.
First, I got down the horizontal stab and the elevators and attached them. I removed the elevator trim tab just to keep it out of the way.
I quickly realized that I had never drilled the upper elevator horn bolt holes when I first fabricated the elevators, so I set to work doing that. I made a little drill bushing out of some 1/4" aluminum tubing and drilled each side using the center bushing as a guide.

Enlarged the holes to 1/4".

They swing freely without binding with the center bolt in place.
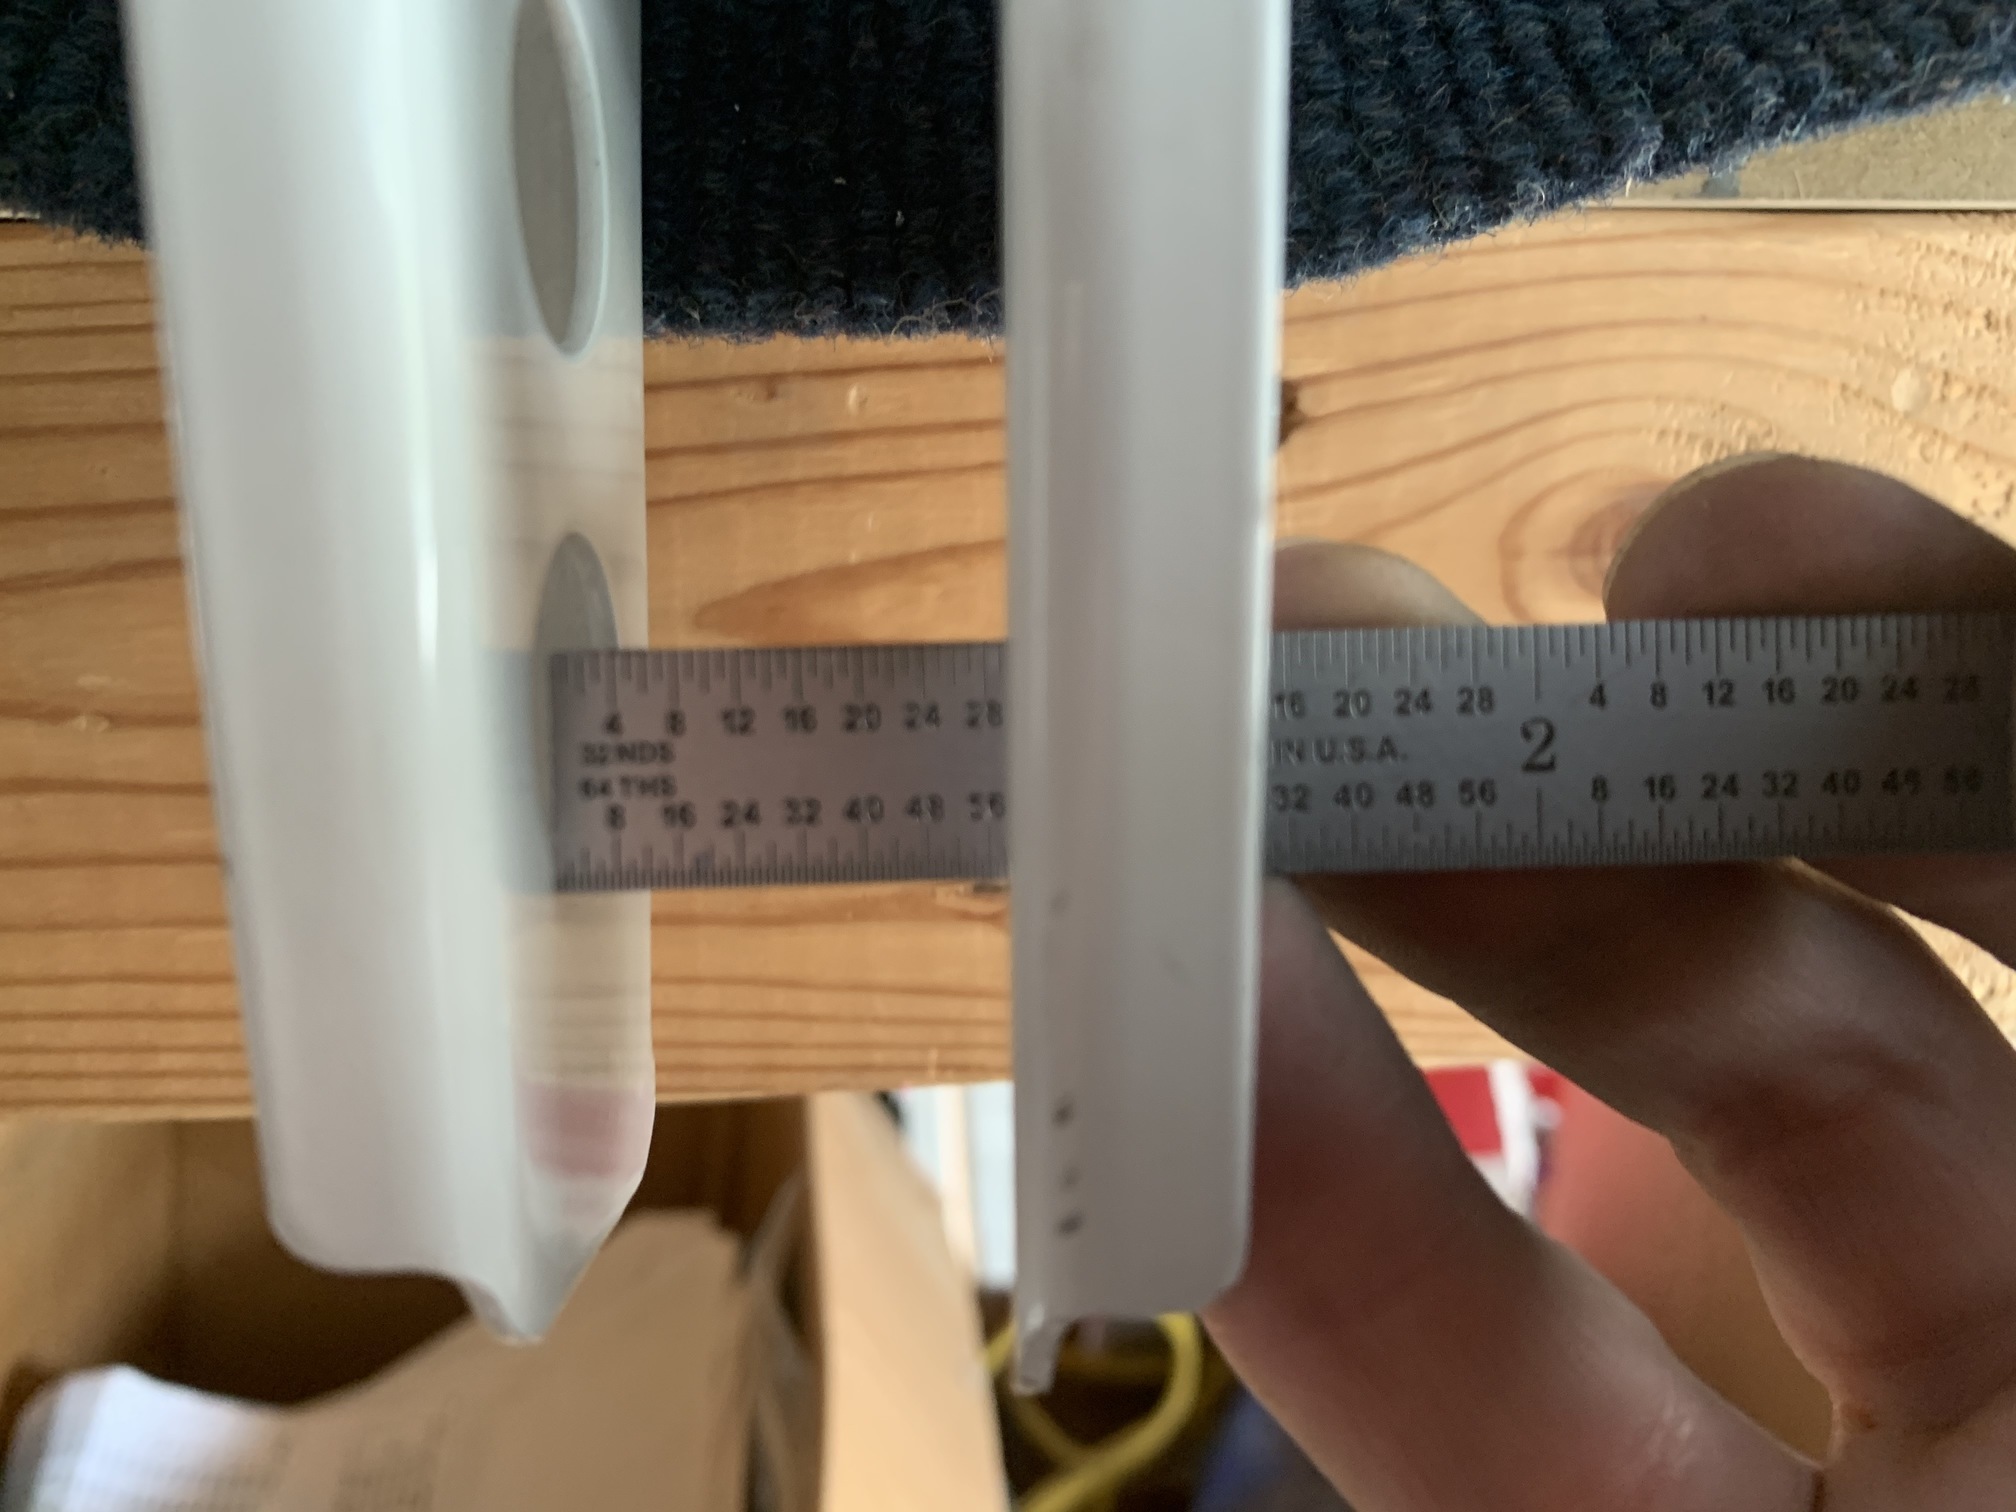
Then I measured the distance between the horns and figured out that the R horn was slightly more aft. The plans have you drill the lower bolt hole on that one first to preserve edge distance.
I marked the R horn per the plans and drilled the hole.

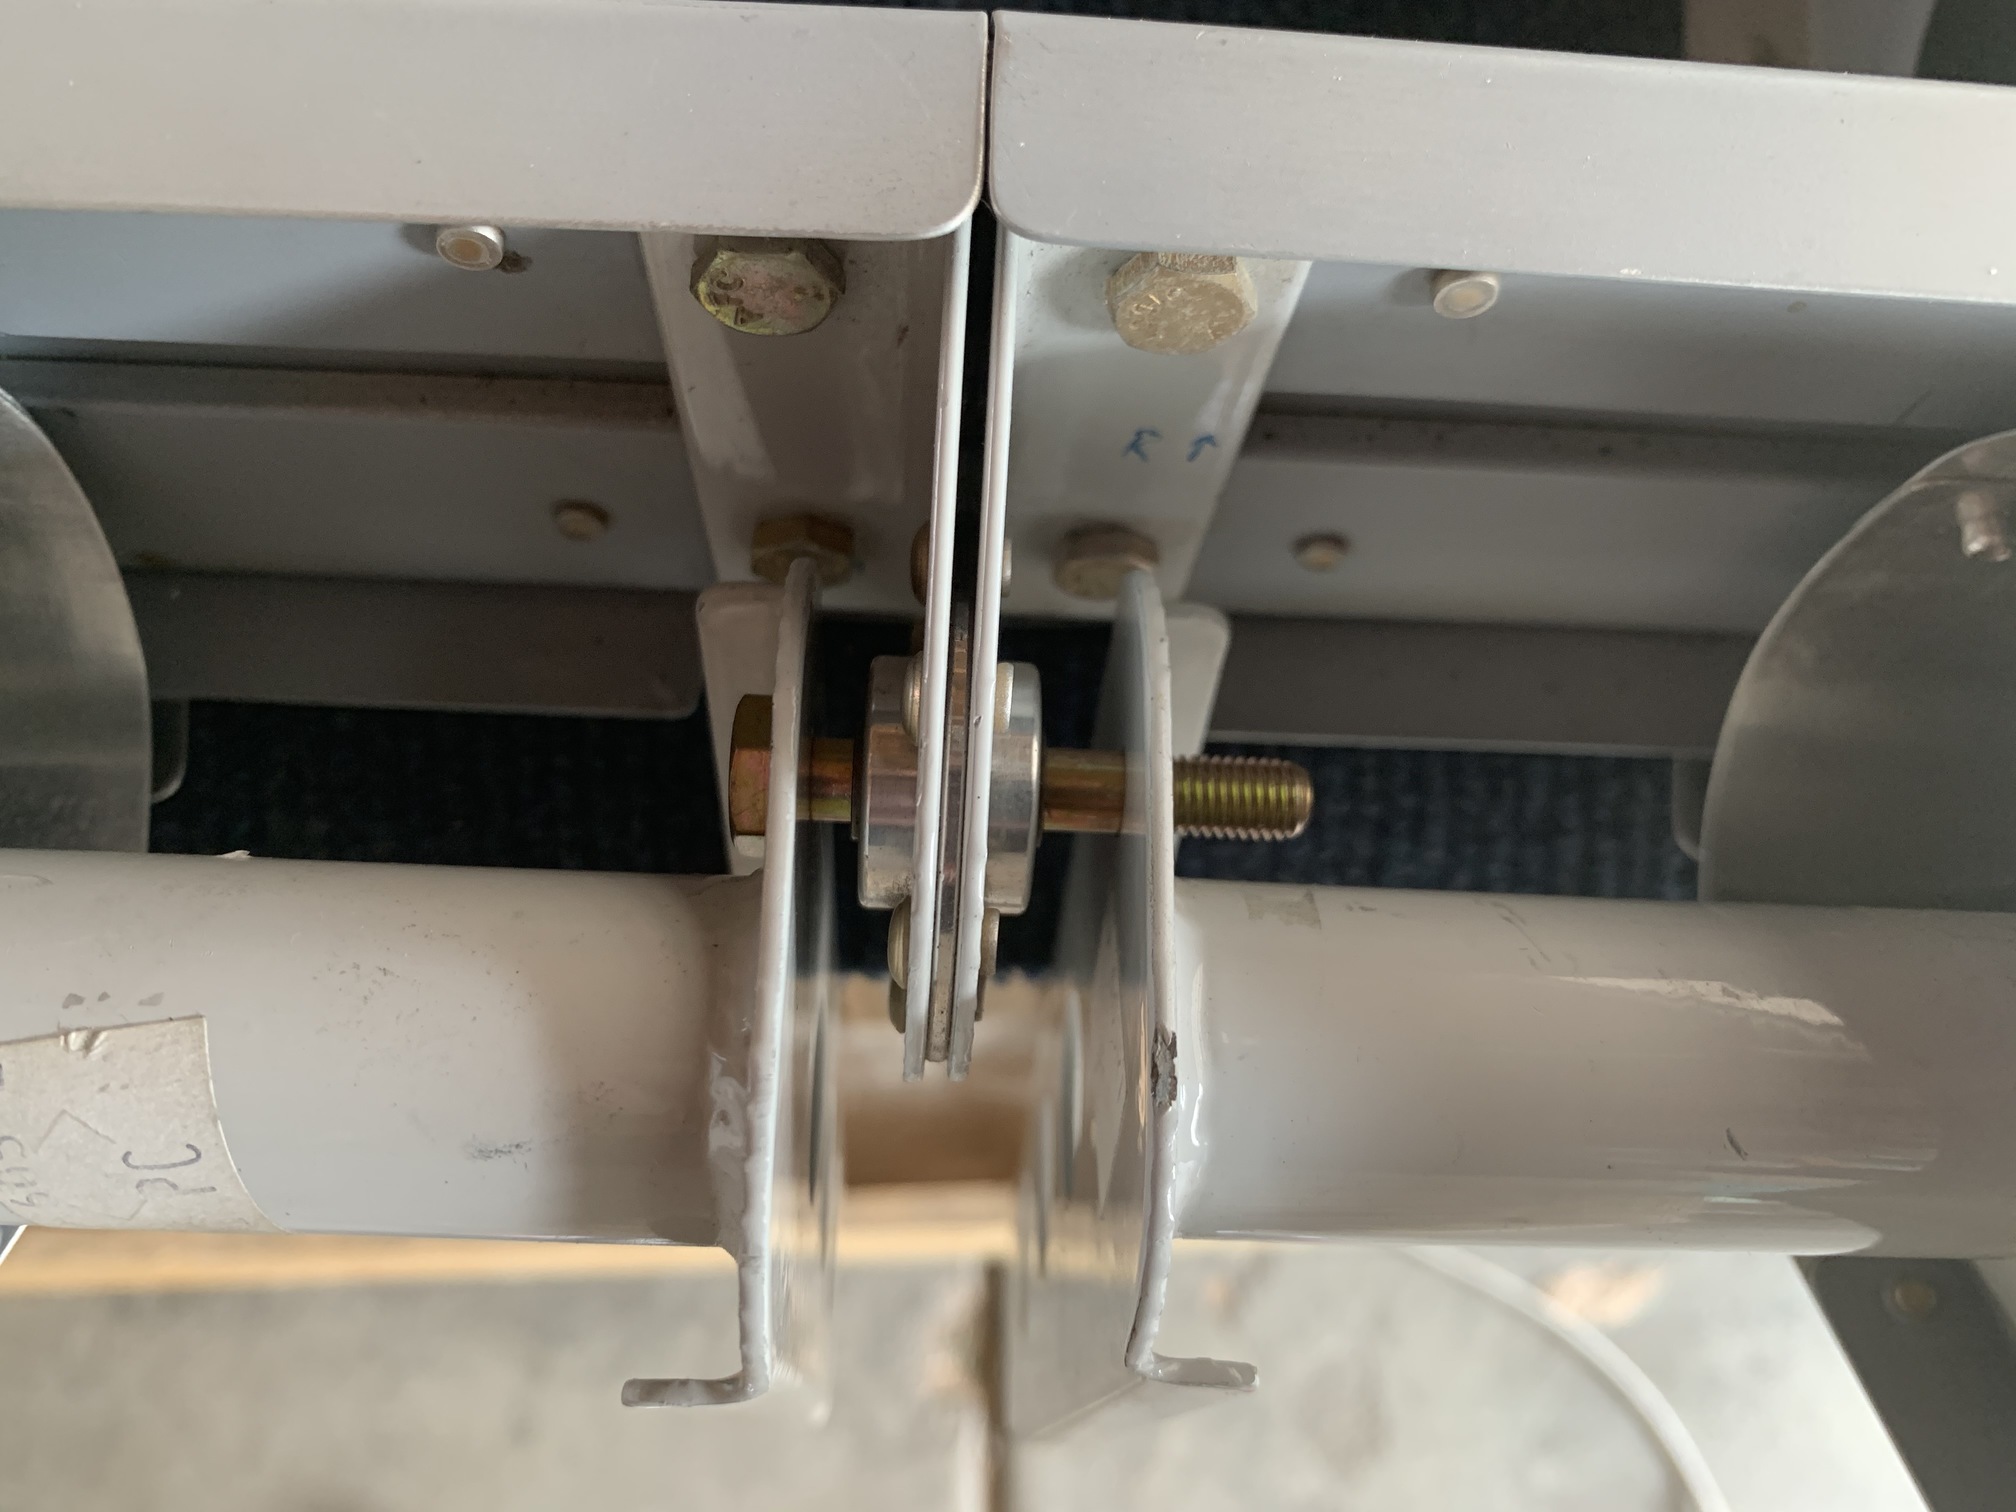
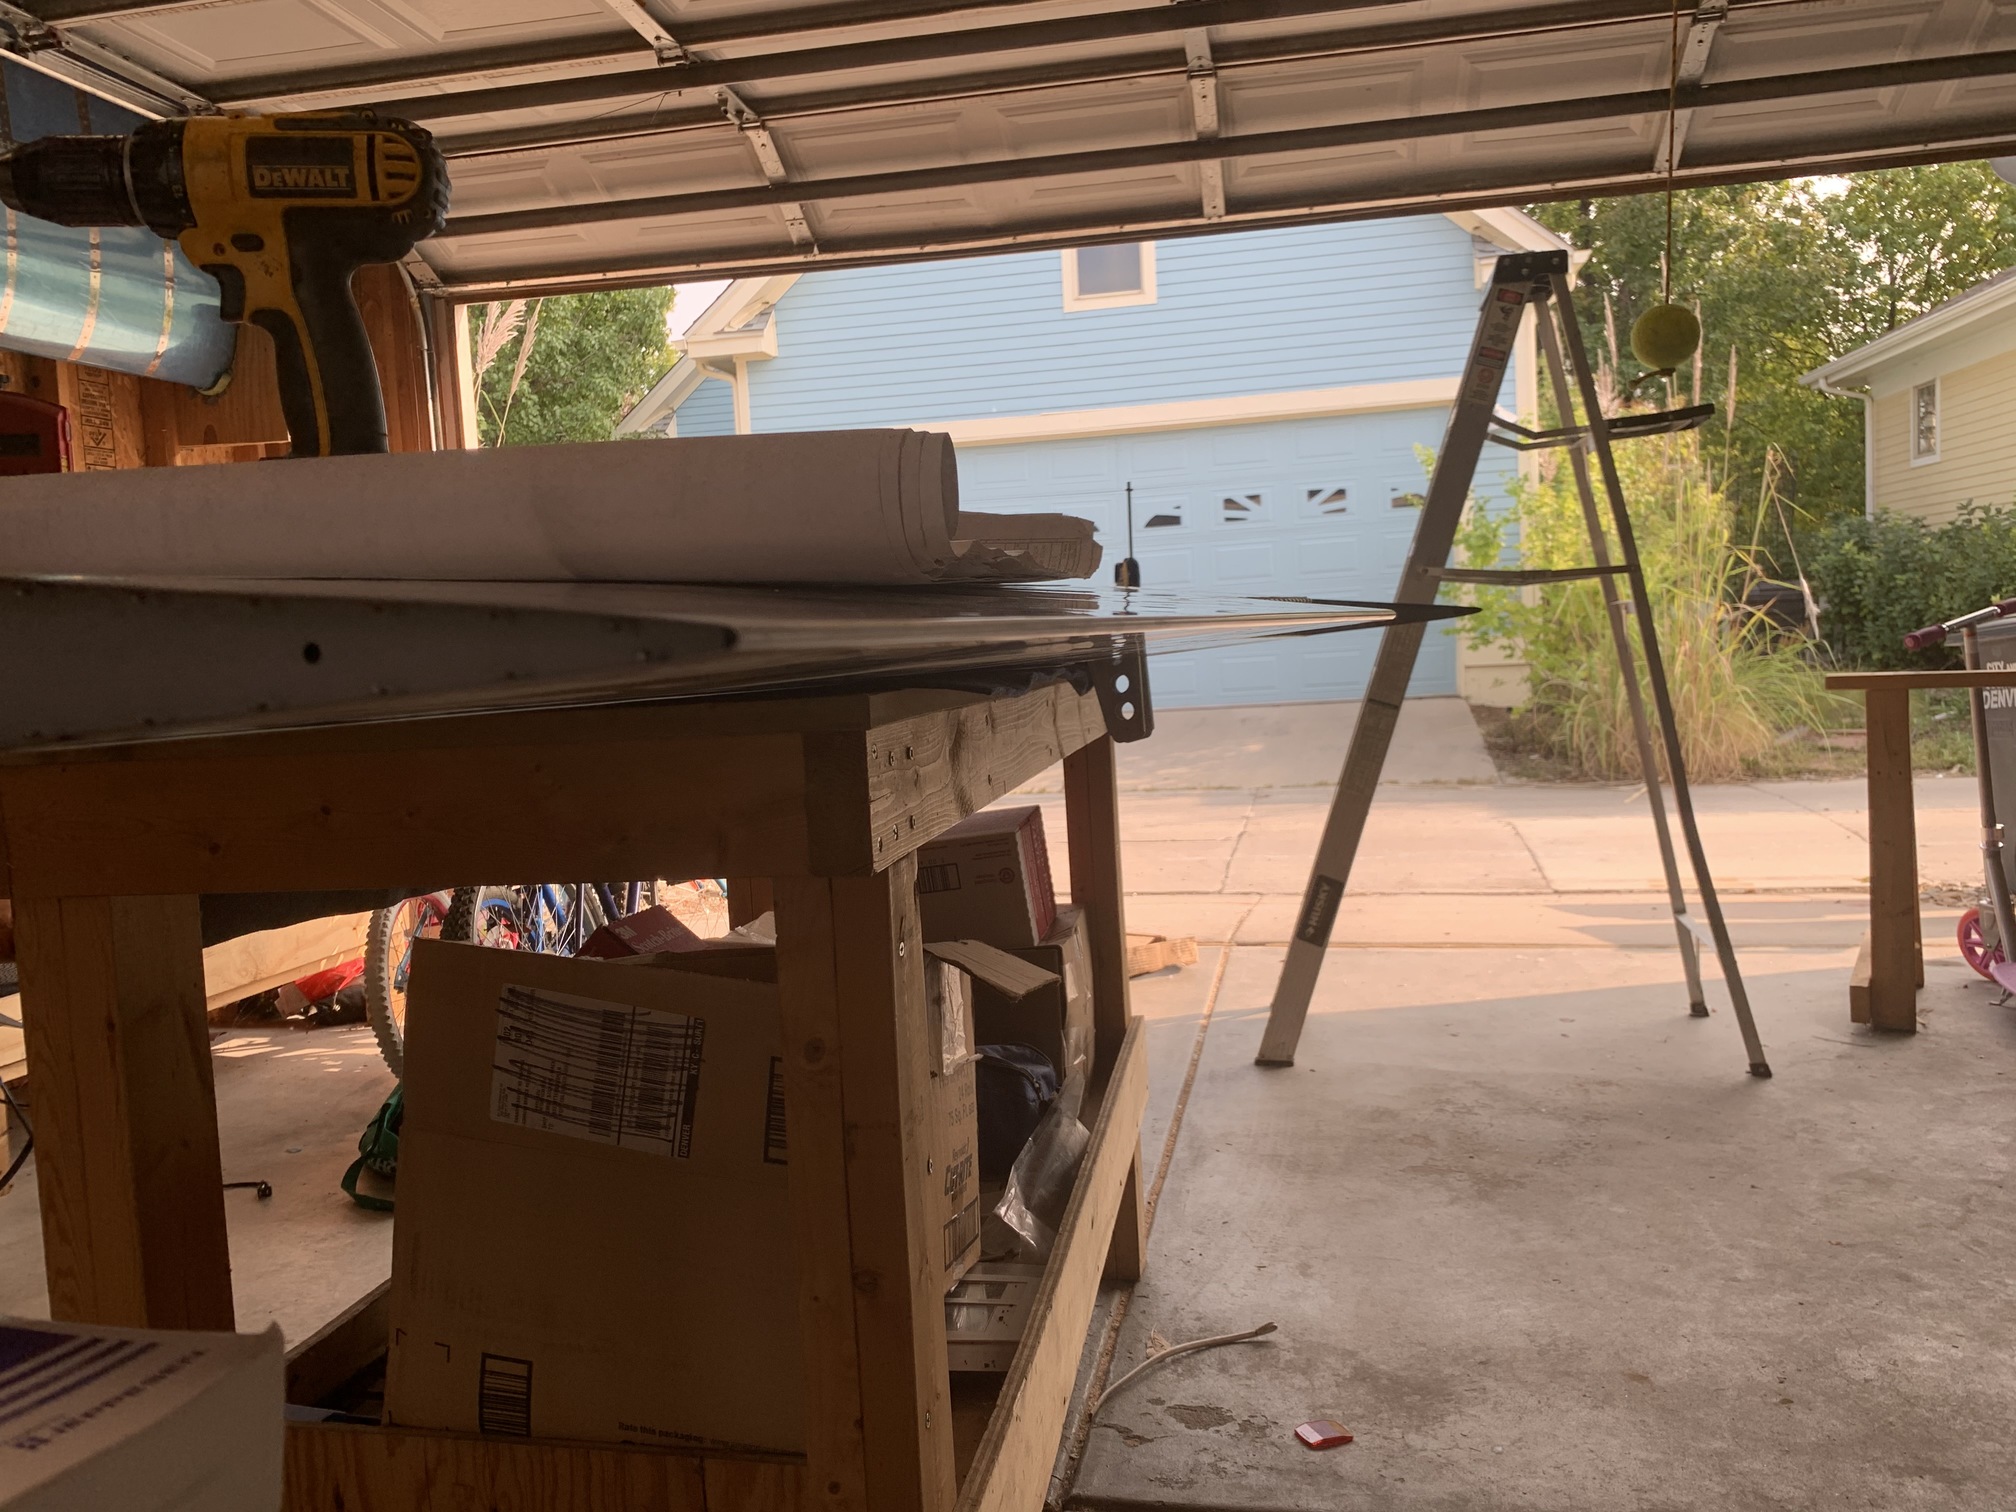
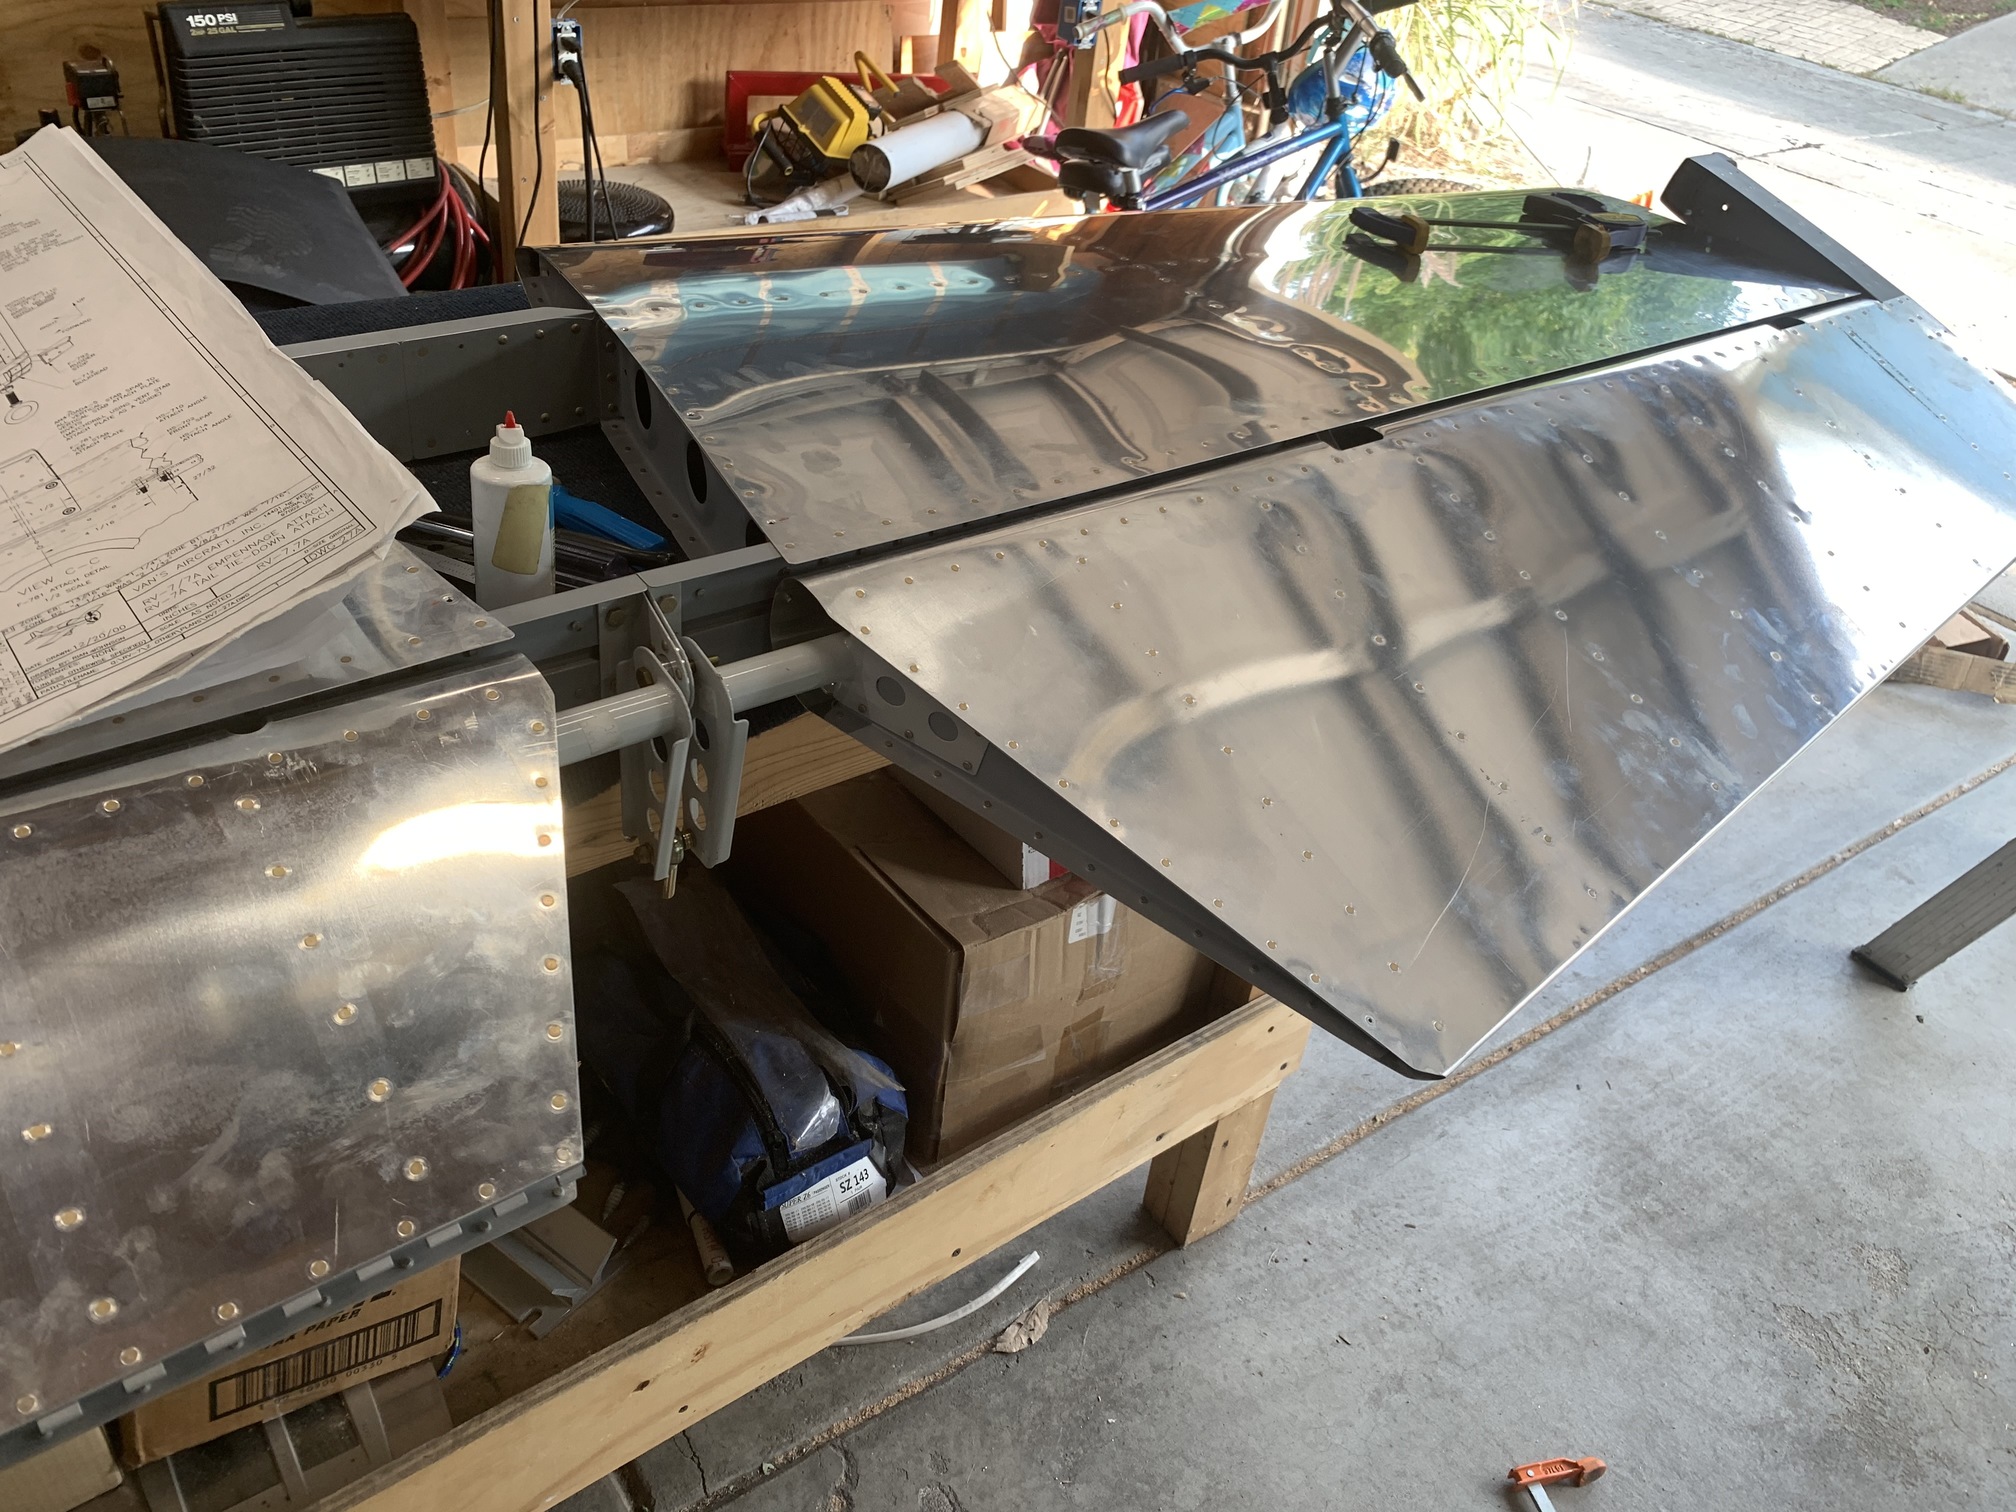
I clamped both counterweights to the horizontal stab to keep the elevators in trail. Looks good!
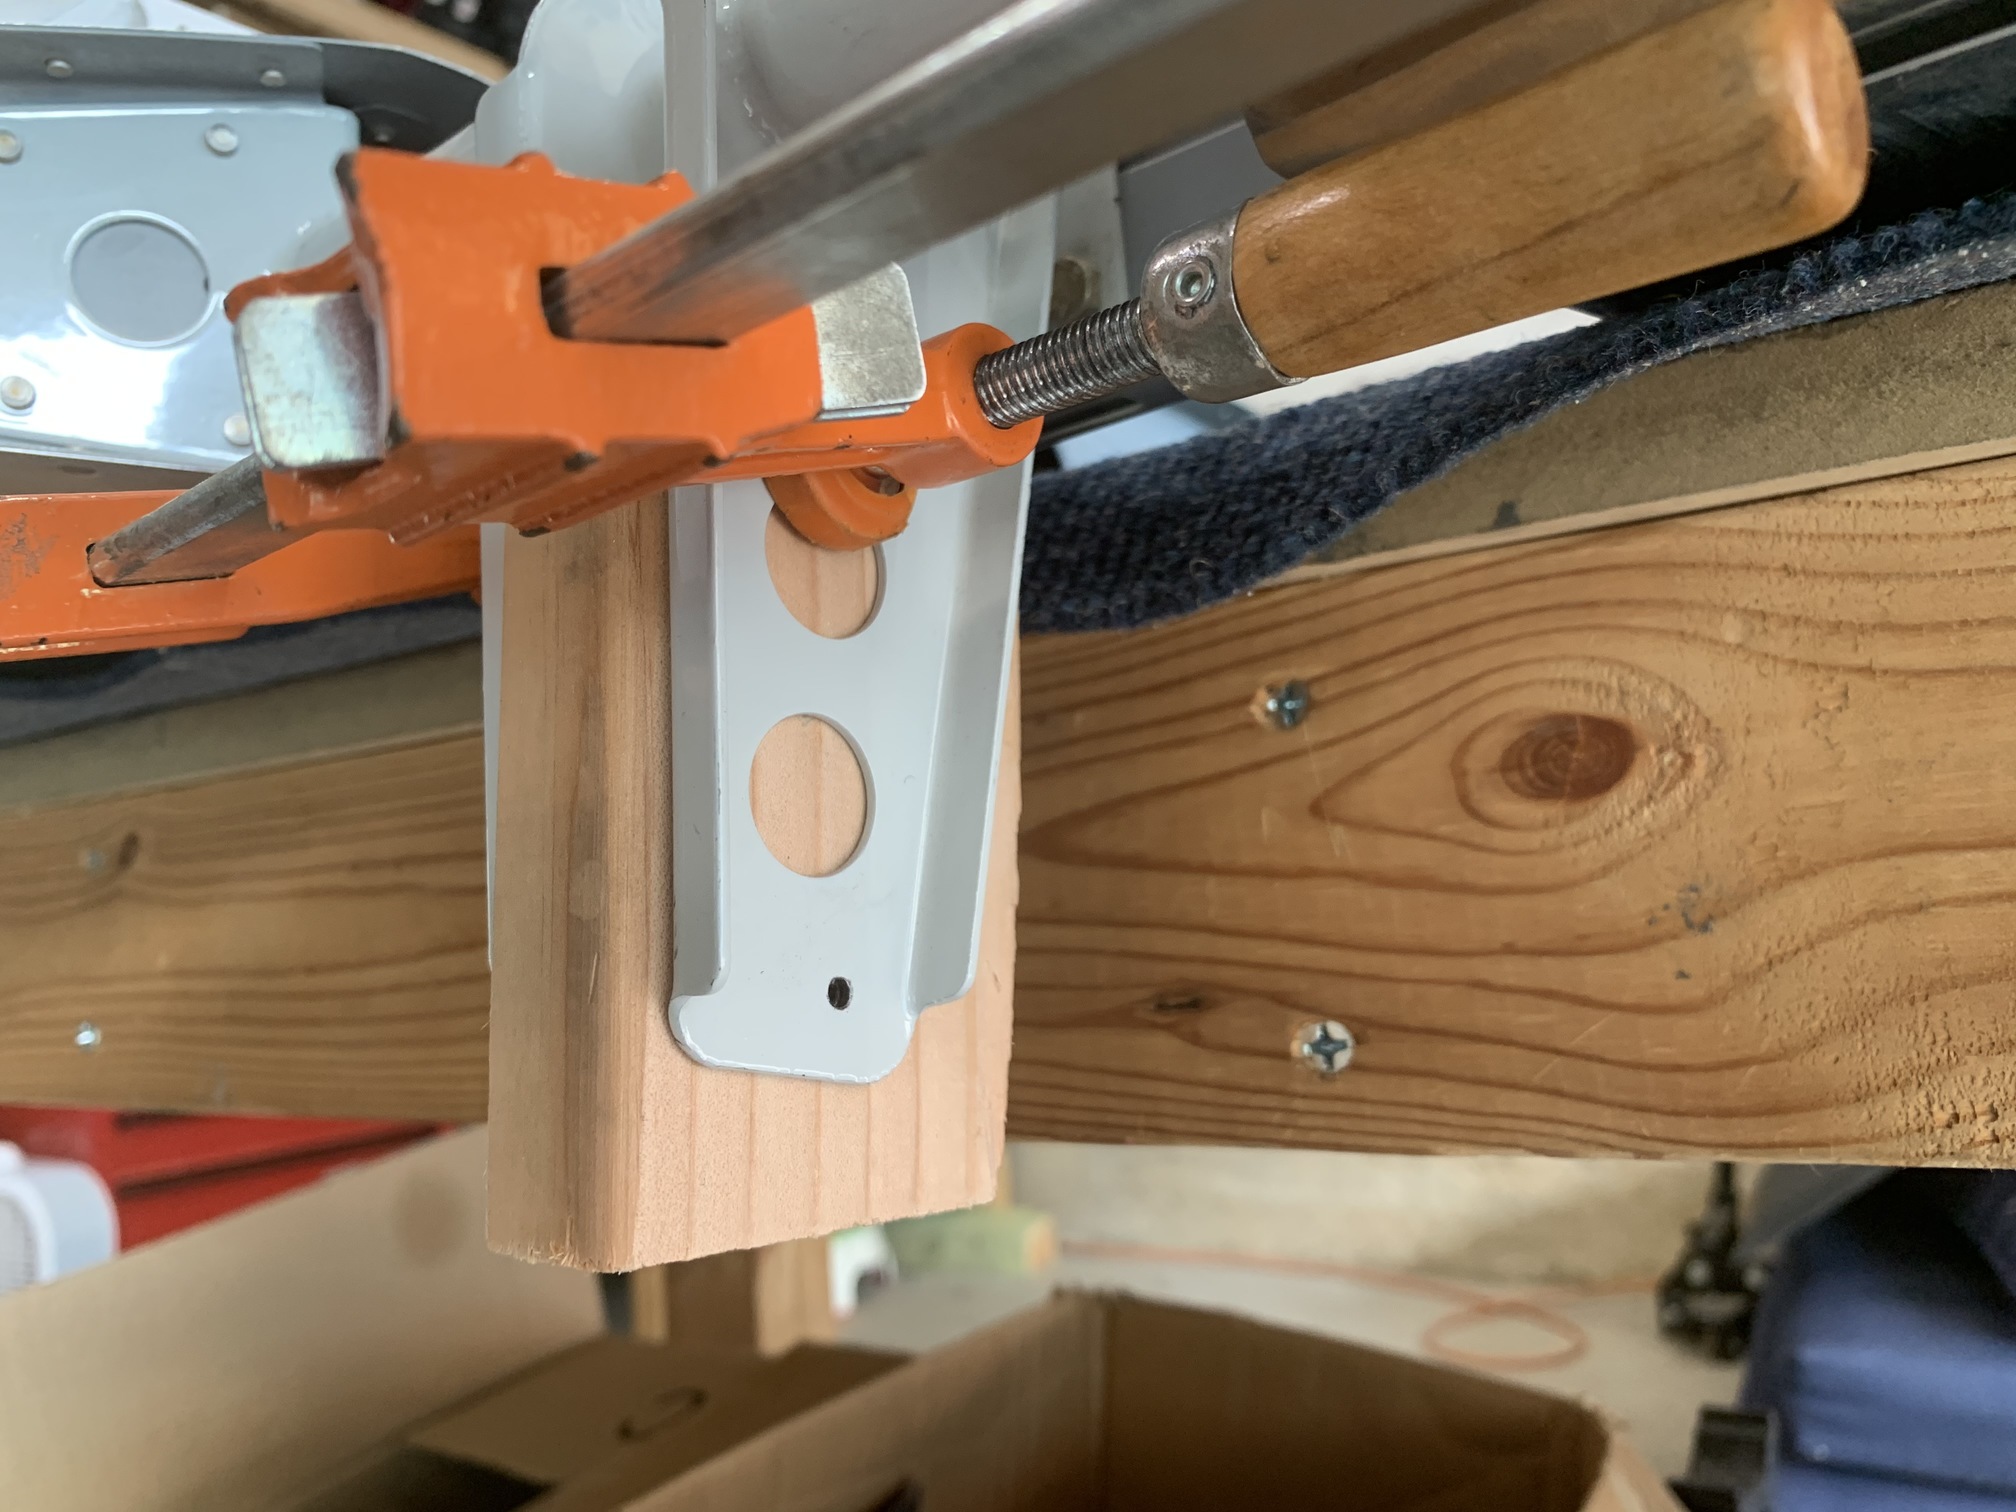
Next, I made a block of wood exactly 15/16" thick to use as a spacer and drilled a #30 hole in it with the drill press. I then clamped the whole assembly together.
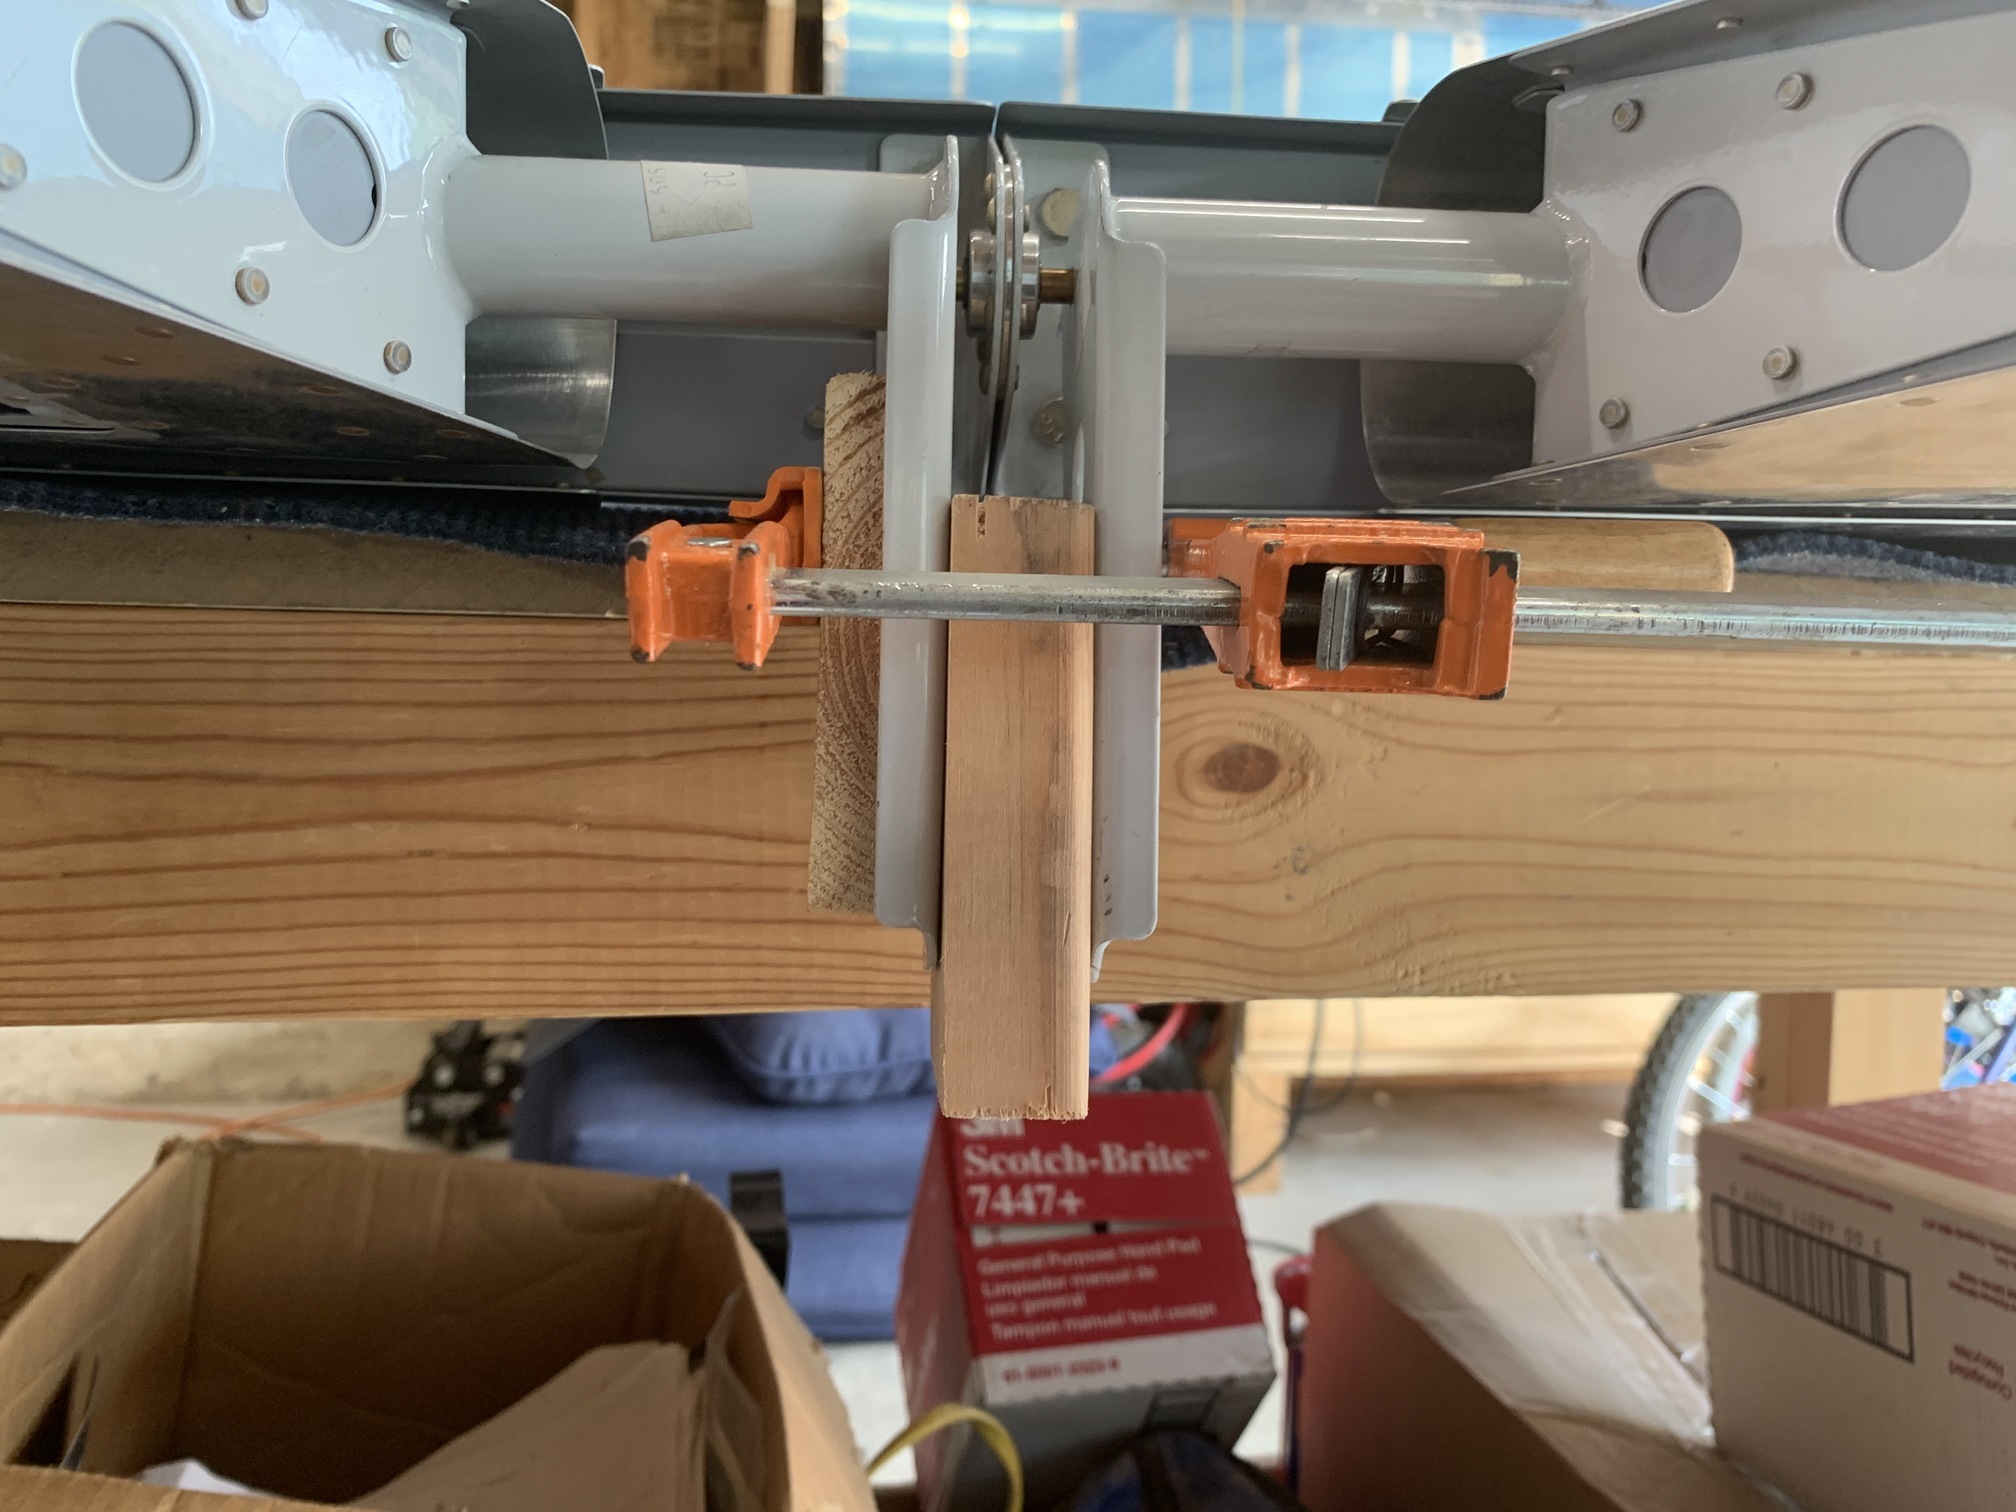
And used the existing hole in the R horn with the spacer and its hole to drill a square hole in the L horn.
What I had not appreciated before is that my L elevator horn is about 3/32" shorter than the R elevator horn. This resulted in less edge distance on the L sided bolt hole. It works out to 9/32" which is 1.5D for an AN3 bolt, so I think it should be ok, but I've sent an e-mail to Van's to double check.
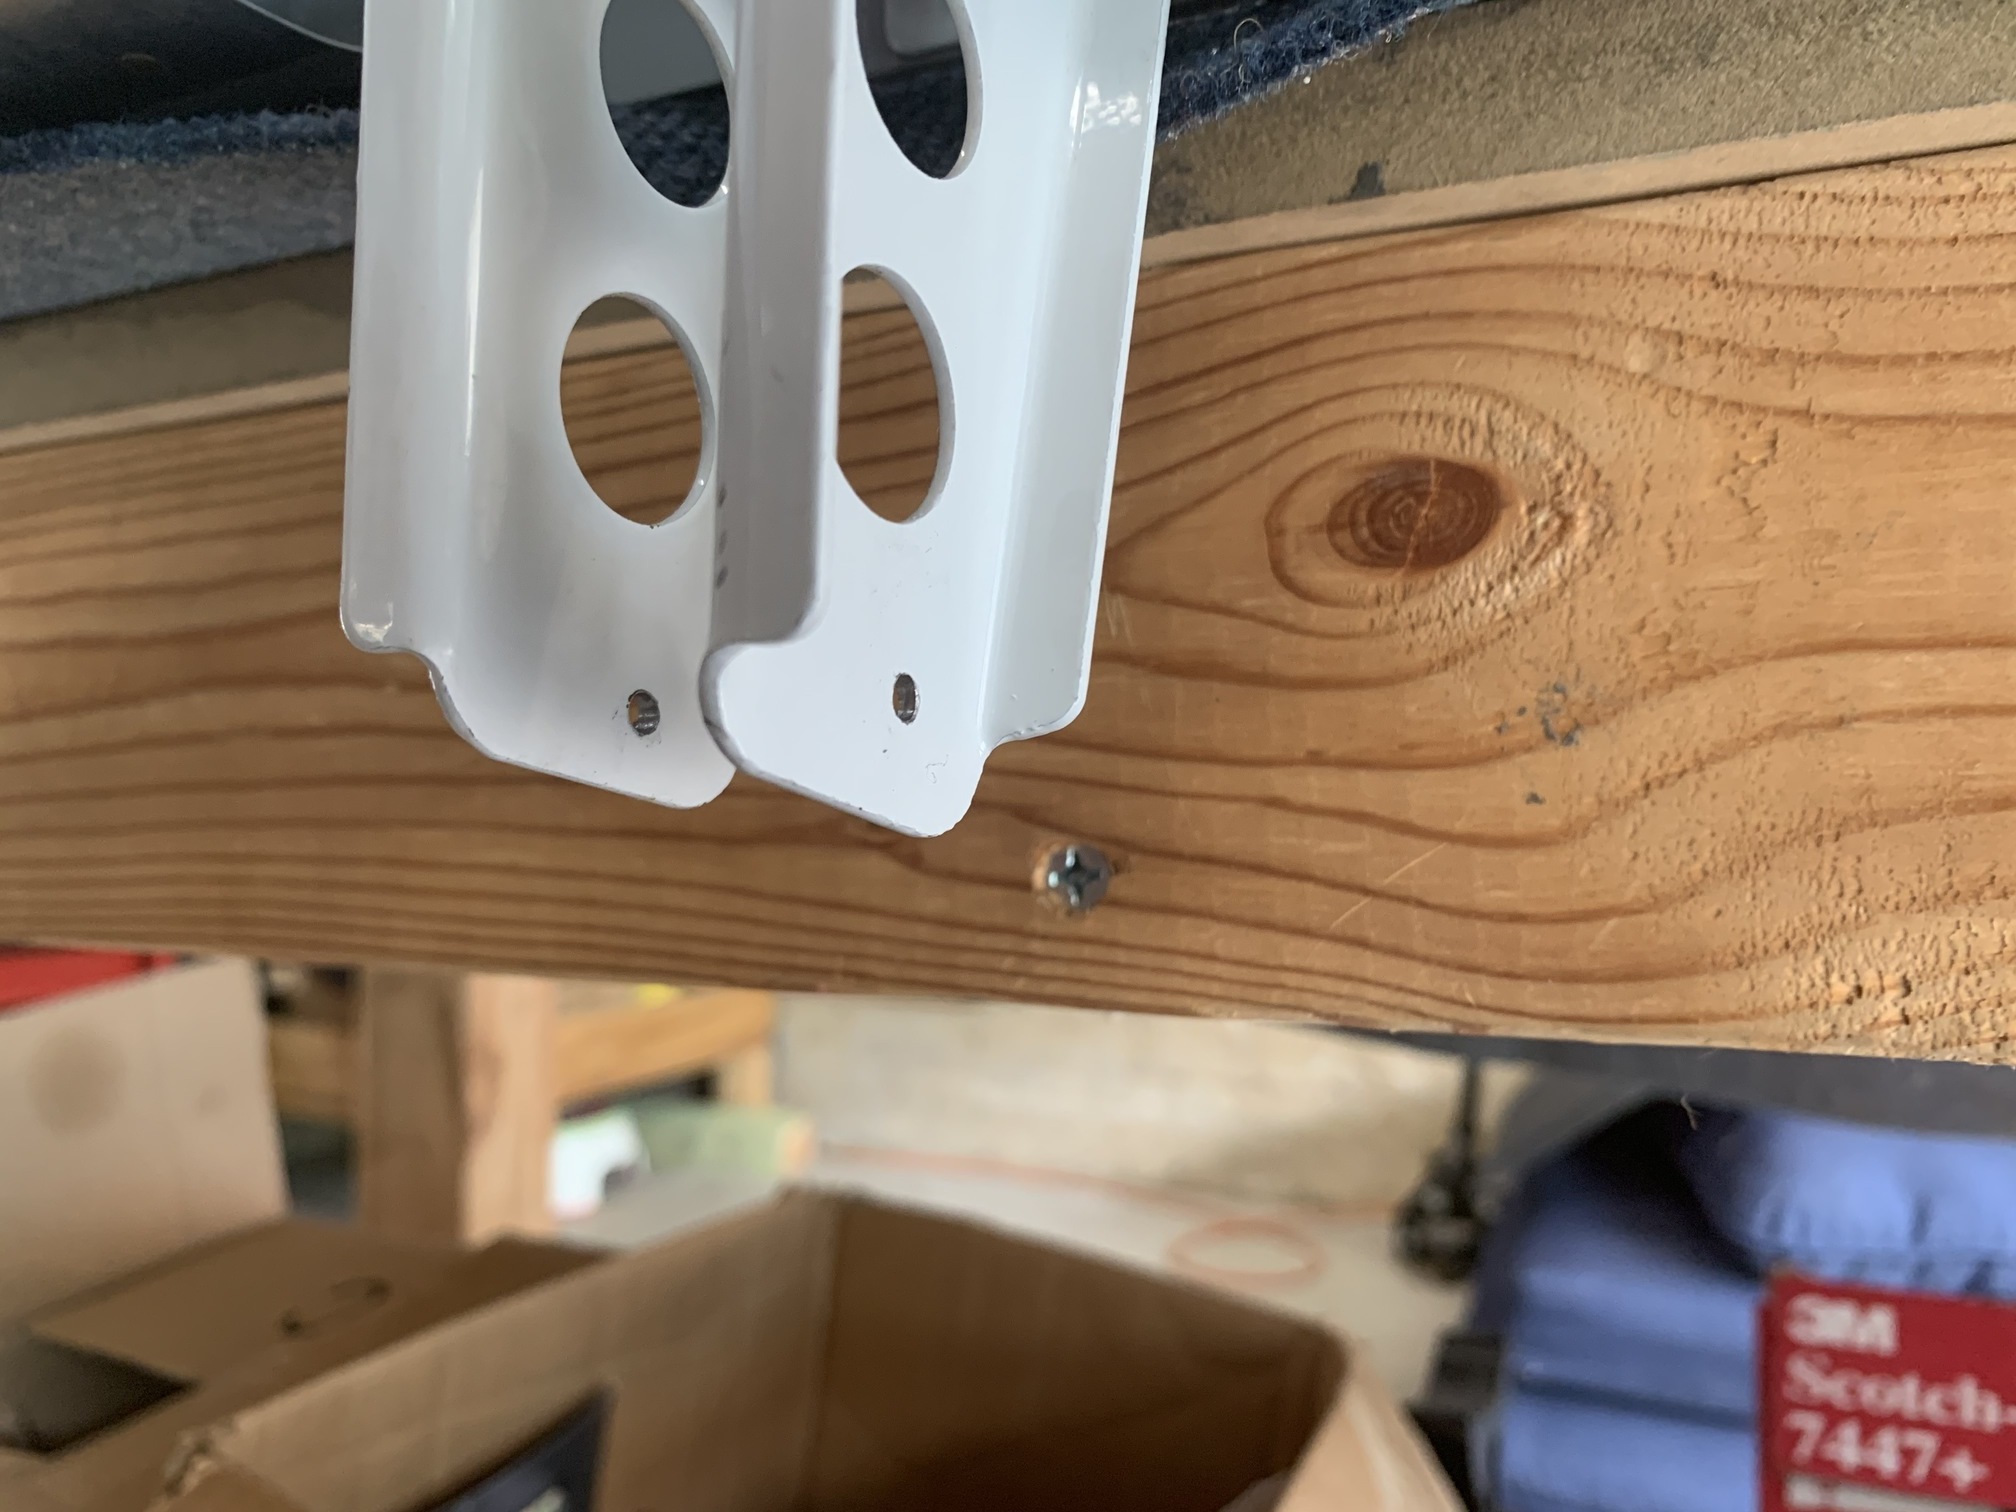
If worse came to worse, could always relocate the lower bolt hole aft or upwards in the horn.
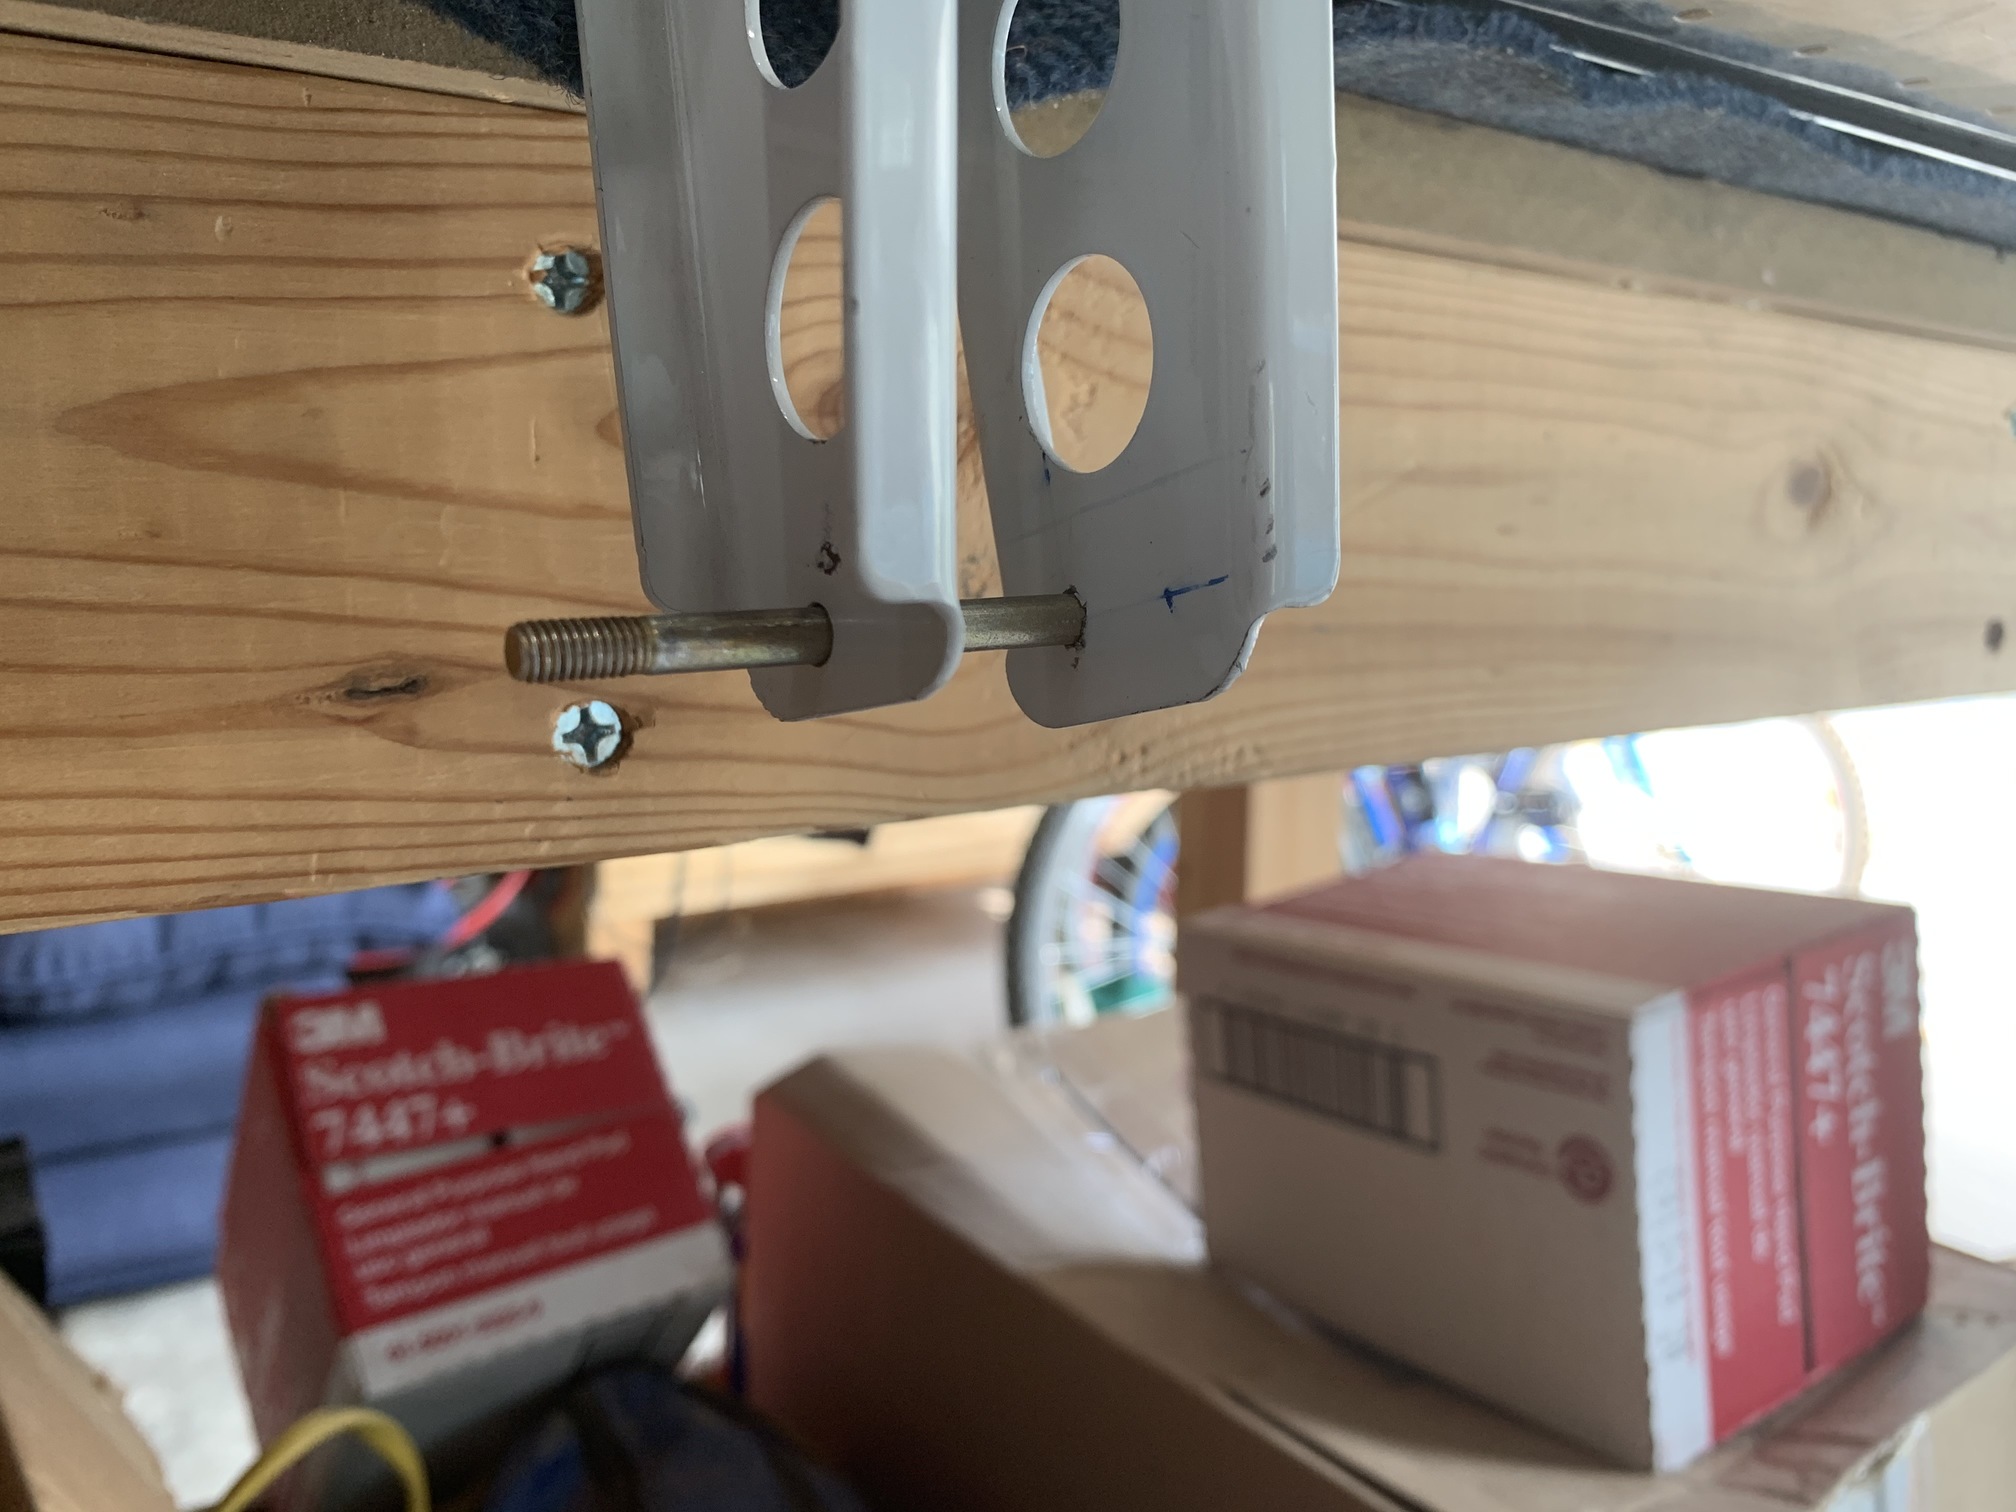
I put the hardware in between the two horns and swung the elevators together. Still no binding and they swing nice and free.
| Previous - Index - Next |
This work is licensed under Attribution-NonCommercial-NoDerivatives 4.0 International![]()
![]()
![]()
![]()