Log (By Day)
Log (By Category)
Pictures
Pics of Me Working
Links
| ||||||||||||
Thursday September 17, 2020
Mounting Horizontal Stabilizer to the Aft Fuselage
(Aft Fuselage)
4.2 Hours
| Previous - Index - Next |
I spoke to Van's about the edge distance on the L elevator horn and they feel that this needs to be corrected to comply with the dimensions in the drawing. There are two options for fixing it. One is to weld closed the holes and re-drill them, using the L horn as the guide. The other is to double up the end of the L horn with another piece of 0.071" 4130 steel sheet that will extend past the bottom of the horn and give that hole enough edge distance. I decided to do the doubler as I think it's less trouble than getting the holes welded, so I ordered a small piece of steel sheet.
In the meantime, there's no reason I can't proceed, so I clamped the horizontal stabilizer to the aft fuselage as instructed.
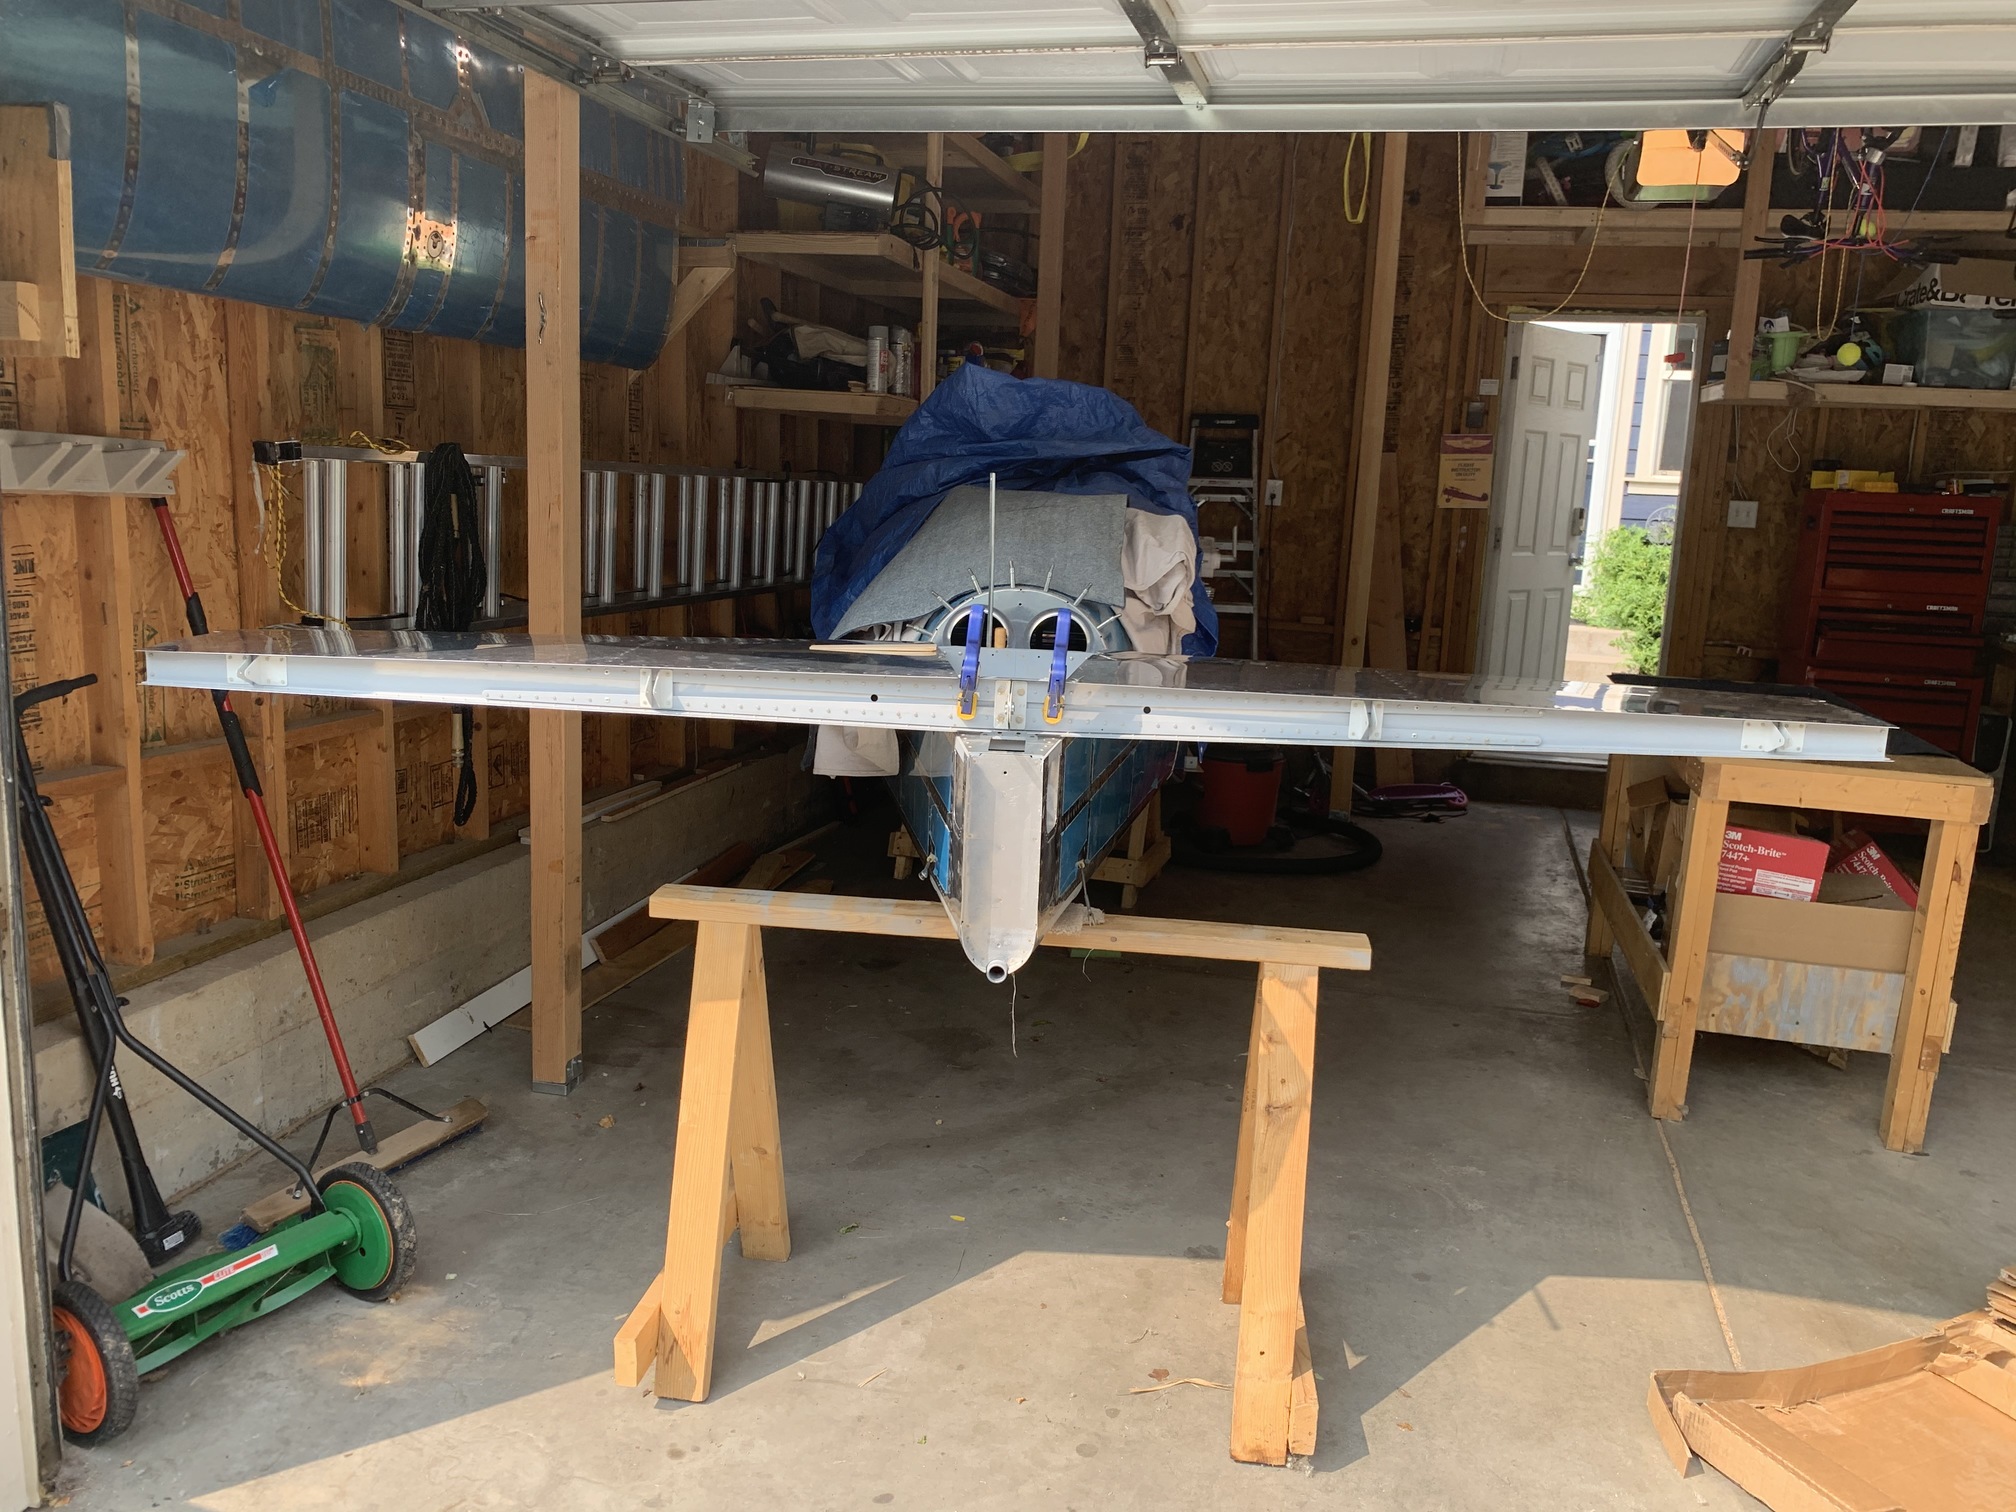
I carefully clamped it in place as instructed.
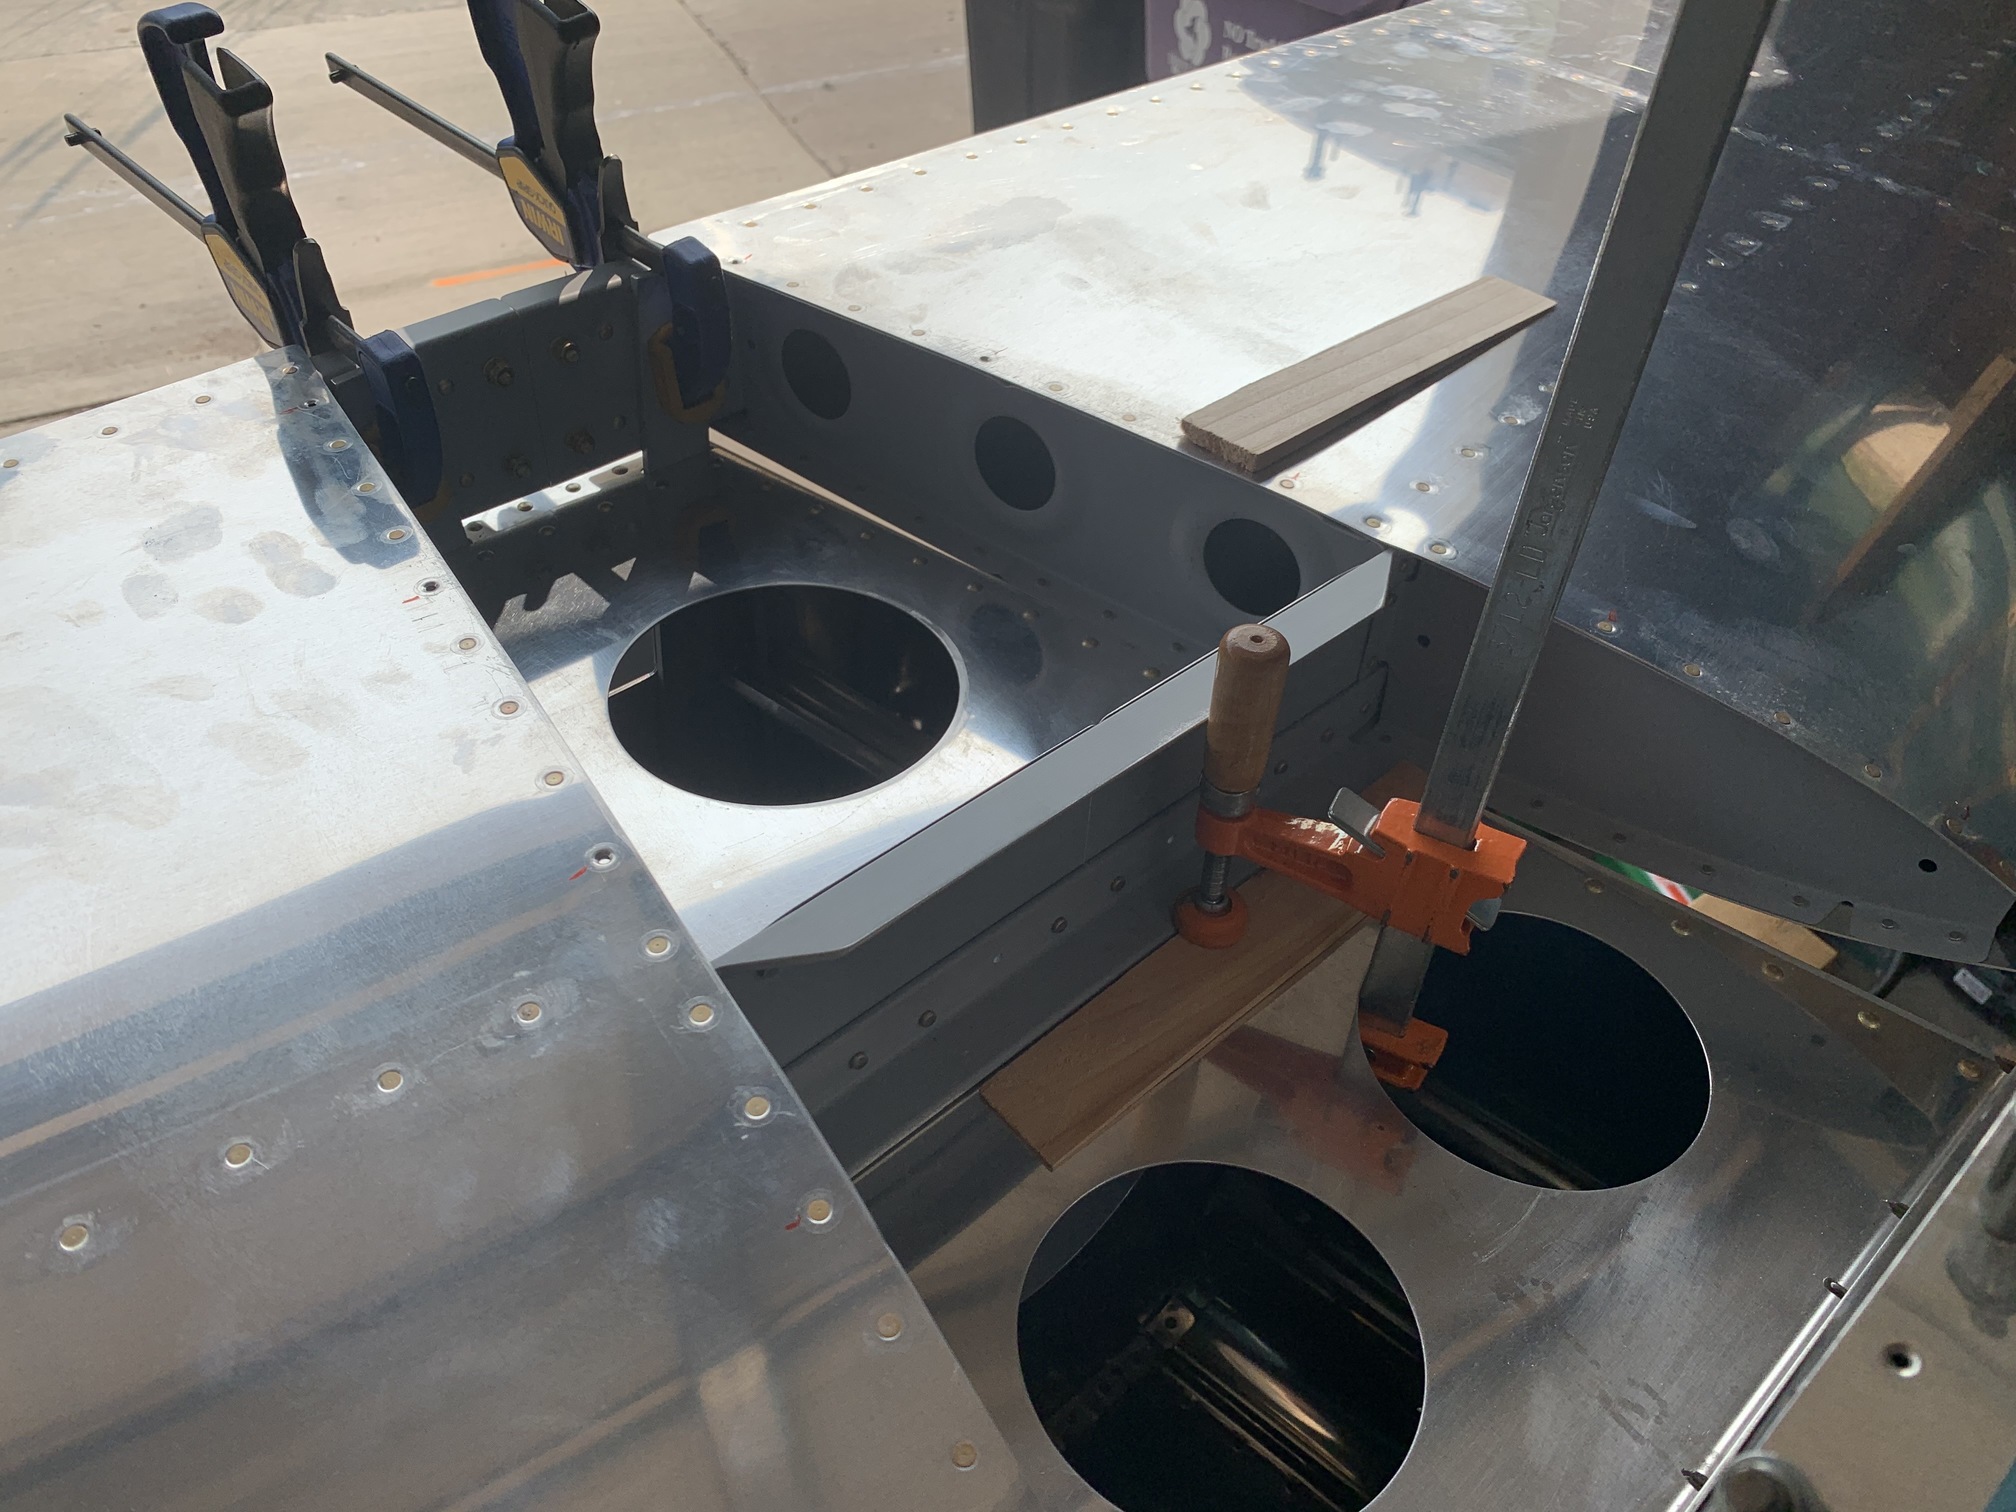
I used a tape measure to make sure the horizontal stab was square to the fuselage. I did this by measuring from the outer corner of the stab on both sides to a similar point on the firewall at the front of the plane. I adjusted it until I had the exact same measurement on each side. I kept checking the measurements as I got ready to drill the bolt holes.

I drilled the hole to 1/8" on the right side. The trick here is that you want to center the hole in the horizontal arm of the longeron as well as the two other angles that the hole goes through. I took a long time getting my measurement right. I think it came out really nice.
And here's the one on the left side--it also looks good.
I enlarged both holes to full size--I had to do this with the 90 degree drill adapter.
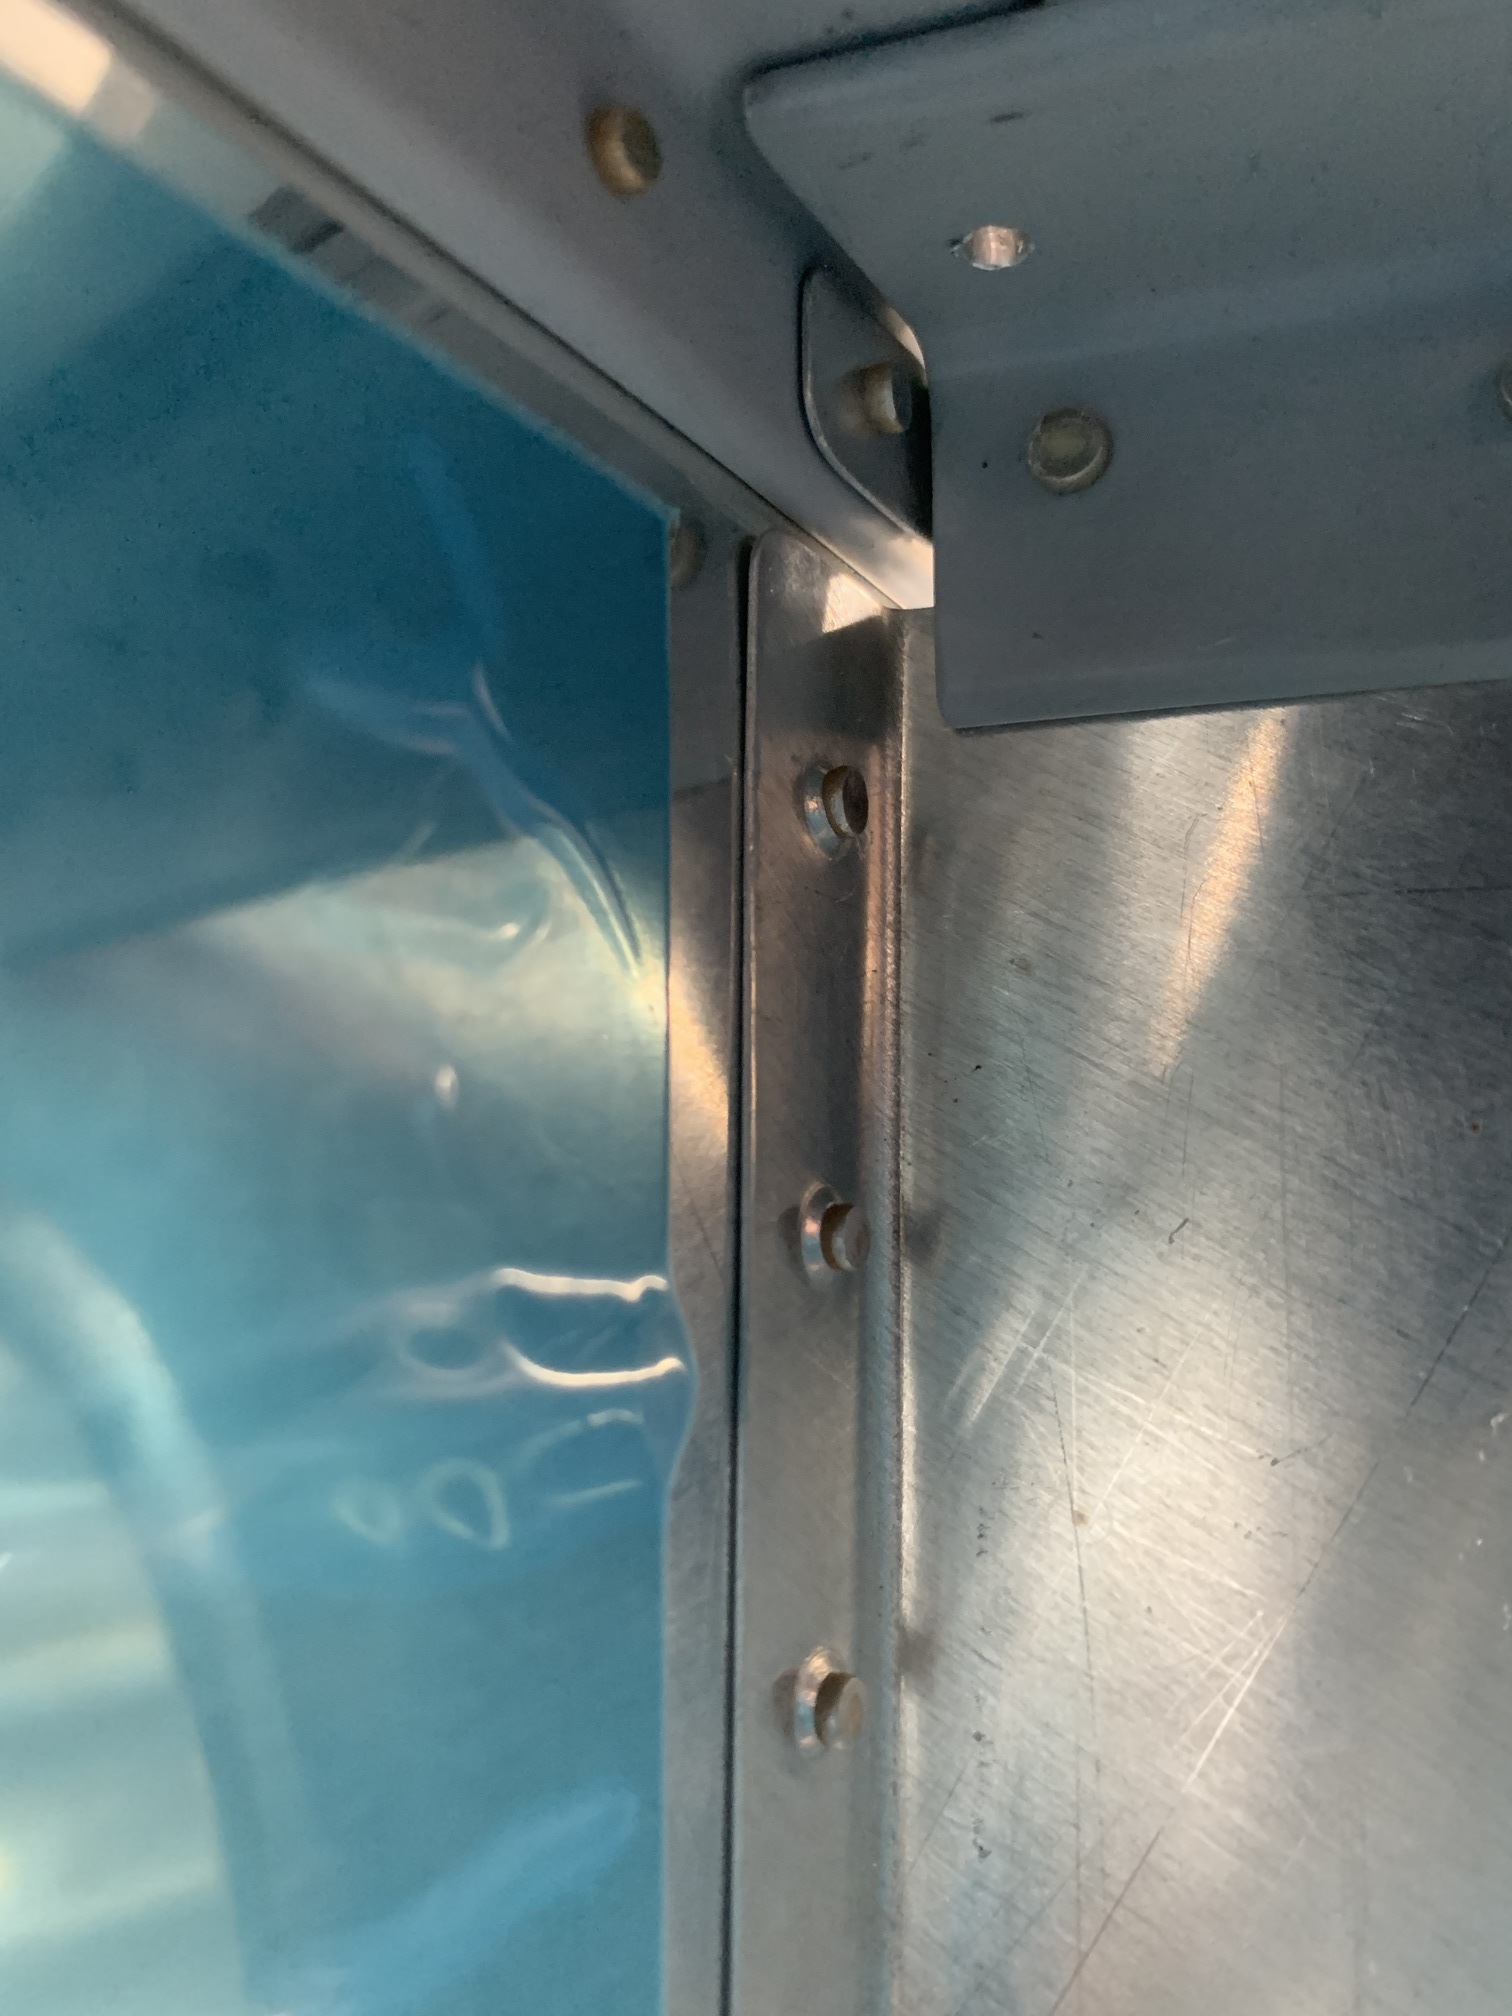
Then I drilled the inboard hole on the right.
And the inboard hole on the left--again I had to use the 90 degree drill adapter. All of these holes came out nicely.

They look good.
Looking good here, too.
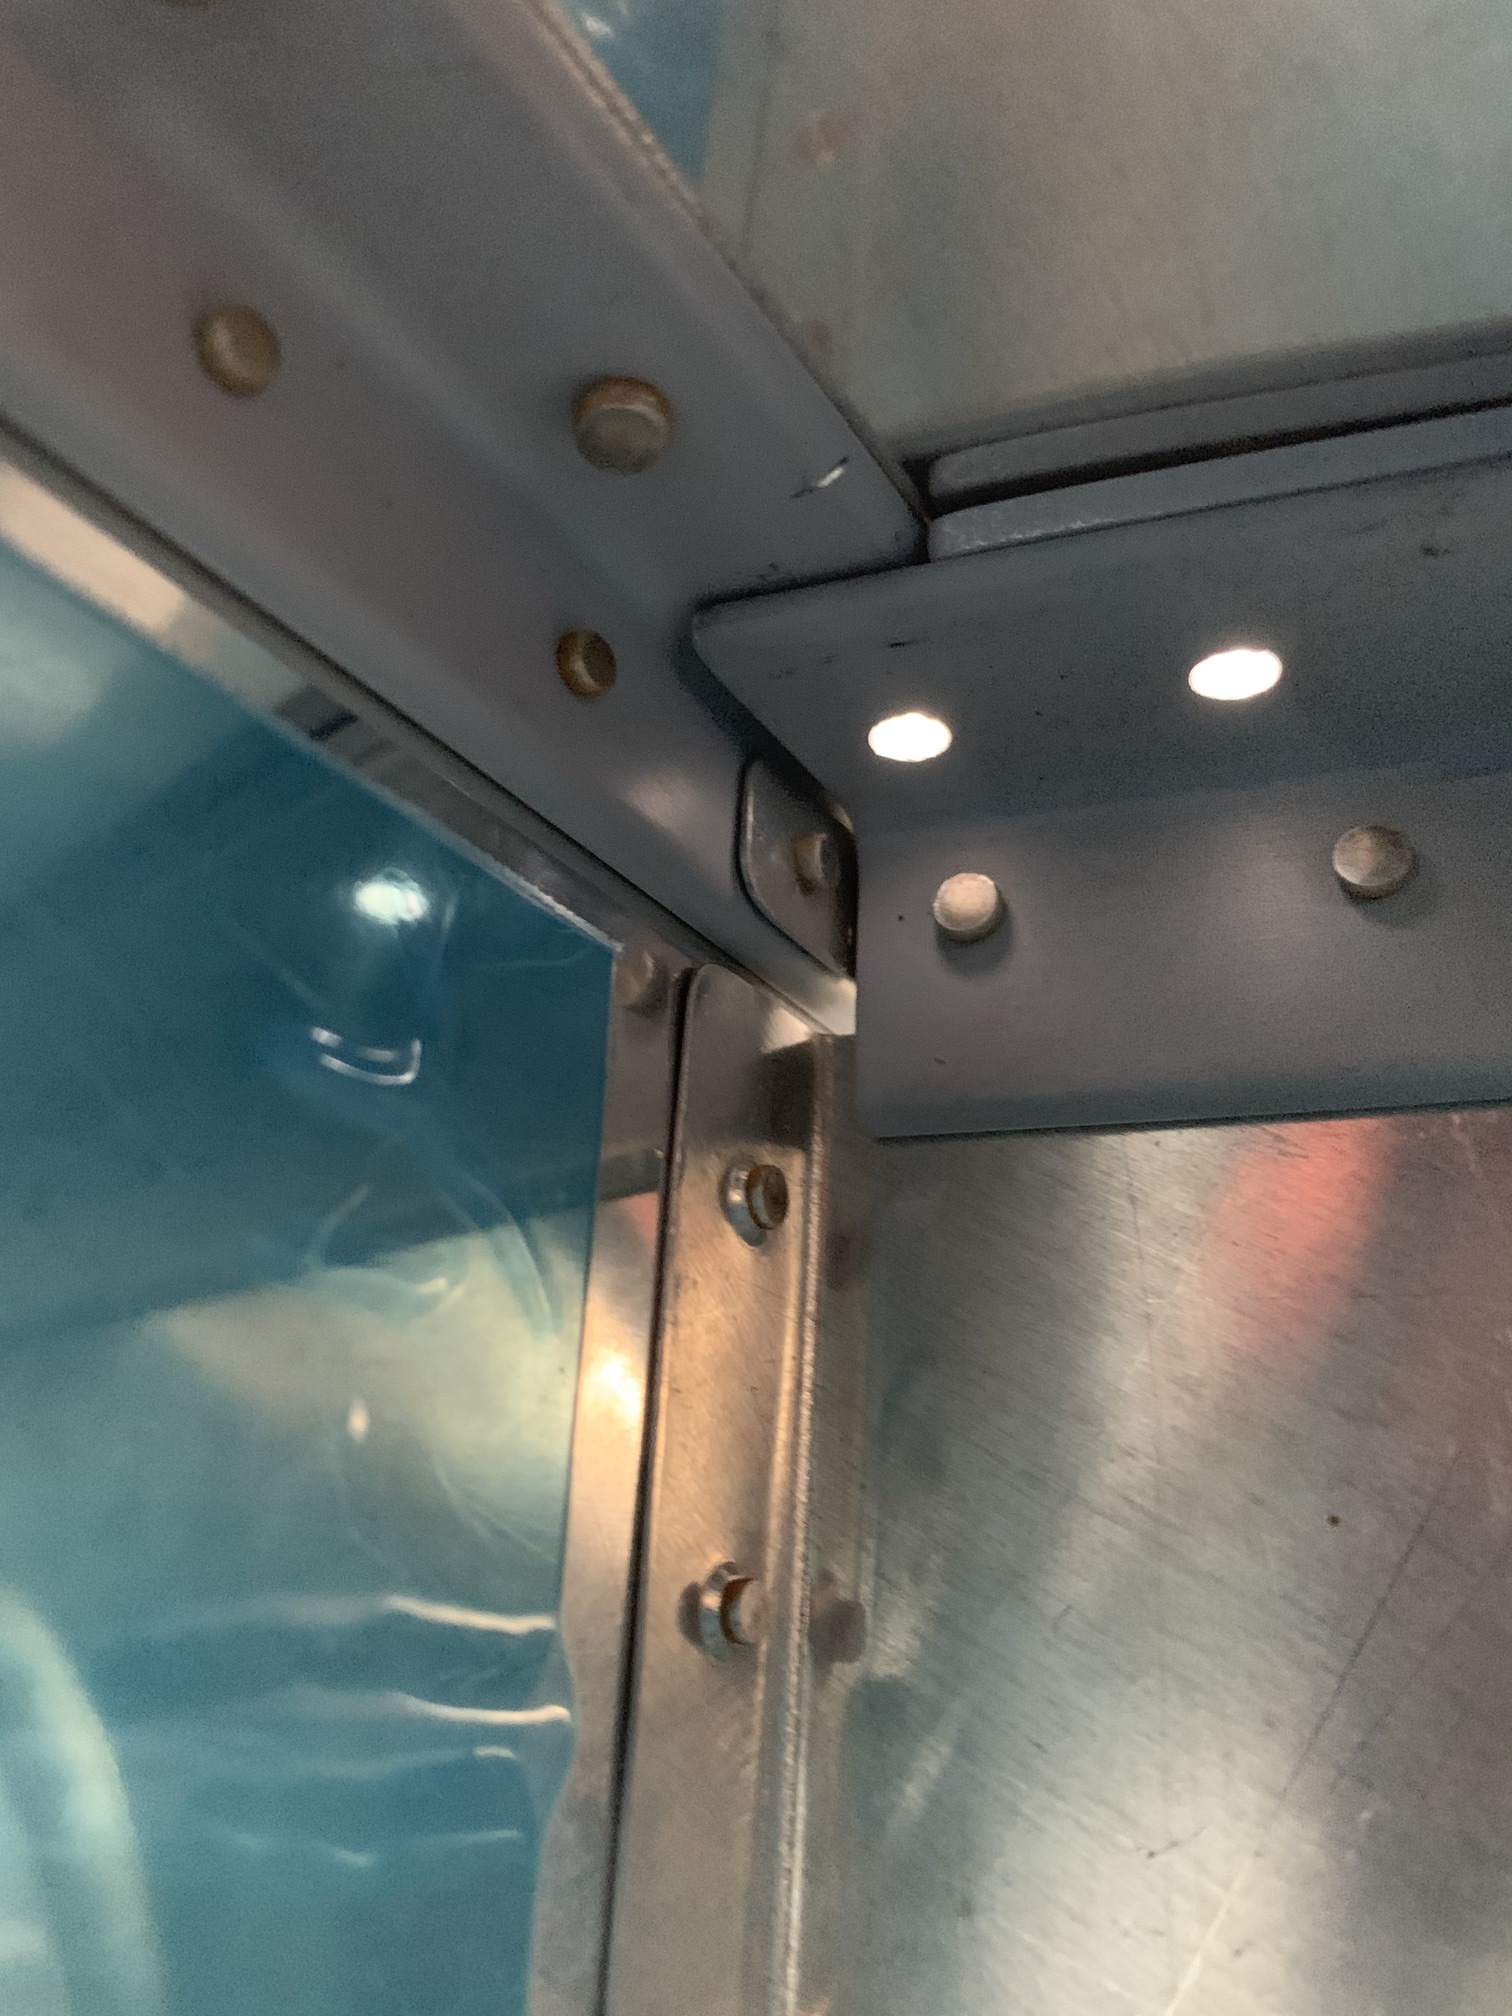
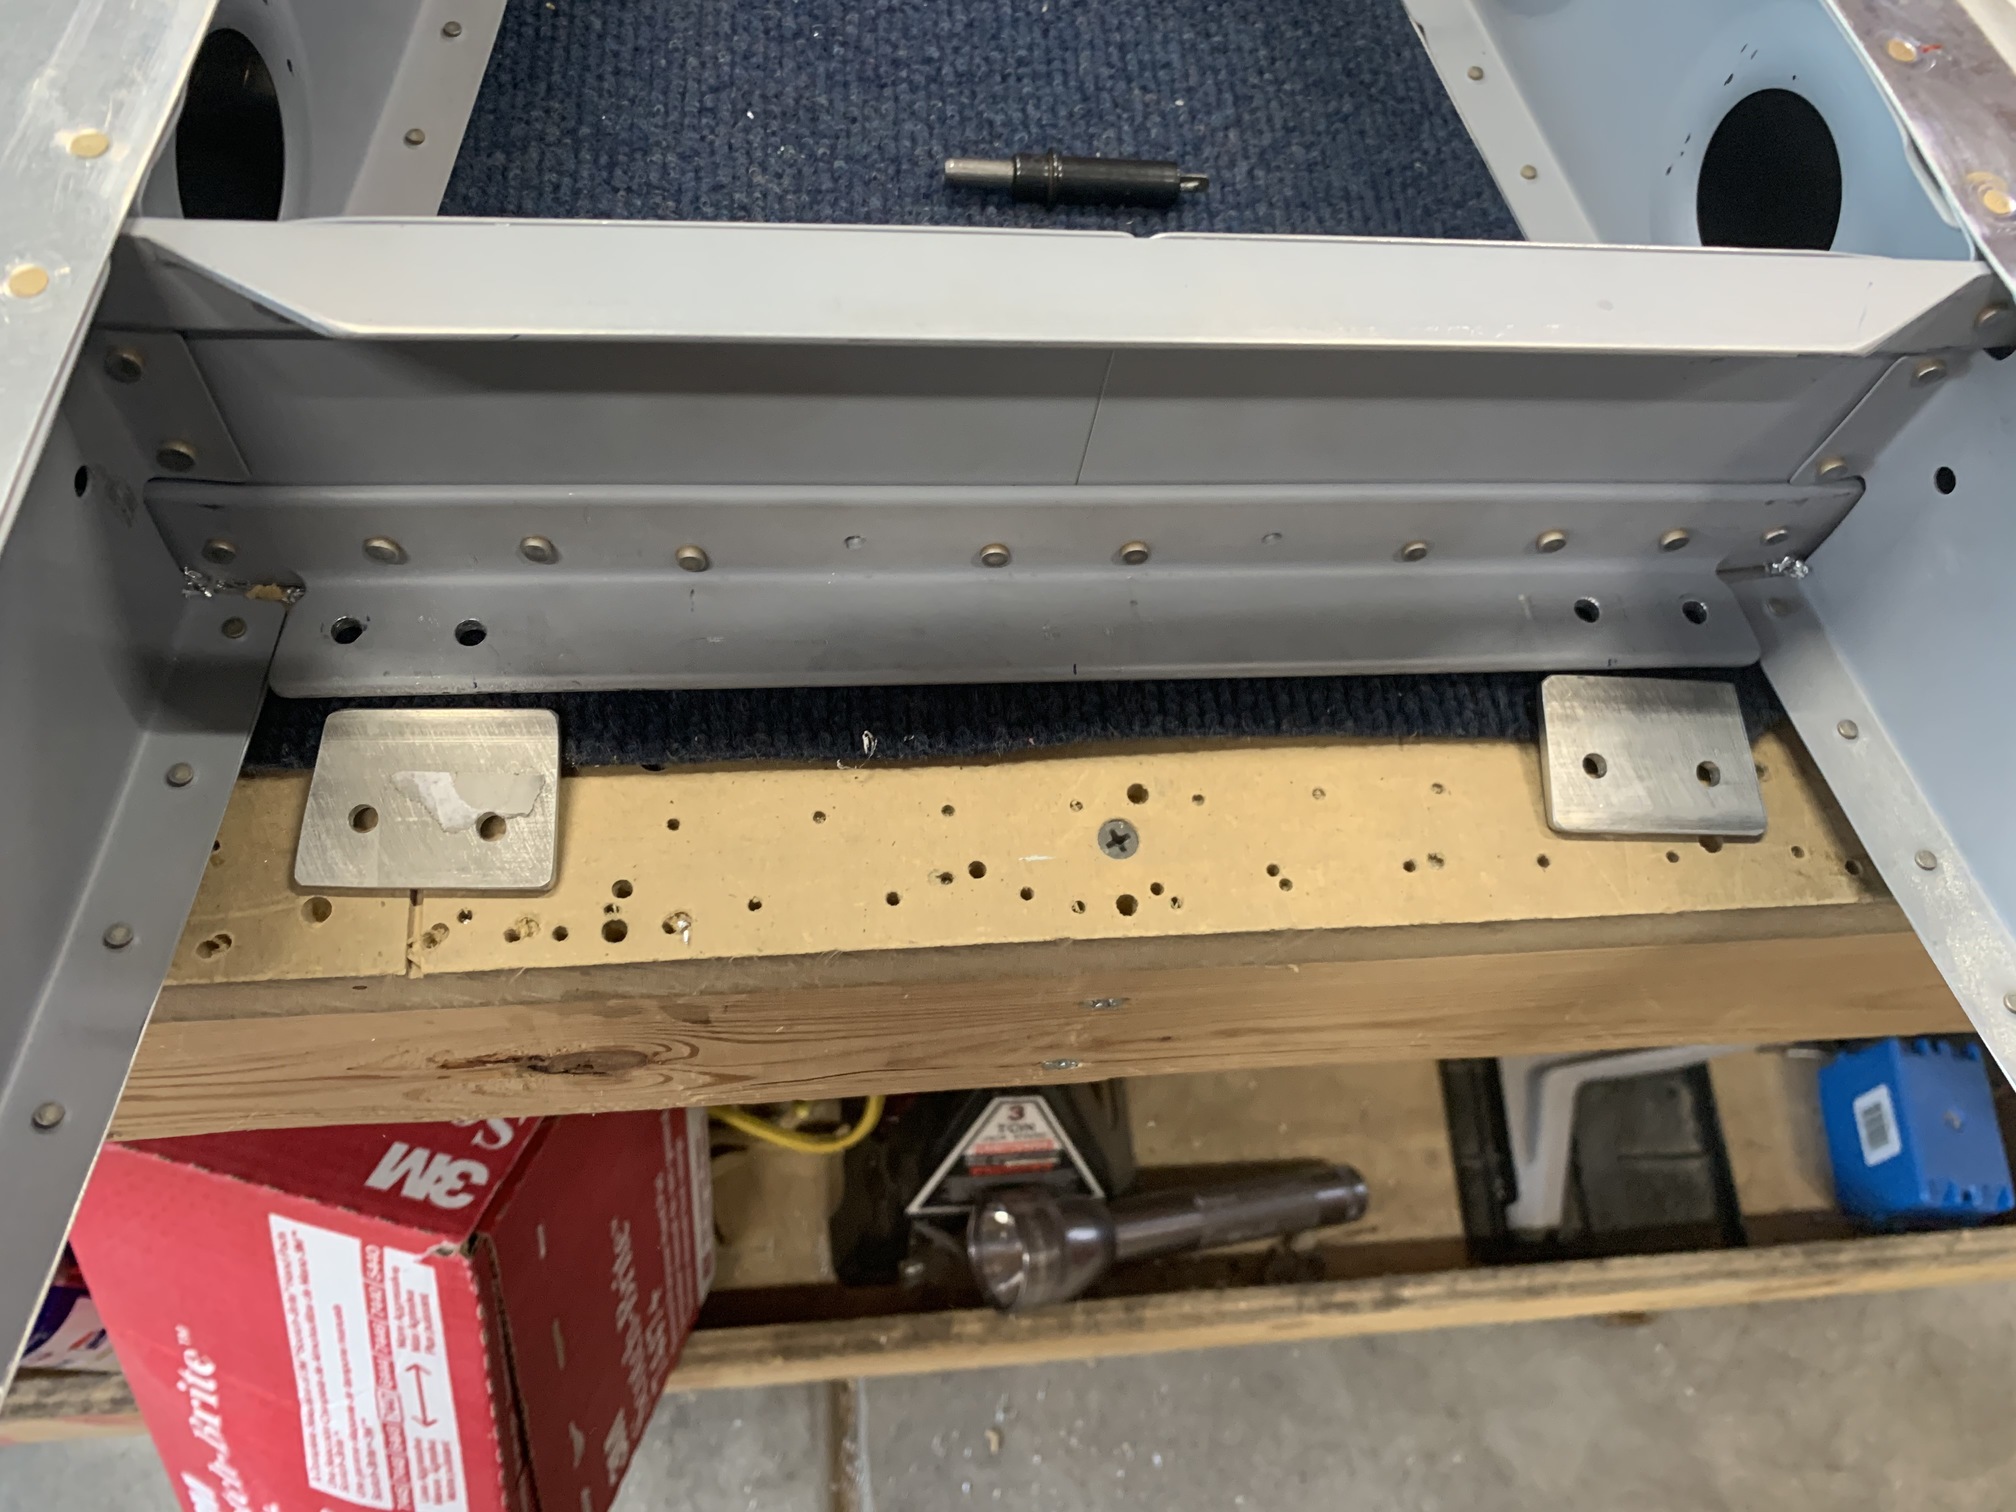
Then I fabricated these little aluminum shims and drilled them to the stab.

They sit between the stab angle and the aft deck.
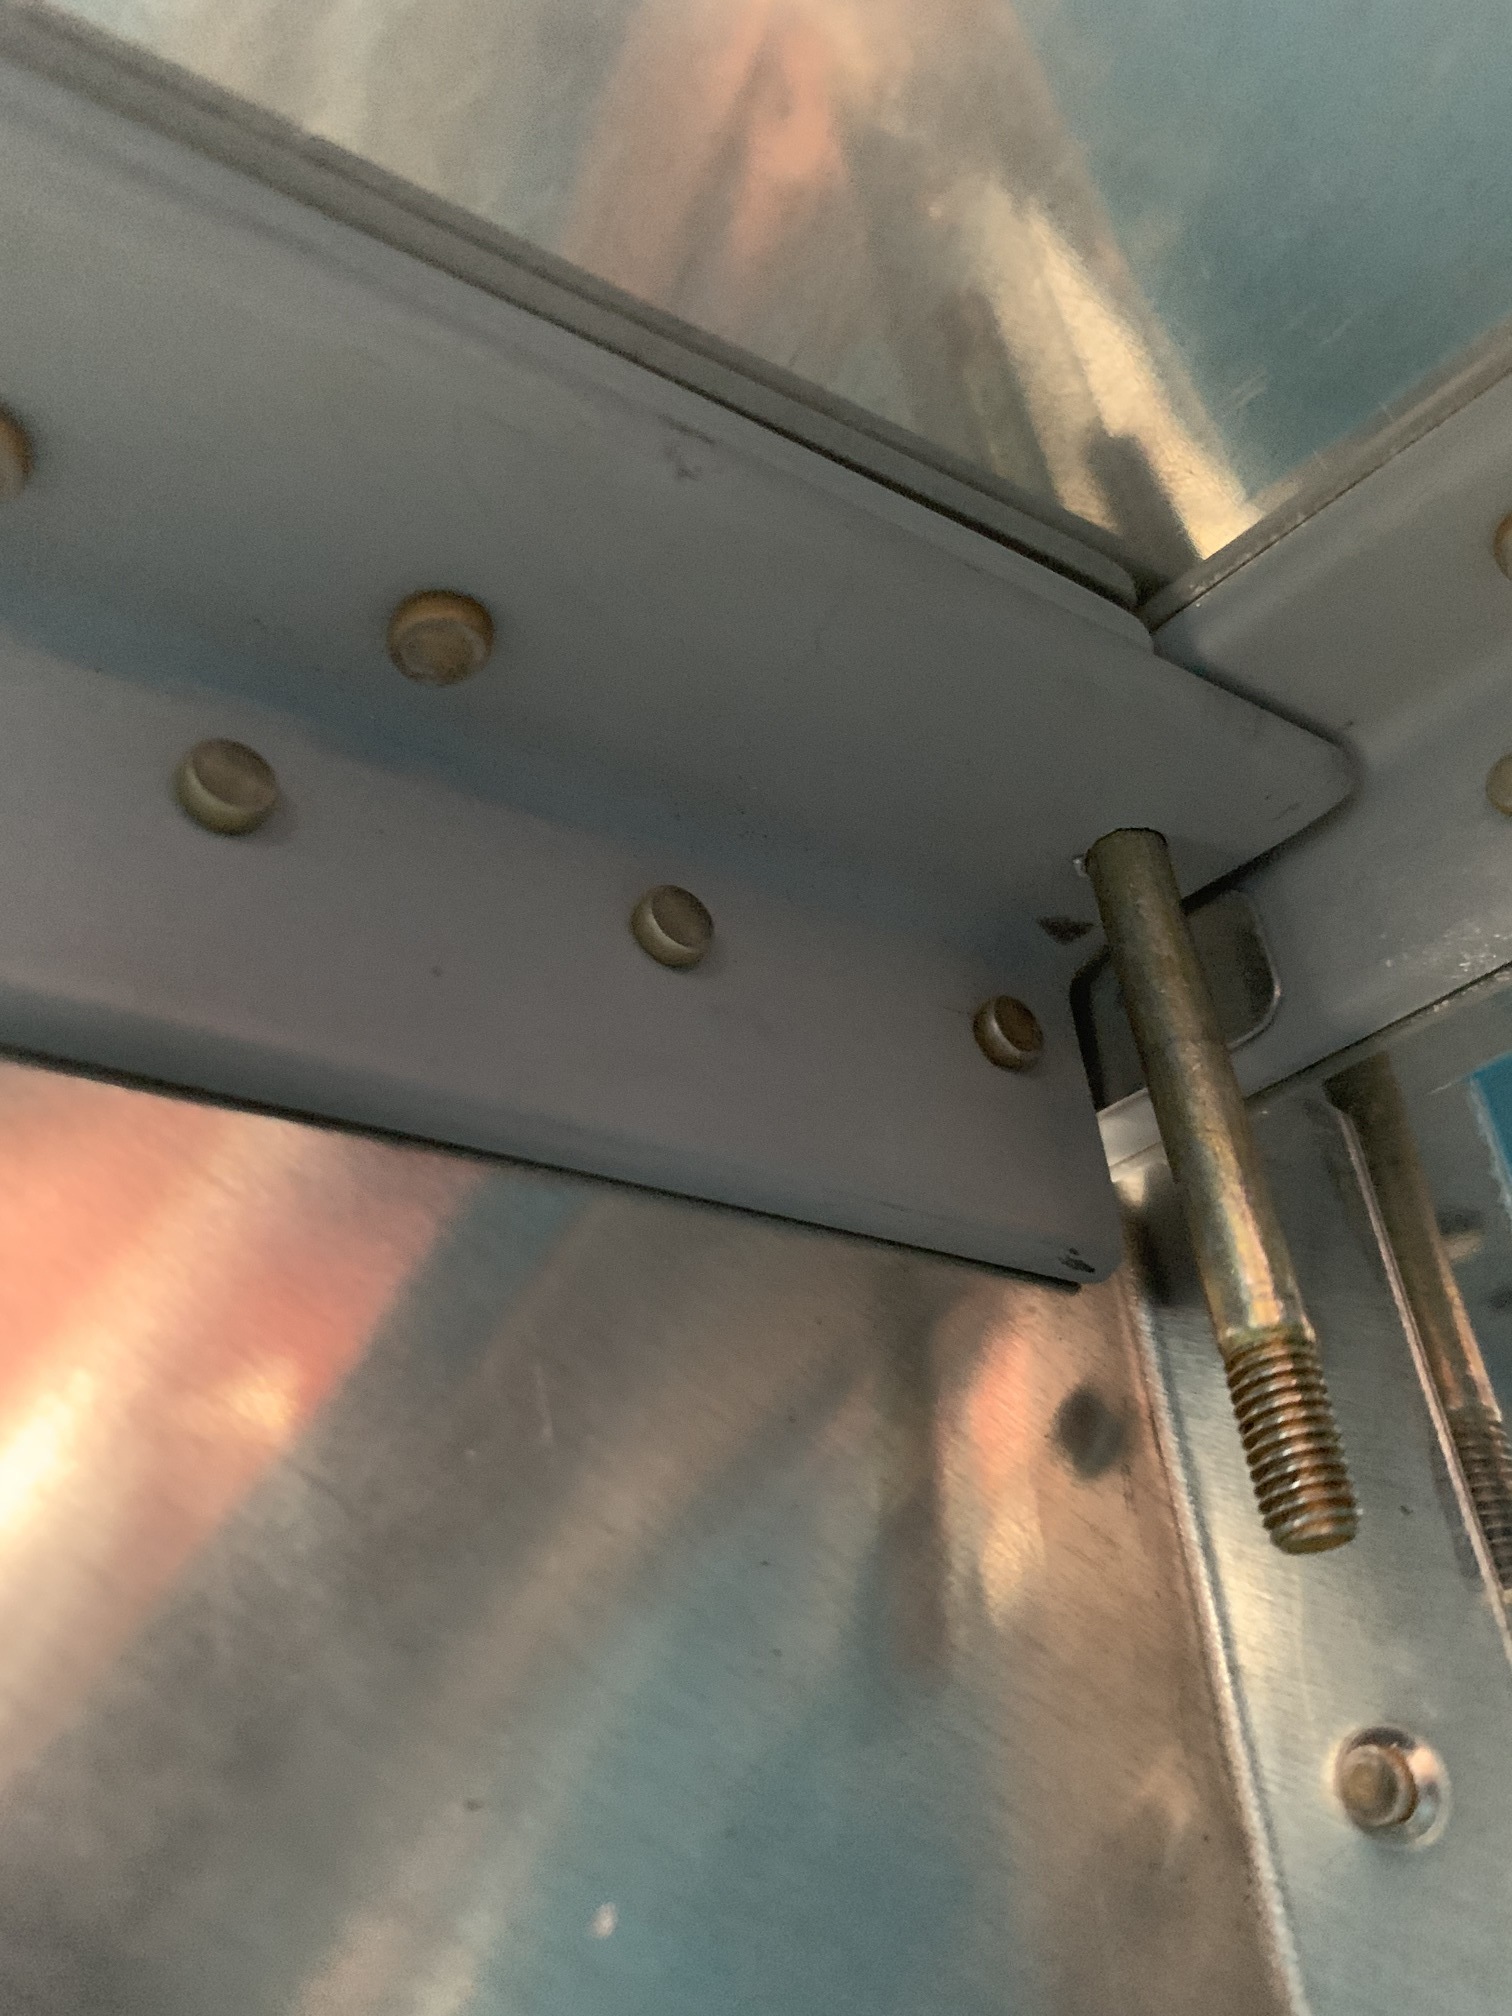
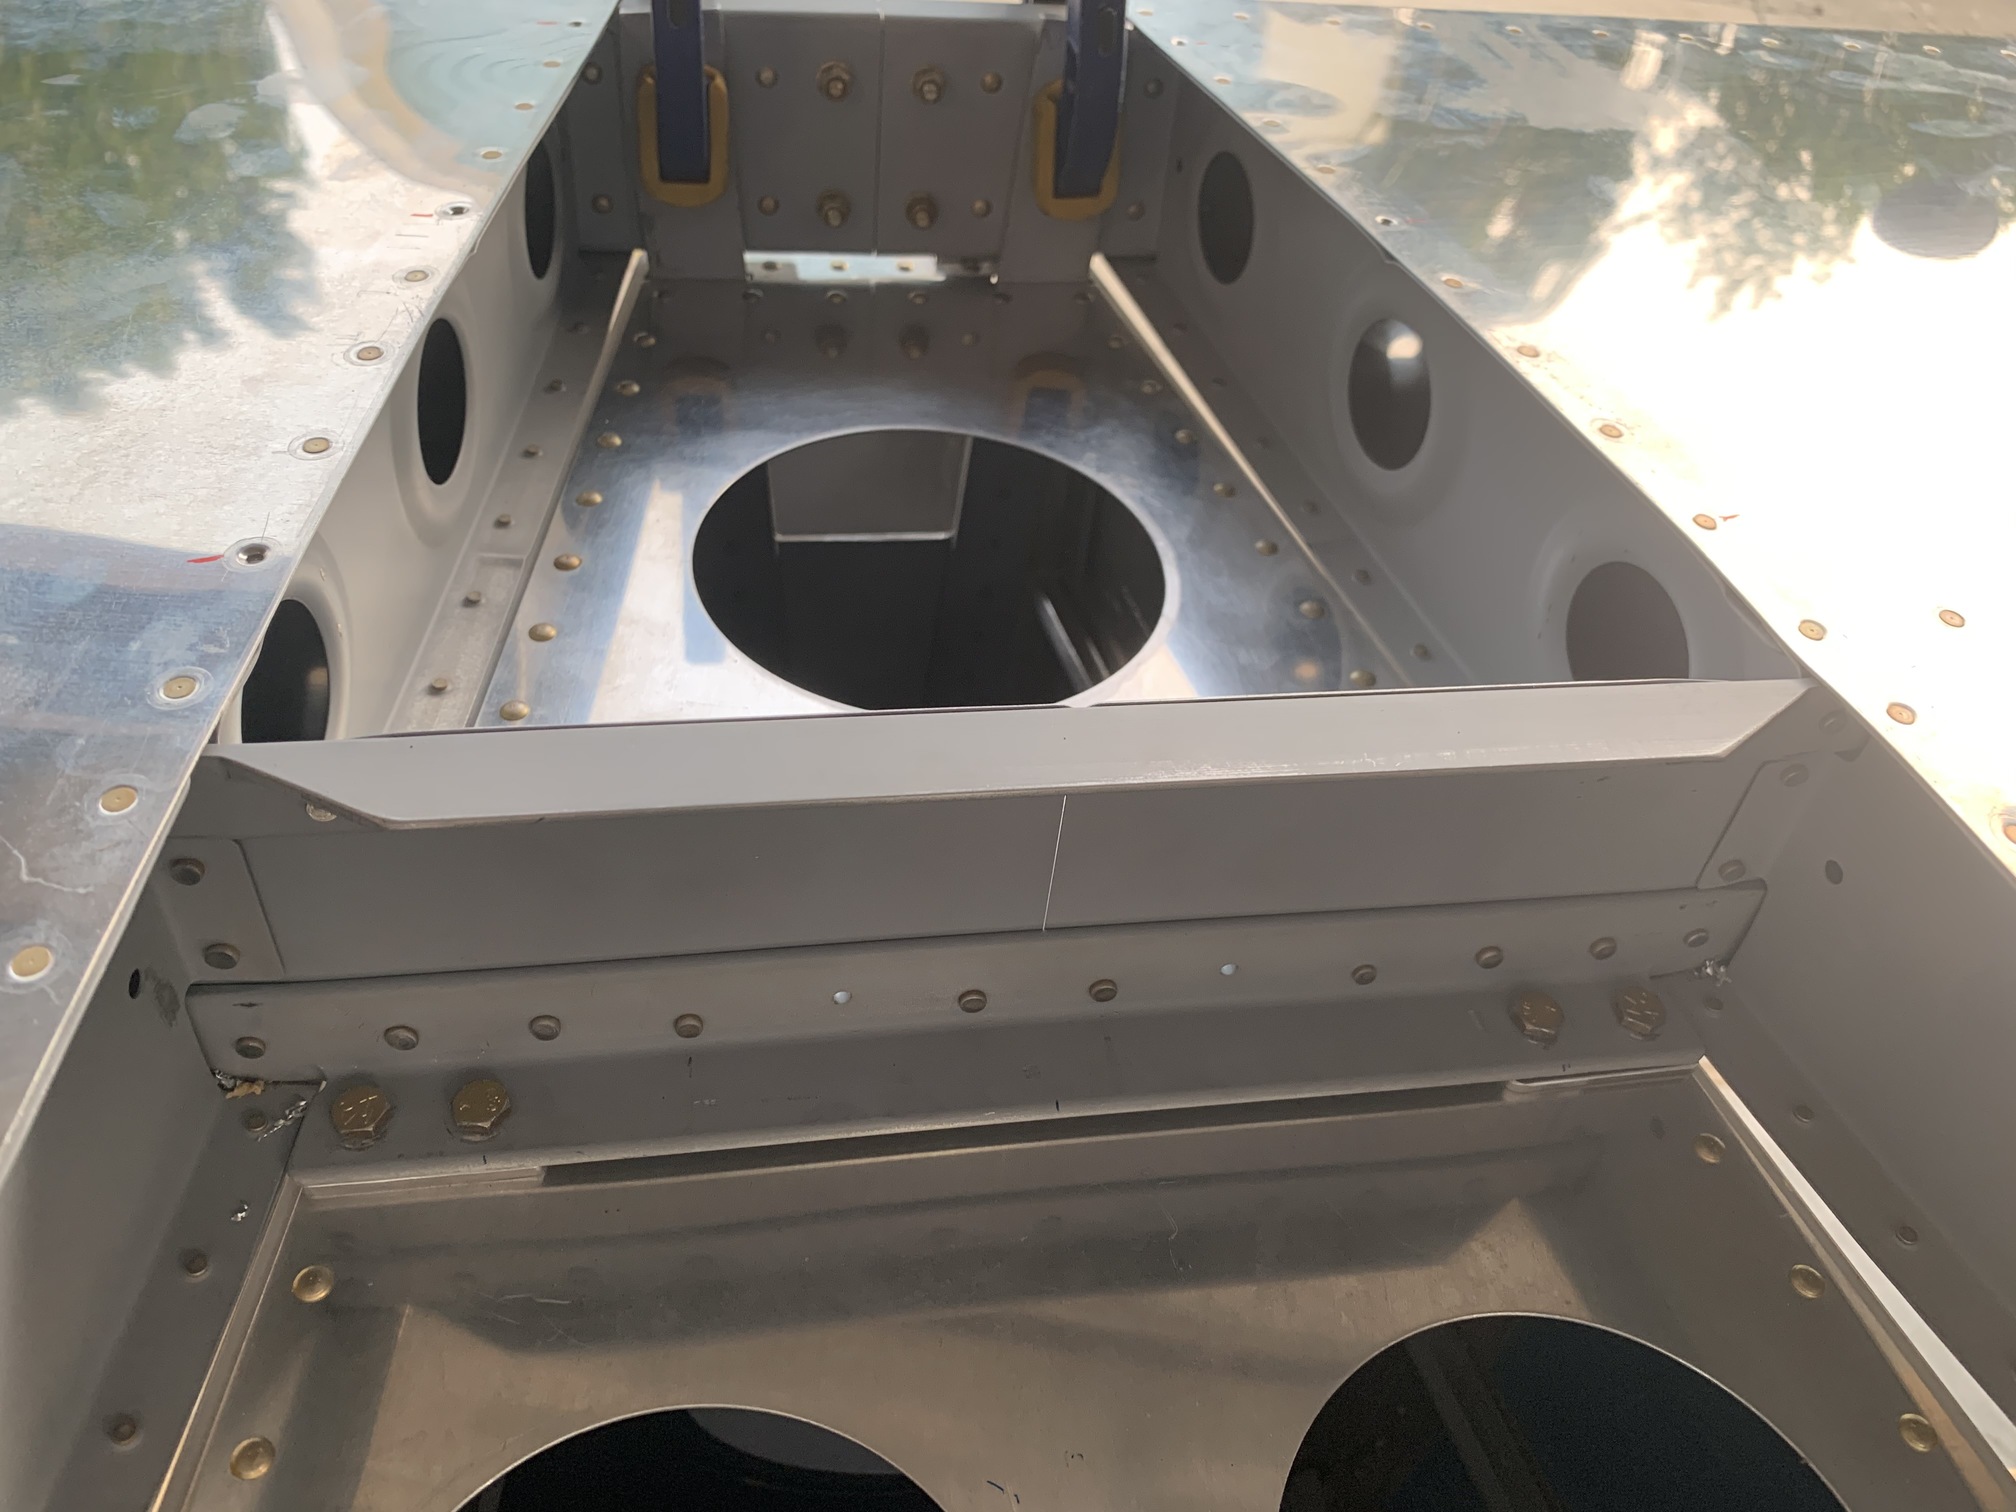
Here is the horizontal stab bolted to the aft fuselage along the foreward spar.
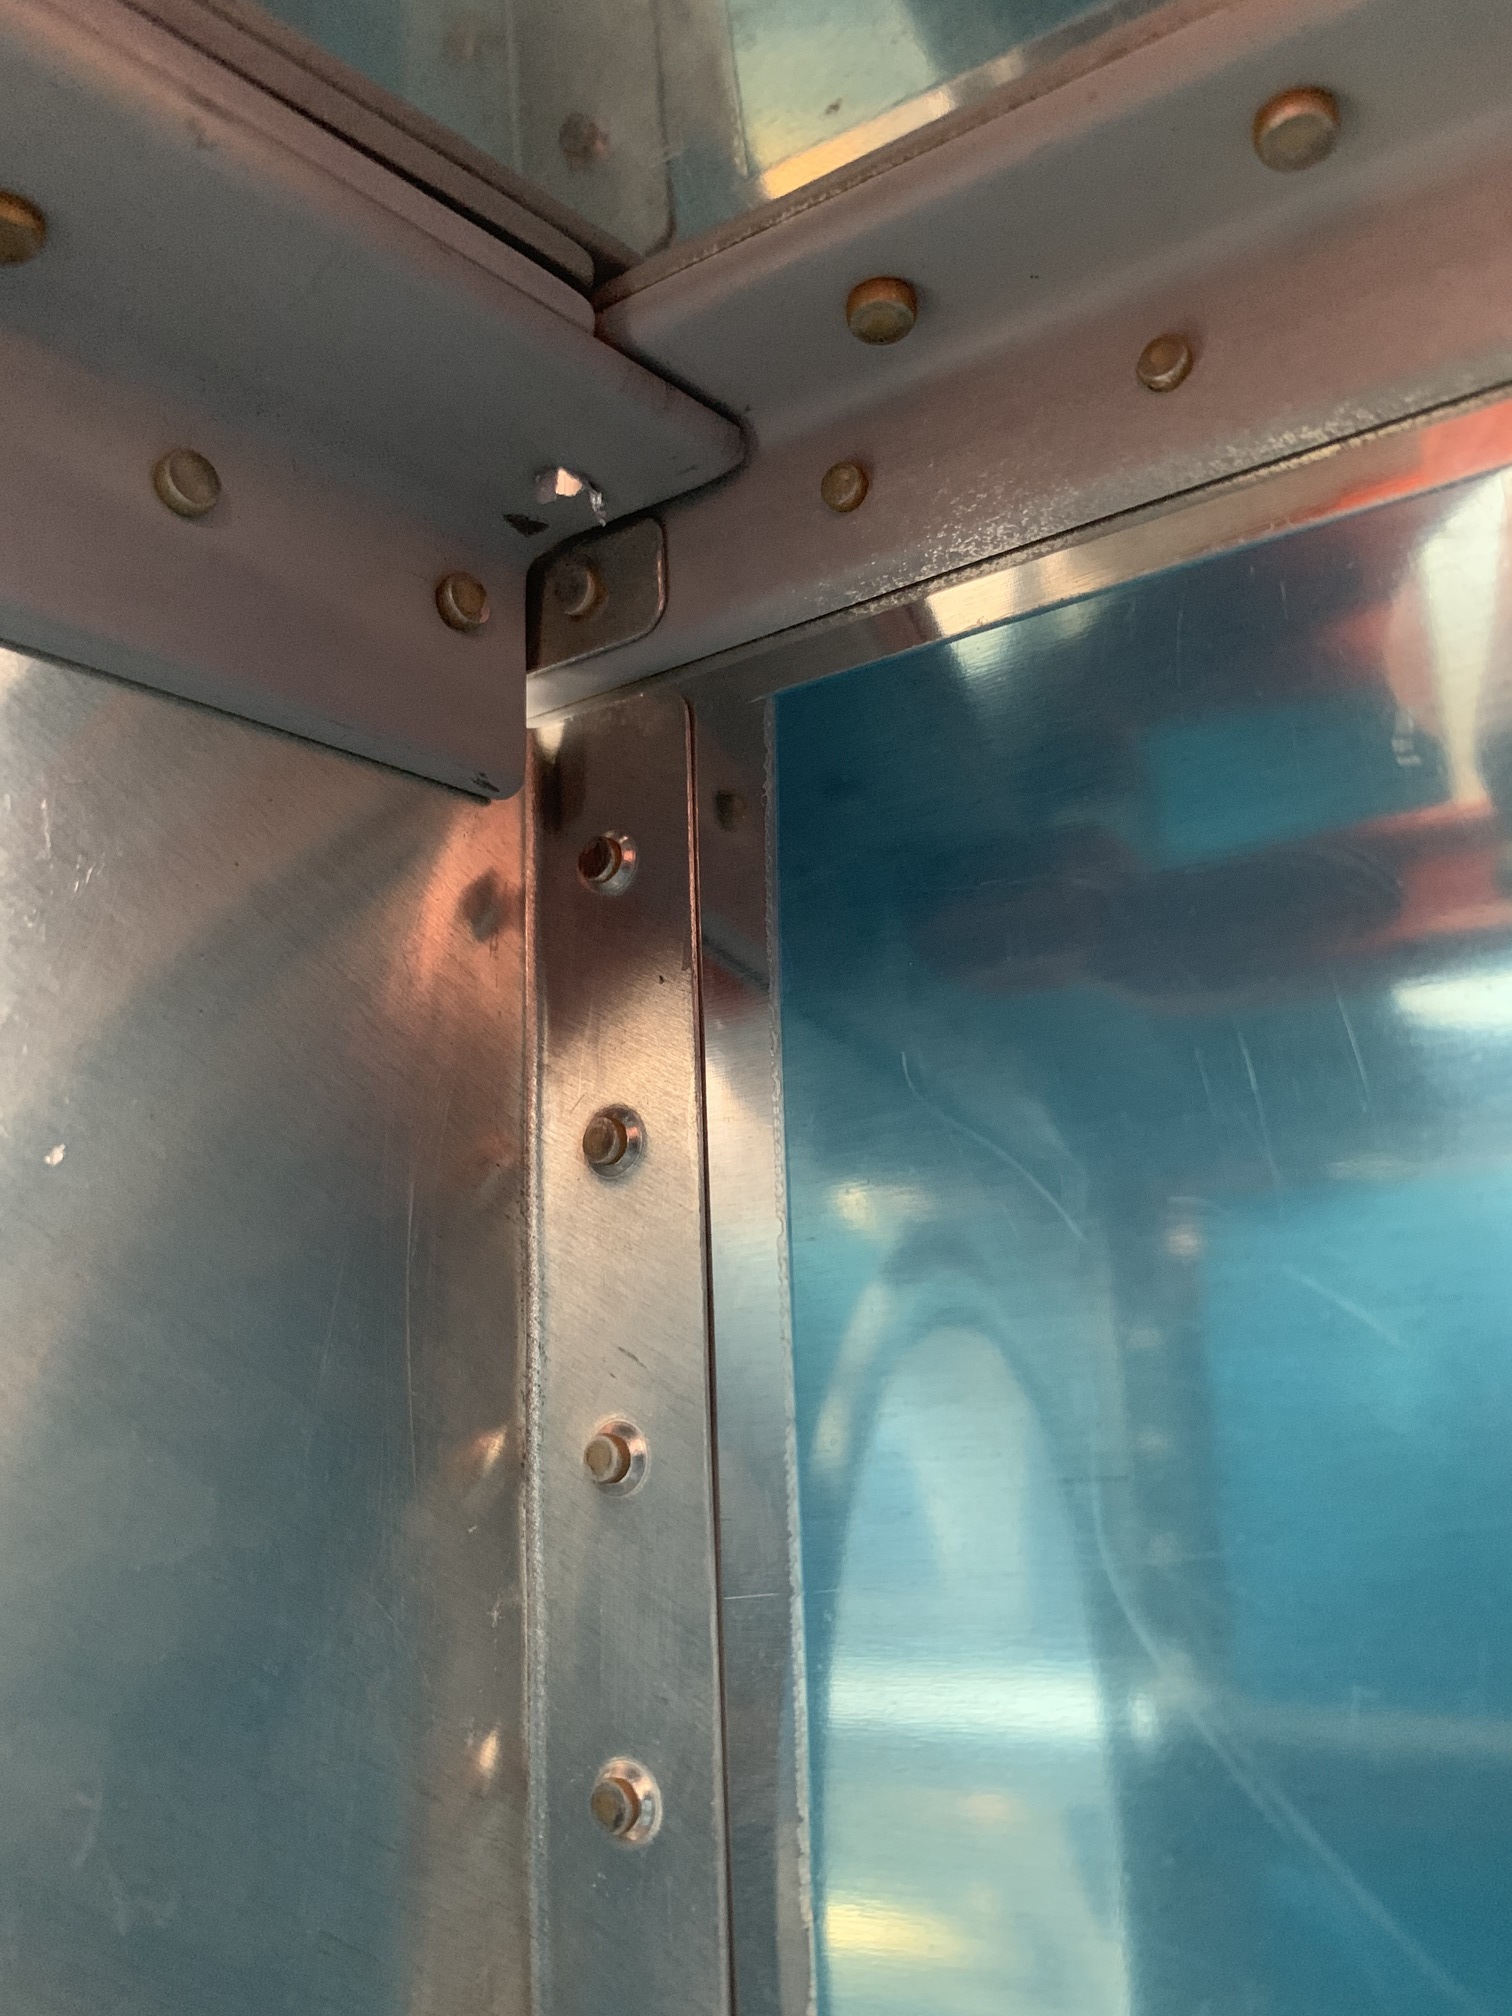
Then, I made a couple of 3/8" shims as called for in the plans to shim up the rear horizontal stab spar from the aft deck. This gives you the called for 0 degree angle of incidence. Then I carefully clamped the aft spar to the vertical bars that come up from the aft fuselage. I measured many times to get these holes centered in both the stab aft spar and the vertical bars. They came out nicely.
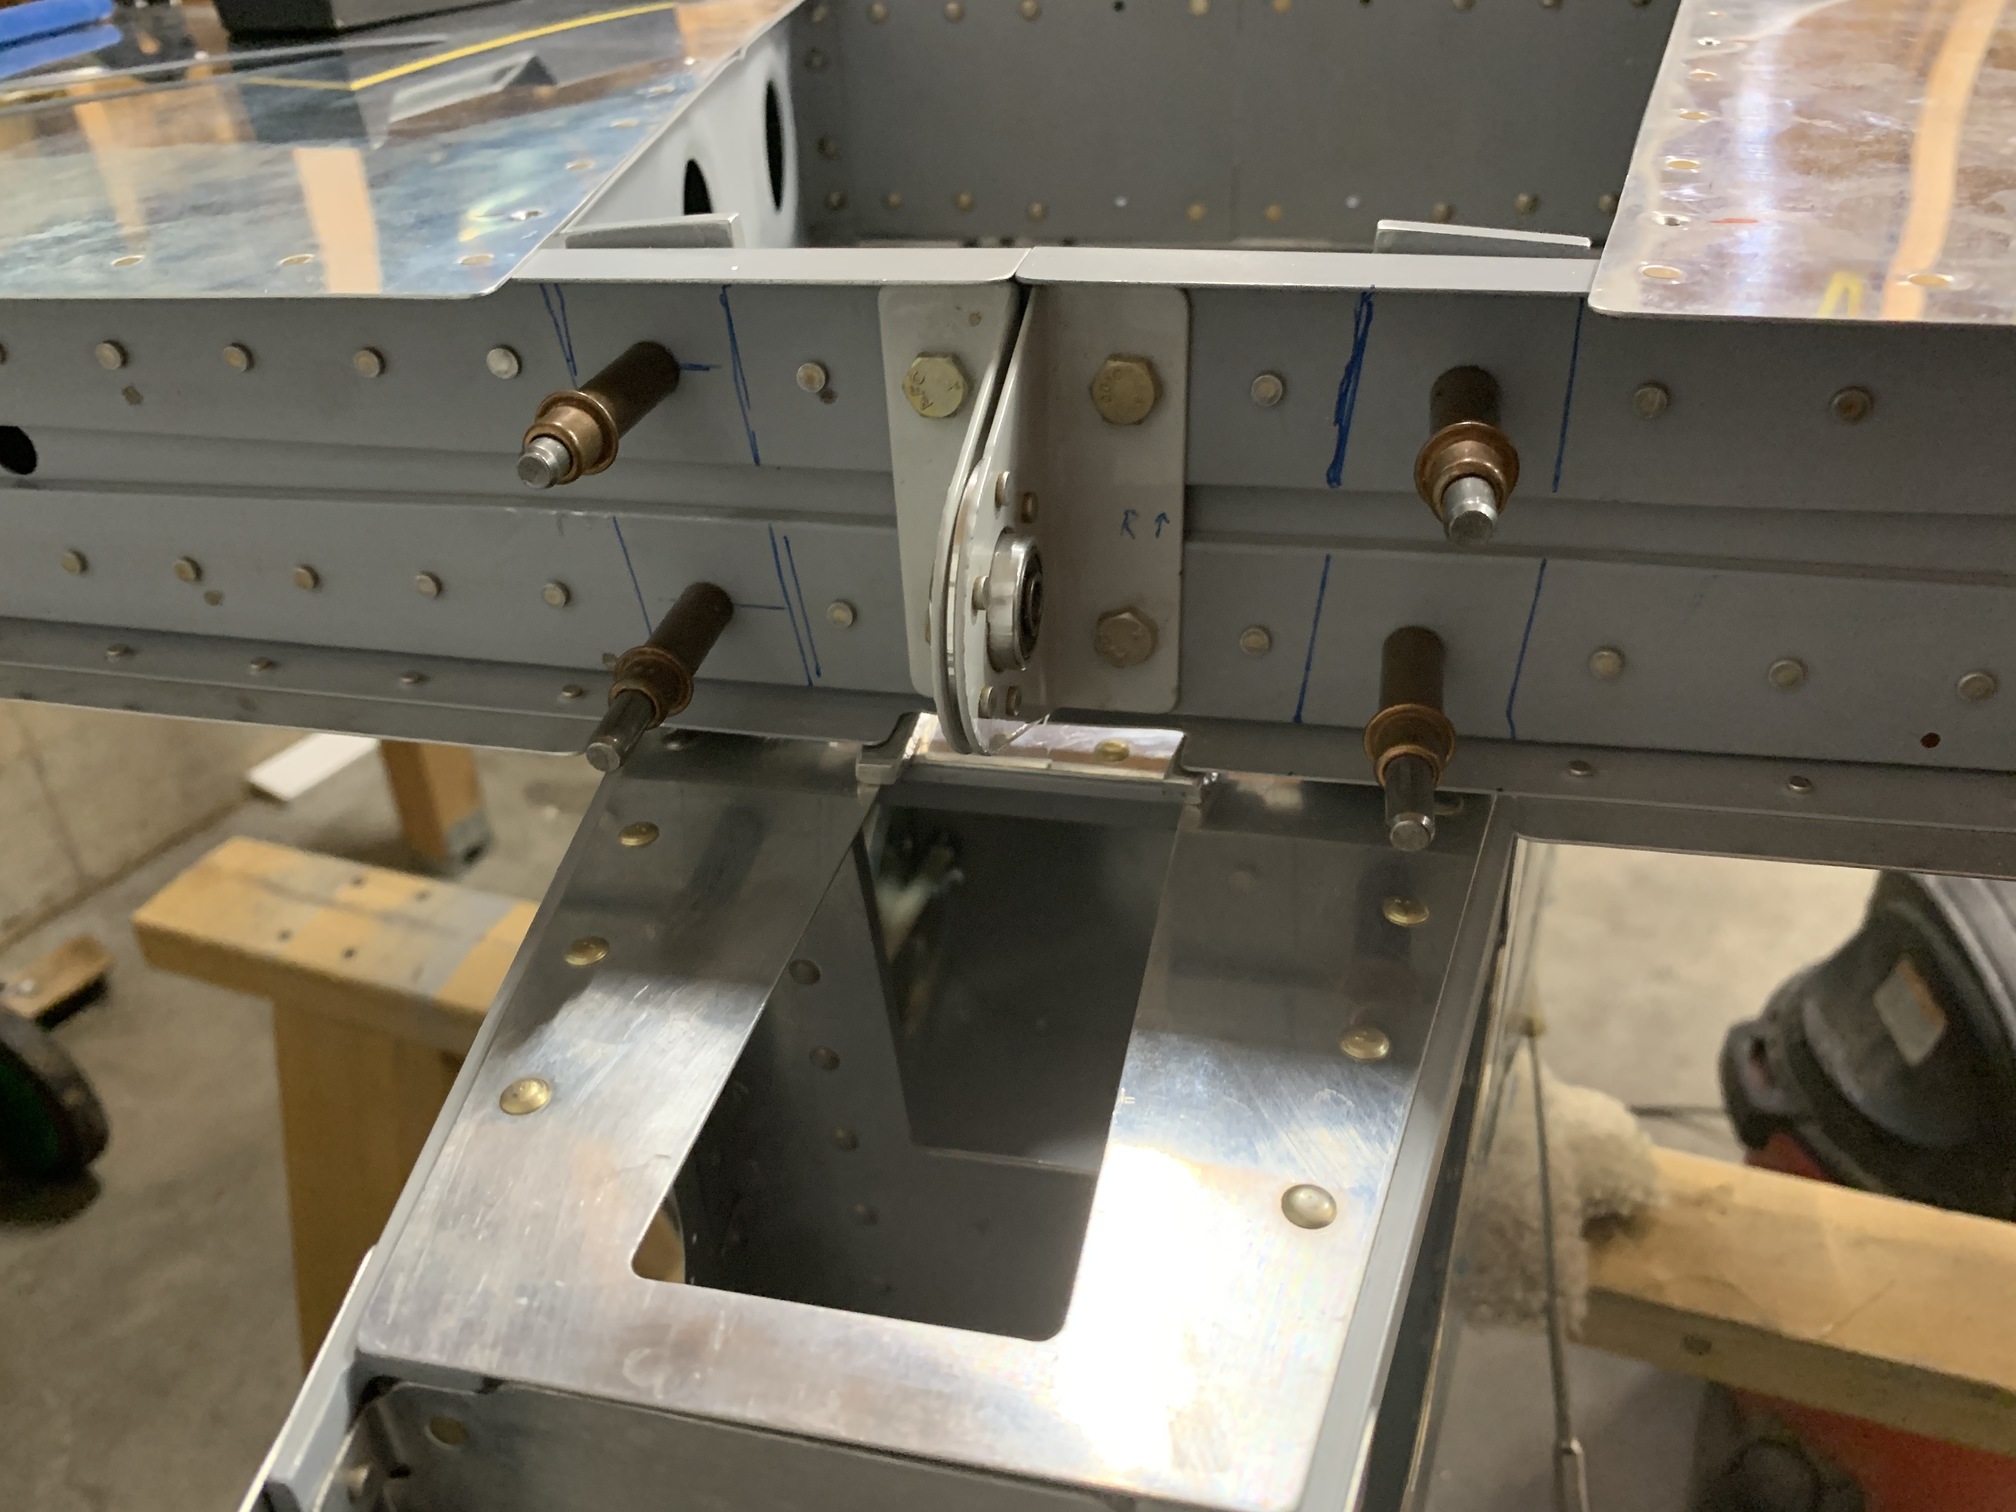
Centered nicely on the bars as well.
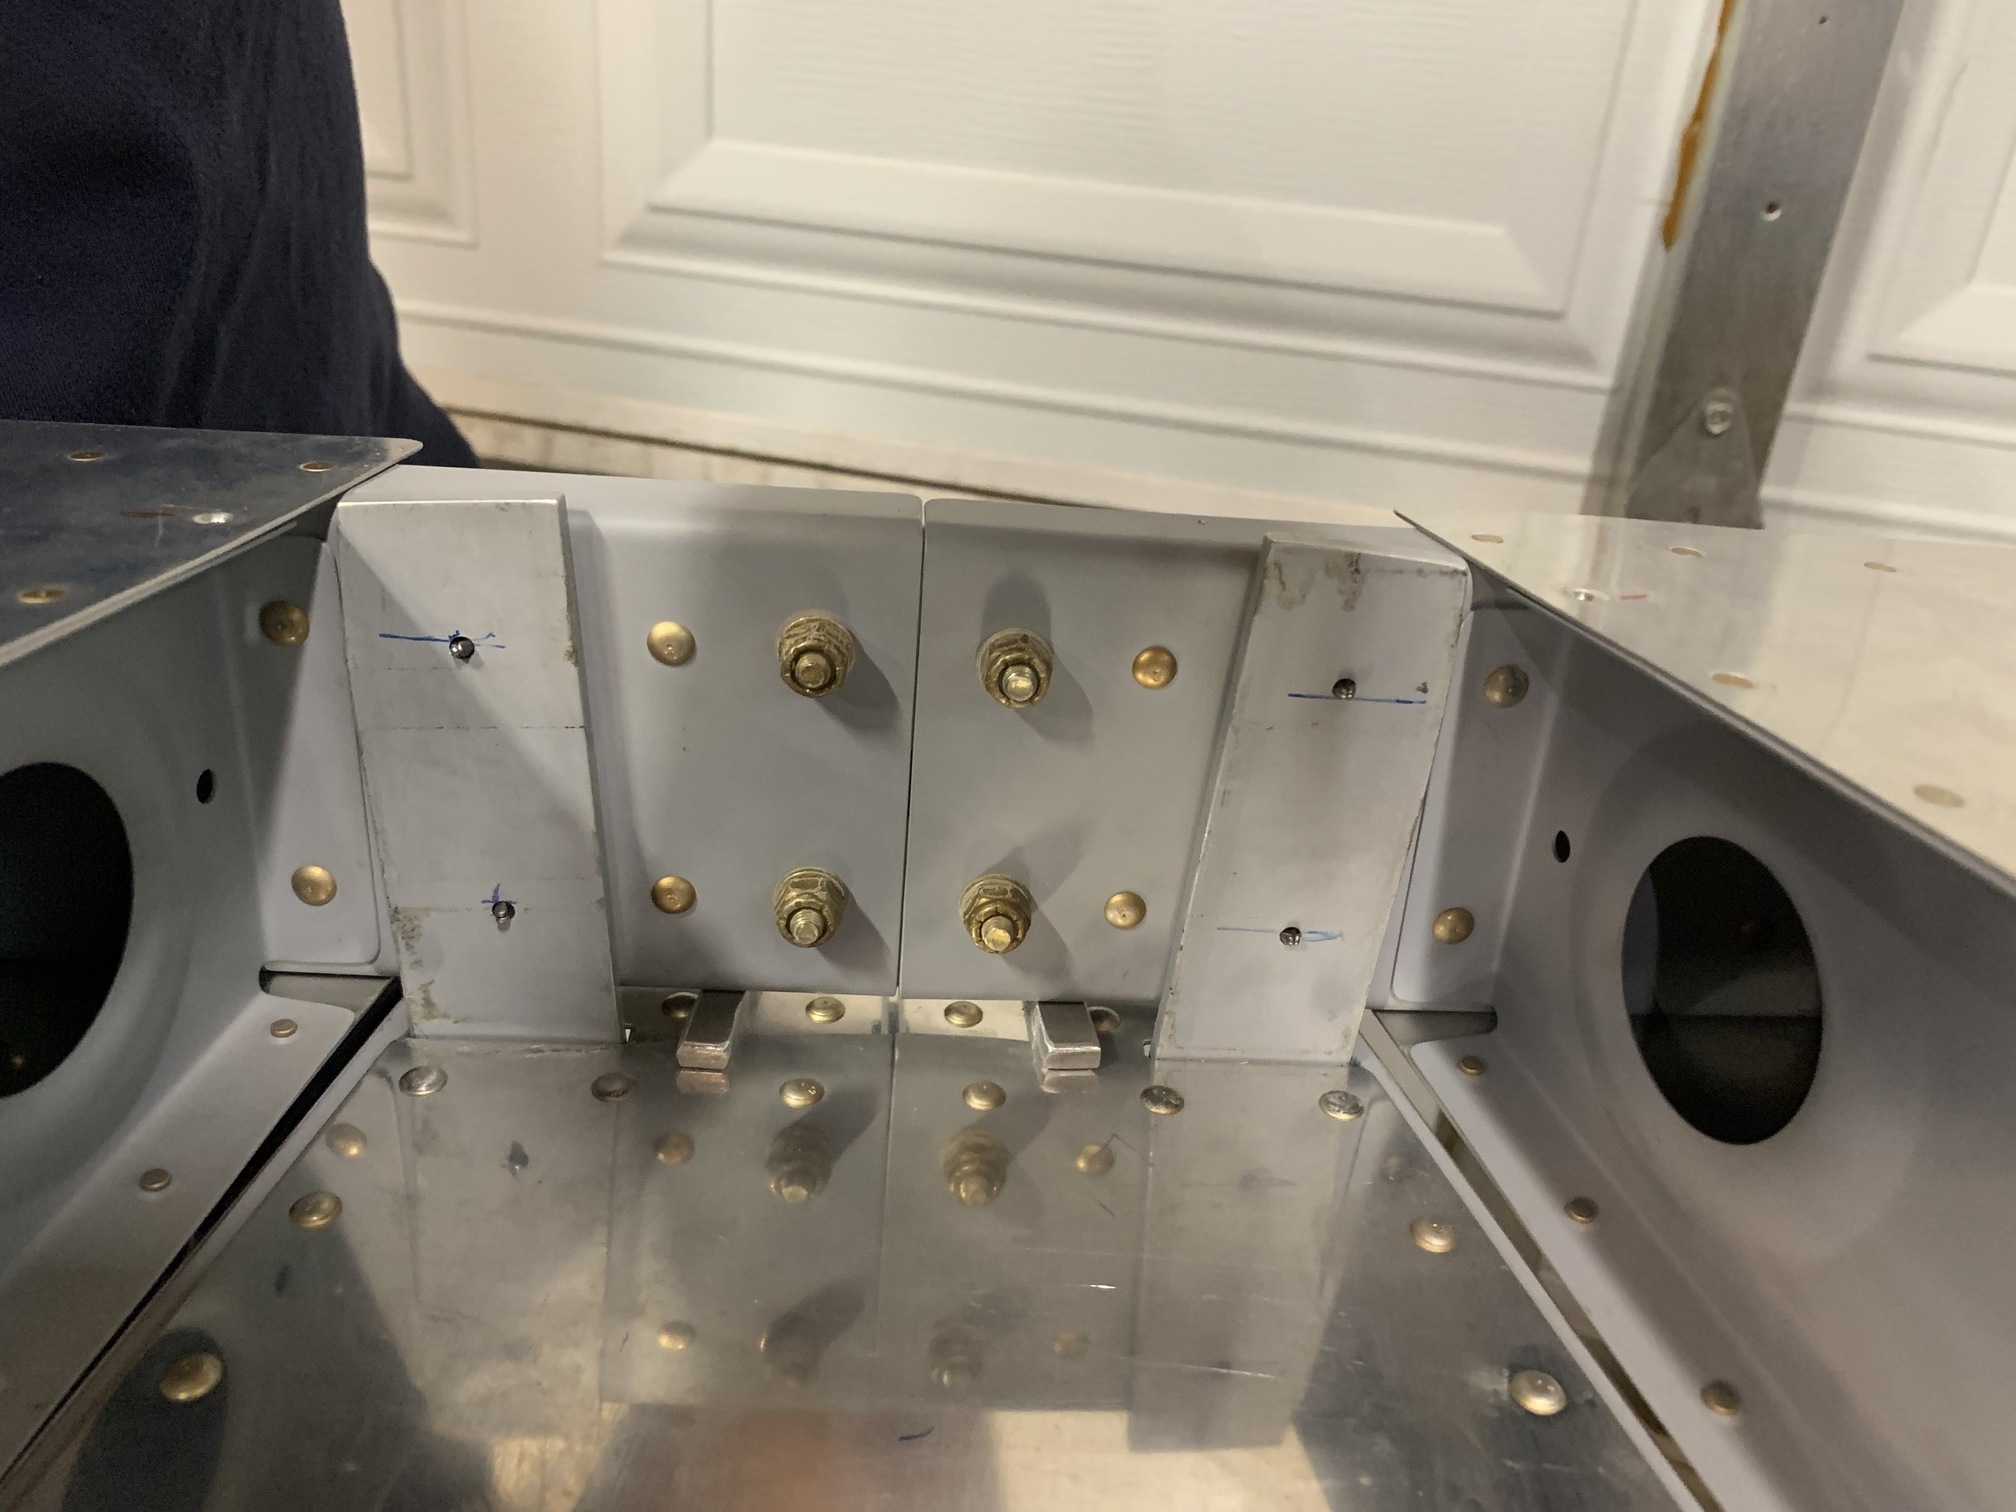
Then I drilled them to full size and bolted them in place. The horizontal stabilizer is solidly attached to the fuselage--there is absolutely no play.

Then I reattached the elevators and clamped them in neutral.
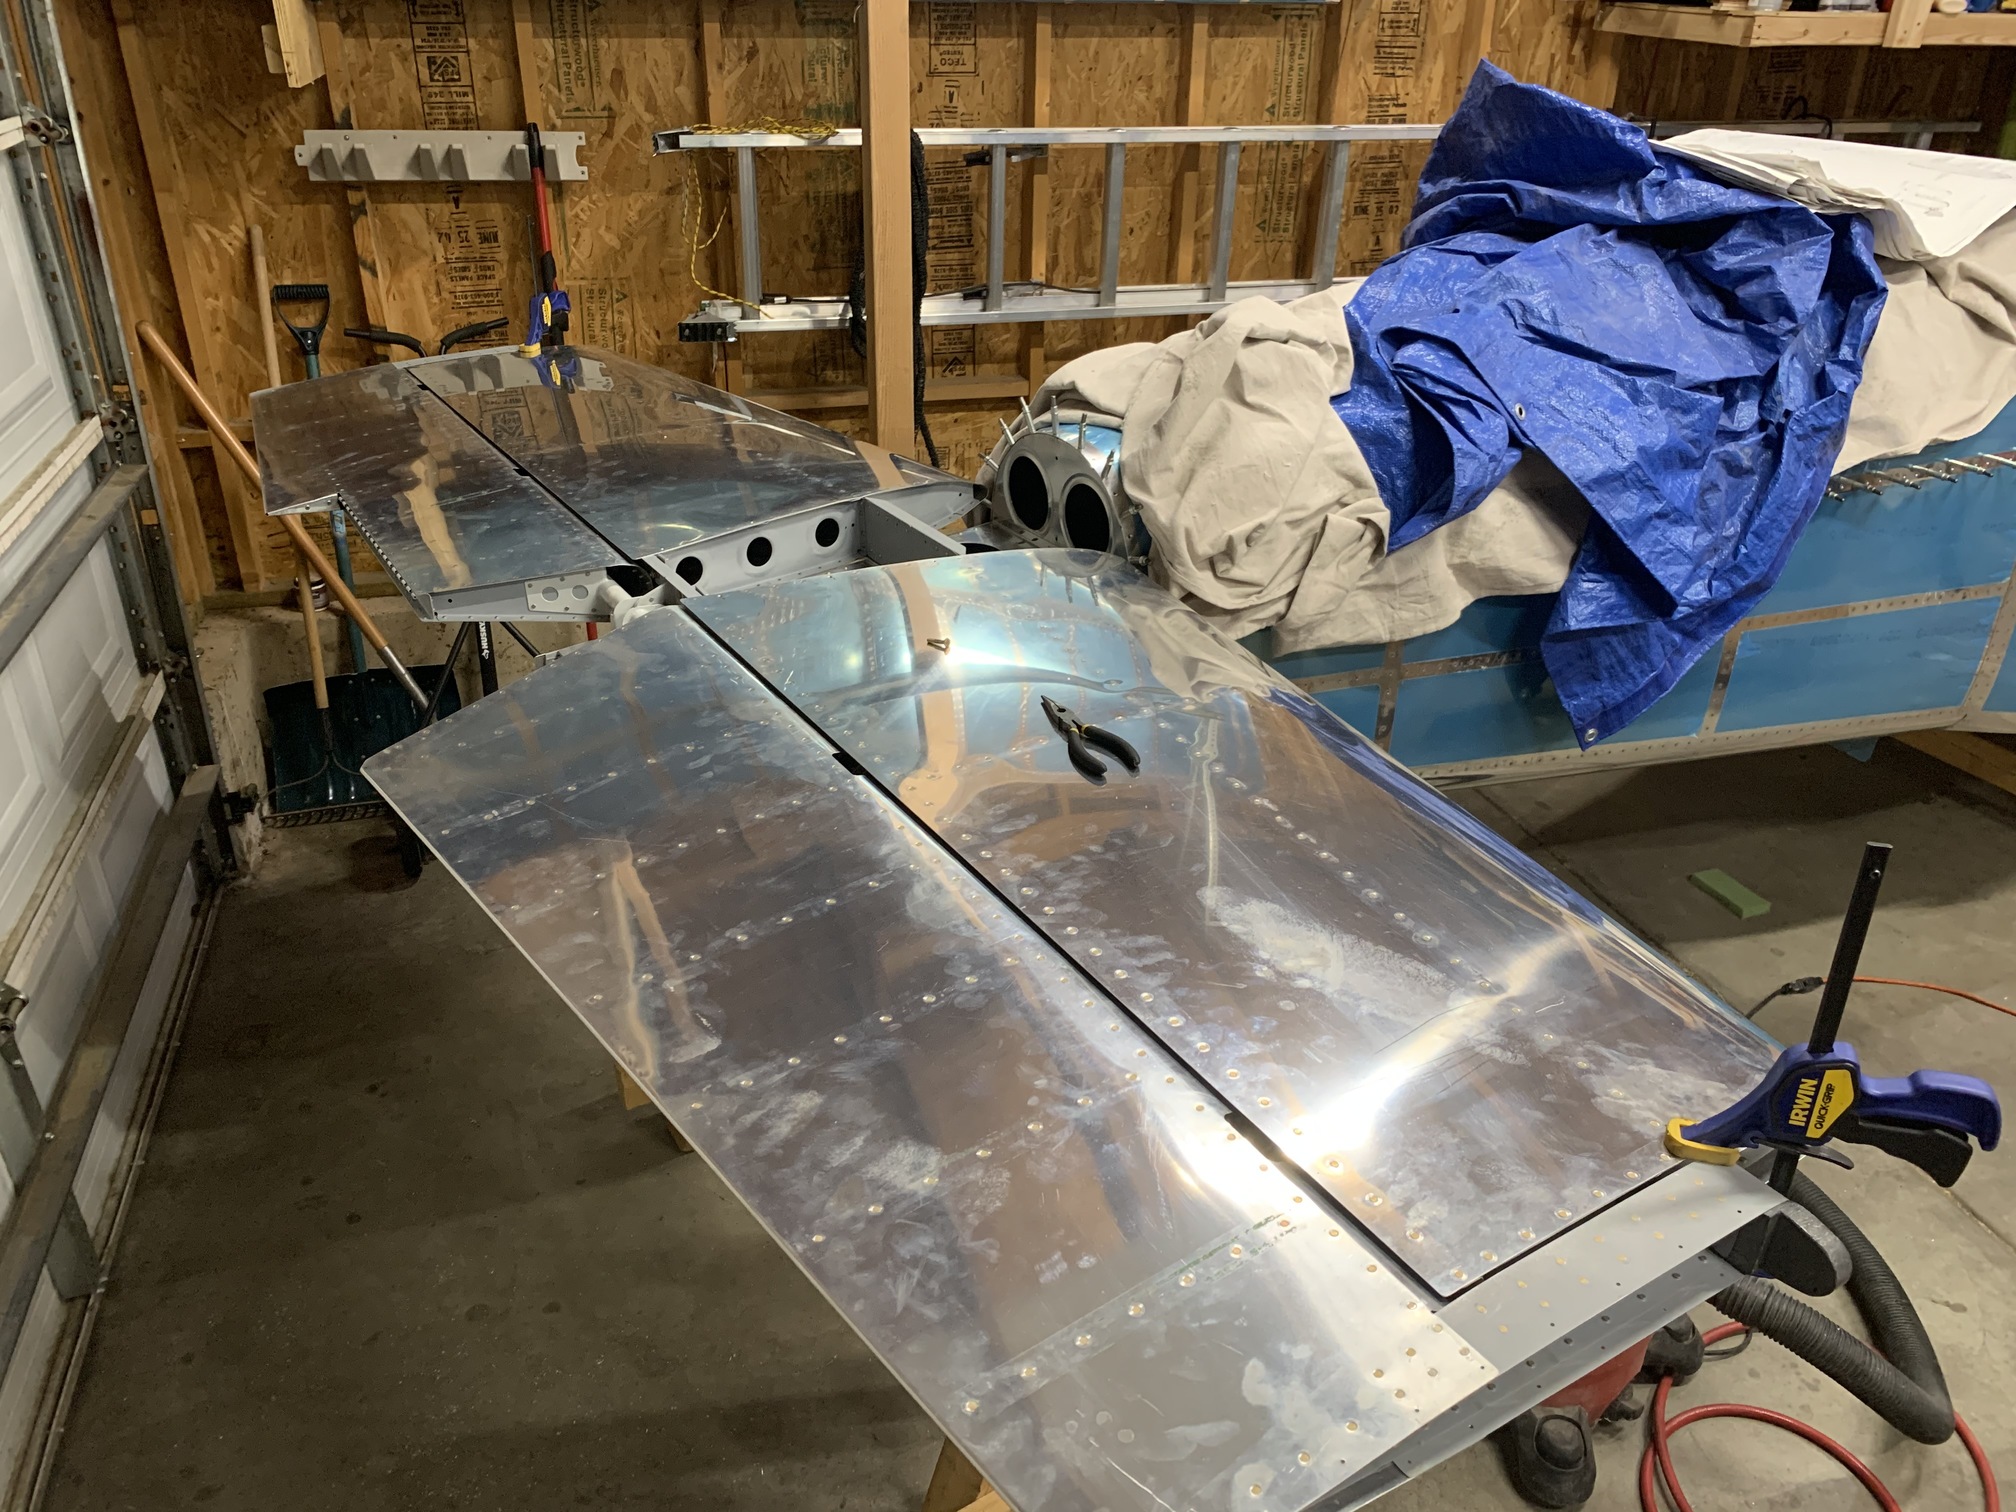
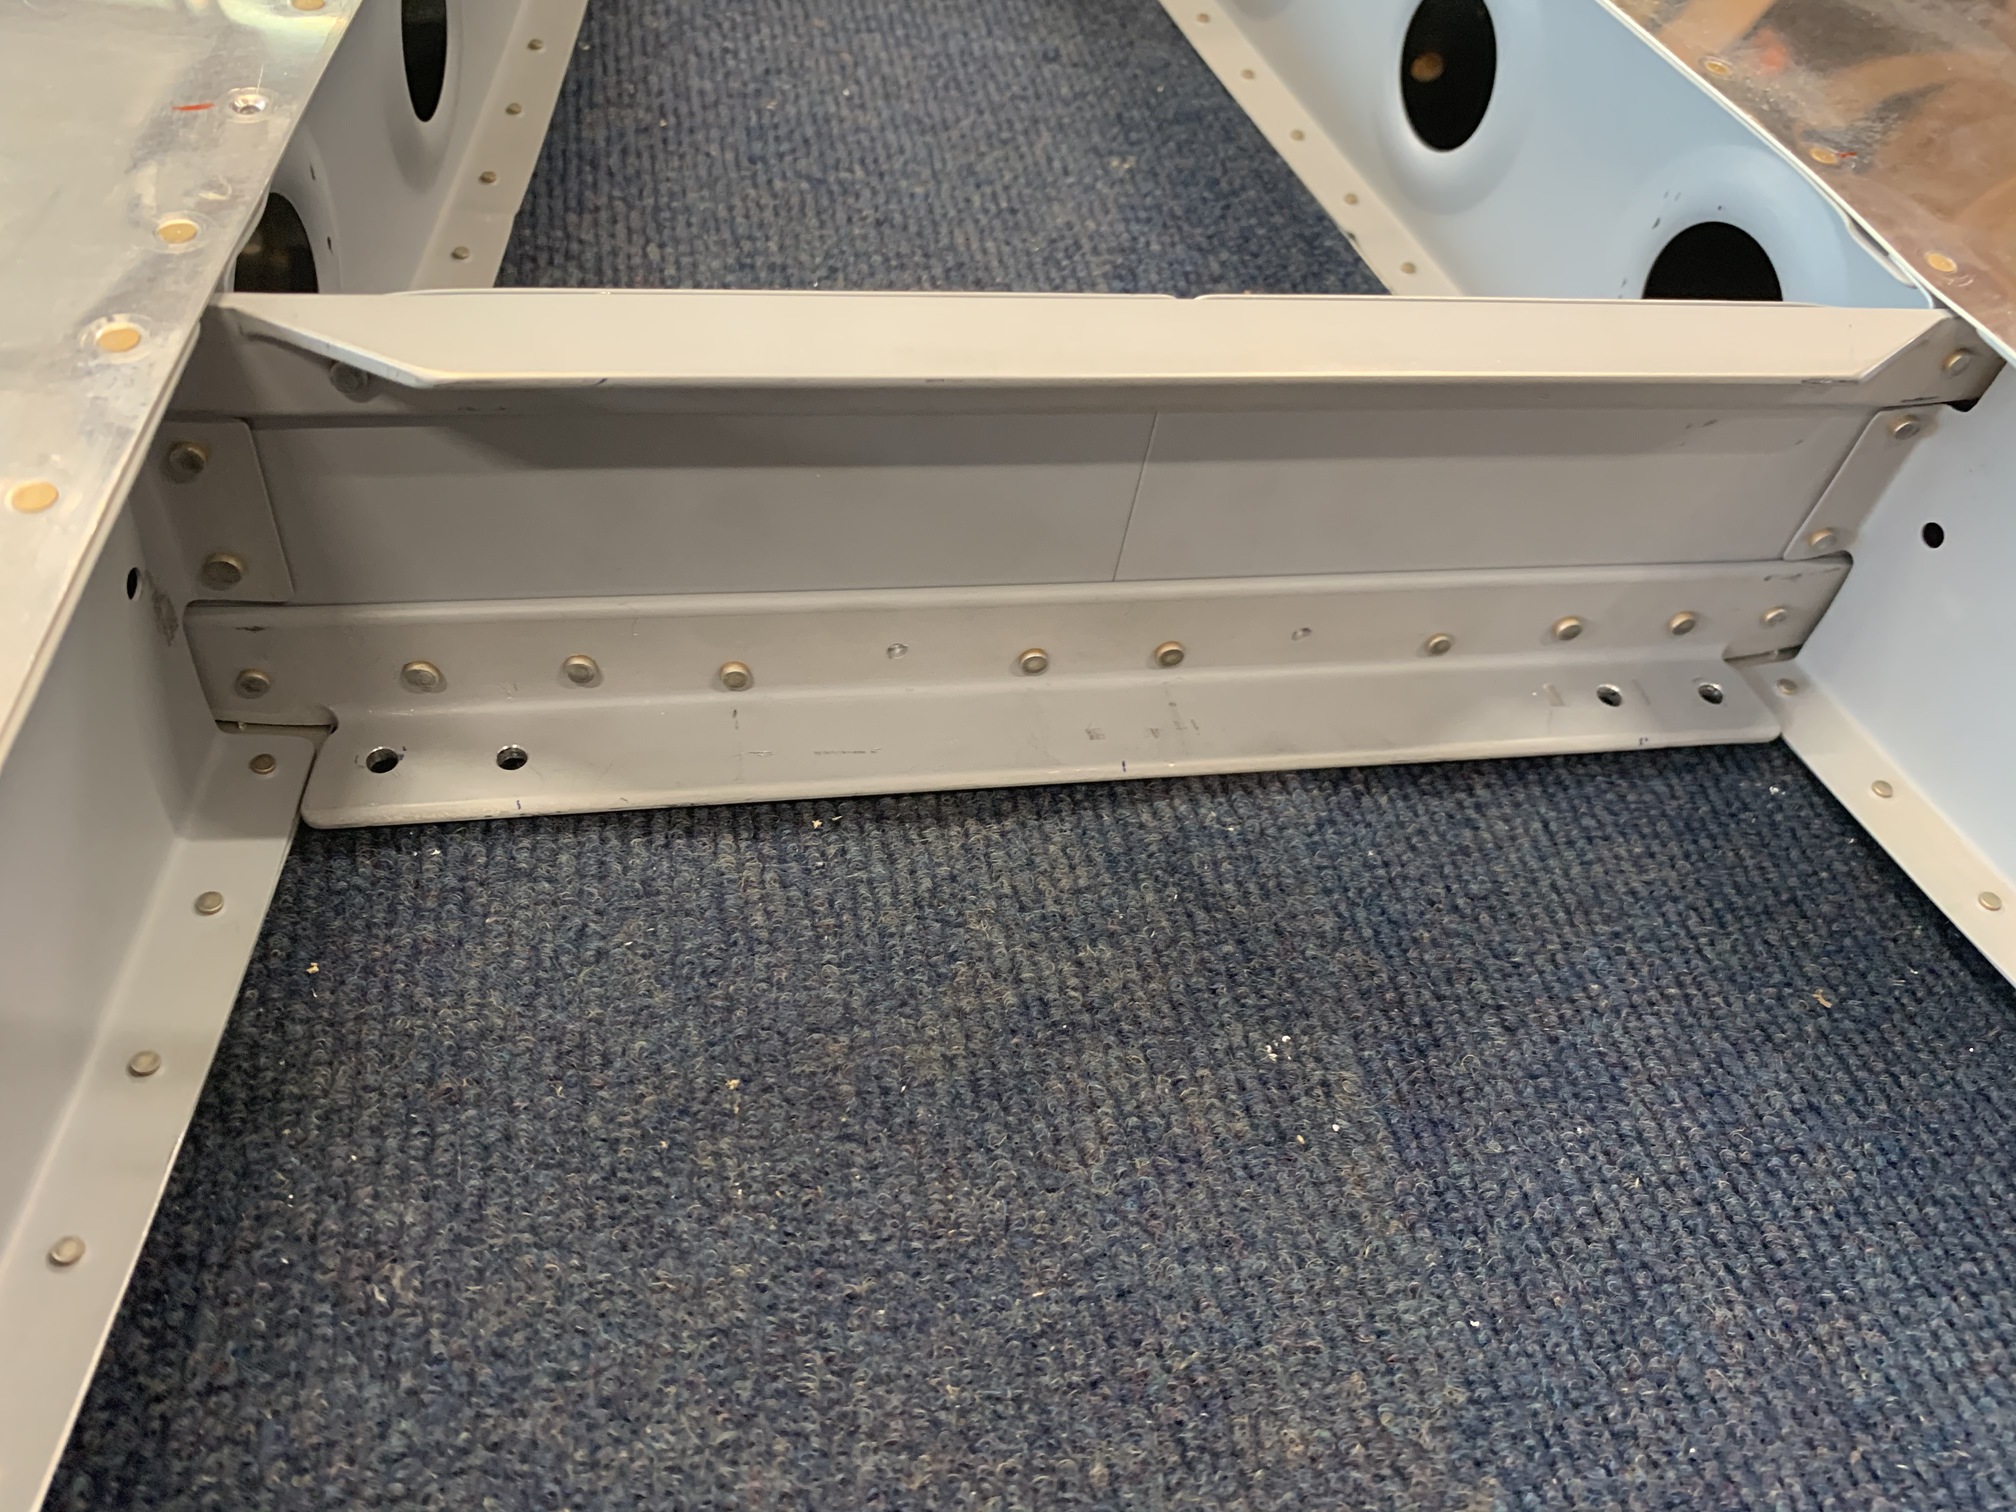
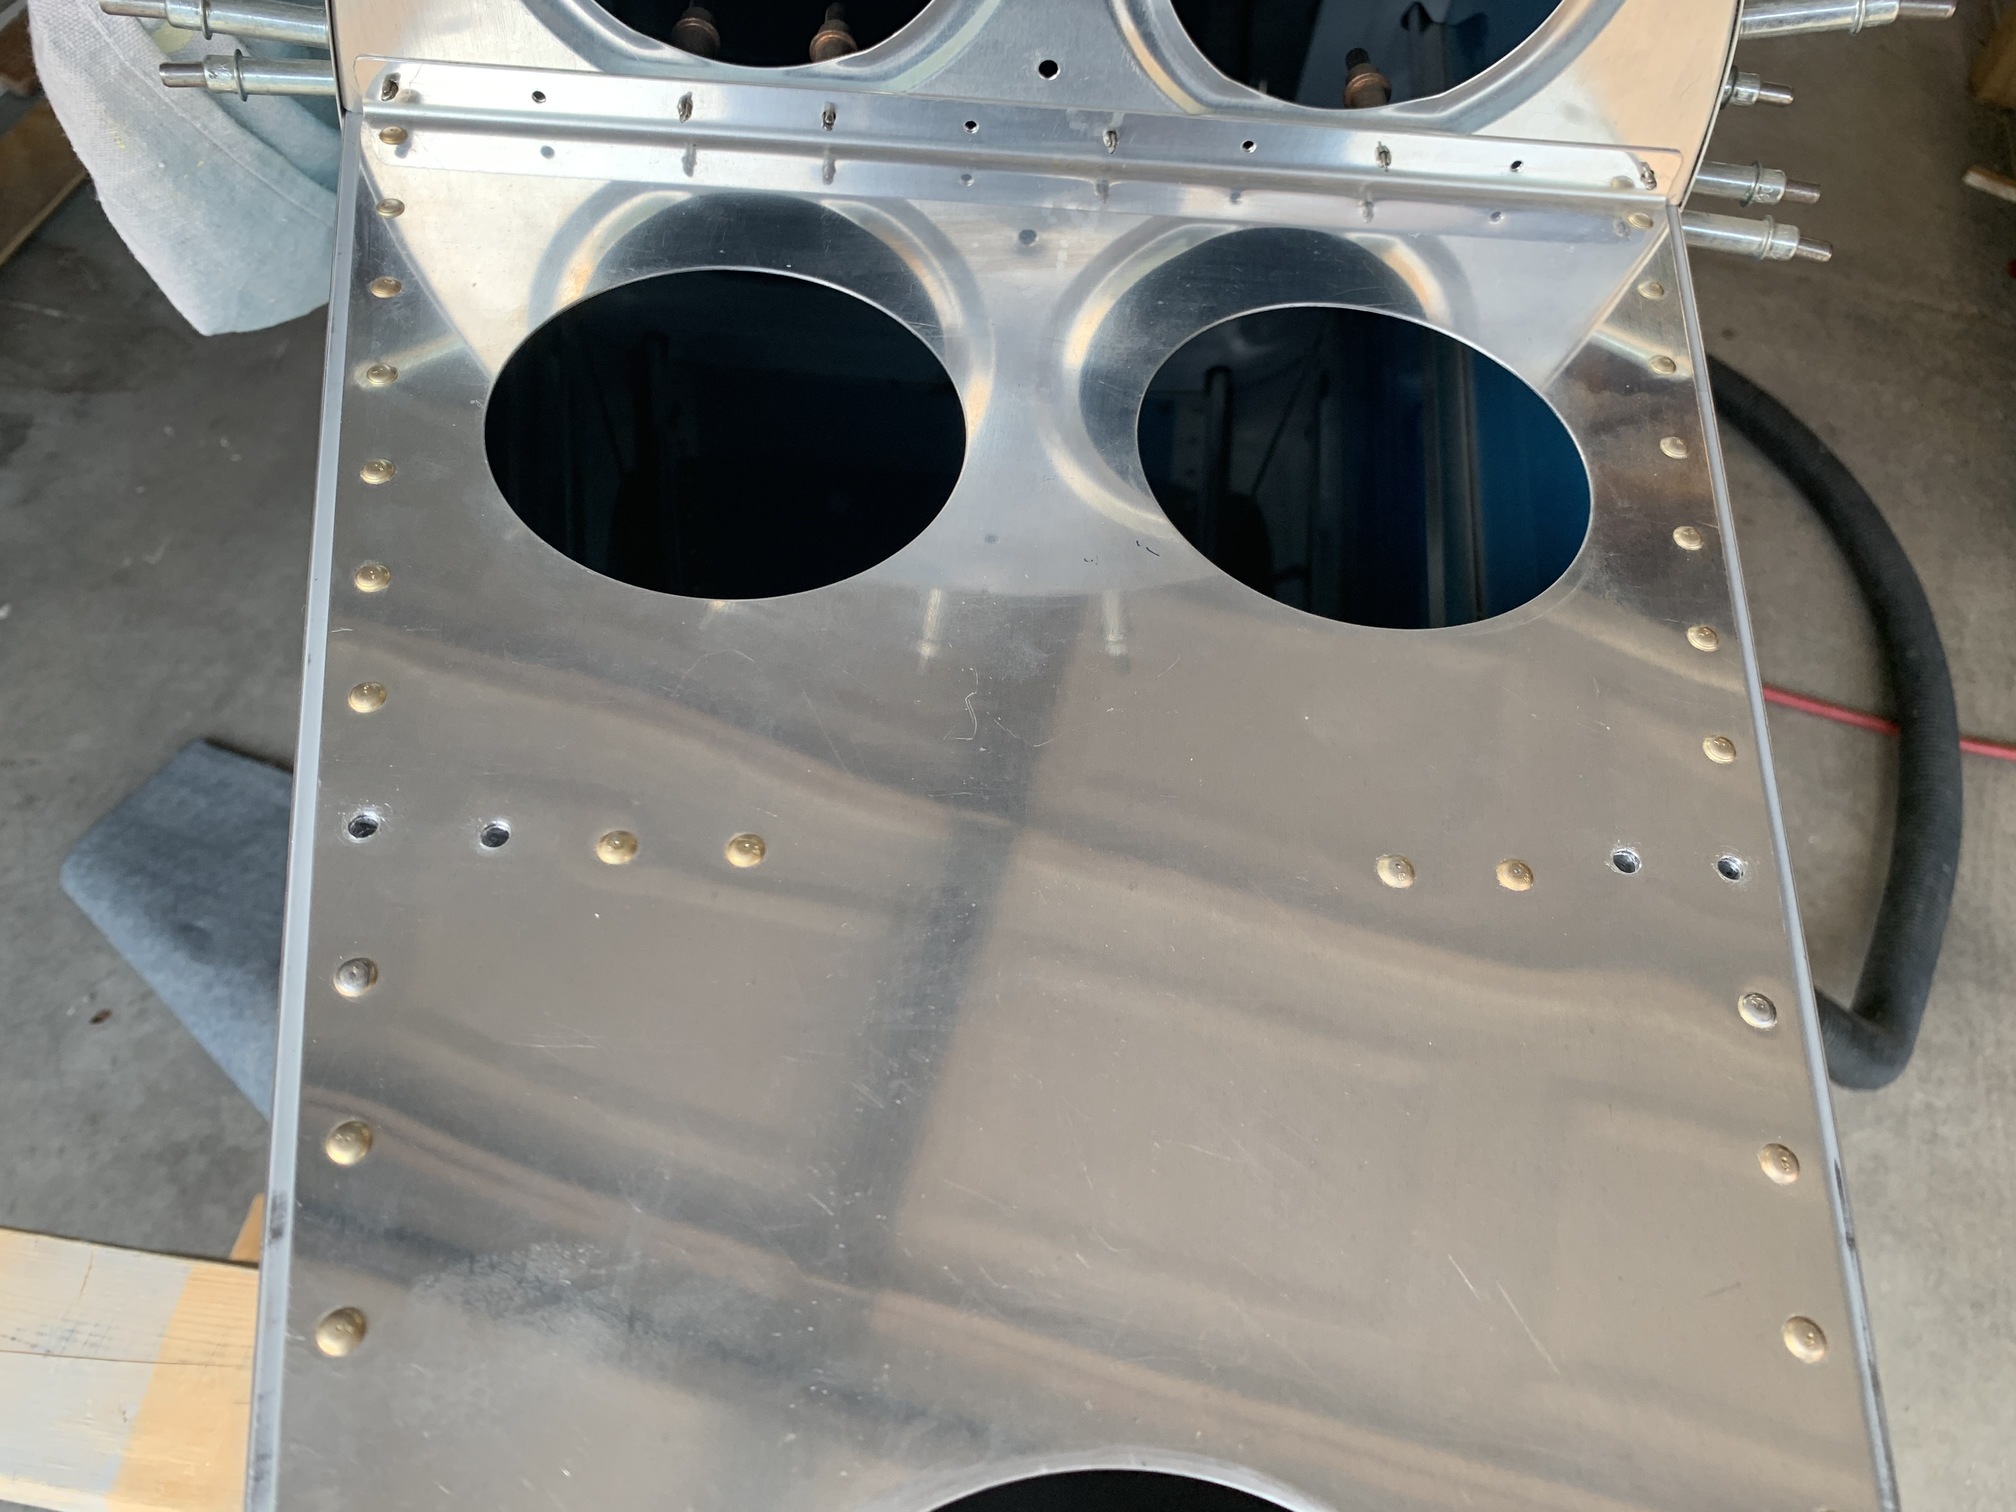
The next steps involve installing the elevator bellcrank and pushrods in the fuselage, so it was time to remove the aft fuselage top skins for the first time since May of 2010.

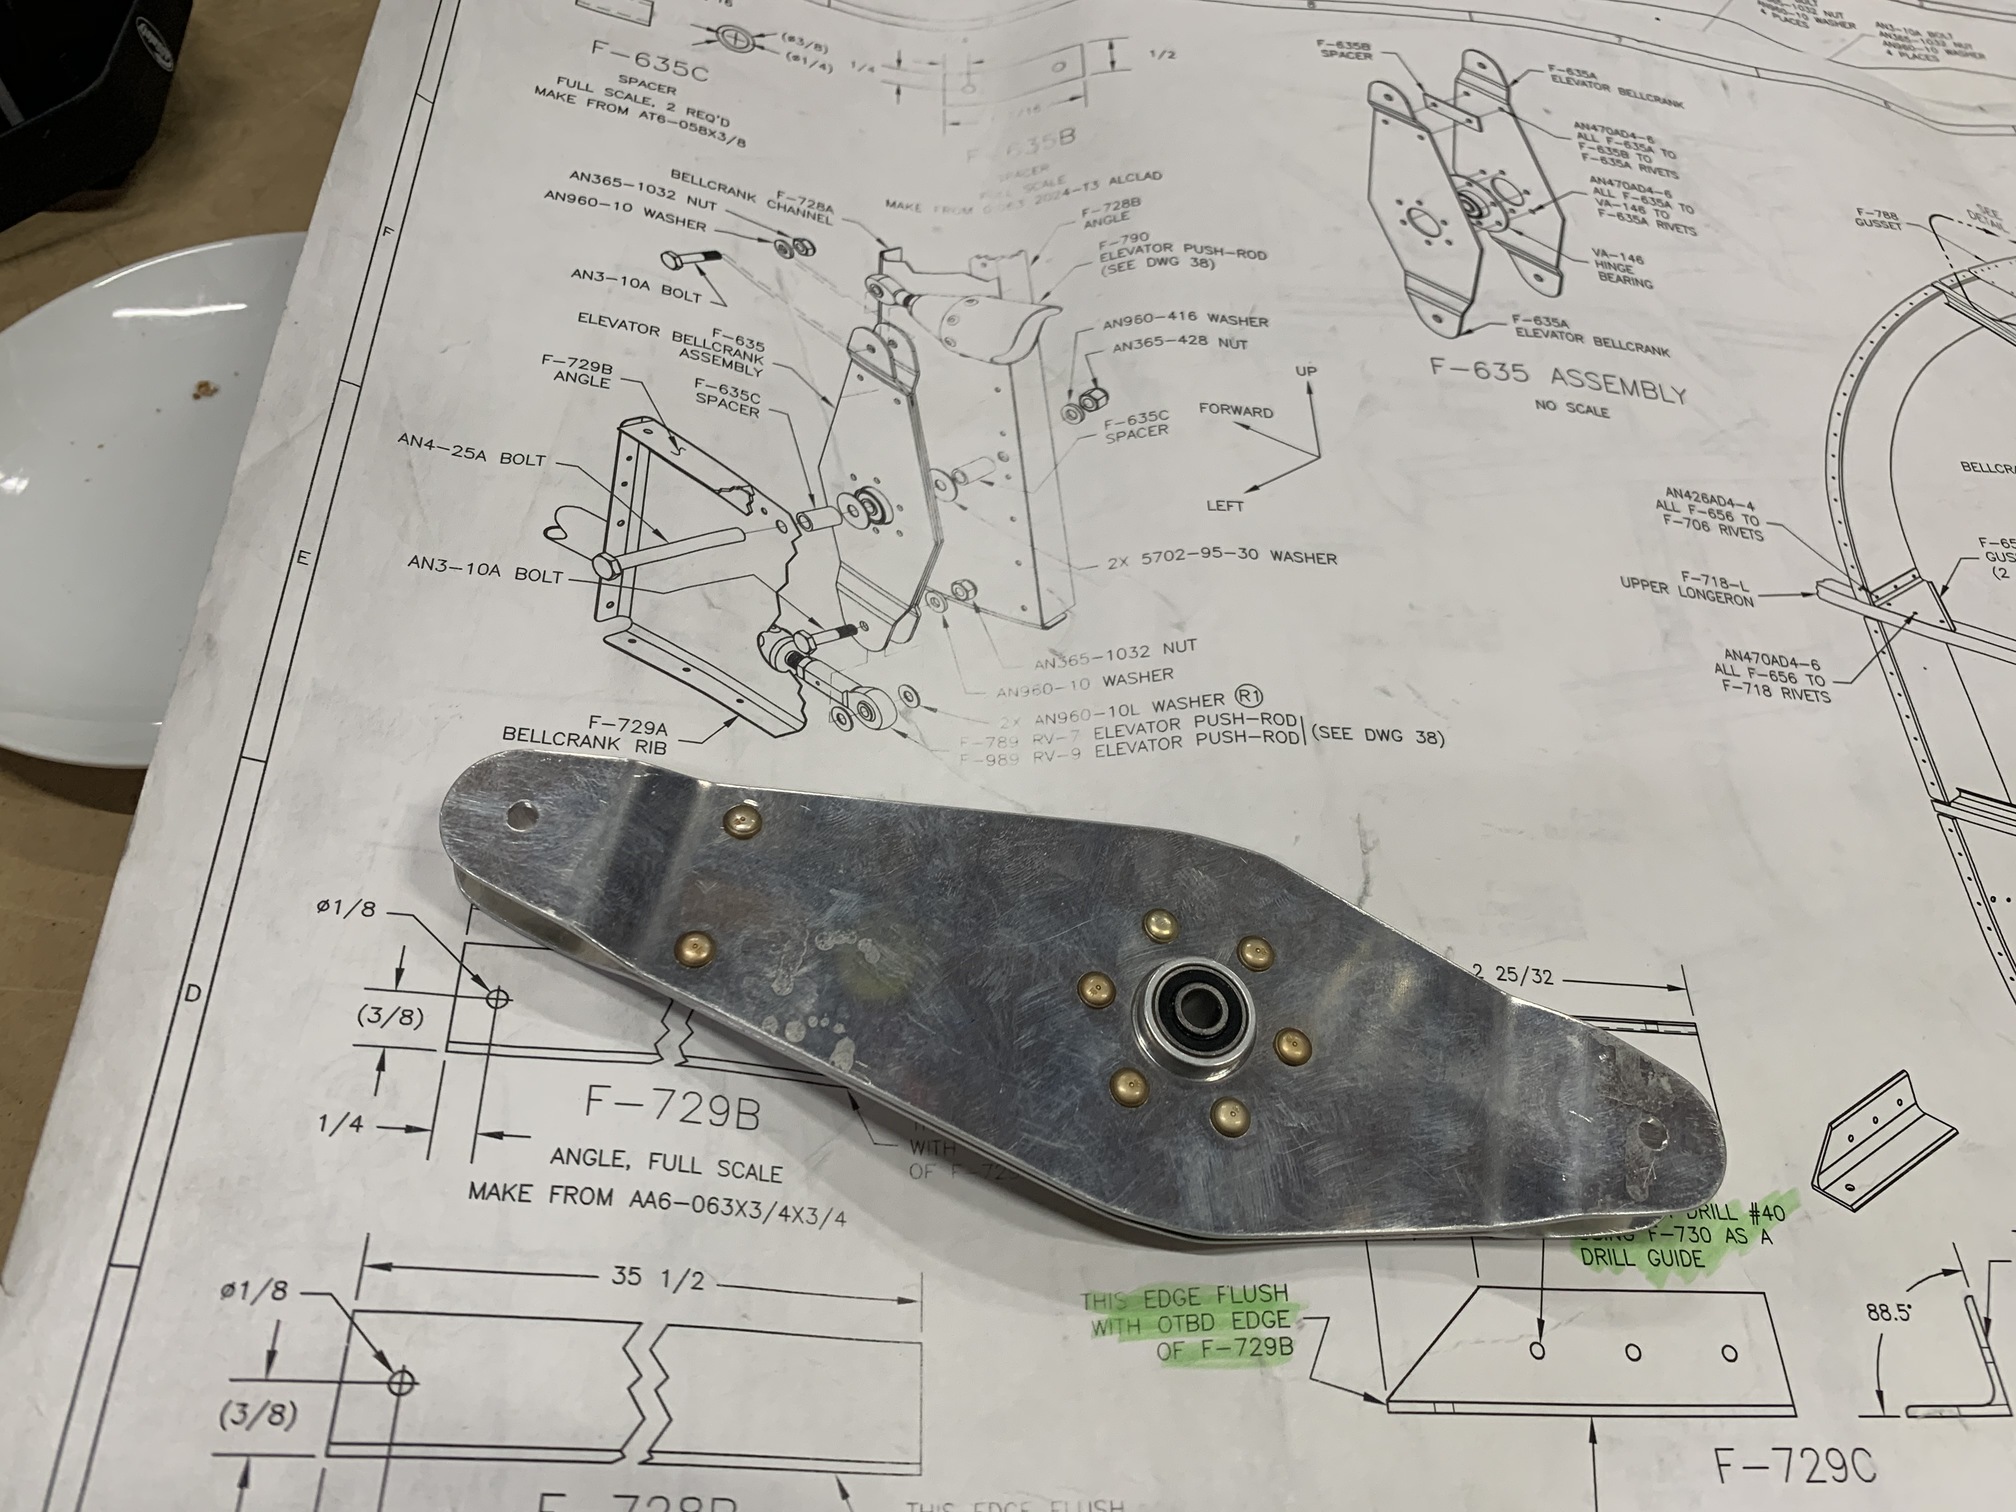
The next step is to install the bellcrank, which I fabricated previously.
| Previous - Index - Next |
This work is licensed under Attribution-NonCommercial-NoDerivatives 4.0 International![]()
![]()
![]()
![]()