Log (By Day)
Log (By Category)
Pictures
Pics of Me Working
Links
| ||||||||||||
Saturday September 19, 2020
Elevator Up Stop, Vertical Stabilizer Fitting, Hung Rudder
(Aft Fuselage)
7.0 Hours
| Previous - Index - Next |
First thing, I put a long AN3 bolt in the bottom part of the bellcrank and checked position with the access hole in the bellcrank rib. It was a little to far aft, so I shortened the pushrod a bit and that brought it right into alignment.
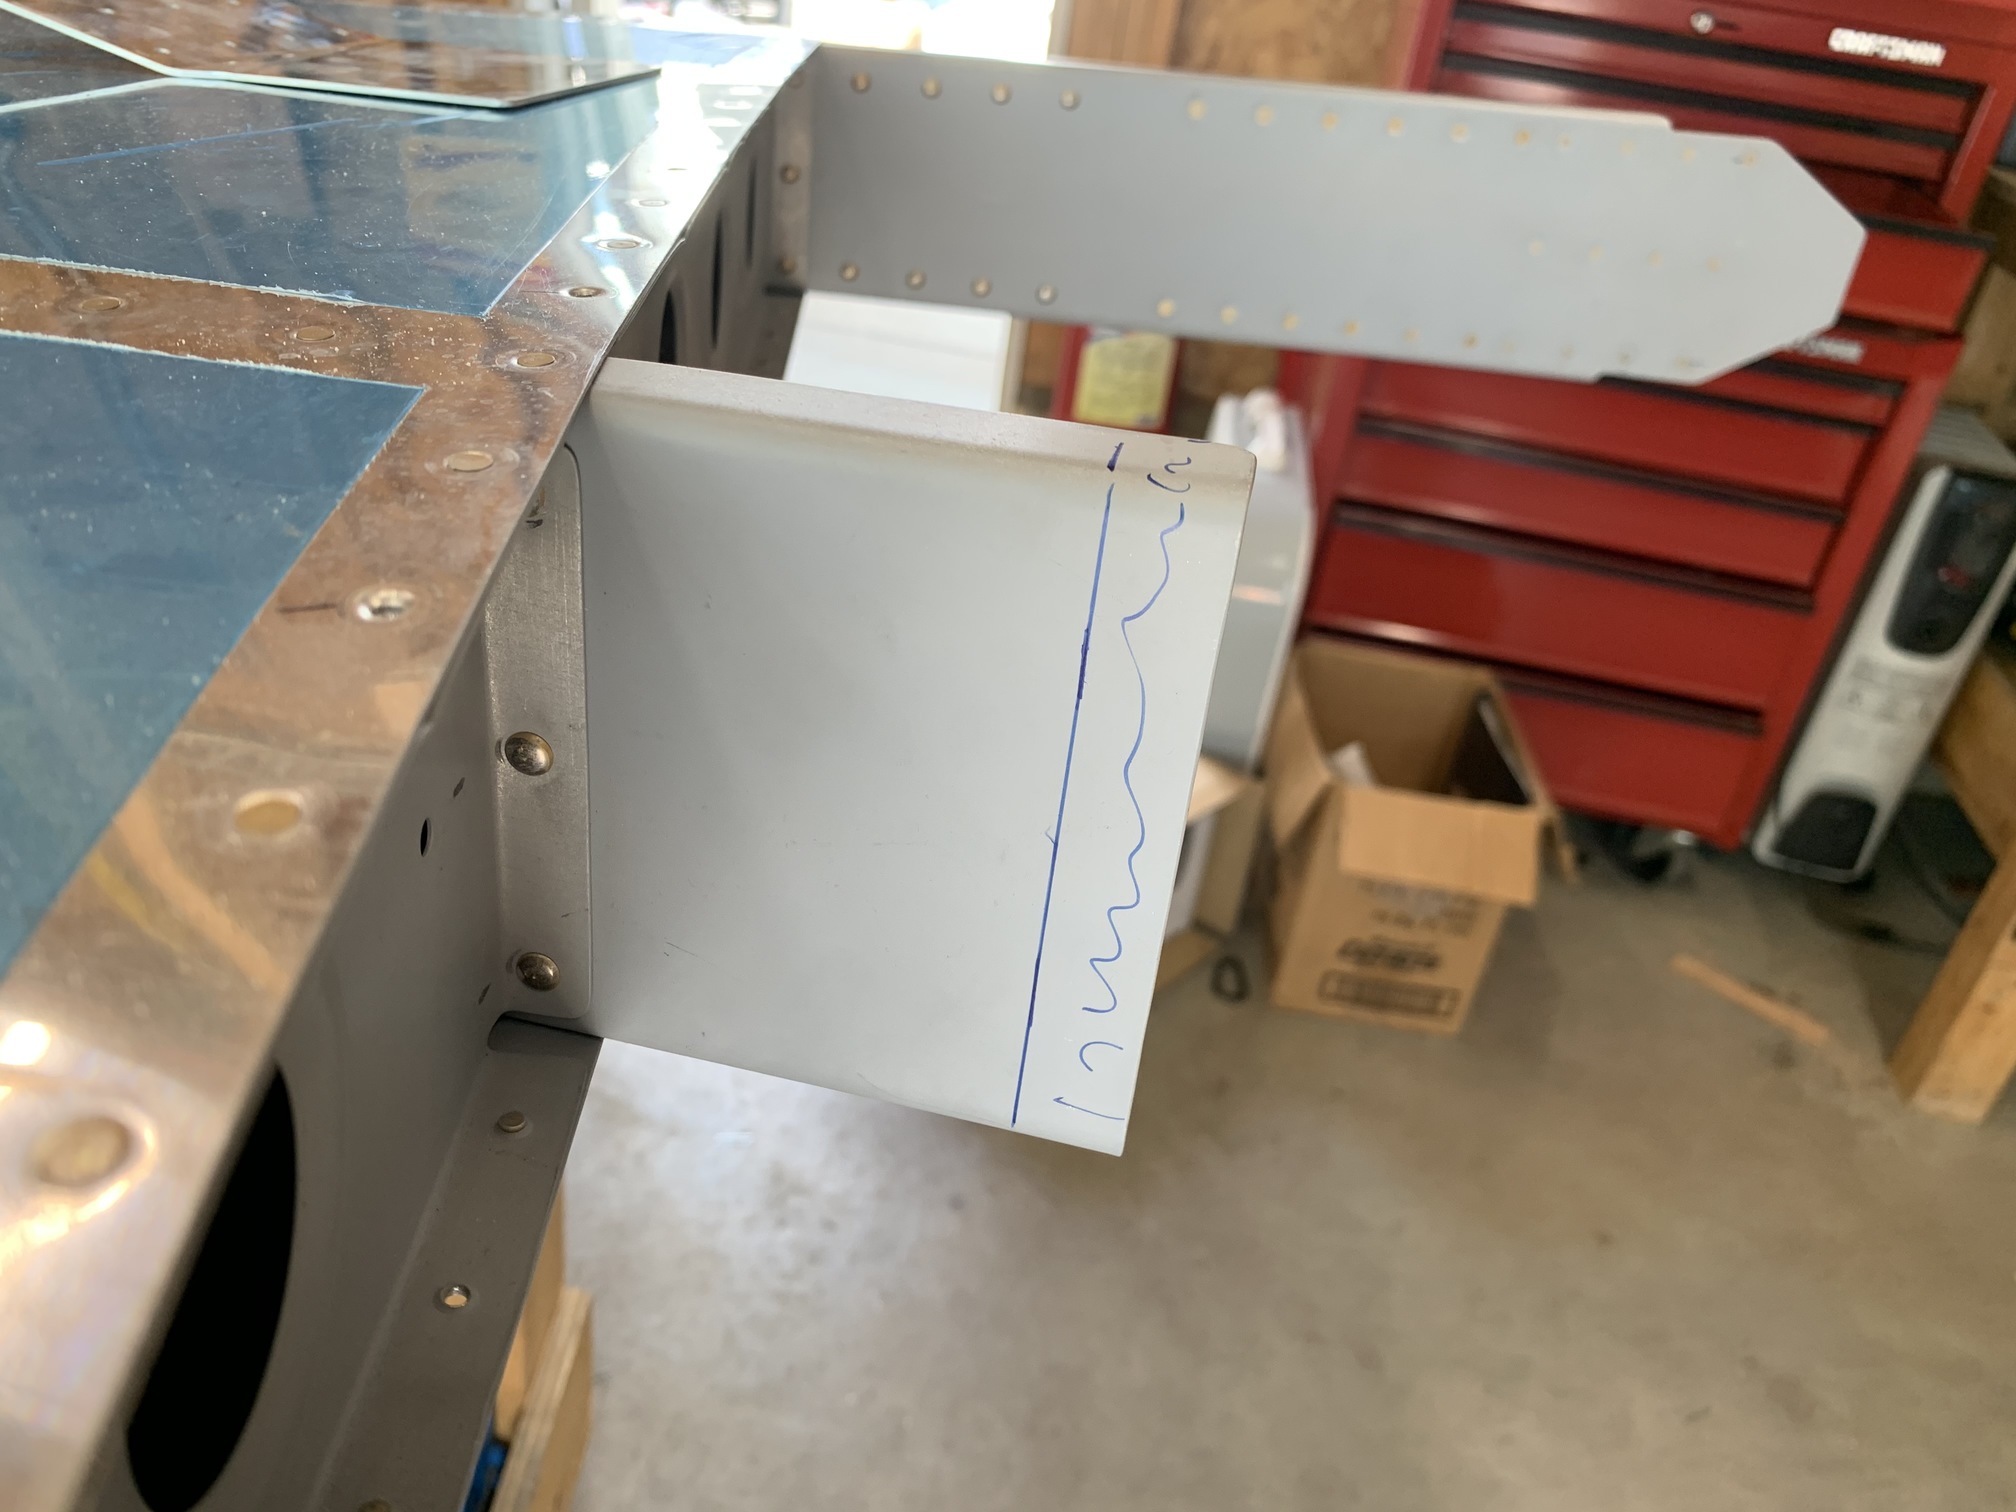
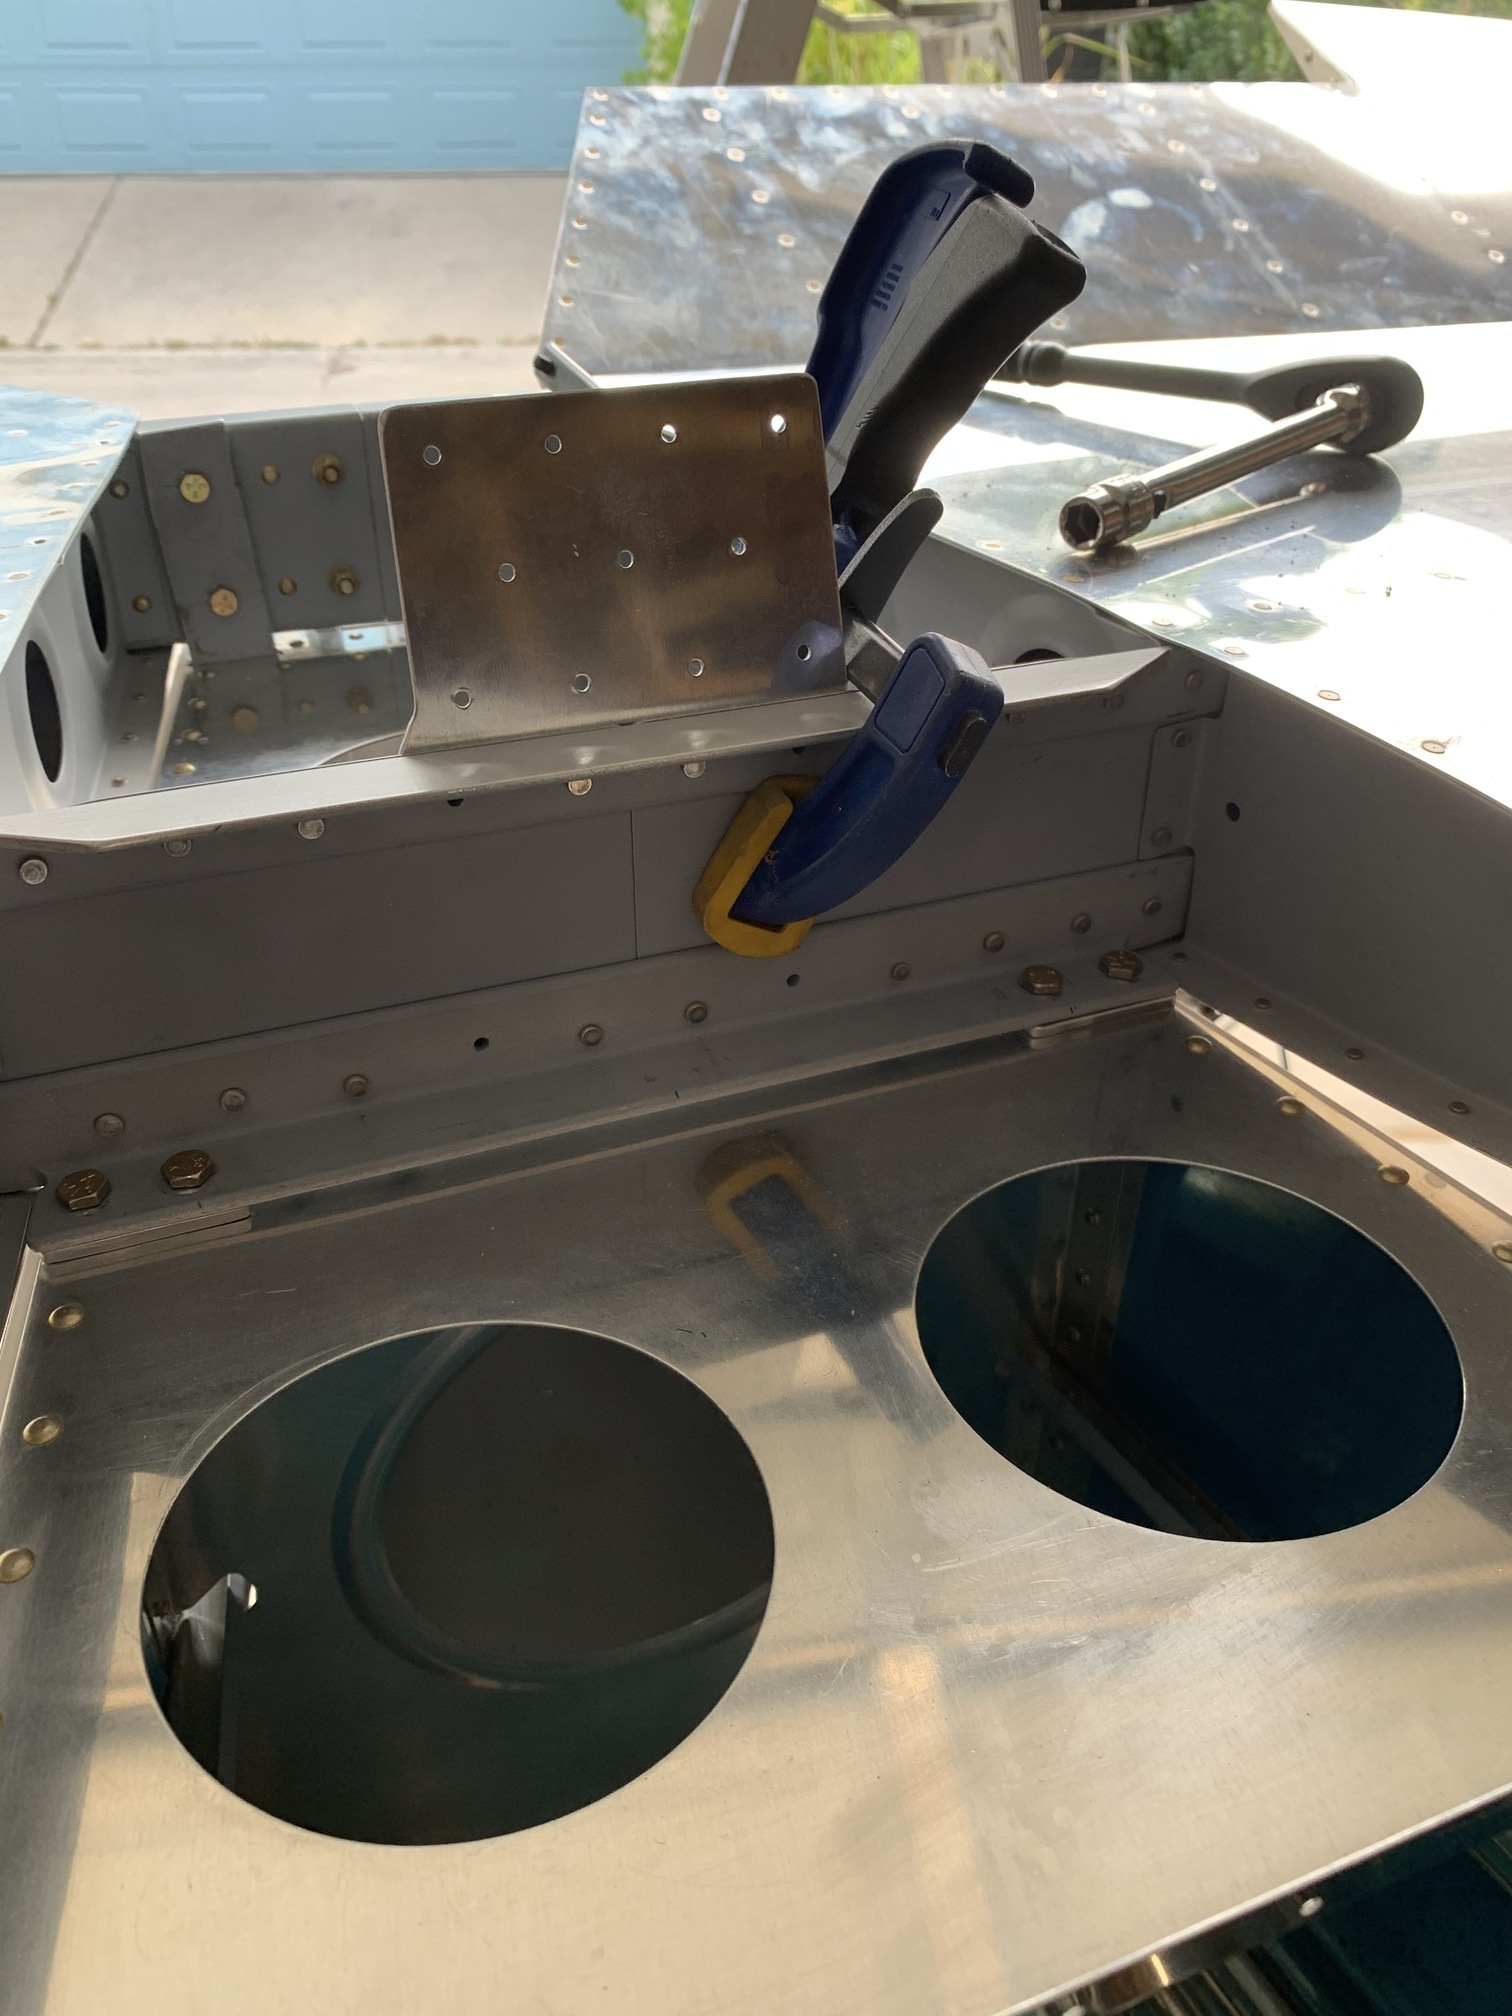
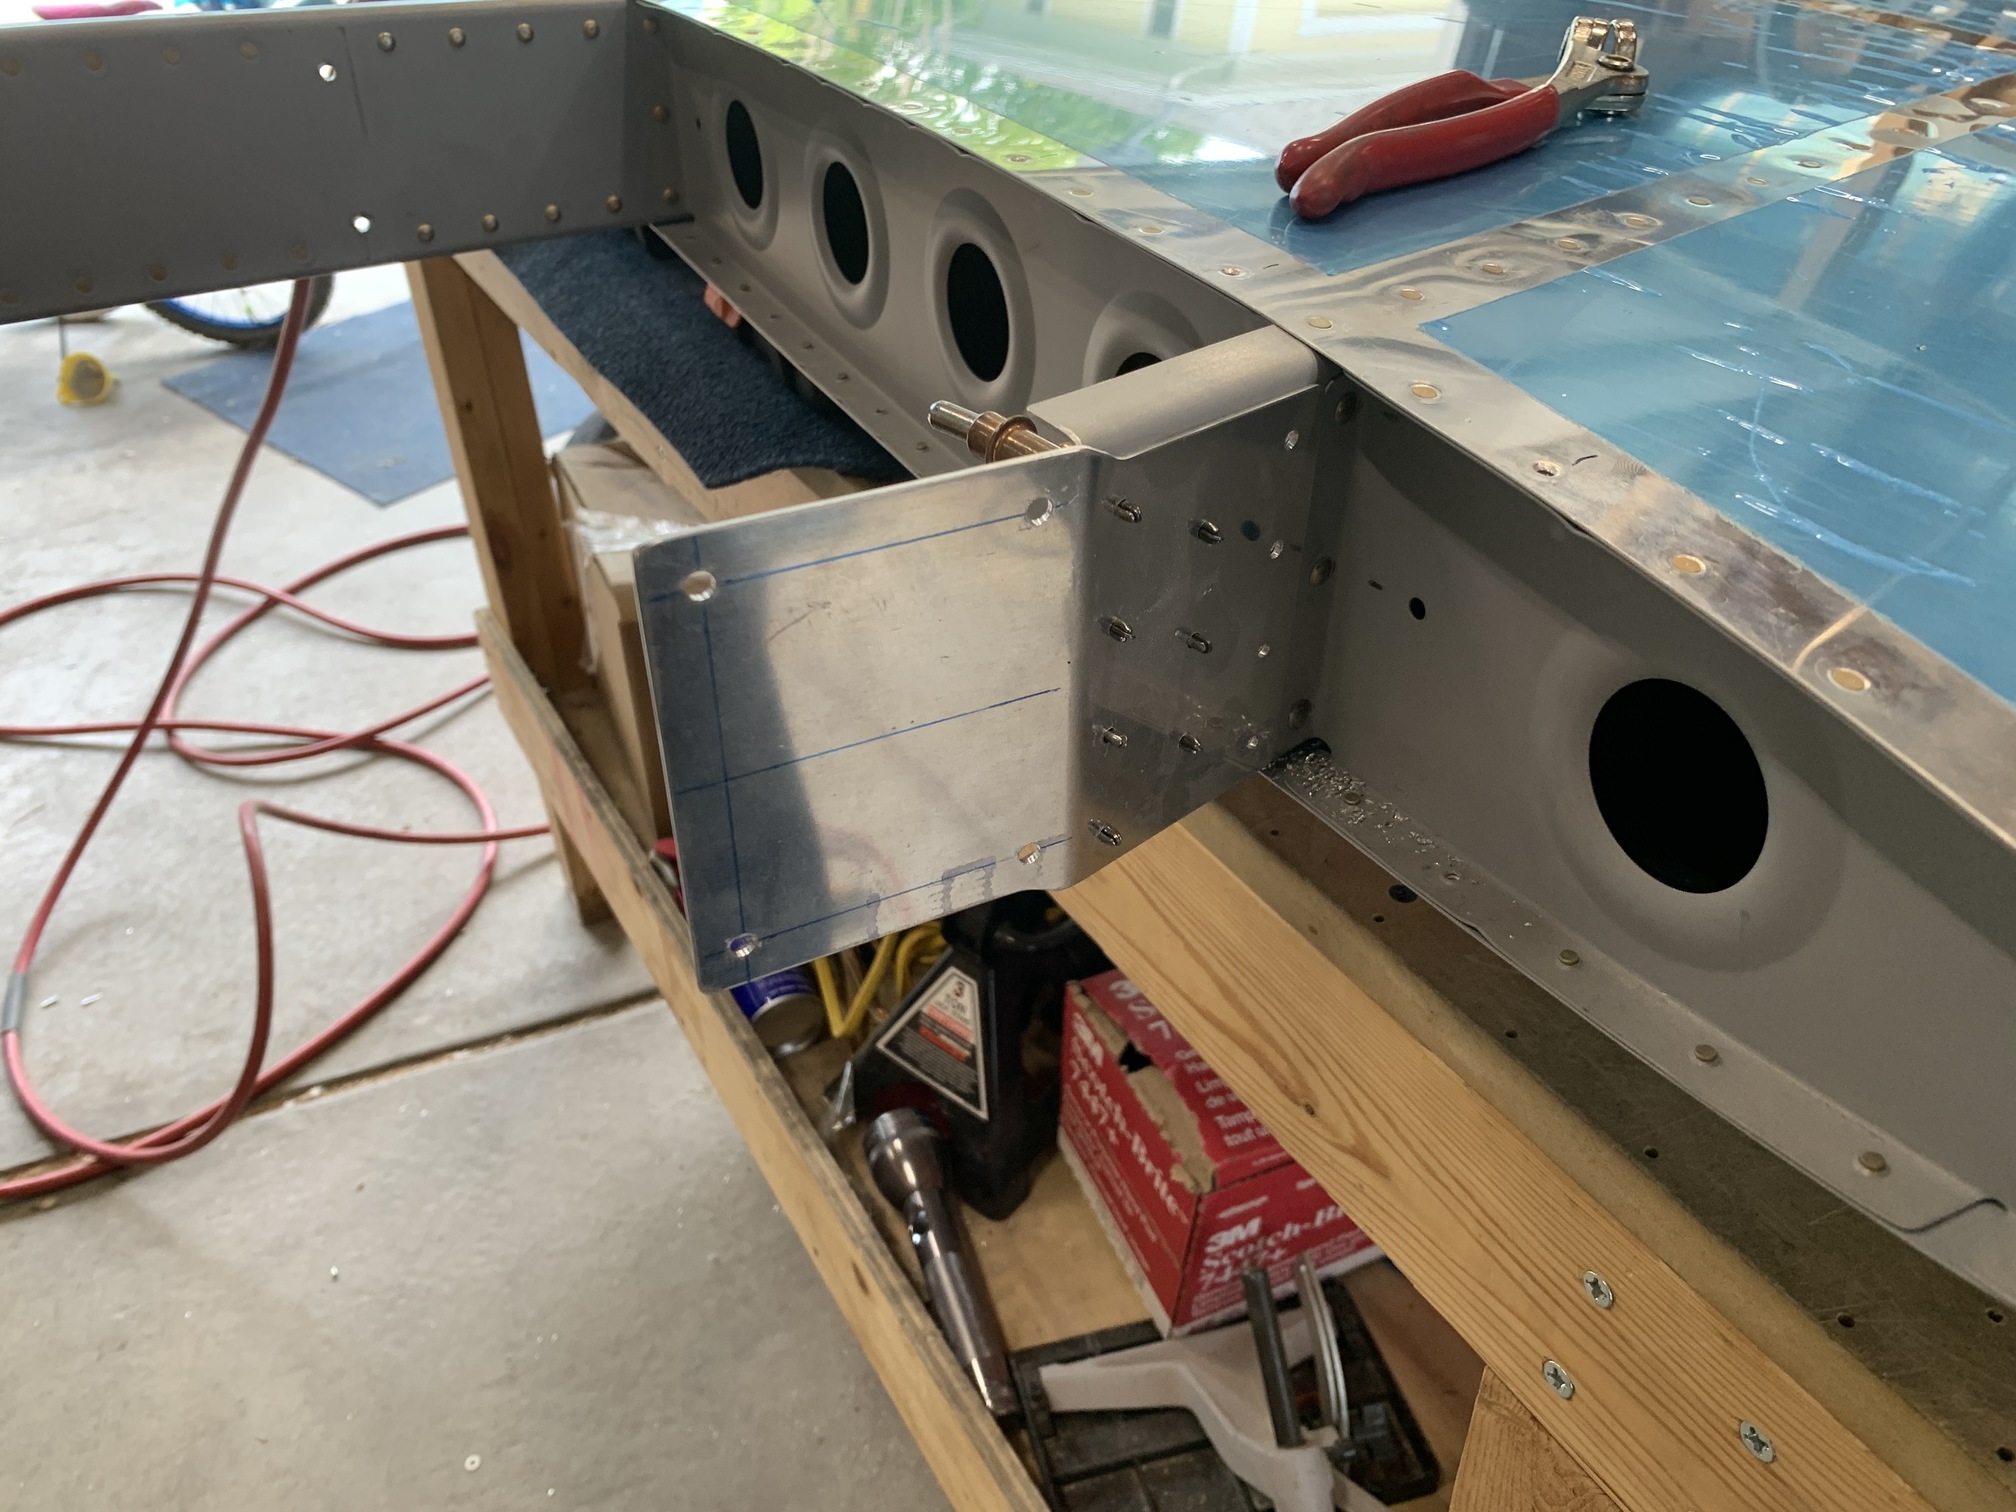
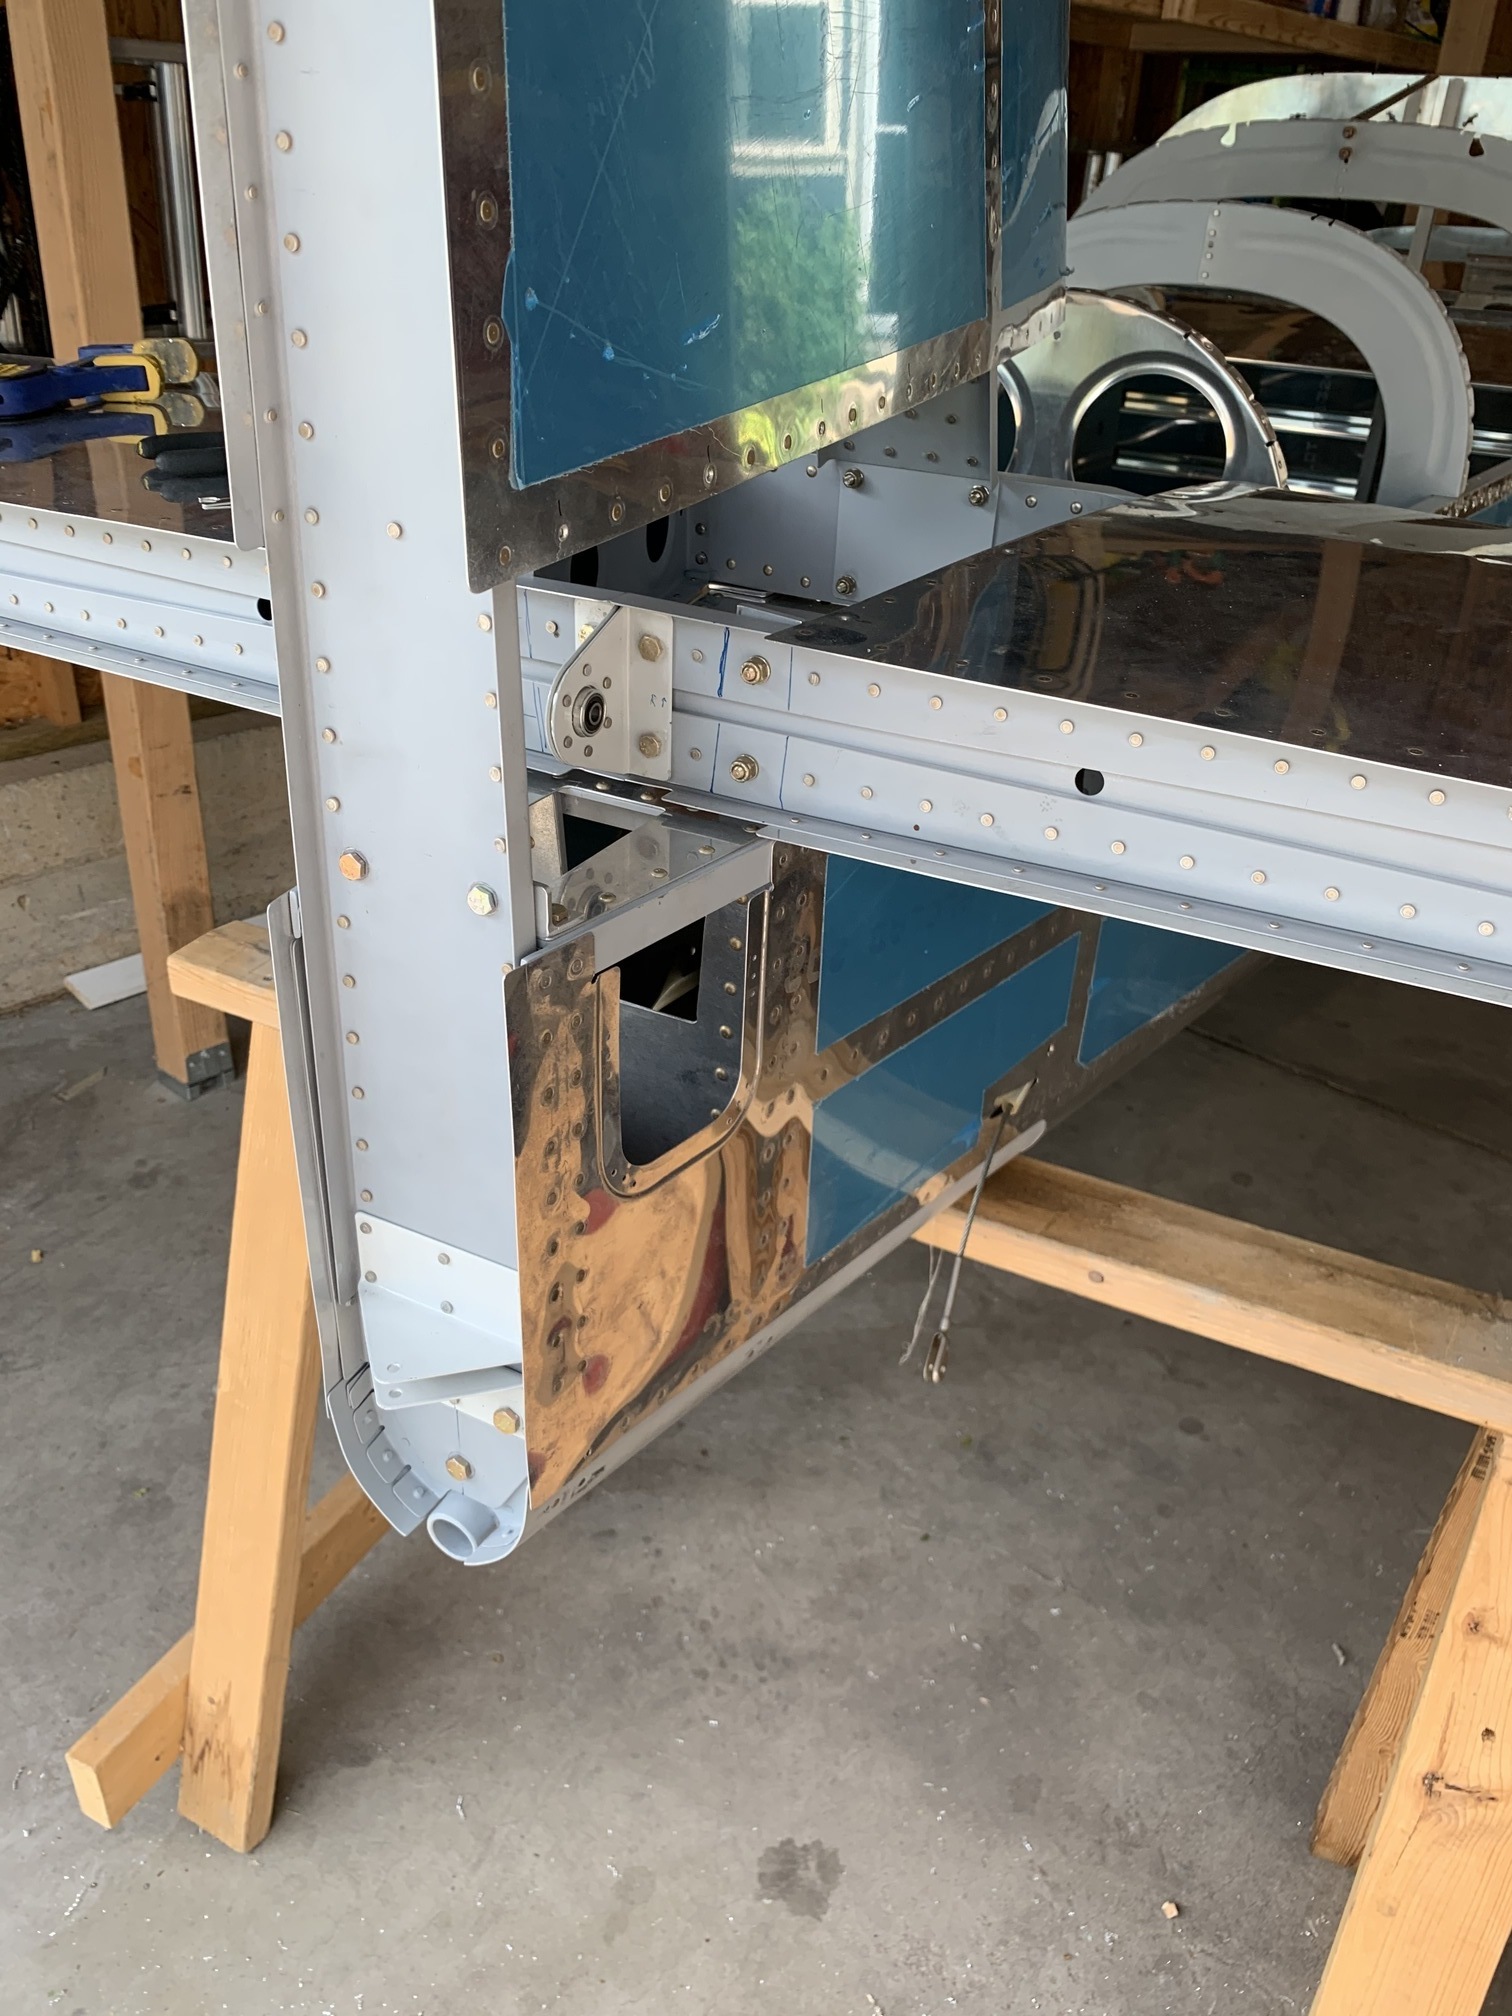
Next, I started fabricating the elevator horn up stop, which the instructions never tell you to install, but has to be in place to install the vertical stabilizer.

Here it is partially fitted, sitting in place. The ends have to be tapered to follow the longerons.
Next I measured and drilled all of the bolt/rivet holes. The two pictured here go through into the longerons, so edge distance is critical. They came out nicely.
Then, I got the vertical stabilizer down from storage and started reading through the process of fitting it. First up, they have you trim 5/8" from the bottom of the forward spar, so I did that.
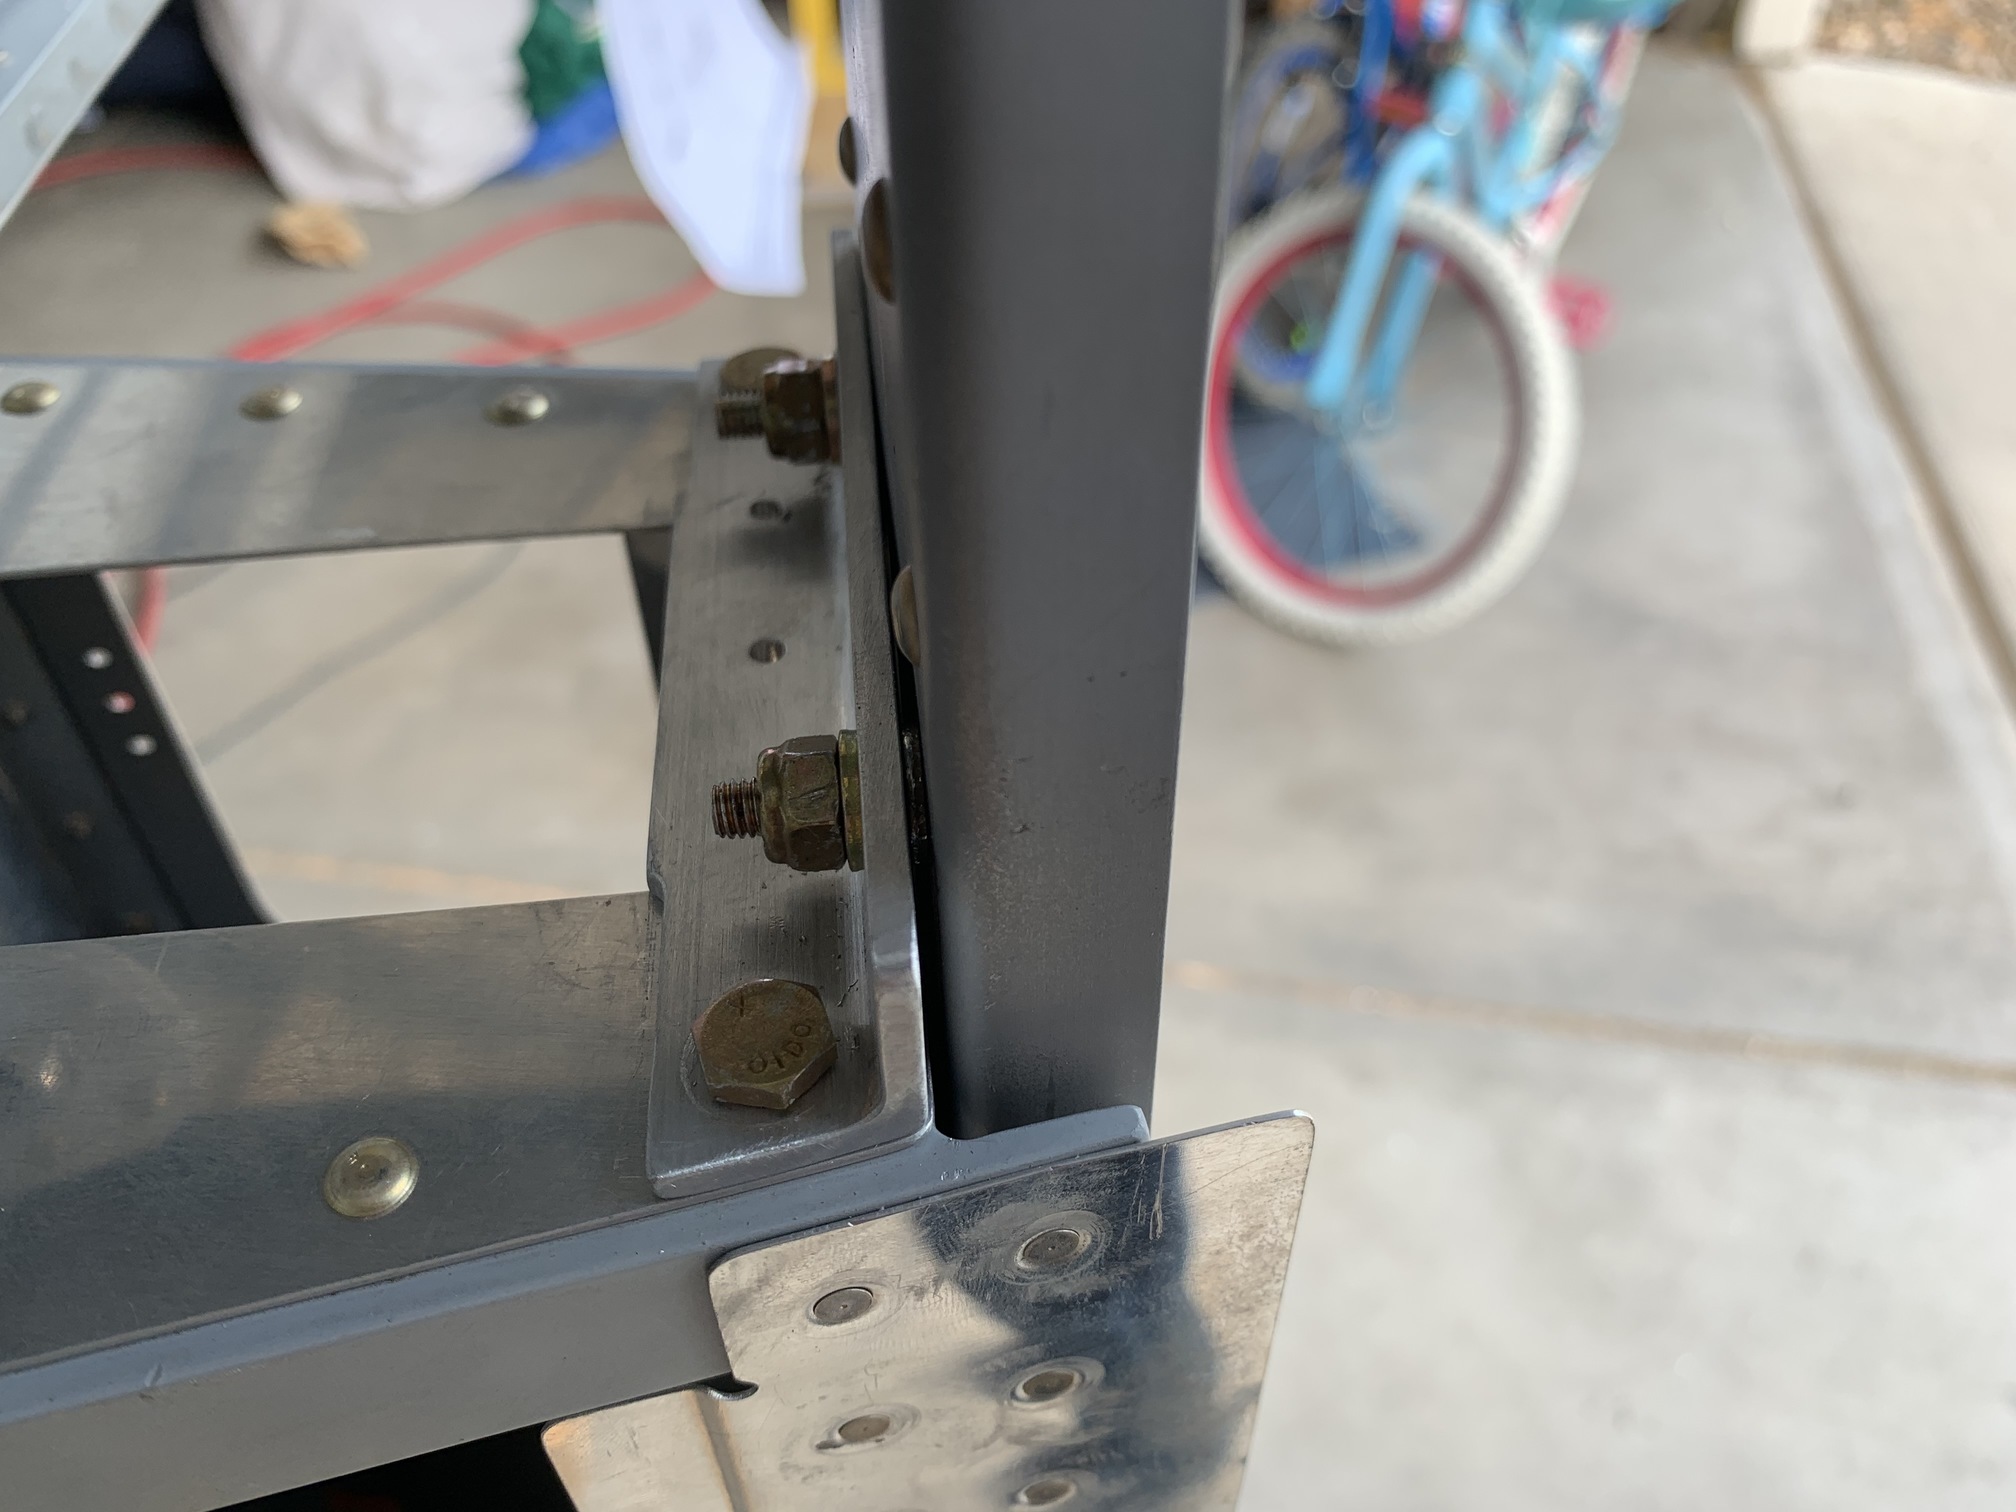
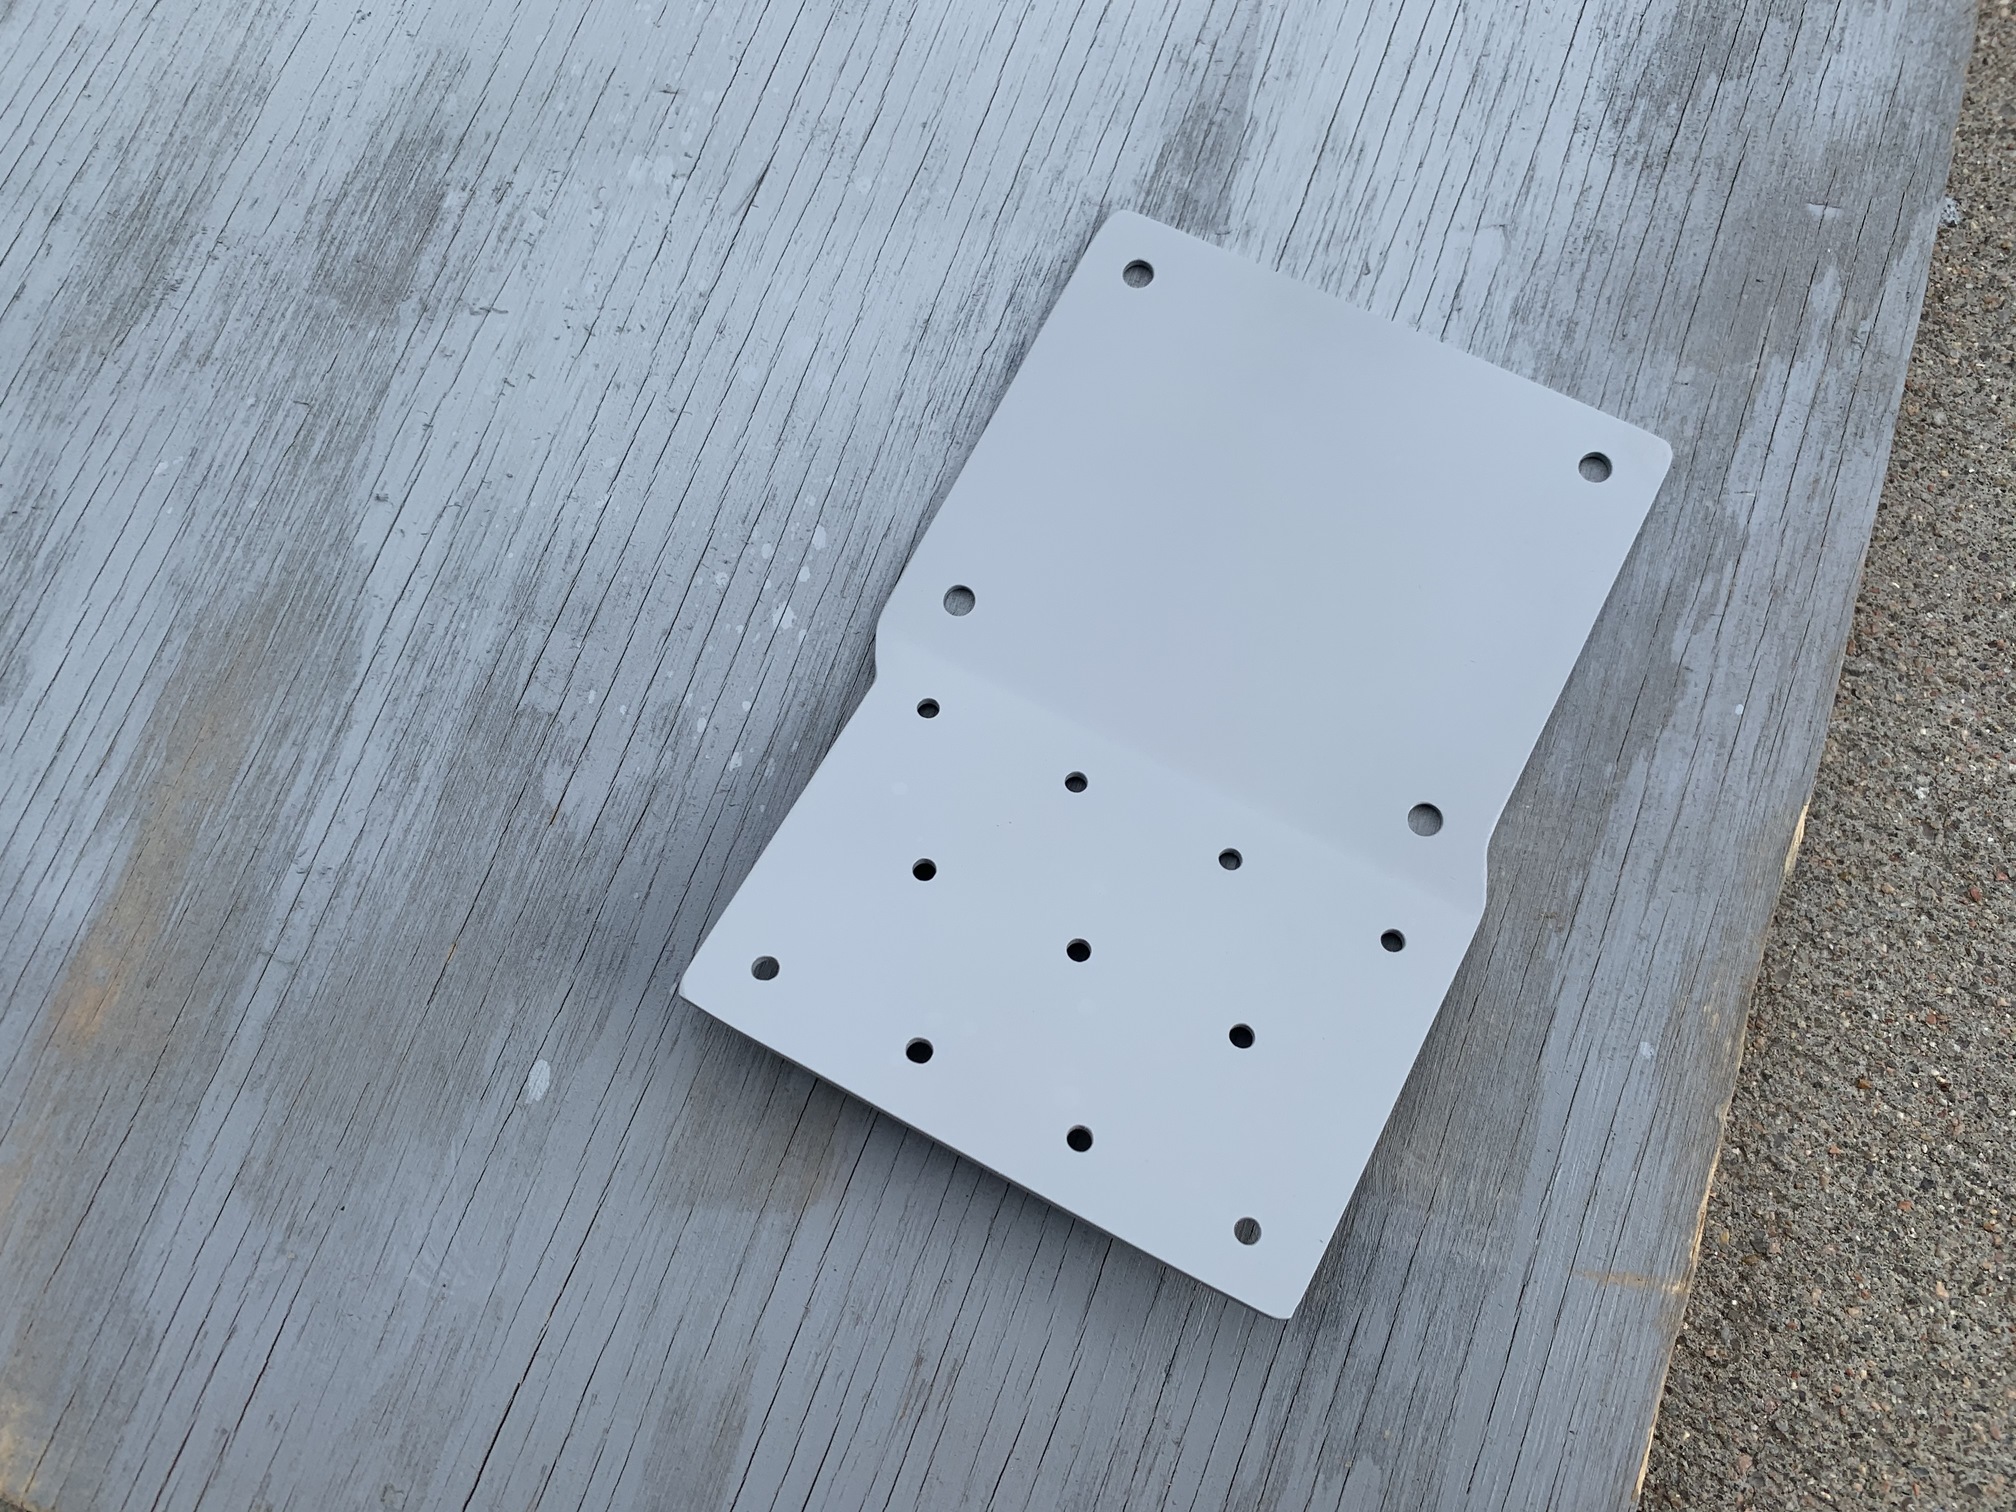
Then I marked dimensions on the vert stab attach plate and clamped it to the horiz stab so the lines were showing through the pre-existing holes. Next I back-drilled from the horiz stab spar into the attach plate.
Then I enlarged the holes to full size and installed the bolts.

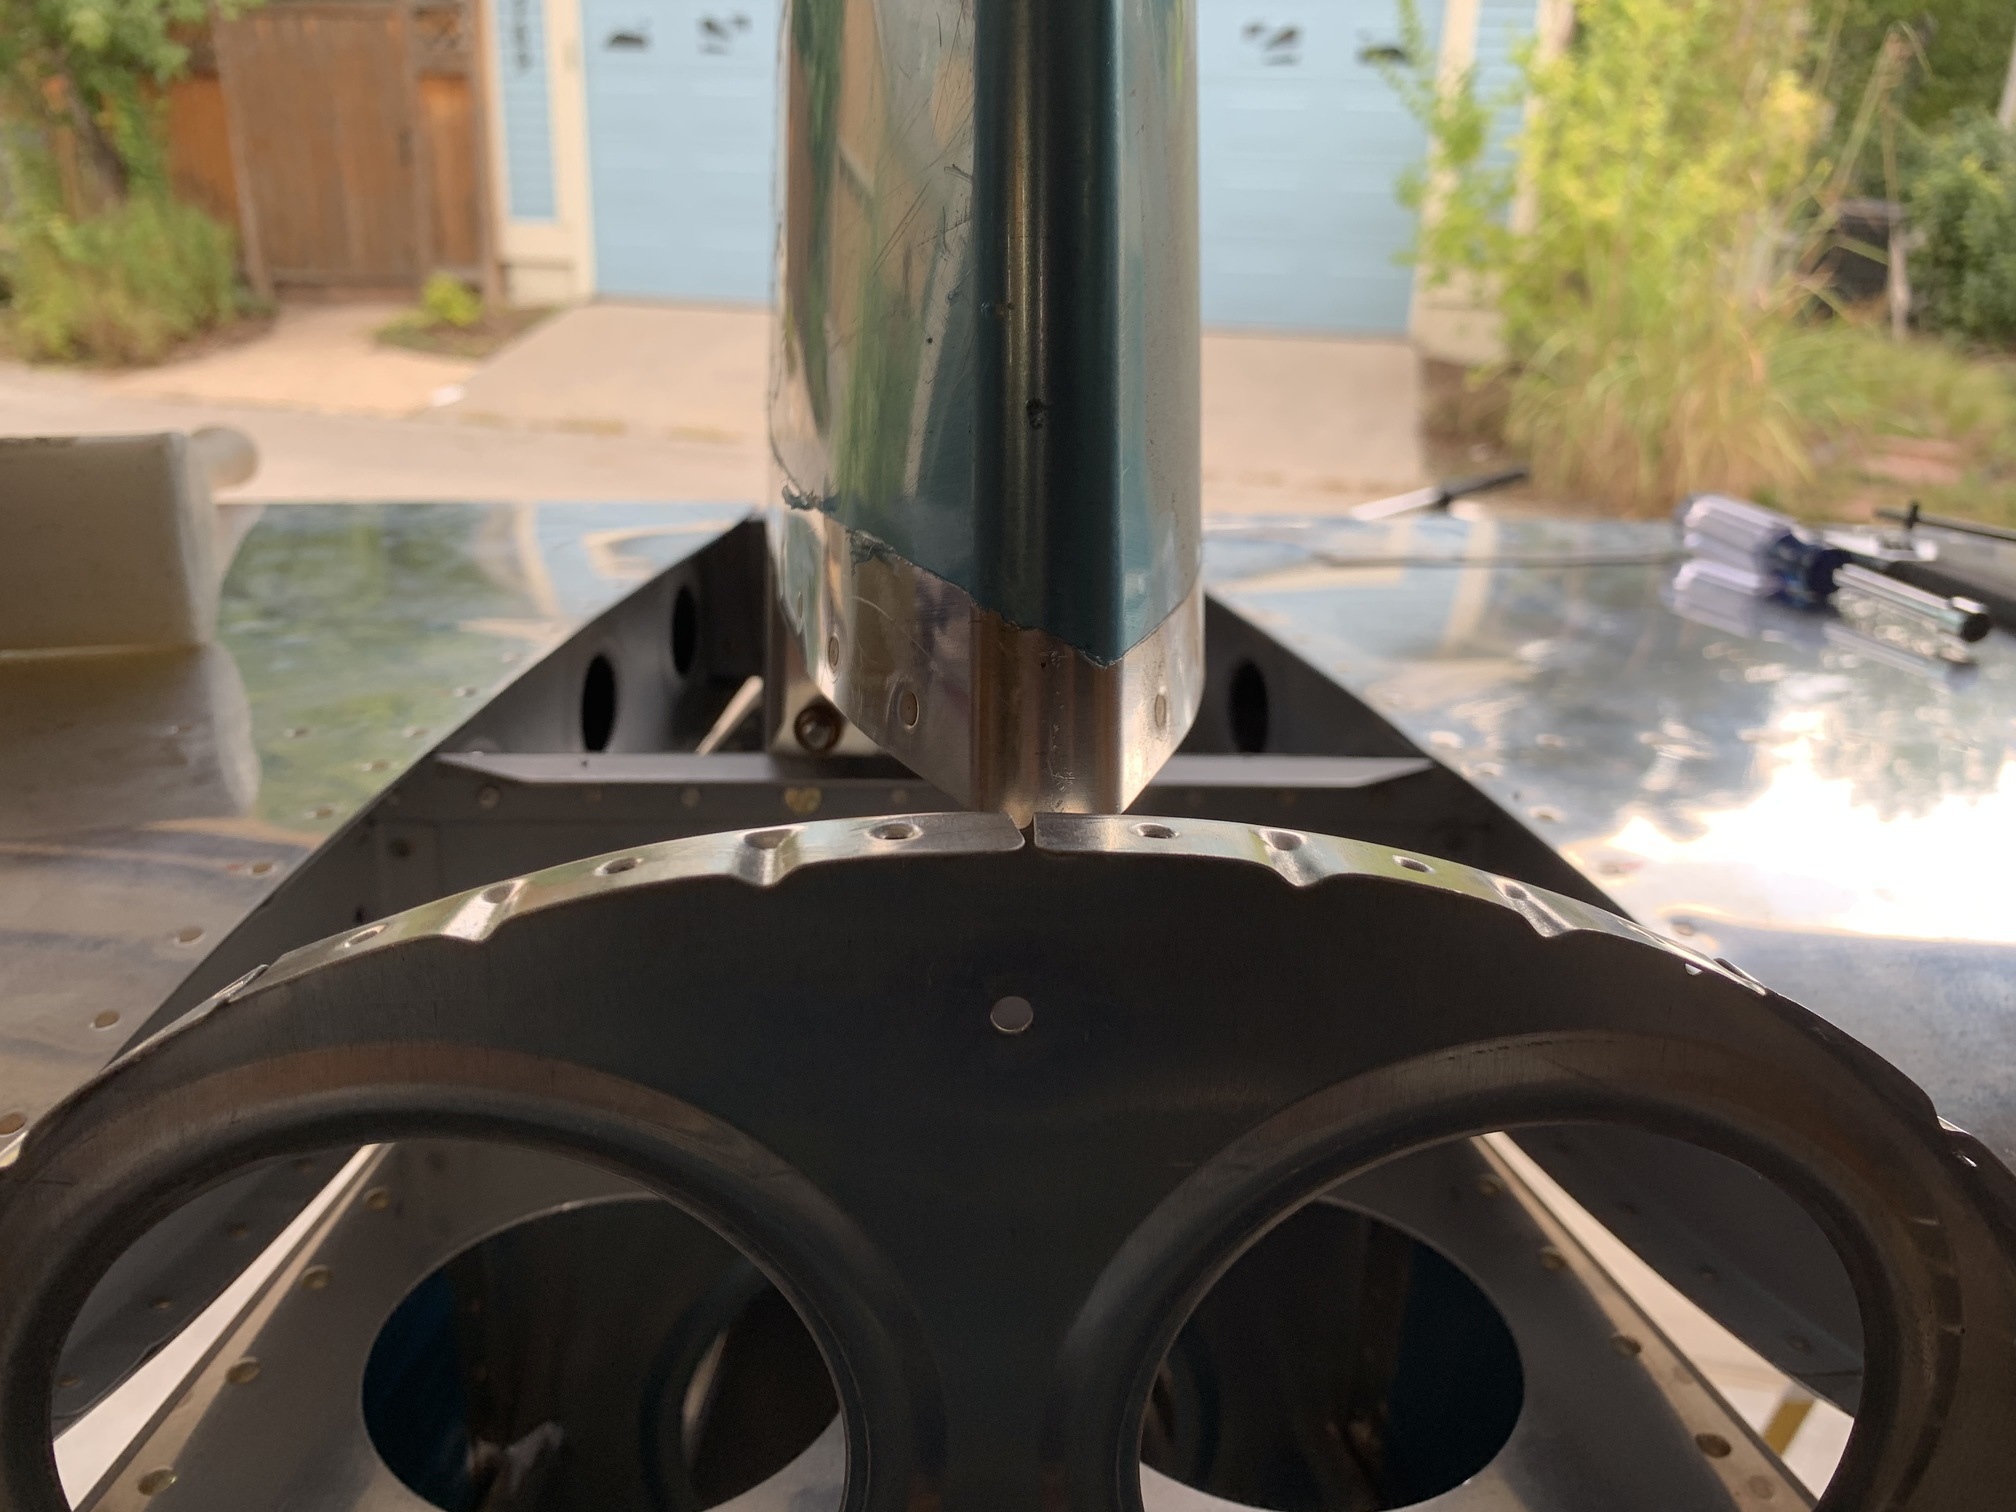
Next, I clamped the vertical stabilizer in place. This looks cool!
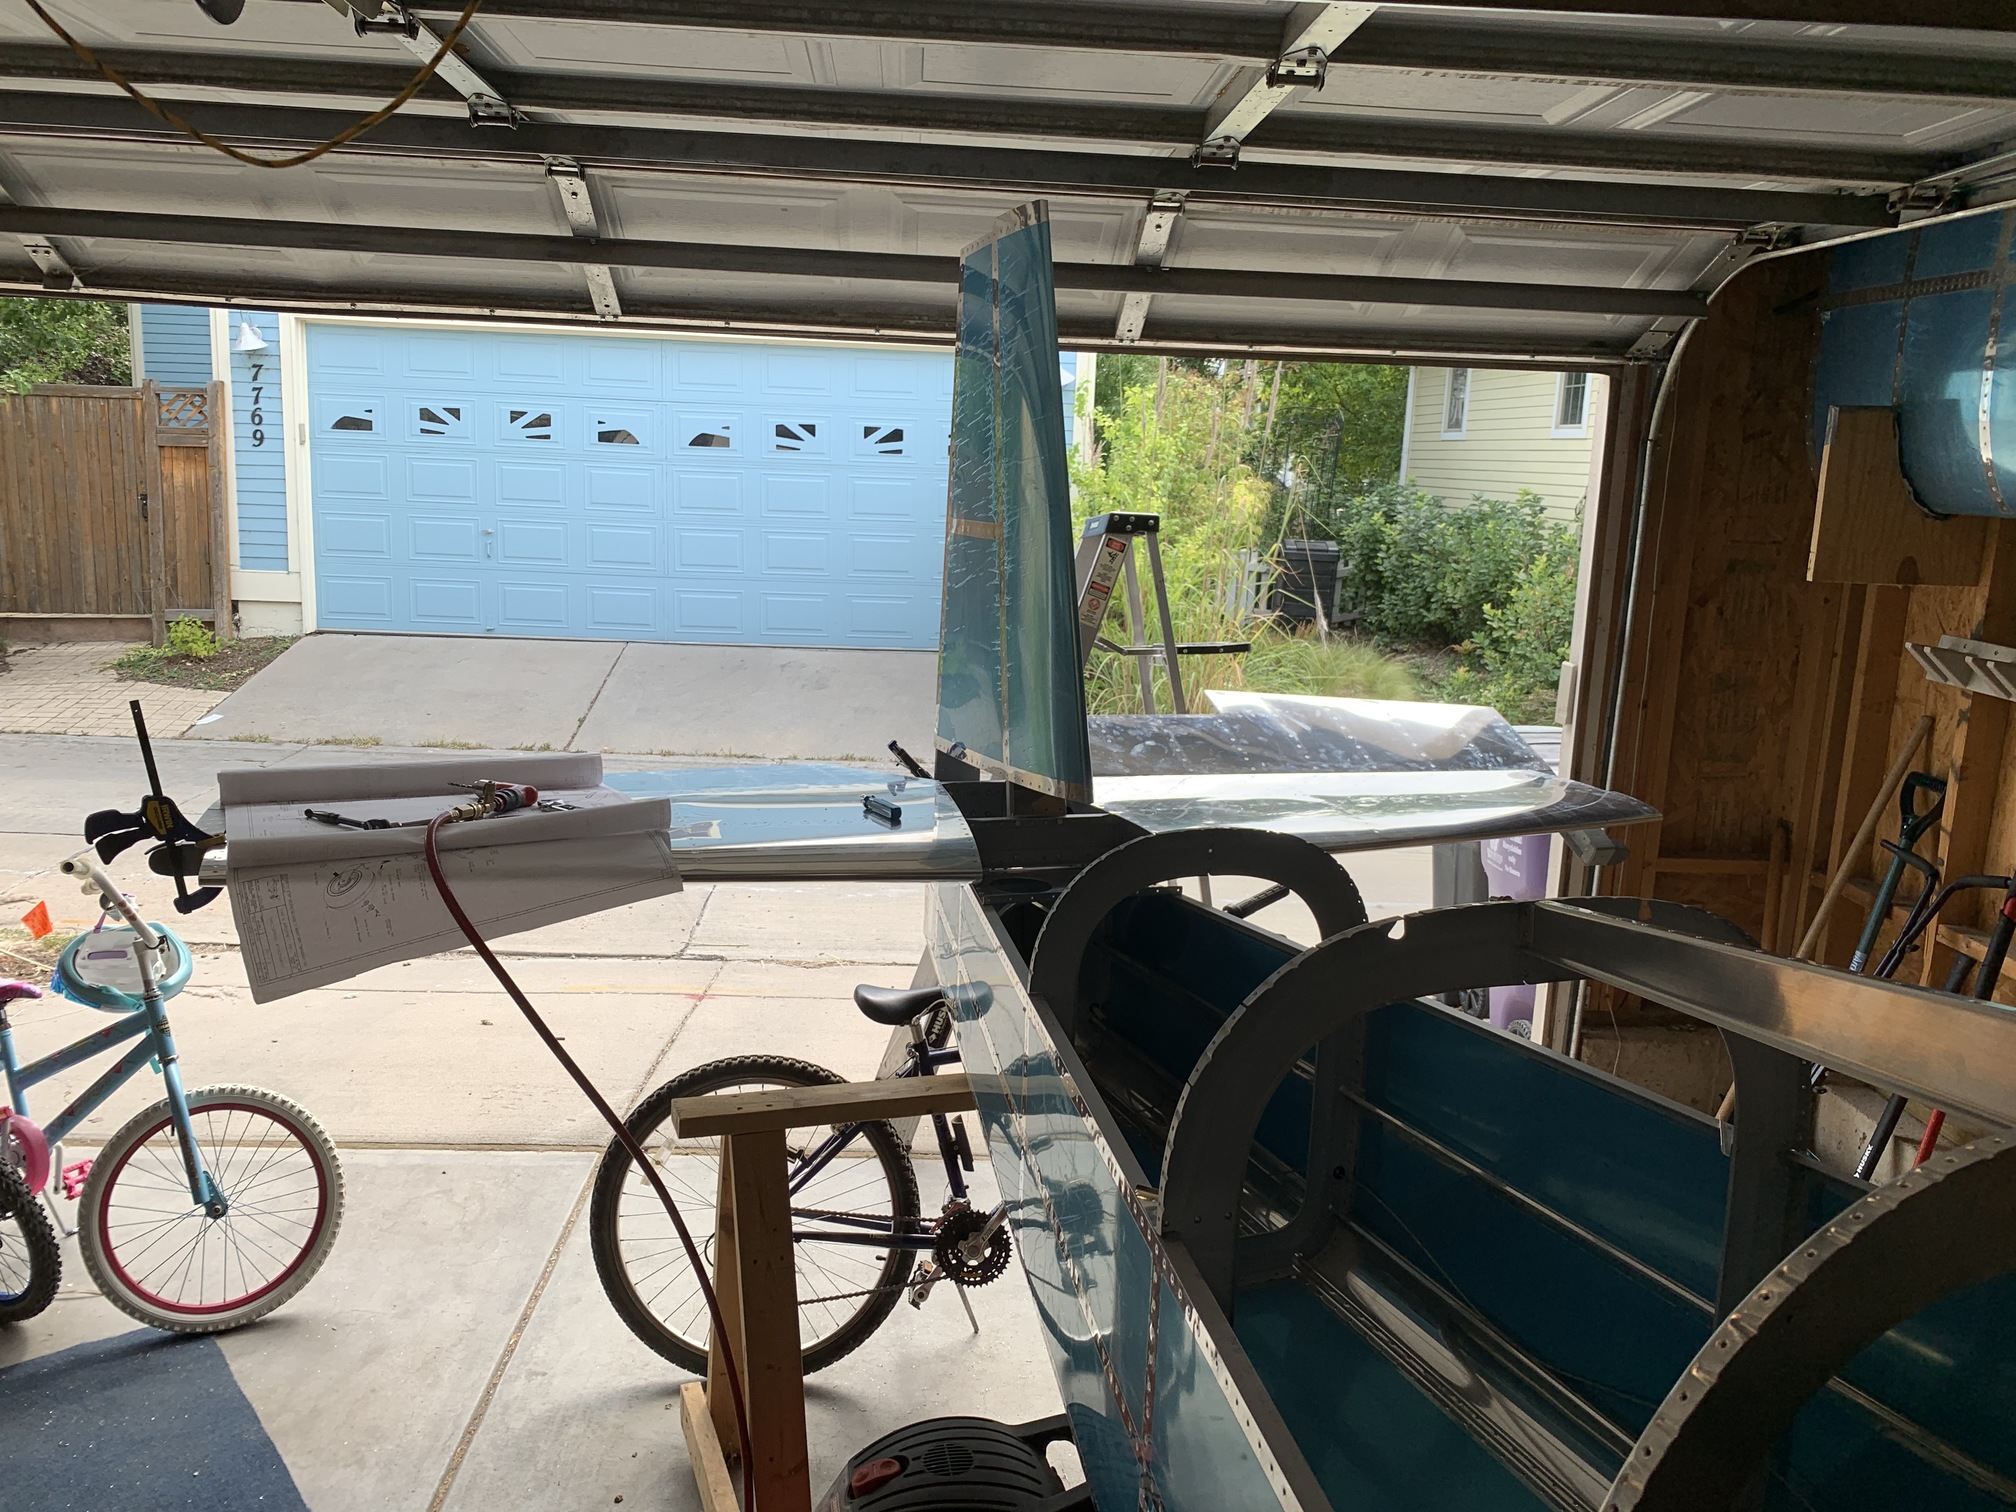
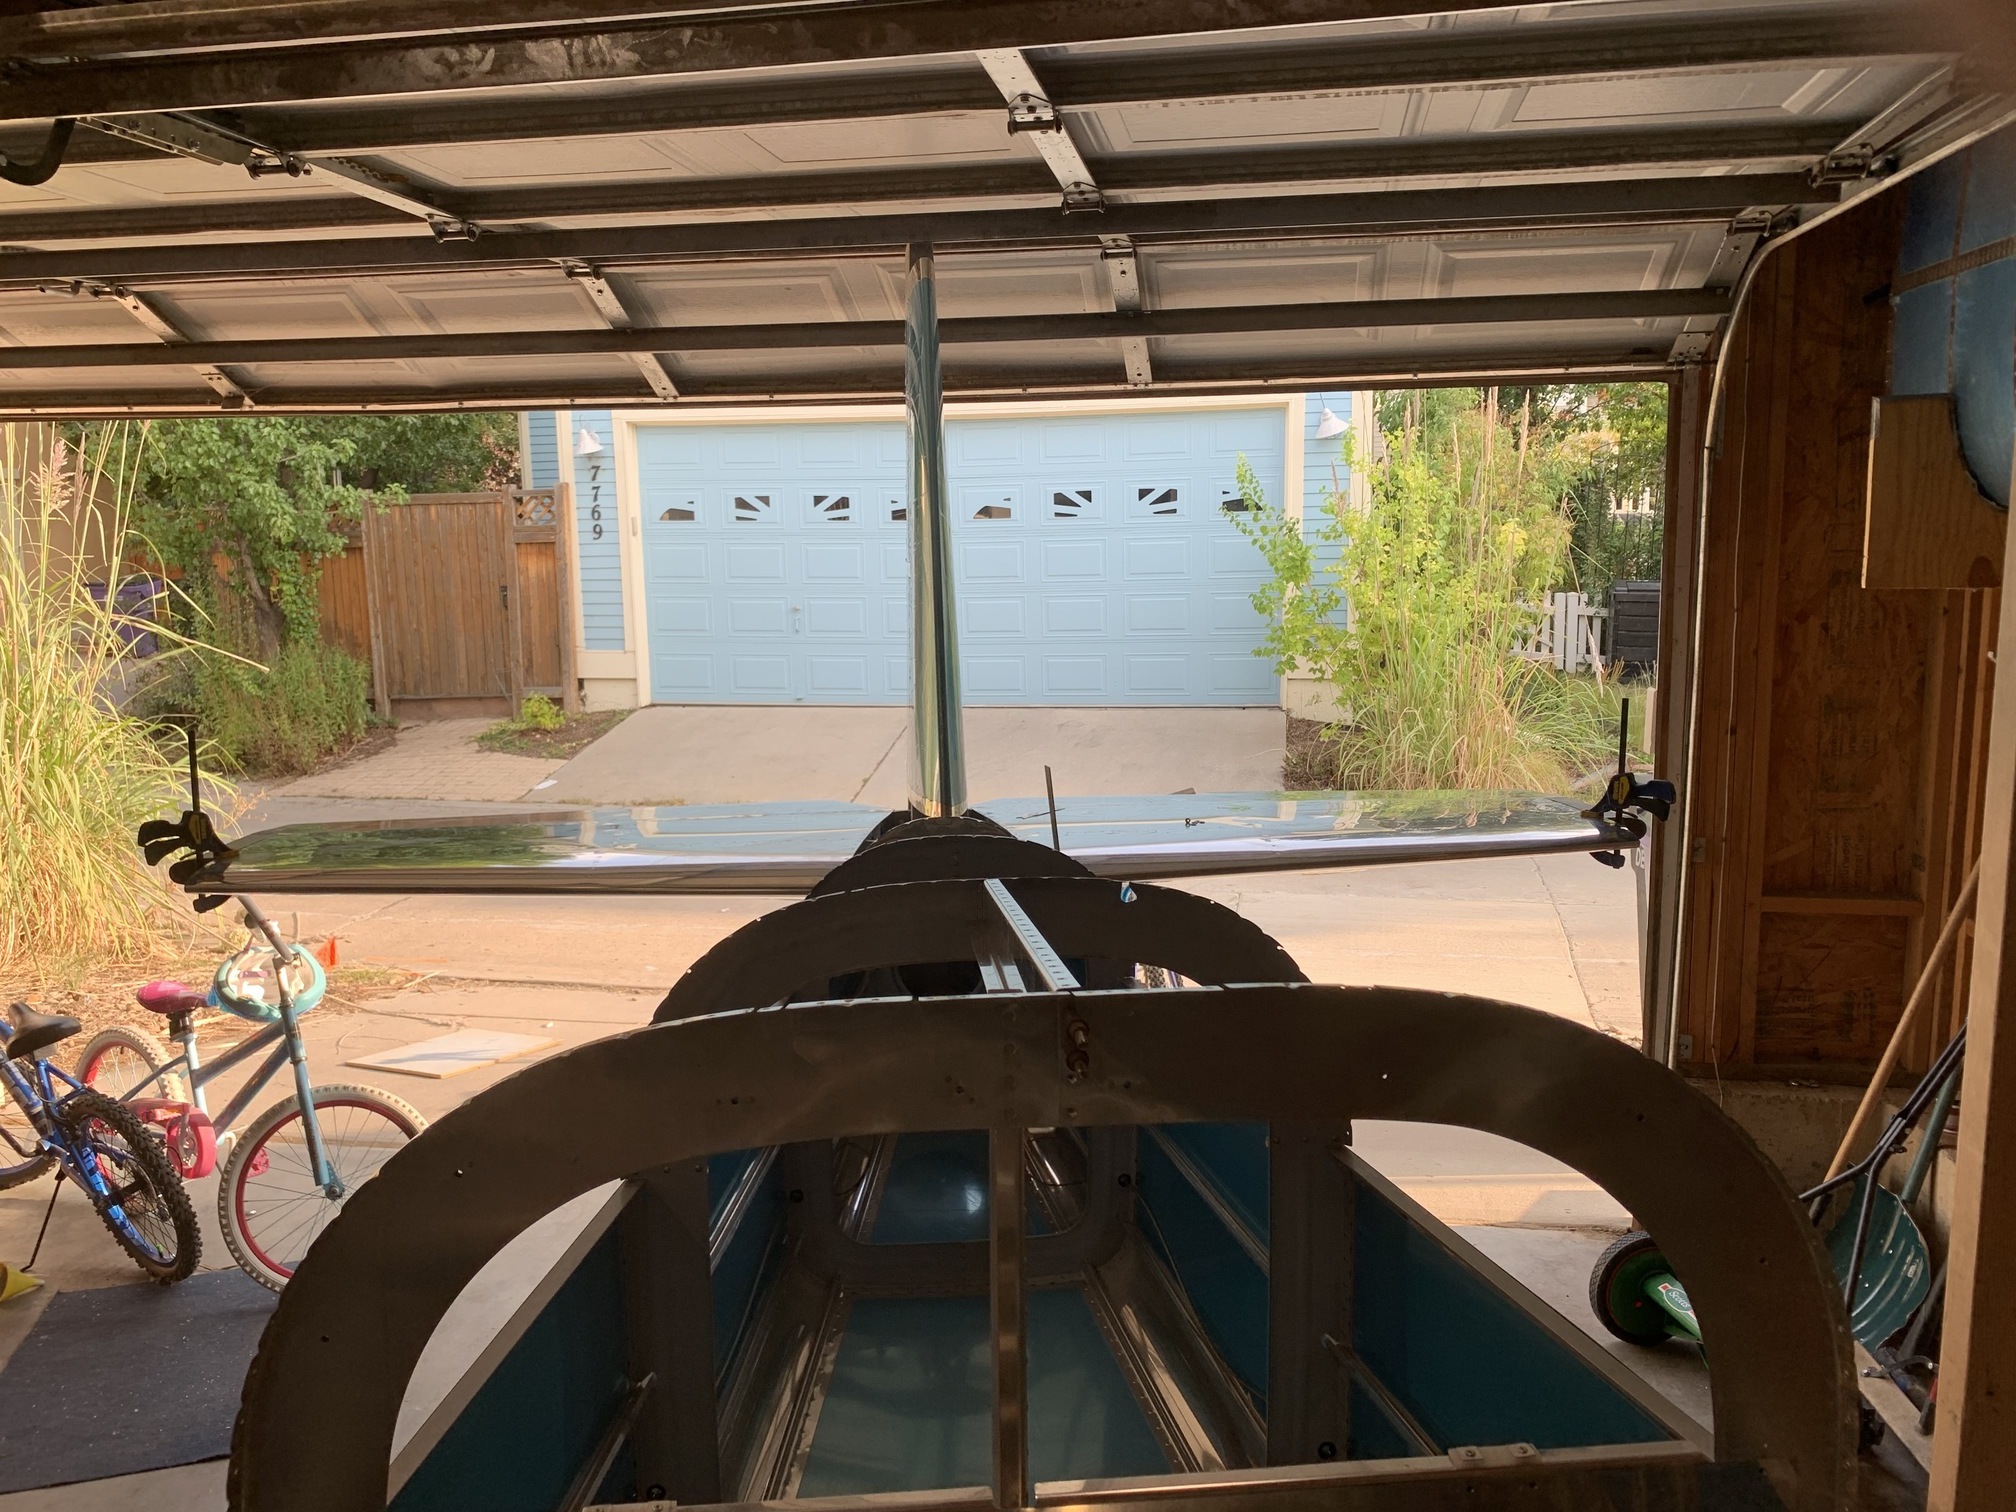
Another view from the back. The plans call out dimensions for positioning the vert stab vertically, so I measured that out and clamped it in place.

Then, to get side to side positioning, you measure from the top of the vert stab to both ends of the horiz stab. Once the dimensions match, then you know it's straight.

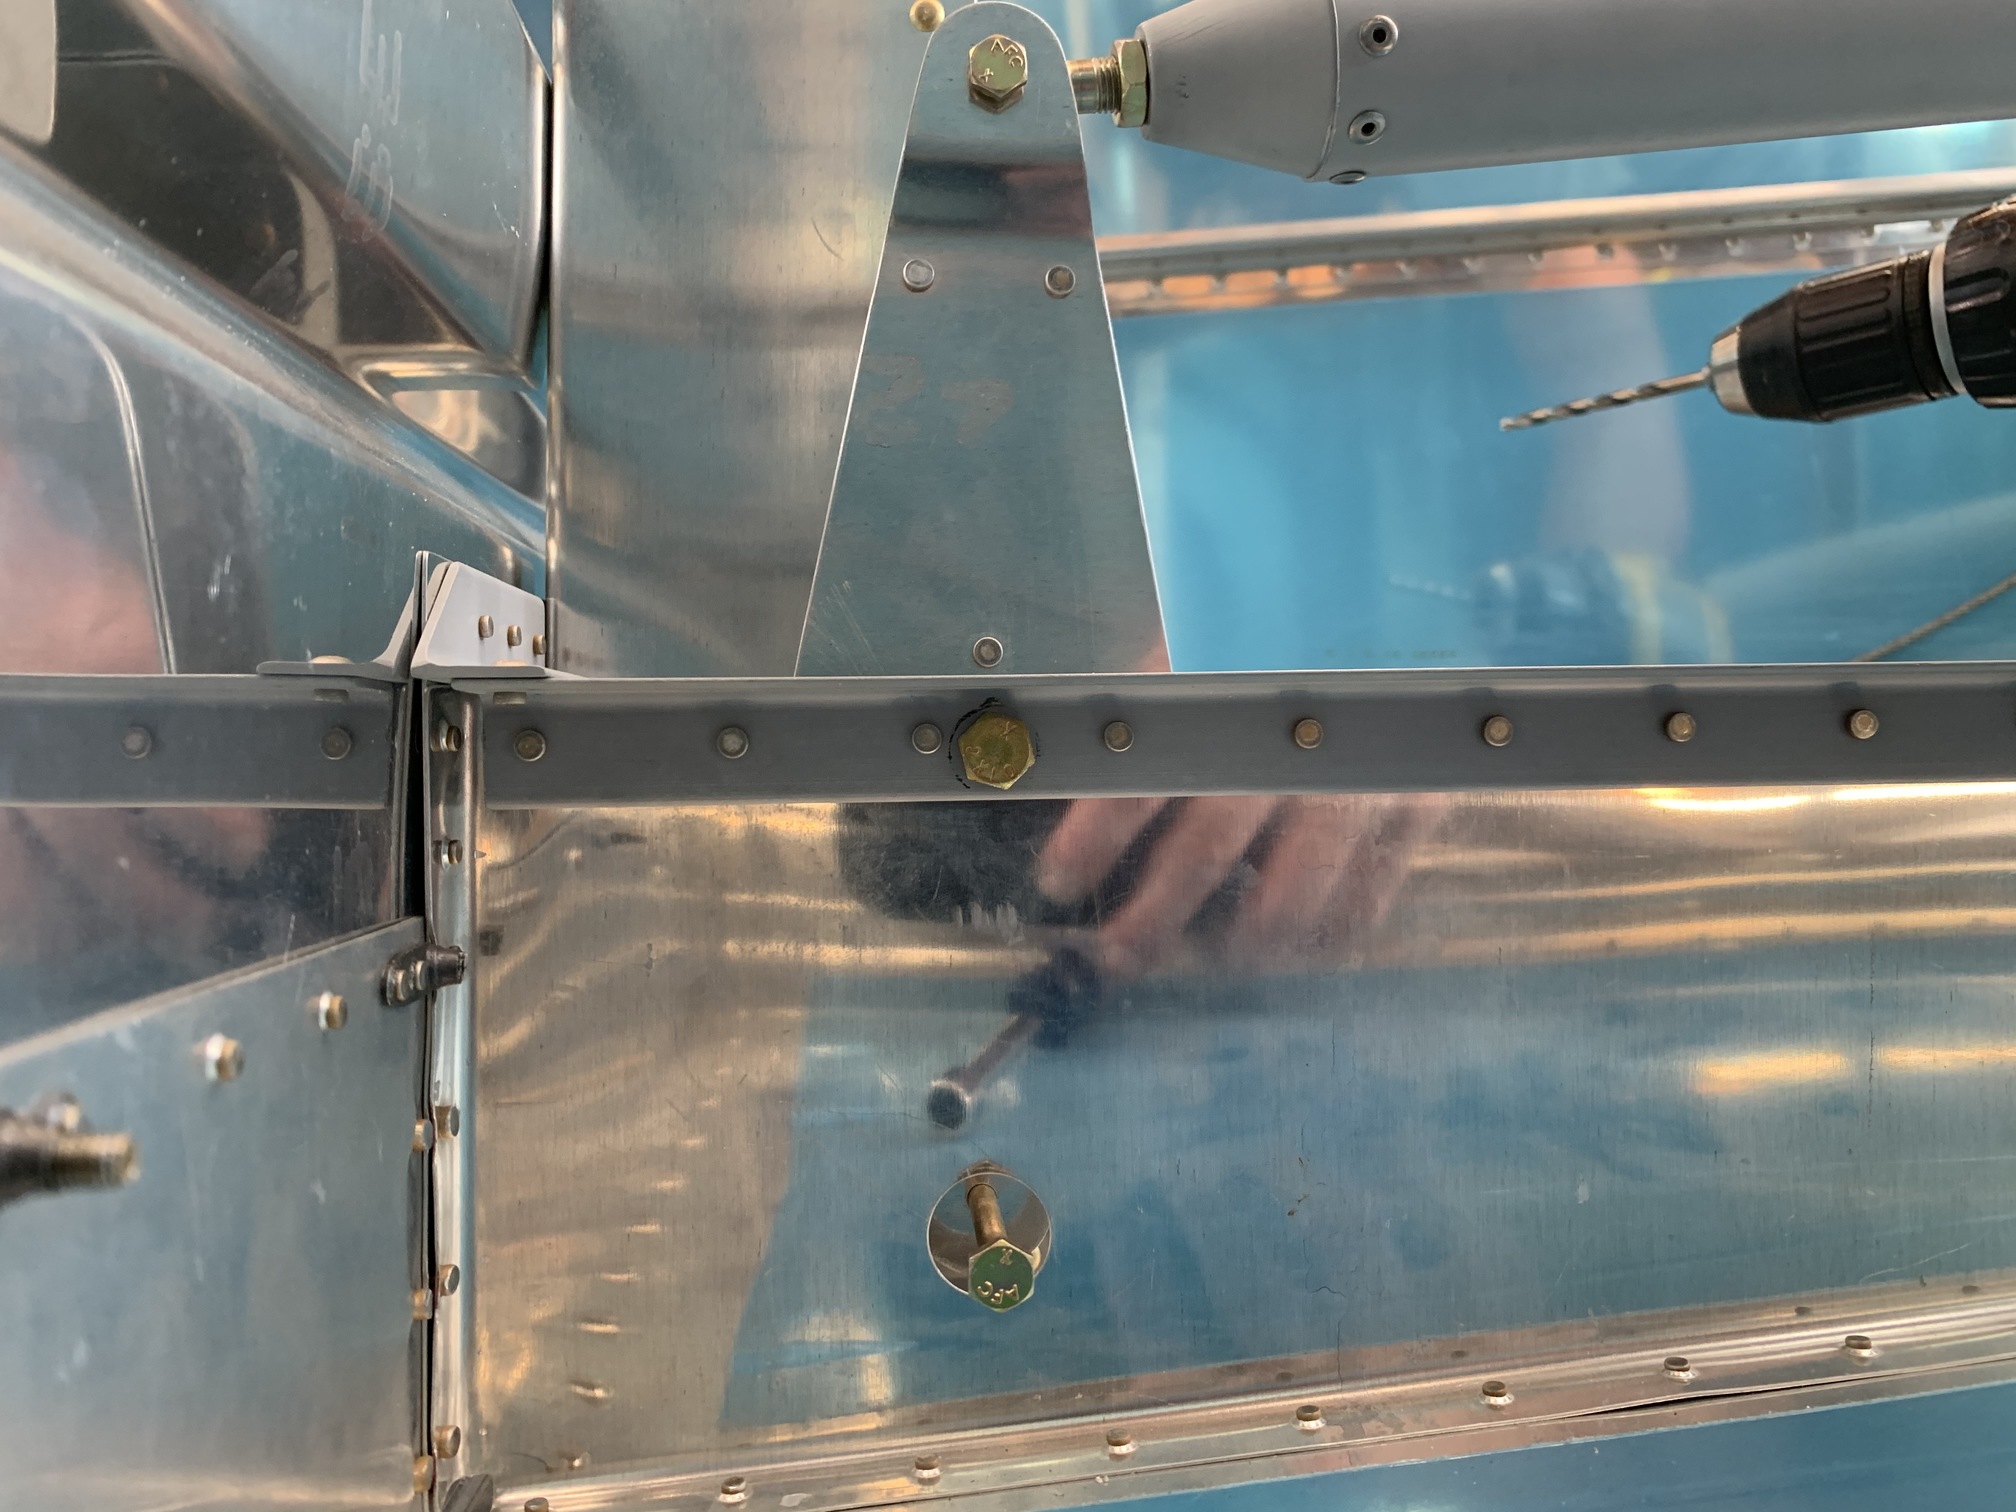
Then I drilled the vertical stabilizer to the elevator up stop that I had fabricated earlier. I put some bolts in to hold it.
The vertical stabilizer is angled slightly to the left of center to counteract torque from the propeller. I put a washer between the vert stab and the up stop on the L side to facilitate this.
The leading edge of the vert stab should be about 1/4" left of center line, which it is.
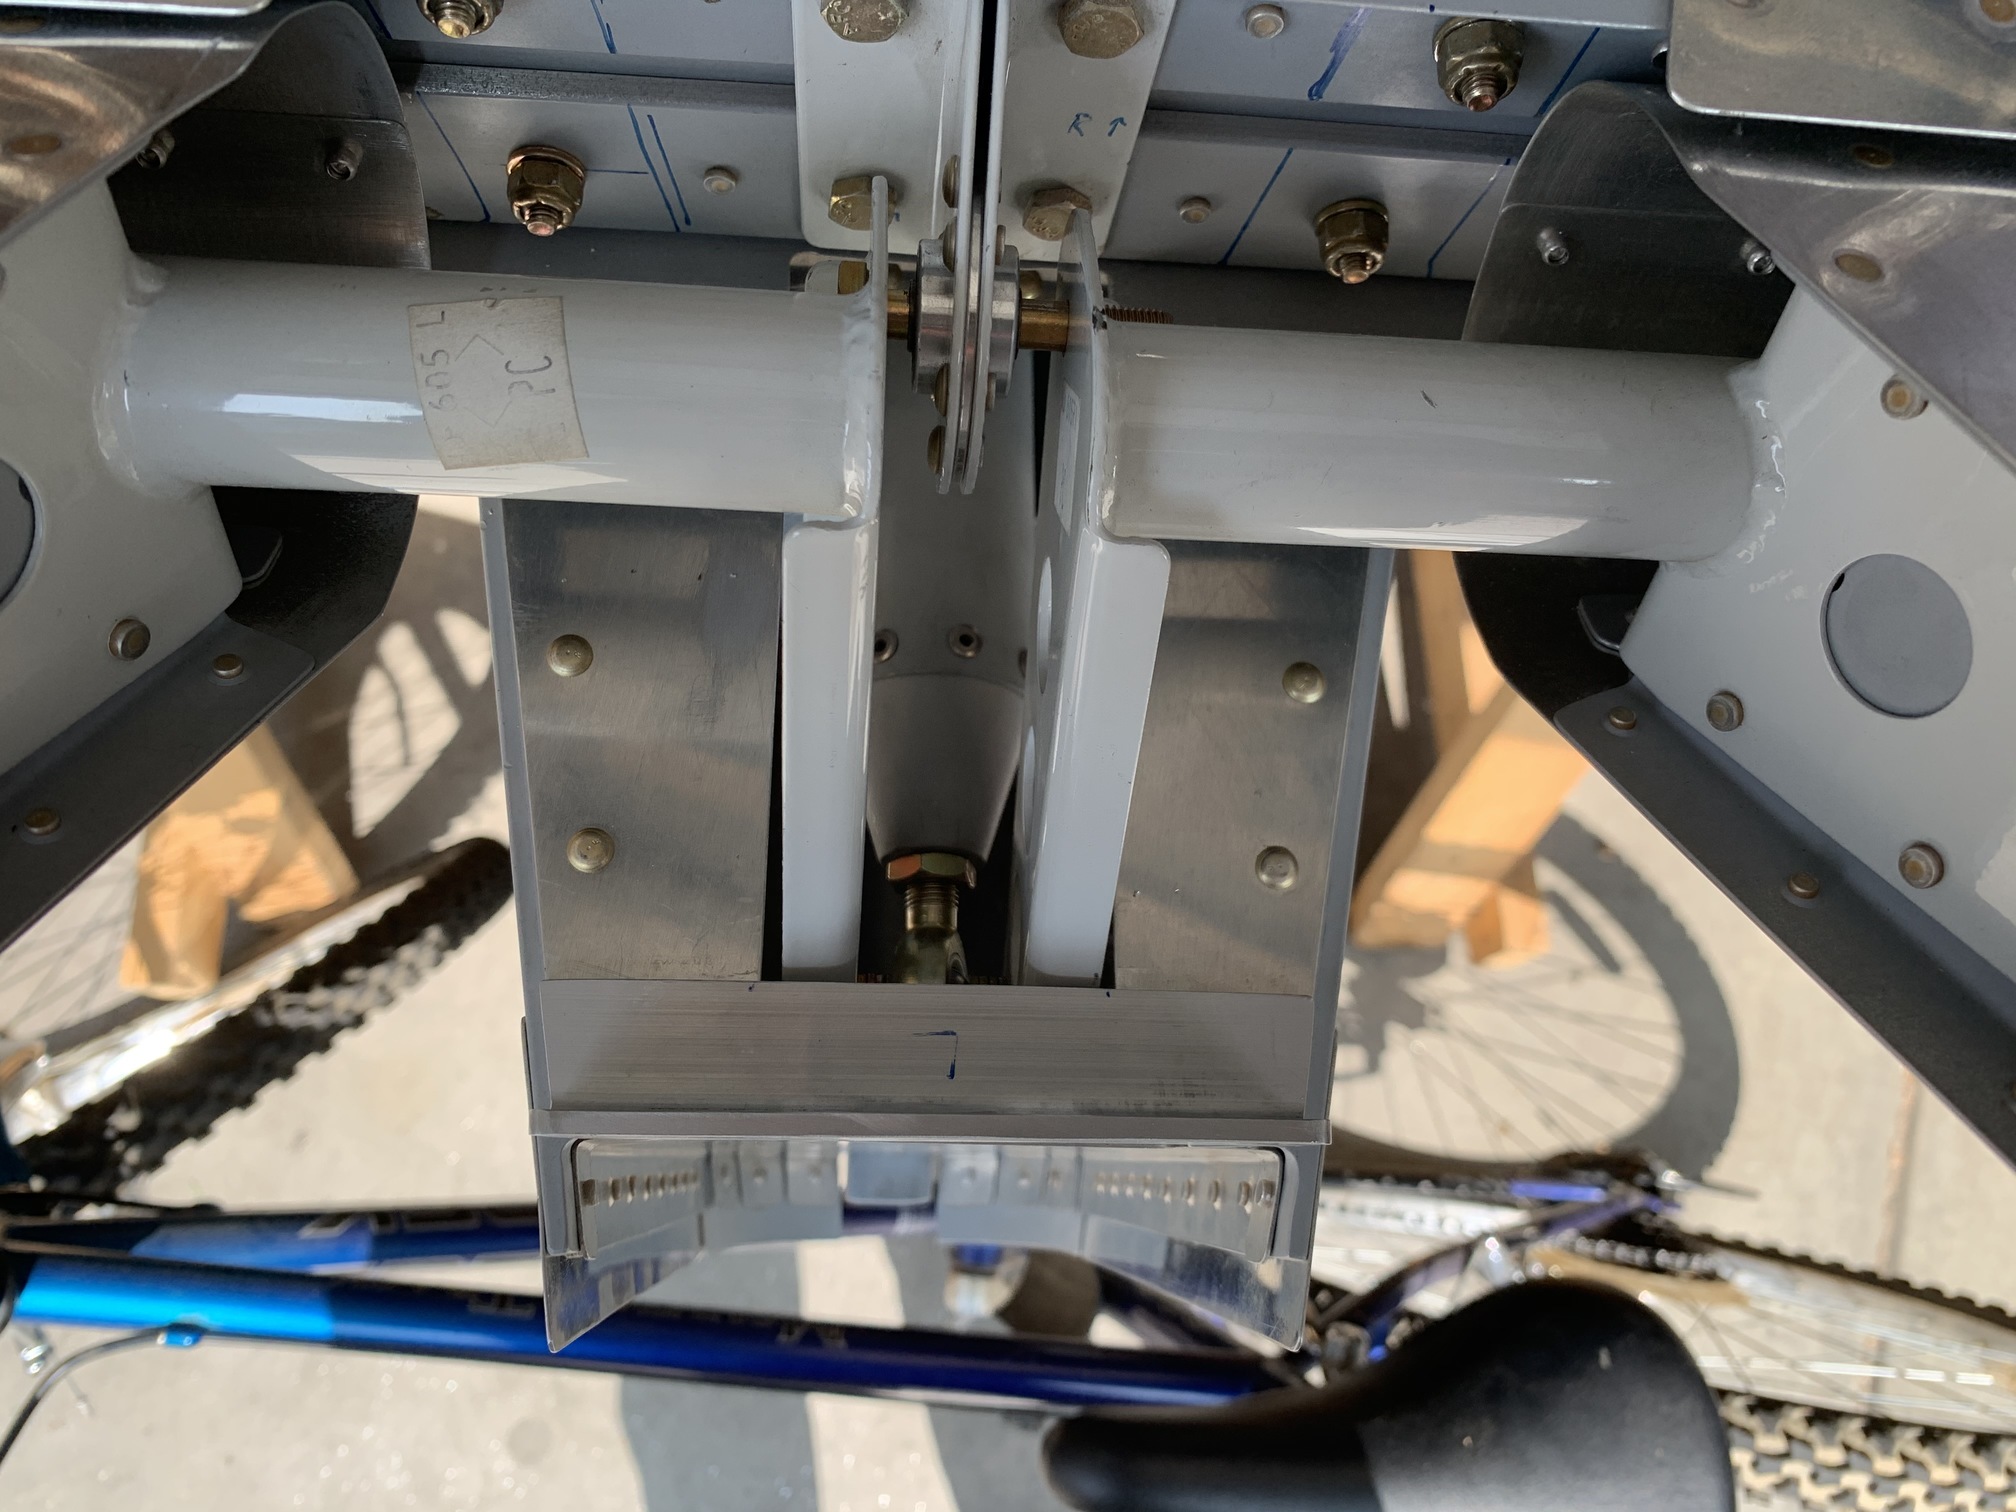
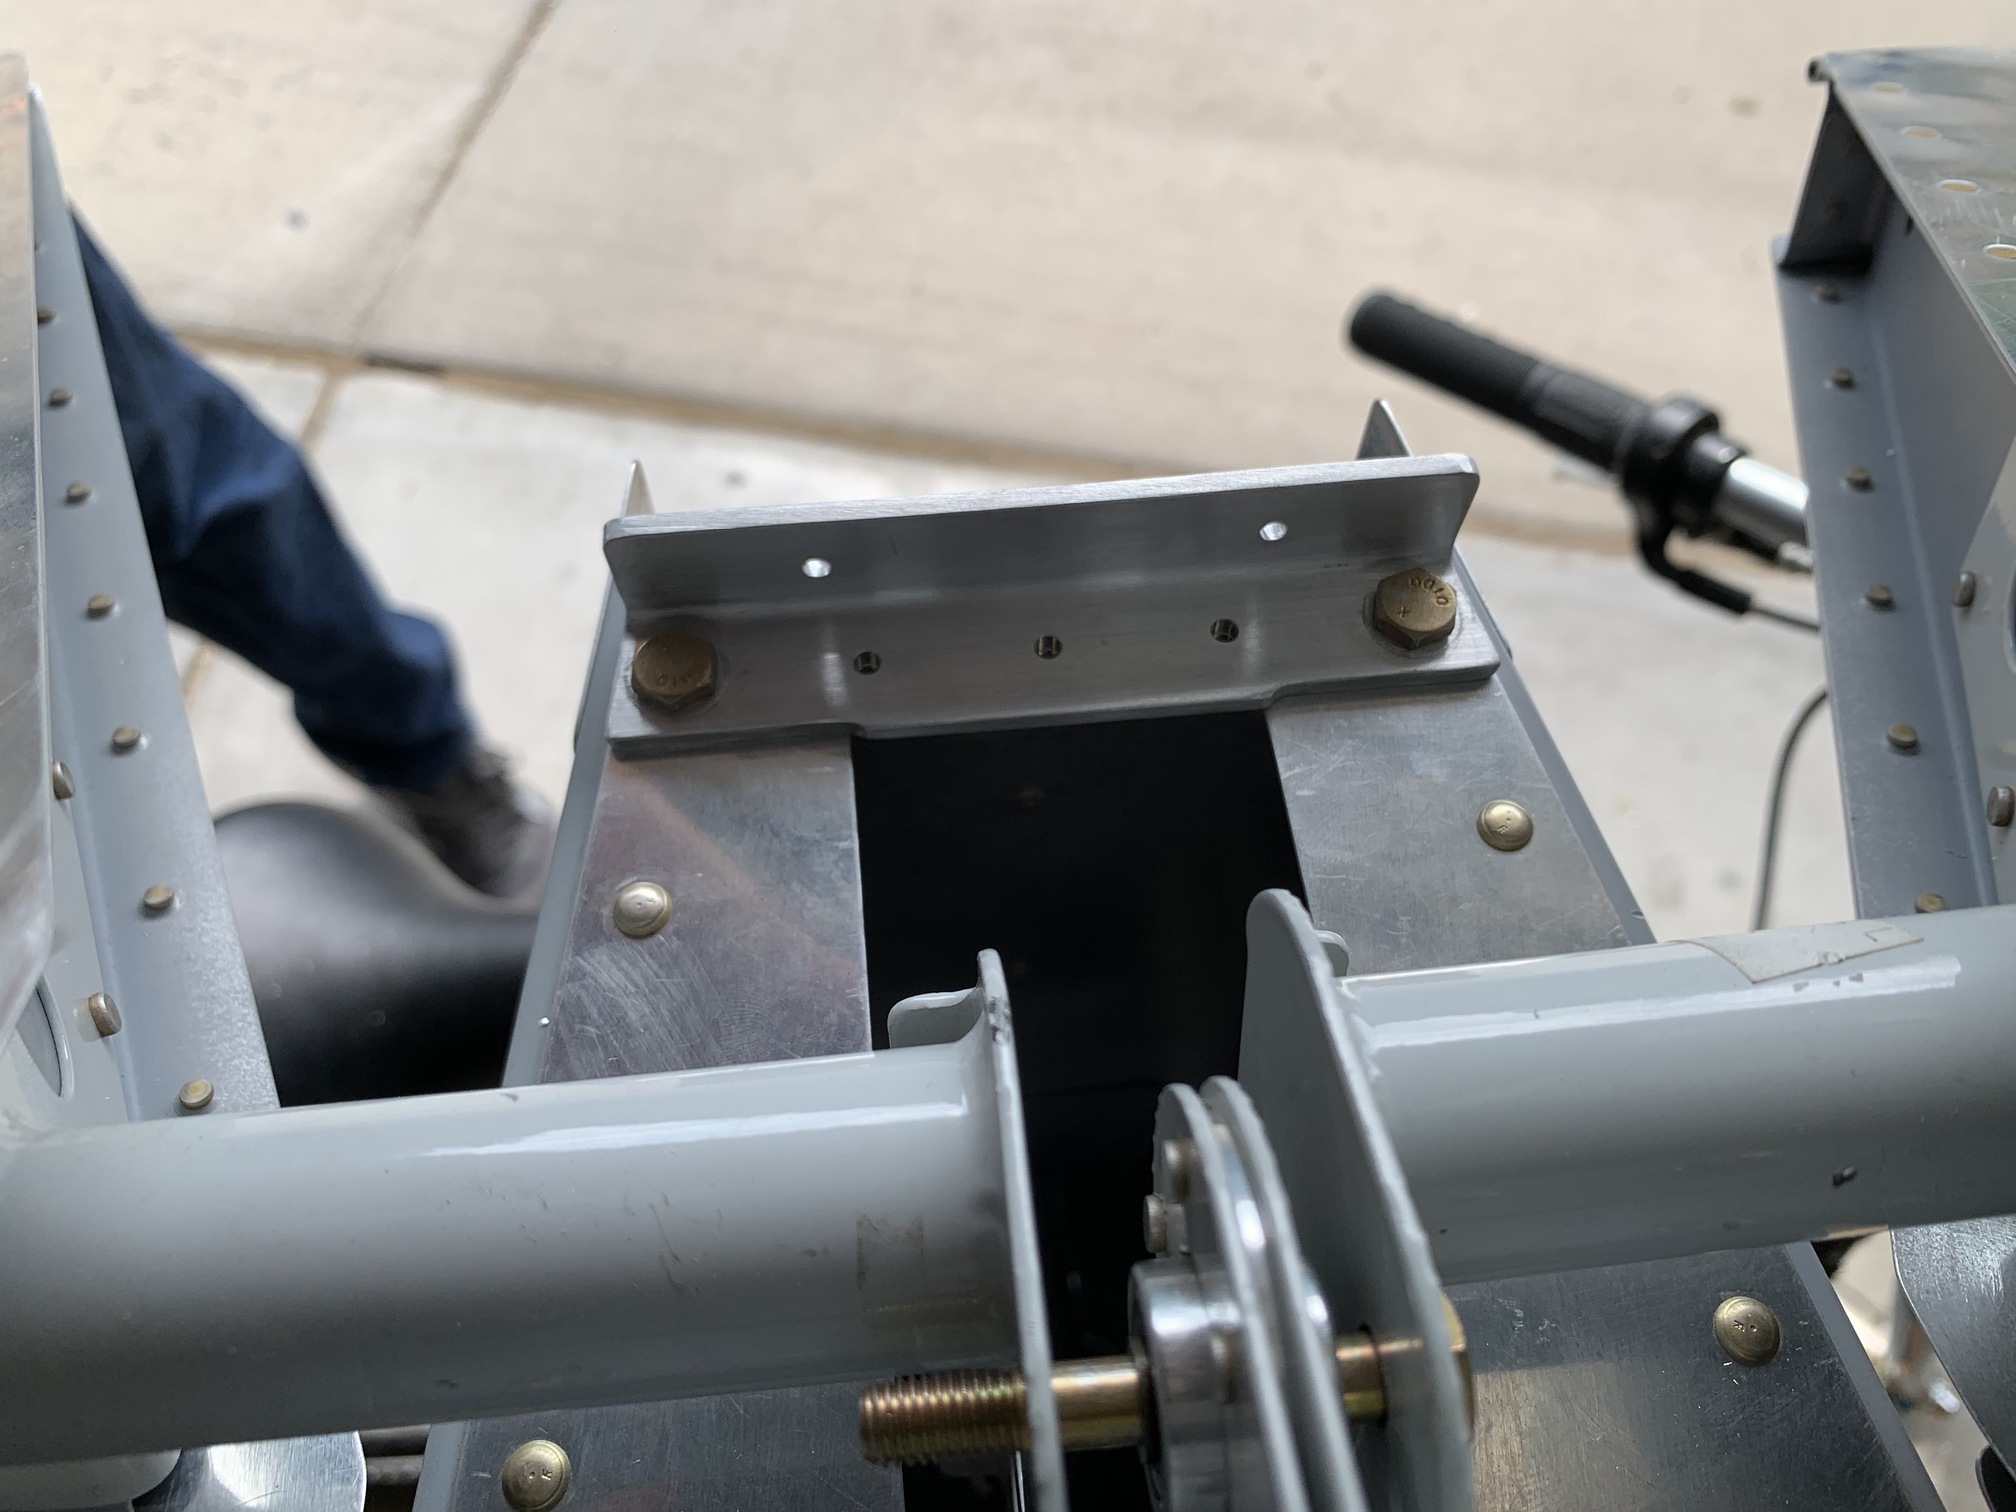
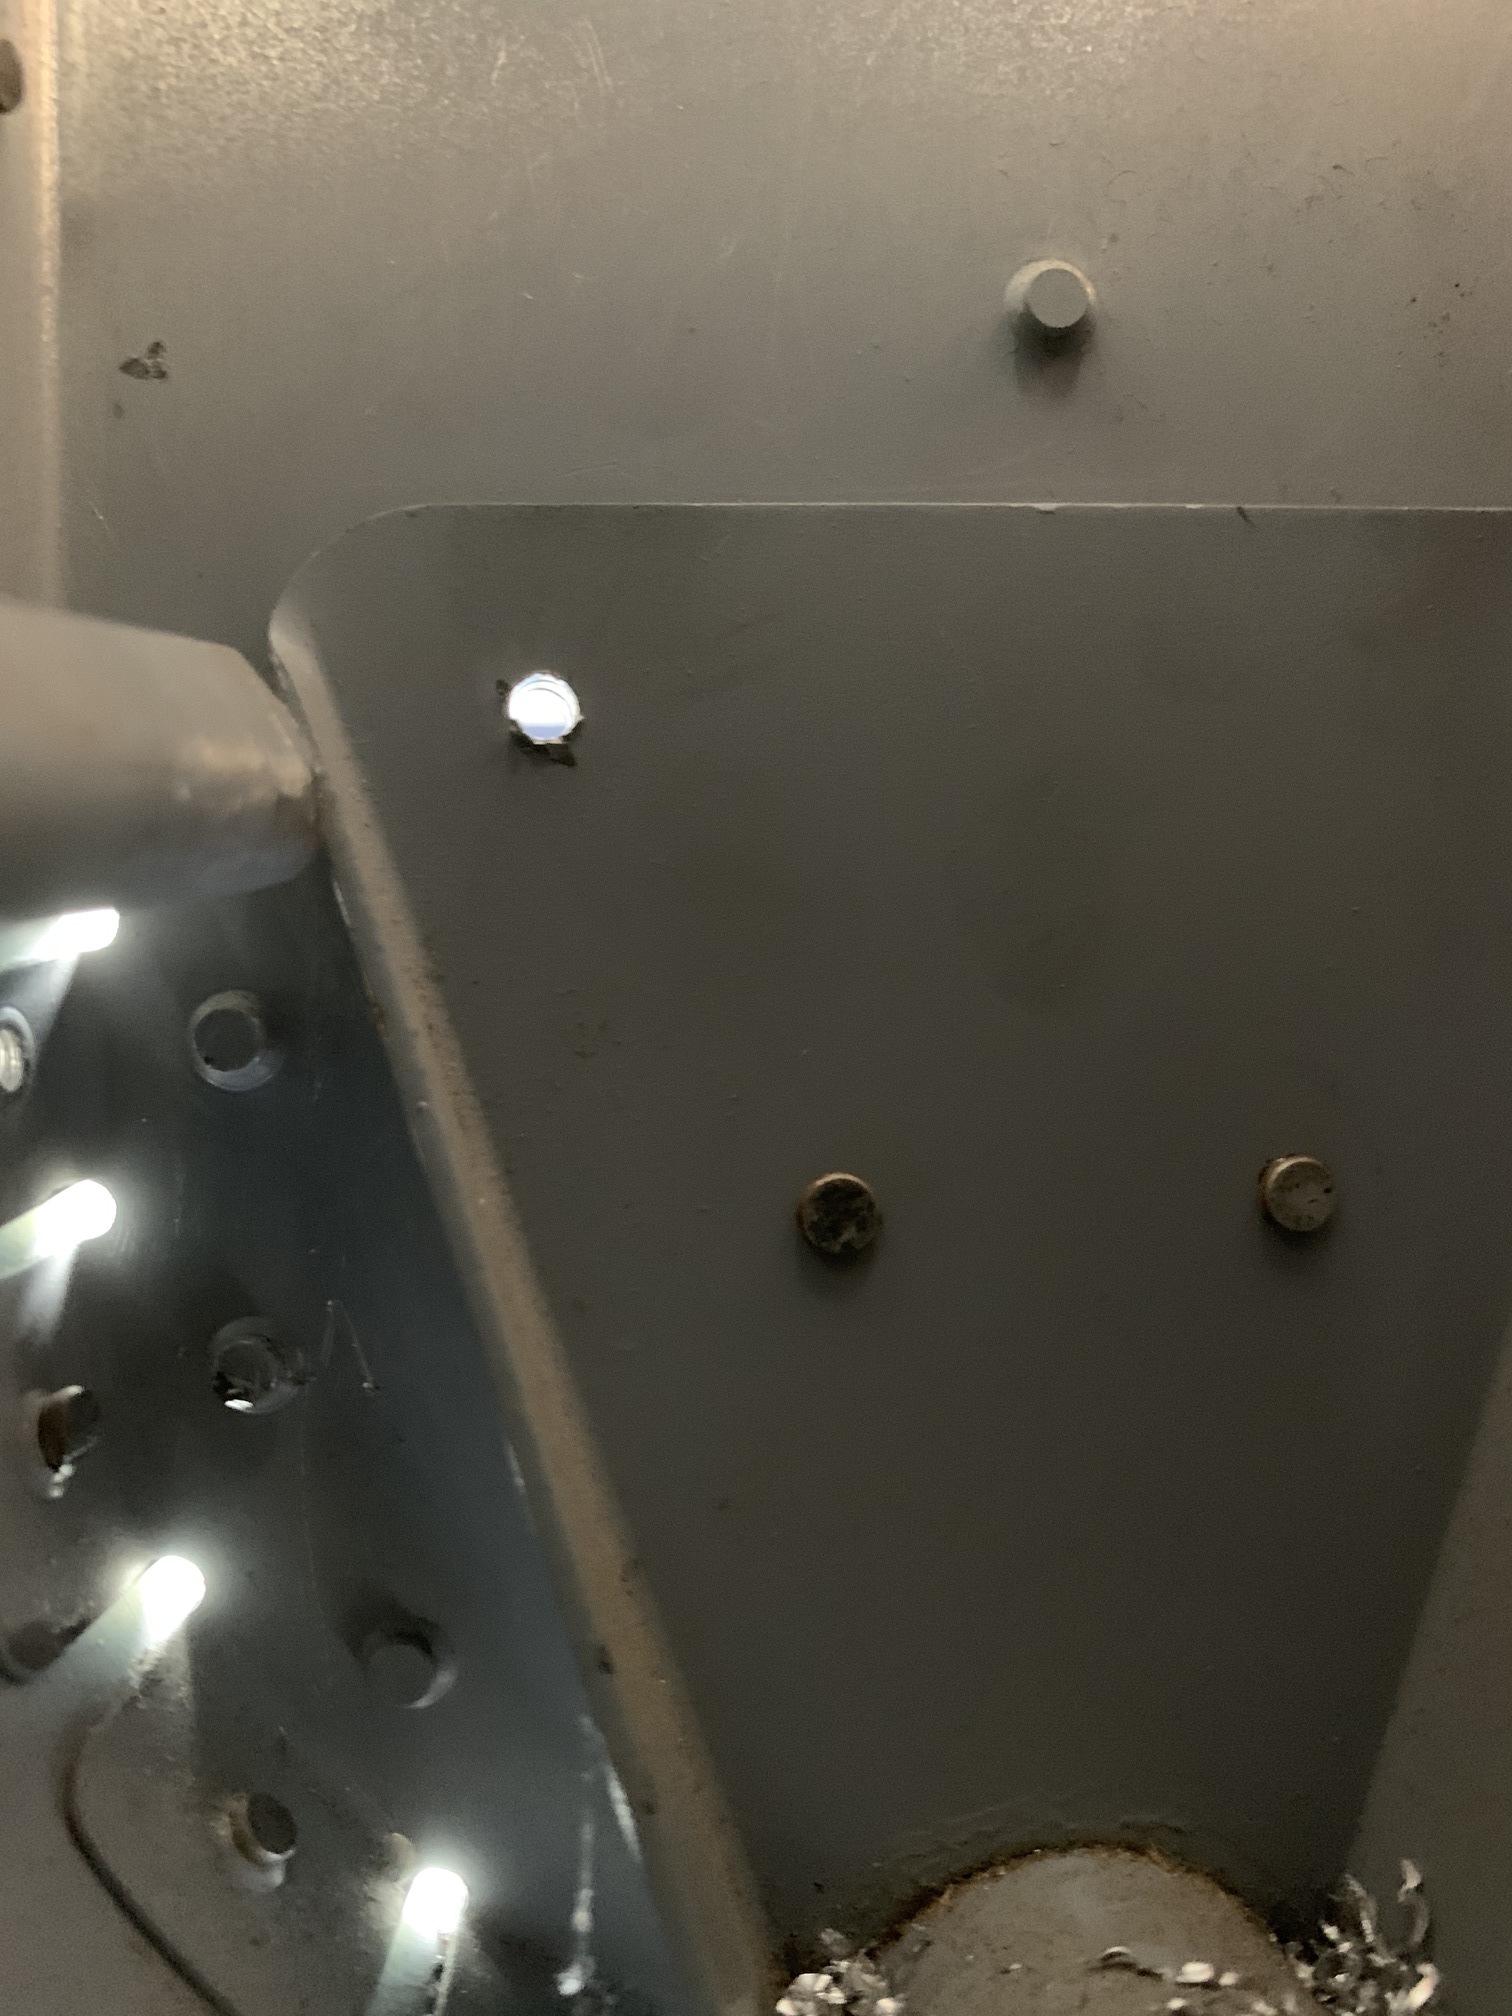
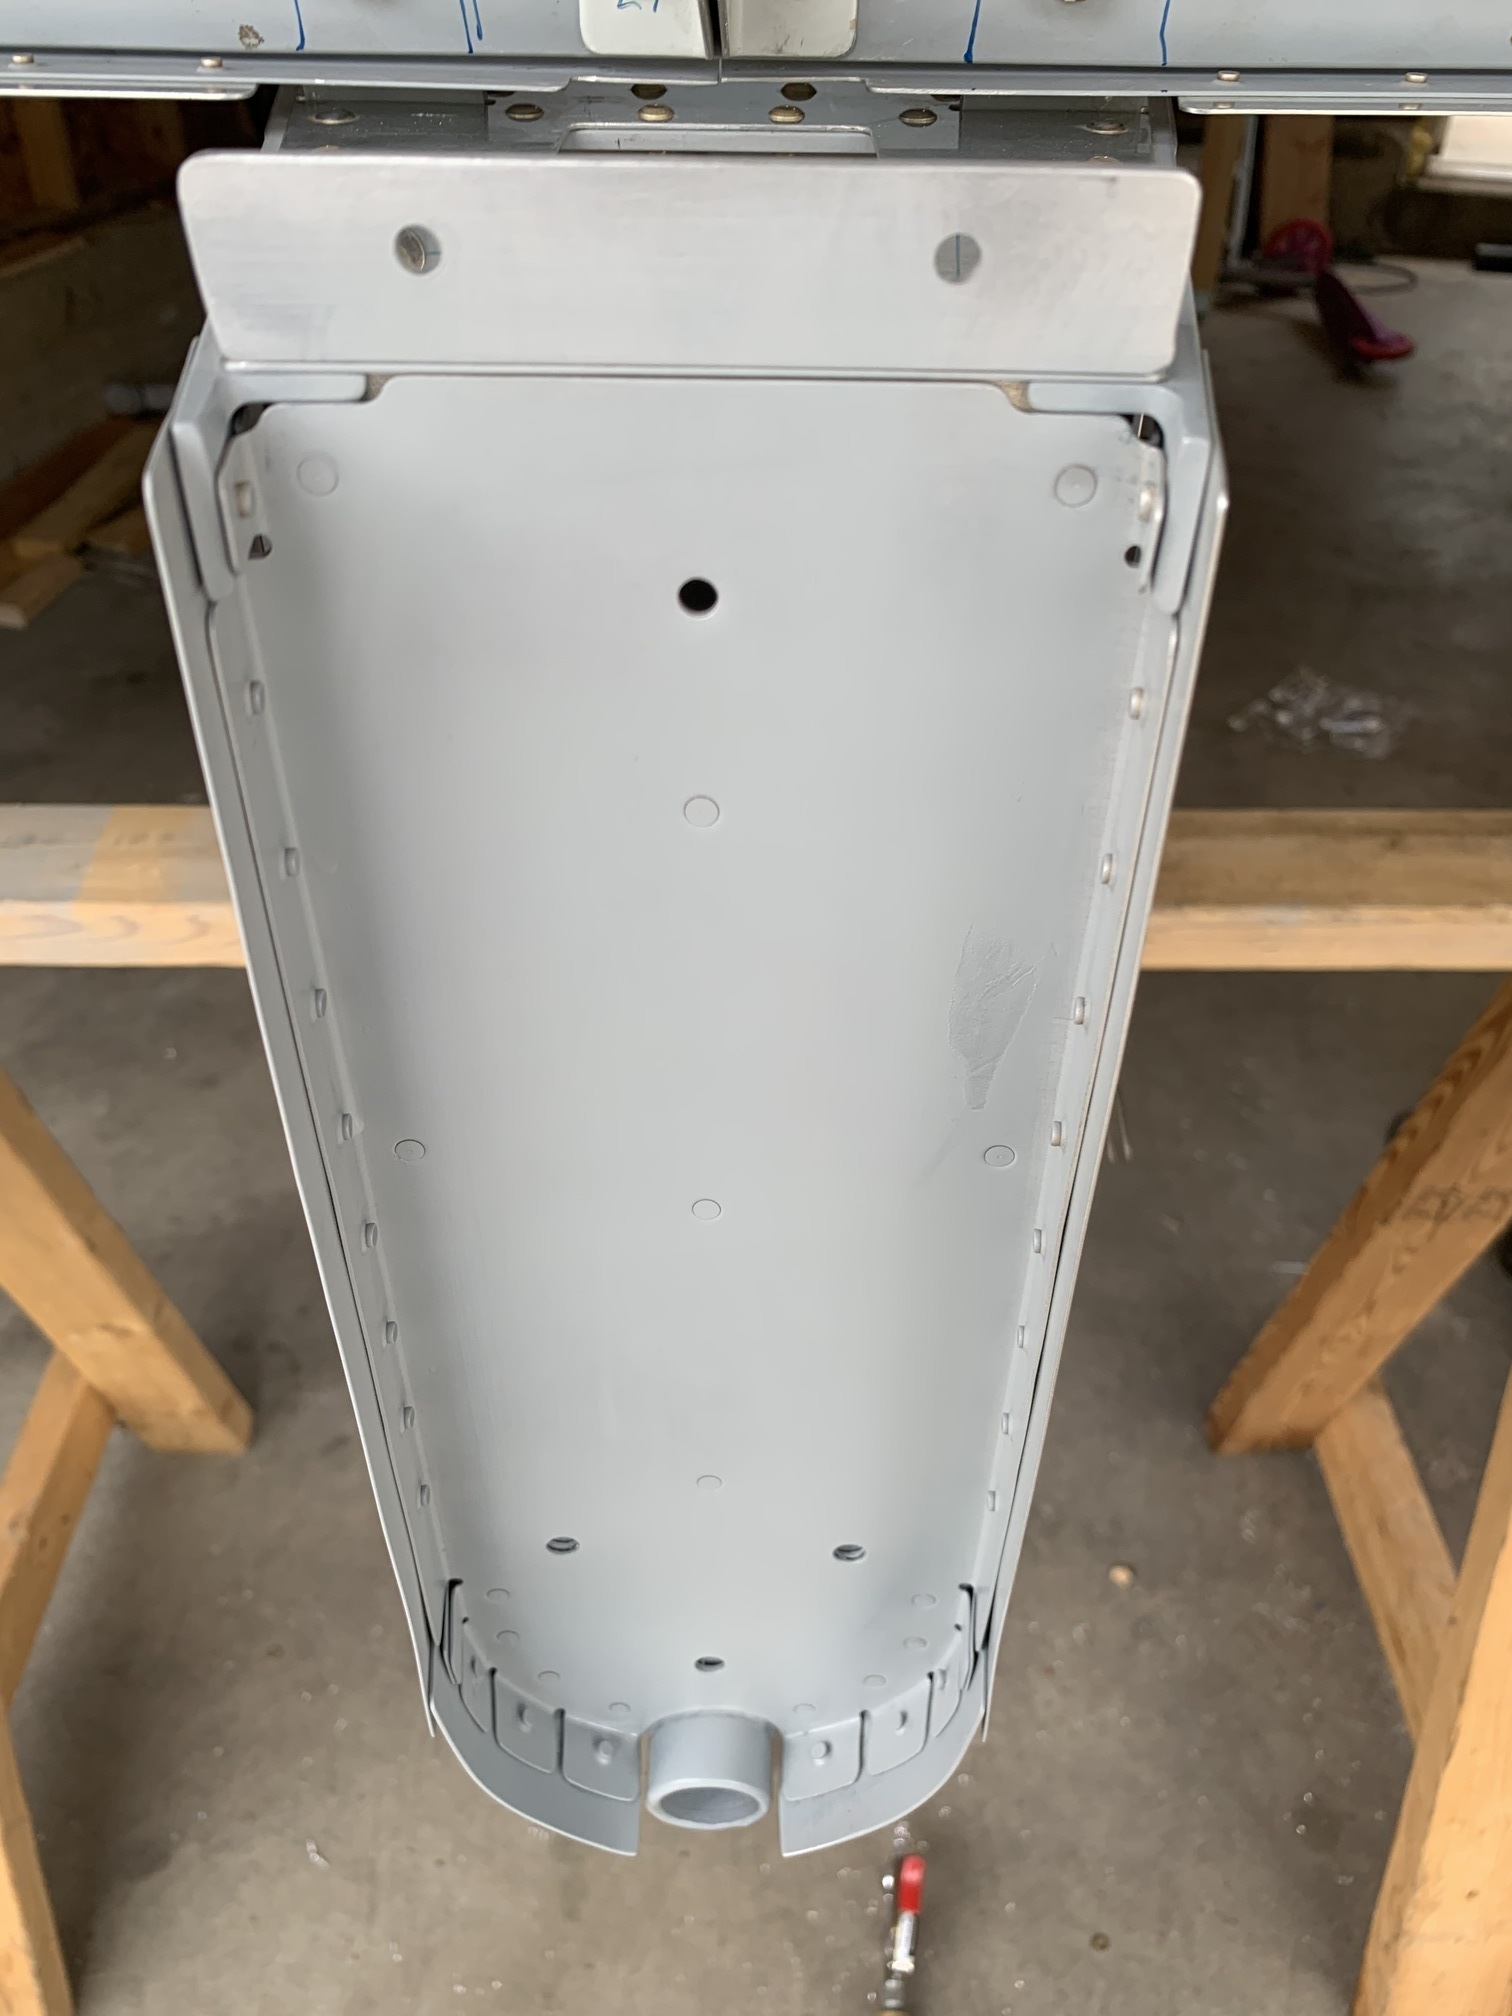
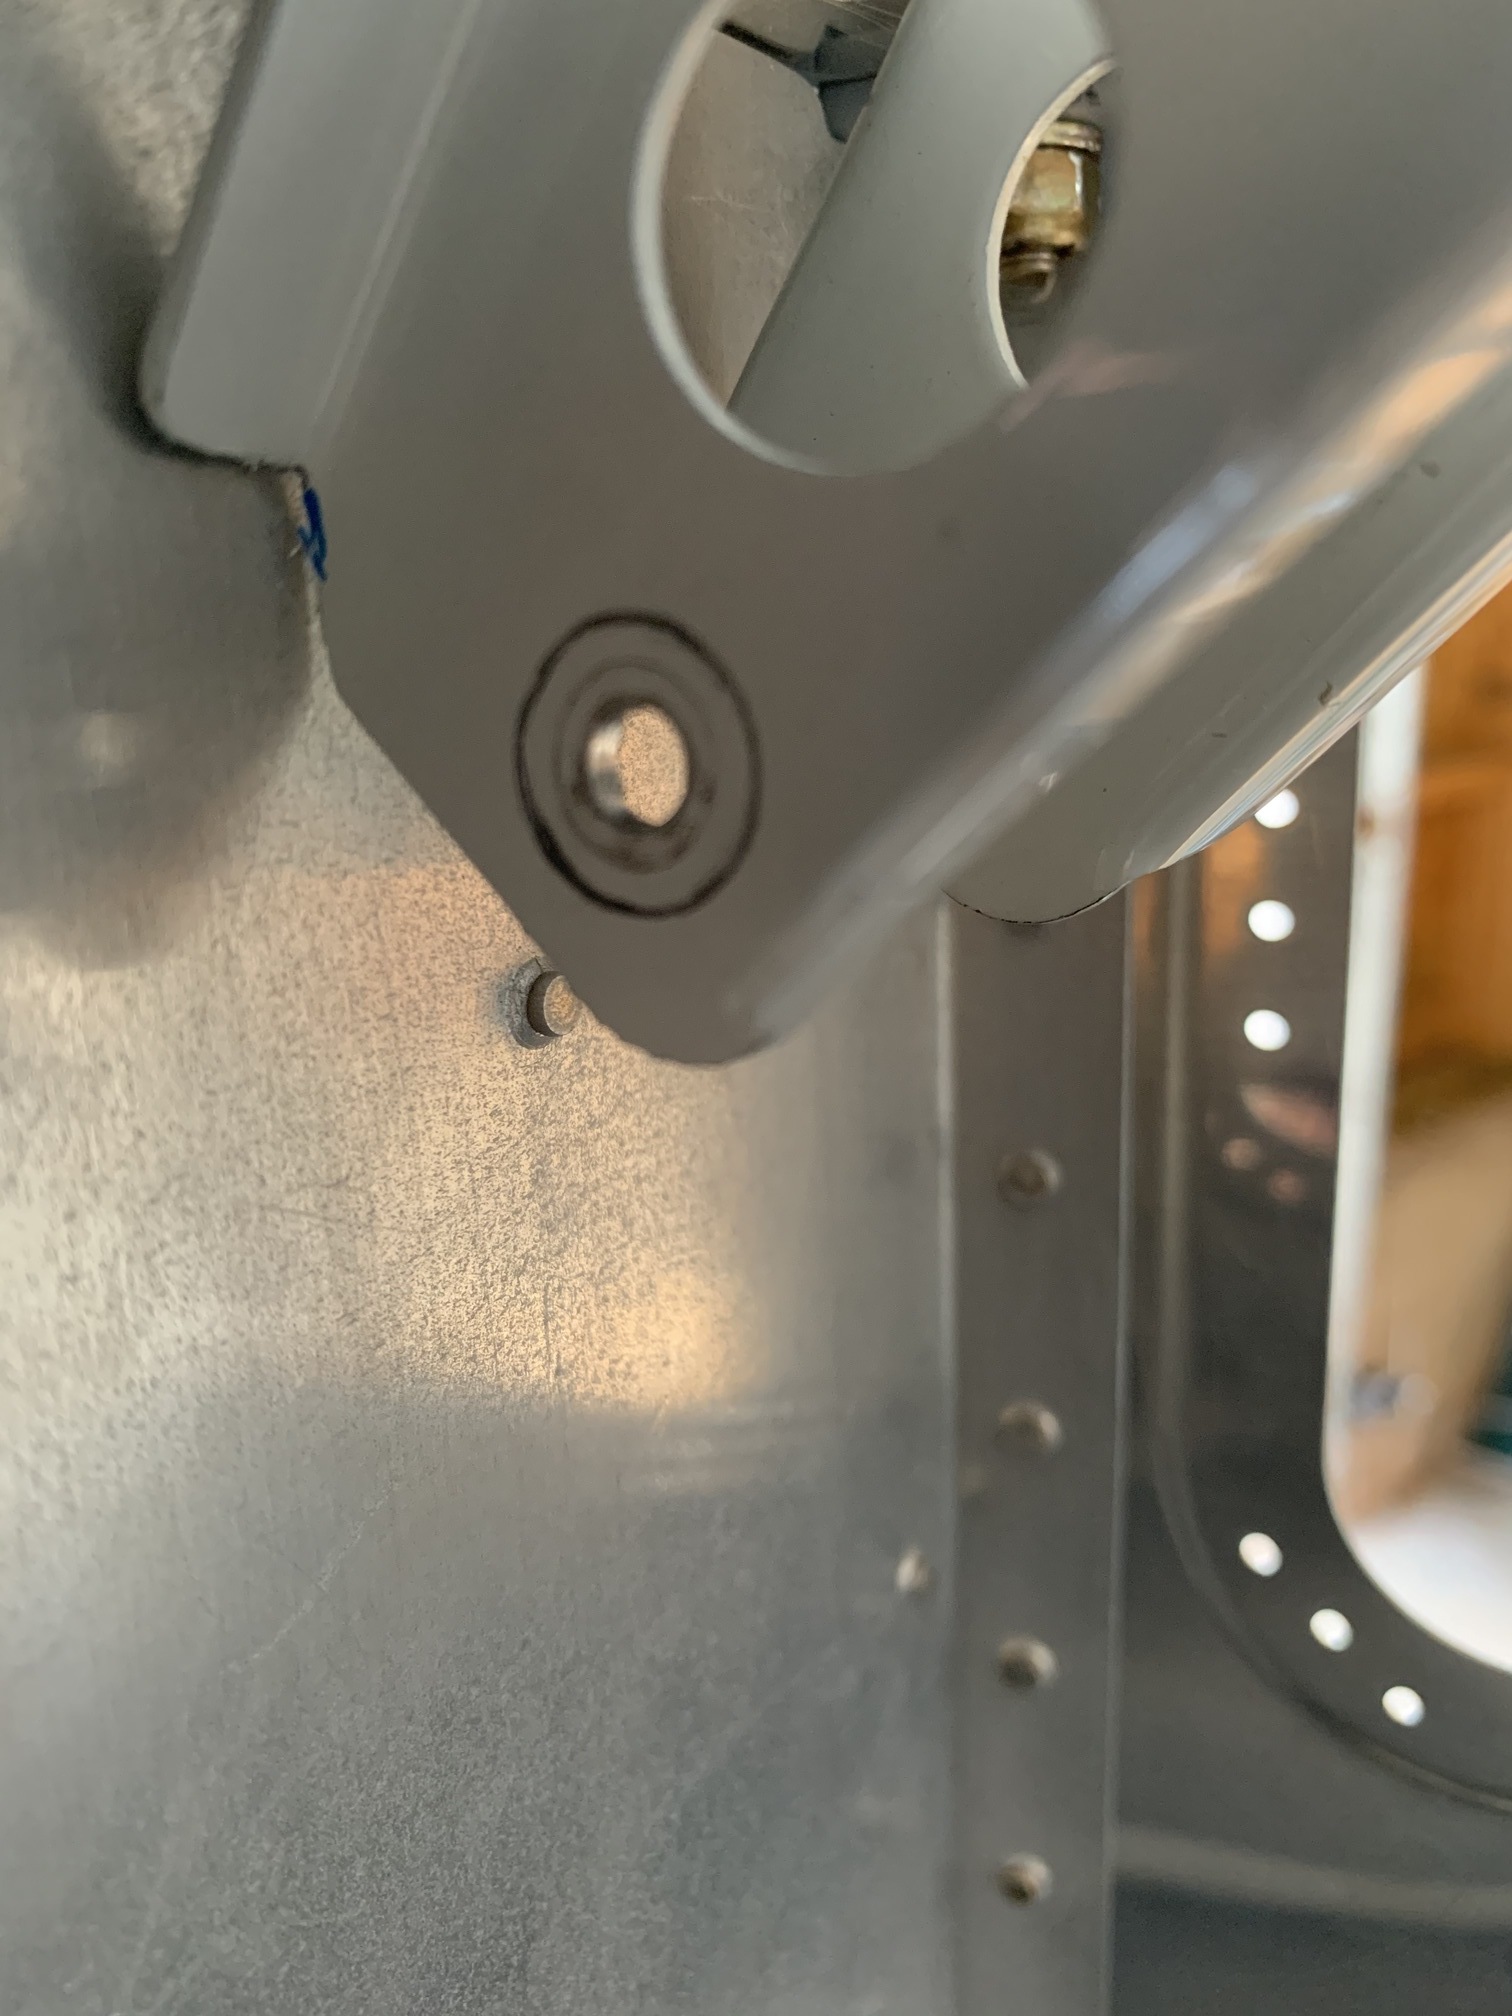
Next, you drill the lower end of the vert stab through the aft bulkhead and into the steel tailwheel mount. There are six layers of metal to go through here and you need to hit edge distance on the front-most and aft-most of them. The tailwheel mount is somewhat hidden in the back of the plane, so this involves lots of measuring and a little hope. Here's the right-side hole on the tailwheel mount and it came out perfectly!
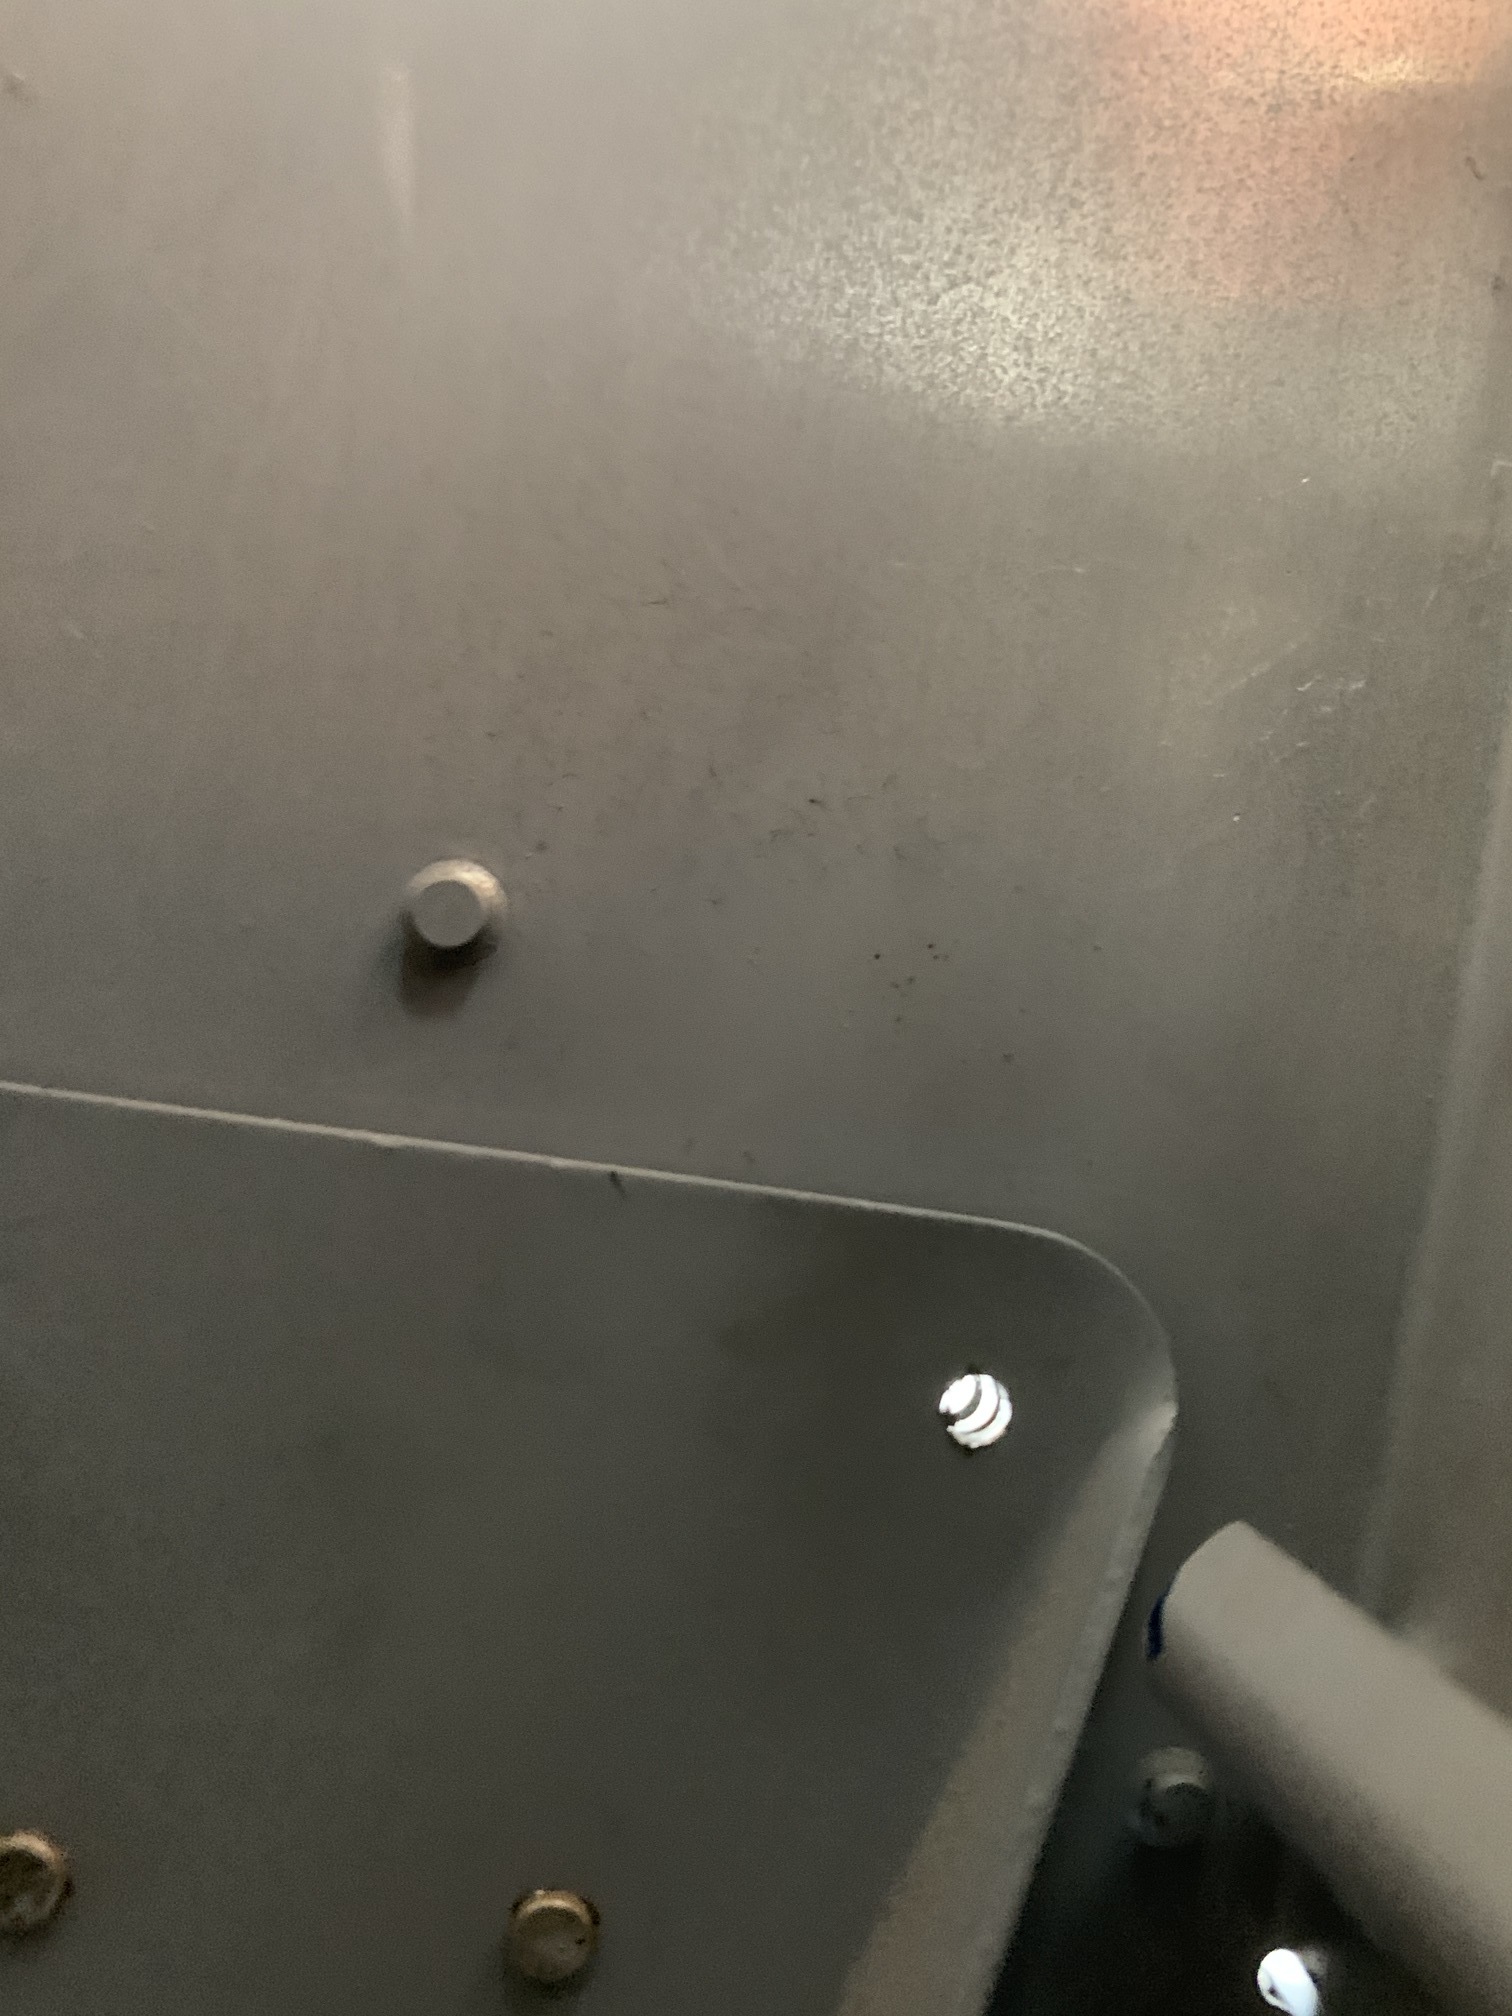
Likewise with the left hole.
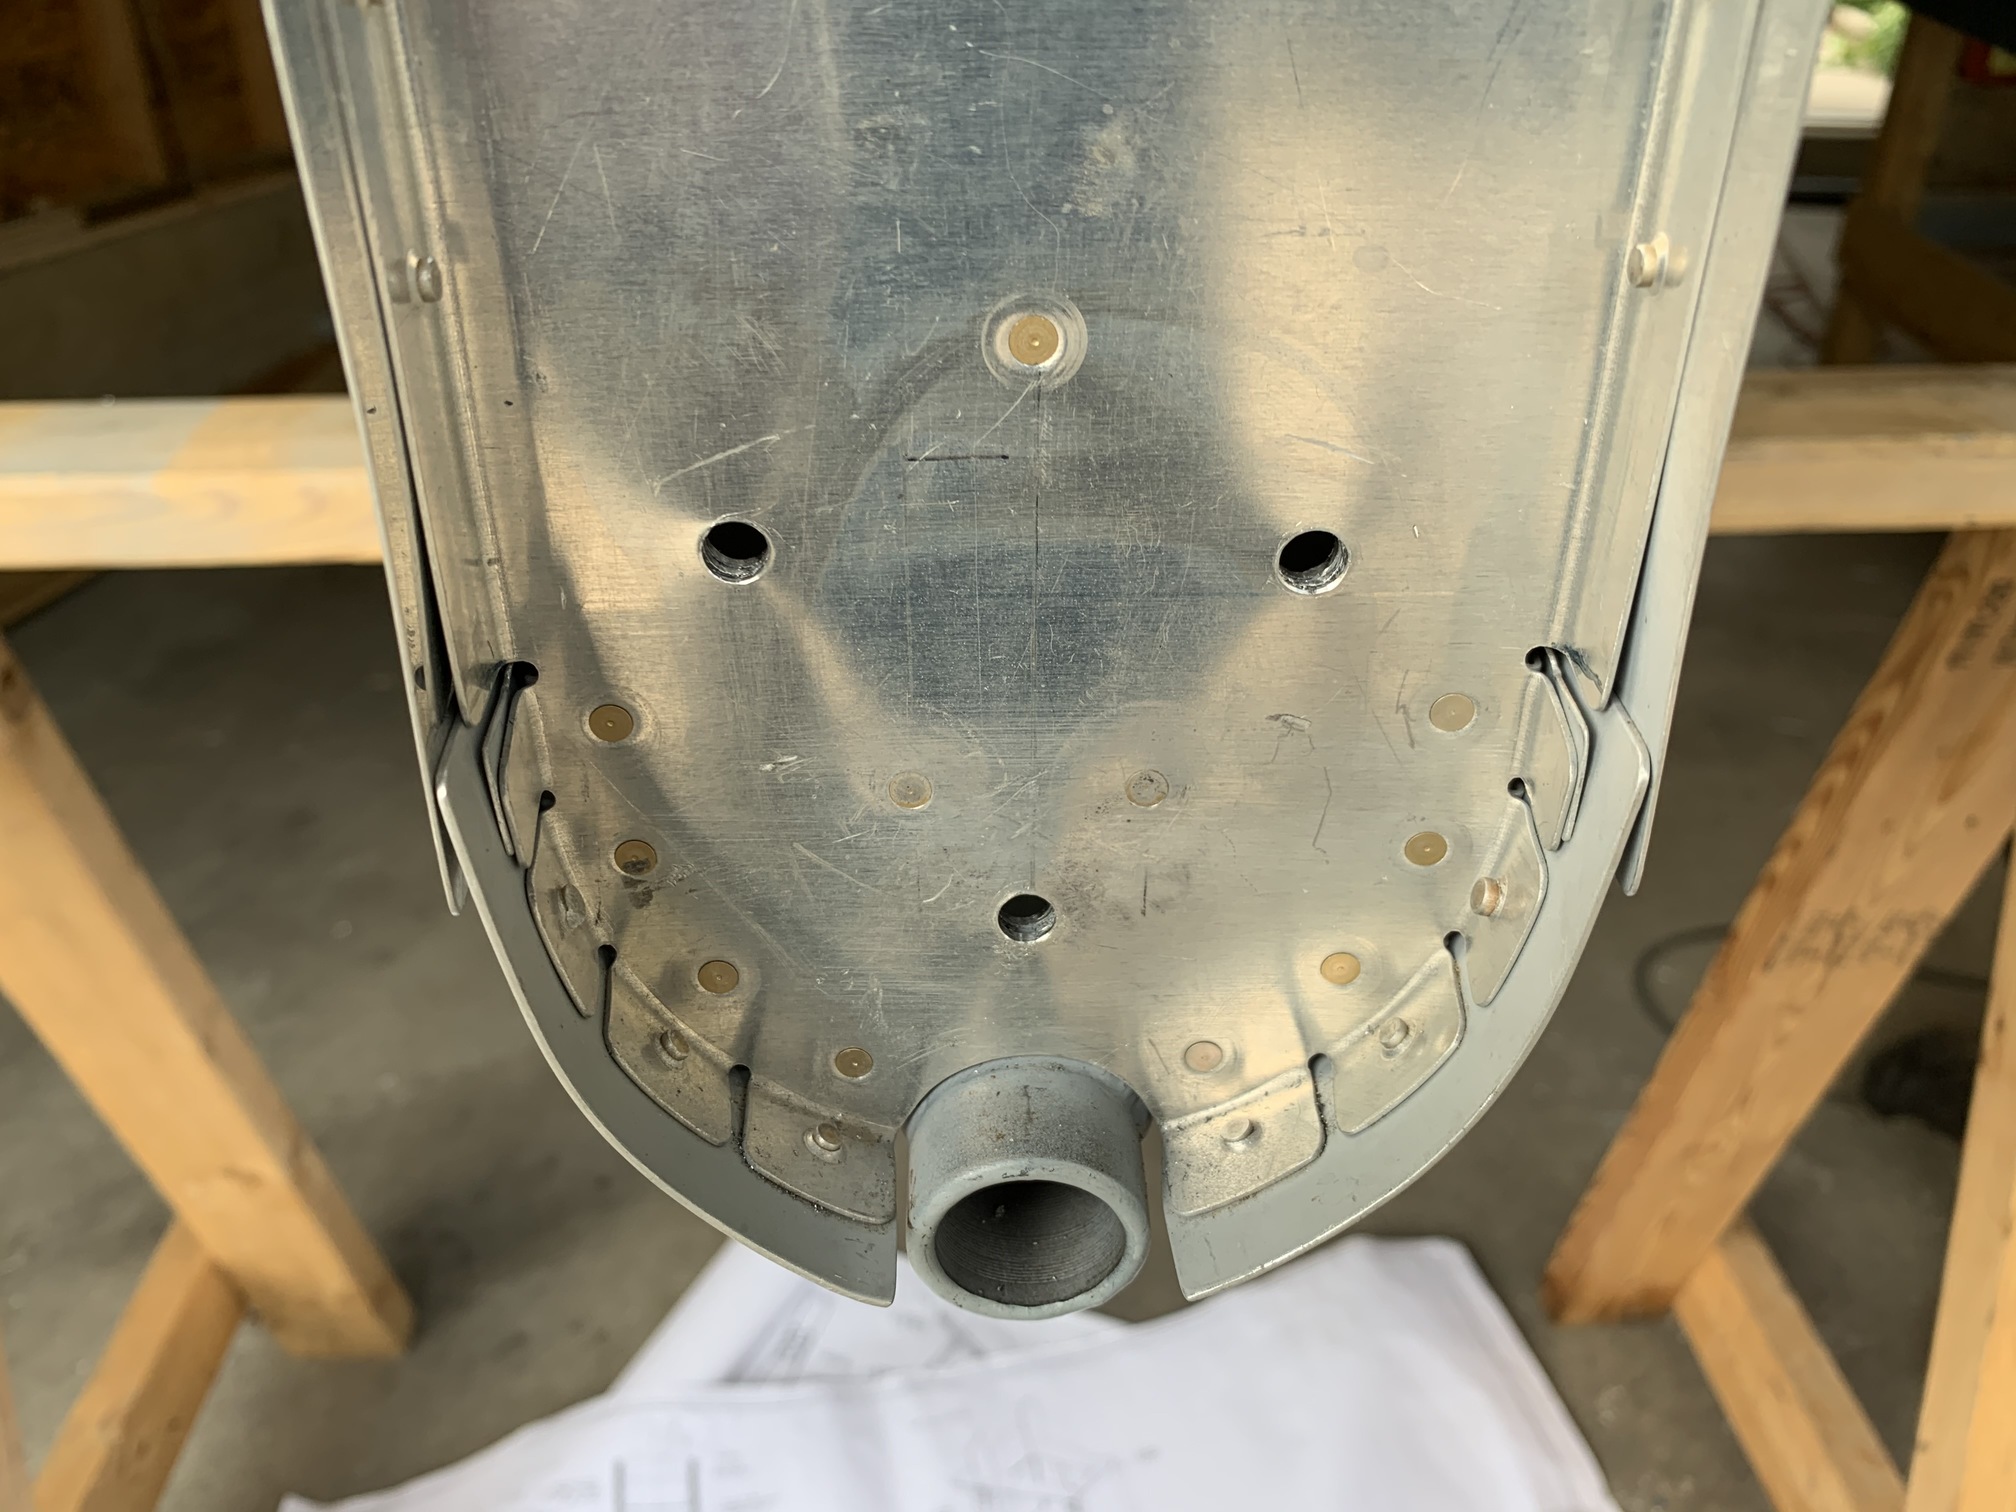
I neglected to take a pic with the vert stab in place, but here are the three 1/4" holes upsized.
I drilled several of the holes from the vert stab mount plate into the front spar of the vert stab when it was still on the plane and then drilled the rest out.
I put a coat of primer on the aft bulkhead where the vert stab will sit against it.
I primed the attach plate.
Then, I riveted the attach plate to the vert stab forward spar.
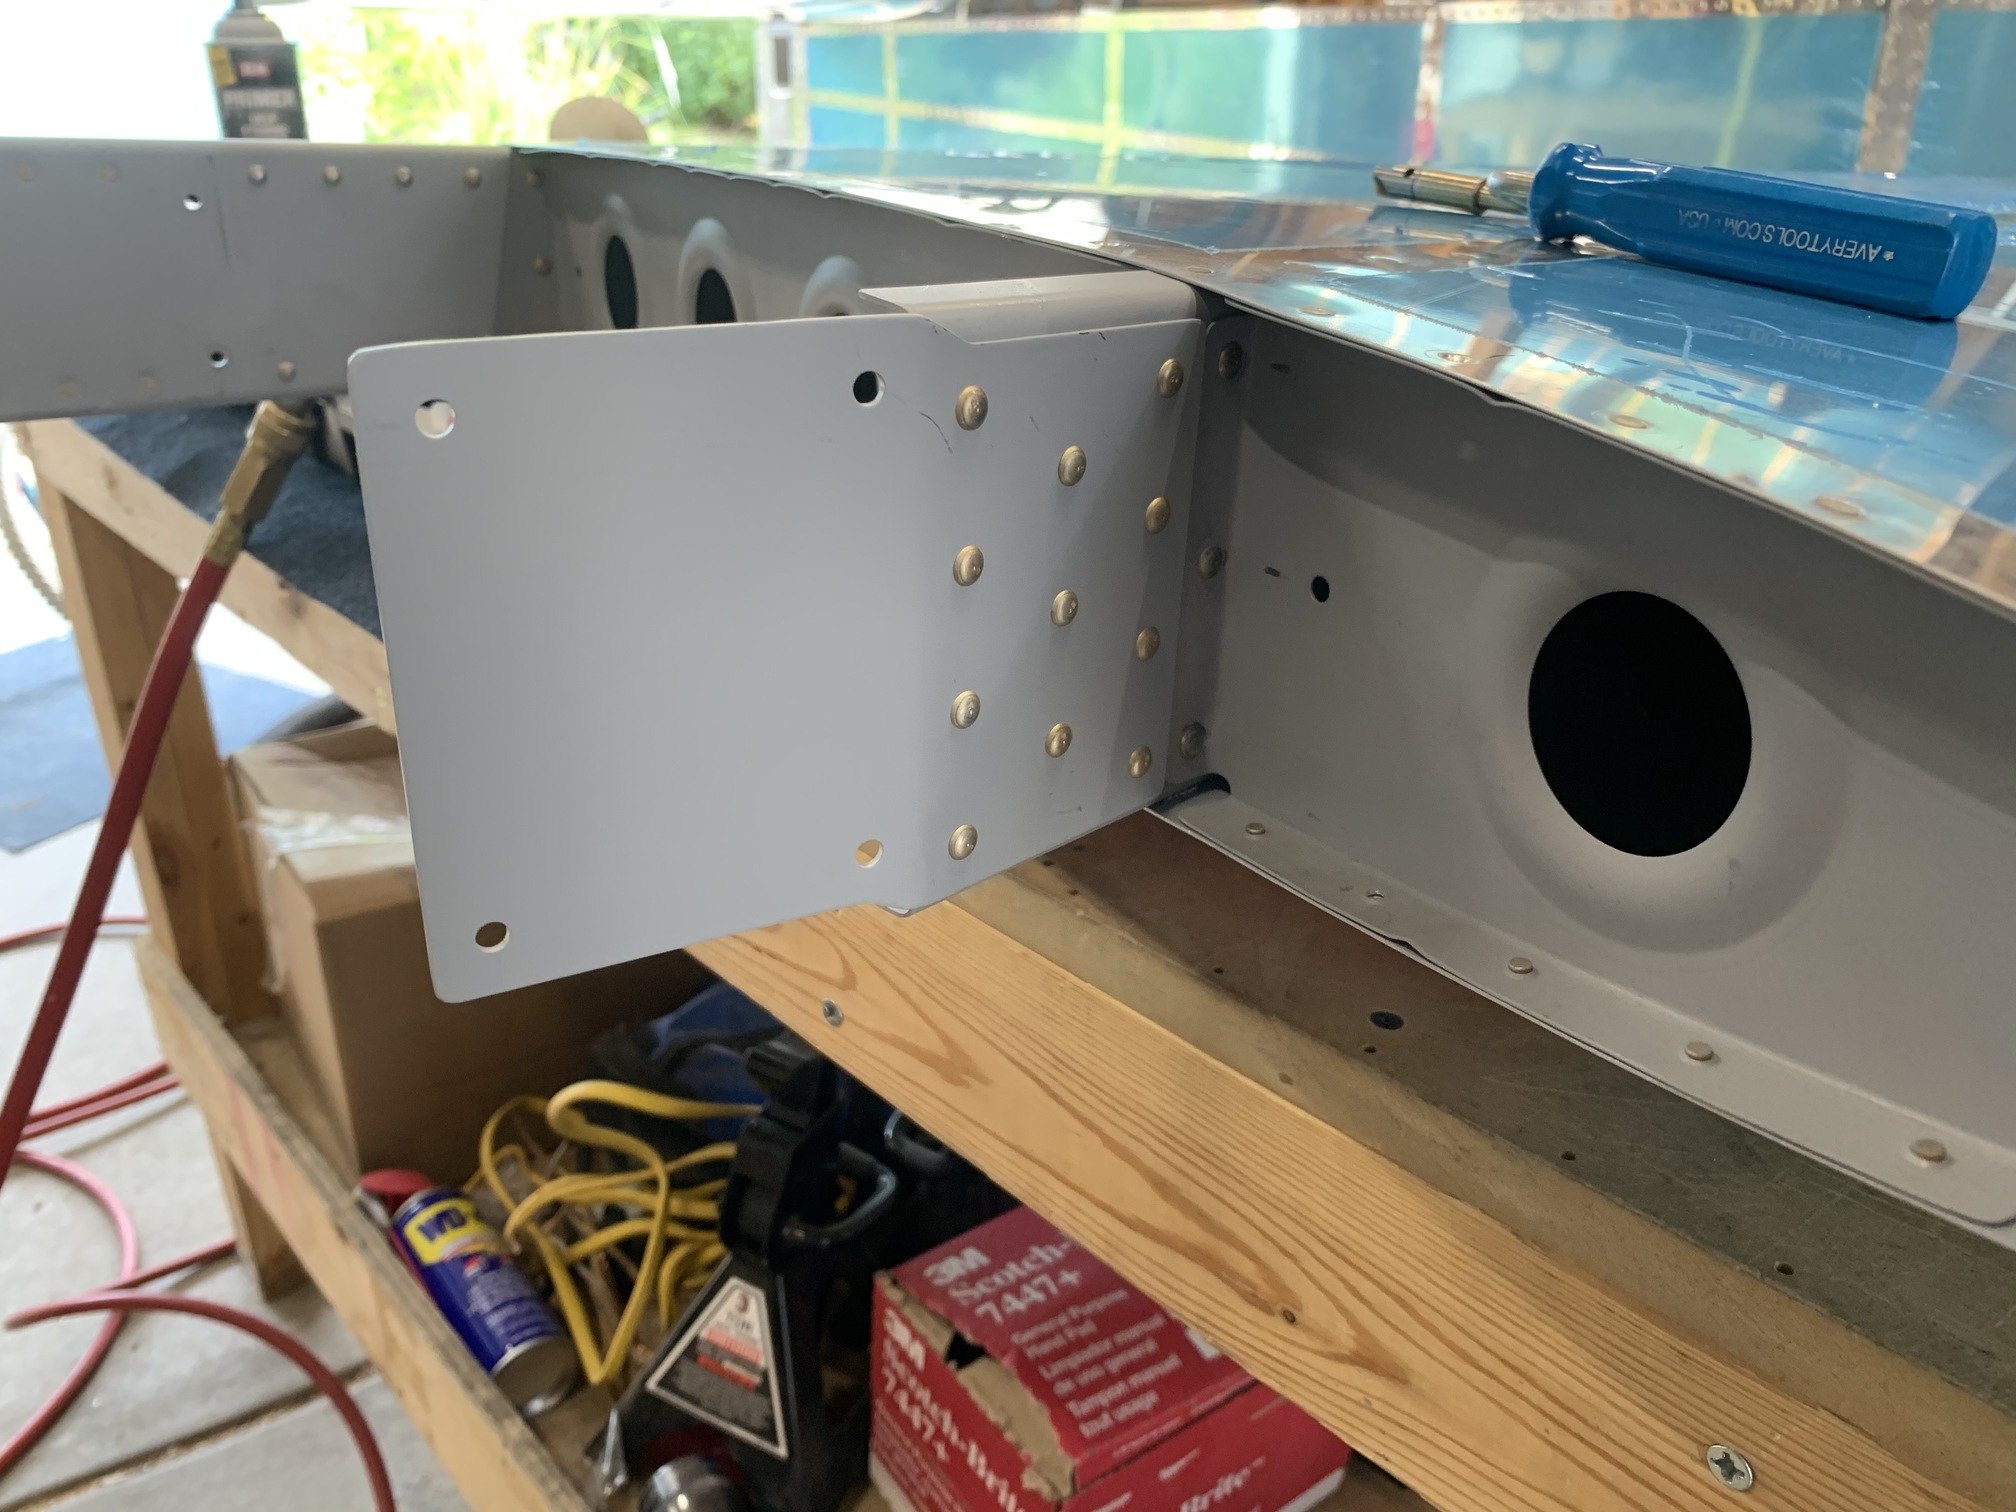
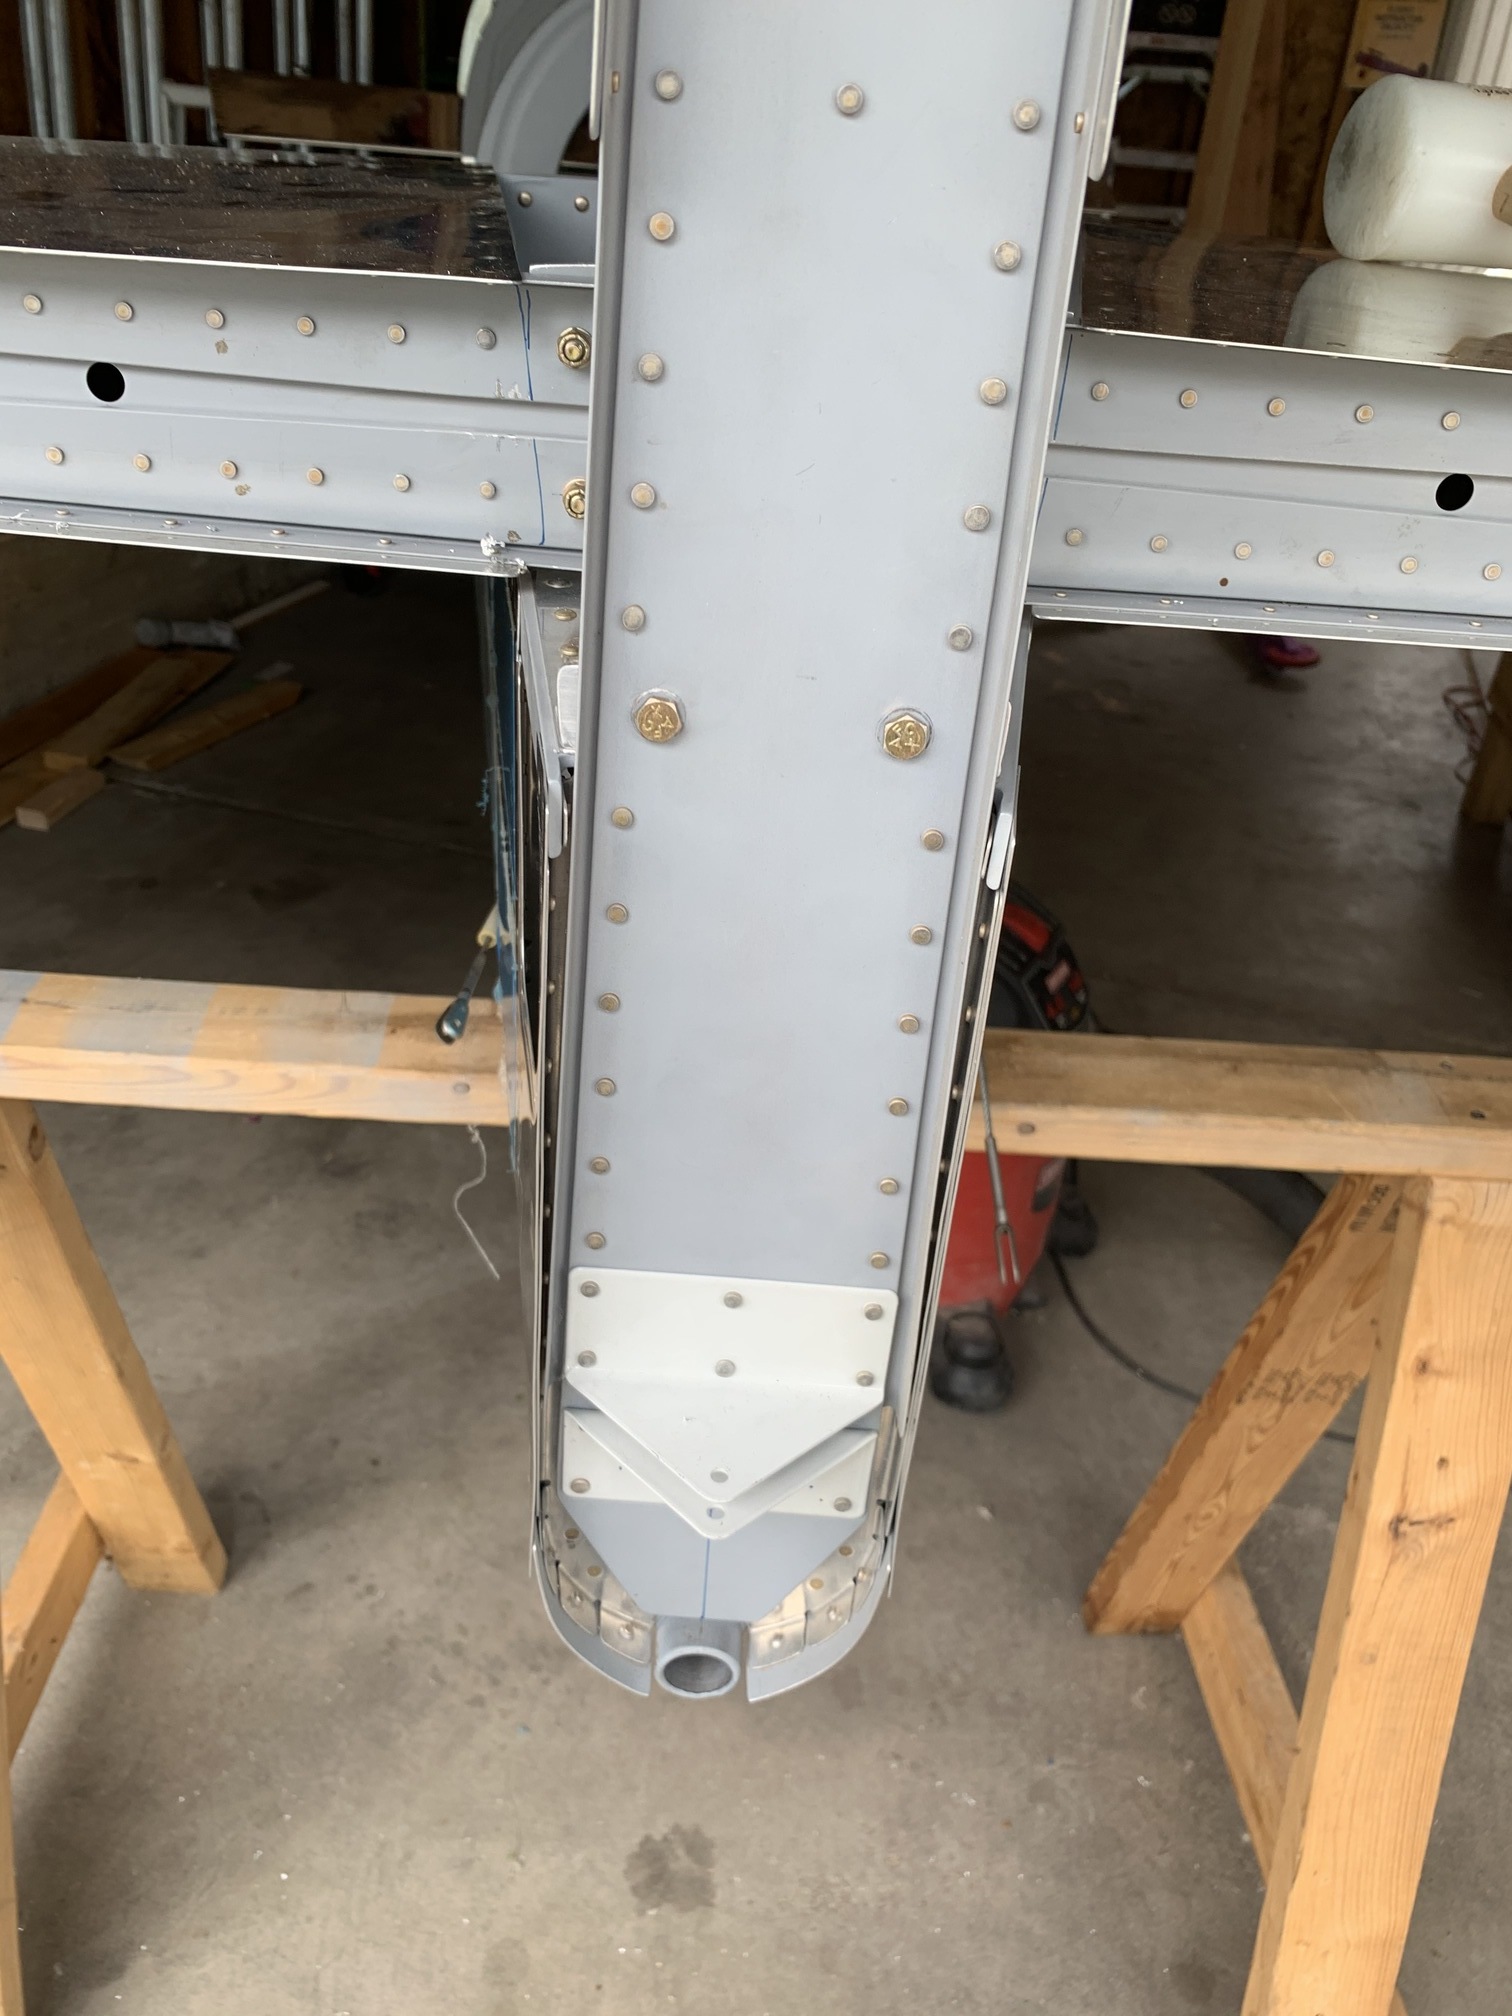
Then, I bolted the vertical stabilizer back onto the aft fuselage.
Then, I got down the rudder from storage and installed the rod end bearings and jam nuts. Next, I hung the rudder from the vertical stabilizer. It swings freely--no binding.

Then, I reinstalled the elevators just so I could see it all together.
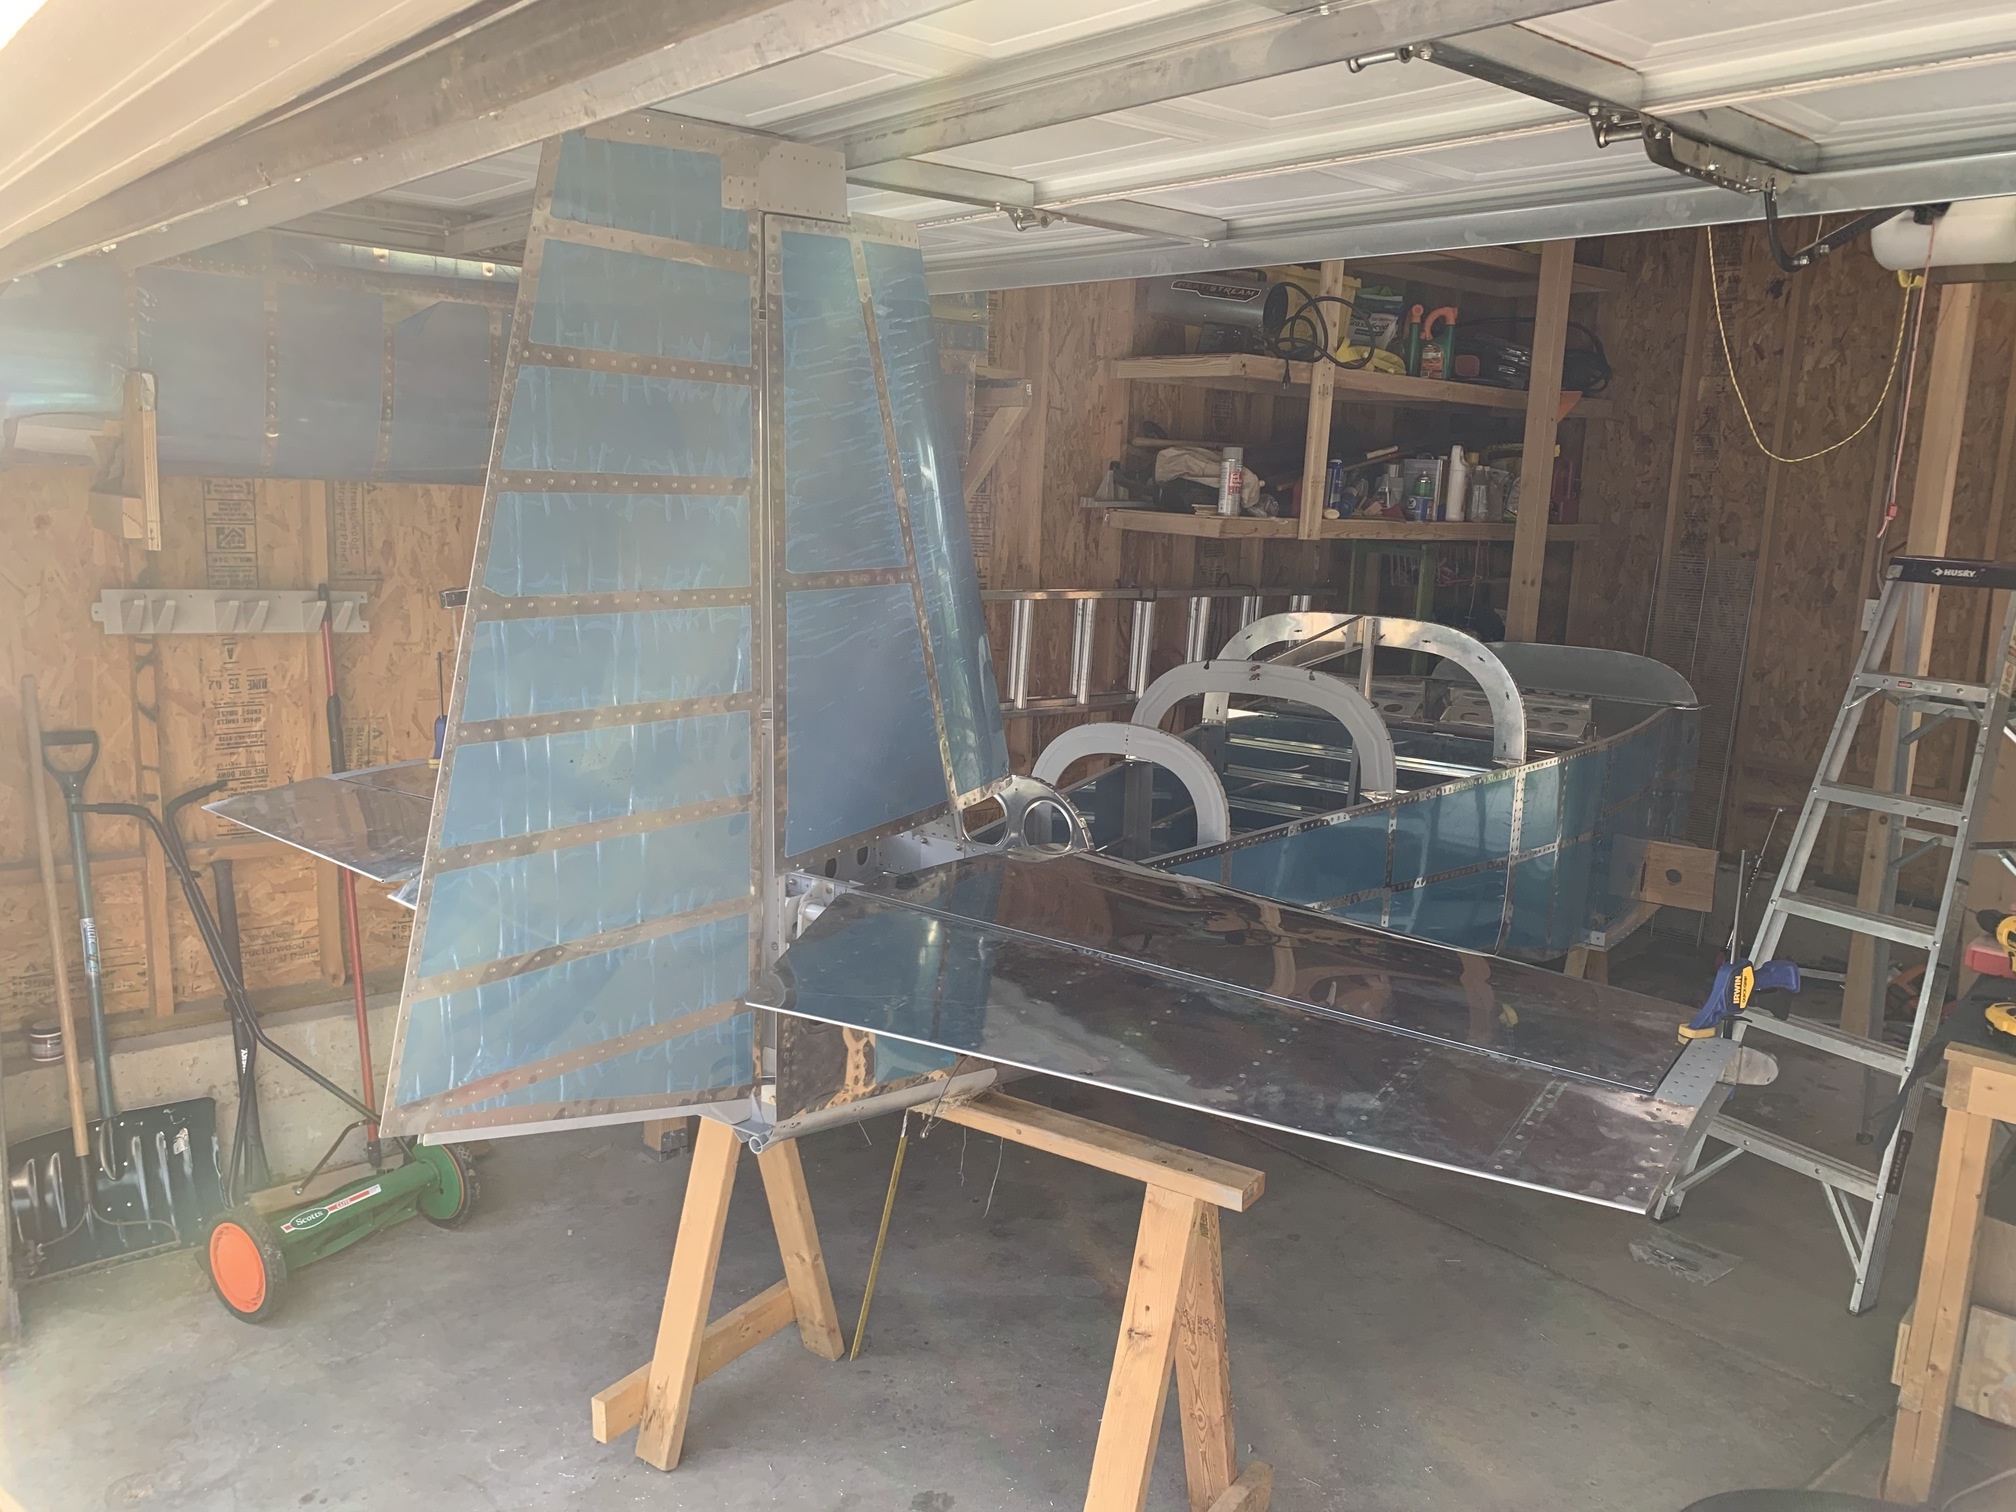
Starting to really look like an airplane!
I was going to fabricate the rudder stops at this point, but I realized I didn't have any more of the correct type of angle, so I'll have to wait for some to be shipped.
One thing that had been annoying me after installing the elevator up stop this morning is that the right elevator horn was touching the aft bulkhead before it hit the up stop. So, I filed away a little of the offending area of the horn.
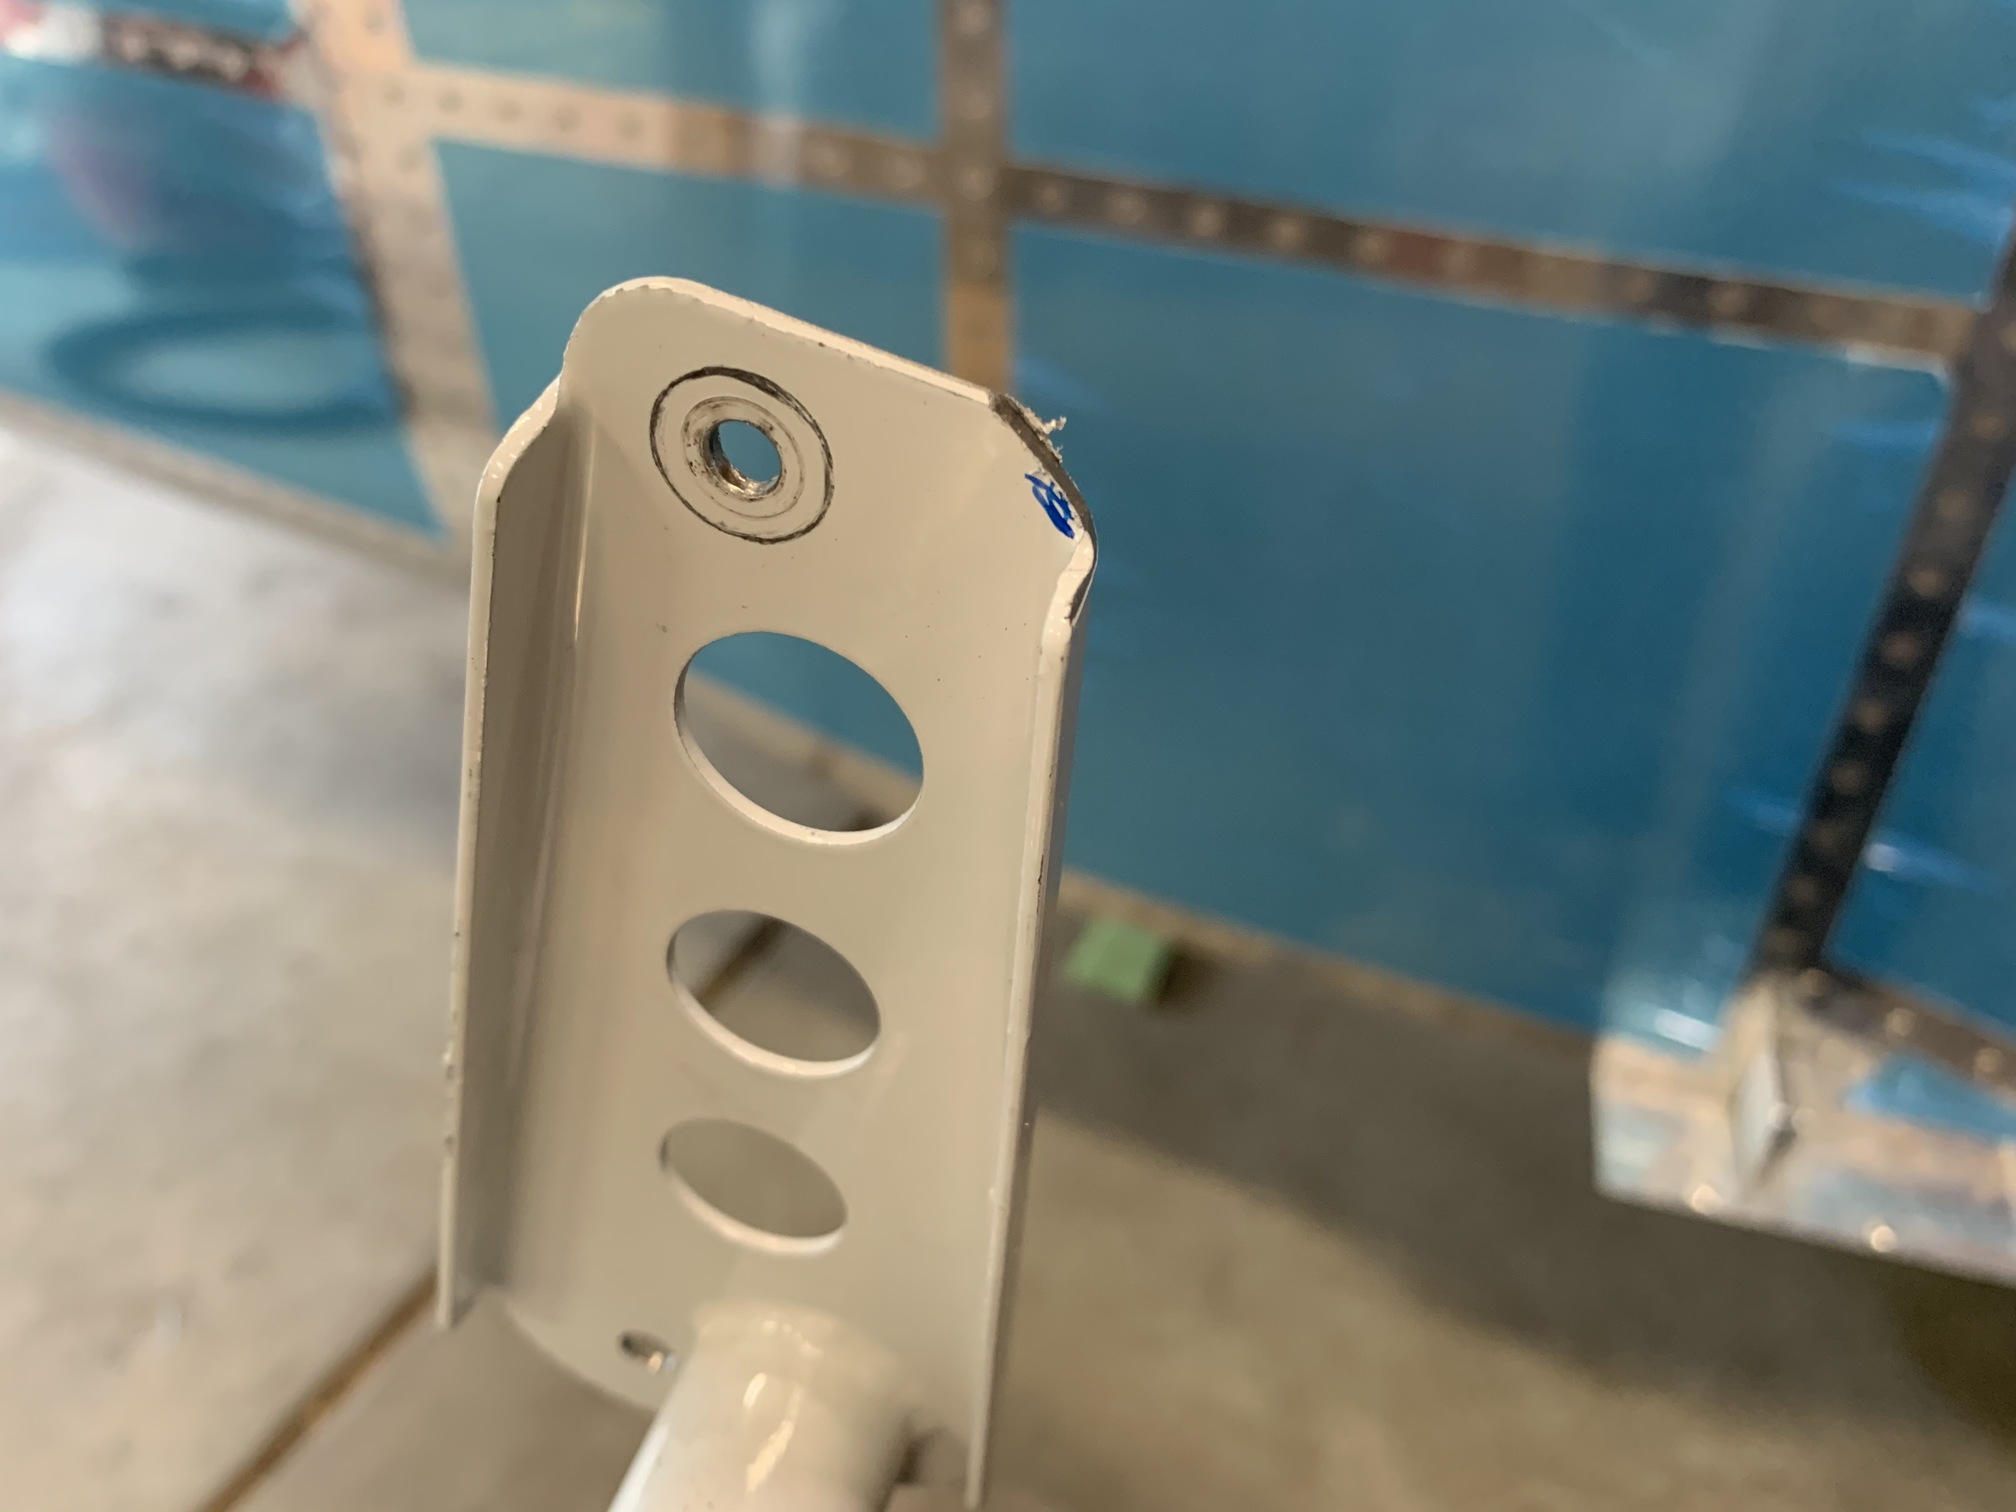
Here it is after filing, no longer touching the bulkhead. I filed it down a bit more after this just to give some extra clearance.
Then I smoothed/primed the area on the horn where I had filed it.
| Previous - Index - Next |
This work is licensed under Attribution-NonCommercial-NoDerivatives 4.0 International![]()
![]()
![]()
![]()