Log (By Day)
Log (By Category)
Pictures
Pics of Me Working
Links
| ||||||||||||
Saturday September 26, 2020
Rudder Stops, Misc Priming
(Aft Fuselage)
3.8 Hours
| Previous - Index - Next |
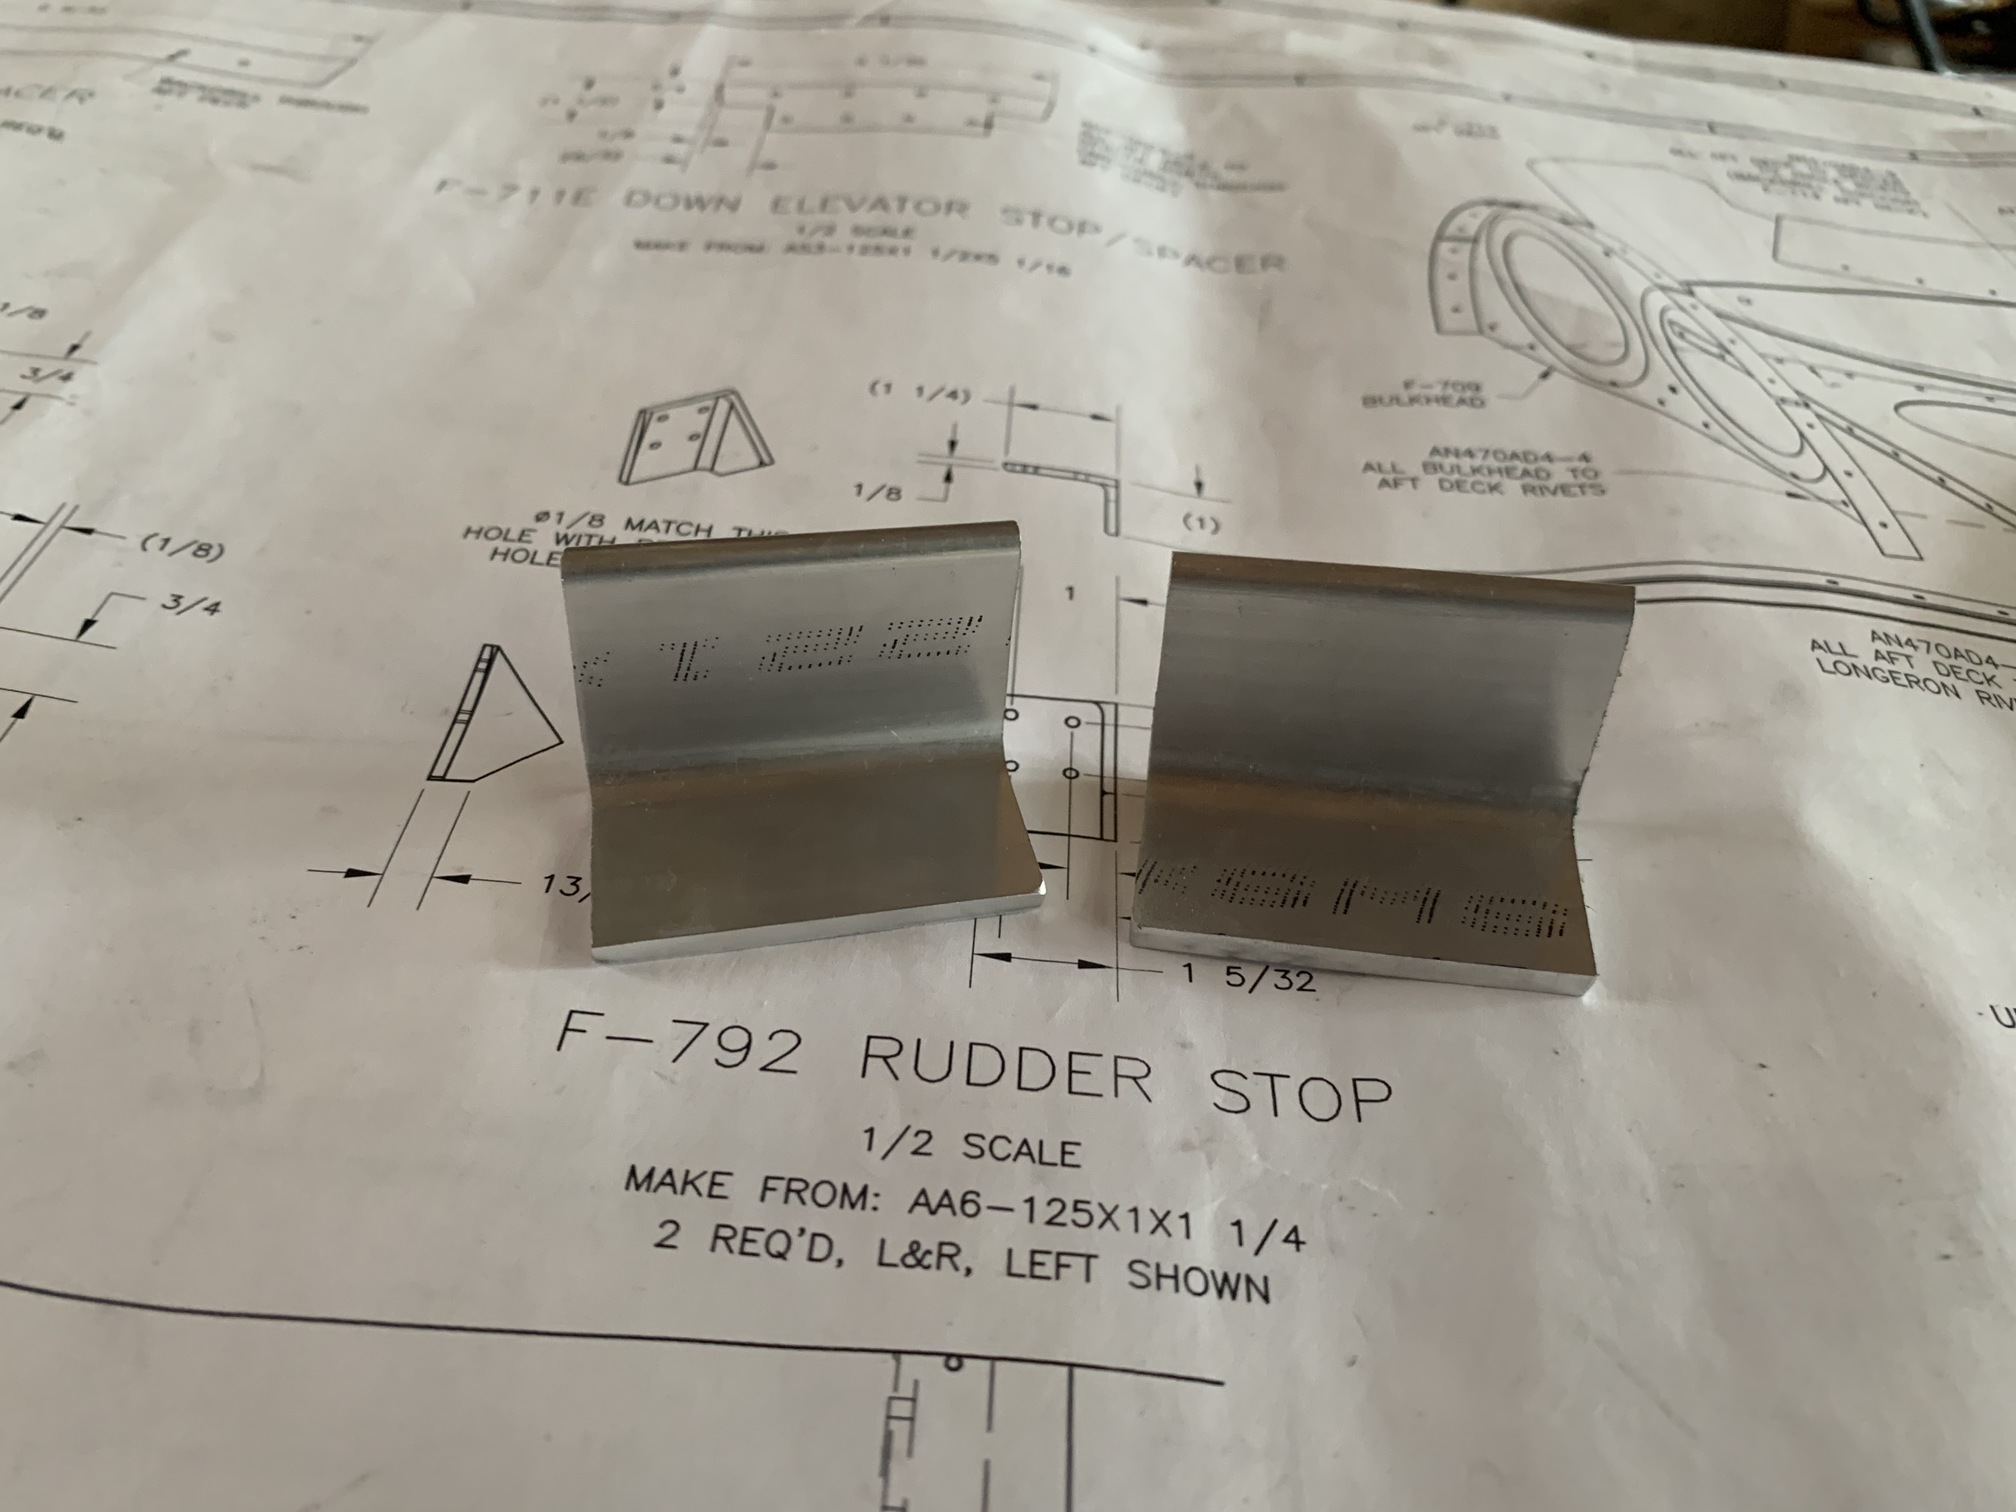
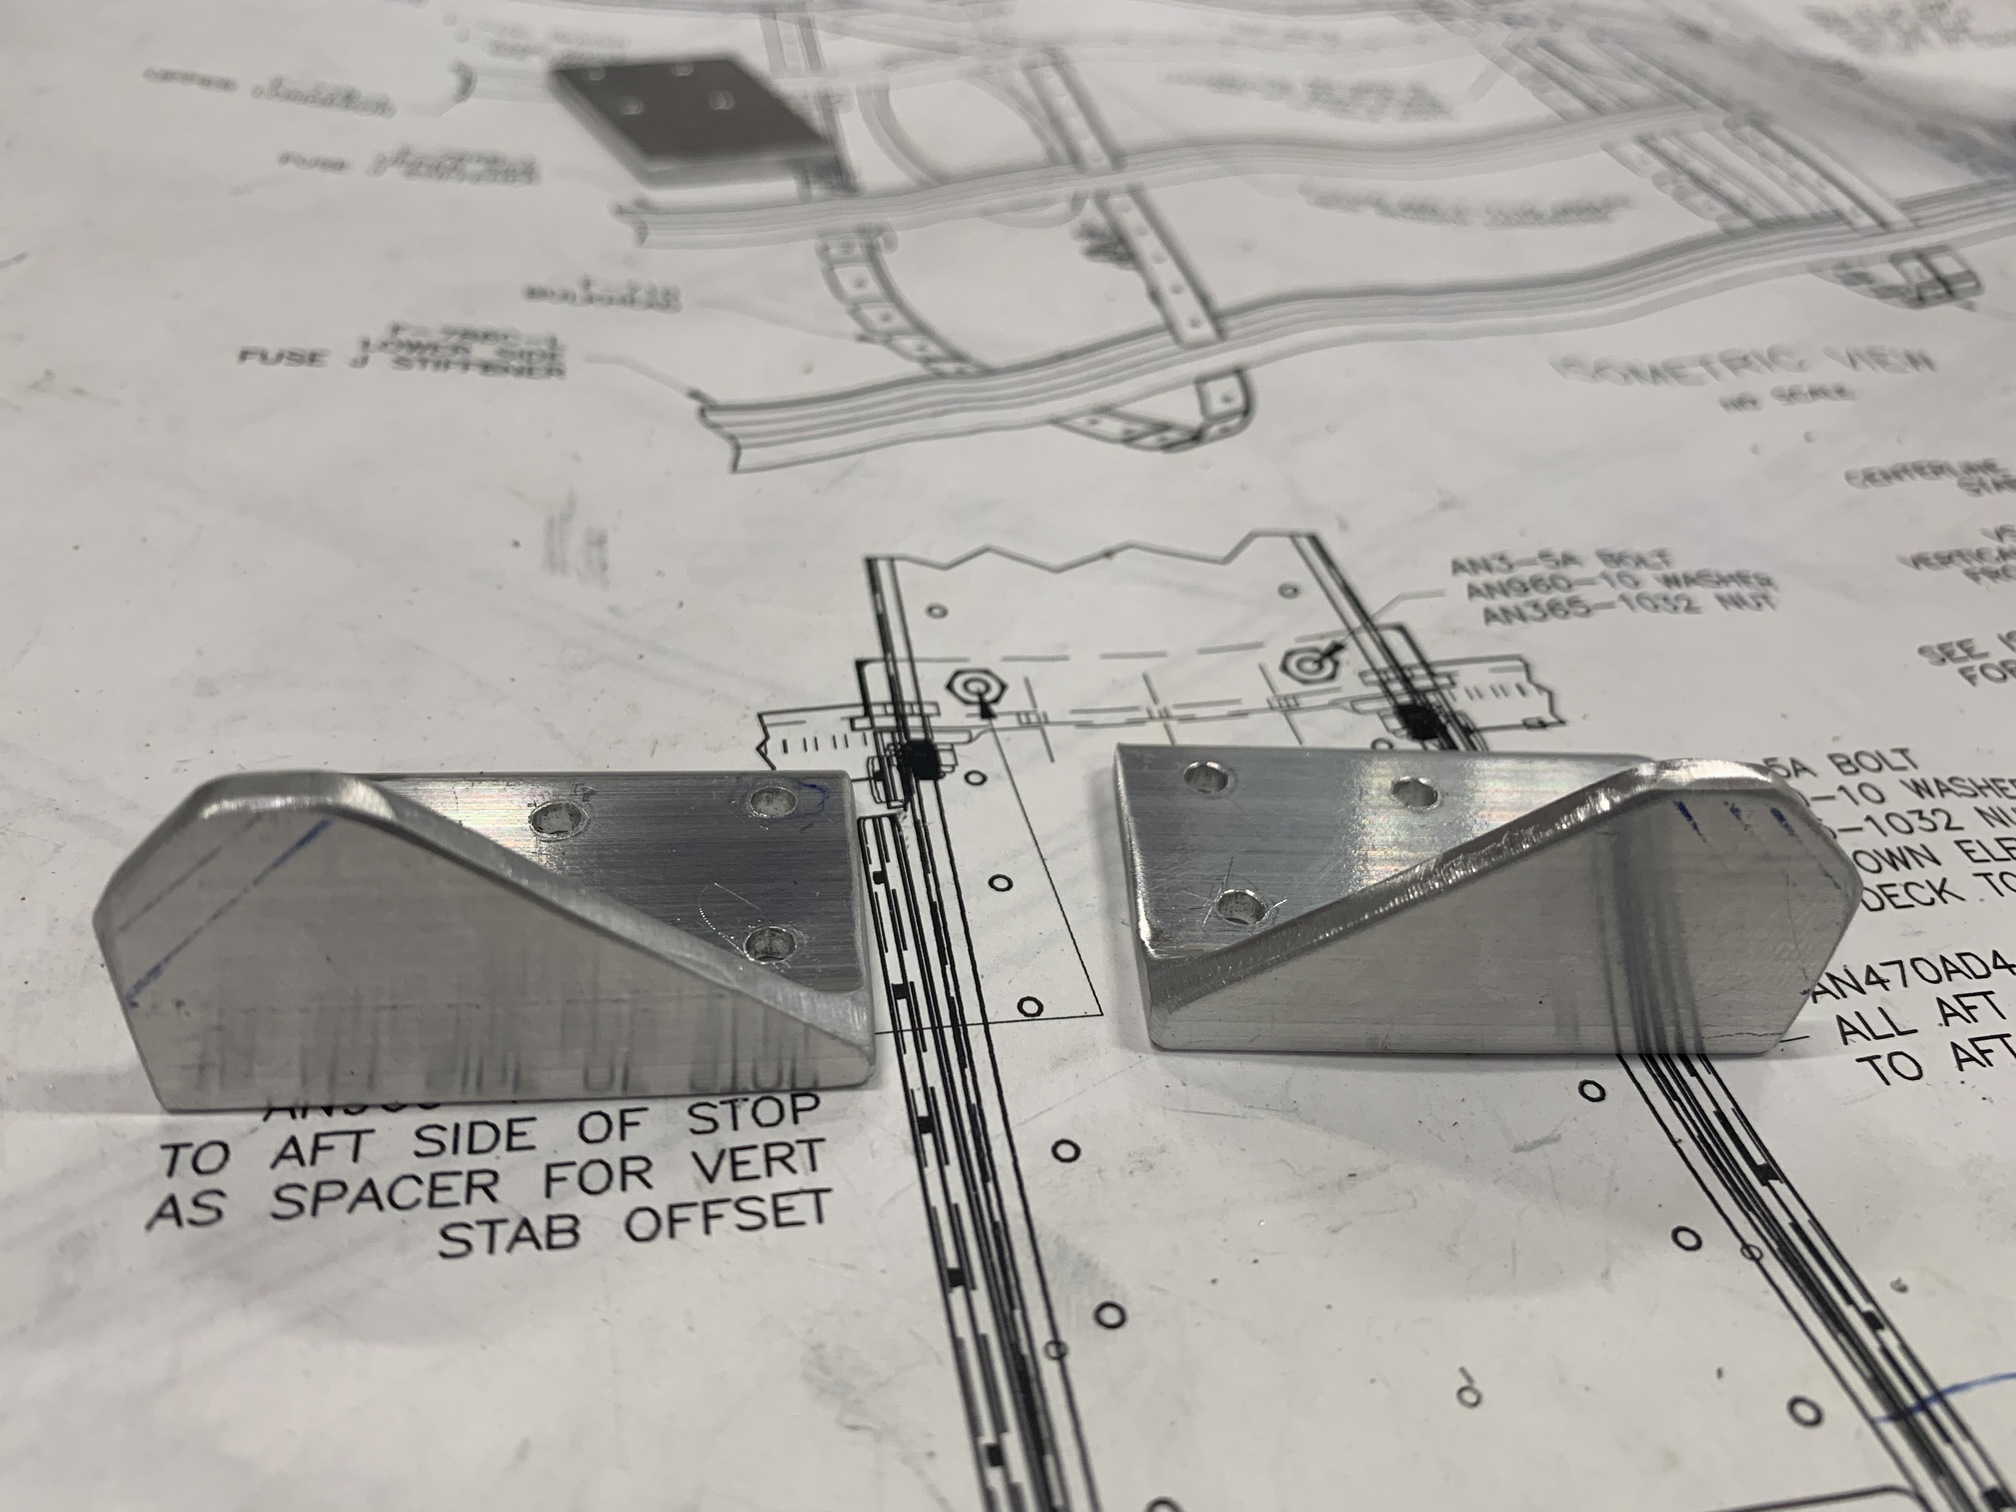
Today, I started with the rudder stops. I had been waiting for some new angle to work on these. First I cut two pieces of 1x1.25" angle to 1.75" long.
Then I carefully drilled the four holes per the plans, cleco'd them in place using the one predrilled on in the fuselage, and then backdrilled the other three holes at #40.

Then I enlarged them to #30.
I then trimmed the other leg of the right sided stop exactly as shown in the plans.
This was a mistake. It allowed the rudder to rotate much more than the prescribed amount
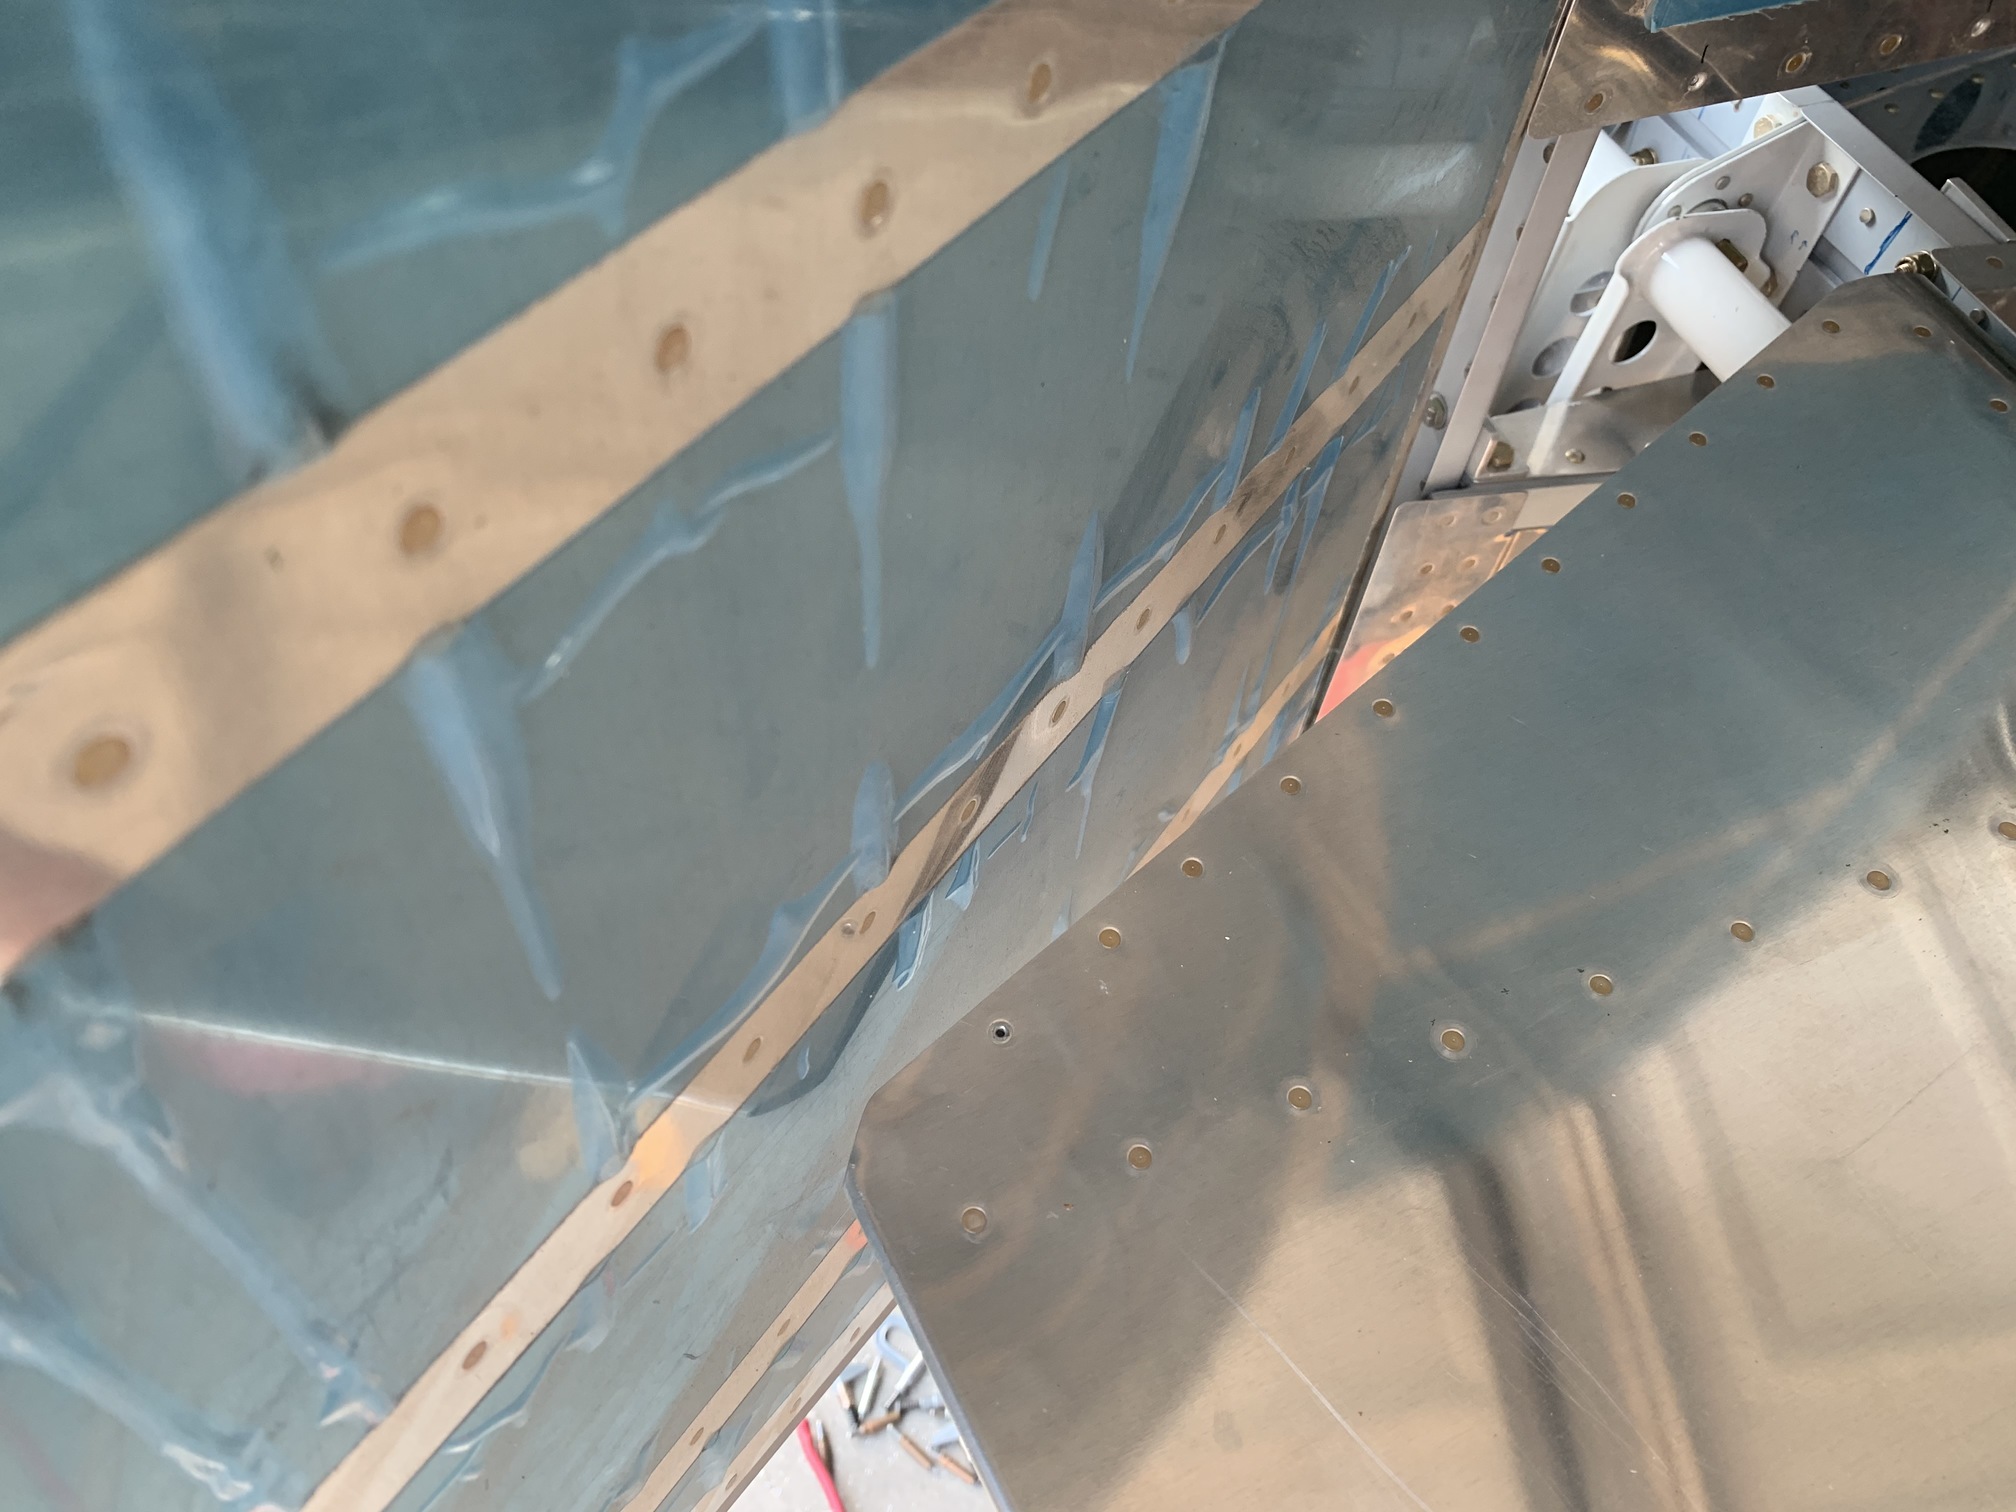
The plans have you measure rudder travel by measuring the distance between the rudder surface and the trailing edge of the inboard elevator. It was about 1/8" on this side with the stop this way.
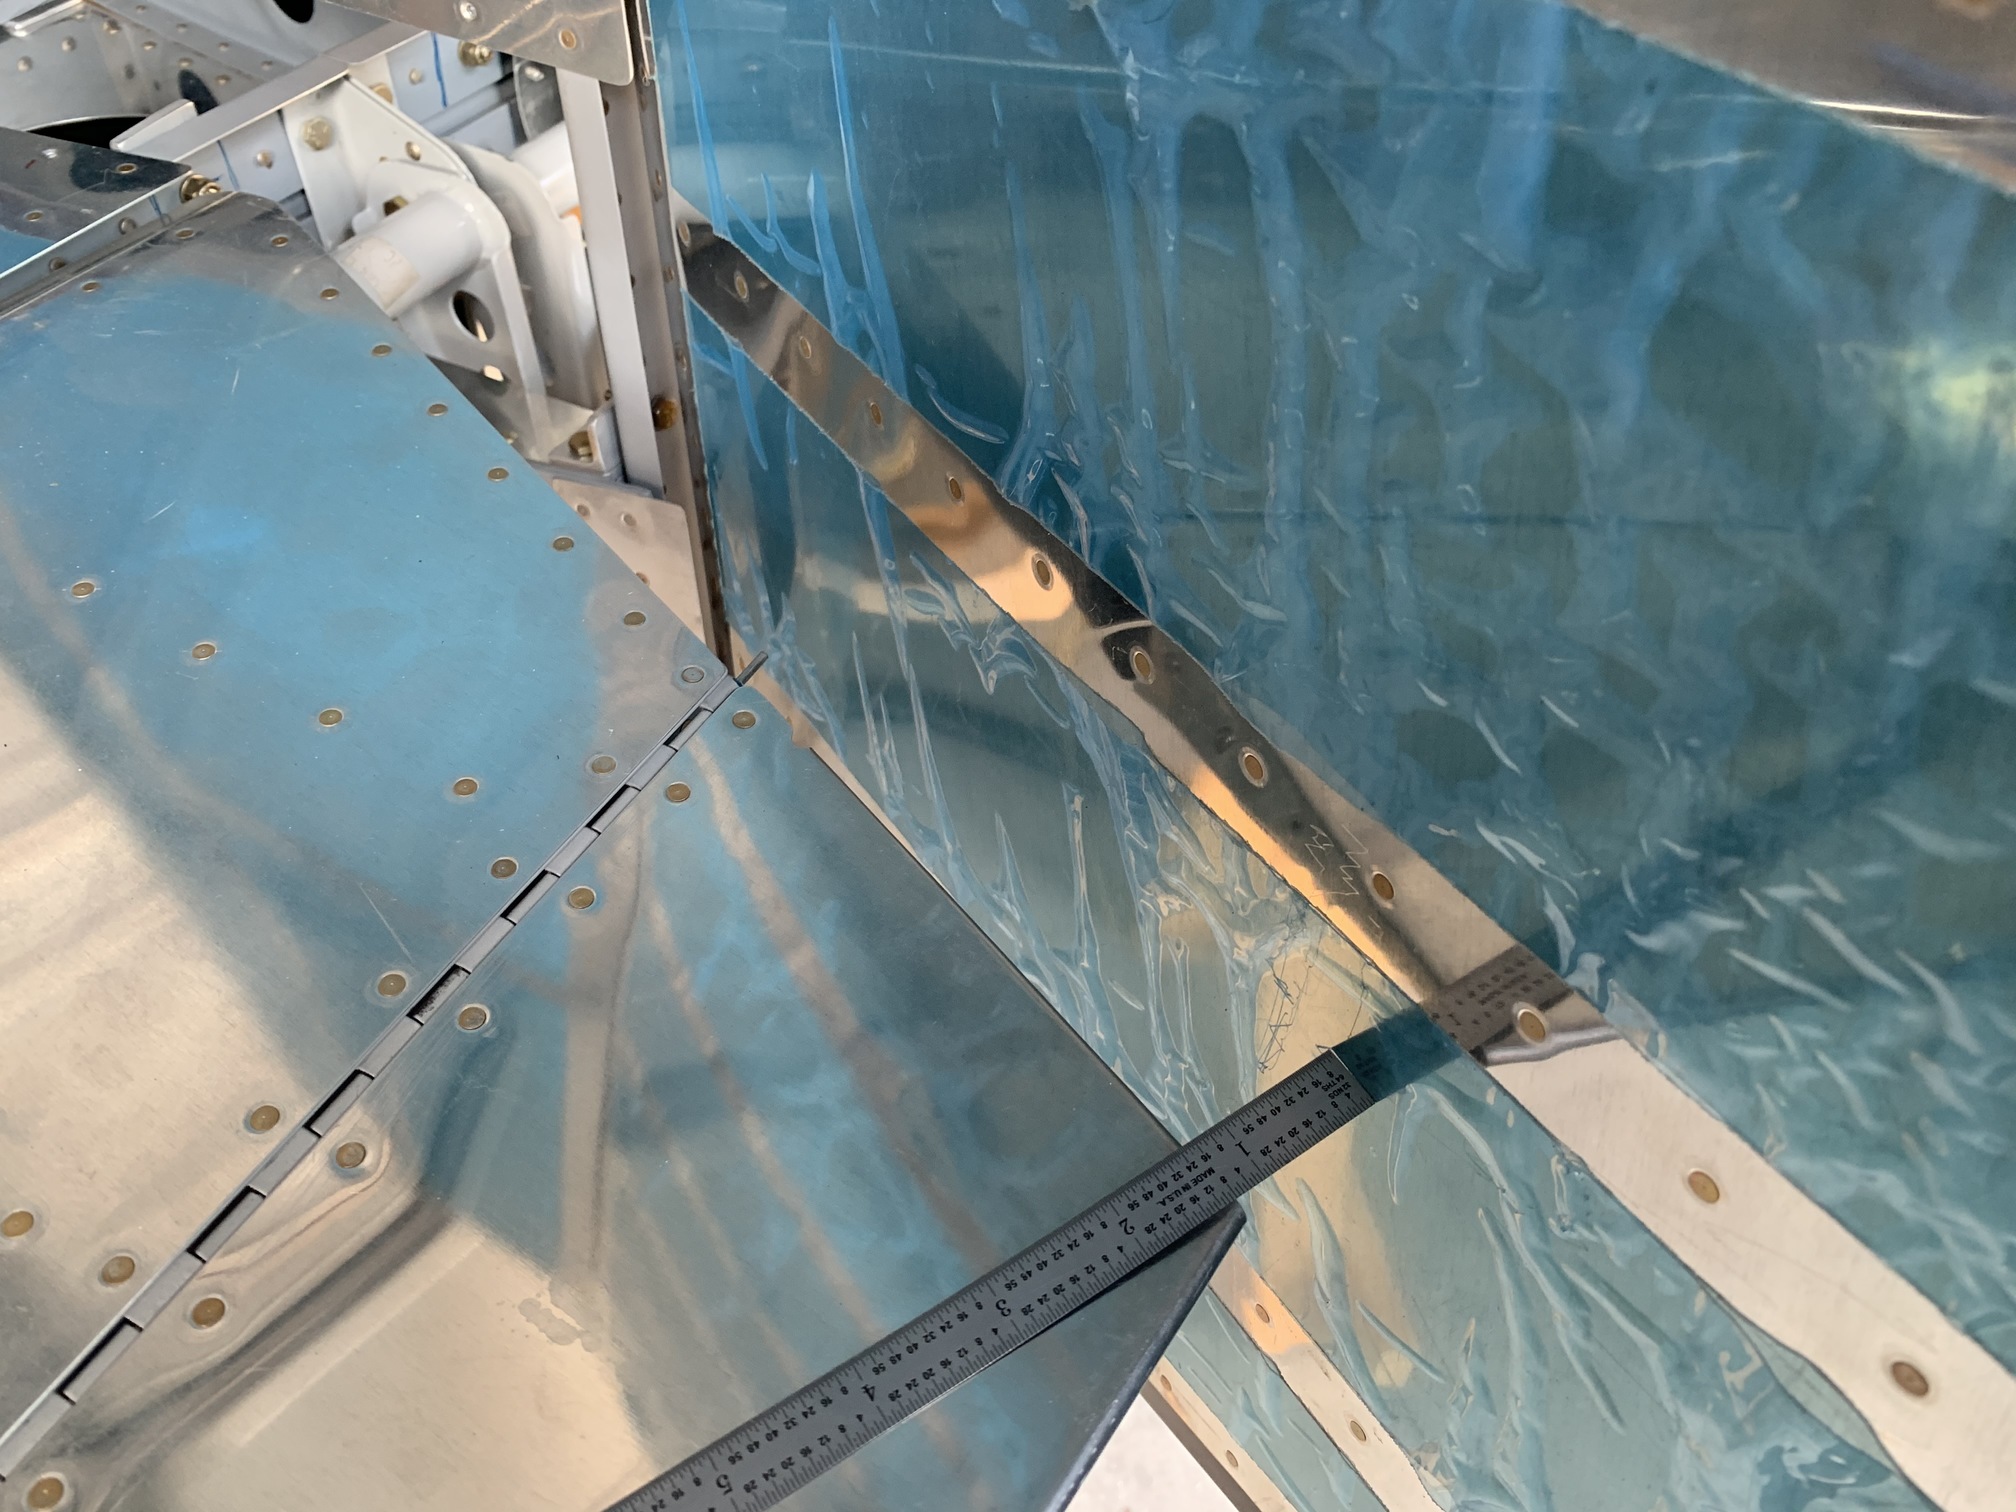
So I made a new bracket for this side and transferred the holes from the old angle to the new one. I slowly filed down the "stop" part of the angle until the right side had the prescribed 1.125" of distance. This is supposed to give you 35 degrees of travel from center.
Then, I carefully did the same thing on the left. Here's the way I measured.
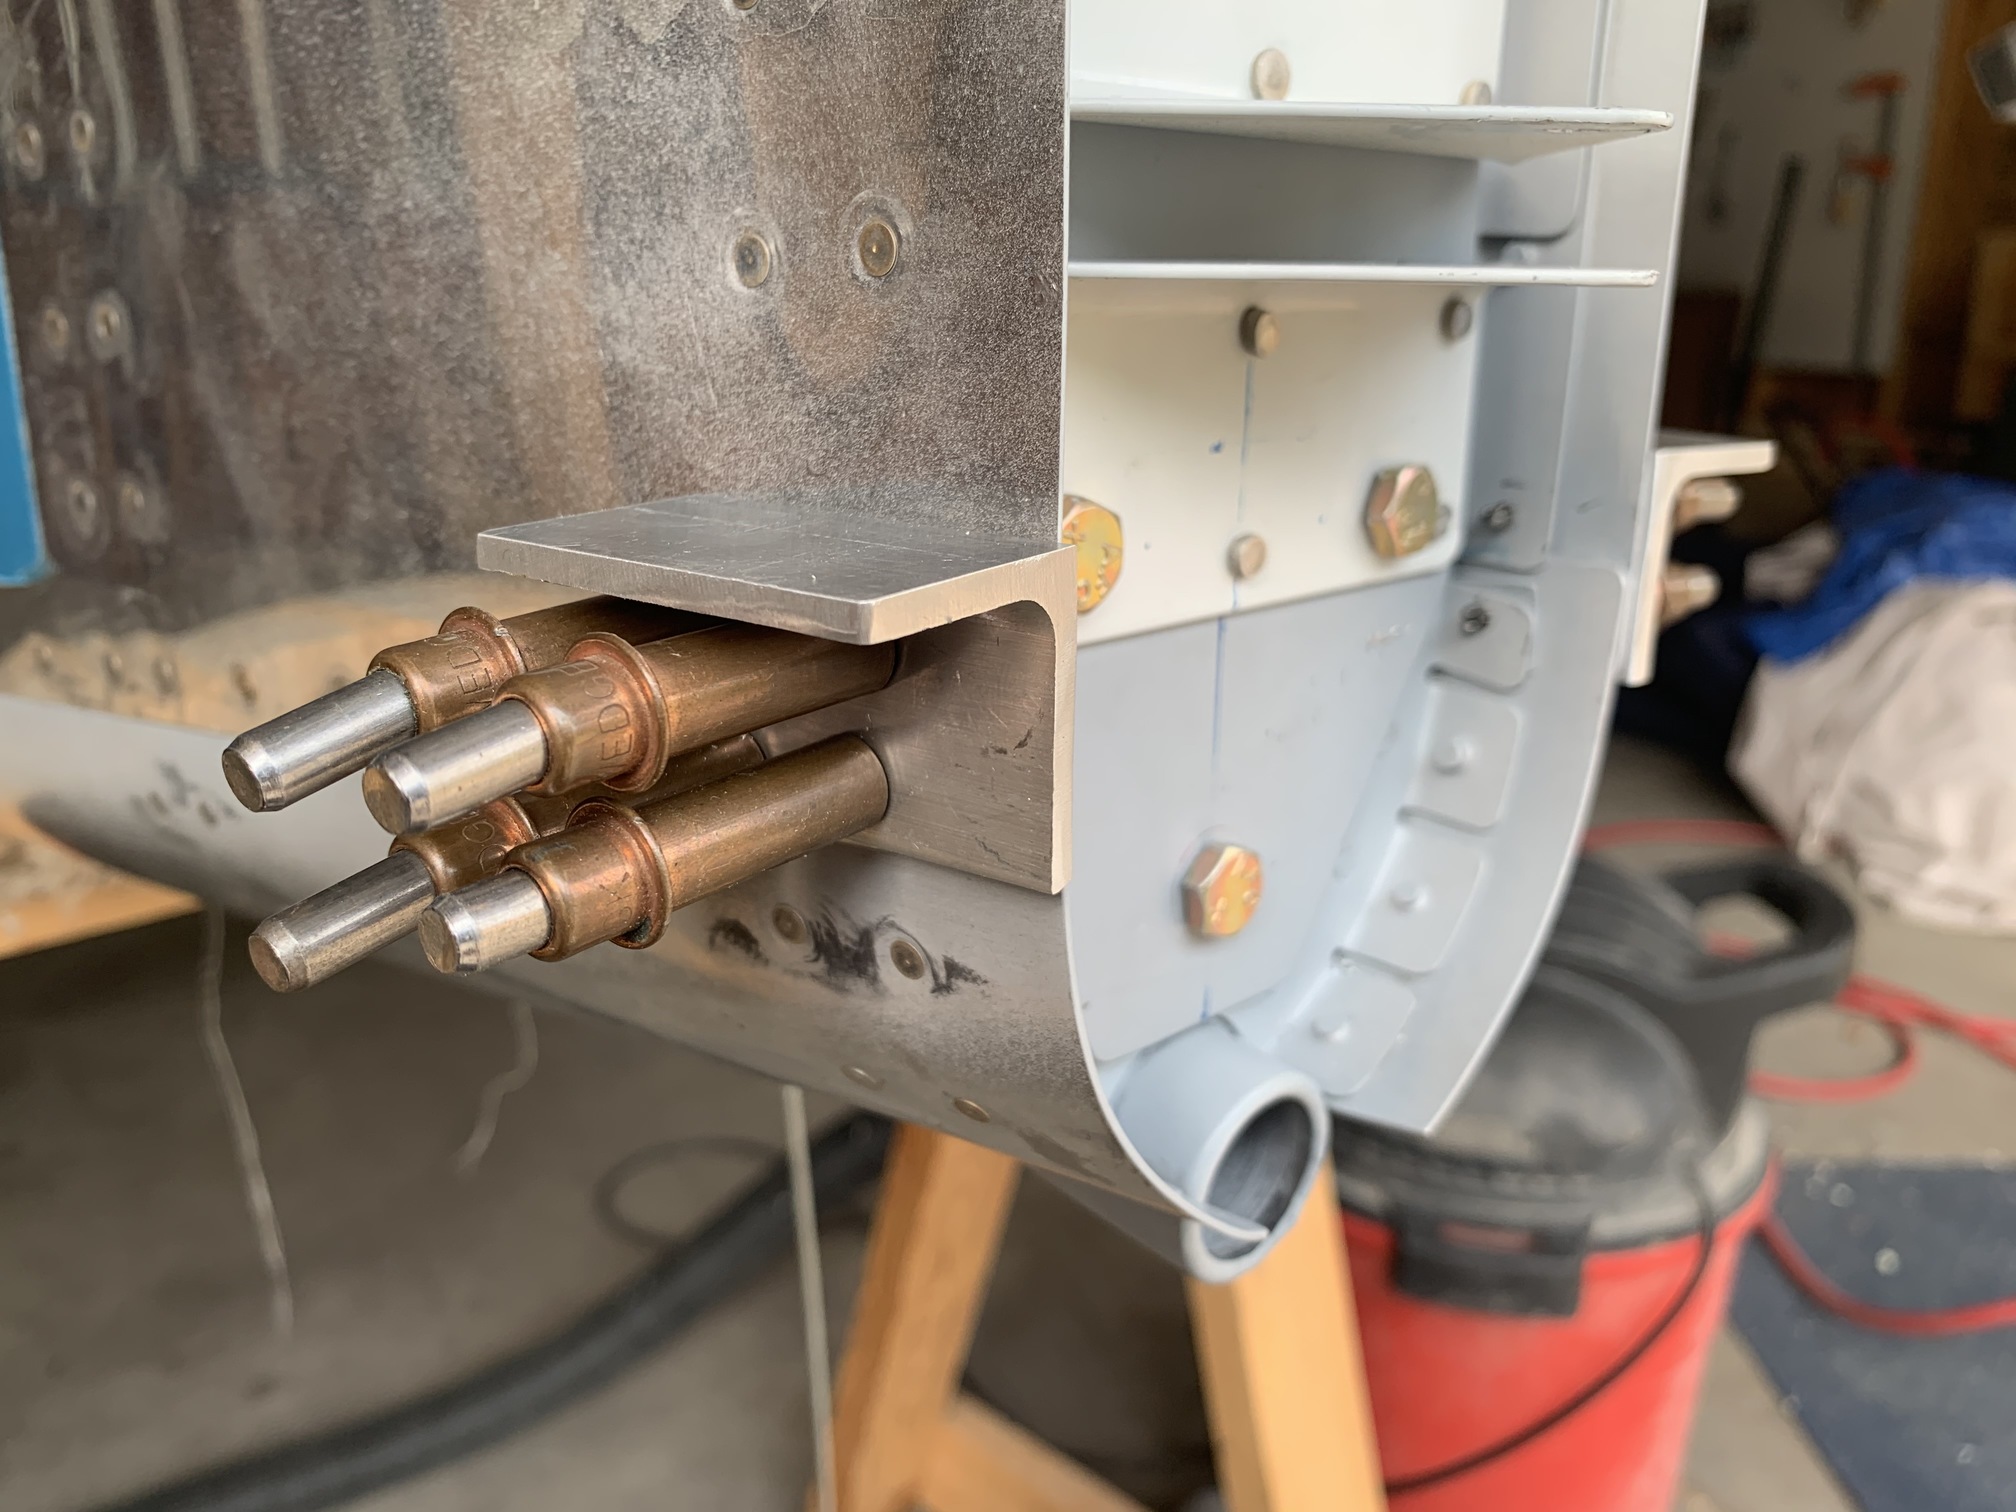
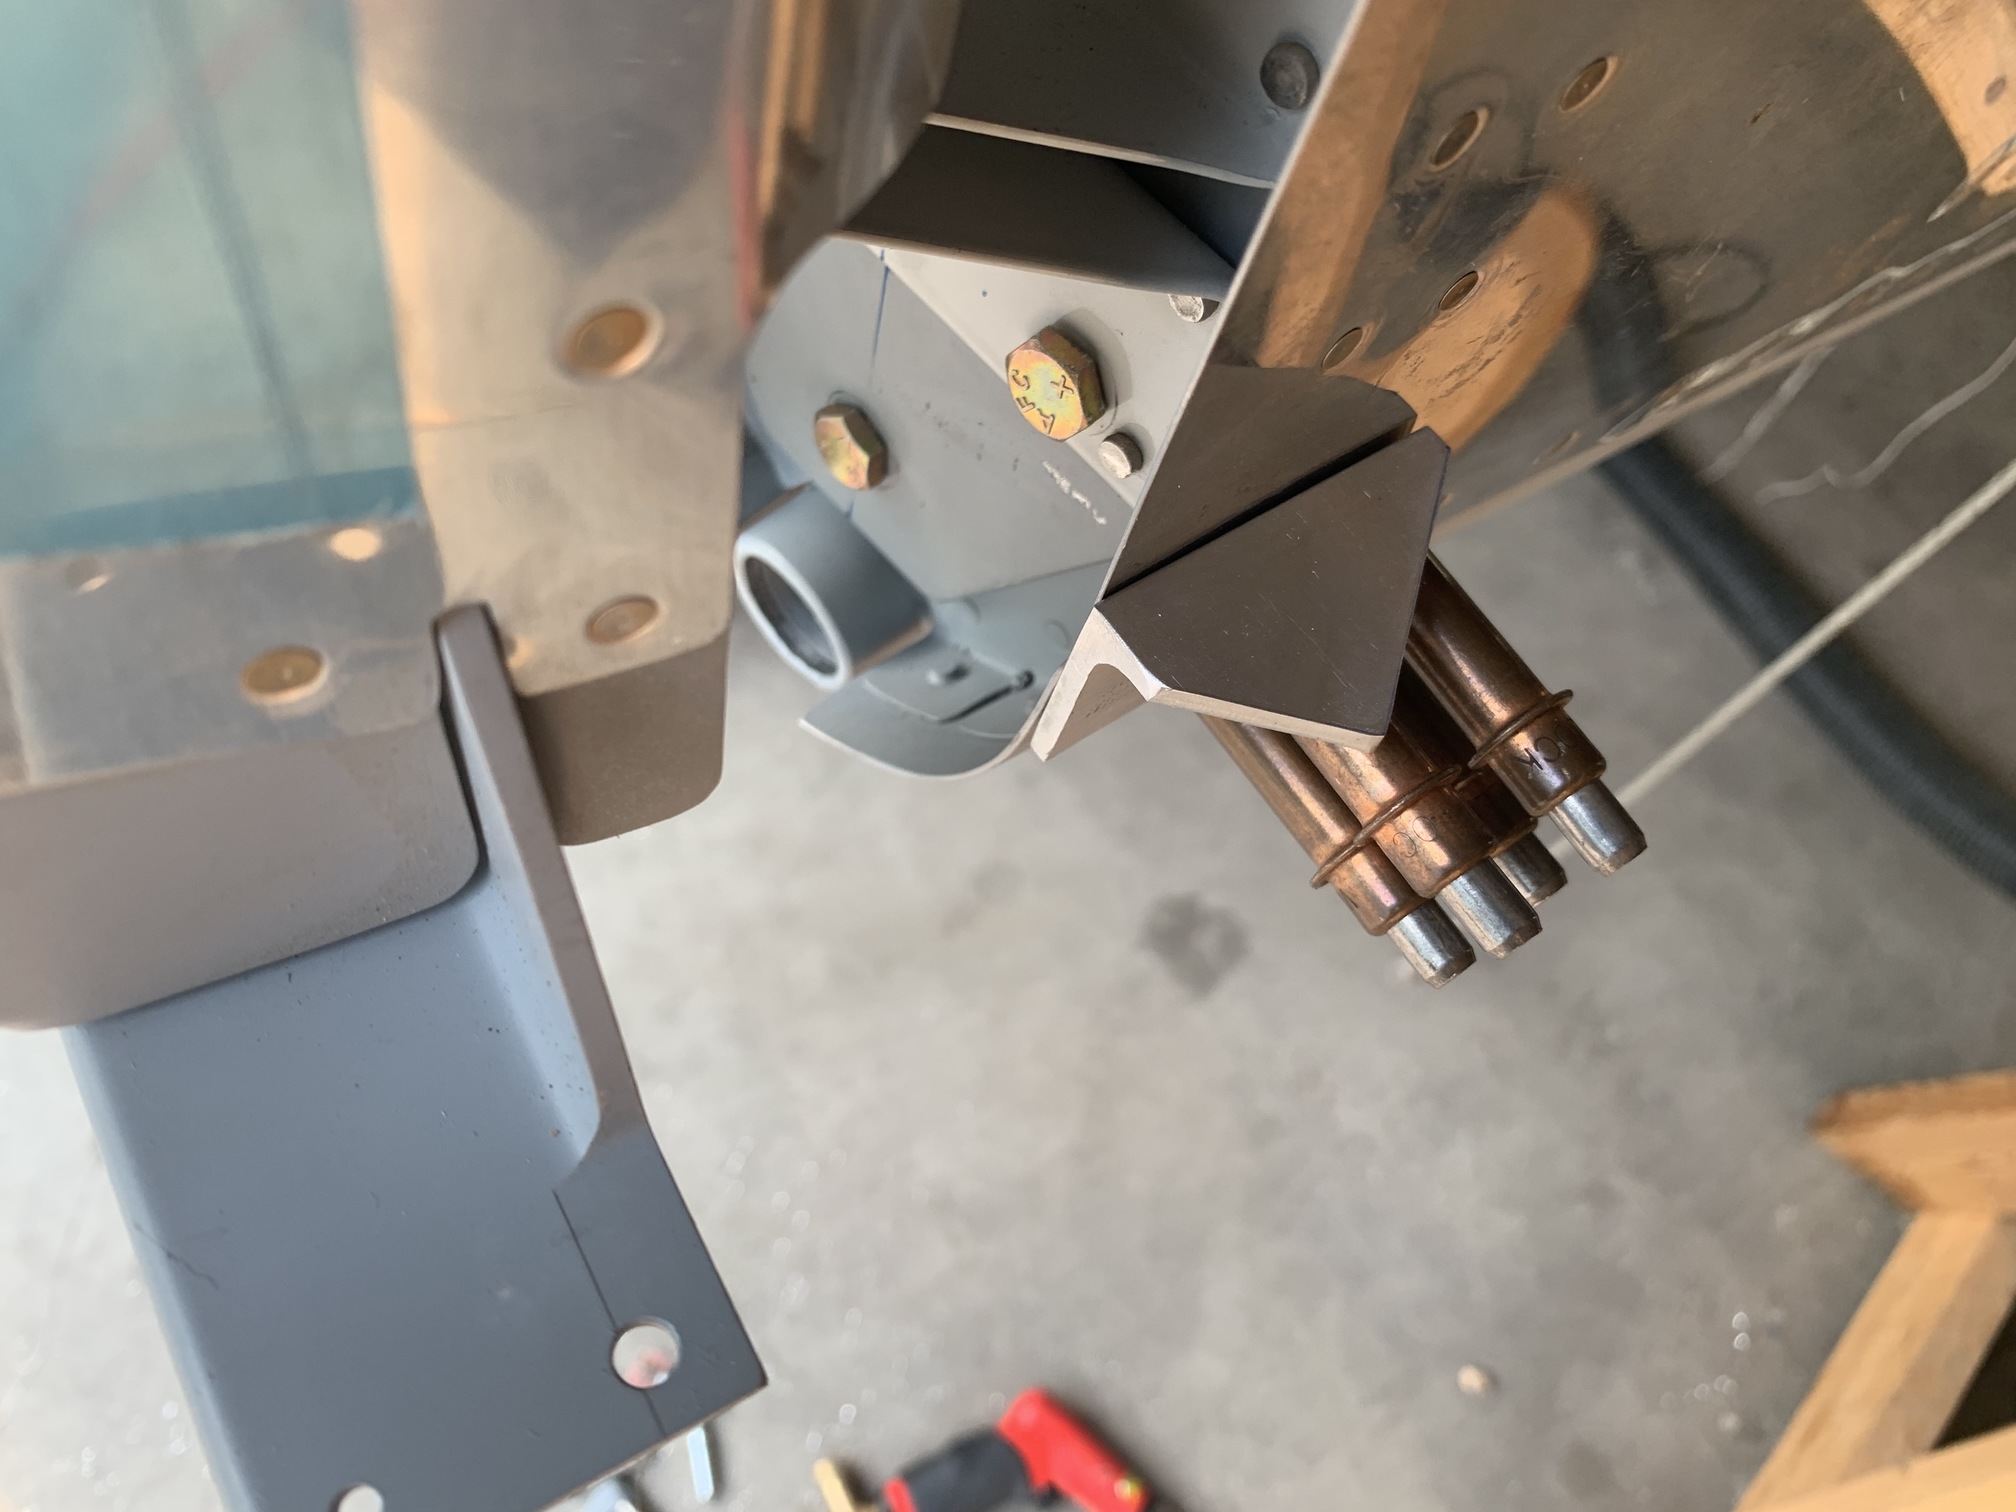
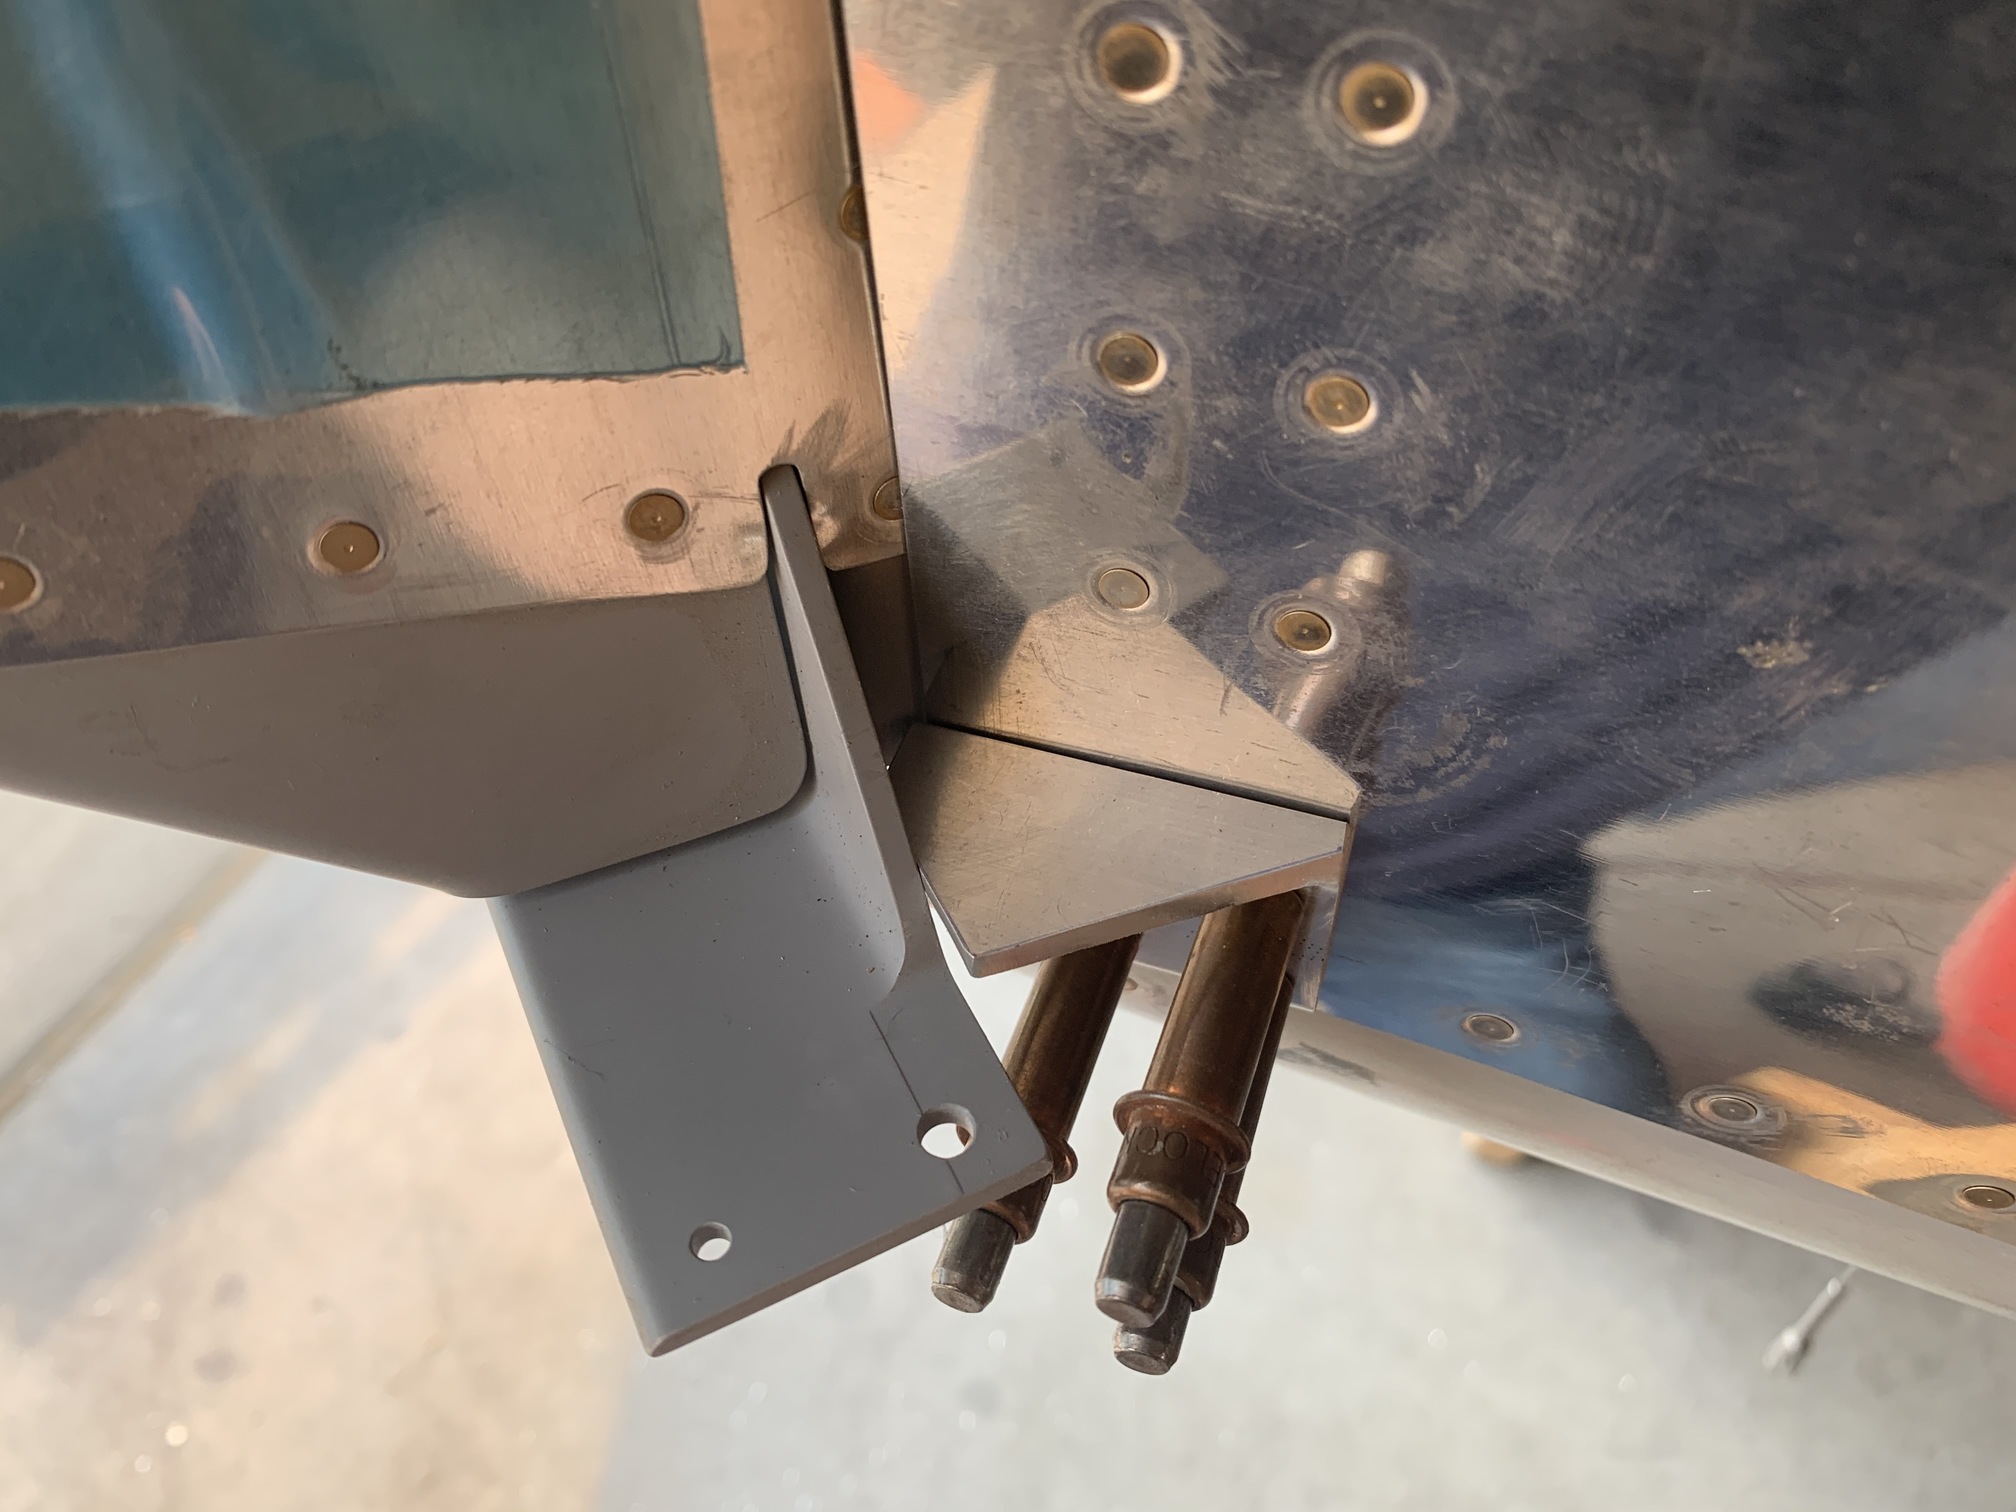
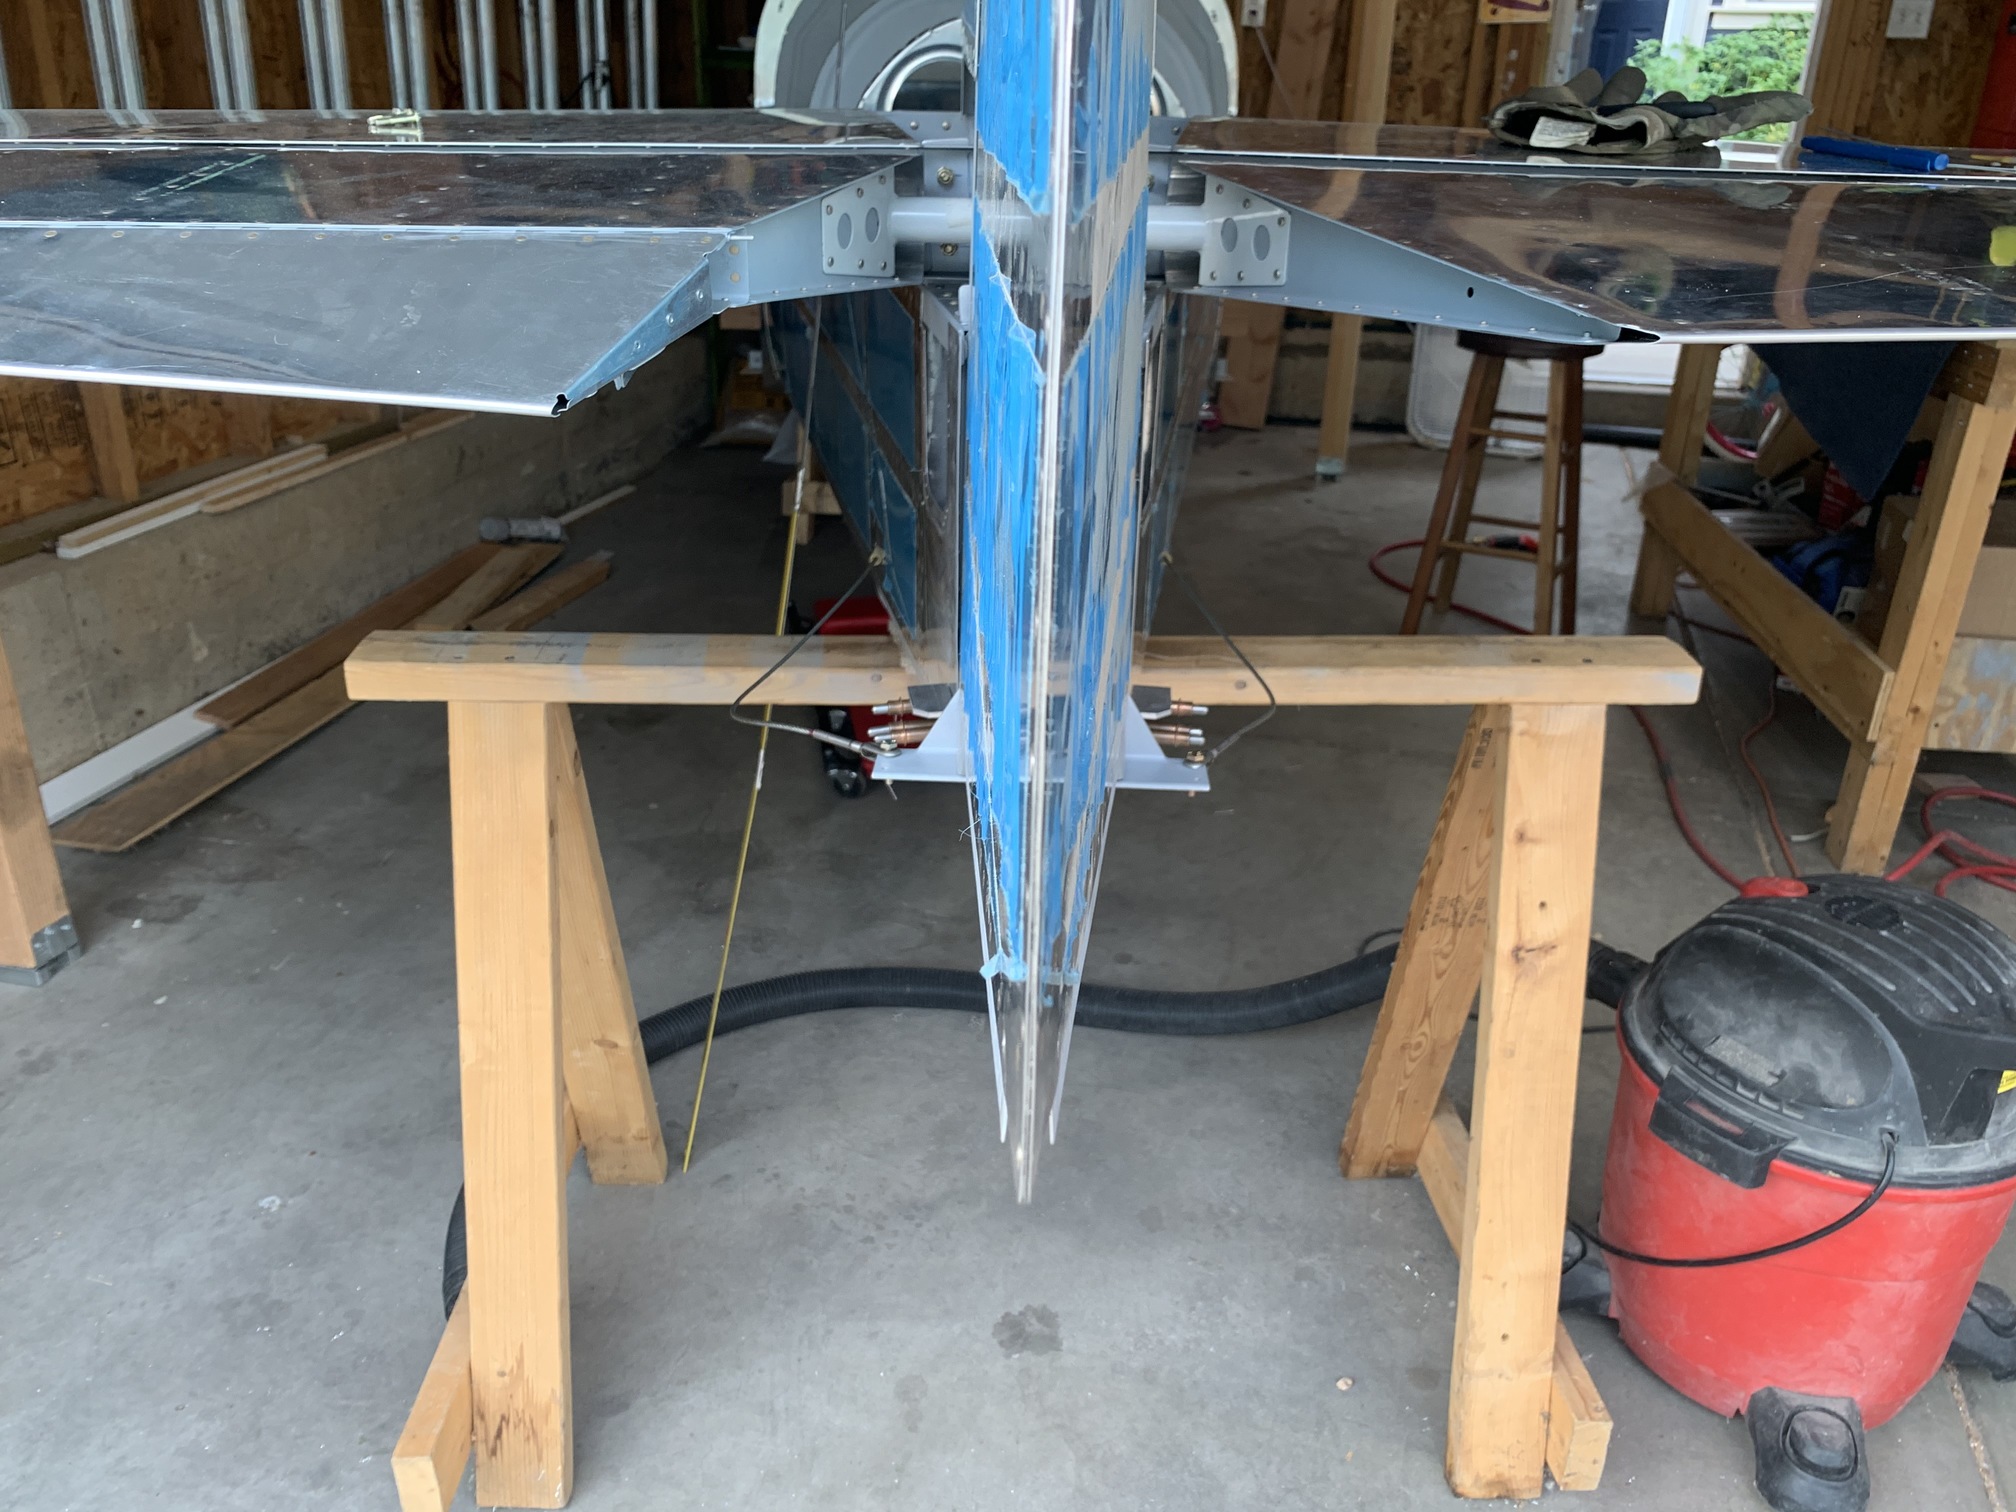
Here are both of them in place. I temporarily attached the cables to the rudder so I could pull it back and forth from the cockpit...fun!
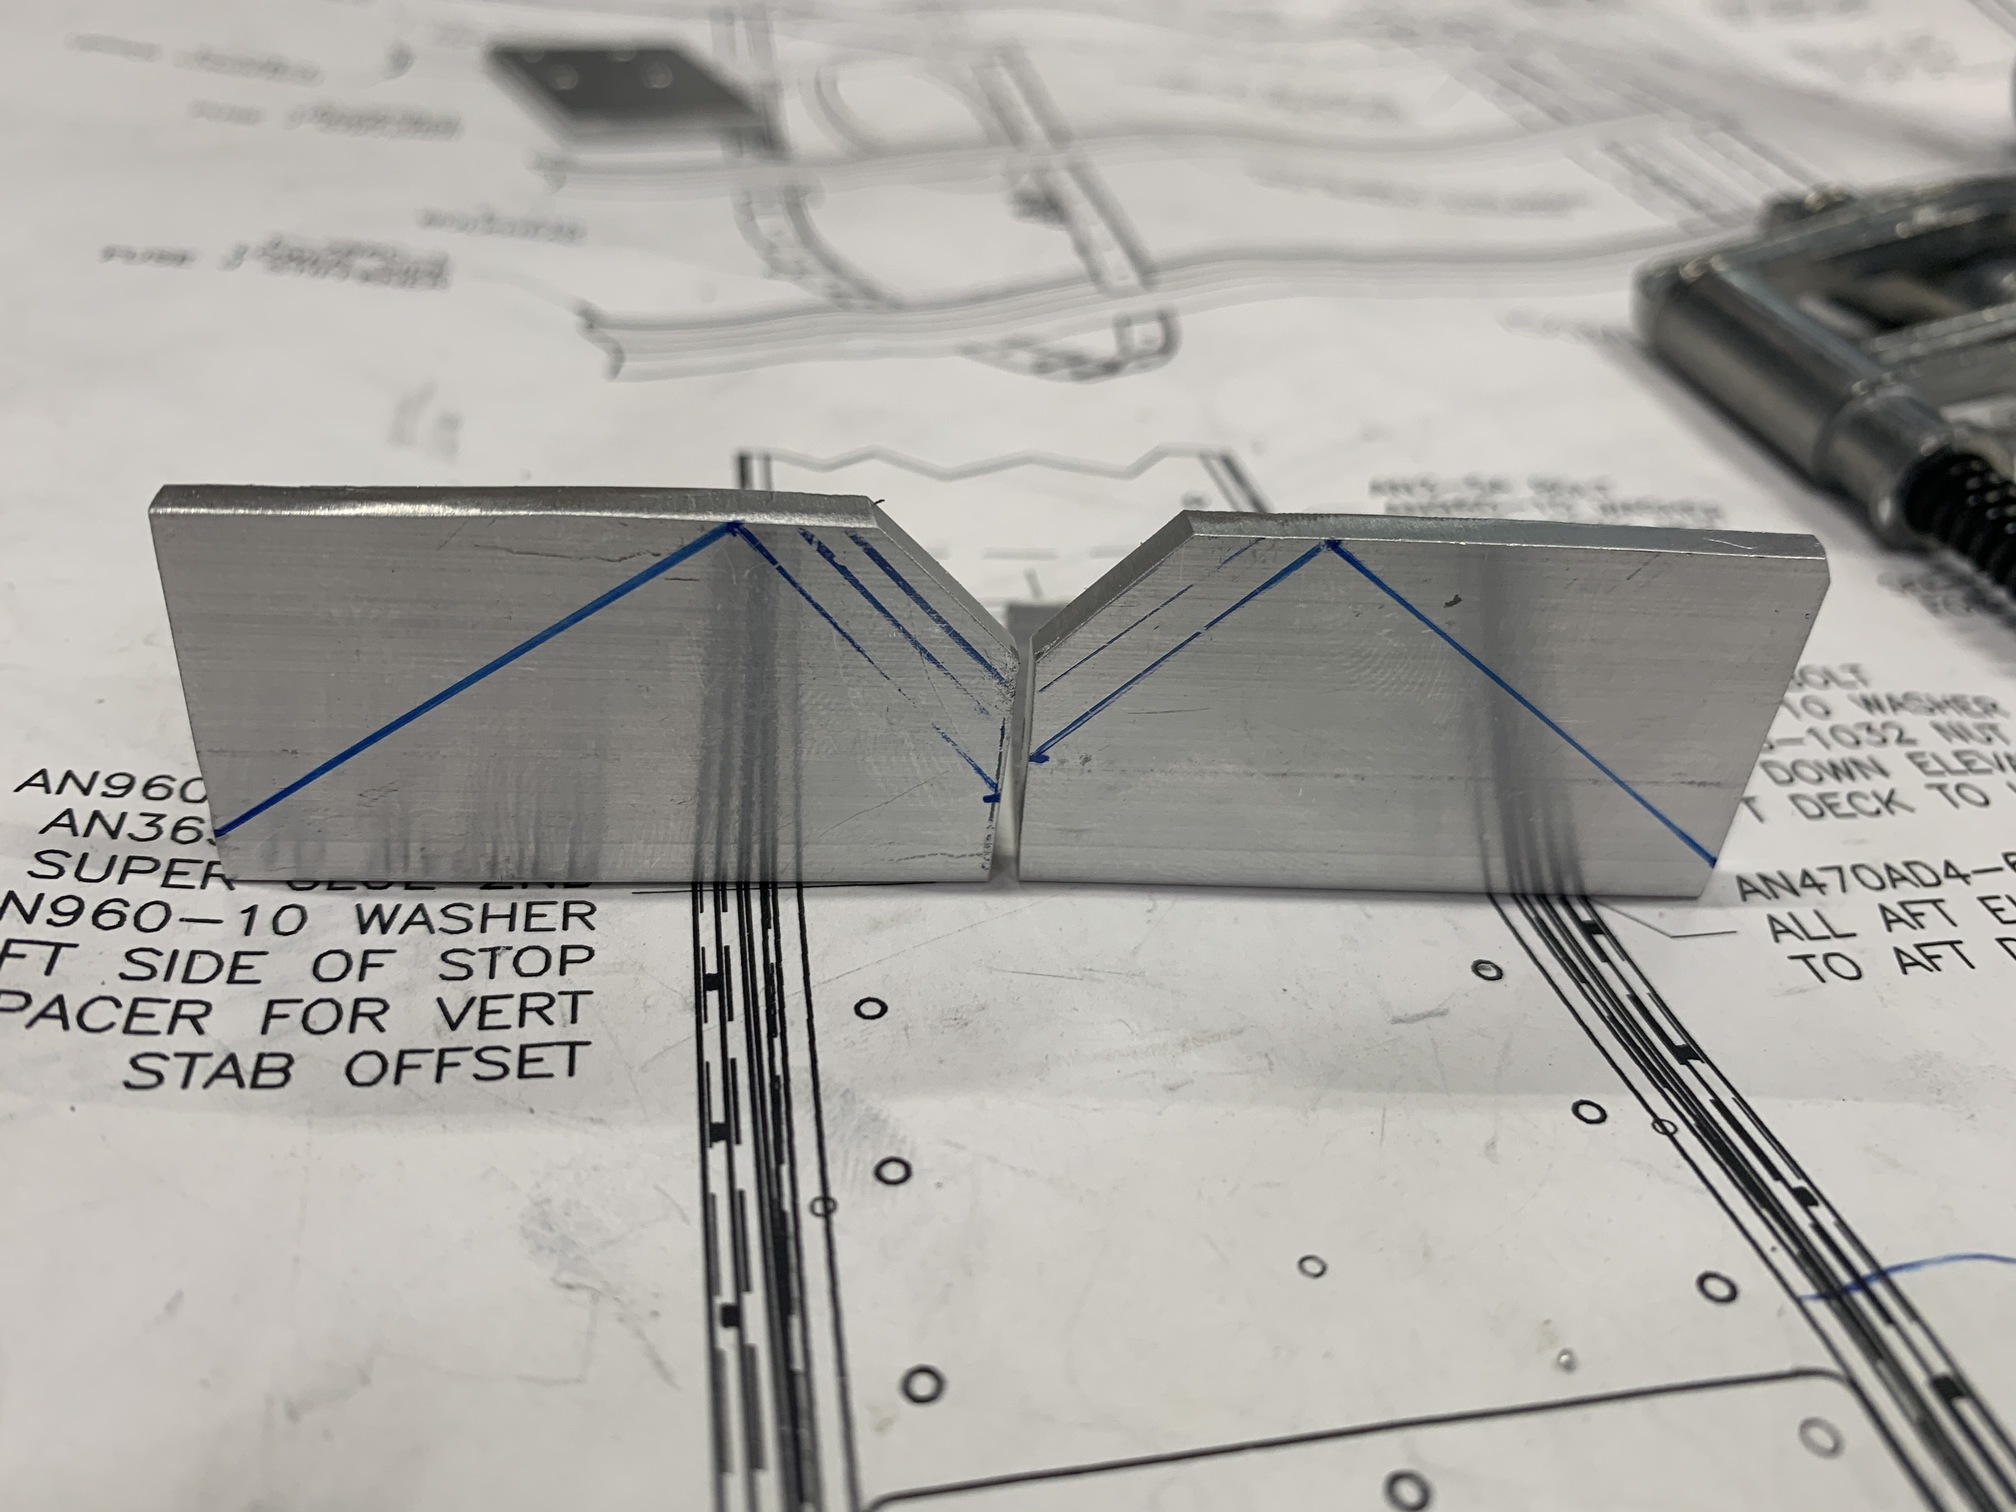
Here are the two stops. The lower lines indicate where the plans have you trim the angle. You can see how much of a difference there is between those lines and the trims that I ended up making. Just another example of a small change they could make to the plans to save people a lot of time.
I trimmed some excess off the forward part and finished smoothing.
Then I primed them and riveted them in place.
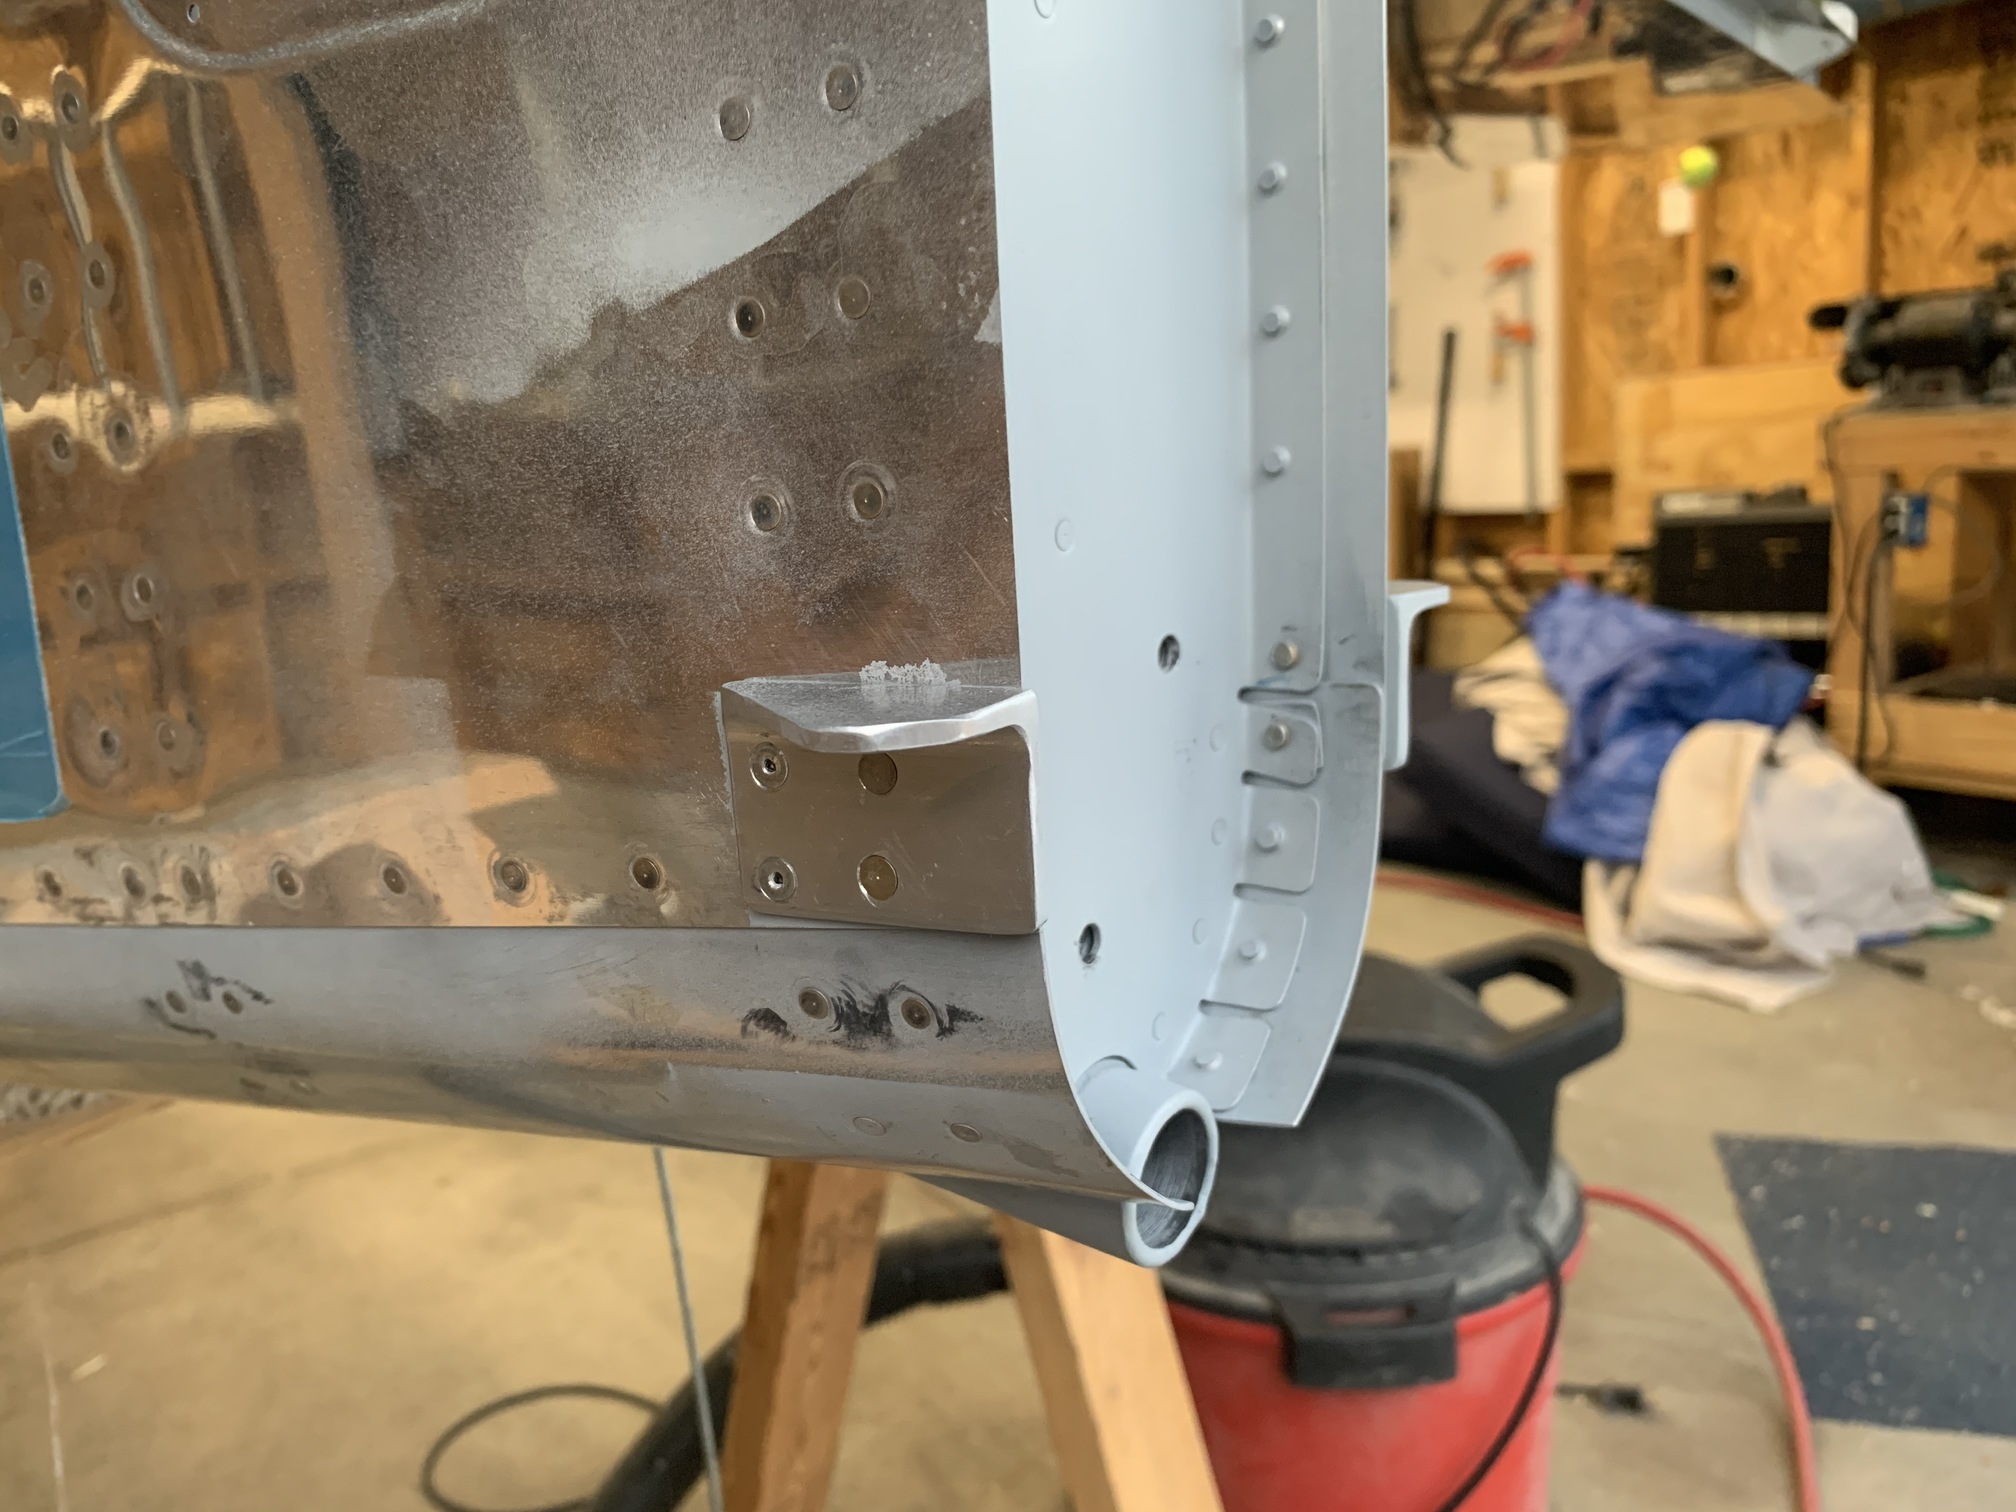
There was some evidence of mild corrosion down in the crevices of the tail wheel attach bracket, so I cleaned it up as best I could and sprayed some more primer in there.
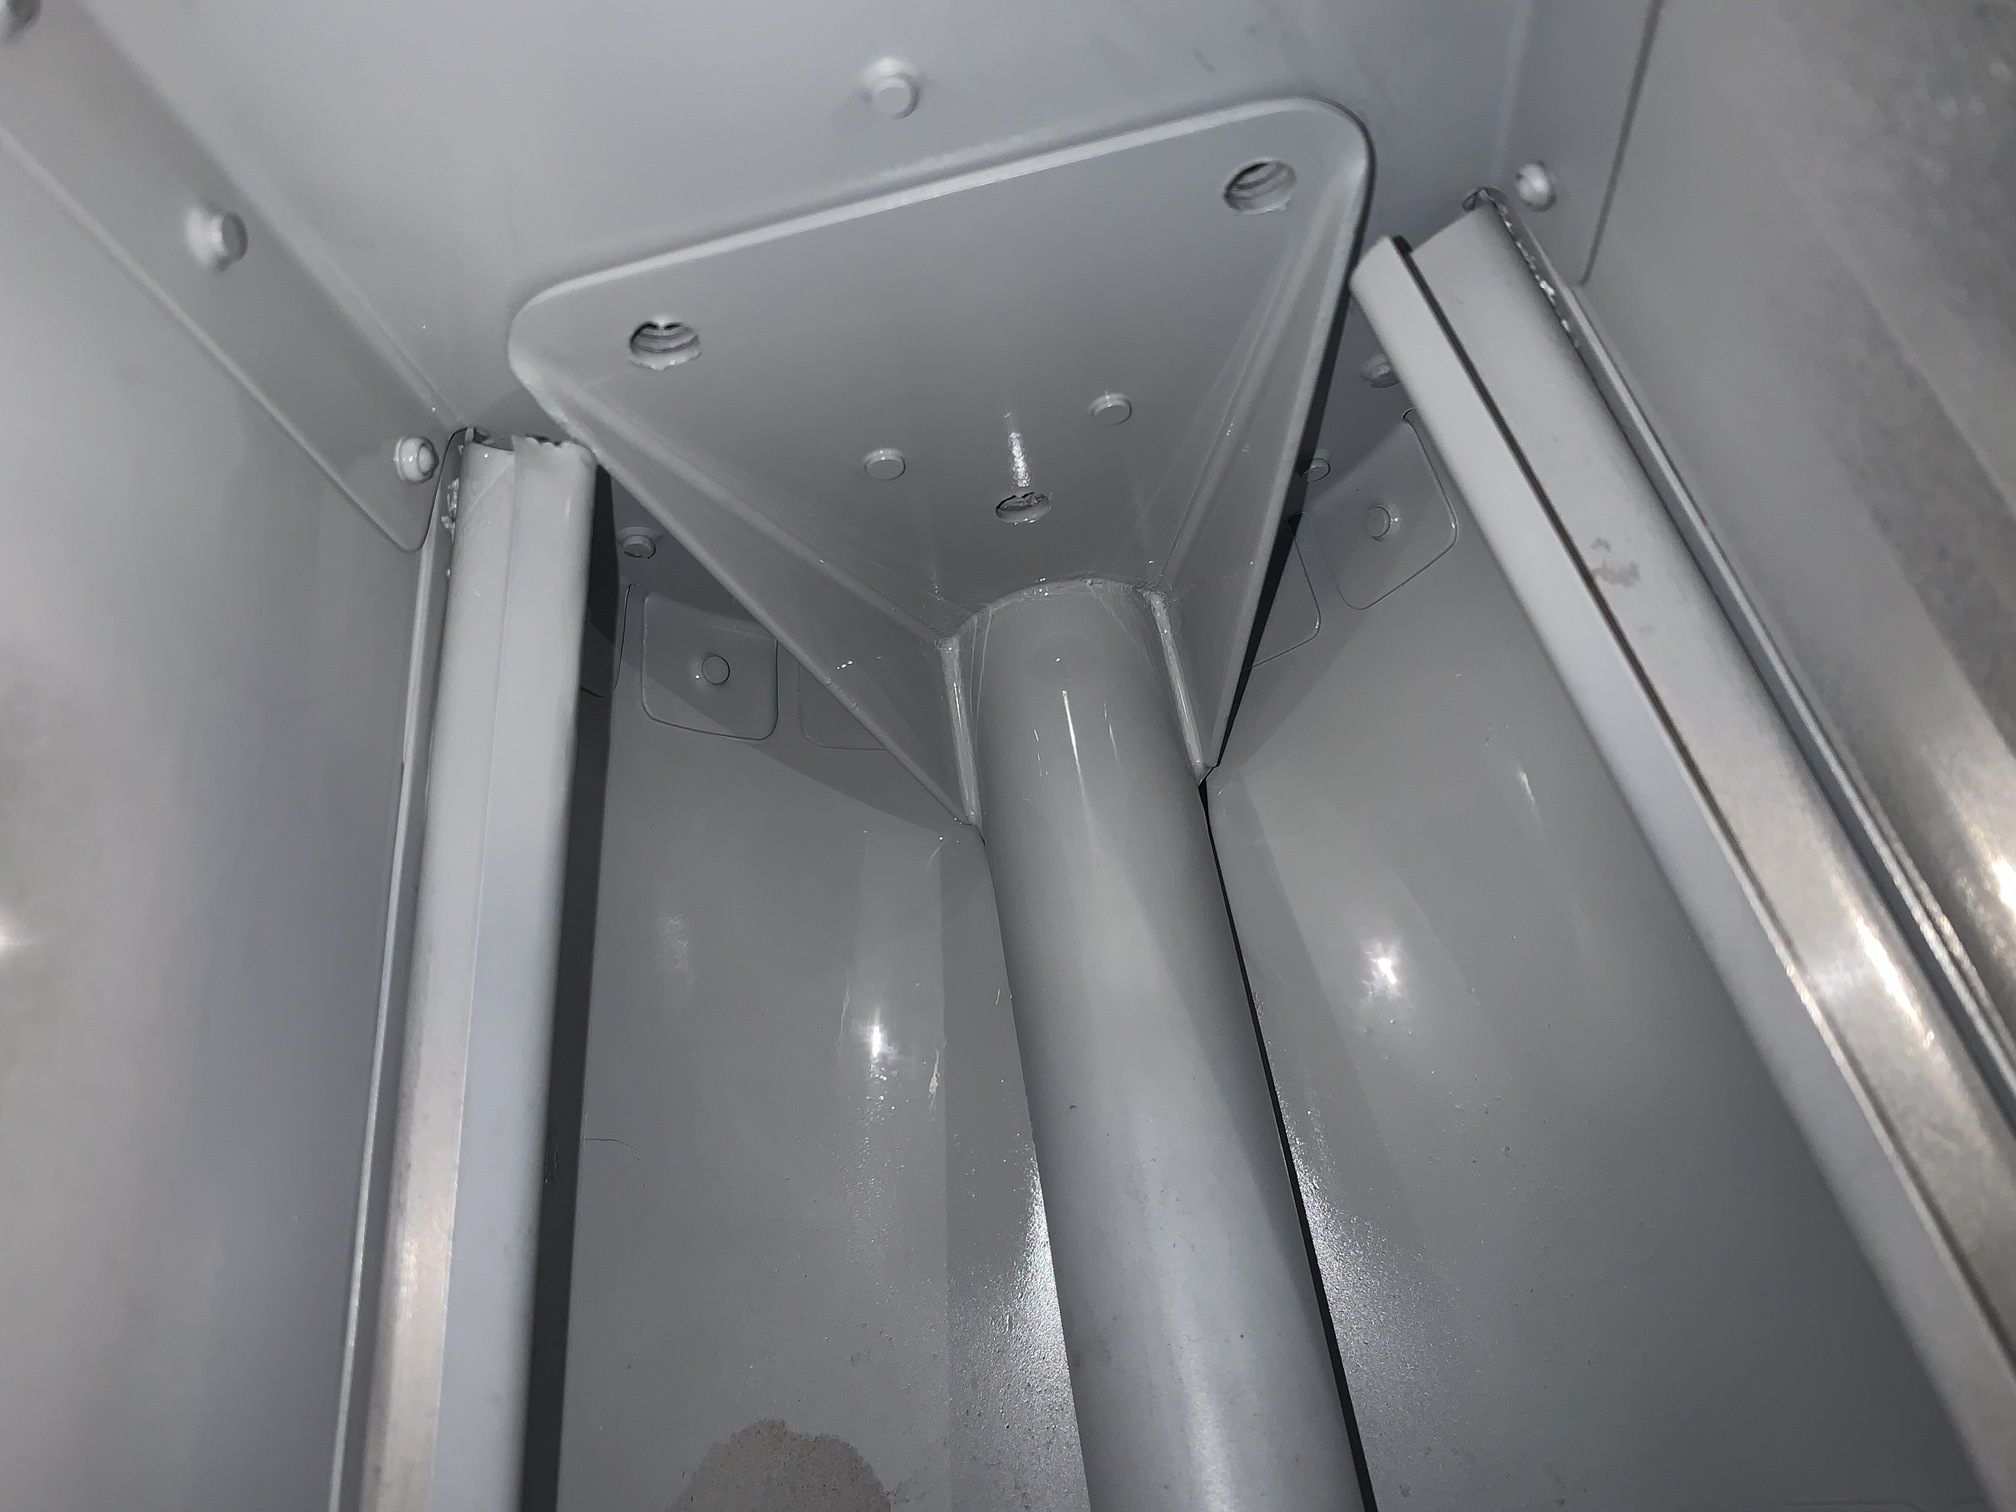
I removed the rudder and HS and took off the elevator up stop and primed it and the area where it will sit against the aft top skin.

Then, I bolted it back in place and torqued the nuts. I was going to rivet it to the aft top skin, but can't get the squeezer in there with the HS in place, so I'll wait until I remove it.

| Previous - Index - Next |
This work is licensed under Attribution-NonCommercial-NoDerivatives 4.0 International![]()
![]()
![]()
![]()