Log (By Day)
Log (By Category)
Pictures
Pics of Me Working
Links
| ||||||||||||
Saturday September 11, 2021
Empennage Tips, Various Tasks
(Empennage)
4.0 Hours
| Previous - Index - Next |
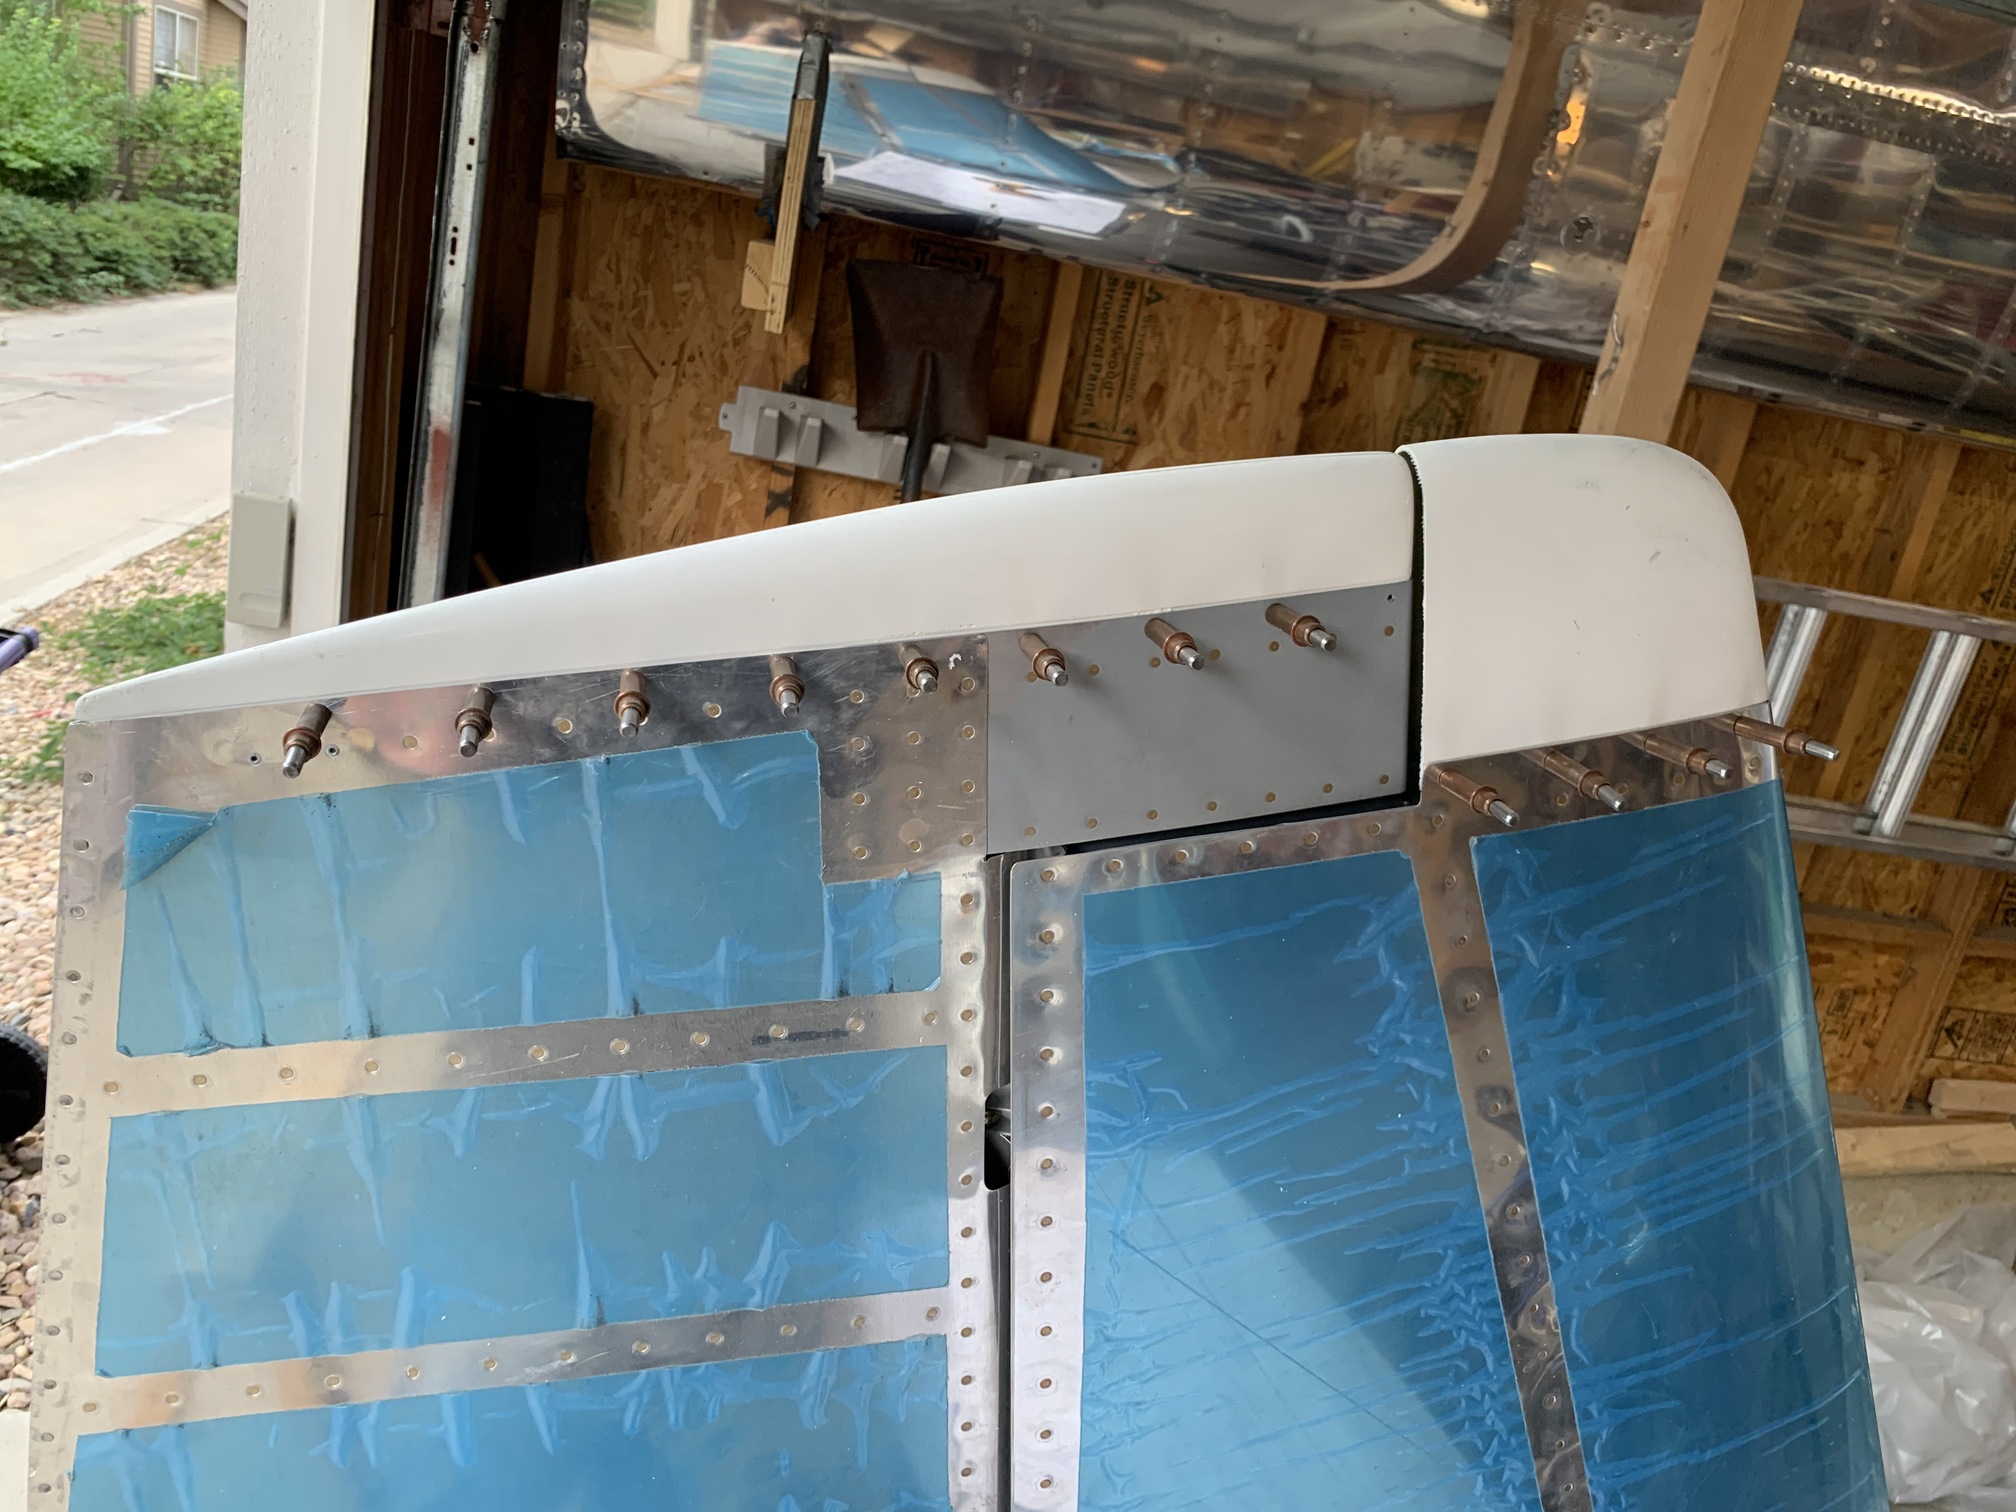
First up today, I sanded the HS tip that had the micro on it and then wet-riveted the left tip to the HS.
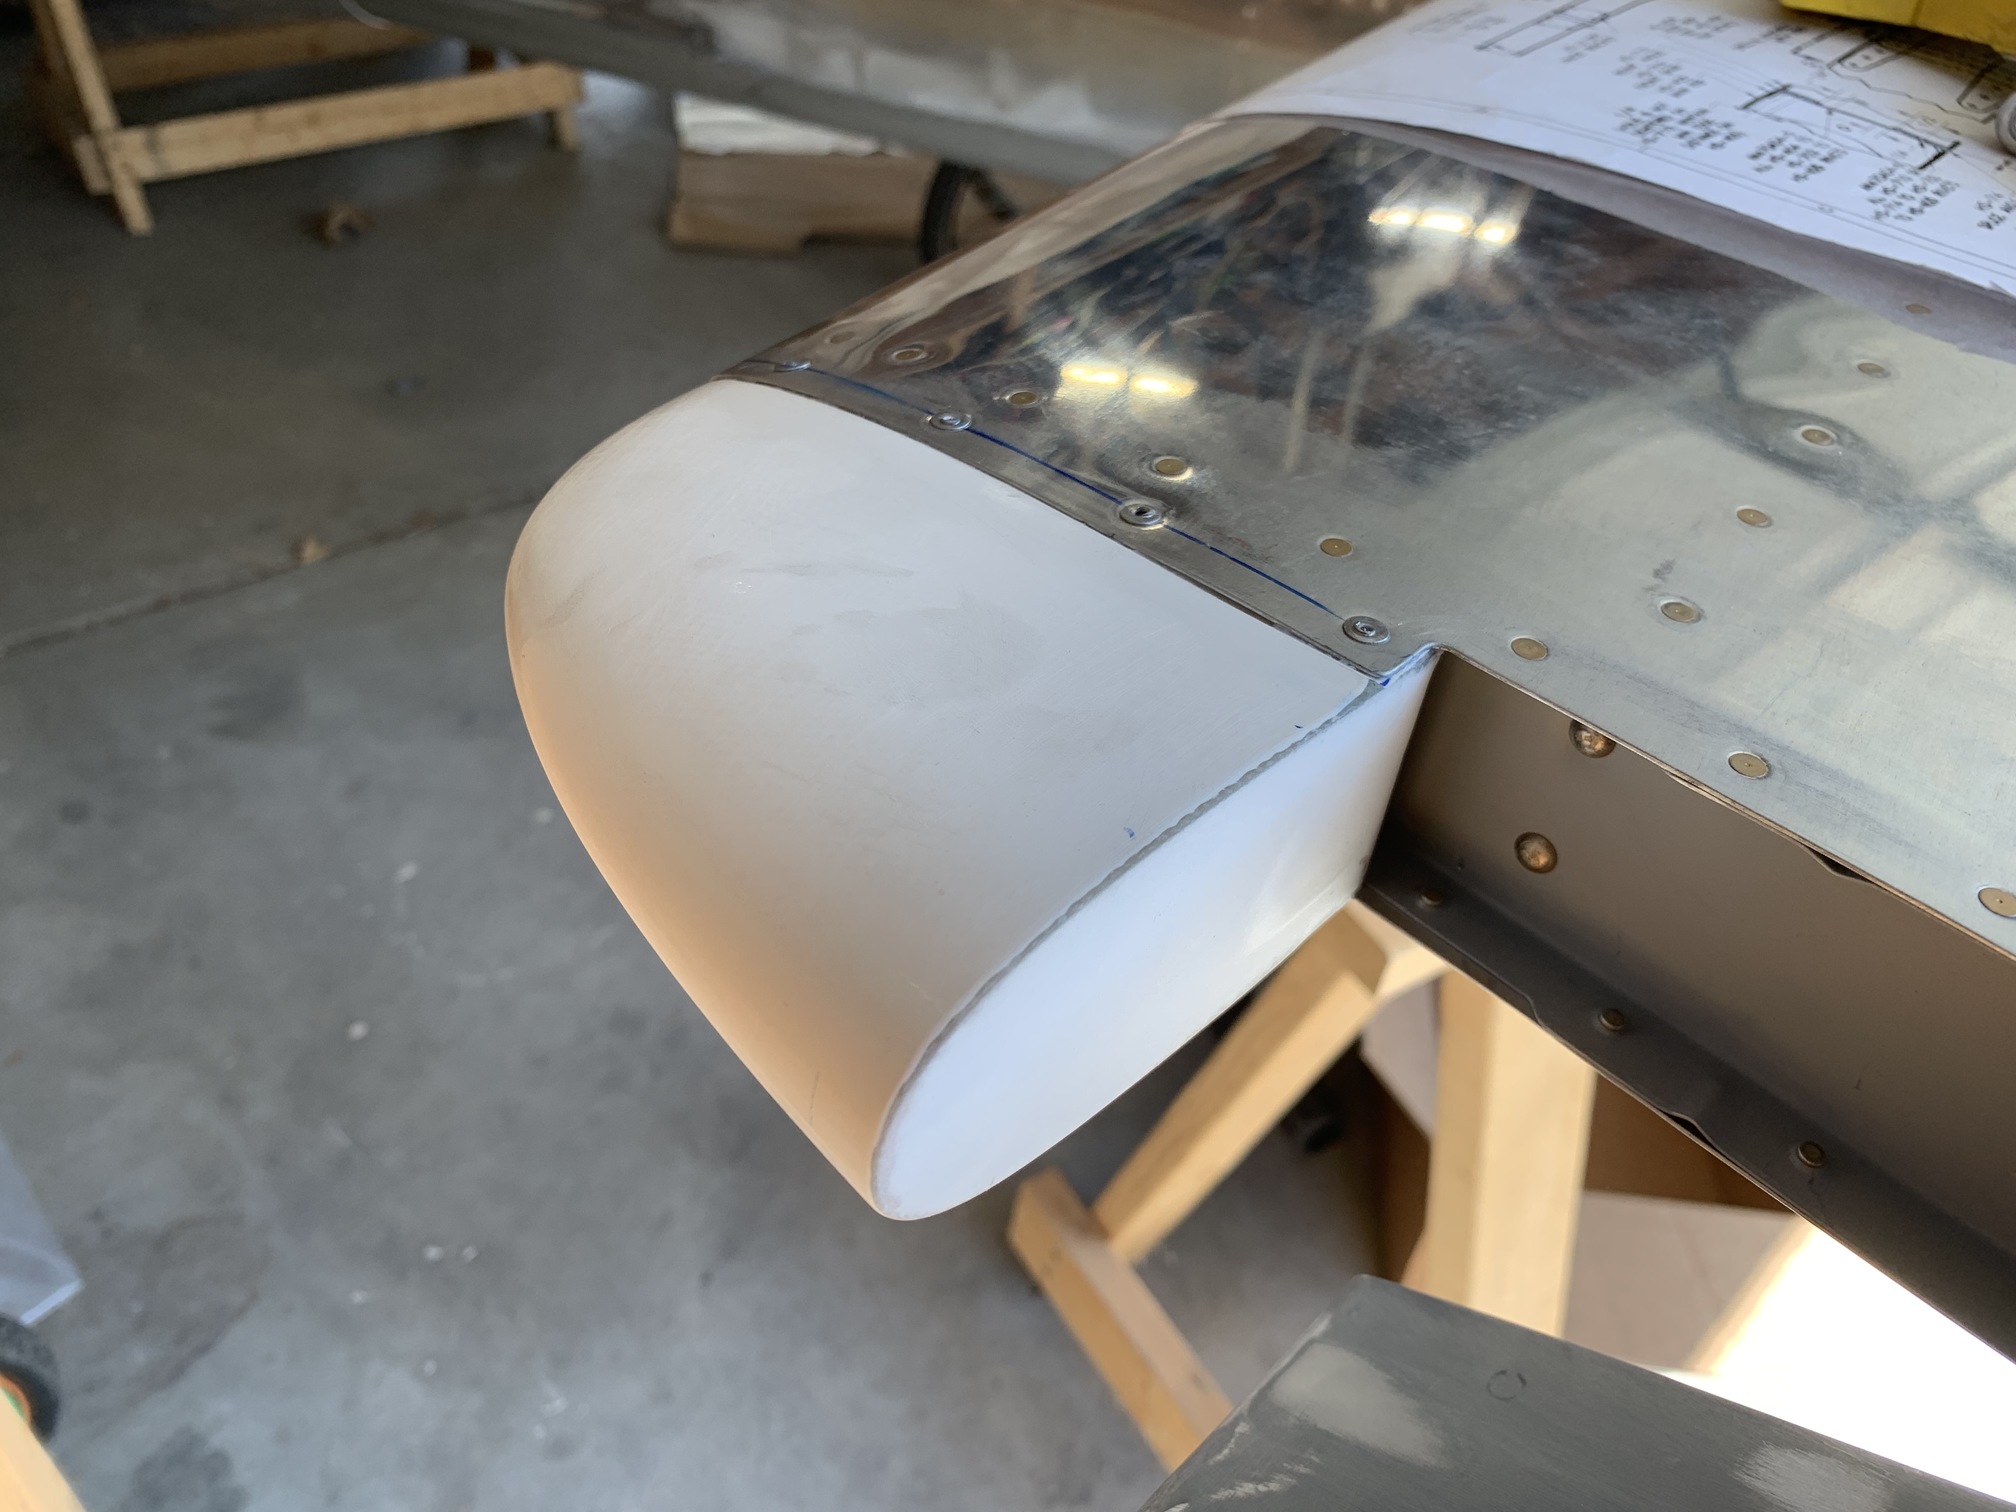
And wet-riveted the right tip to the HS.
I filled the gaps with epoxy/micro on both sides.
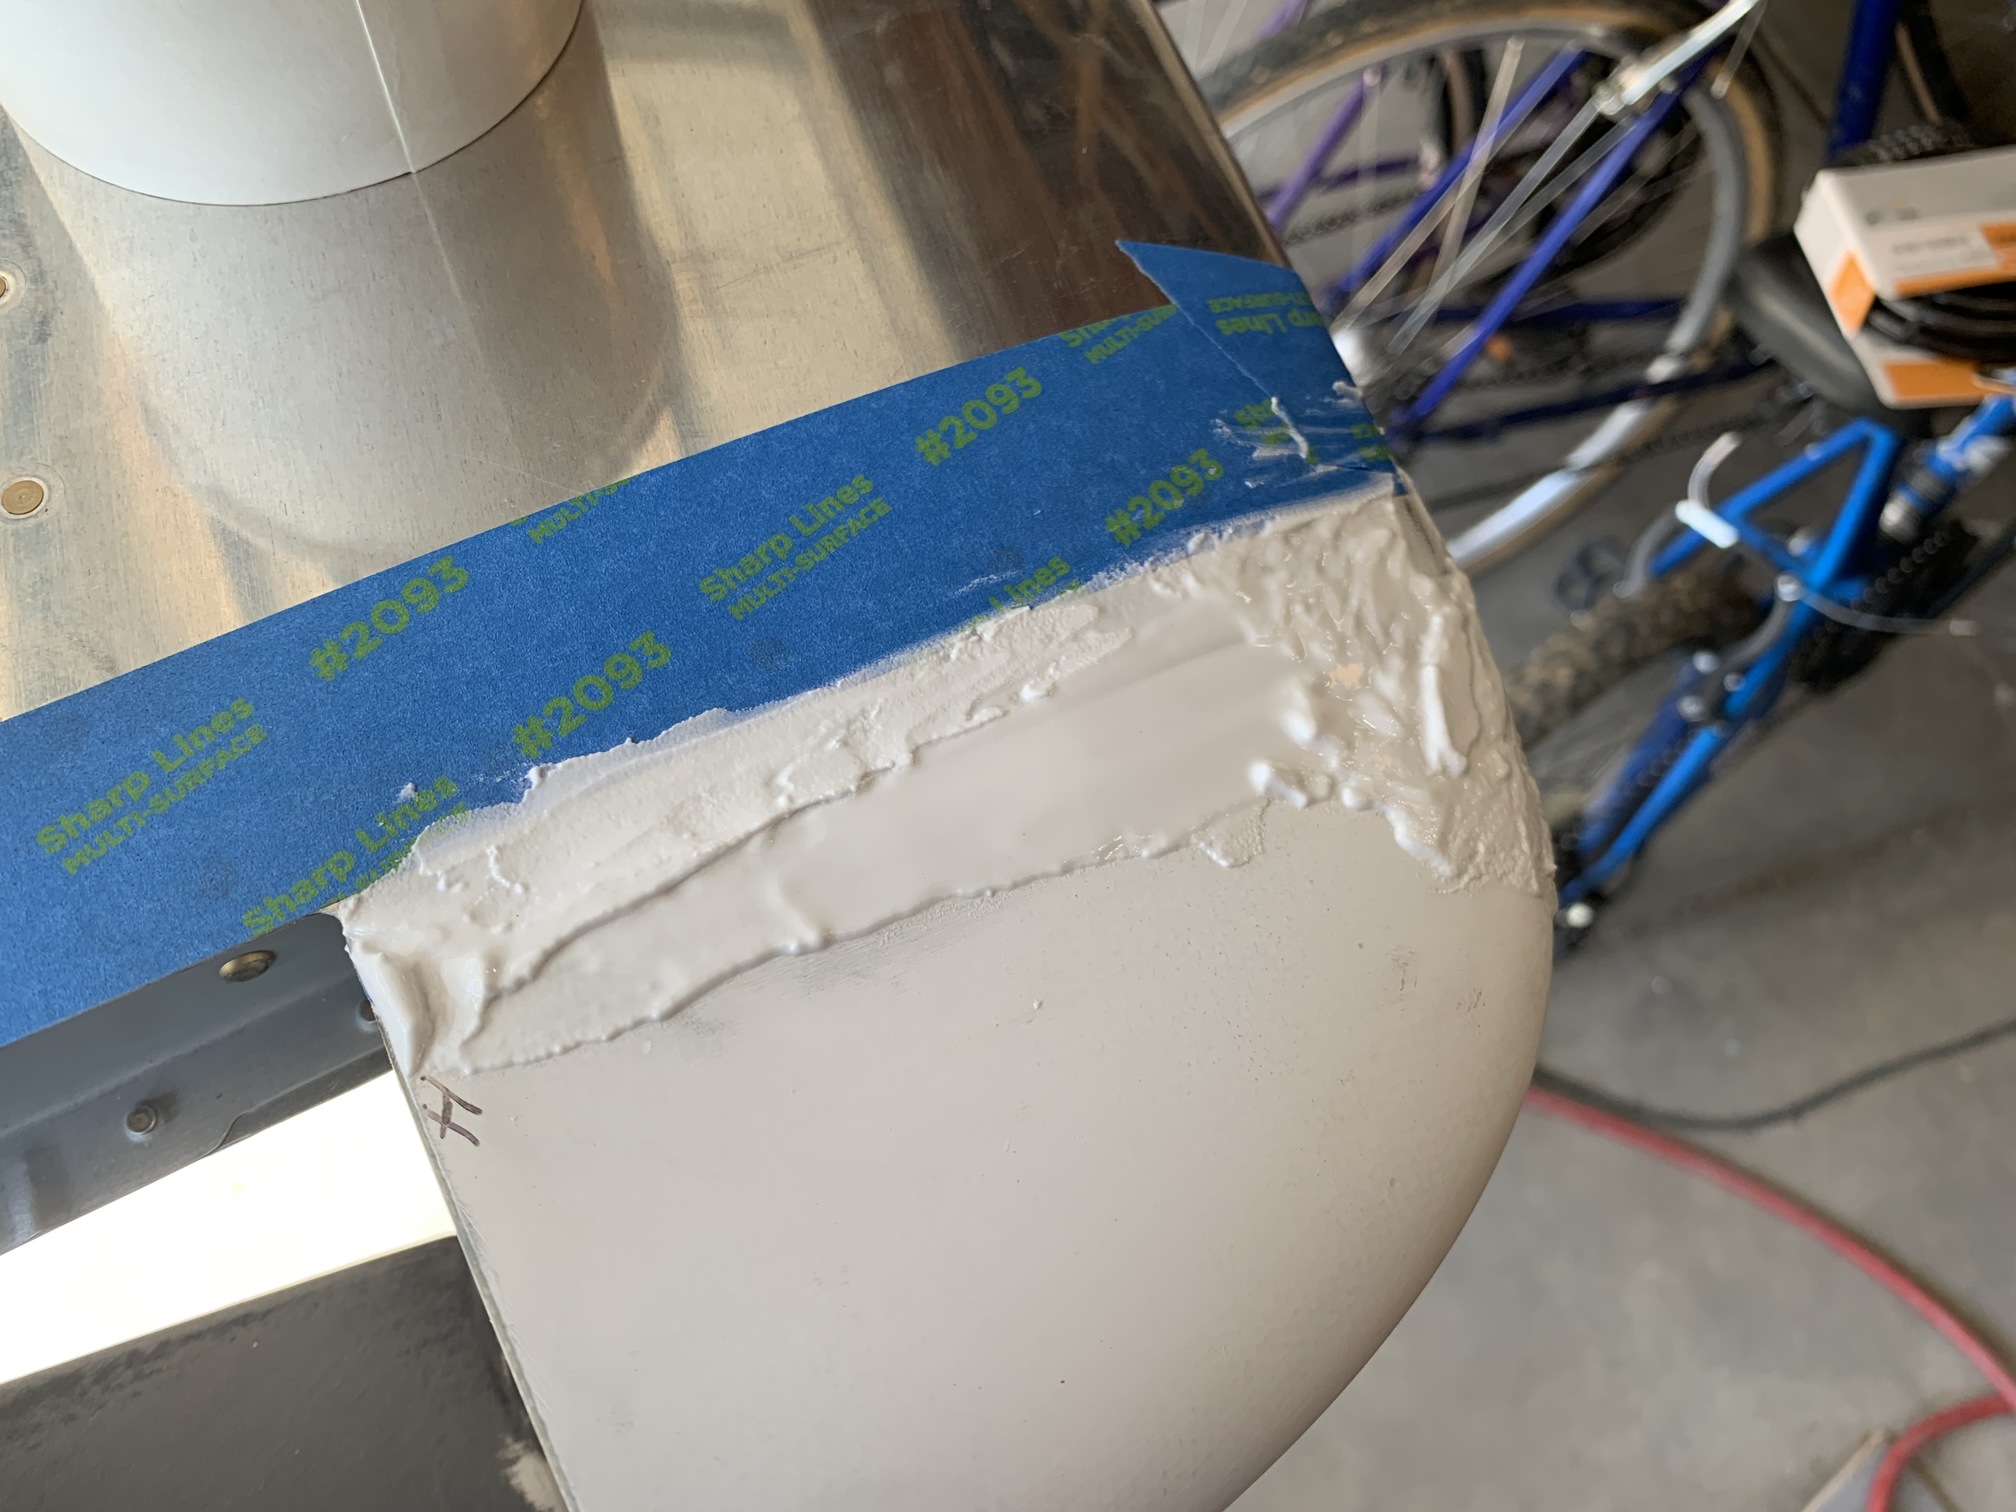
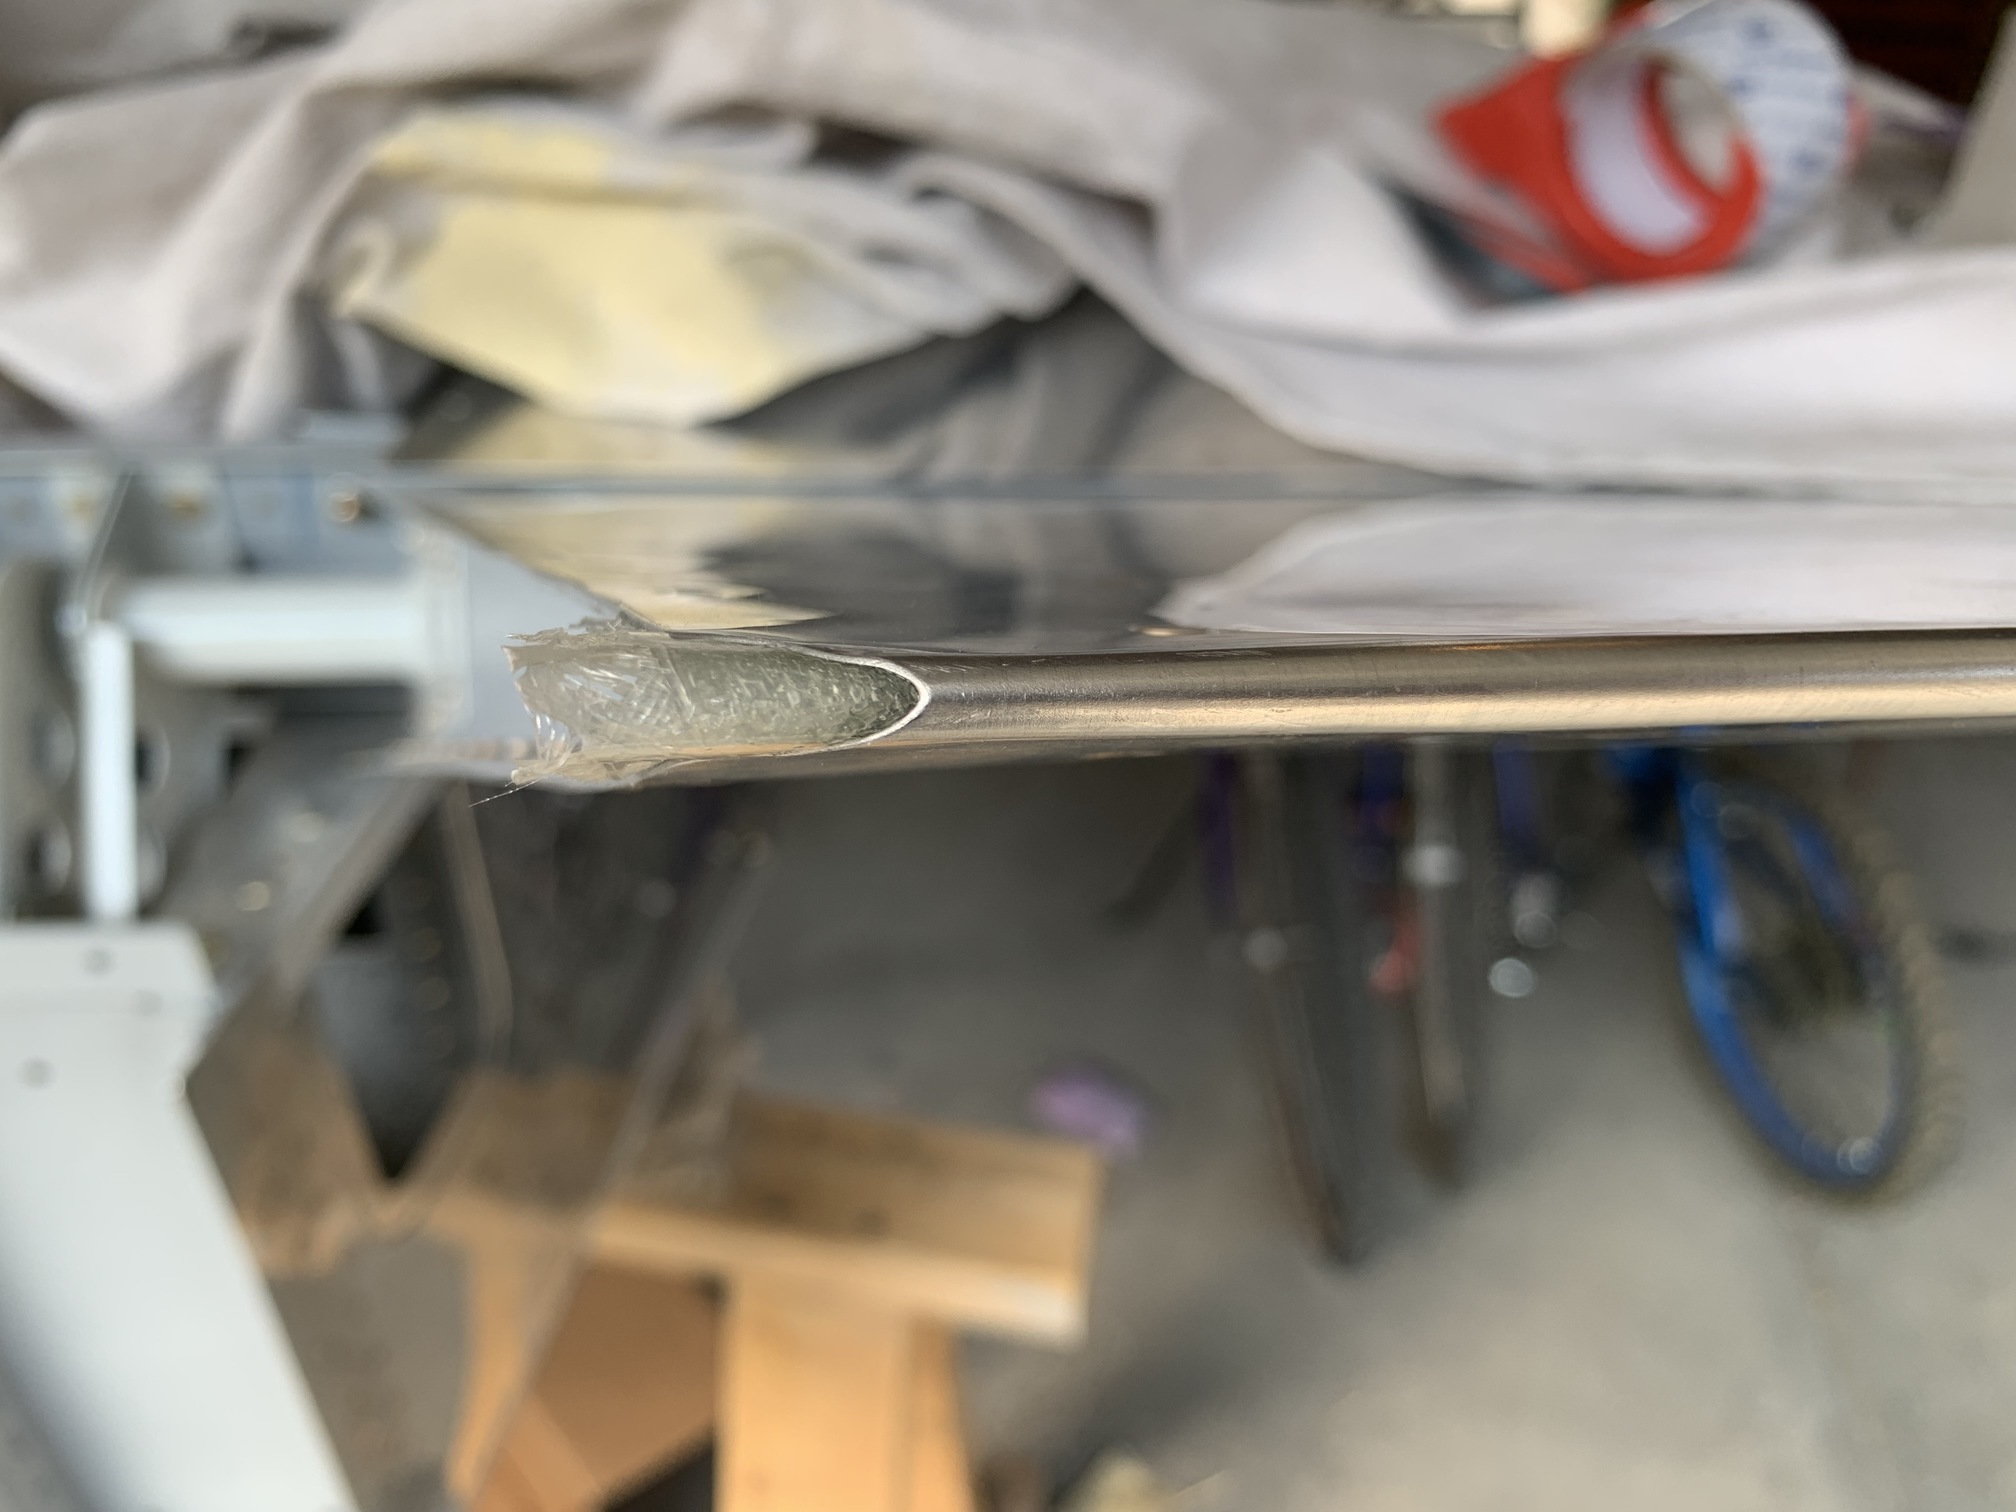
Then I addressed the inboard trailing edge of the right elevator where I had dinged it up badly in the past and had to remove part of it. I put some packing tape around the gap to make a mold and then laid down 5 layers of fiberglass.
After it had partially cured, I removed the tape. It looks good...I'll be able to sand this down to fit the elevator's inboard profile and then top the fiberglass with some micro.
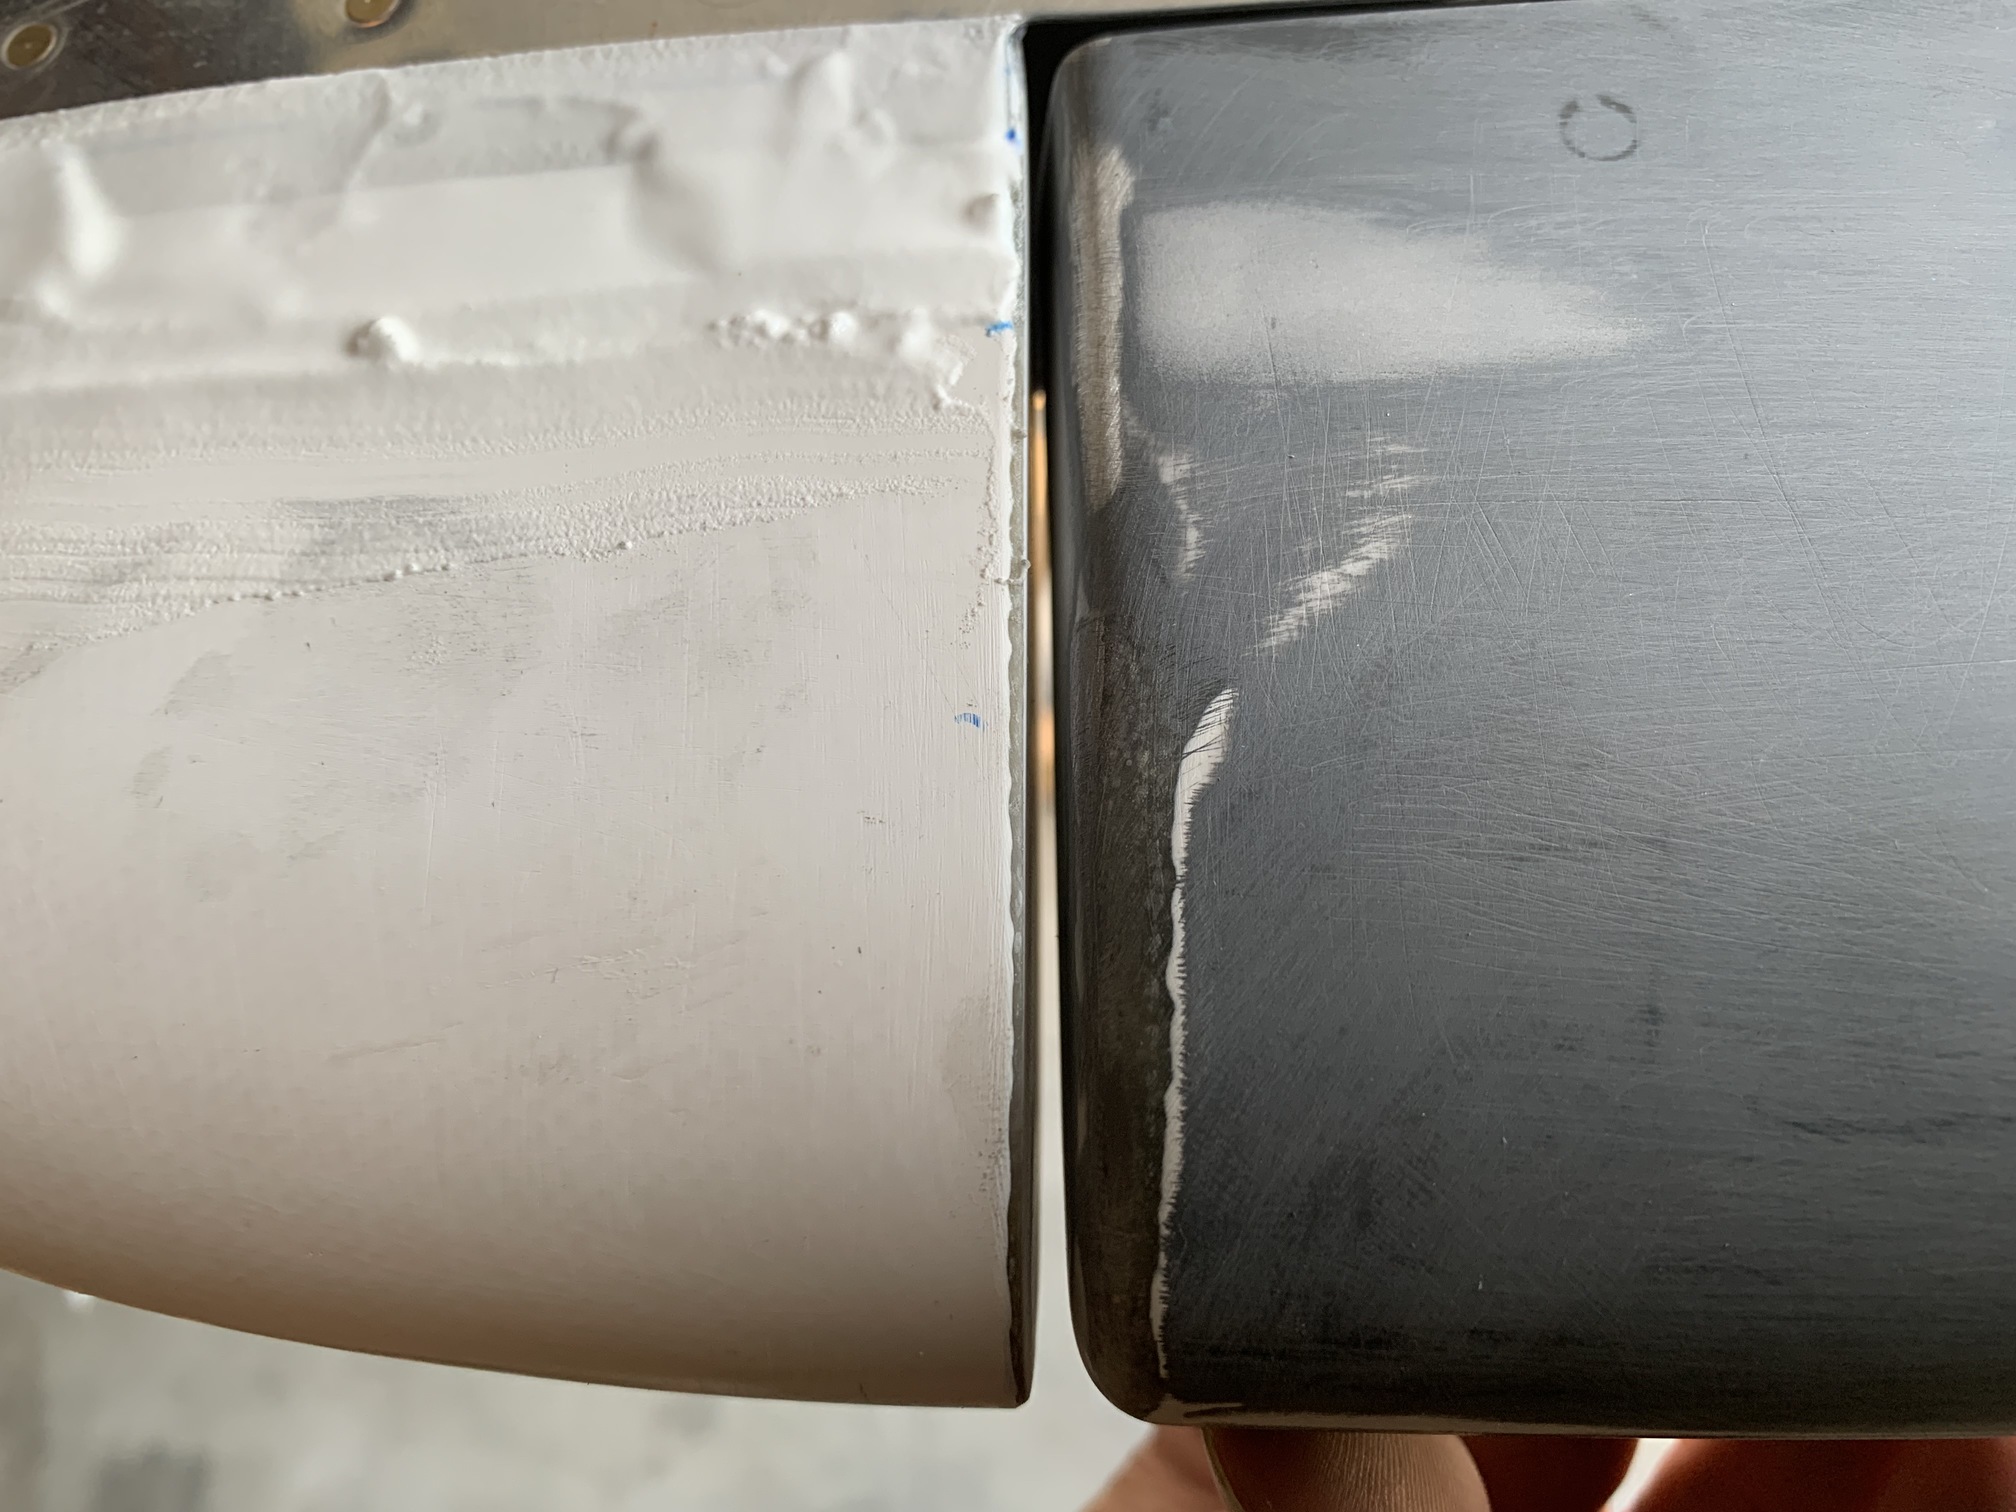
I noticed the gap between the HS tip and the elevator counterweight on the left side is too small. I'll sand this down some more after the epoxy on the HS tip is dry.
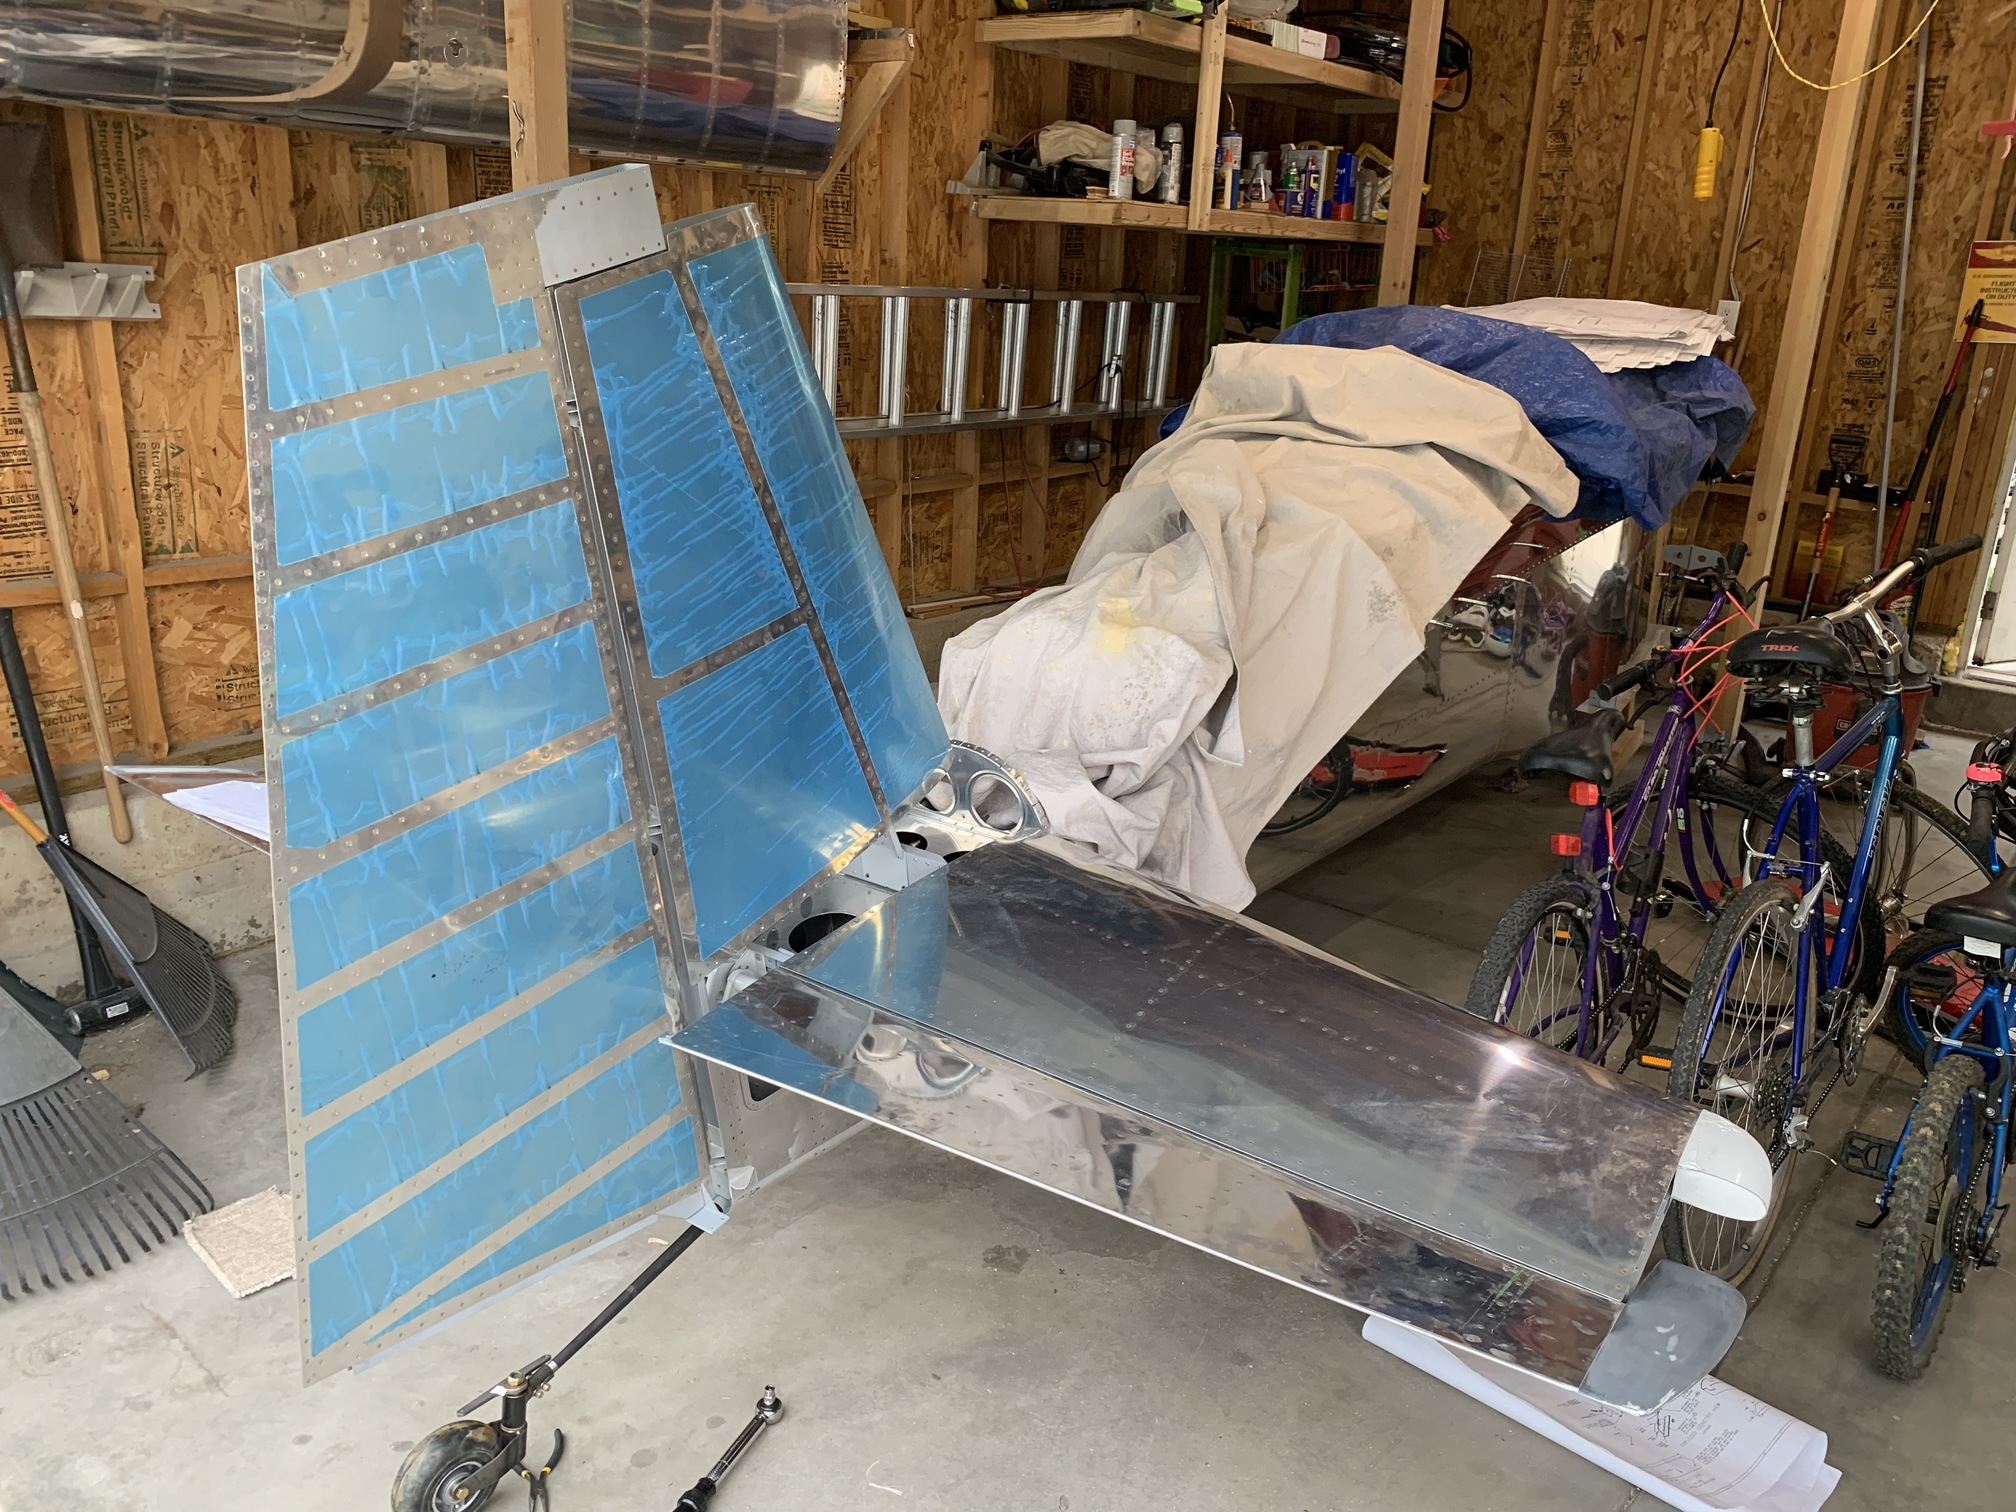
Next I wanted to start working on the VS/rudder tips, but with the tail on the sawhorse, they're too high to open the garage door. Given how hot it is, I'm not going to keep the garage door closed. As a work around, I mounted the tail wheel so it can sit on the floor and the whole back of the plane is much lower.

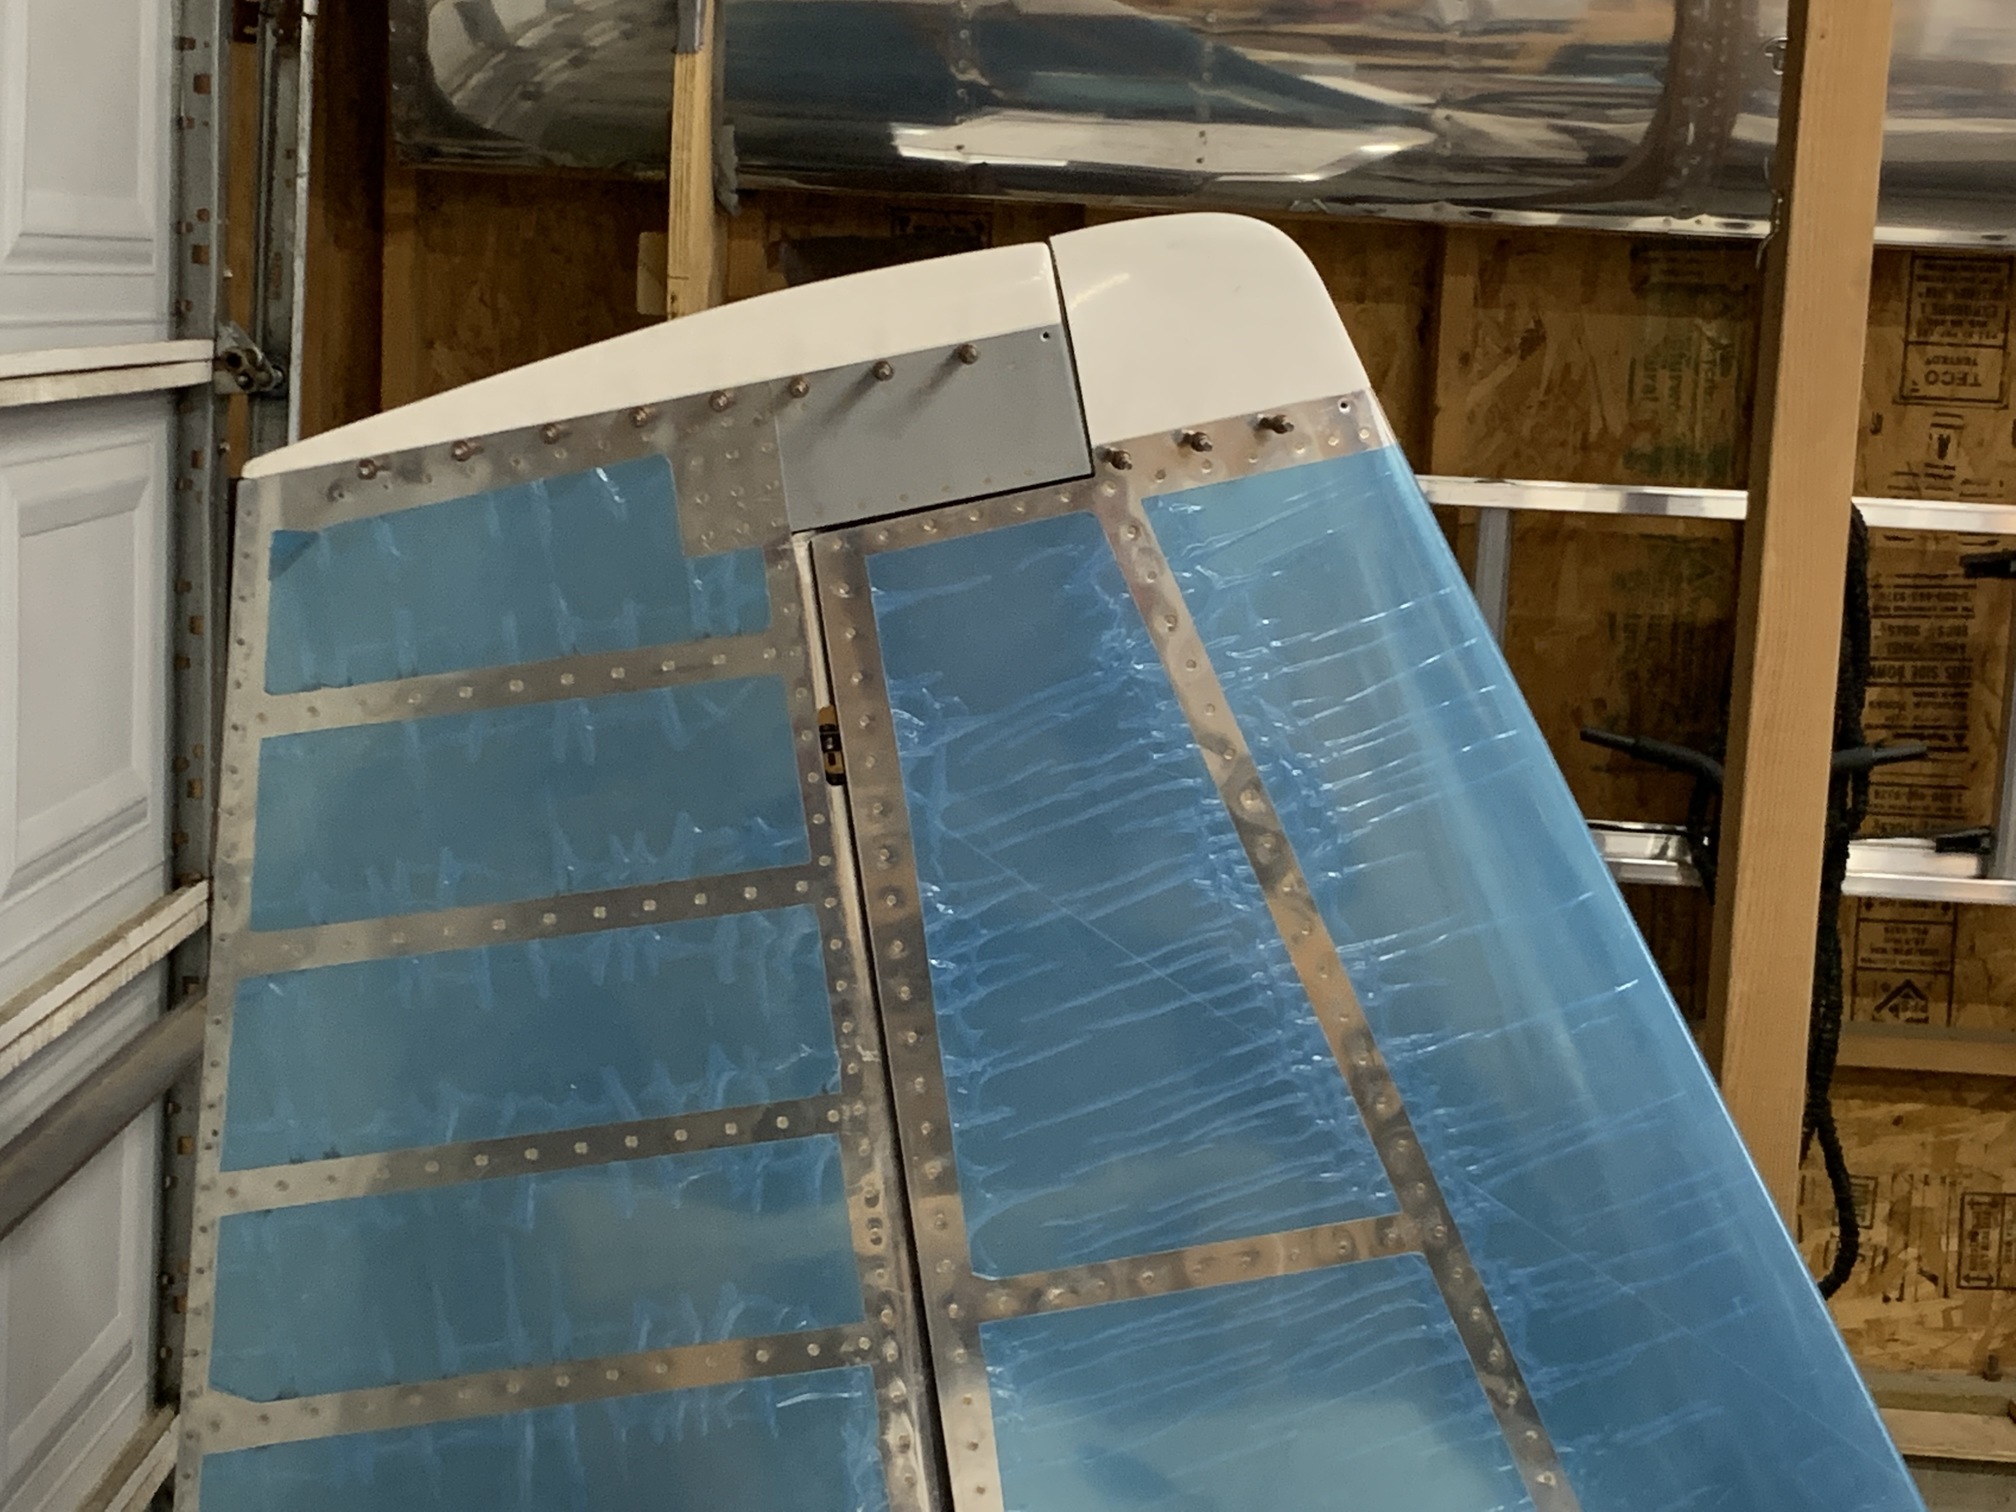
Then I got down the VS & rudder and remounted them on the fuselage. This looks so cool...
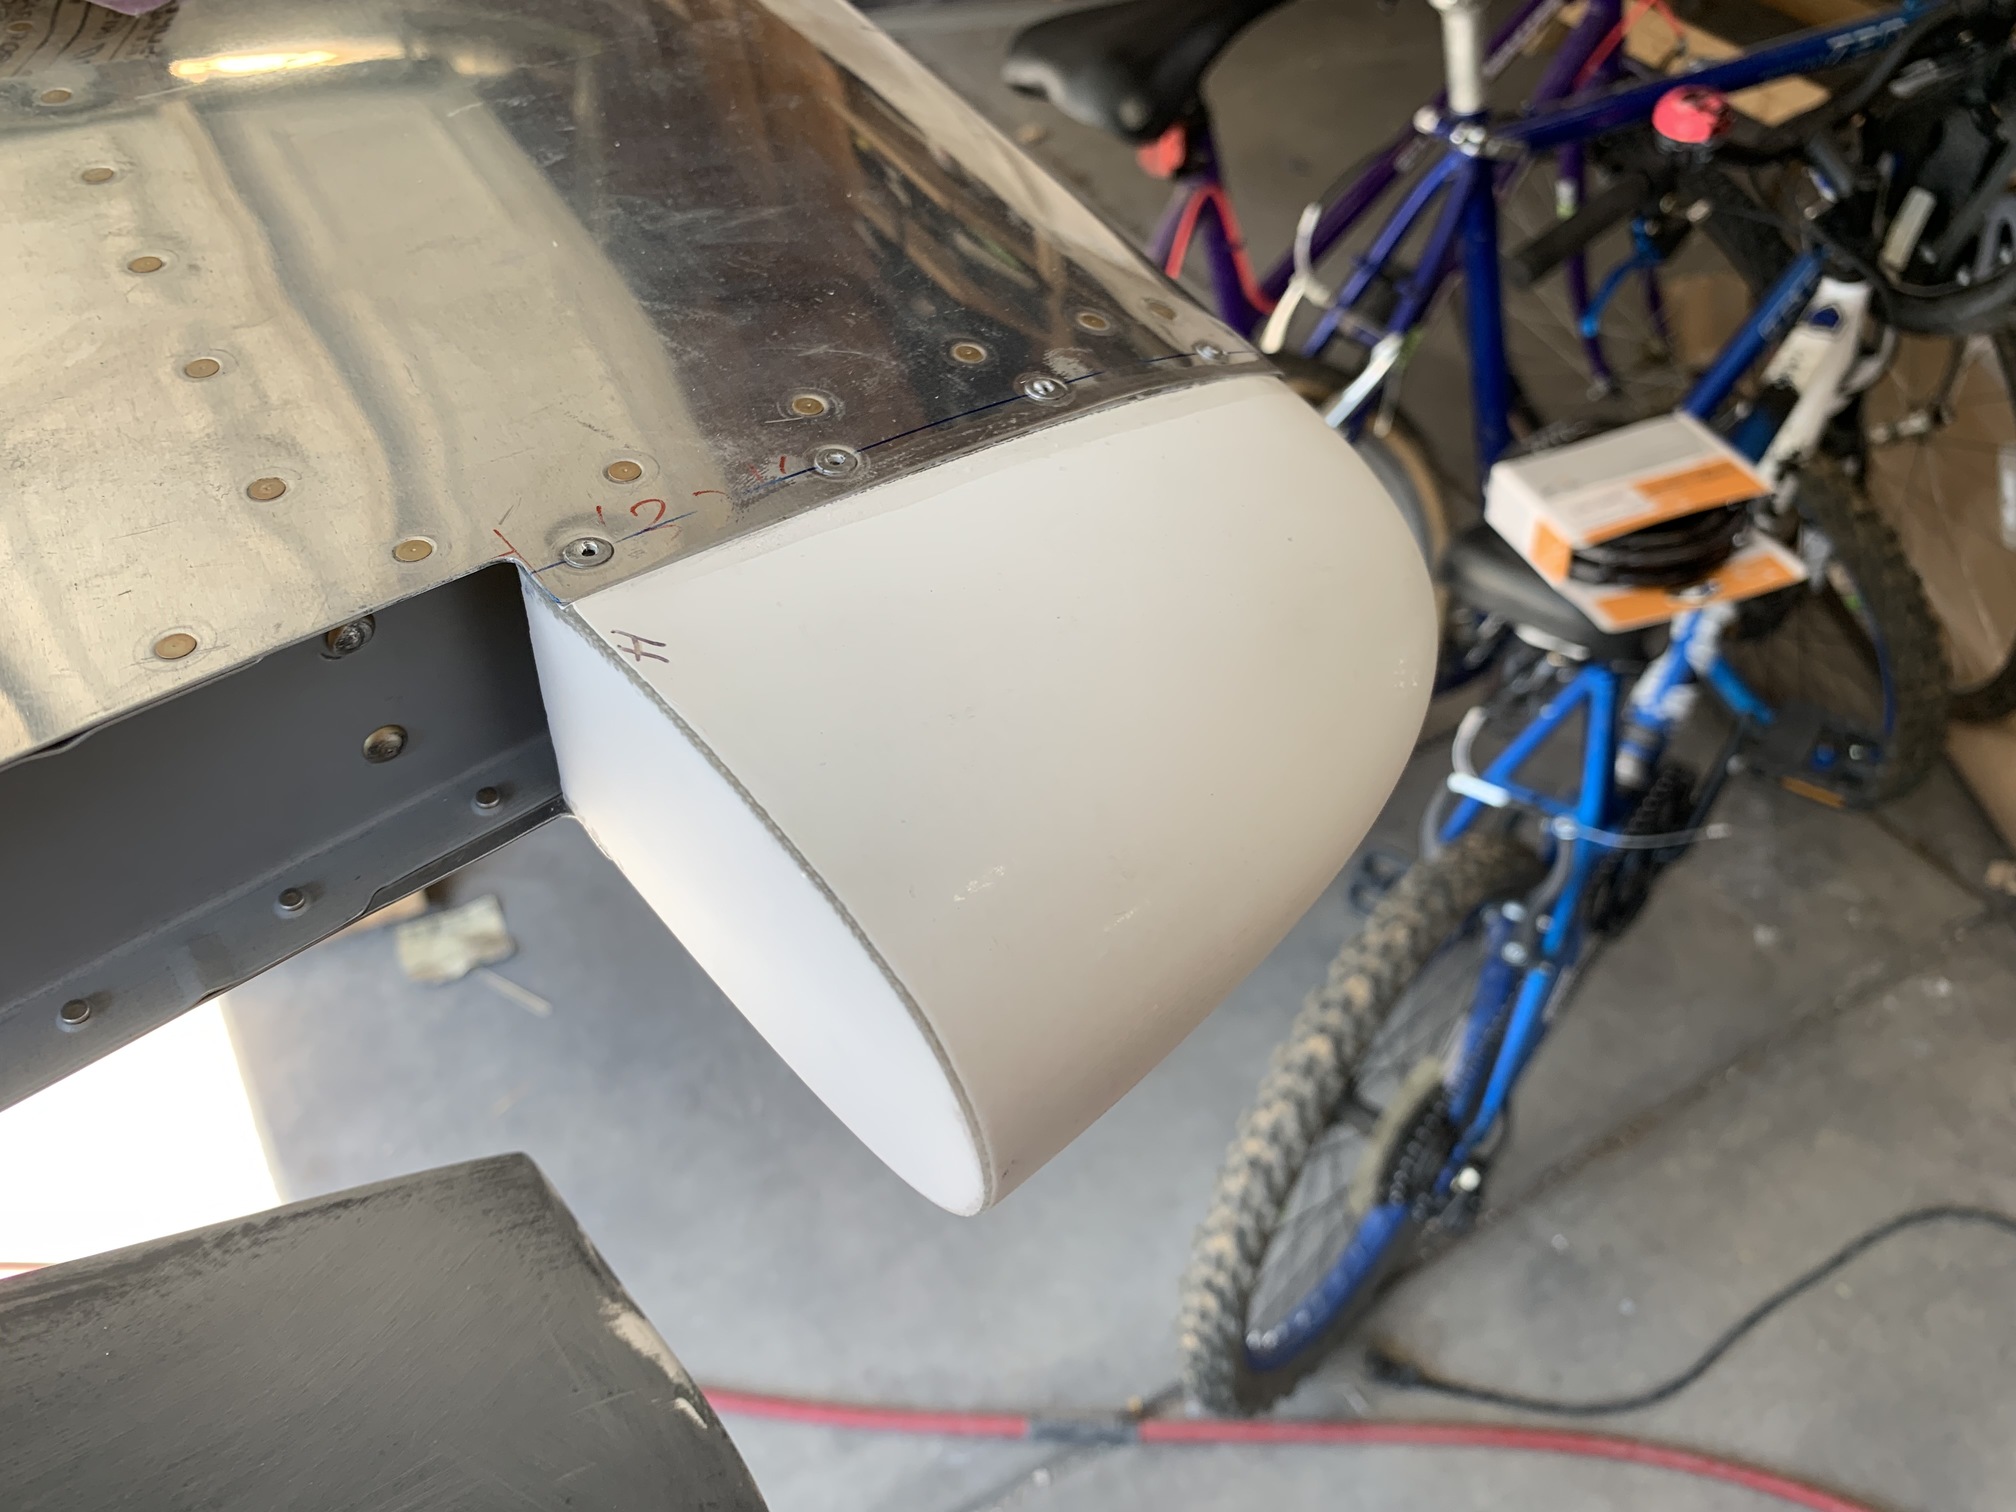
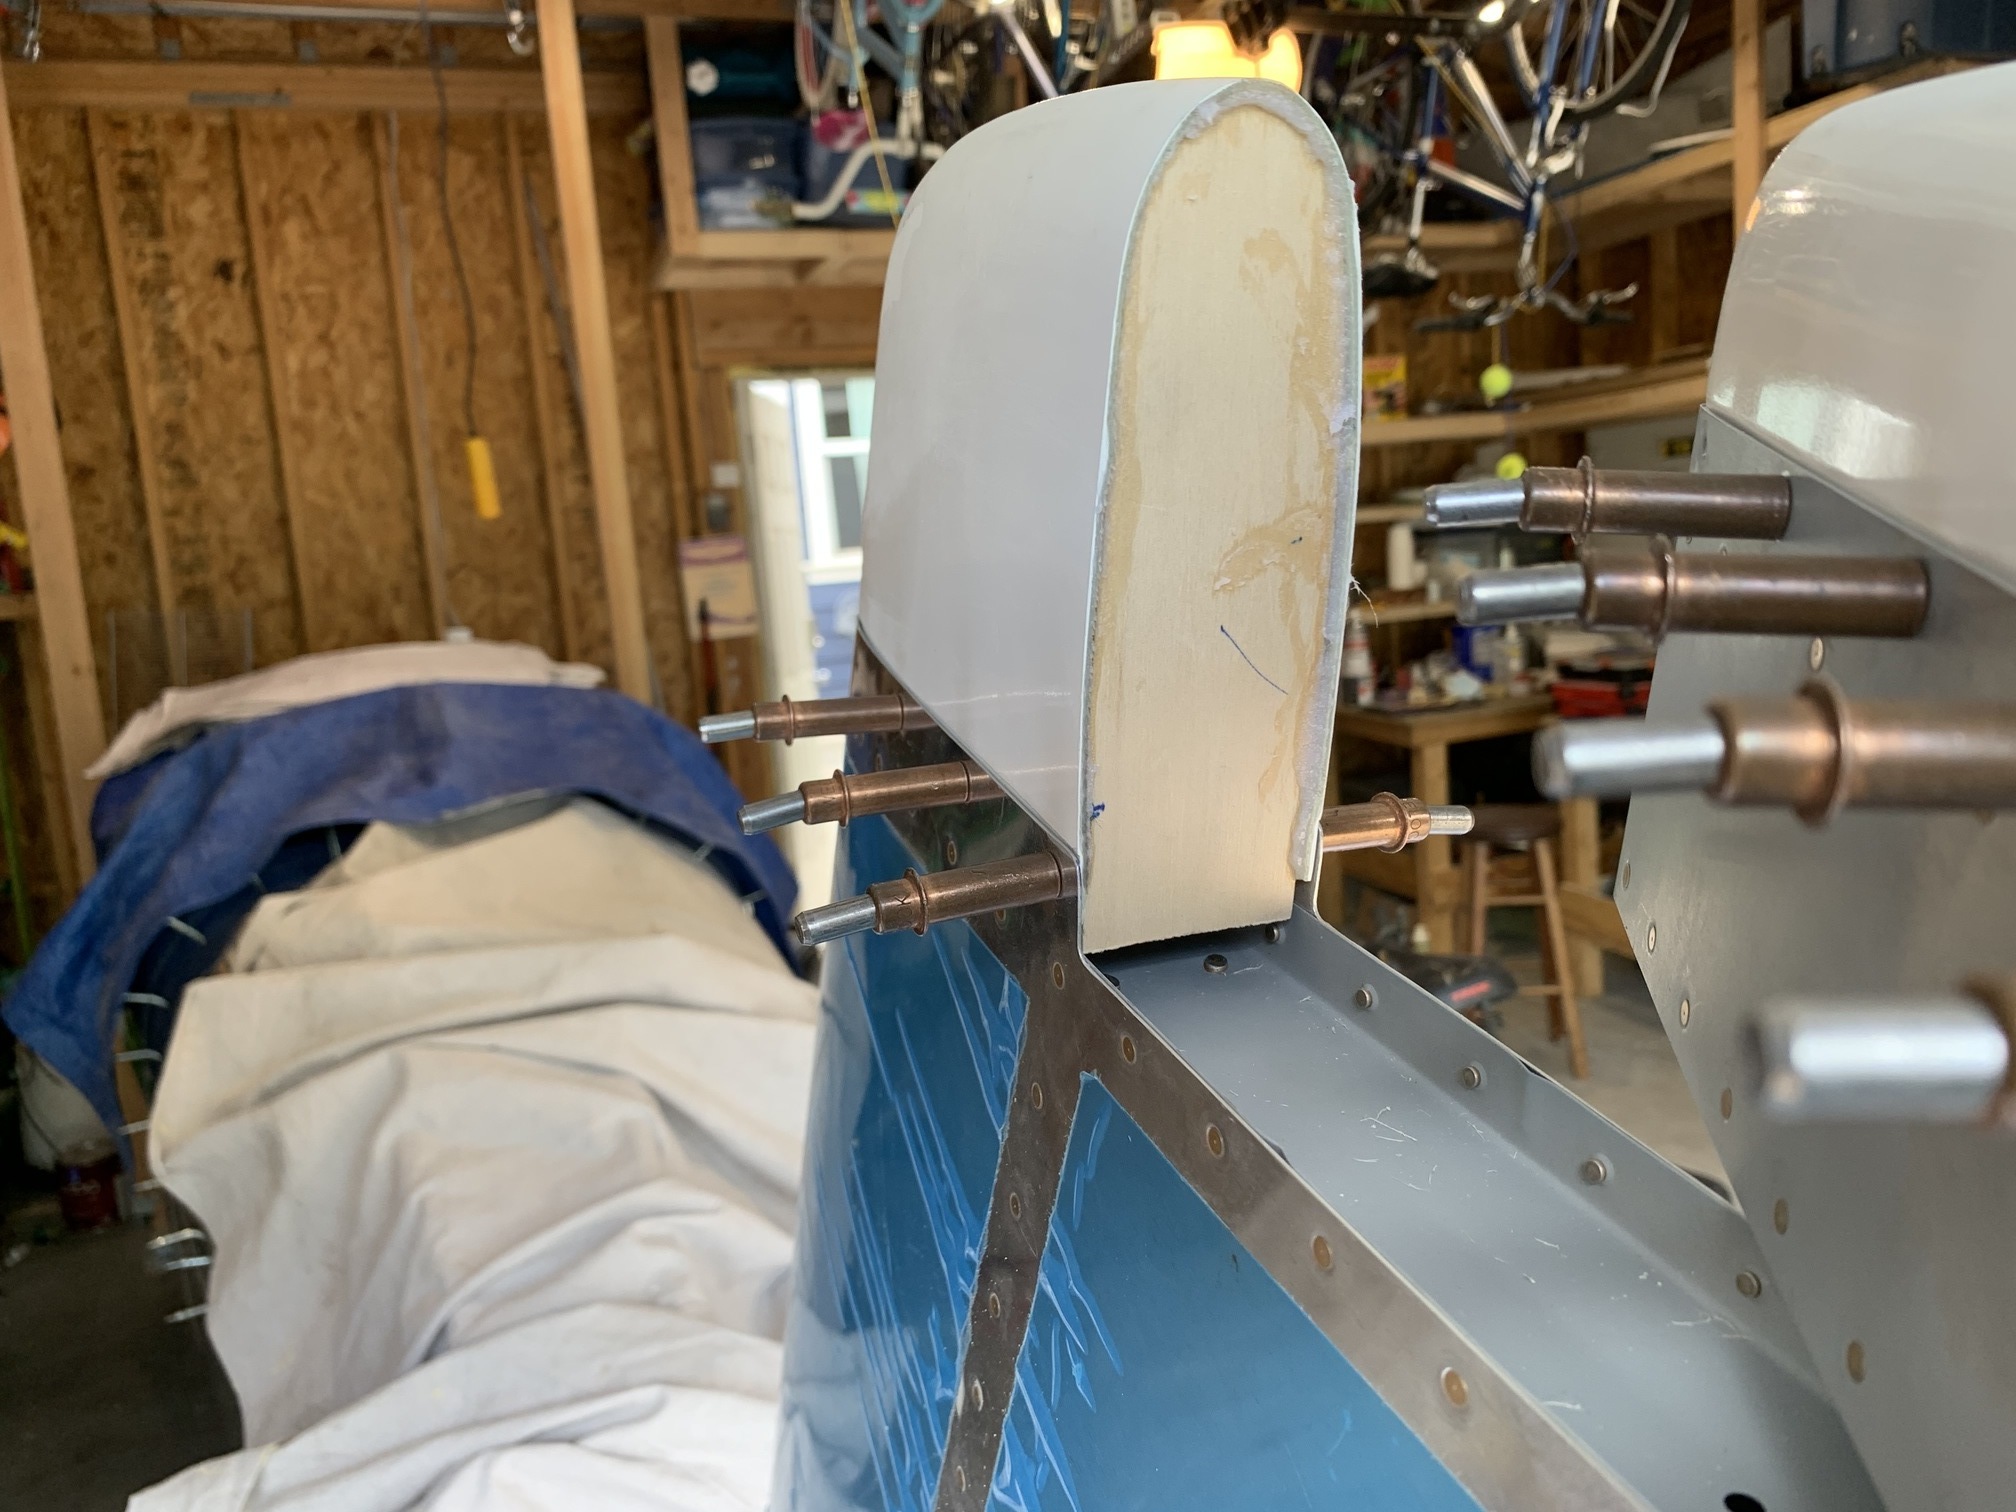
Then I started trimming and fitting the VS tip and the rudder upper tip.
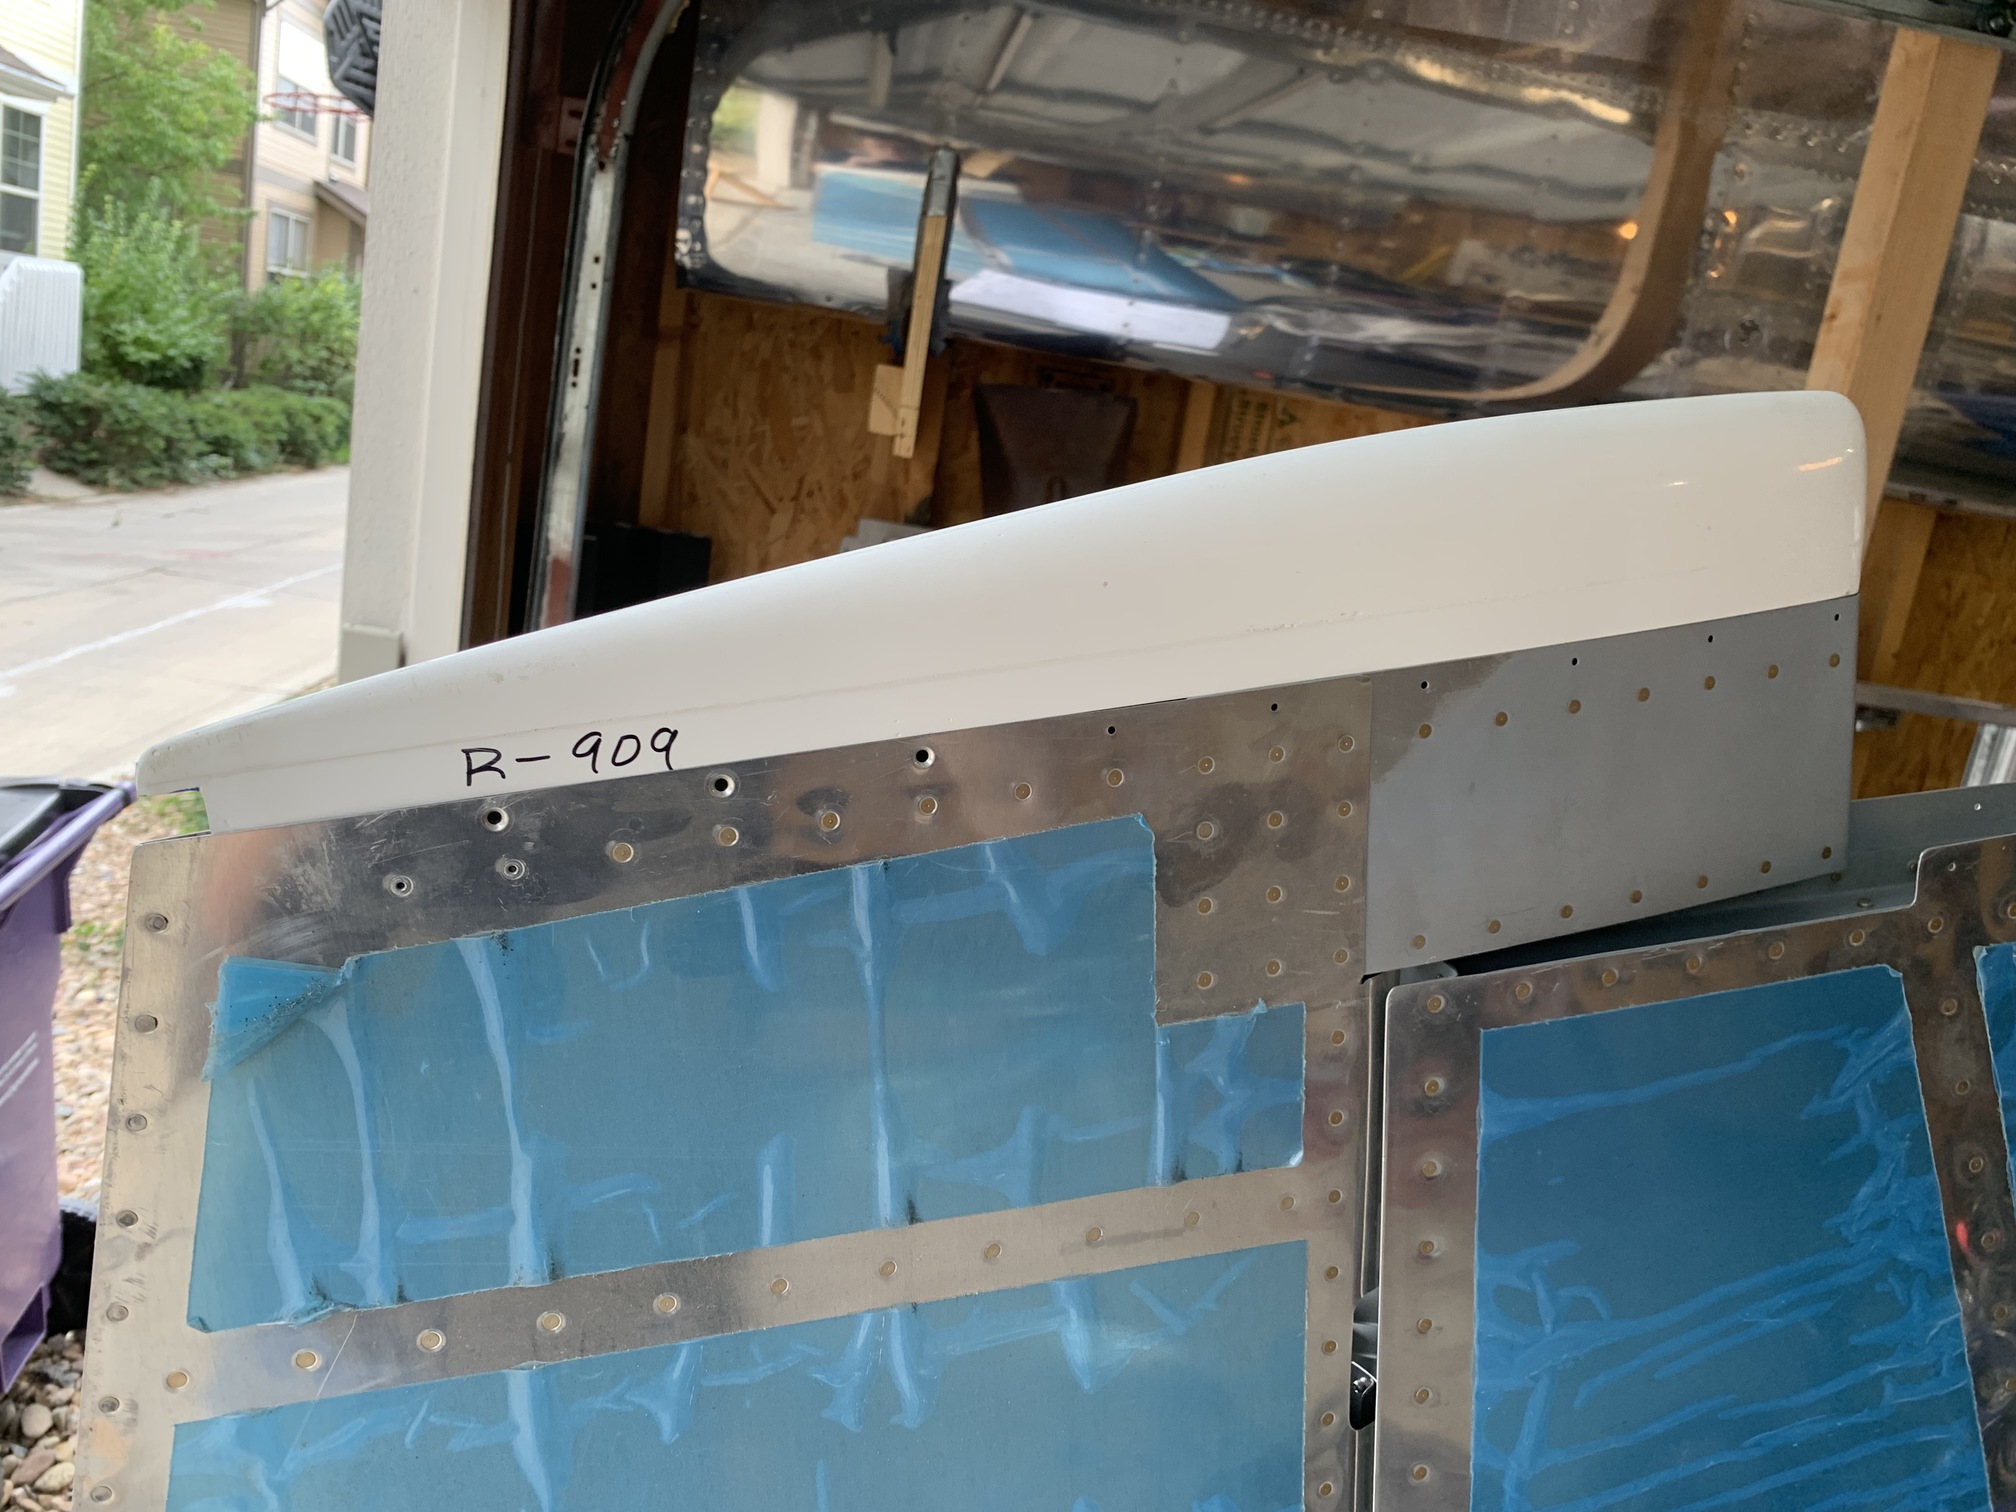
Here they are trimmed and drilled.
Then, I created a lightweight rib out of balsa and glued it in place with epoxy/flox.
One last shot in profile...
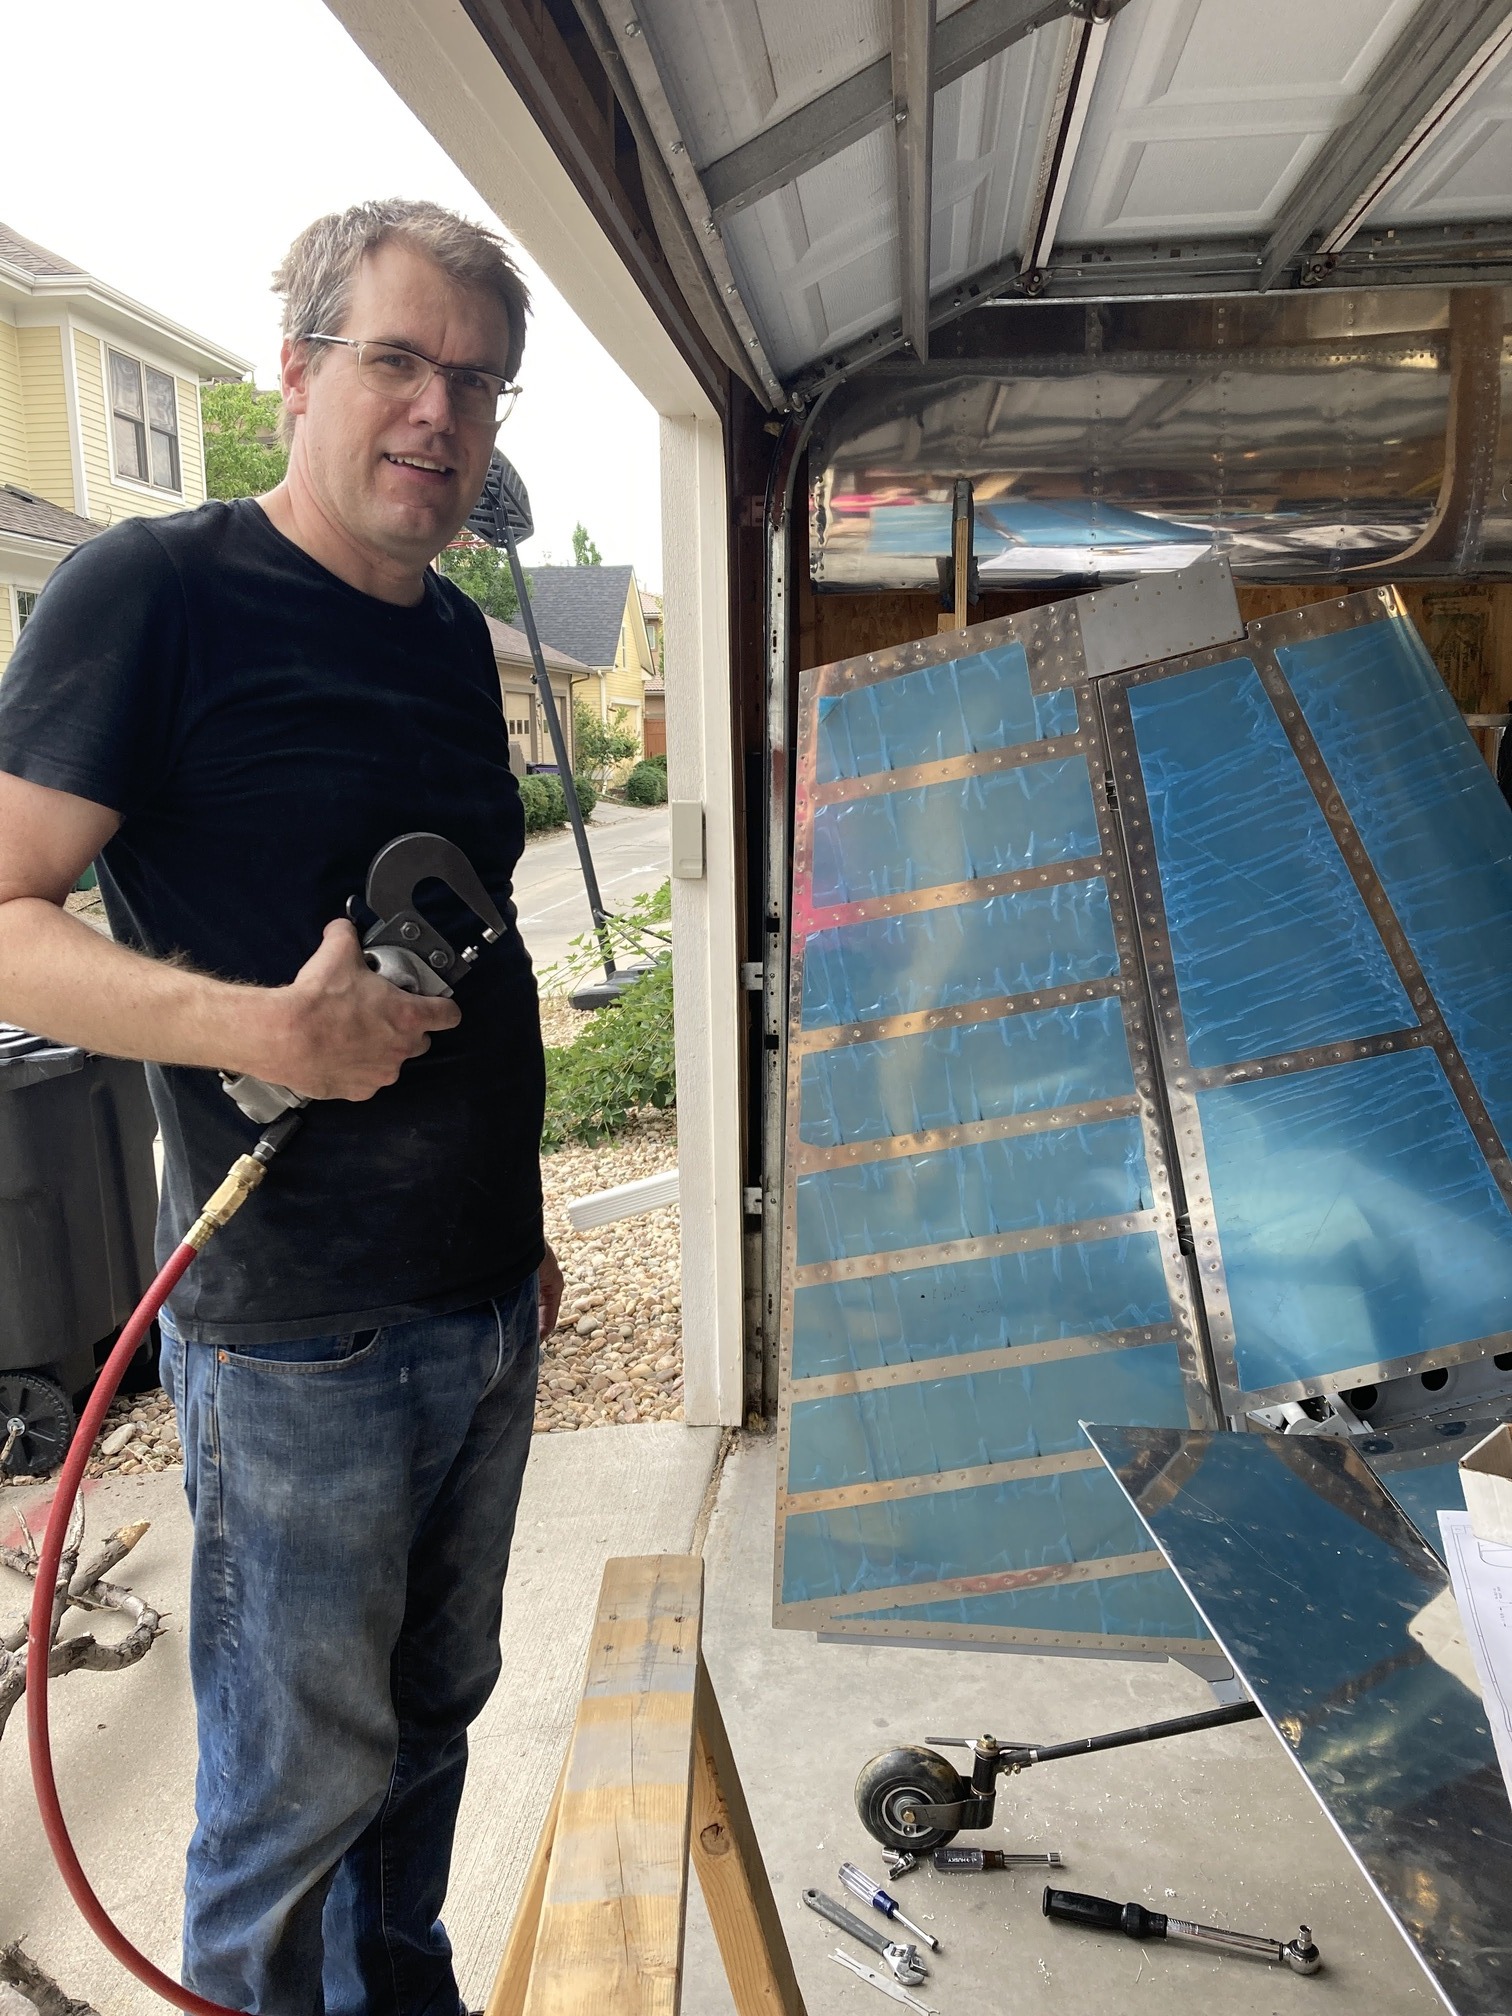
Here's a pic my wife took at some point of me getting ready to dimple something.
| Previous - Index - Next |
This work is licensed under Attribution-NonCommercial-NoDerivatives 4.0 International![]()
![]()
![]()
![]()