Log (By Day)
Log (By Category)
Pictures
Pics of Me Working
Links
| ||||||||||||
Monday September 20, 2021
Elevator Trim, Aileron Trim
(1.0 Hours
Center Fuselage, 2.5 Hours
Left Elevator)
3.5 Hours Total
| Previous - Index - Next |
I worked on the trim tab and trim motor mechanism today. First, I cut a piece of hinge wire and then bent it to the correct shape.
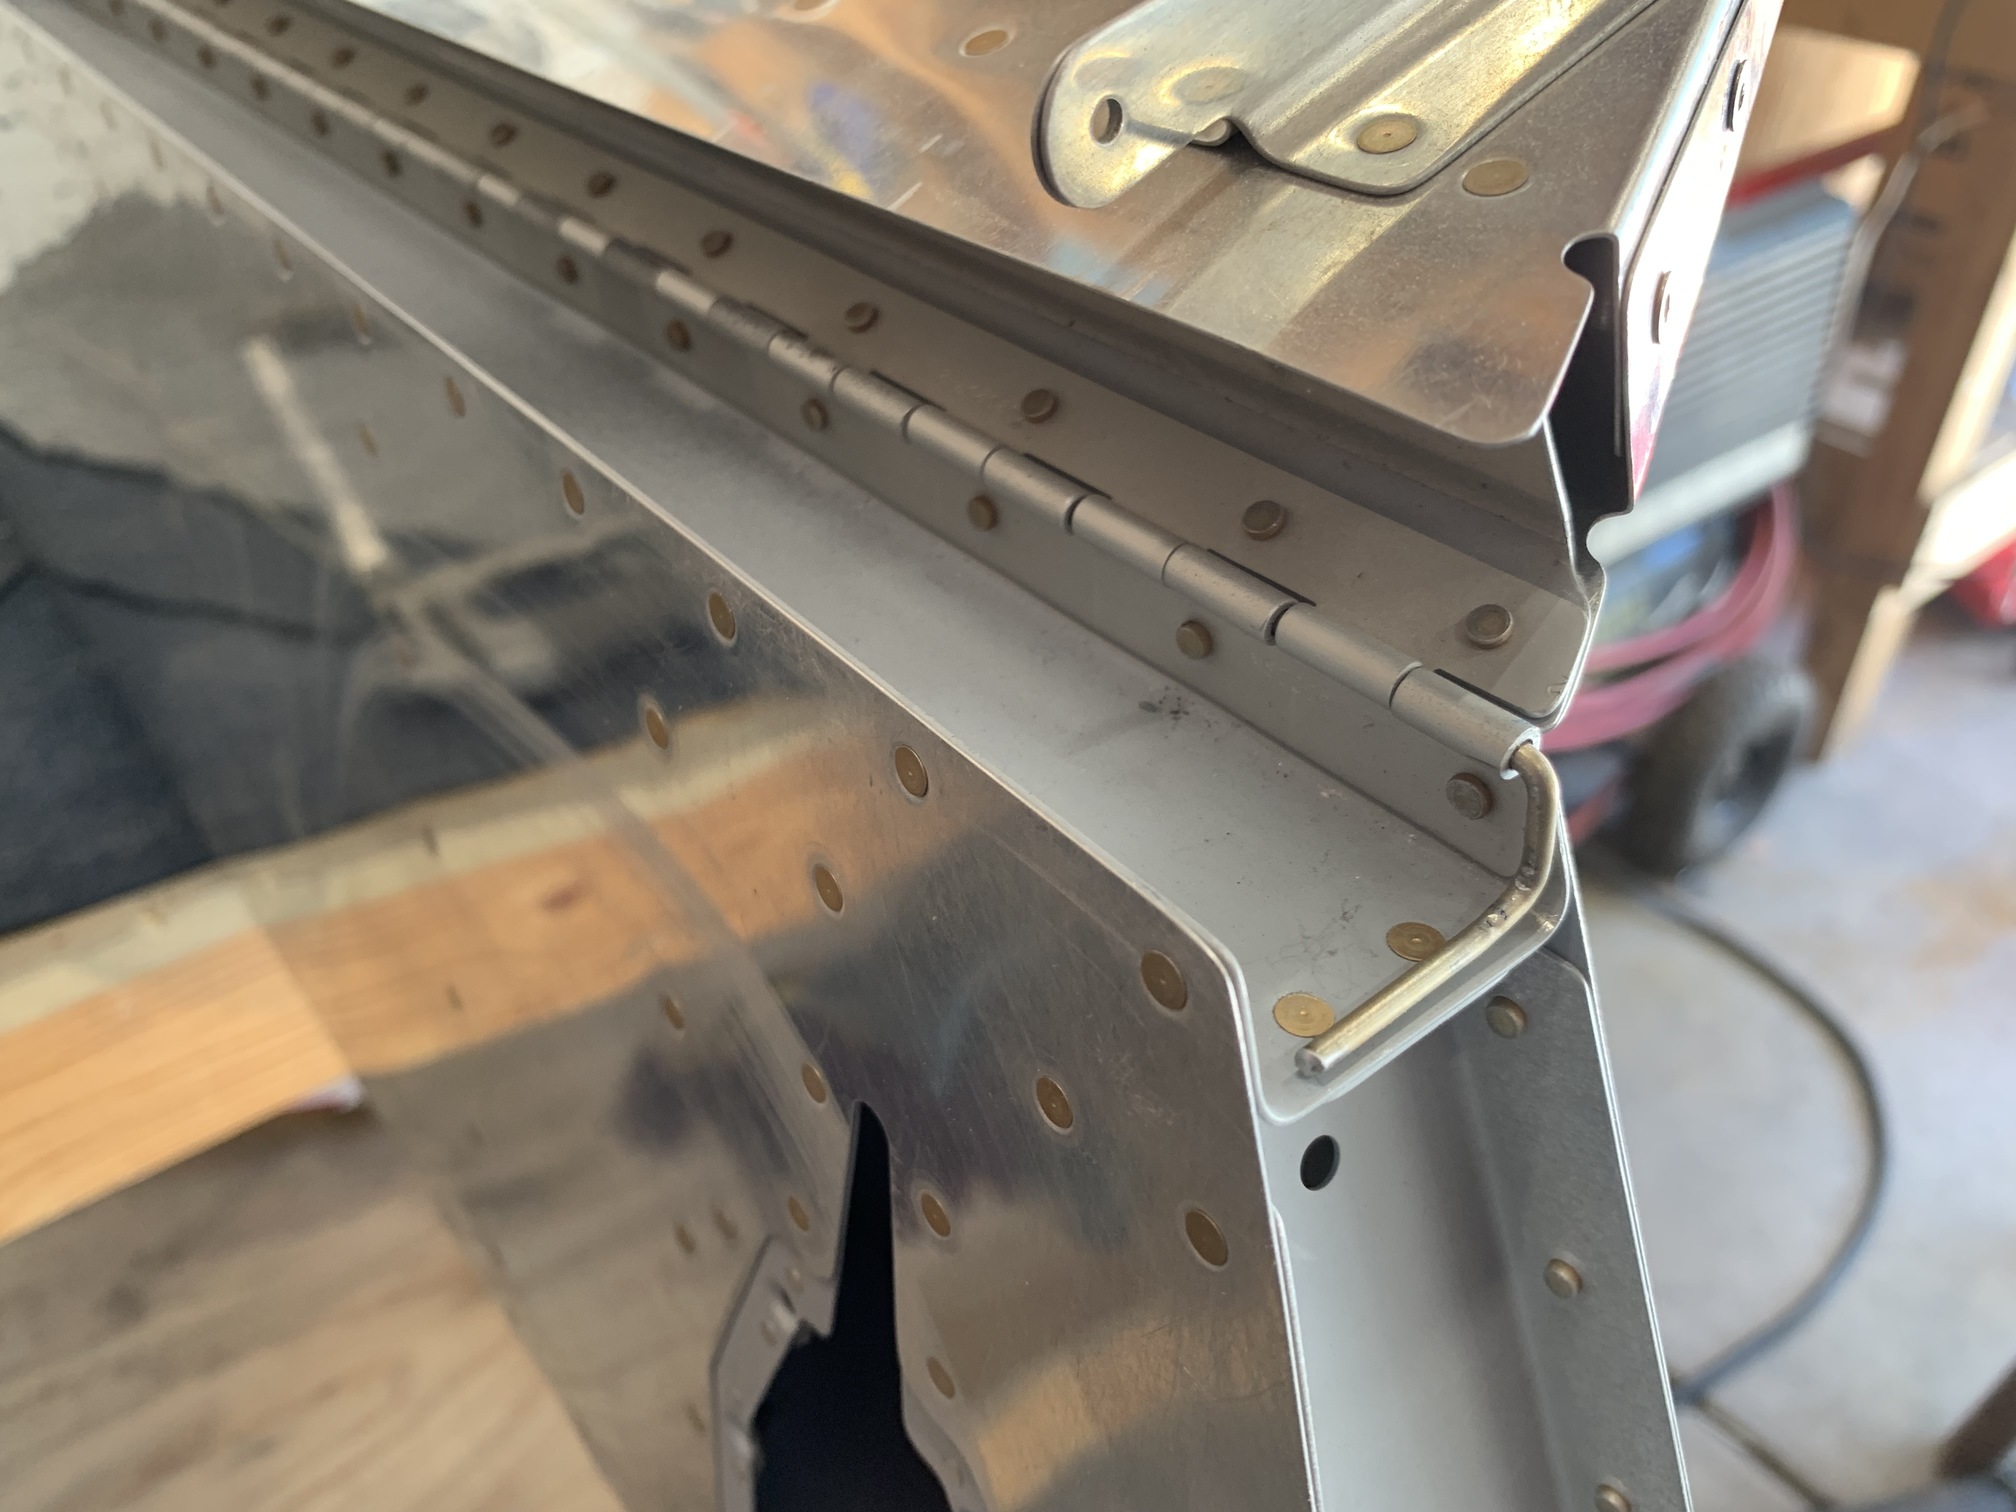
Then I safety wired it into place. I think this is the first thing I've safety wired on this project.
Then I installed the trim motor and wired it up to the indicator (so I could see where 1/2 way was) and the trim switch. Then I ran the motor to exactly half-way. I put the trim tab in its neutral position and then measured the distance between the push-rod ends. I trimmed the threaded rod to the correct length.
I installed the push-rod and ran the trim tab back and forth. The rod interfered with the opening in the elevator bottom, so I expanded the opening somewhat, but still could not clear the interference. I quick check of the VAF forums gave me the trick...you just bend the rod a little bit and that completely solves the interference problem.
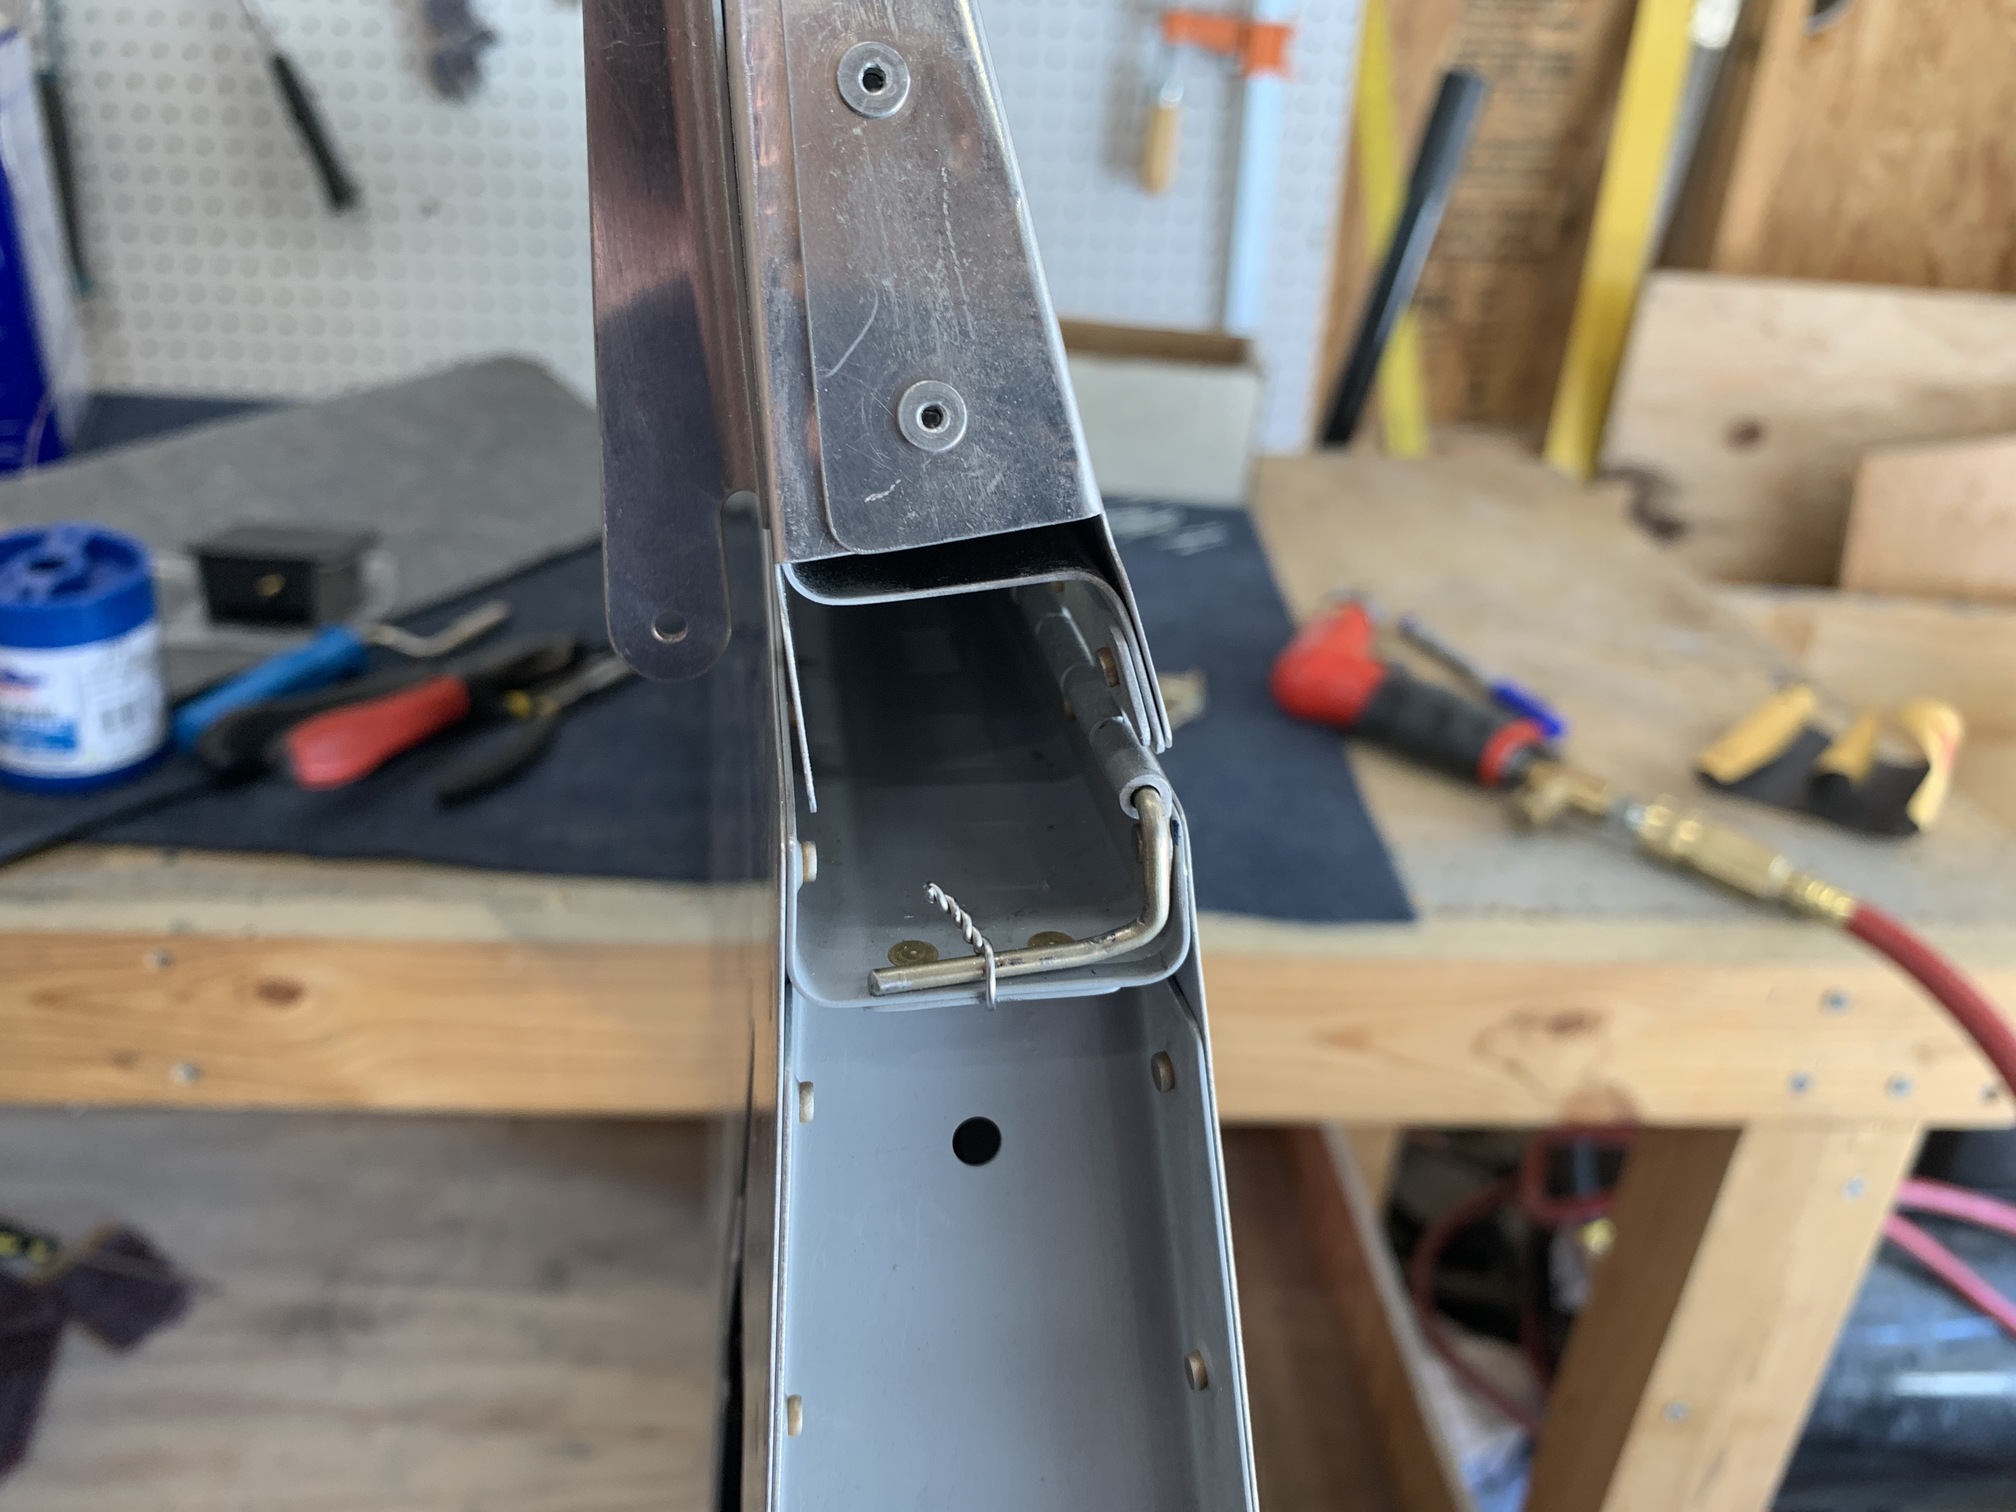
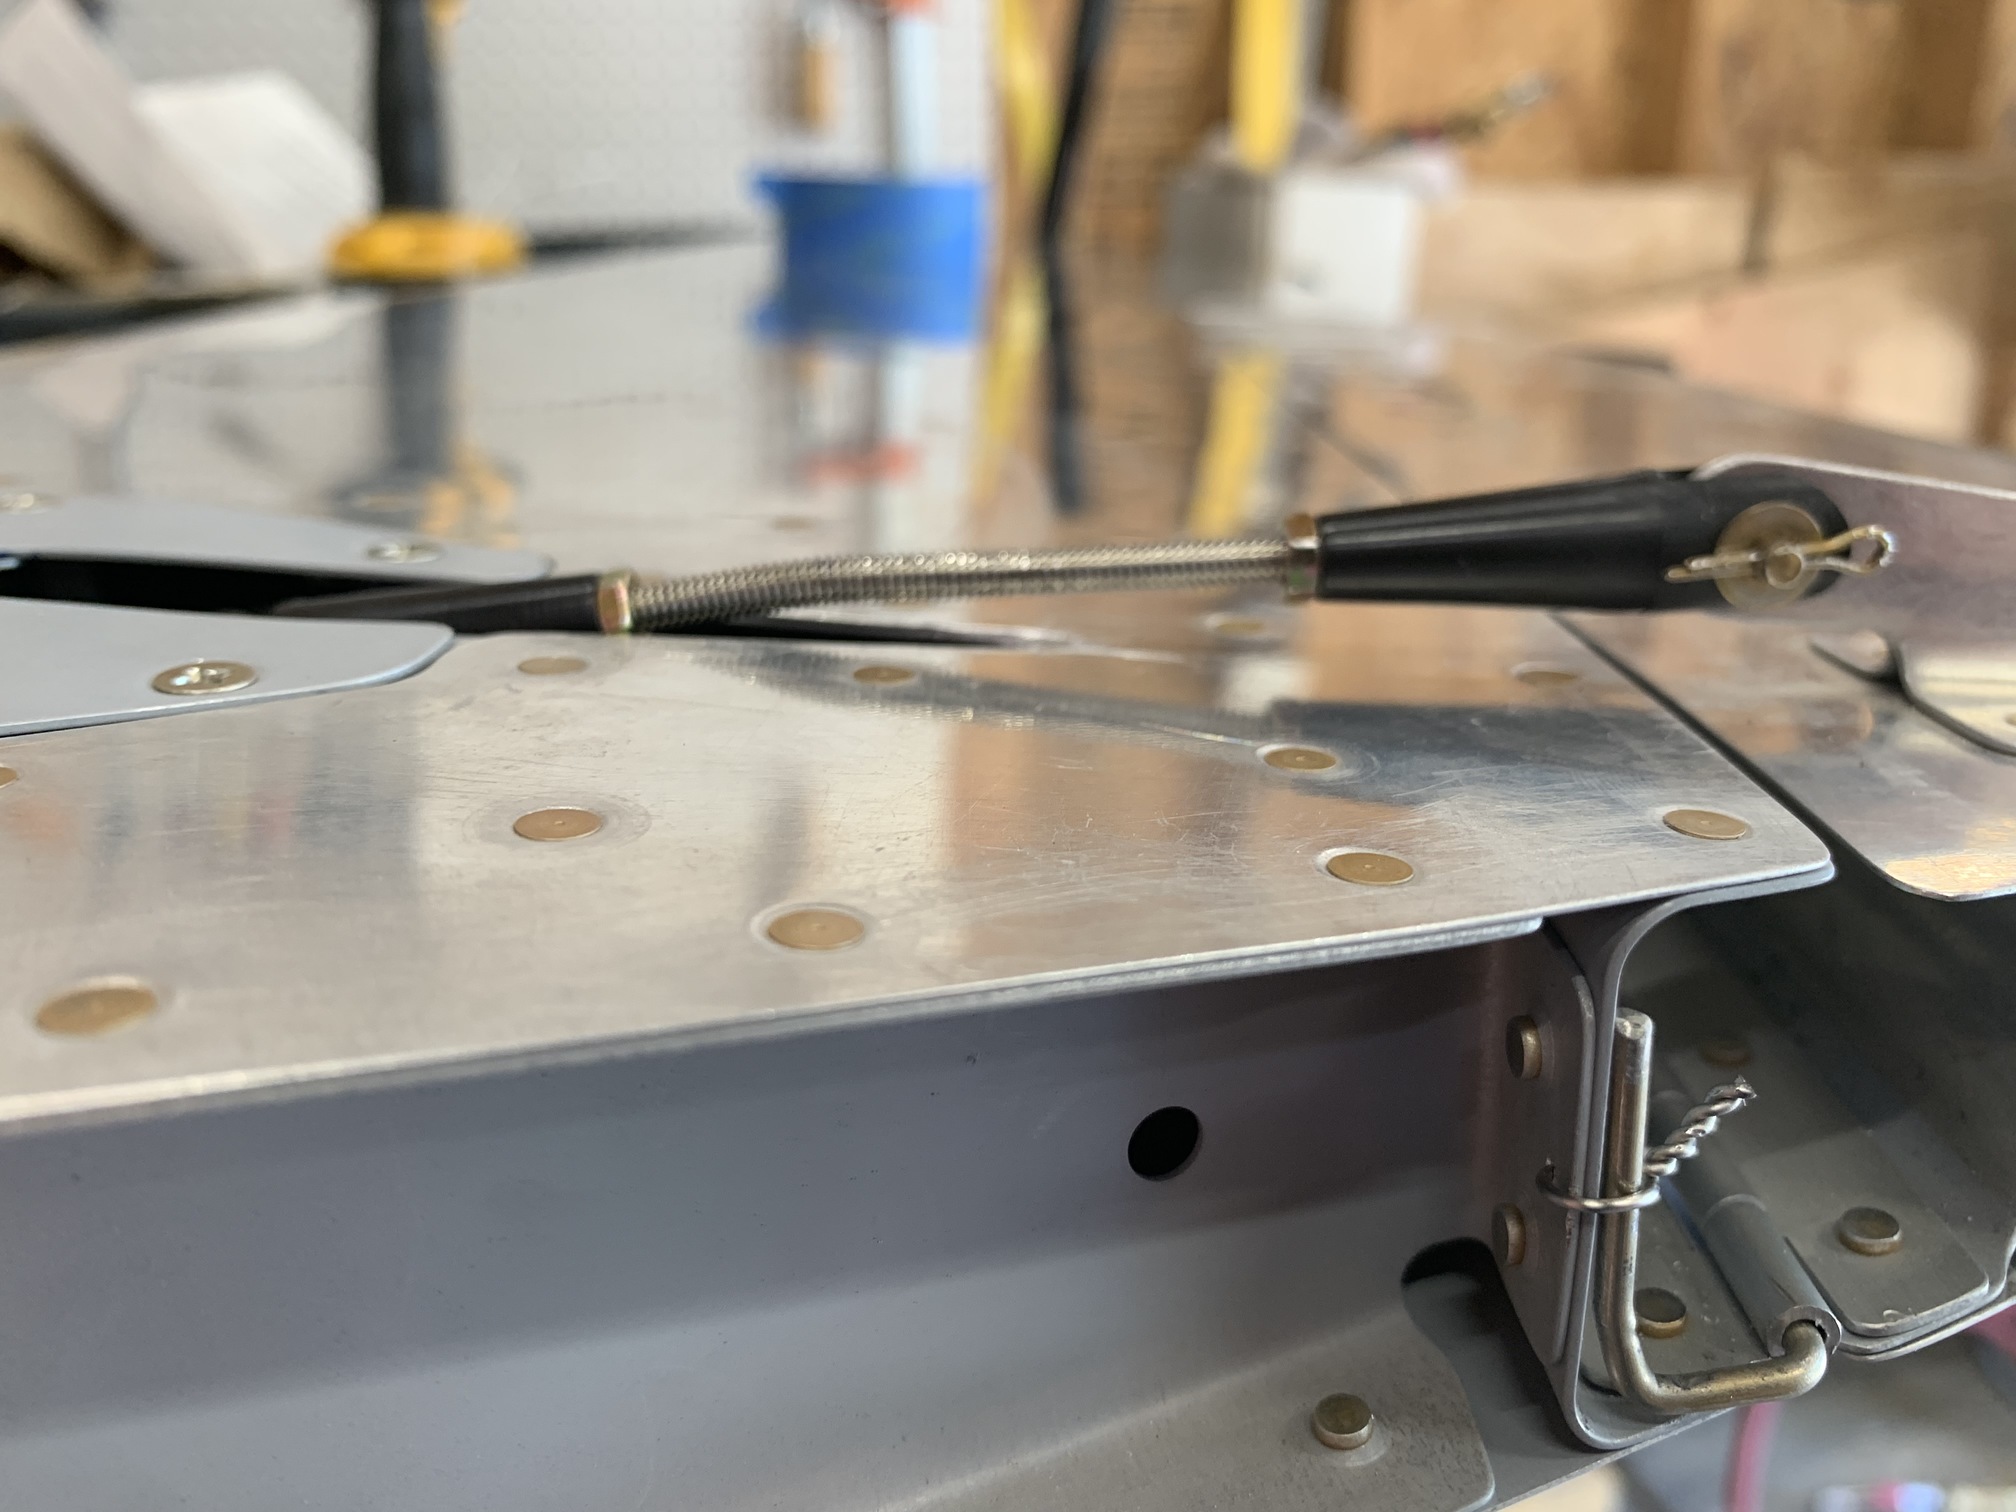
Here's a close-up of the slight bend. Also, I know the cotter pin on the right side is not installed correctly, but I'm assuming this assembly will have to come apart when I do the electrical wiring, so I'm not bending it yet.
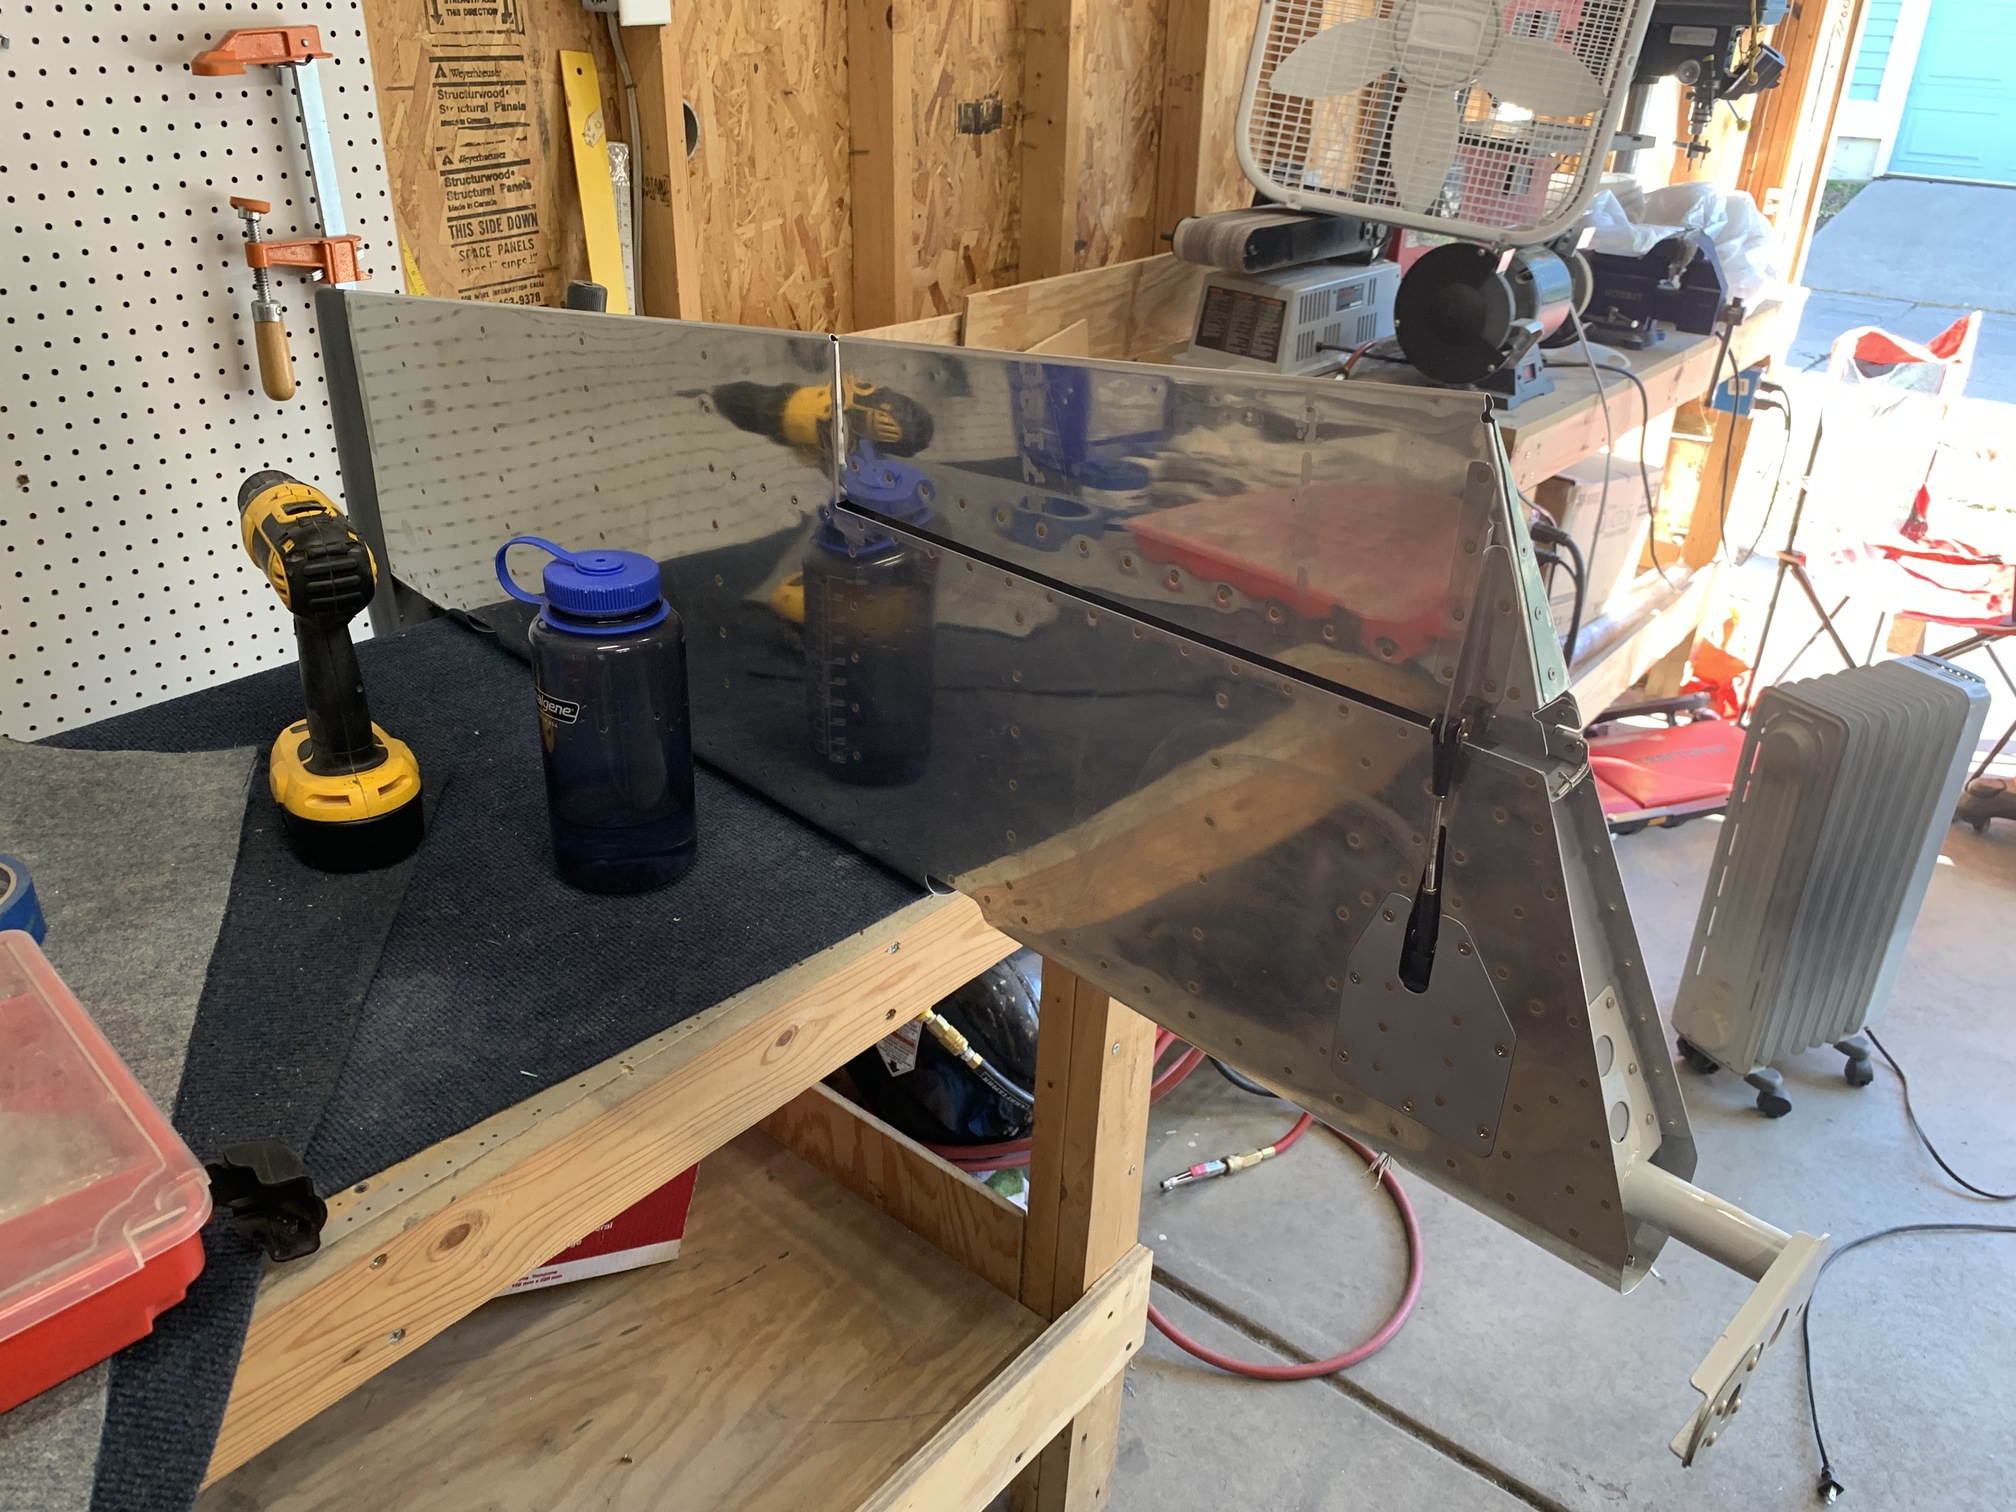
Just another little detail taken care of. I put the left elevator back up on the shelf.
I'm intending to fit the wing tips at some point in the near future. I've had them sitting on a shelf for the last 3 years and they've gotten a bit of a bow in a few areas. I know I read somewhere that the best way to store them is by hanging them from the aft tip, so I did that. Hopefully they'll straighten out into their natural shape a bit.

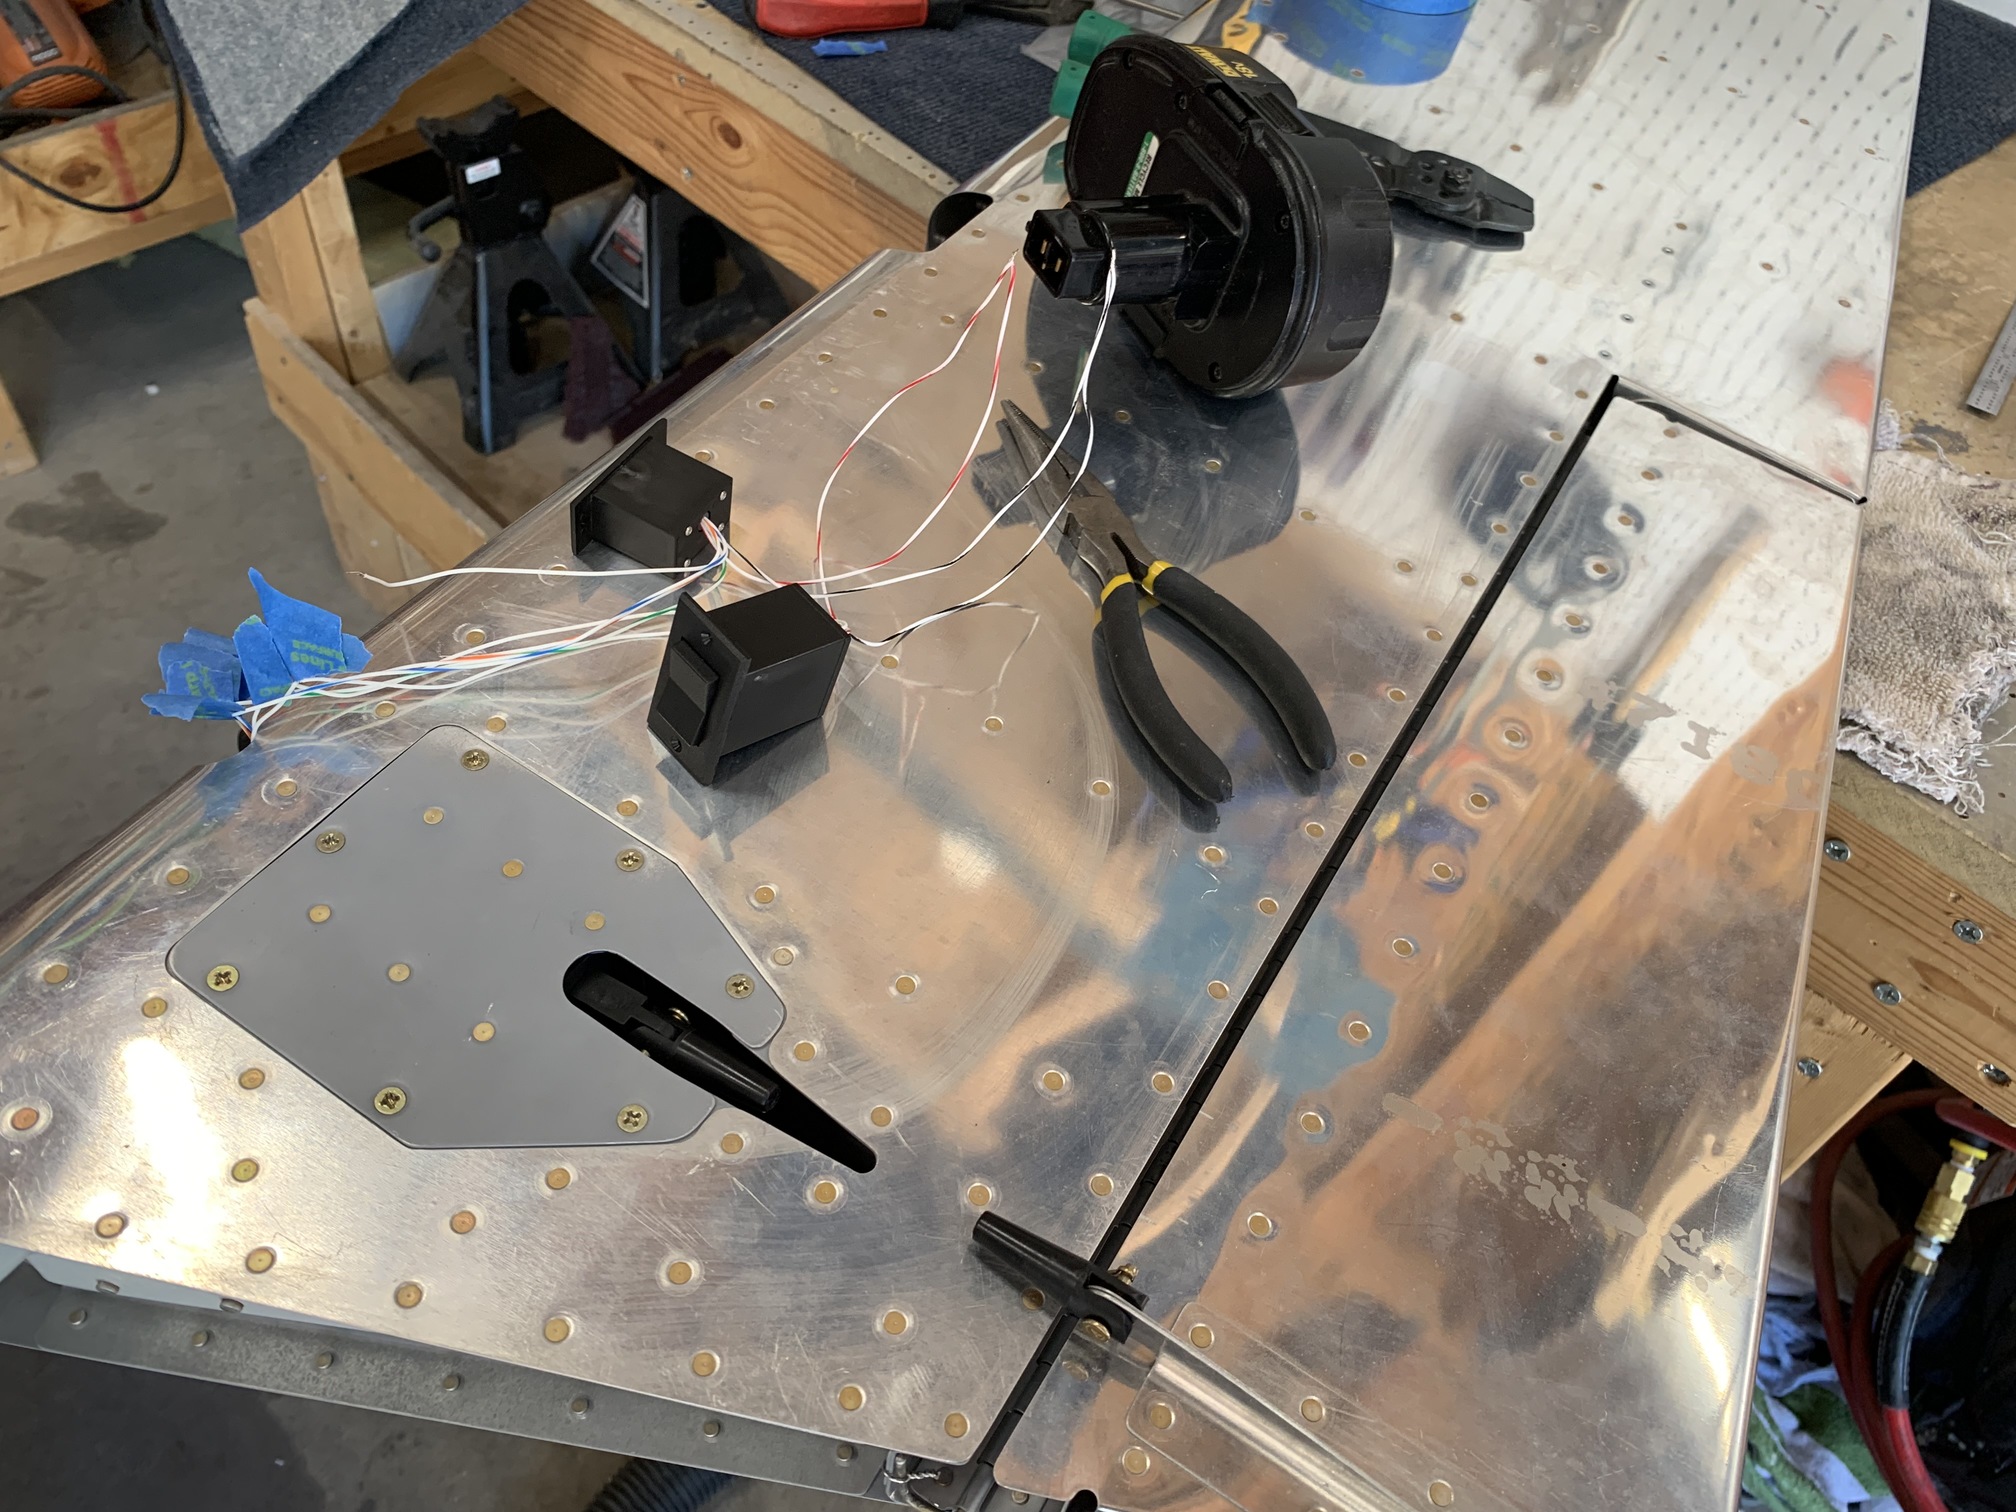
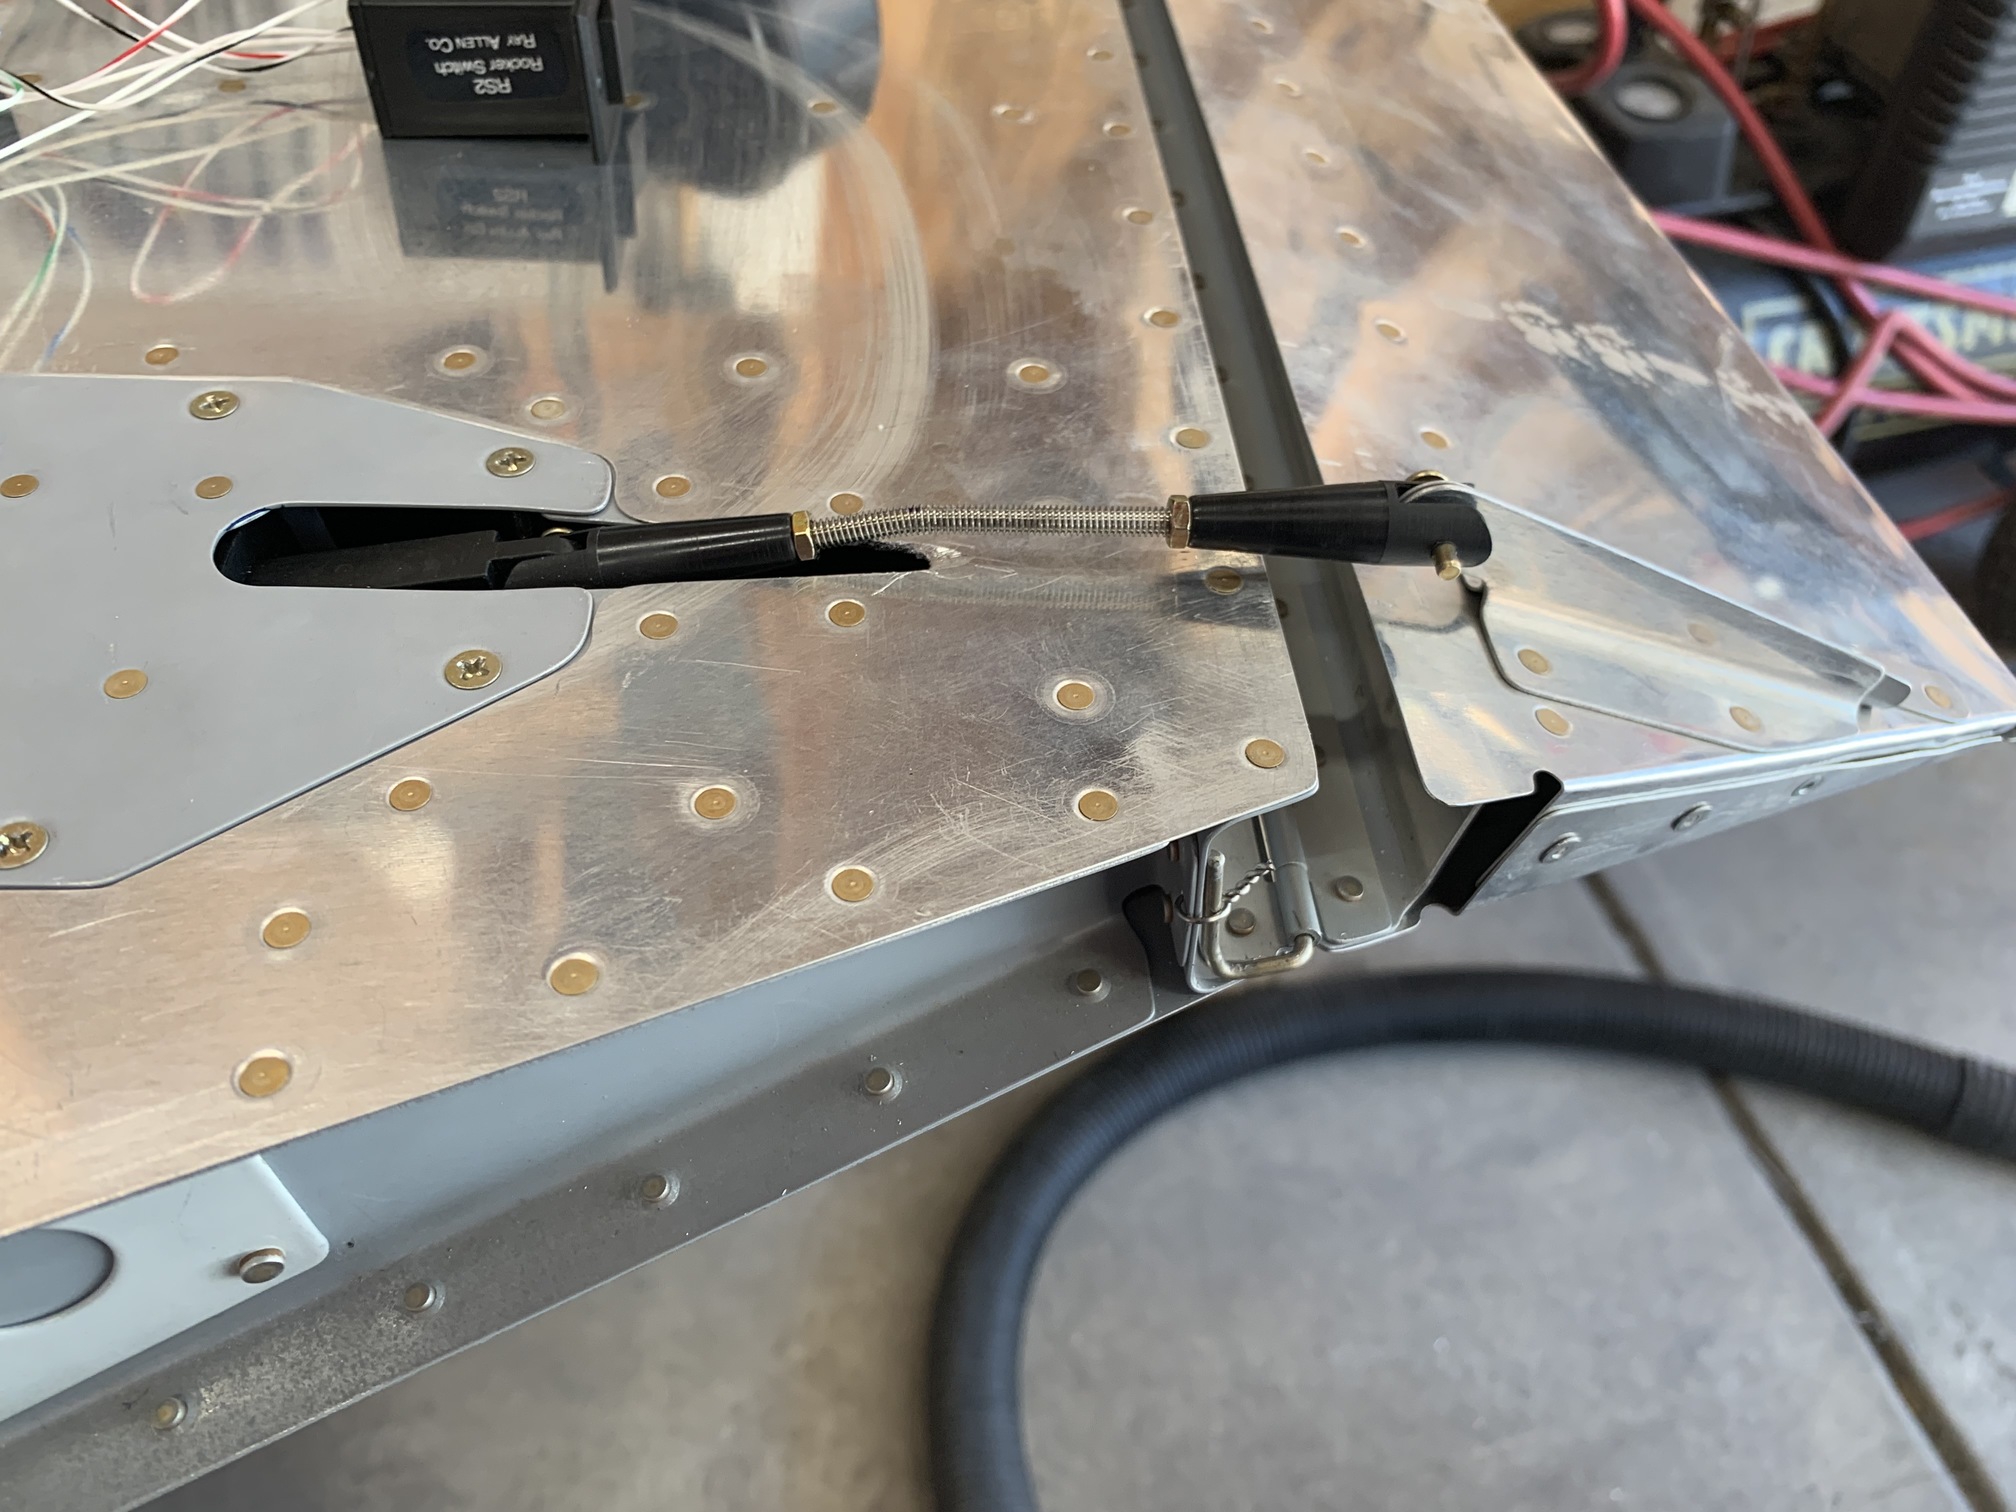
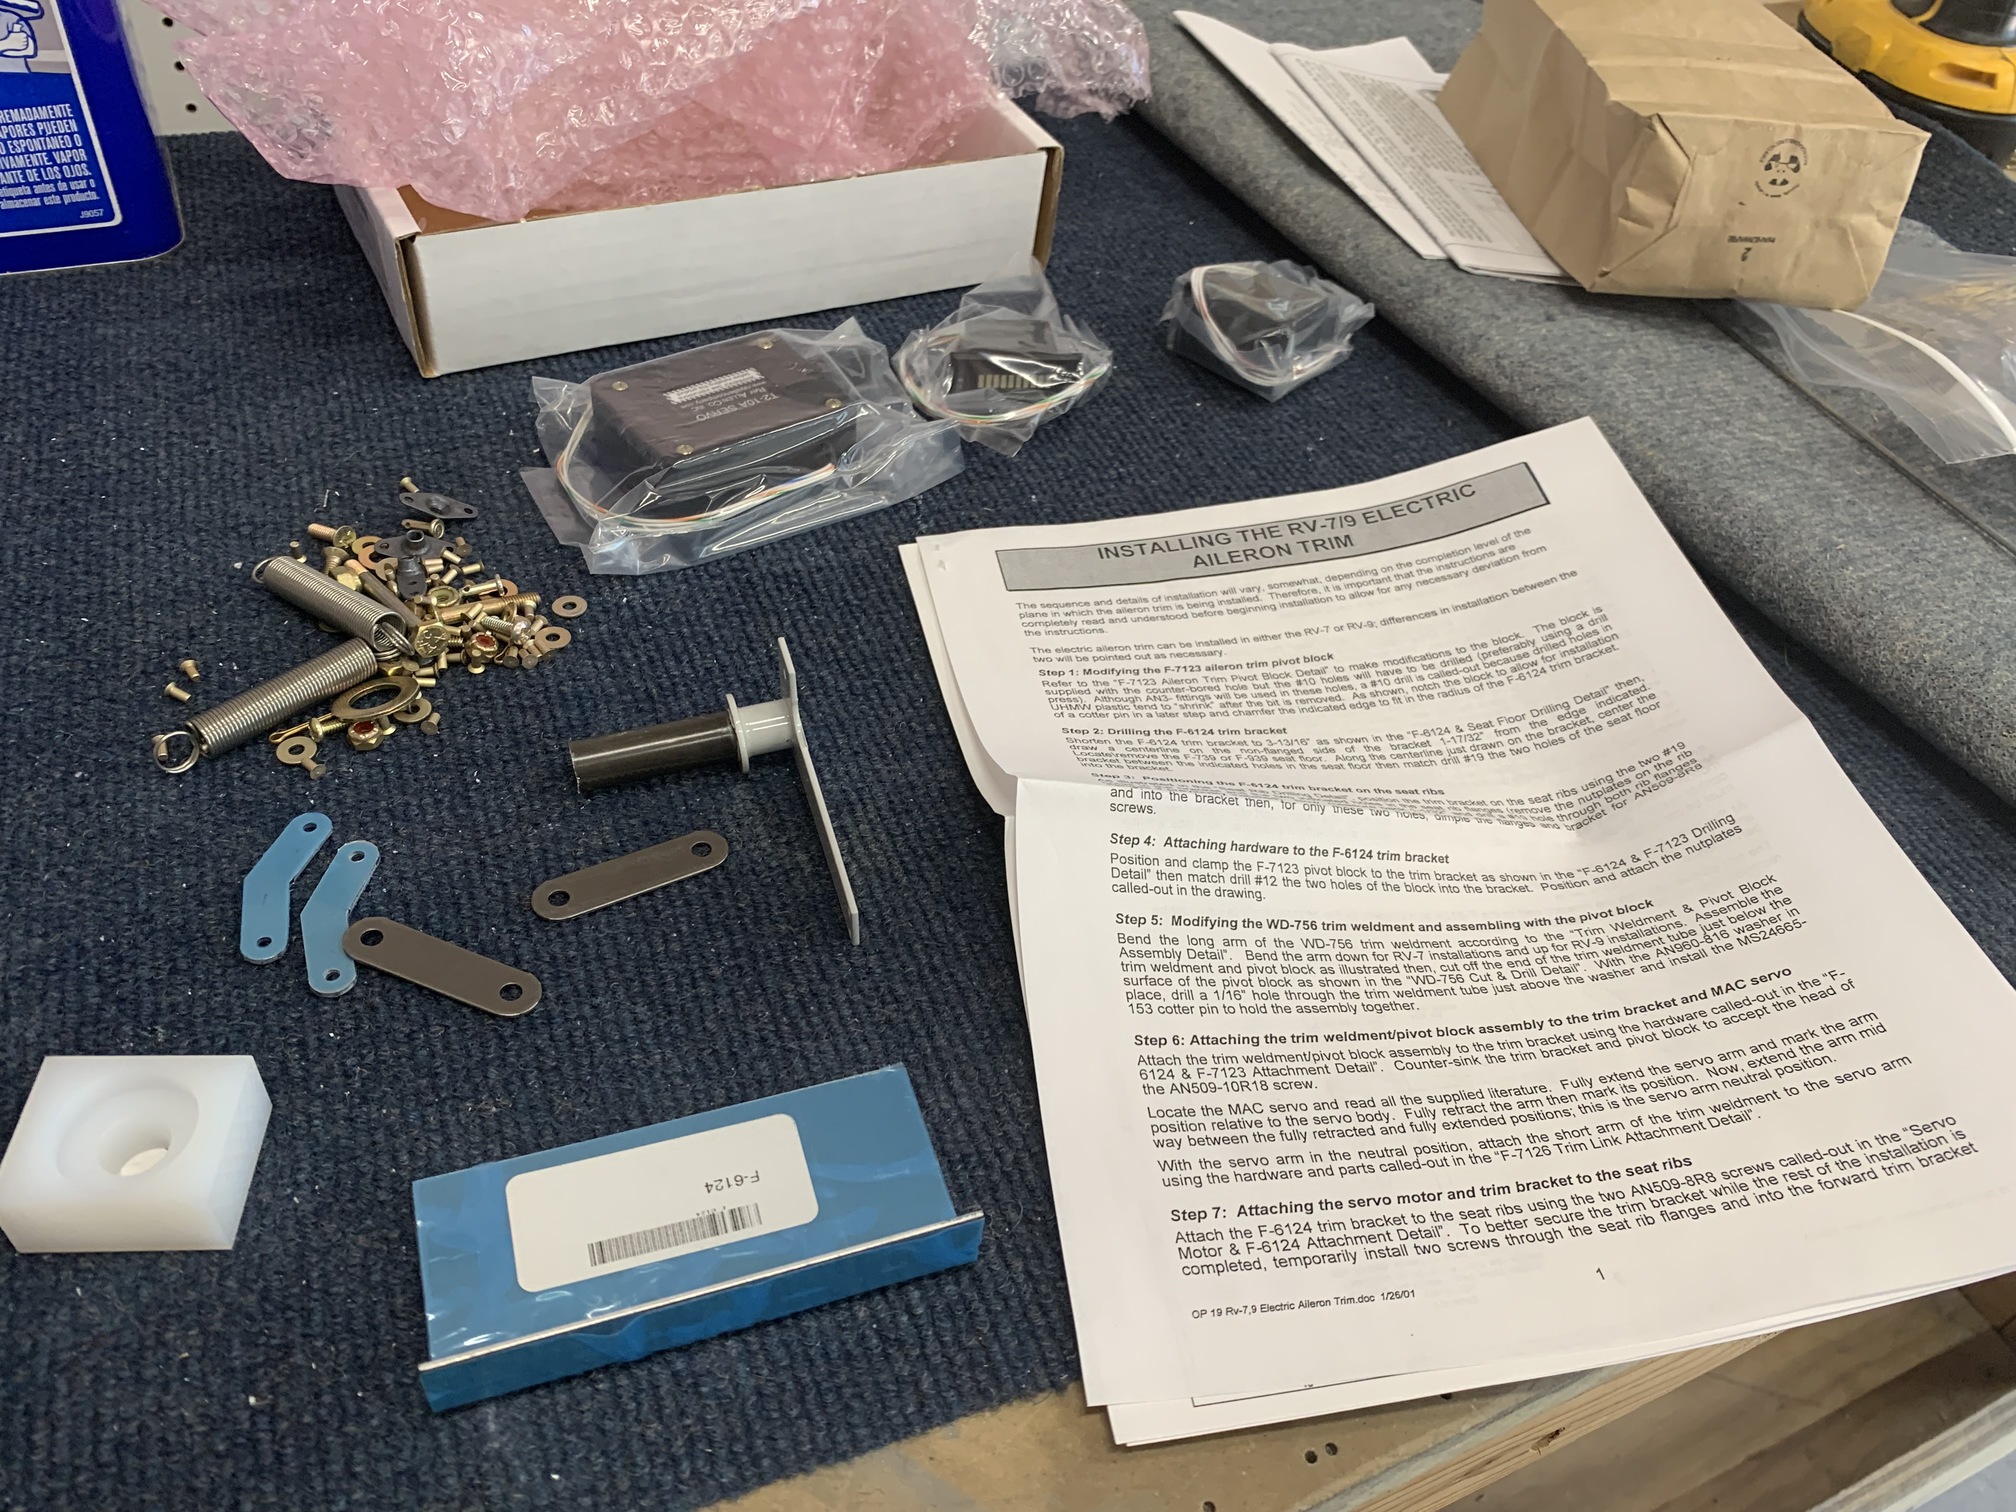
Next, I got out the aileron trim package and read through the whole process. The aileron trim gets installed in the center fuselage under the seats and works by applying small amounts of pressure to the control stick through a couple of springs.
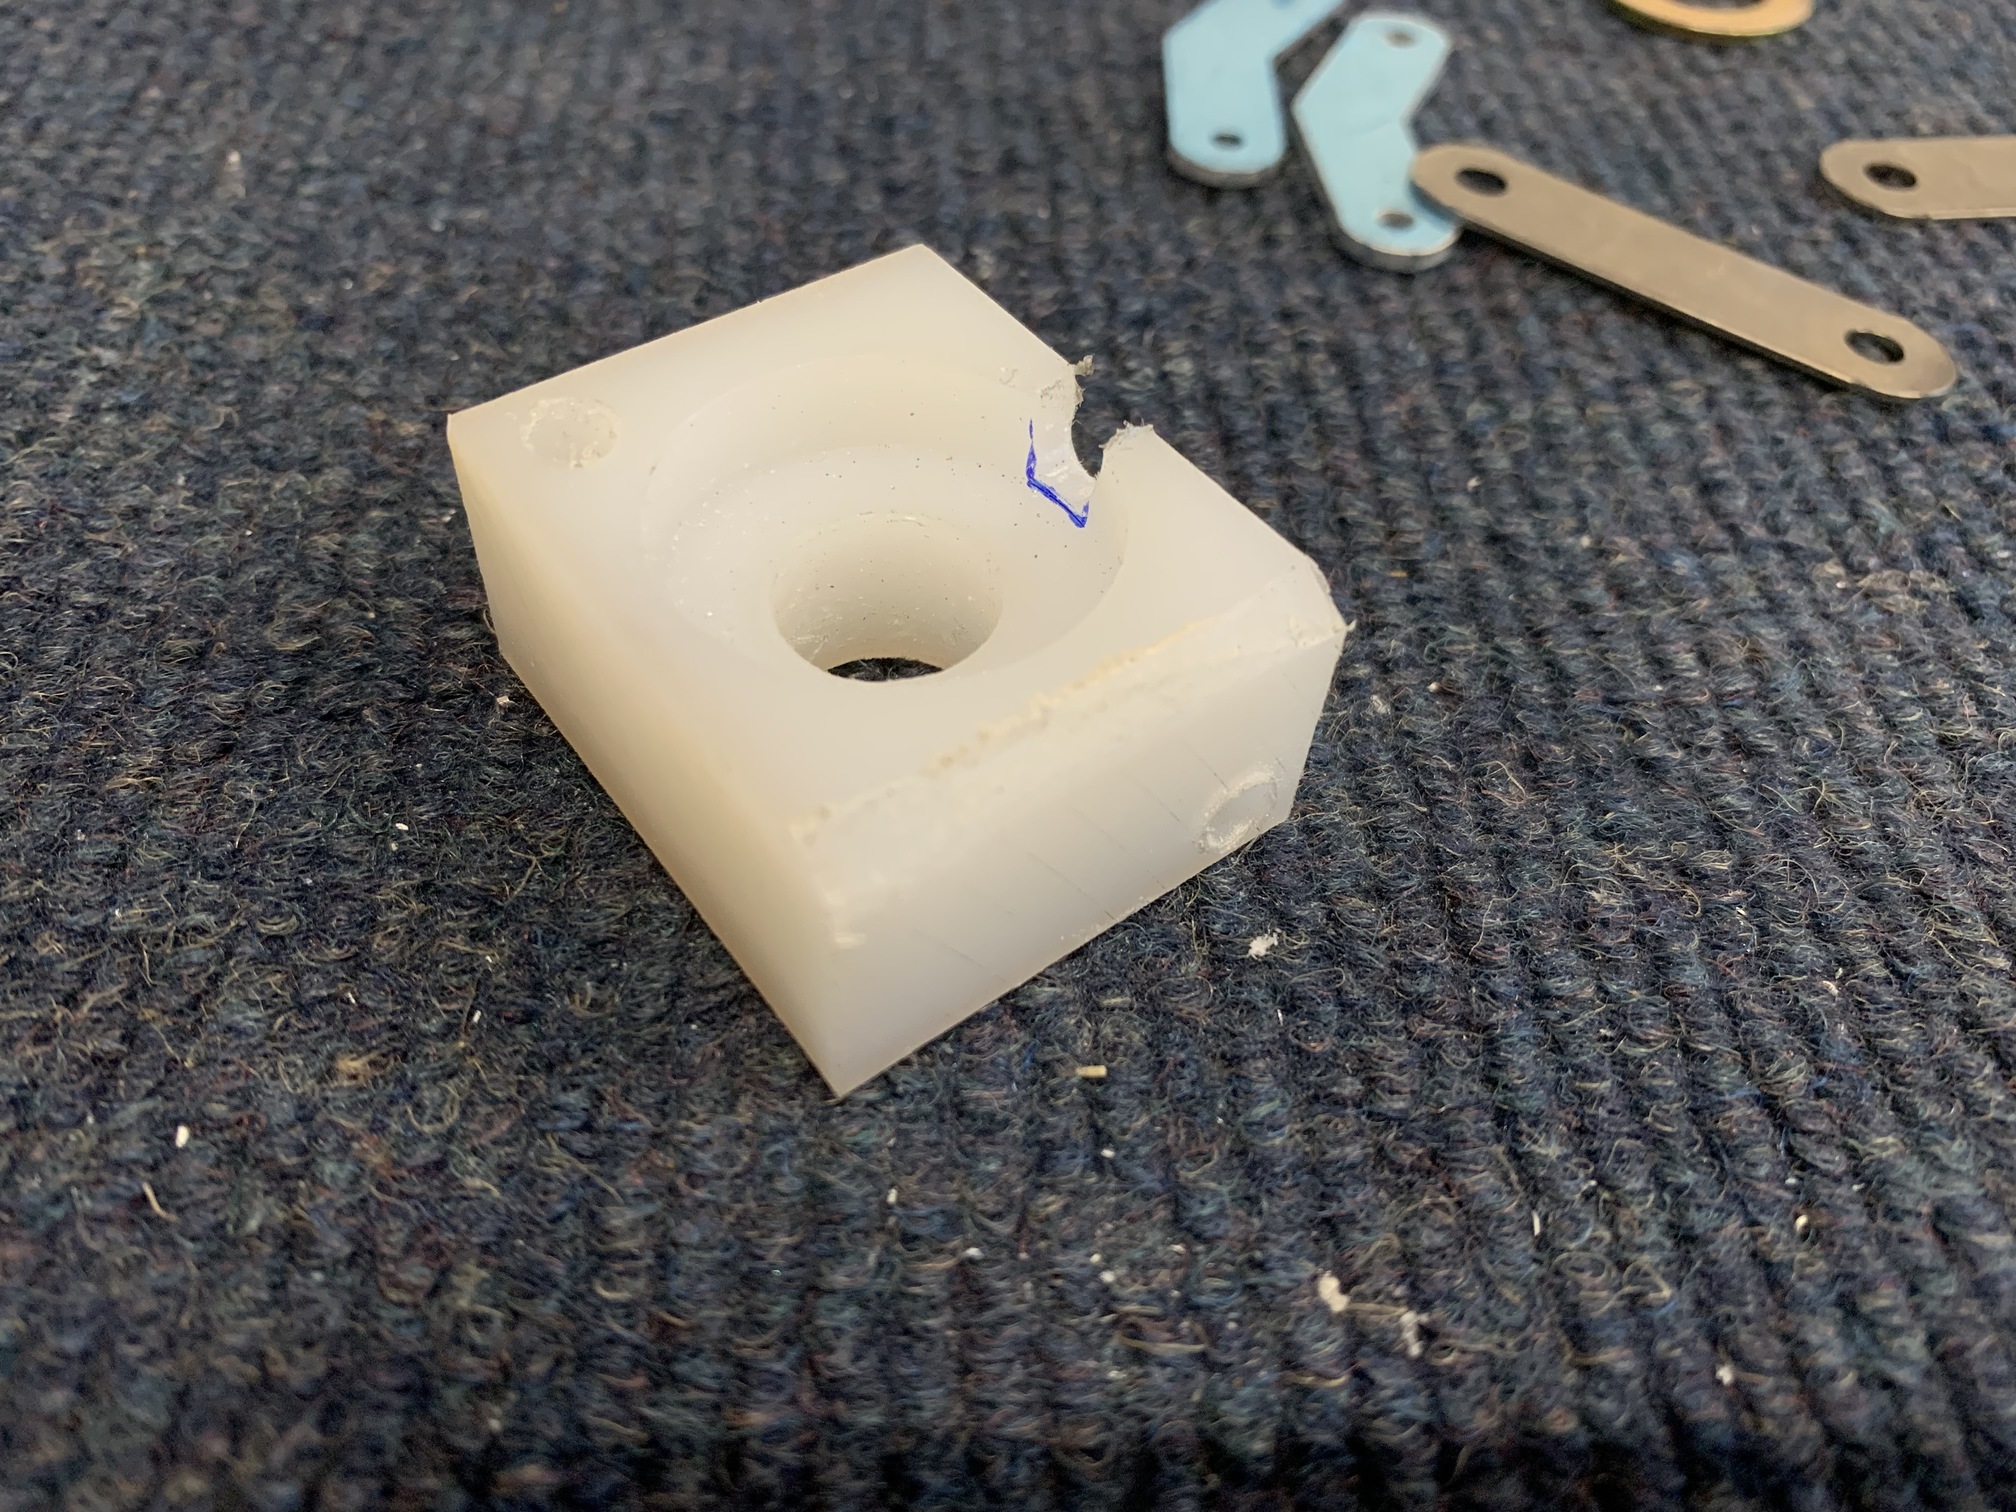
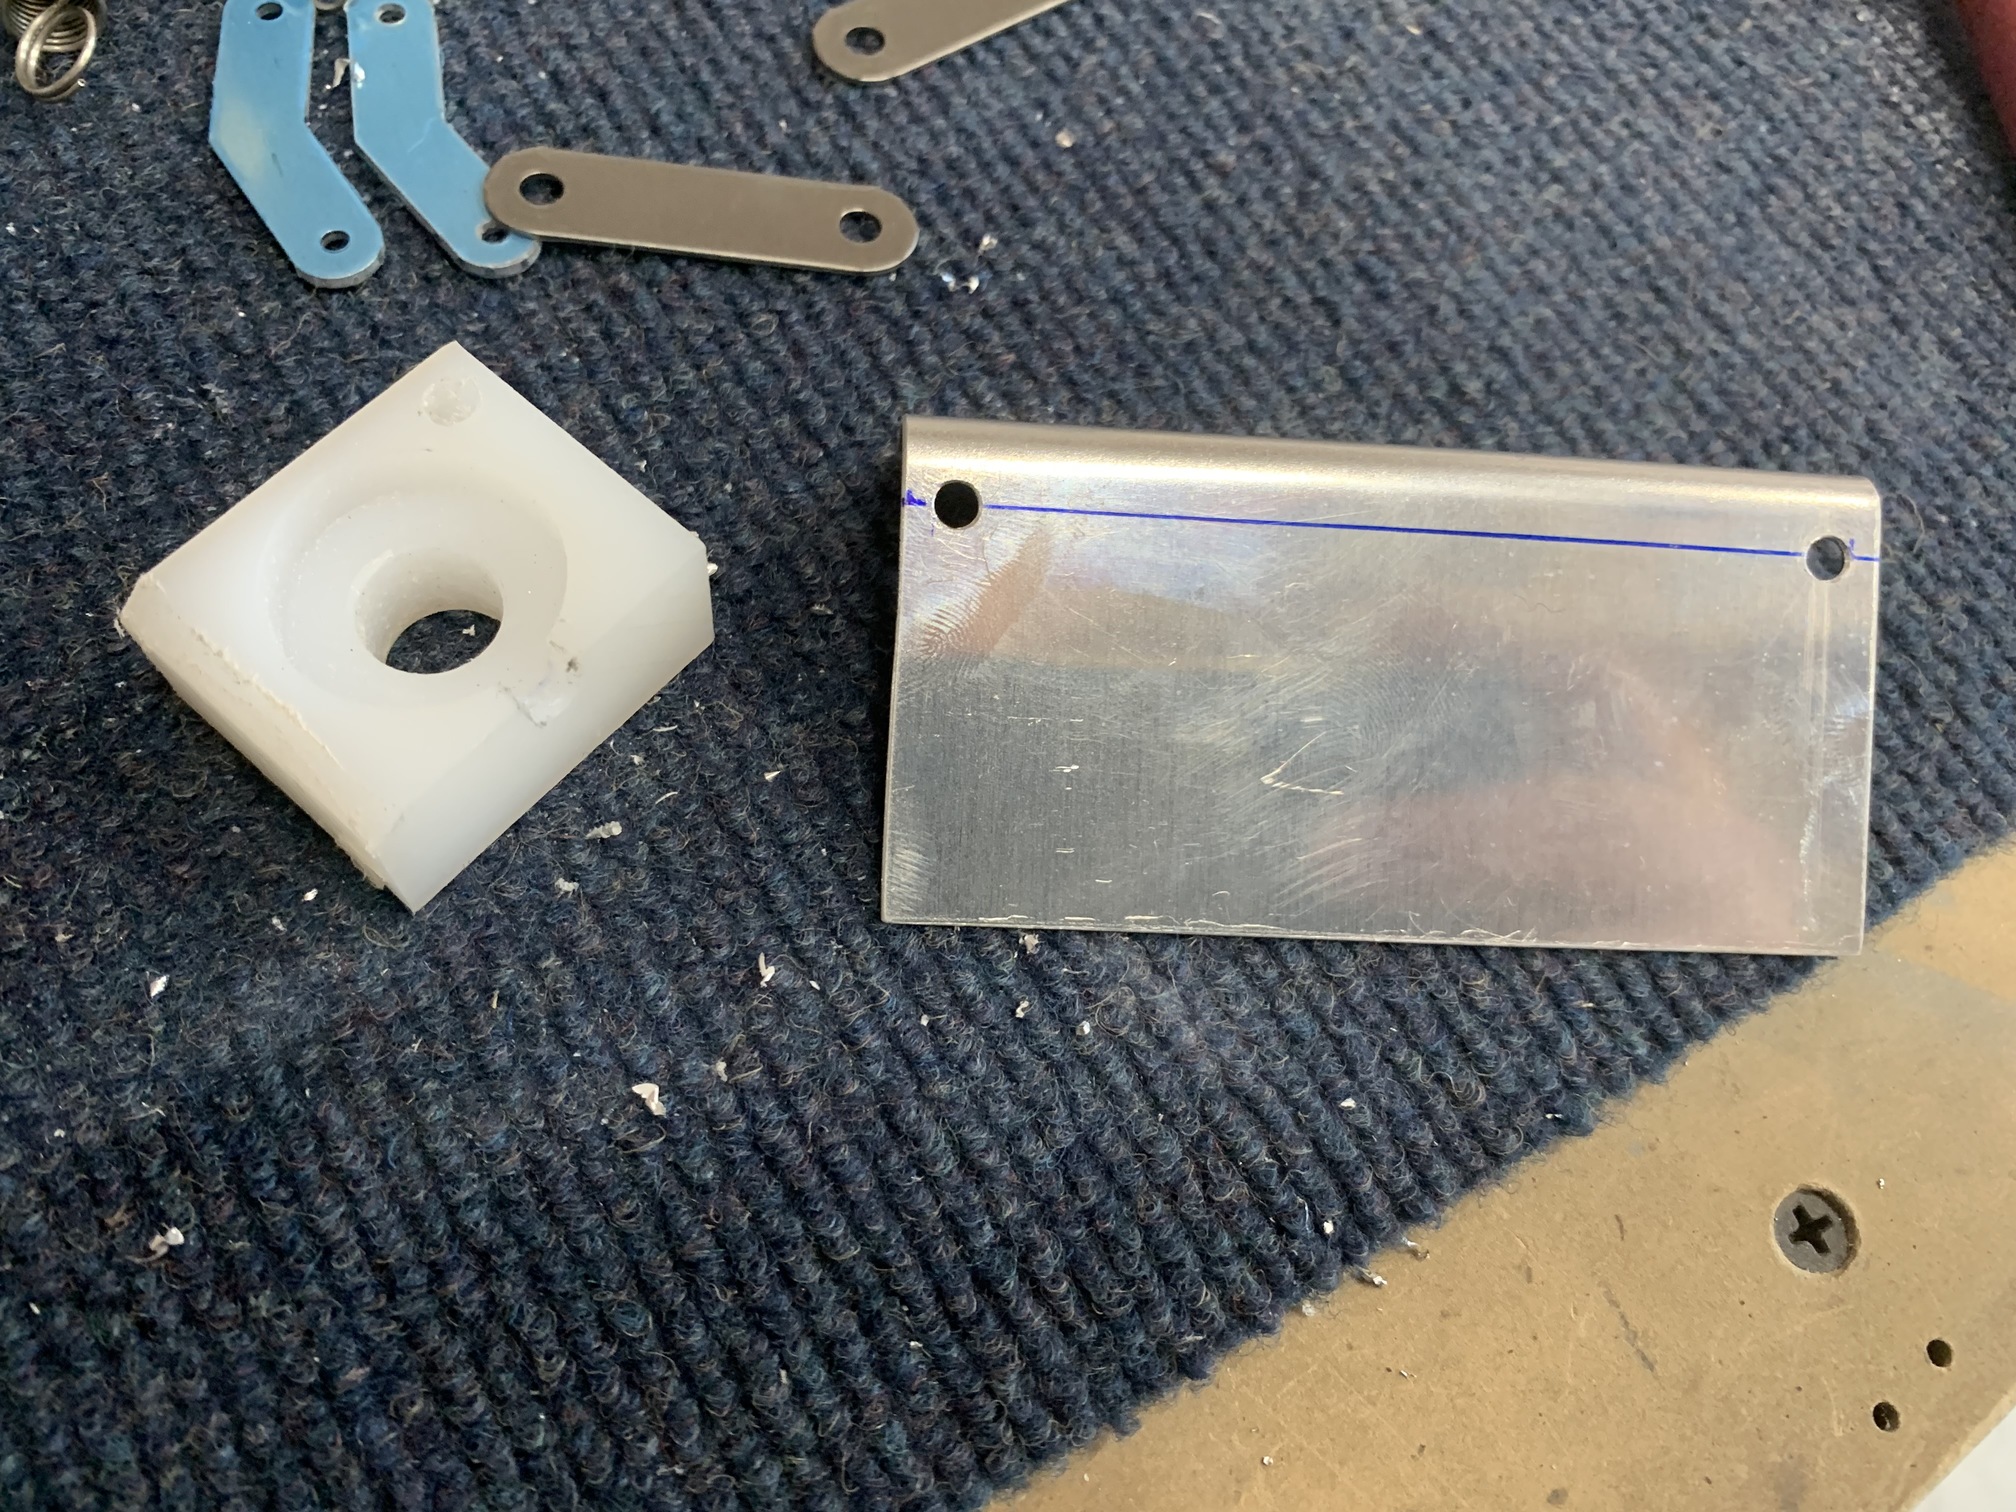
First, I modified this delrin block as indicated, by drilling a few holes, chamfering one of the edges, and putting a notch in the big circular hole.
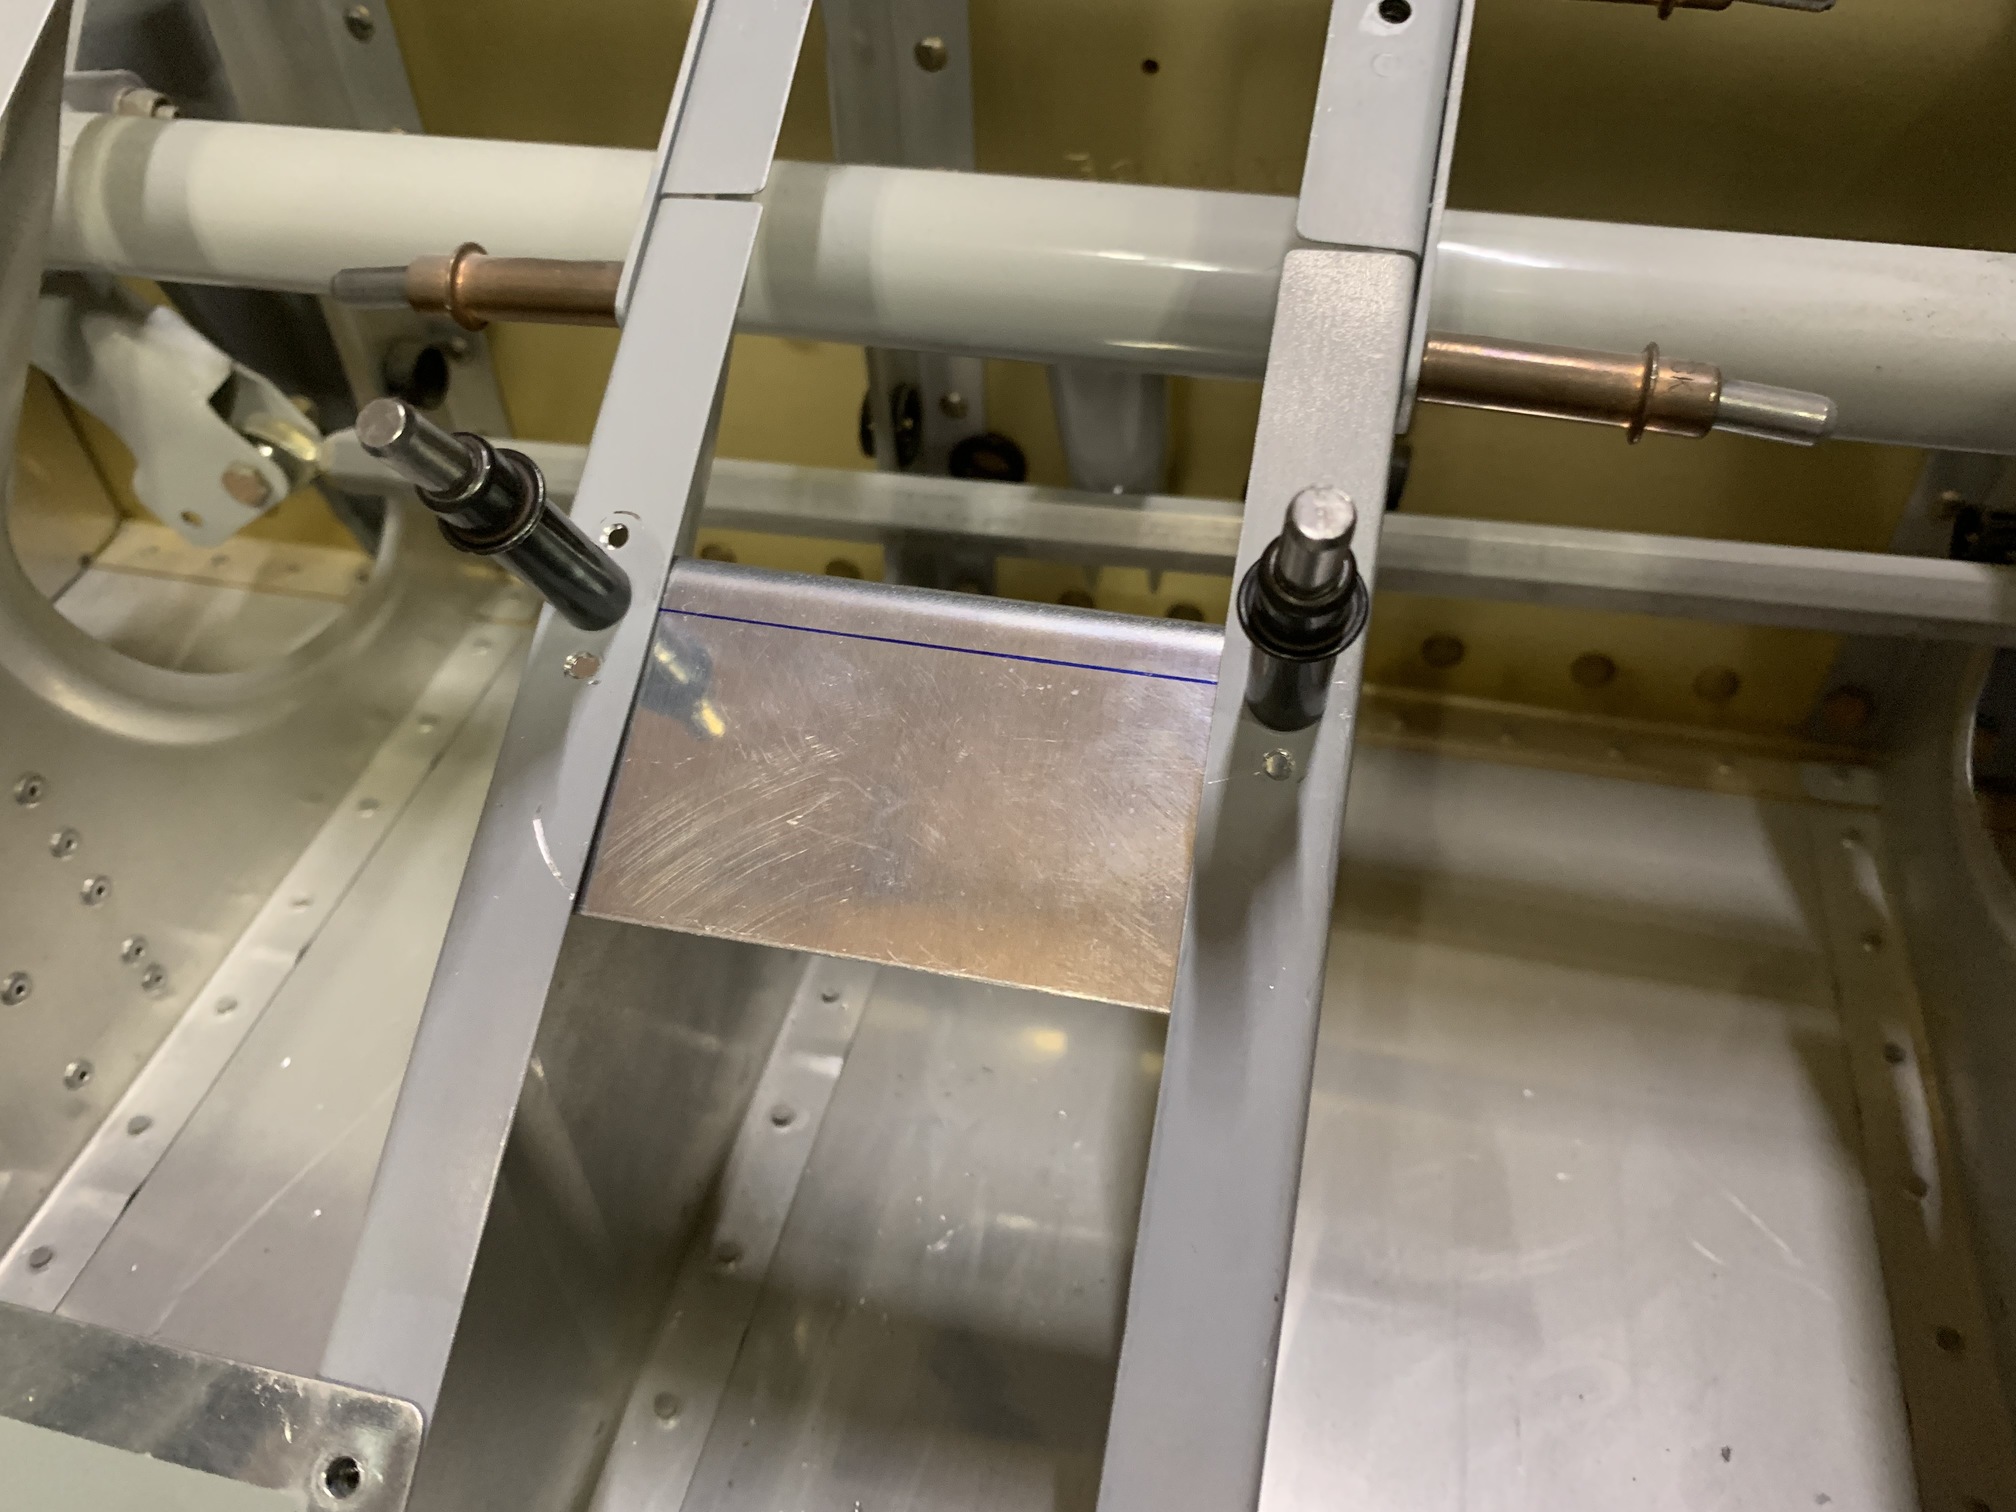
Then, I trimmed this angle and match drilled a couple of holes from one of the seat pans per the plans.
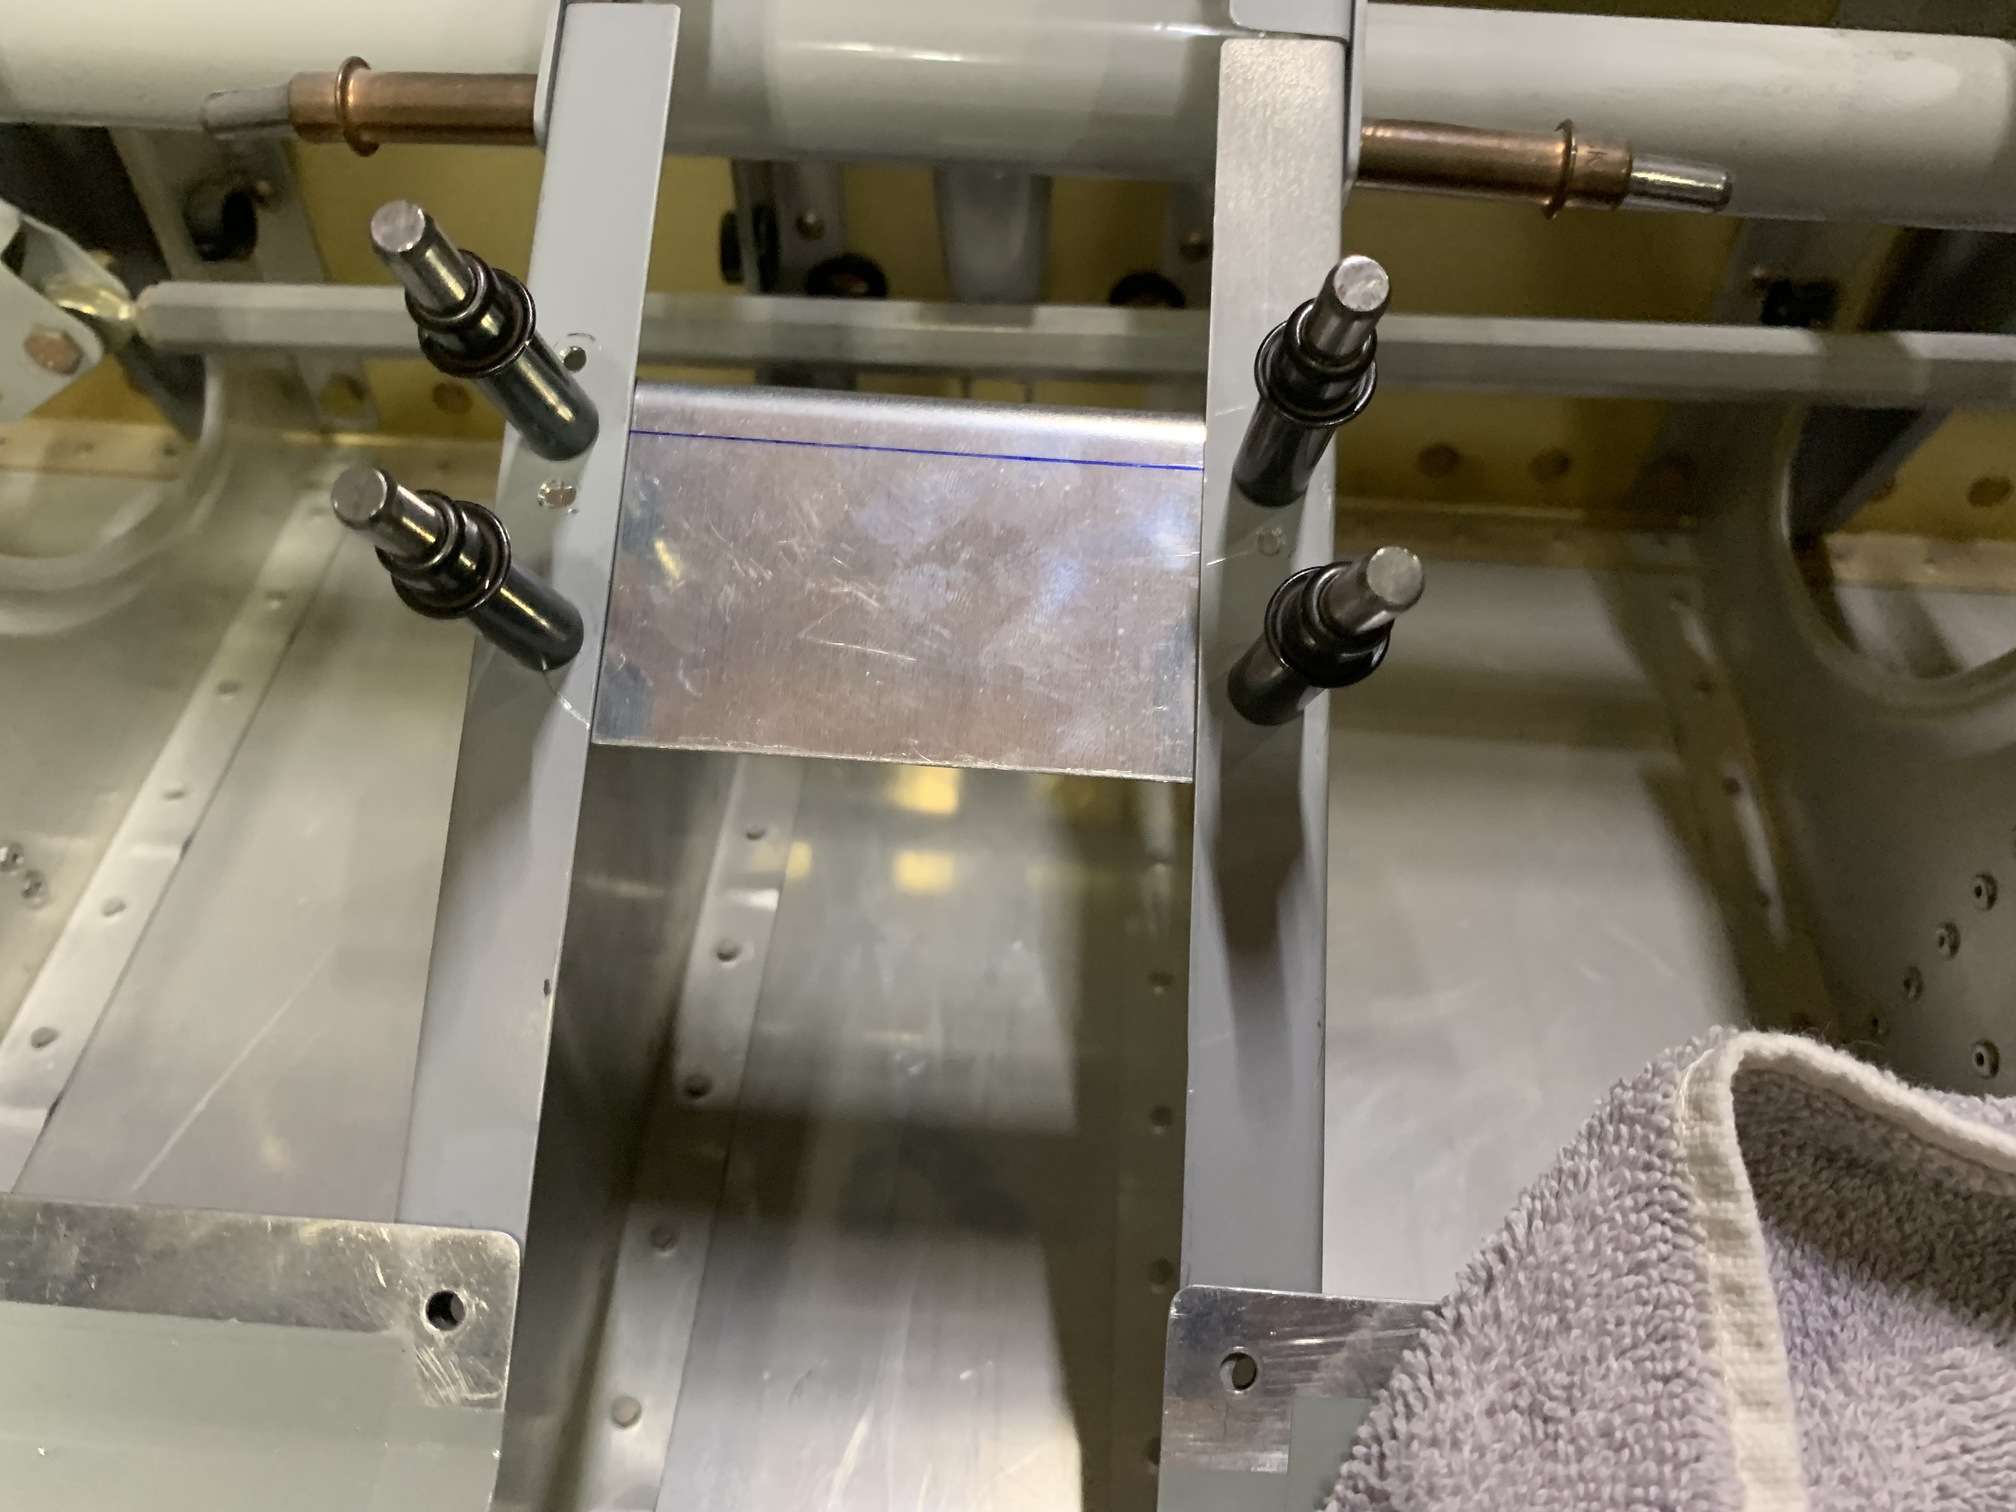
Then, I removed these two nutplates from under the seat pans and cleco'd the angle in place.
Then I measured, drilled, and dimpled these two additional holes.
| Previous - Index - Next |
This work is licensed under Attribution-NonCommercial-NoDerivatives 4.0 International![]()
![]()
![]()
![]()