Log (By Day)
Log (By Category)
Pictures
Pics of Me Working
Links
| ||||||||||||
Sunday October 3, 2021
New Landing Lights, New Pitot Tube Mount
(Wings)
4.5 Hours
| Previous - Index - Next |
My new "combo" landing lights arrived from Flyleds very quickly, despite them shipping from Australia. I got them out and started the assembly.
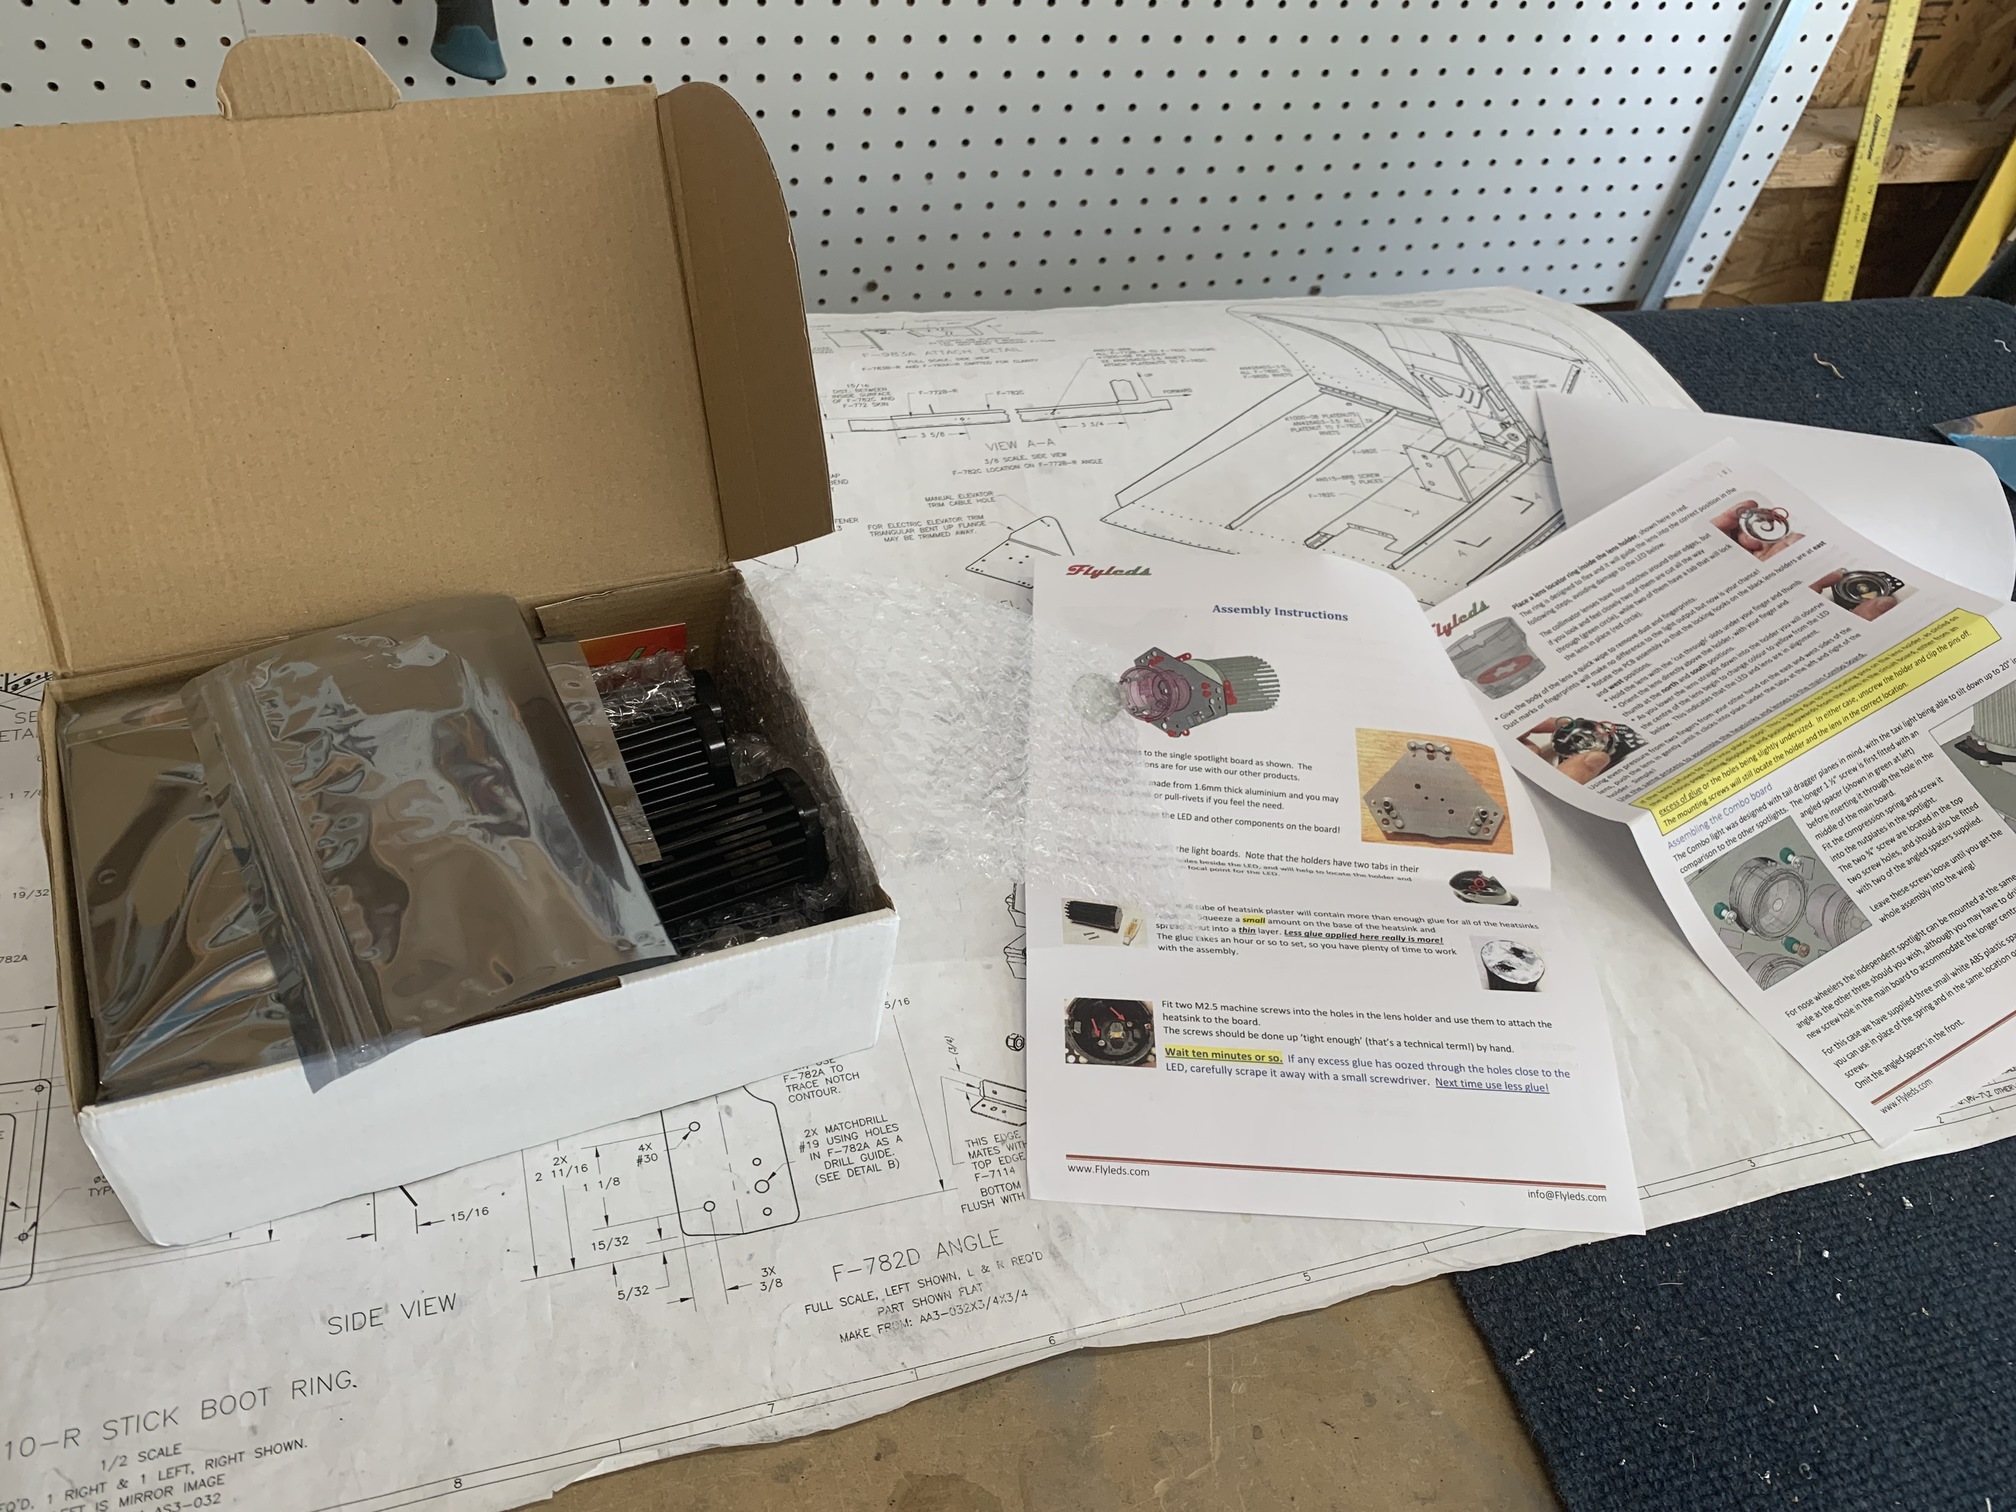
They come disassembled, but all of the electronics are already printed/soldered on some thick aluminum sheet with holes punched.
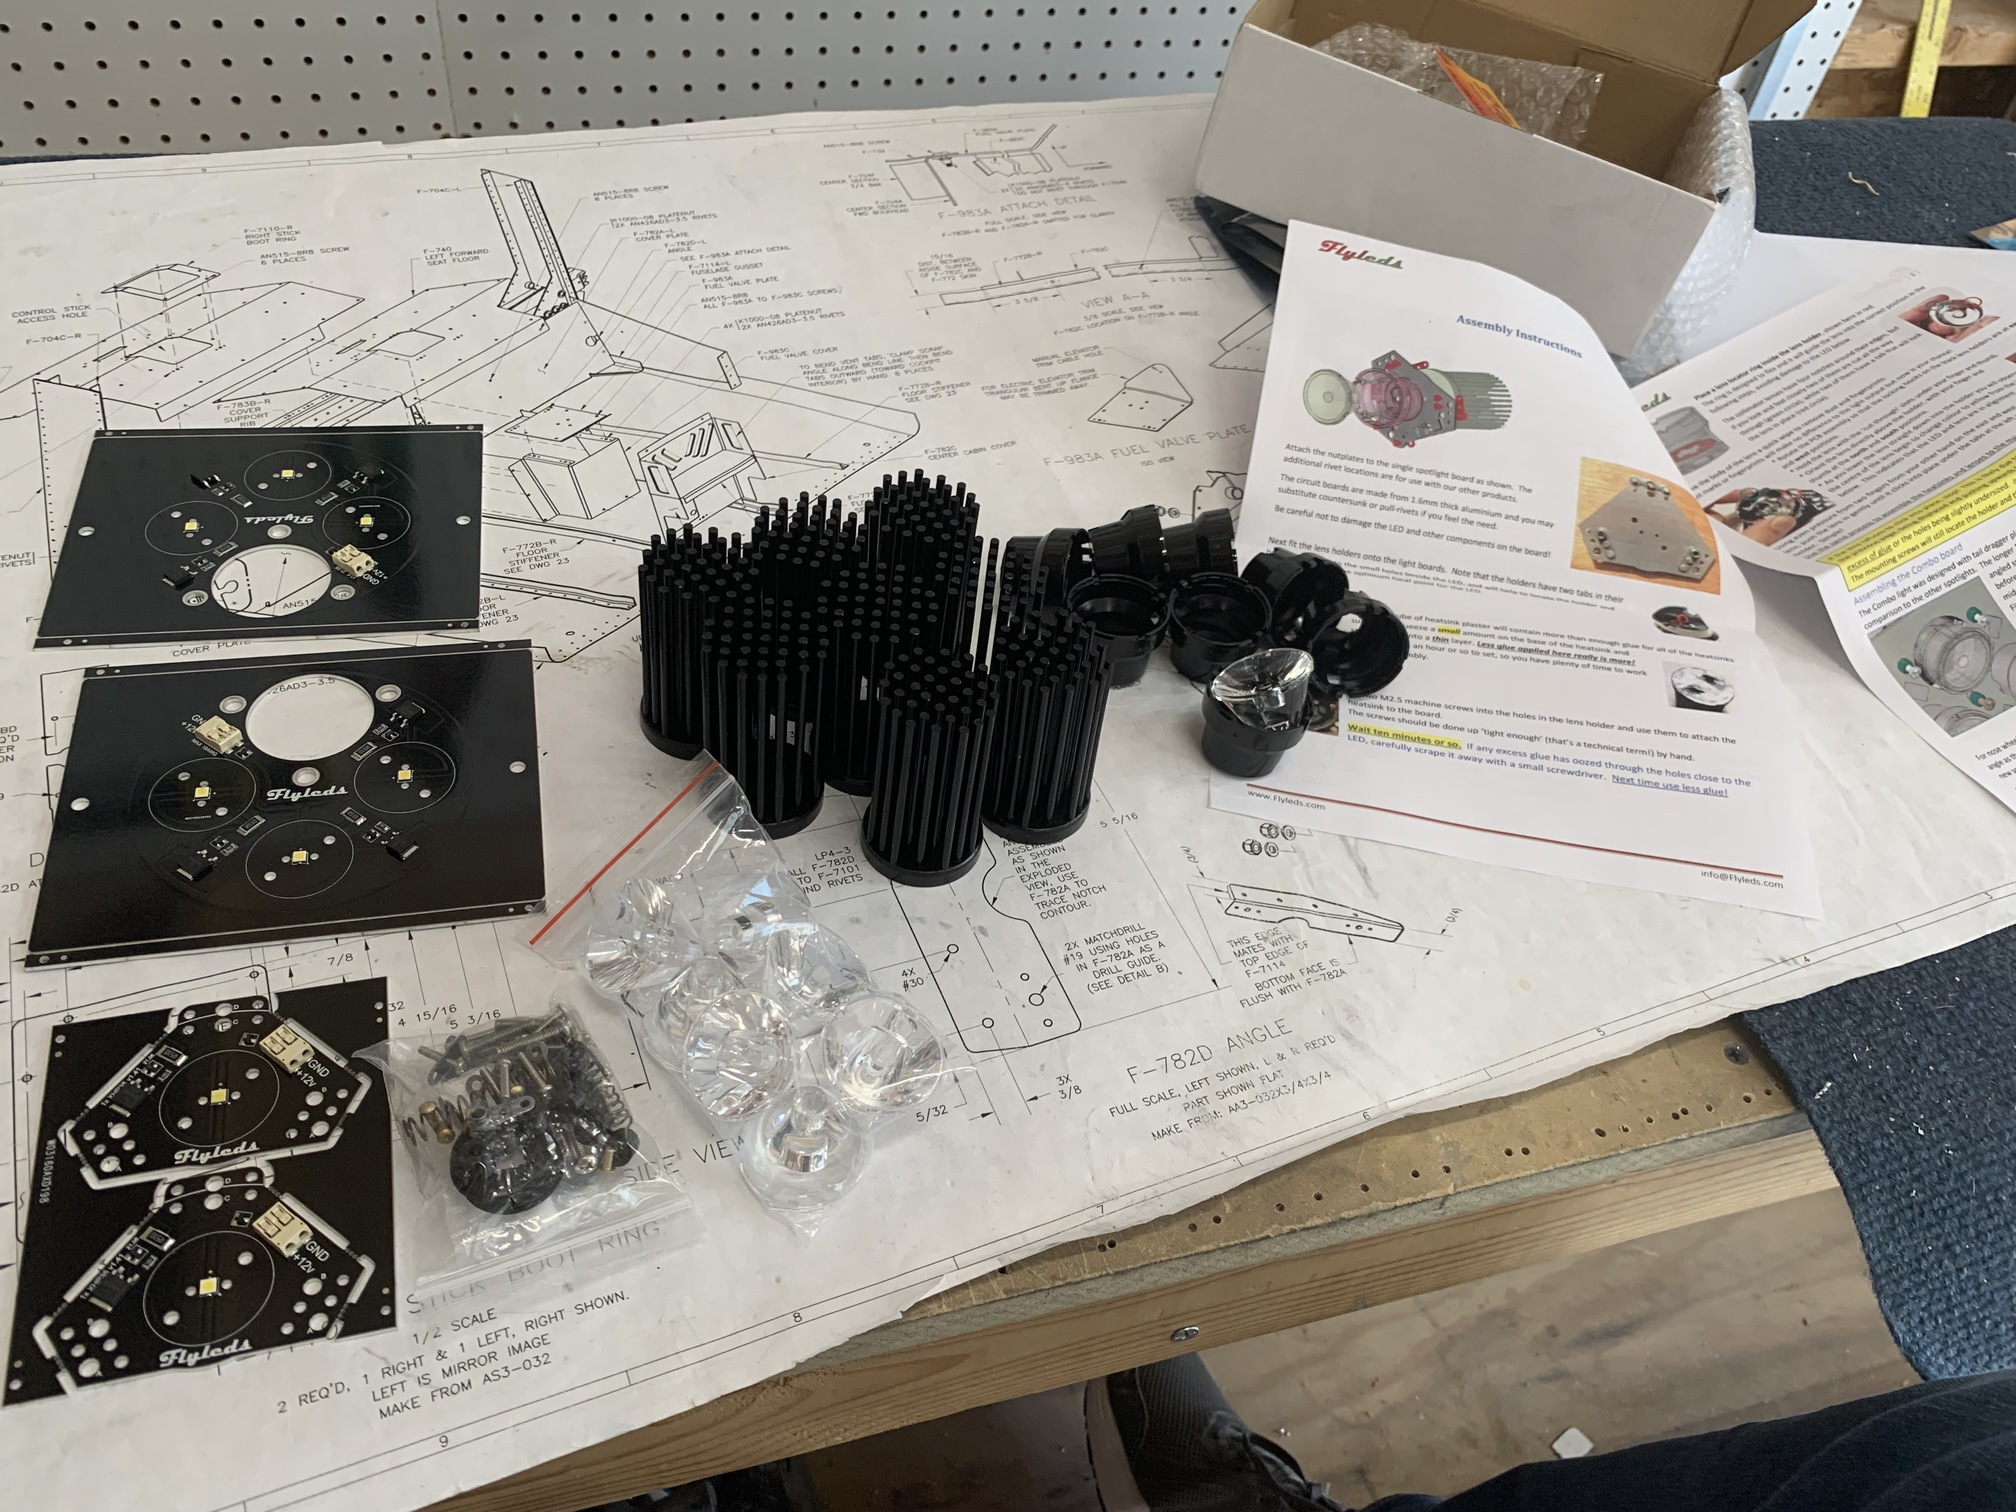
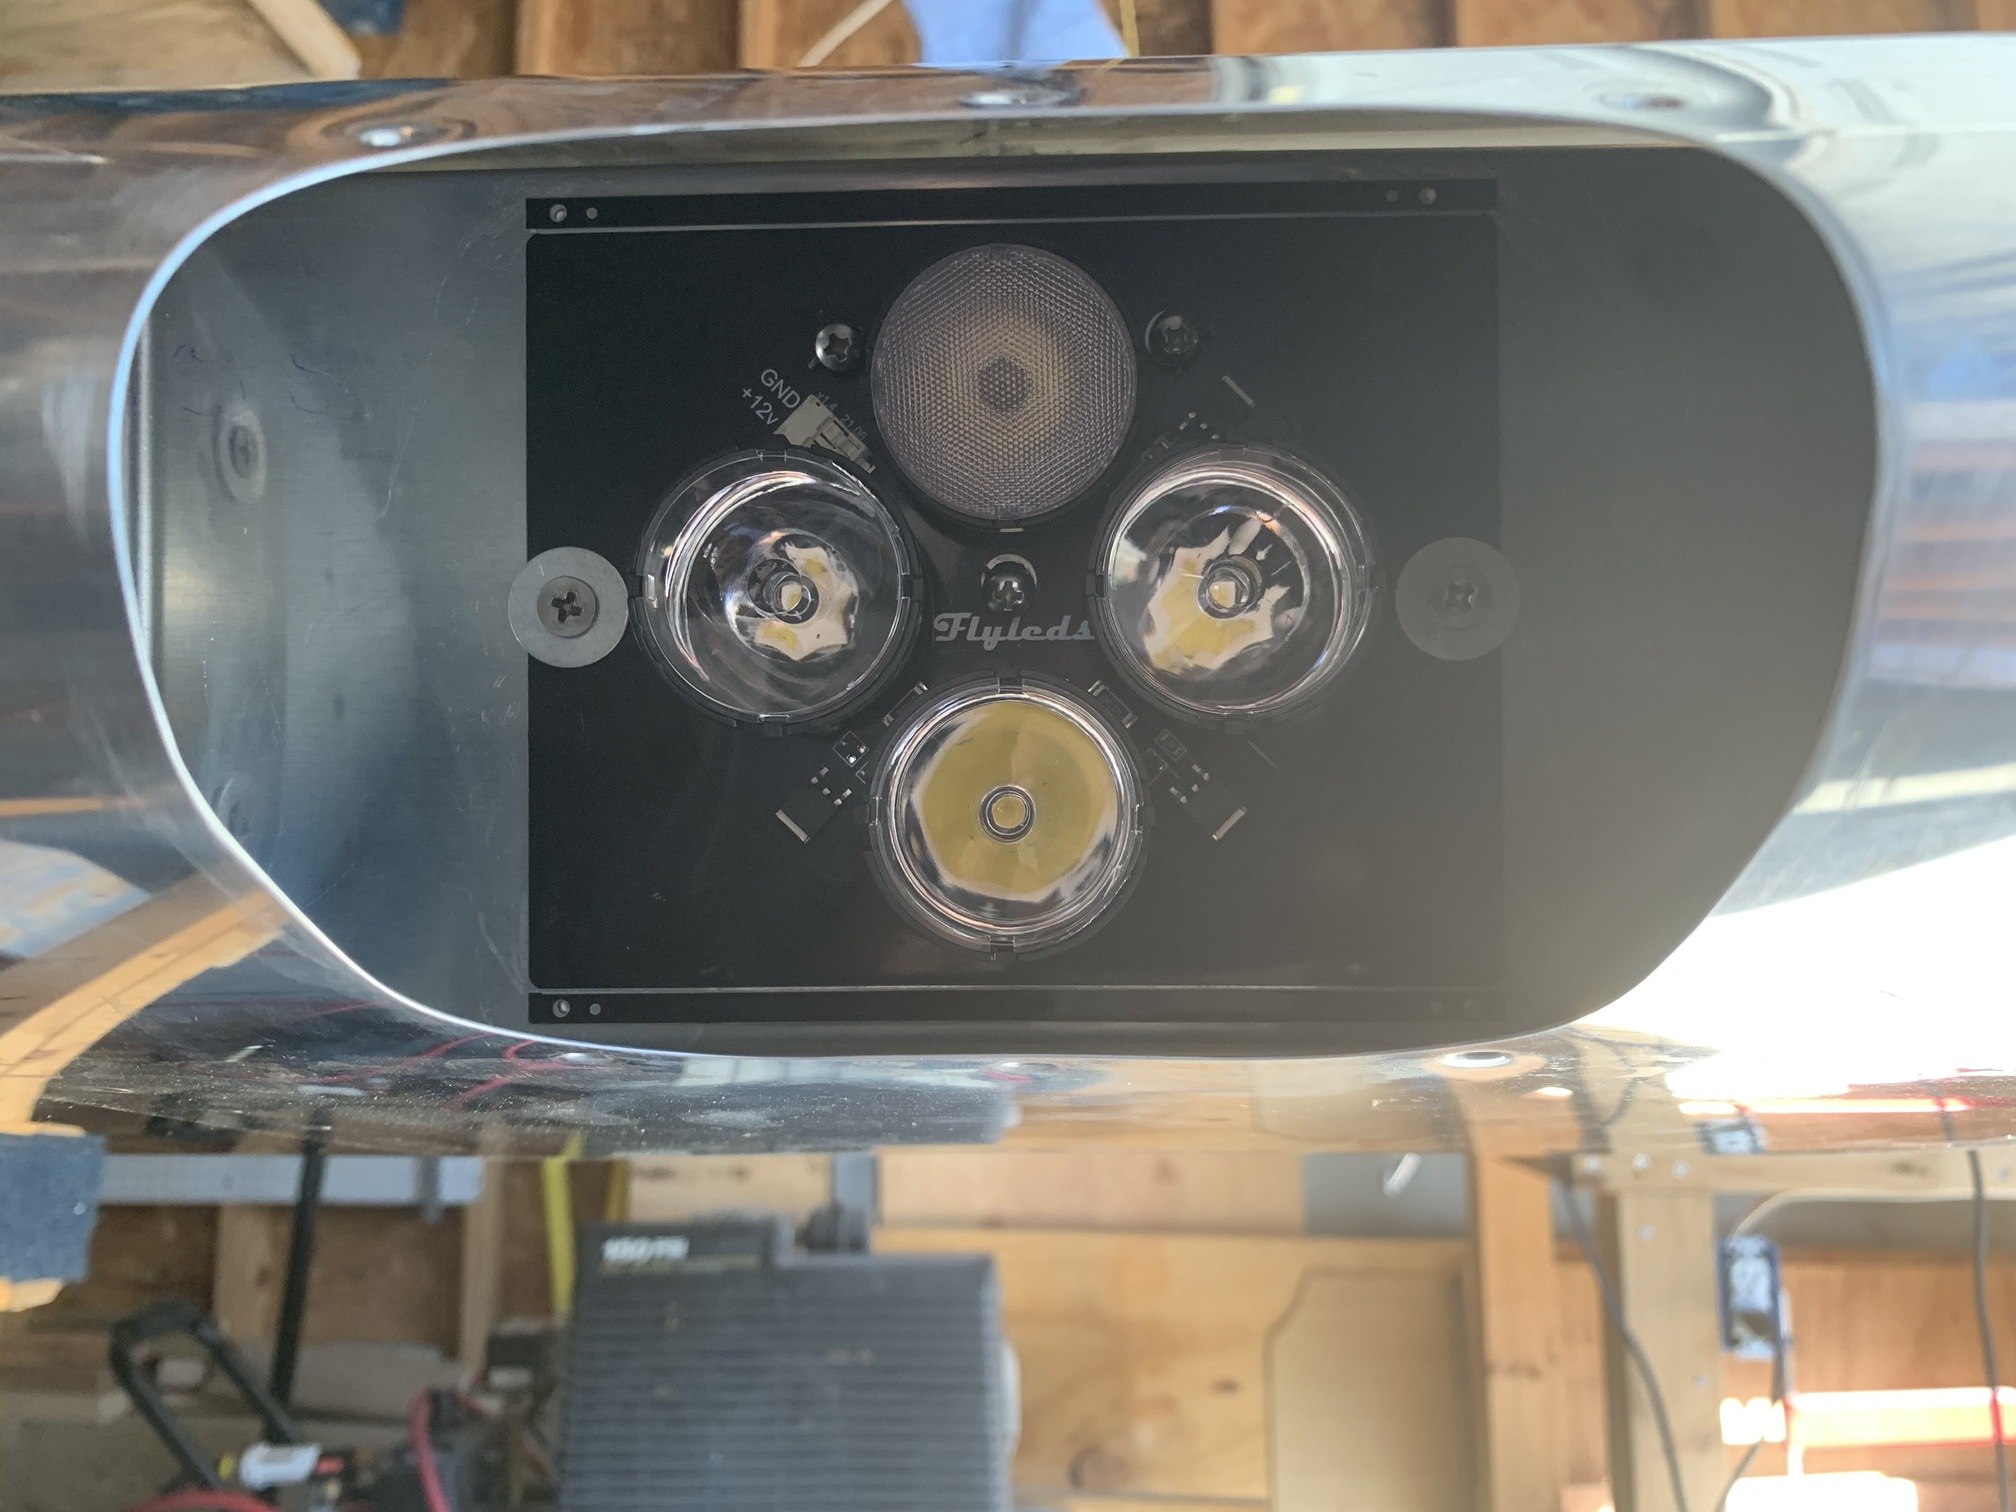
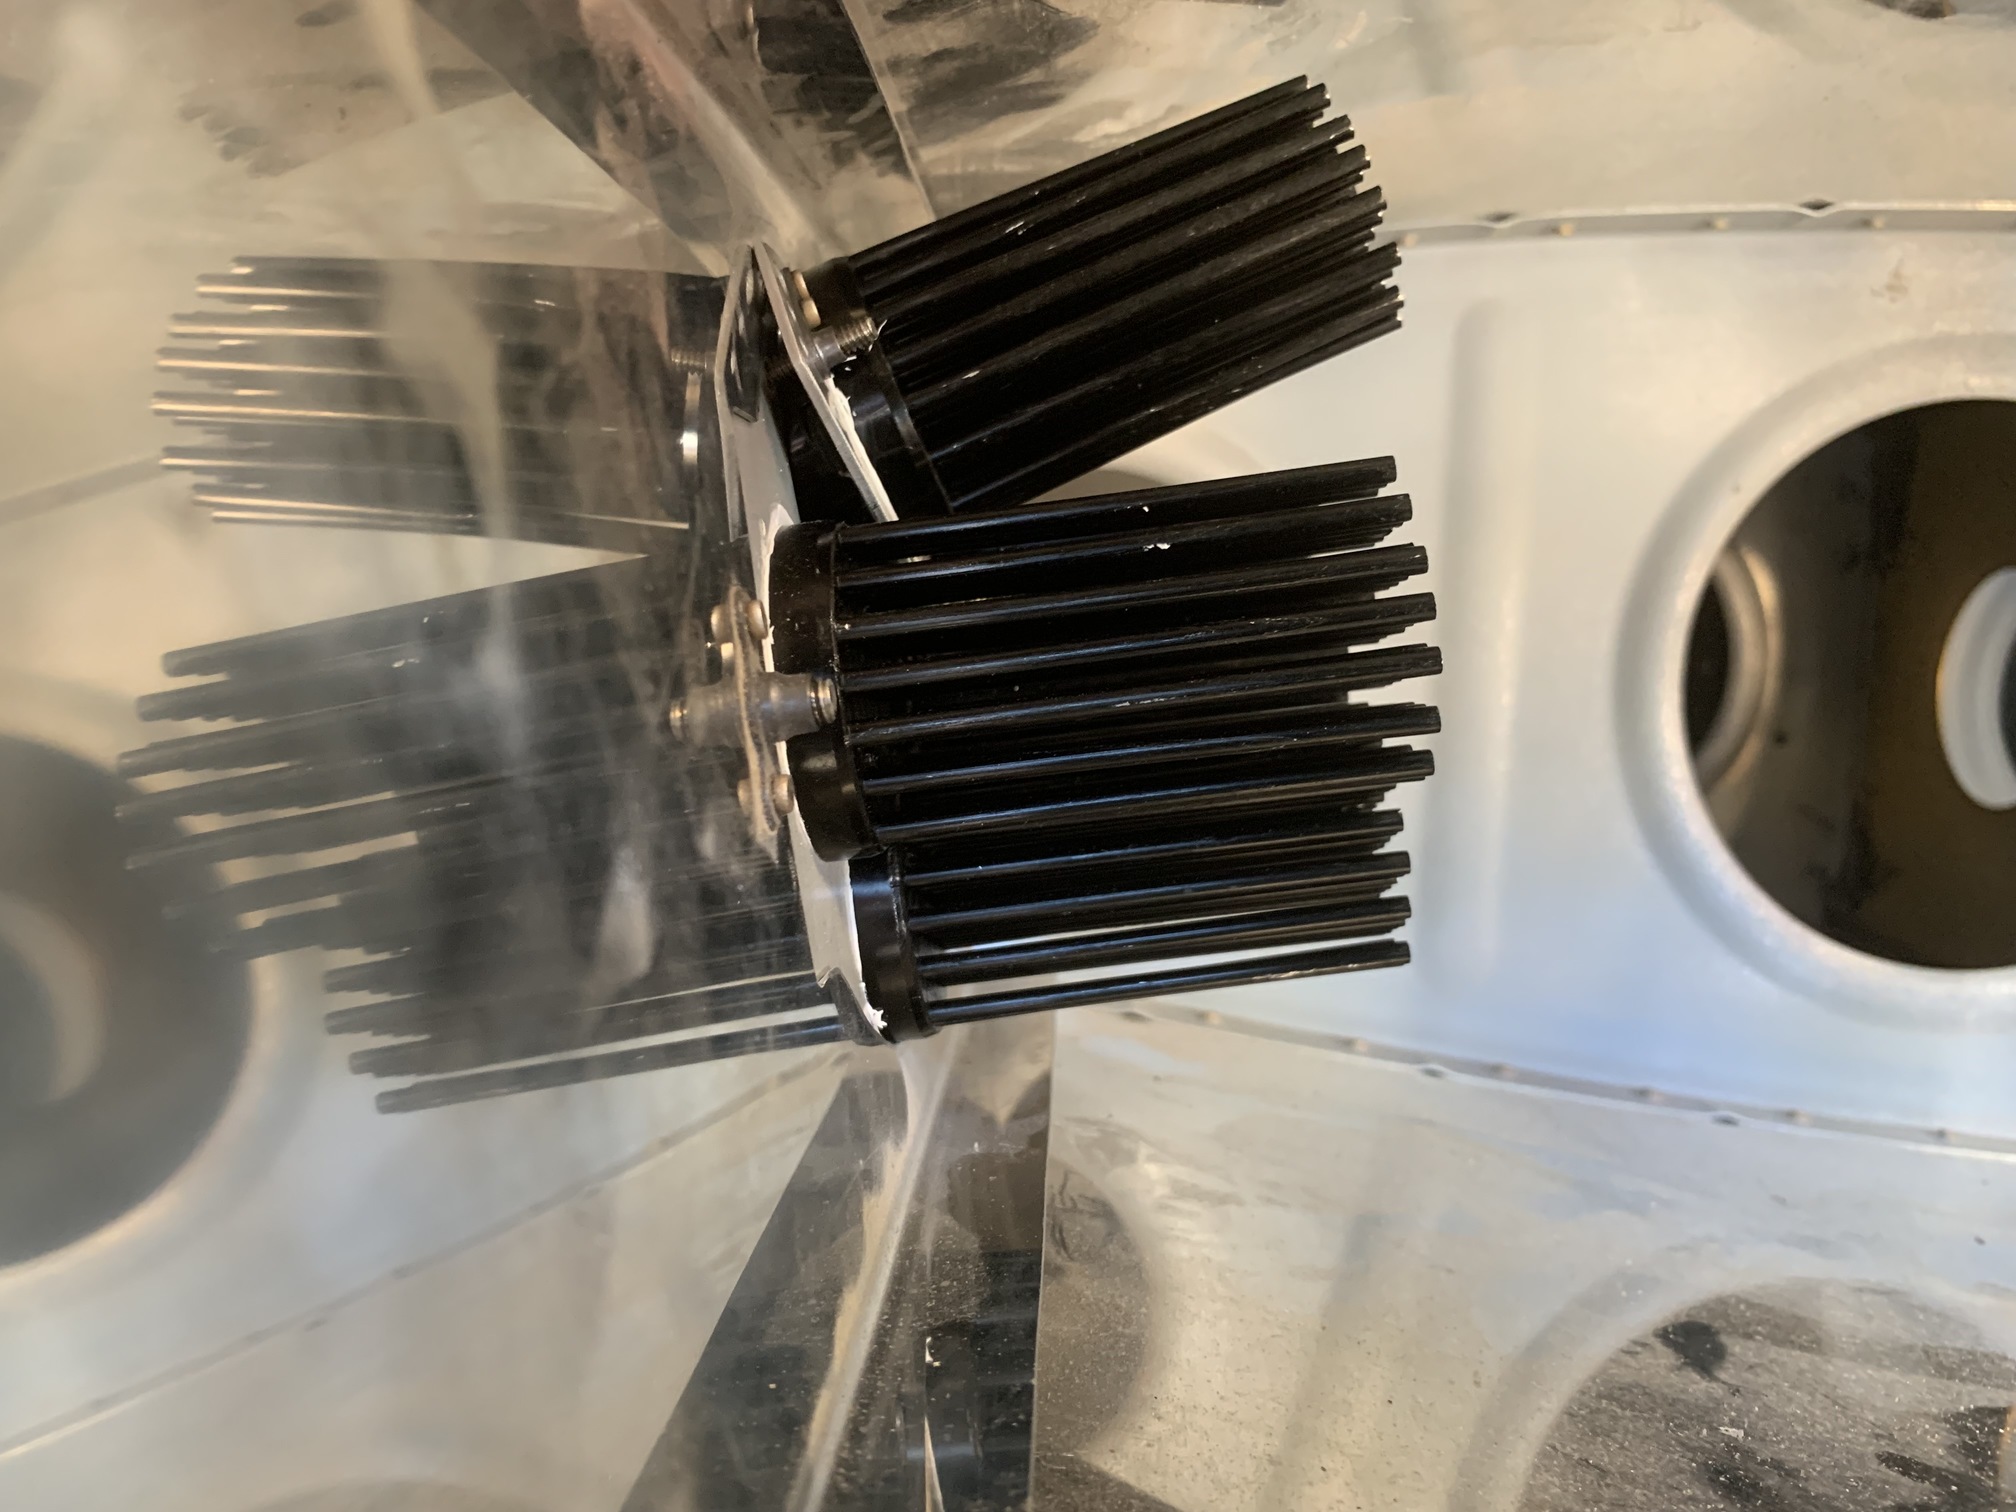
To assemble, you apply heat sink paste to the heat sinks and then screw them through the aluminum to the lens mount on the front. Then you snap the lenses into the holders. Easy! The three lower lights are mounted straight forward for landing lights and the taxi light is mounted in the top at an angle. This is critical on a taildragger like mine.
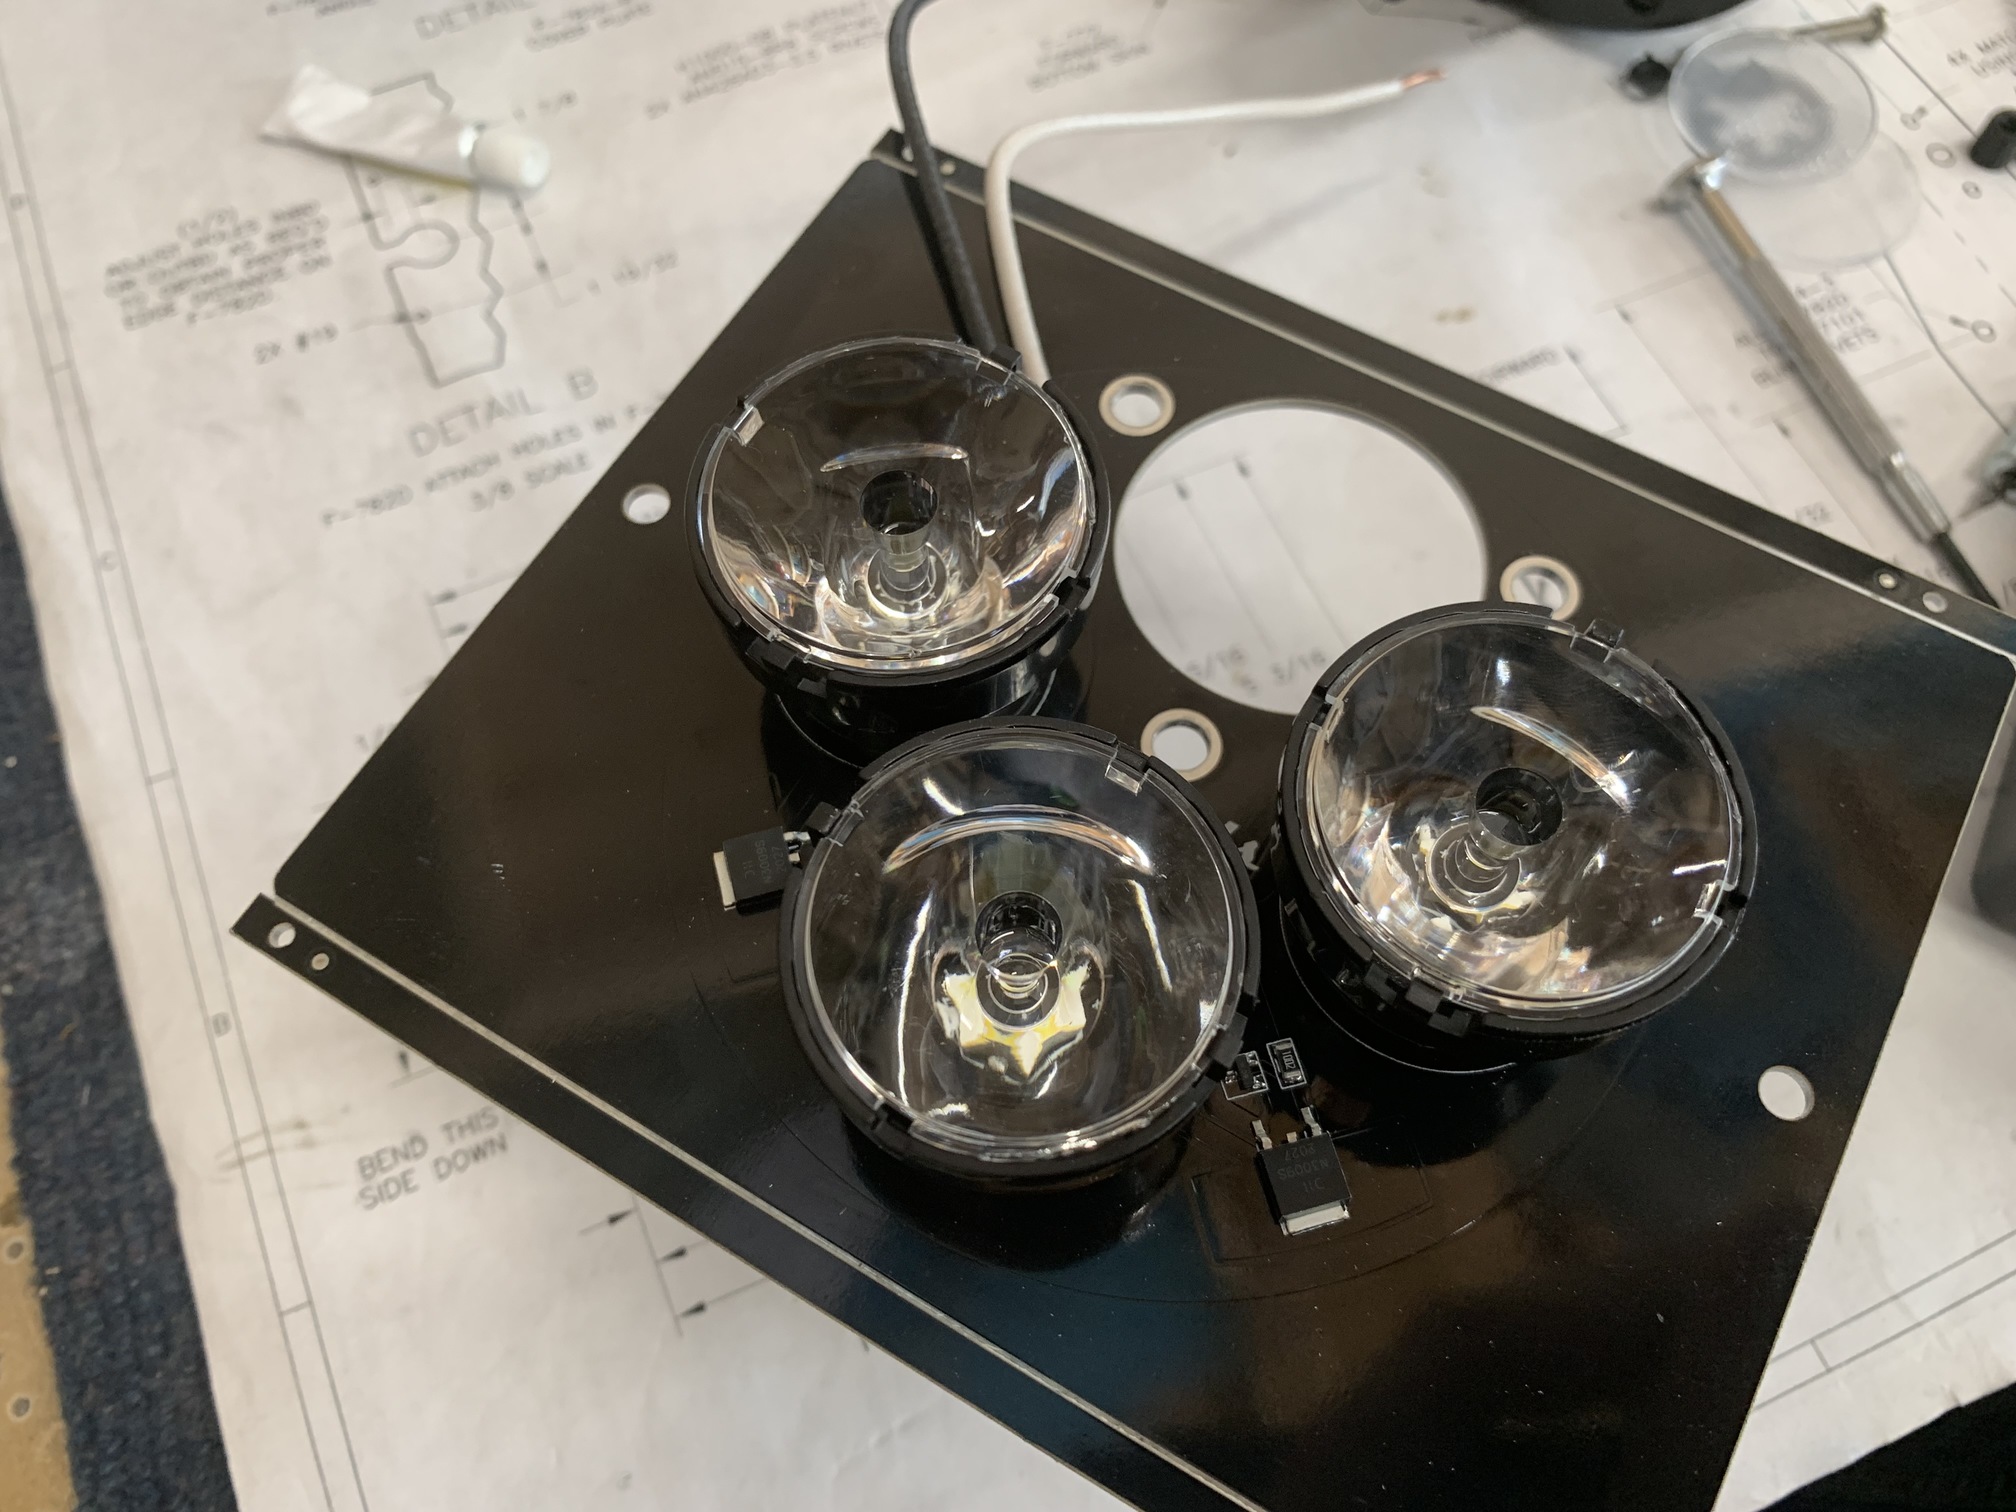
I had to test them out. They are BRIGHT and HOT--granted, I was overvolting them slightly with the 18v drill battery.

Then my wife helped me get down the left wing onto a work bench.

I removed the old duckworks lens and mounting bracket. The lens had a couple of cracks in it, so I'll order some new ones. I got rid of the old halogen light.
The Flyleds assembly comes with holes prepunched in the right location for the duckworks mount, but I needed to trim some of the mounting bracket to allow for the larger Flyleds lights. Here's the front after it was finished.

And the back...

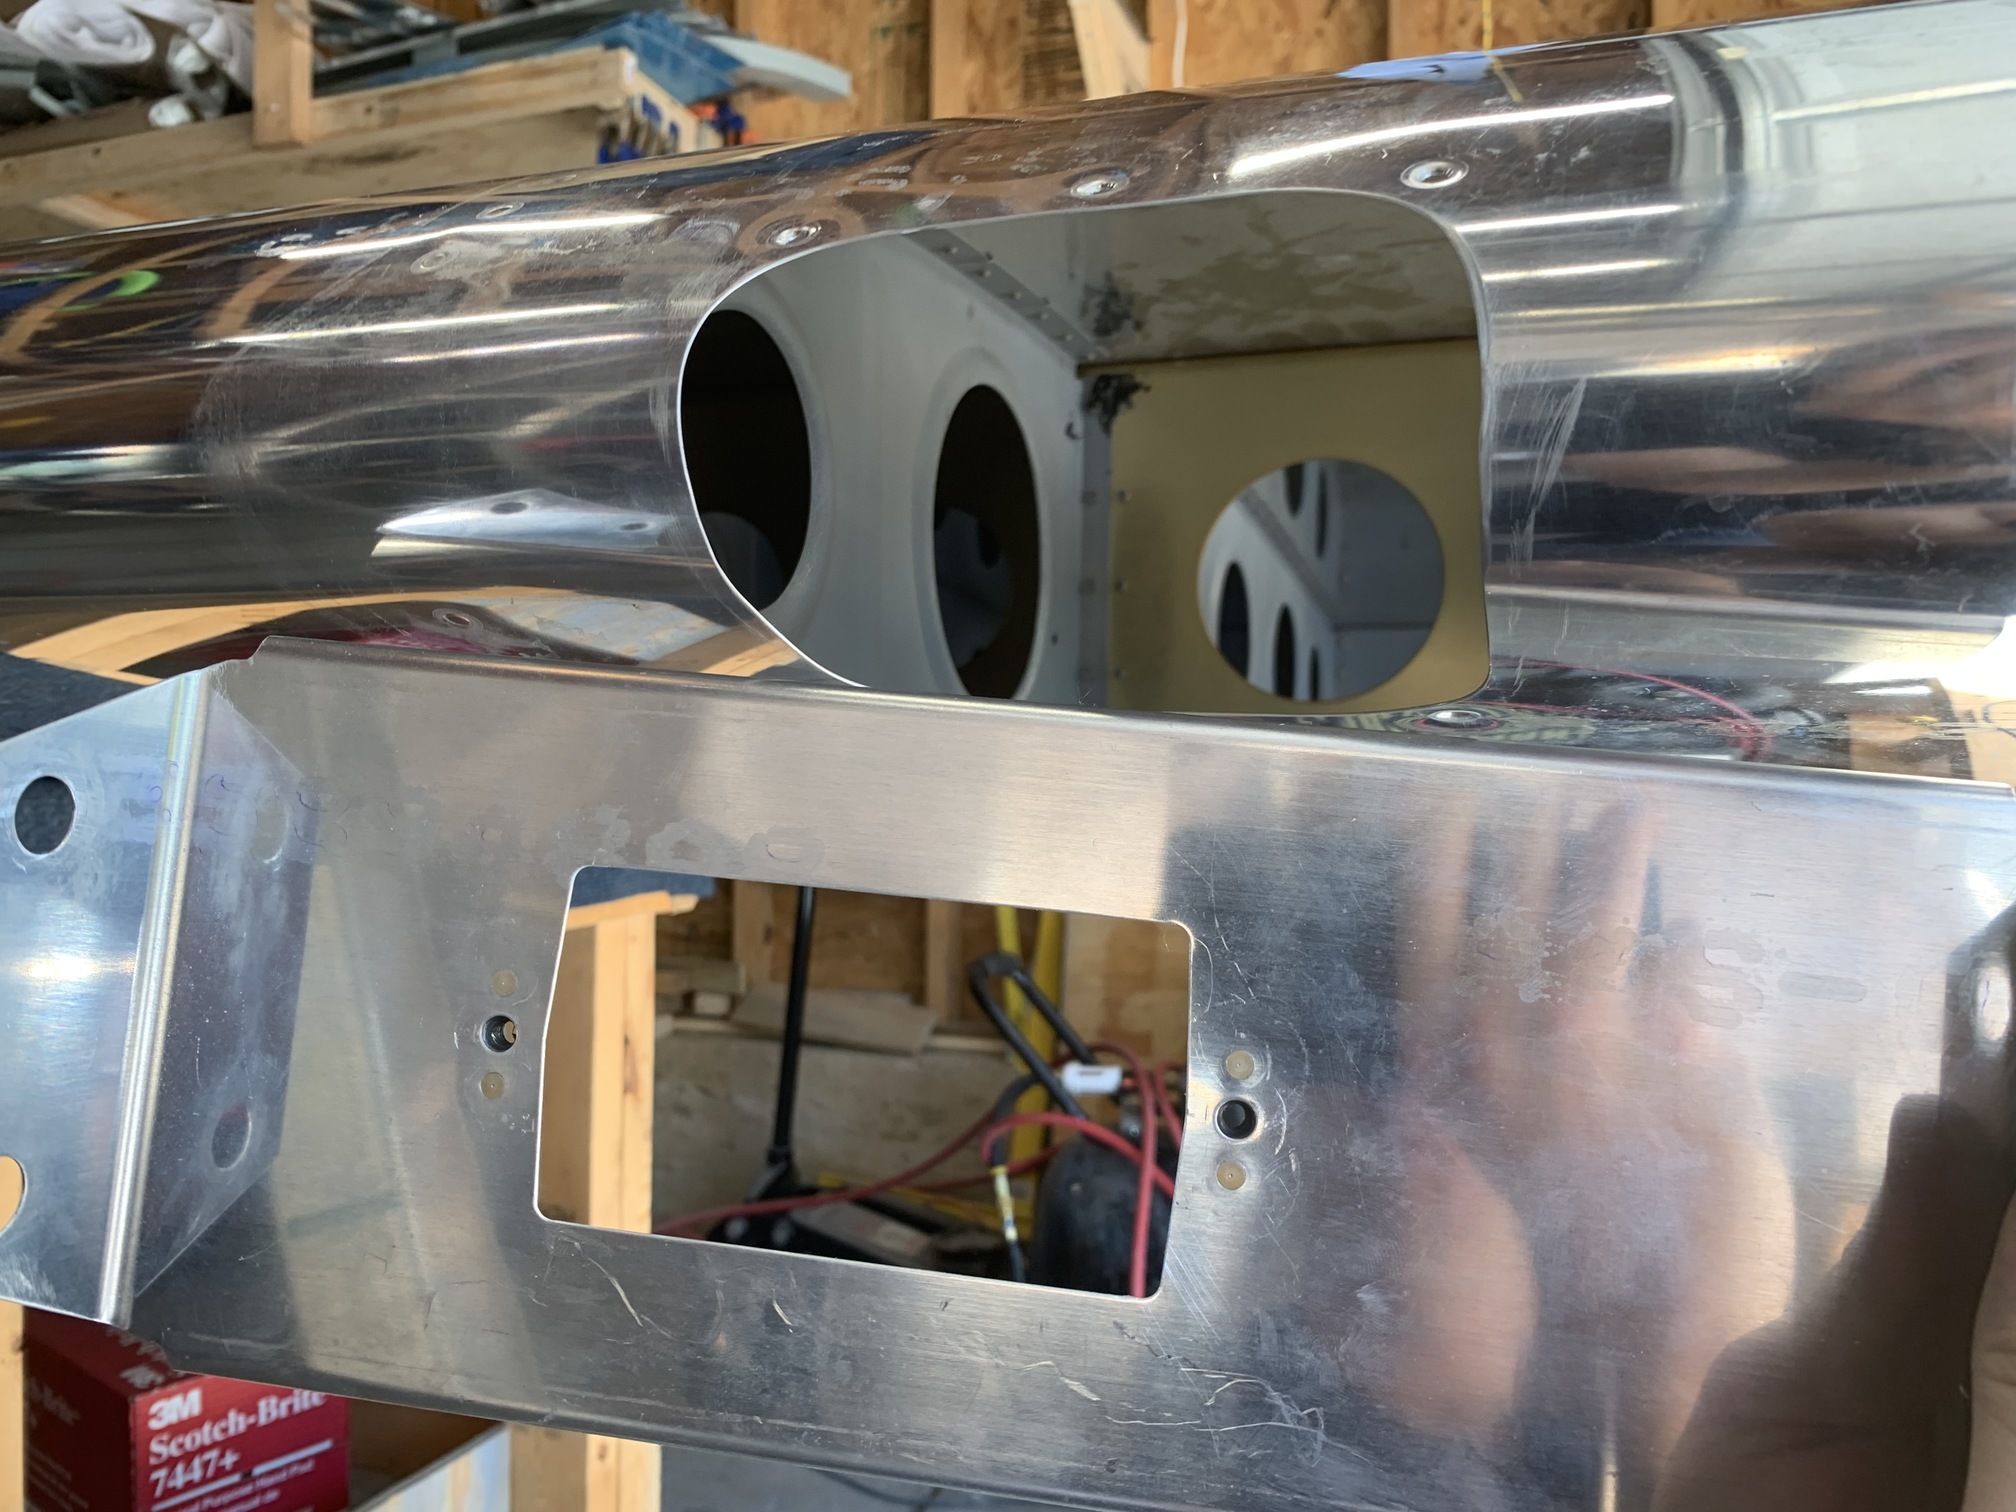
Then I installed it back in the wing. This took a lot of finagling and I had to take everything apart, put it through the hole in the leading edge, and then reassemble.
And from the back...I still need to attach wires and run them to the wing root.
Last year I tried to install the SafeAir1 pitot mount that I had bought over a decade before. Unfortunately, the weld had cracked, so I tossed it. Last week, I bought a higher quality Dynon pitot mount from SteinAir, so I decided to get that installed. Luckily the holes I had drilled for the old mount worked well for the Dynon mount. I drilled the old holes into the mount using the skin as a guide and then drilled 6 new holes per the Dynon mounting instructions. Then I deburred everything, dimpled the skin, and countersunk the mount. I can't decide if I will rivet this now, or wait until the wings are installed.

I pulled down the left fiberglass wing tip that I've had kicking around ever since I got the wing kit back in late 2006. Well, it's pretty badly warped on some of the flanges and it has some cracks in the gel coat. Both of these things are fixable, but I may just order two new ones. I sent an e-mail to Van's to see what the shipping cost would be.
| Previous - Index - Next |
This work is licensed under Attribution-NonCommercial-NoDerivatives 4.0 International![]()
![]()
![]()
![]()