Log (By Day)
Log (By Category)
Pictures
Pics of Me Working
Links
| ||||||||||||
Friday December 31, 2021
Canopy Hinges, Latch
(Canopy)
5.0 Hours
| Previous - Index - Next |
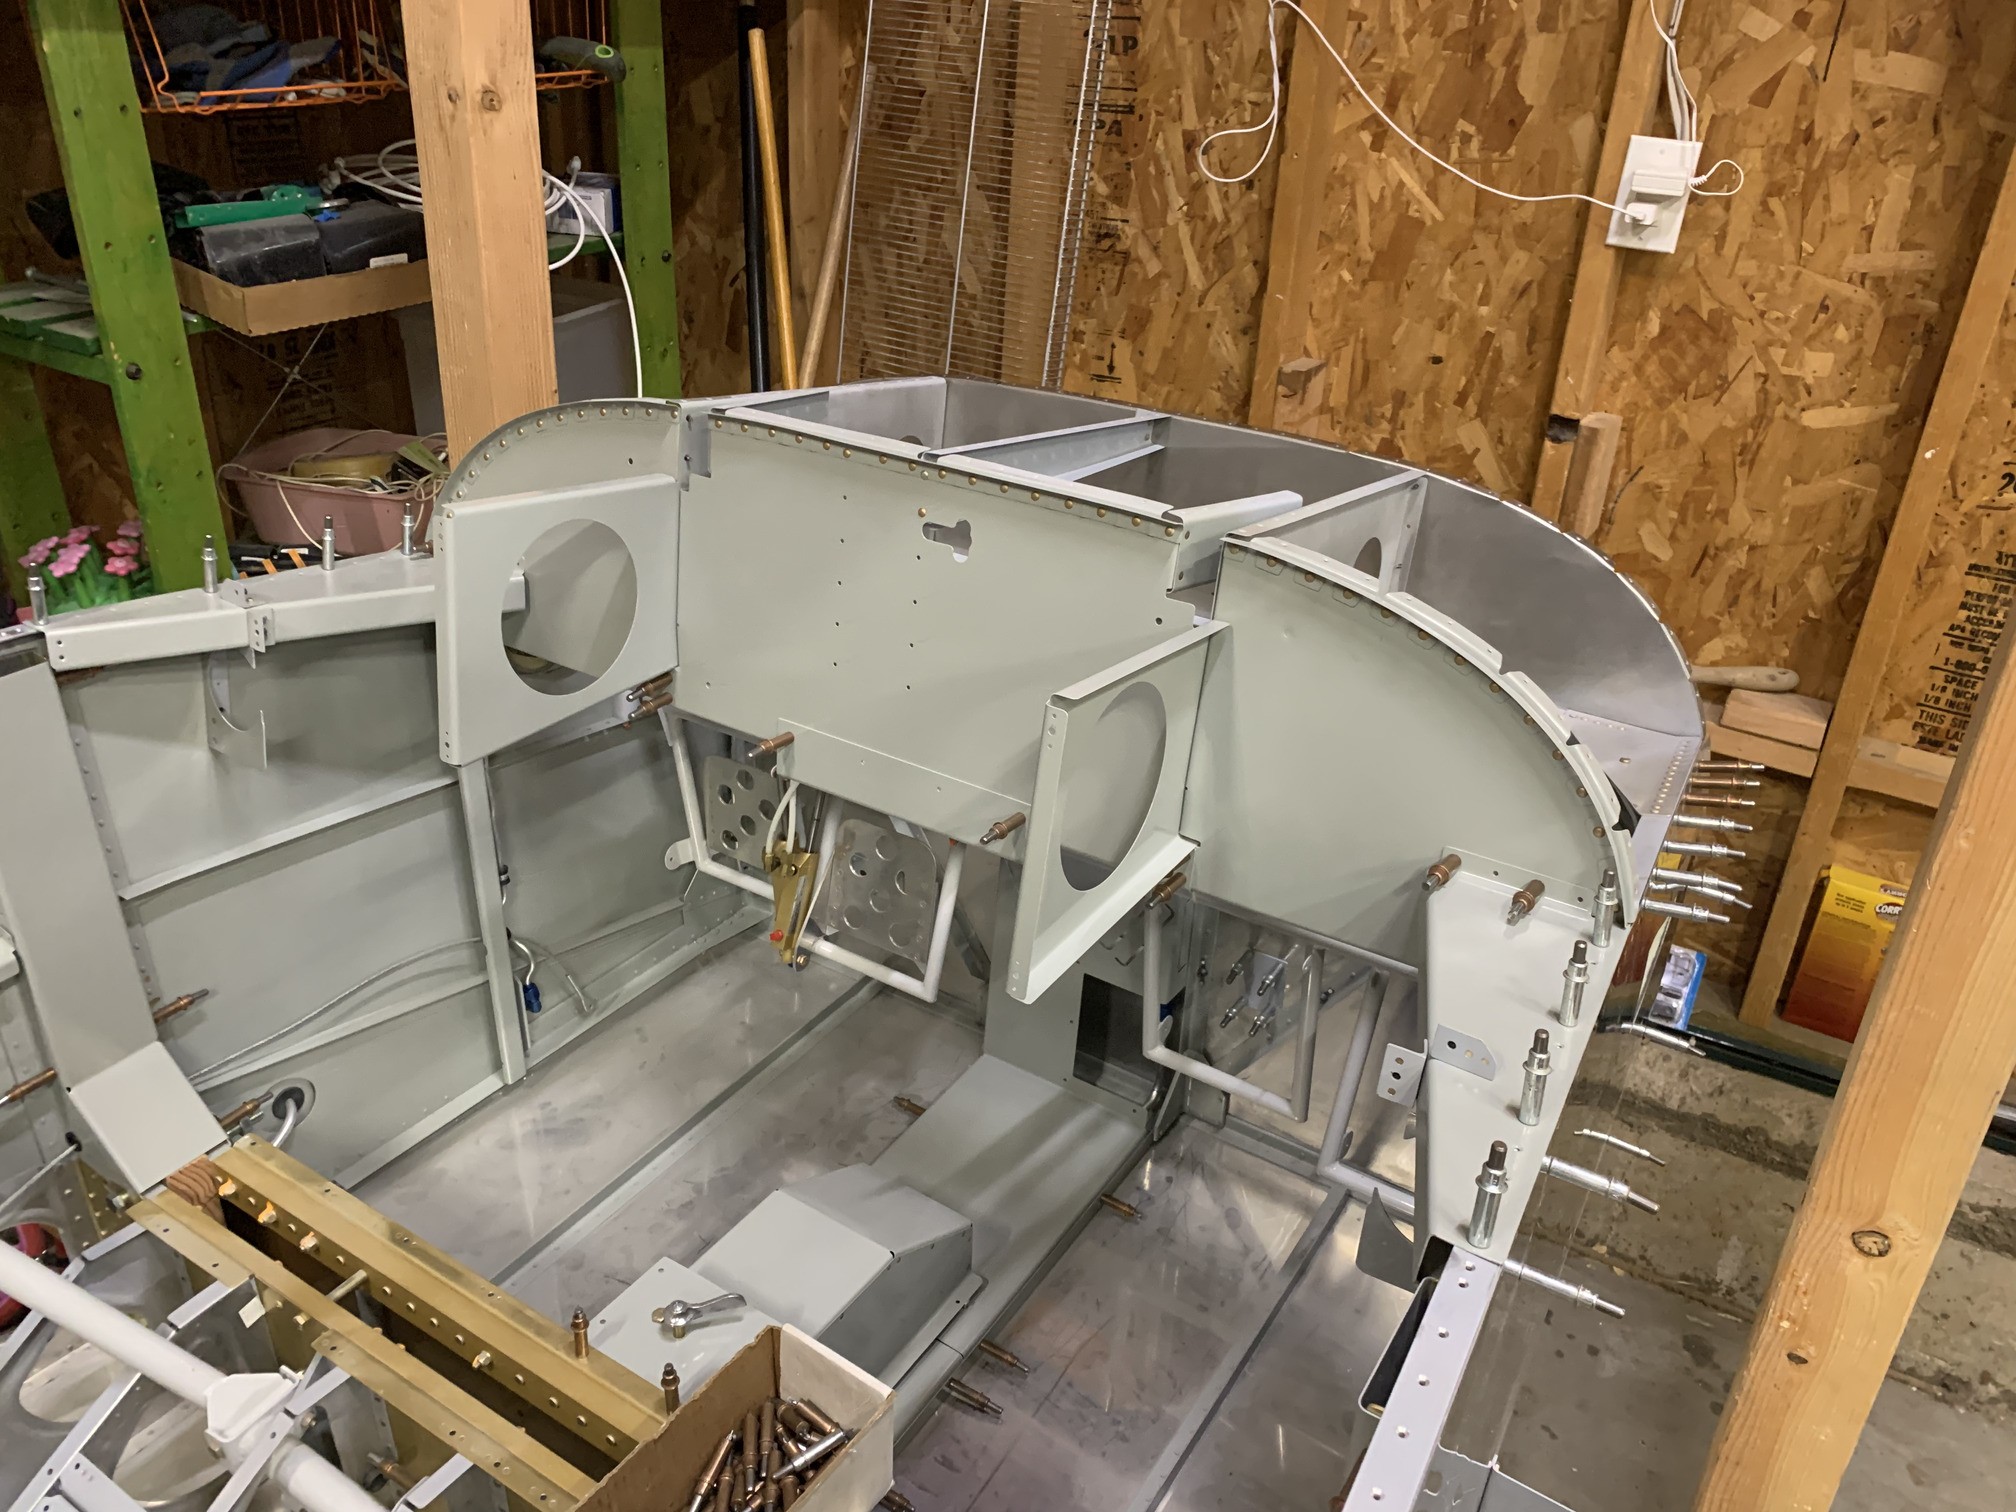
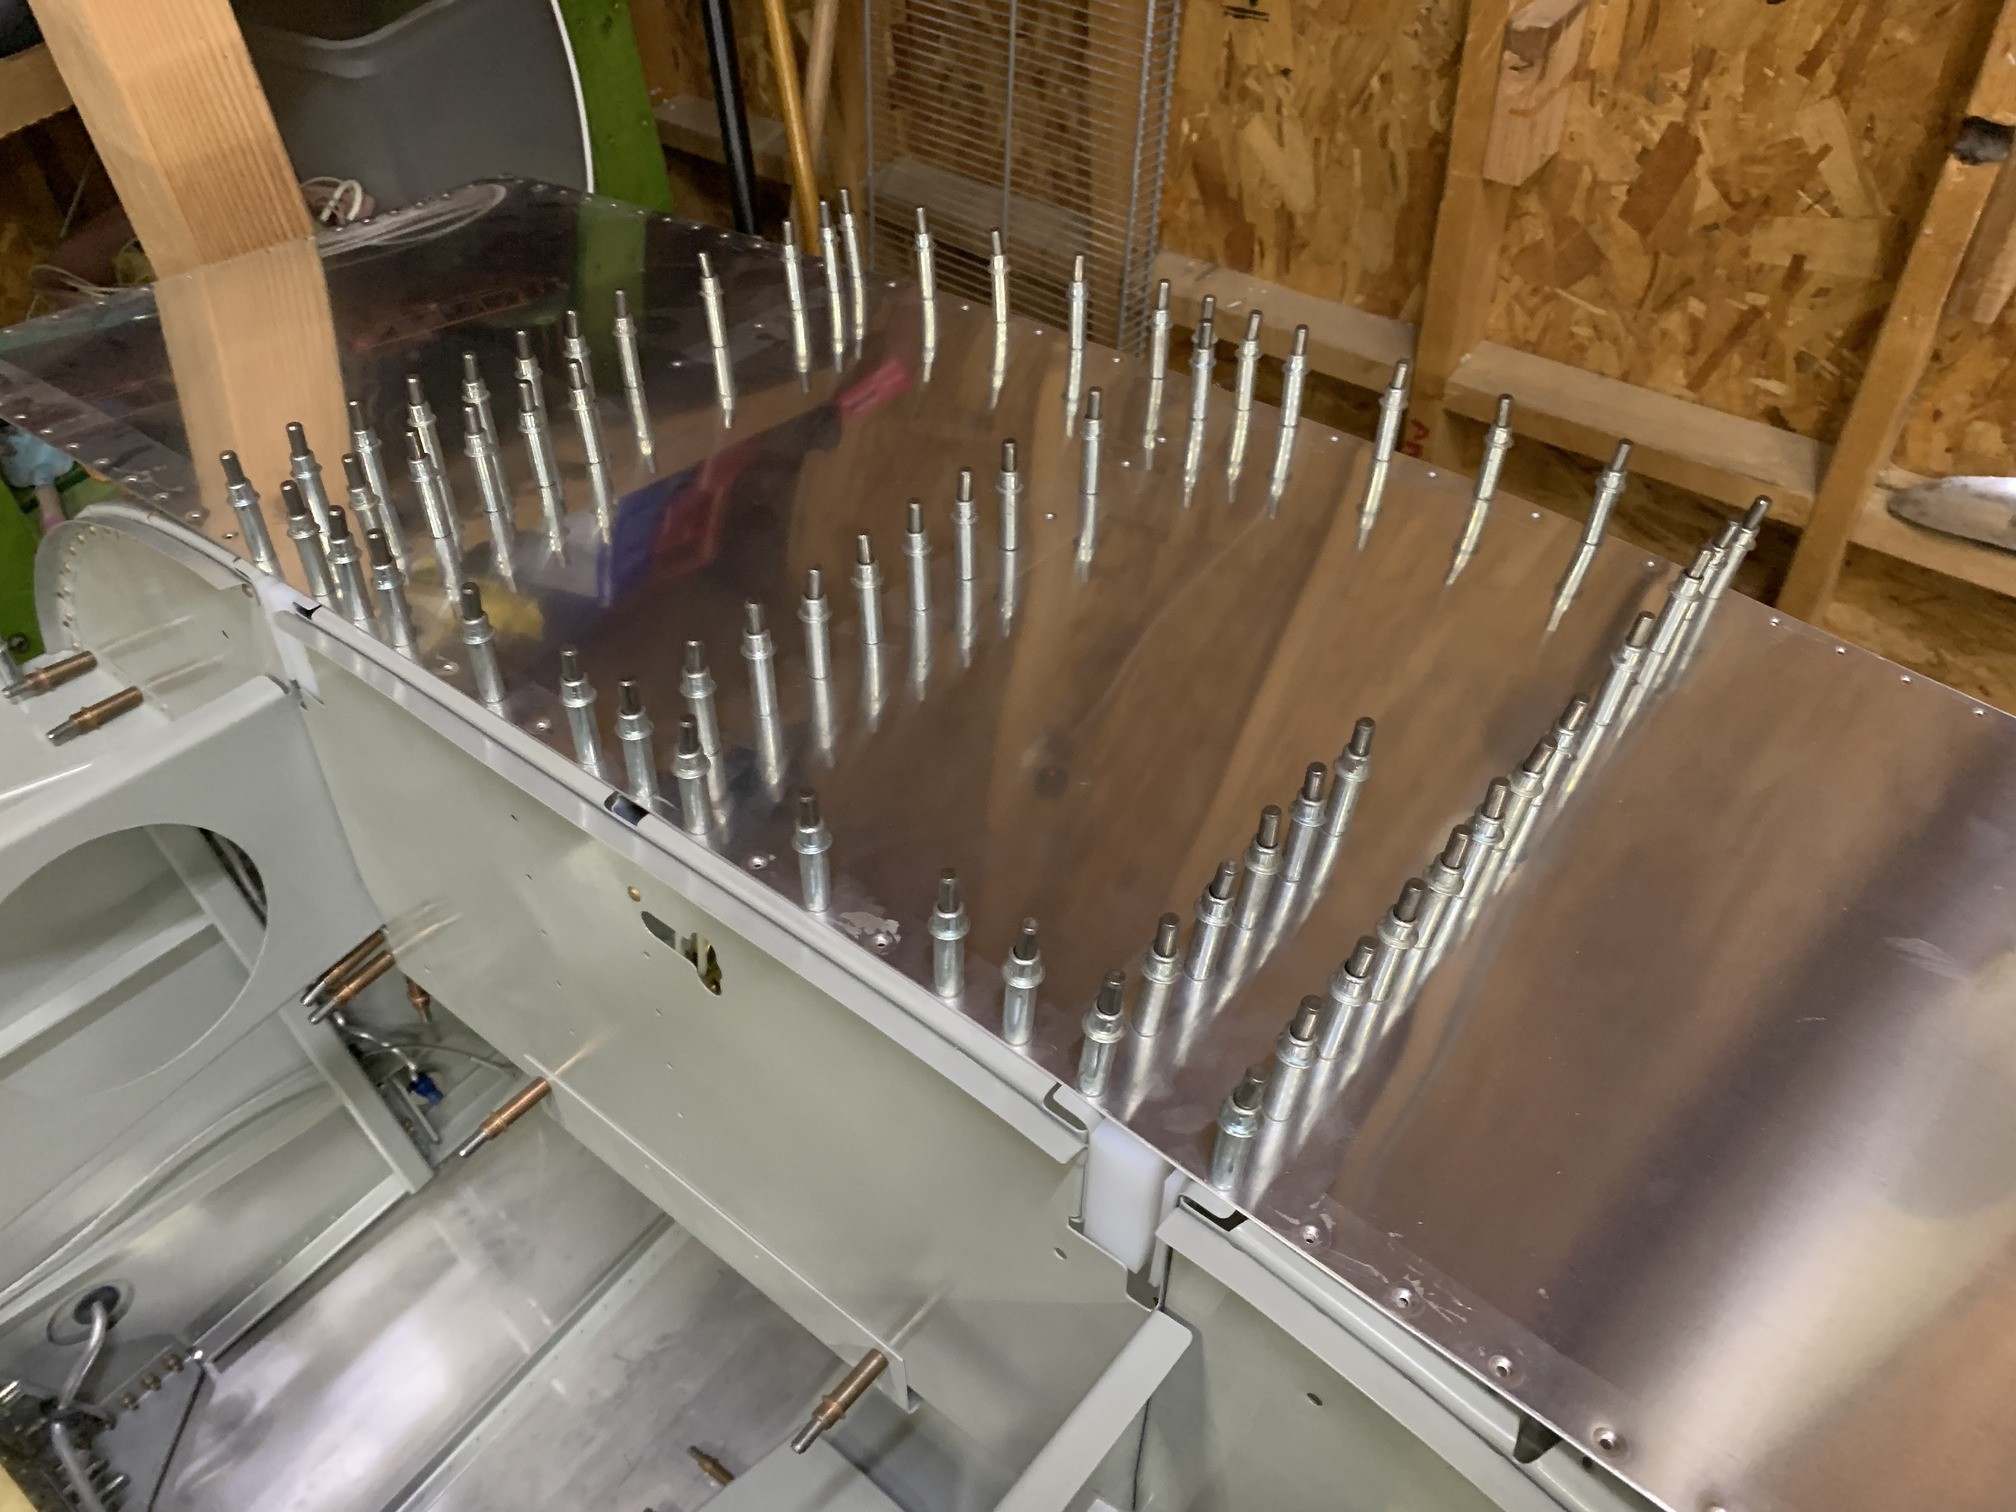
Today was the first day in while that I had time to work on the plane. First, I got it down out of storage and clecg'd in the forward deck.
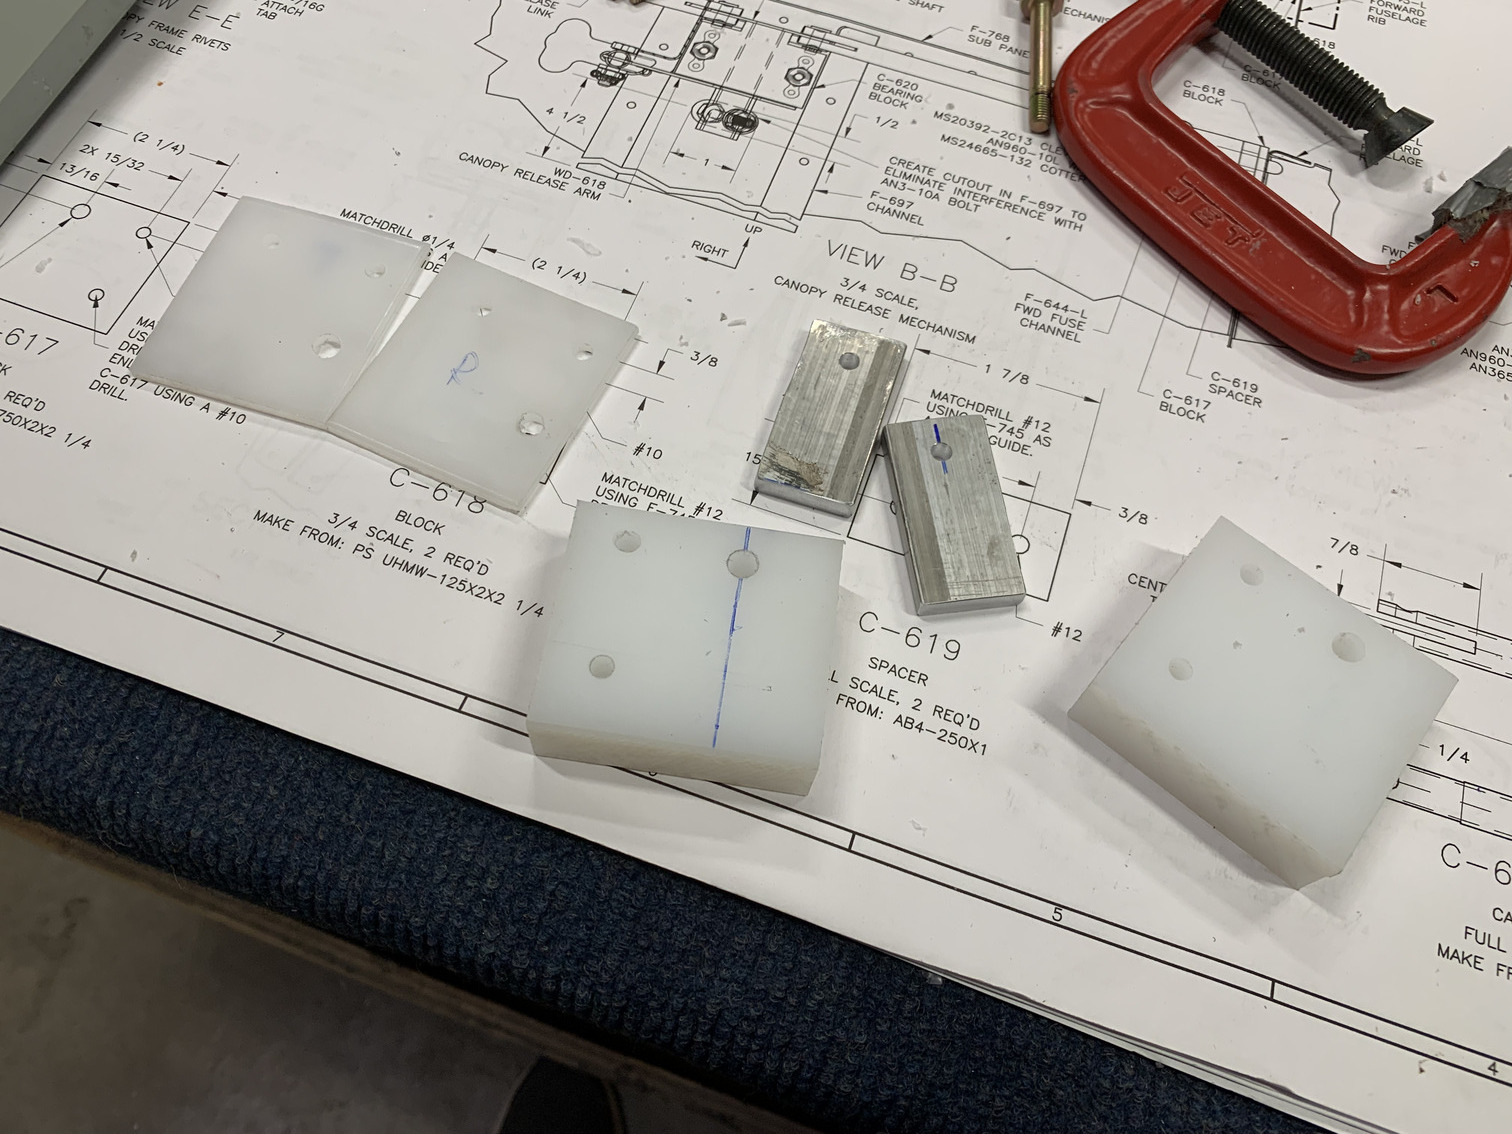
Then, I started fabricating parts for the canopy forward hinge mechanism. These consisted of two UMHW spacers and an aluminum spacer.
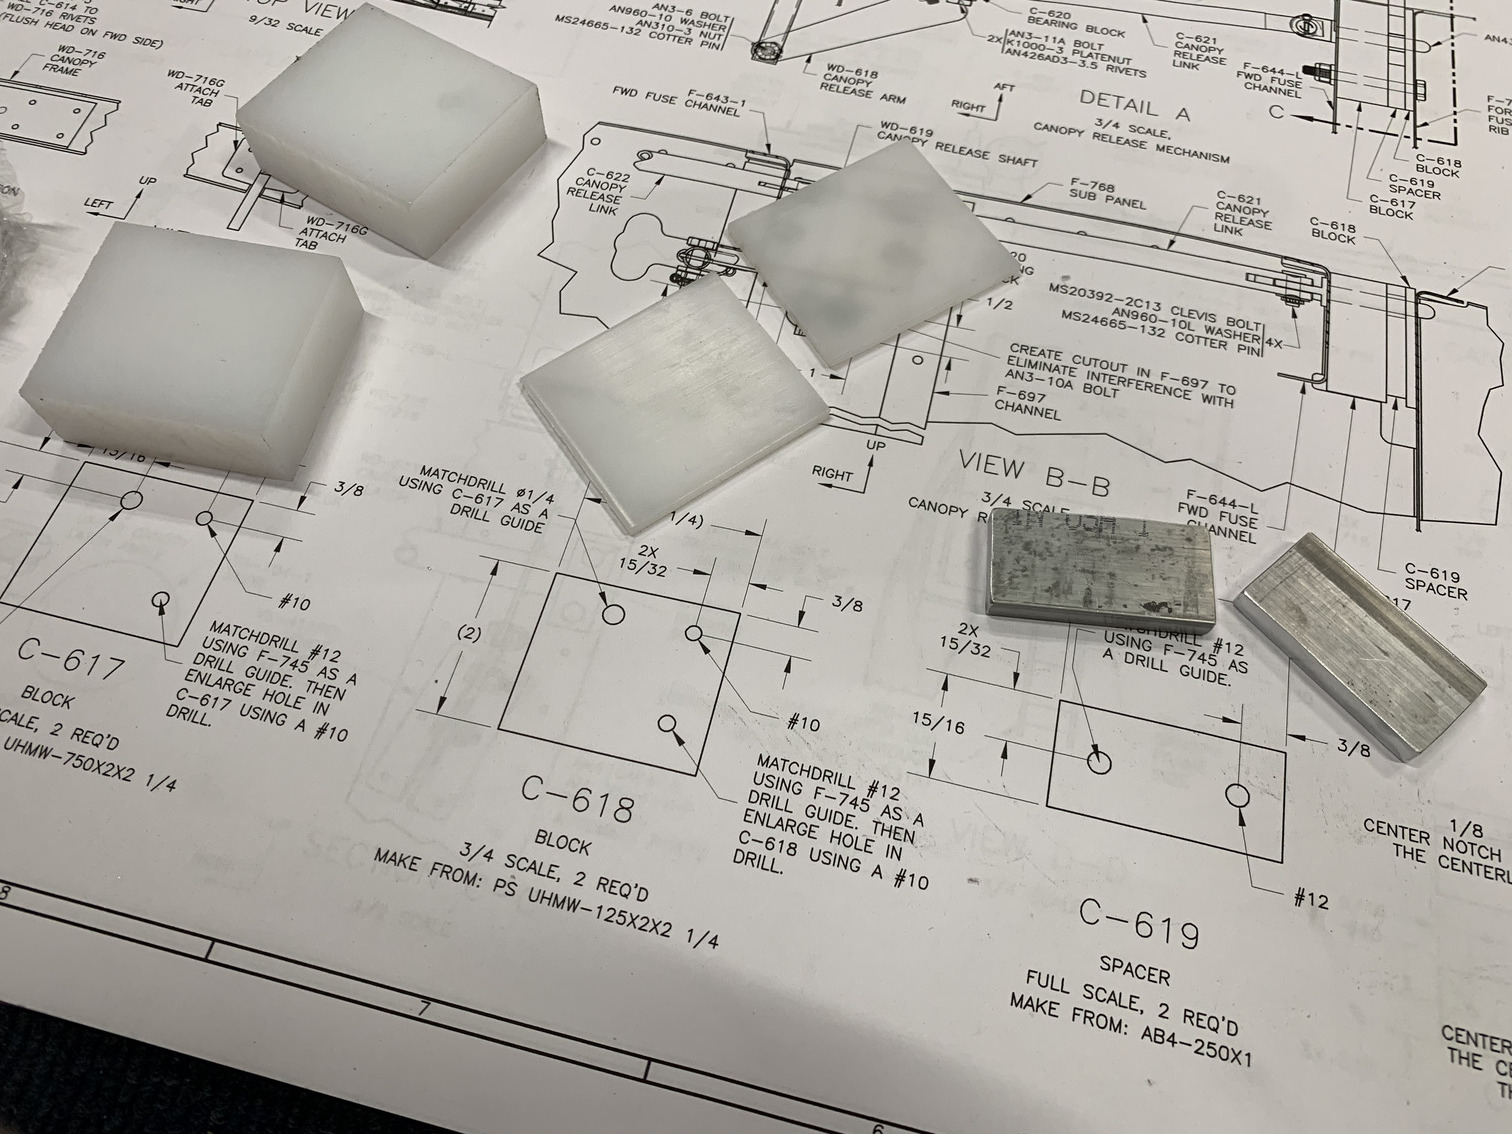
I clamped the larger UMHW spacers to their respective F-745 ribs and back drilled the prepunched holes into the spacers to a very shallow depth.
Then, I took them to the drill press and completed drilling the holes.

I then used the thick spacers to back drill all of the other spacers.
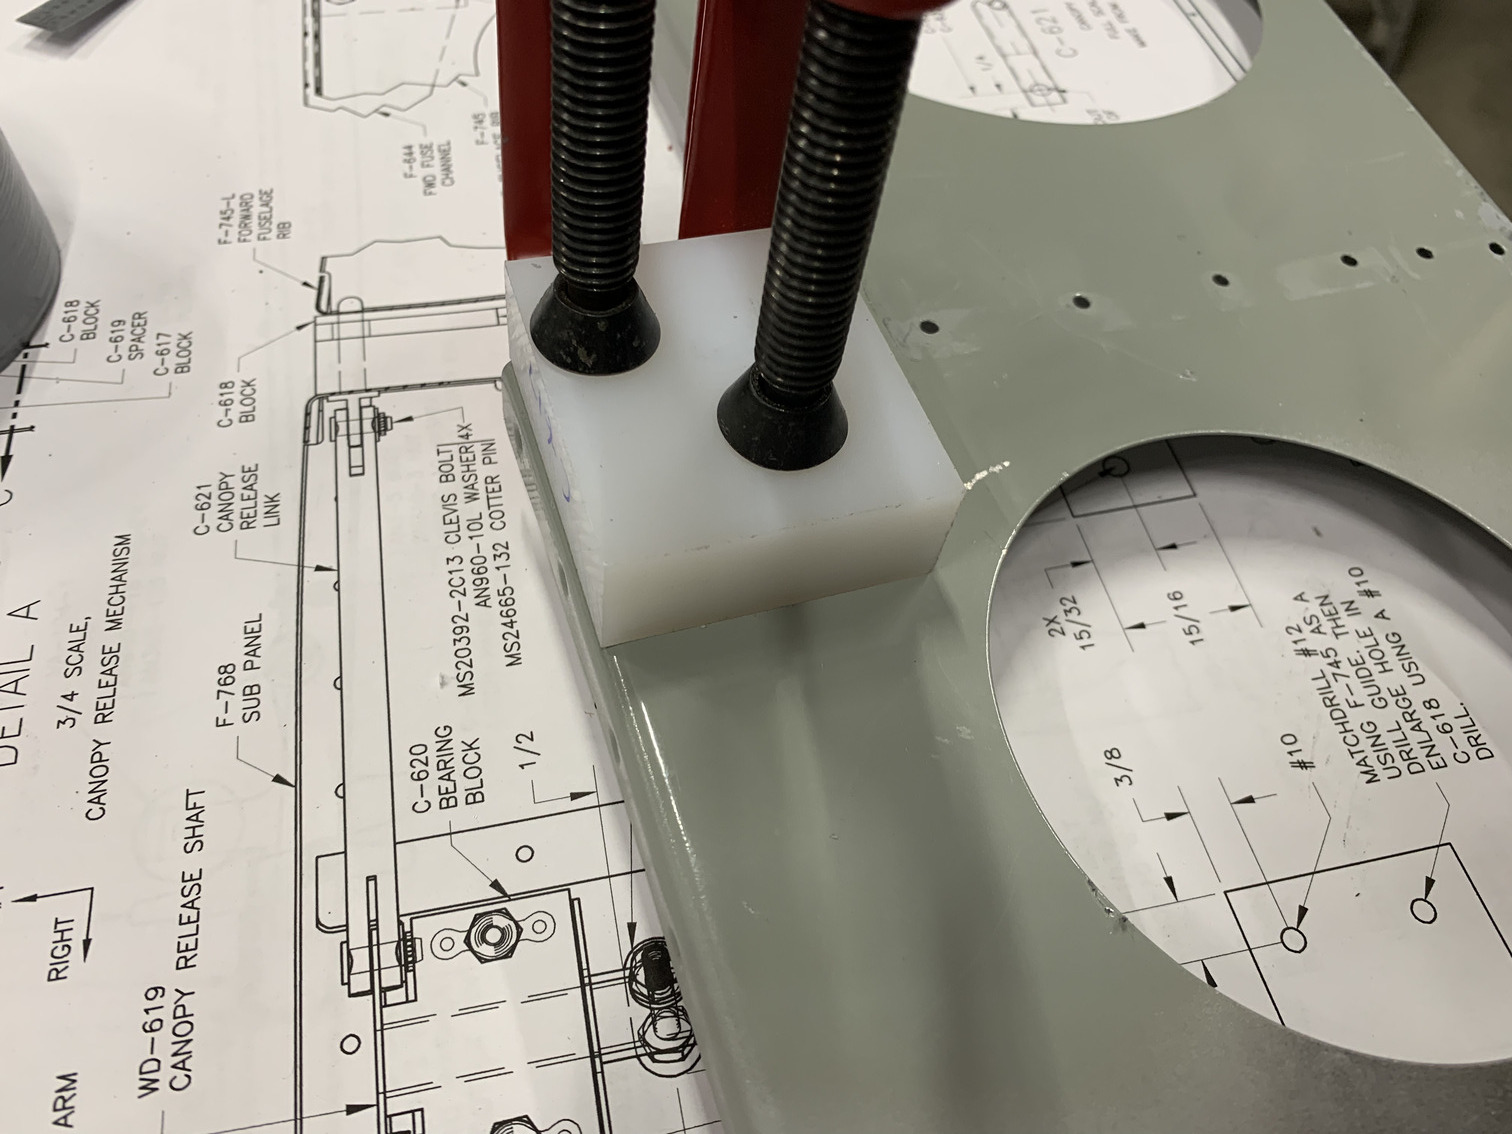
I then loosely bolted and clamped them all in place between the F-745 and F-644 ribs.
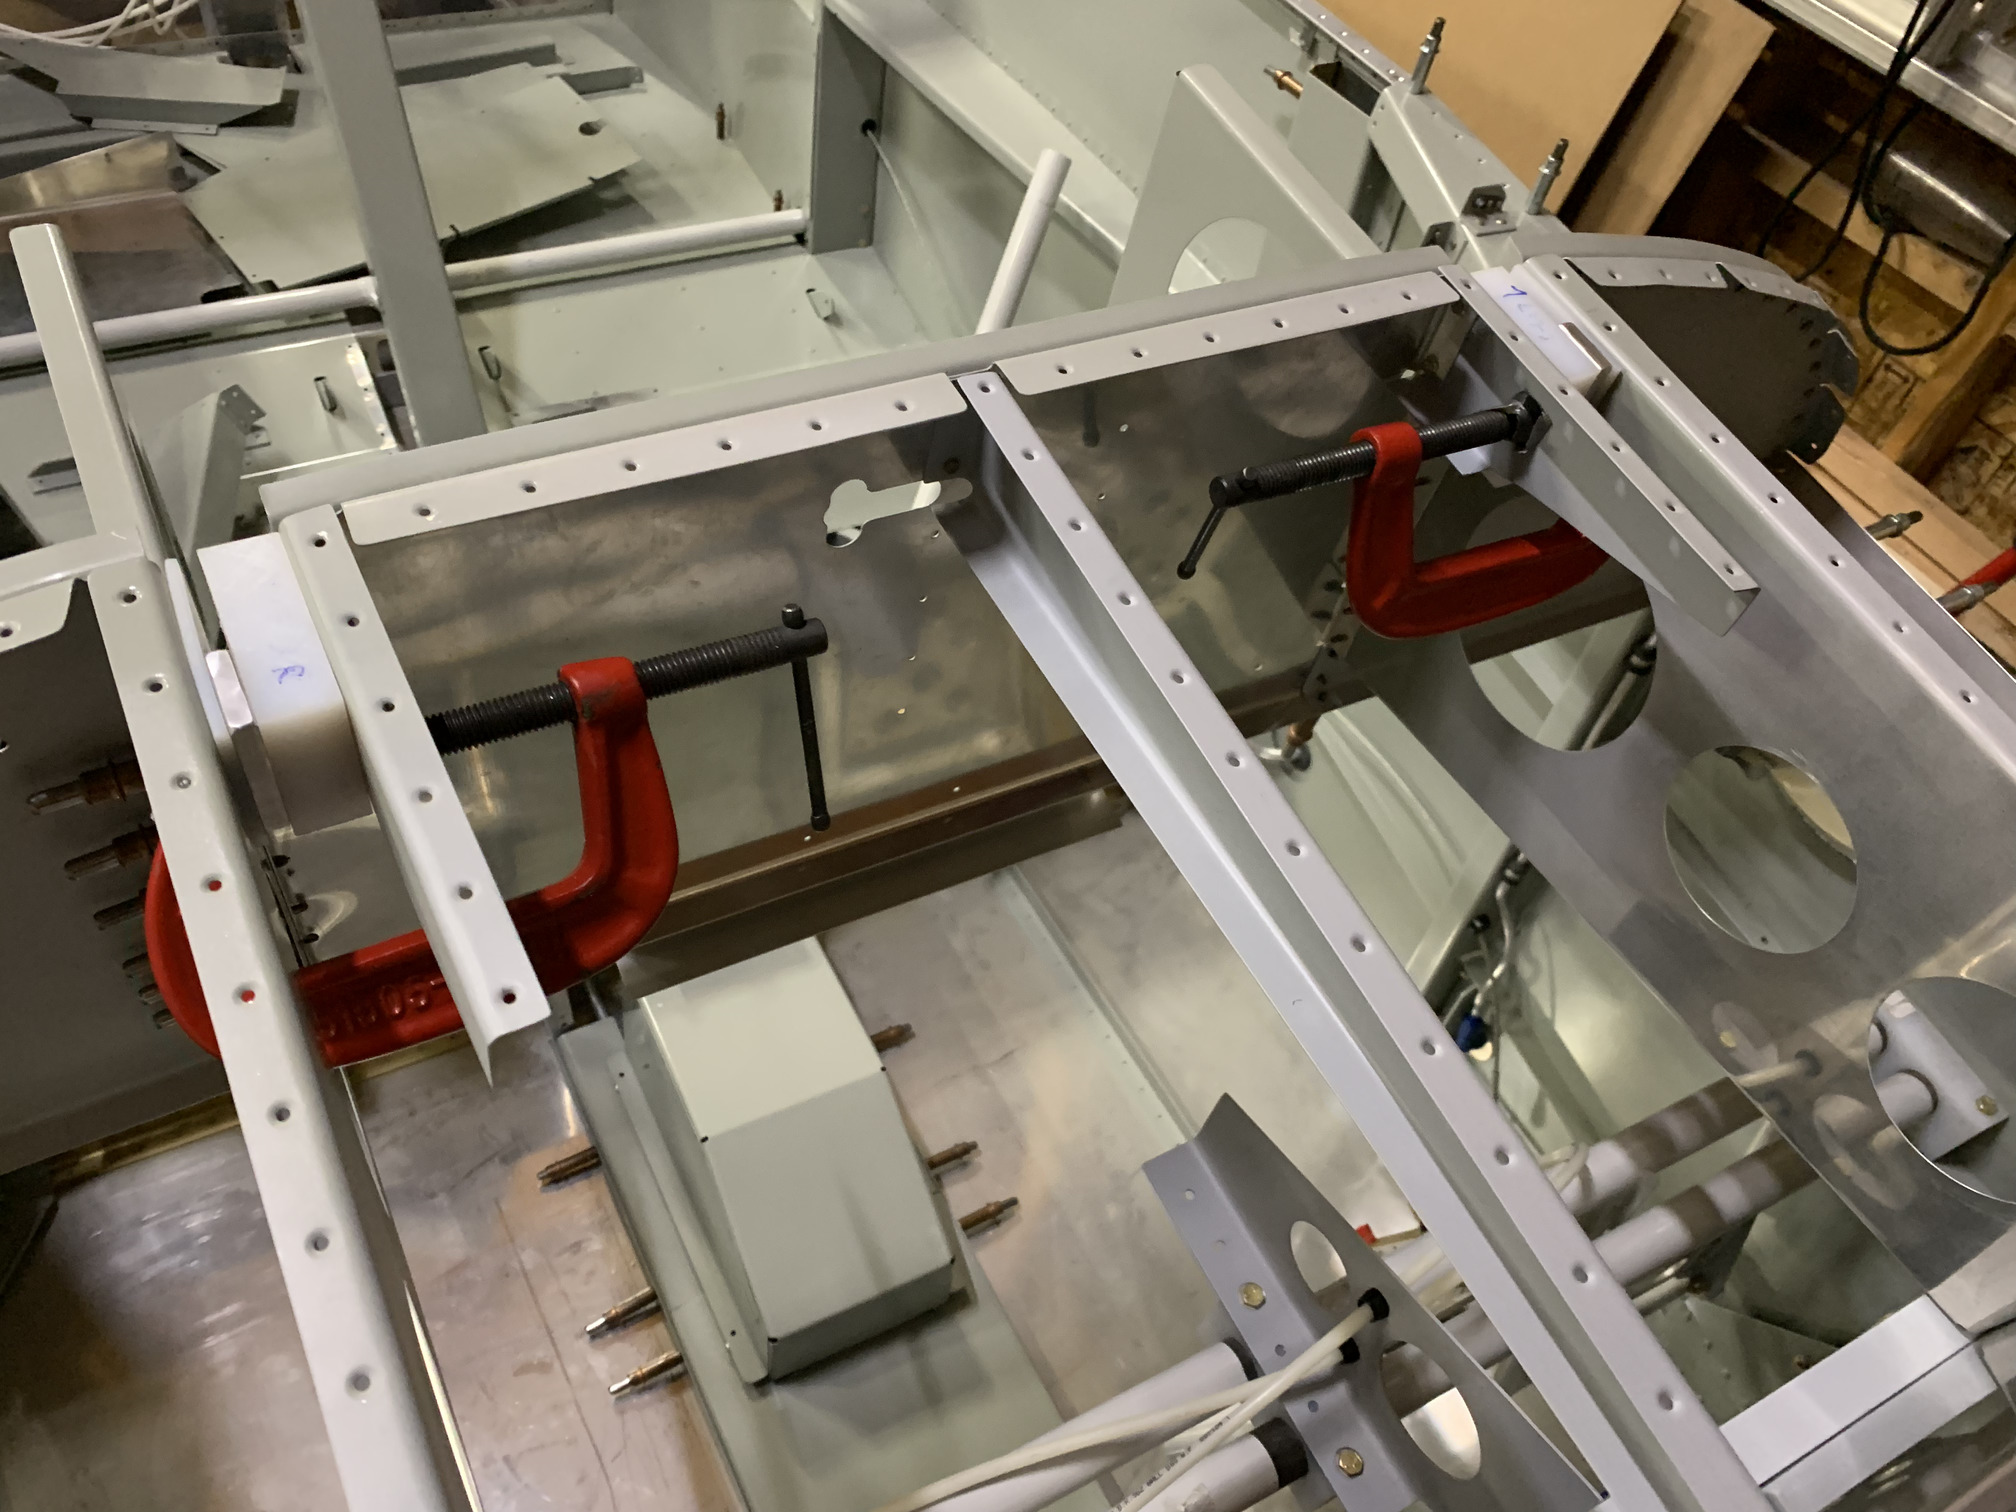
Then, I installed the F-771 forward top skin into place to hold the ribs in the appropriate alignment and tightened the clamps. I then drilled the hinge spacers into the F-664 ribs.
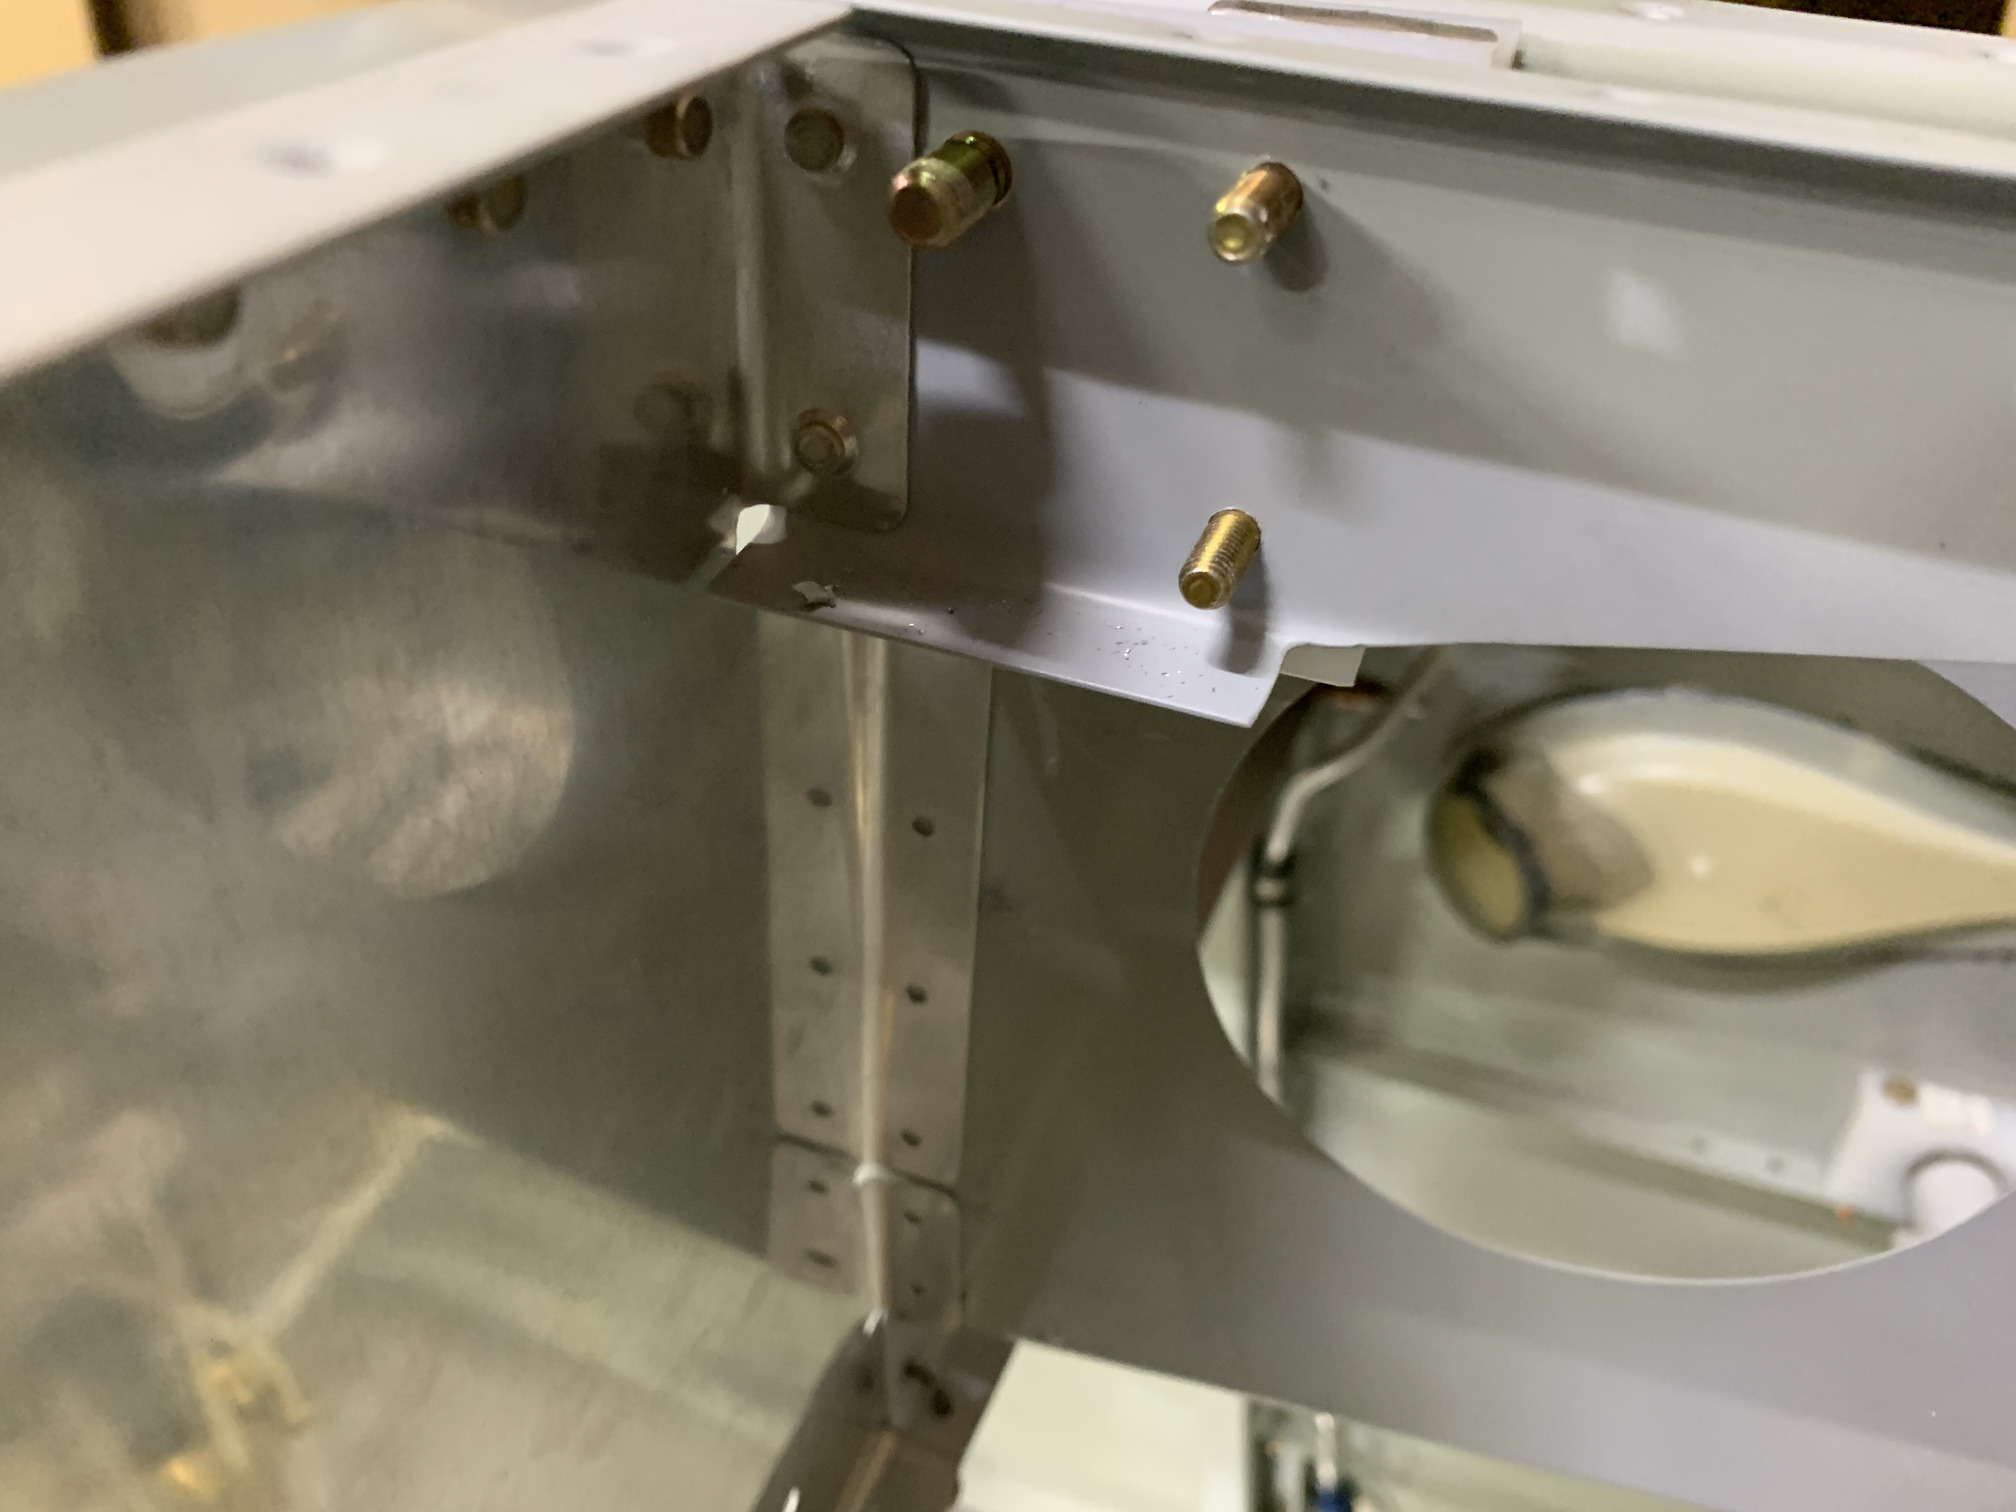
With the skin removed, you can see the completed holes. These will serve as the hinge points for the tip-up canopy. There is also an "optional" canopy jettison mechanism that can be installed to release the hinge bolts in an emergency. I am electing not to install these, like many RV builders before me. For one thing, the handle for the release mechanism comes out through the instrument panel, which is incompatible with most glass cockpits.
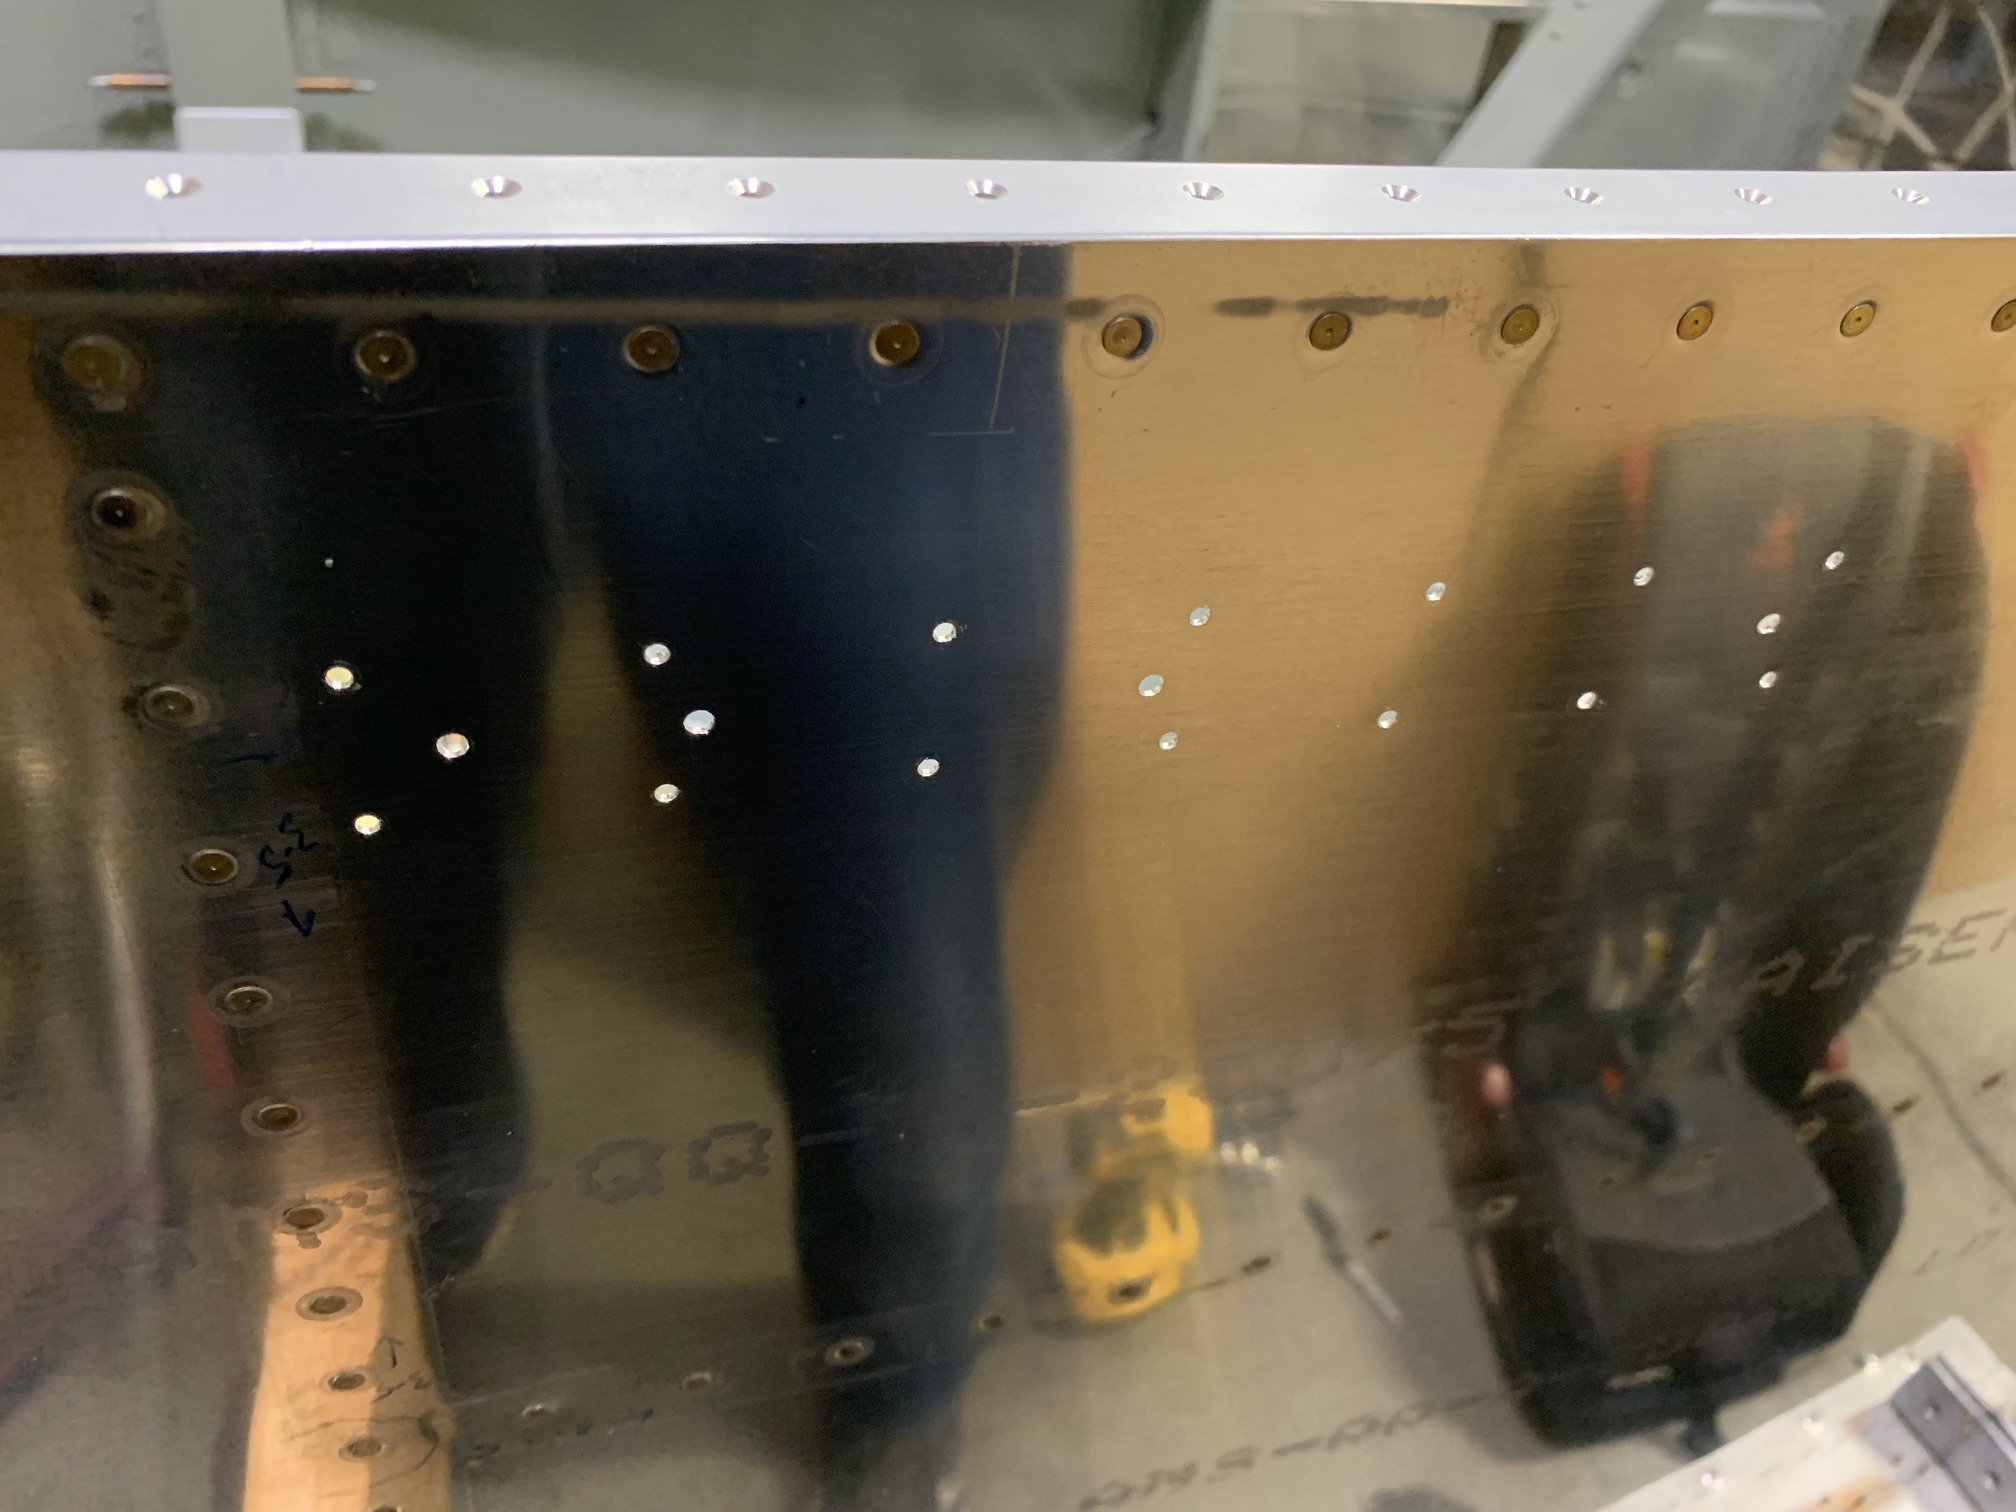
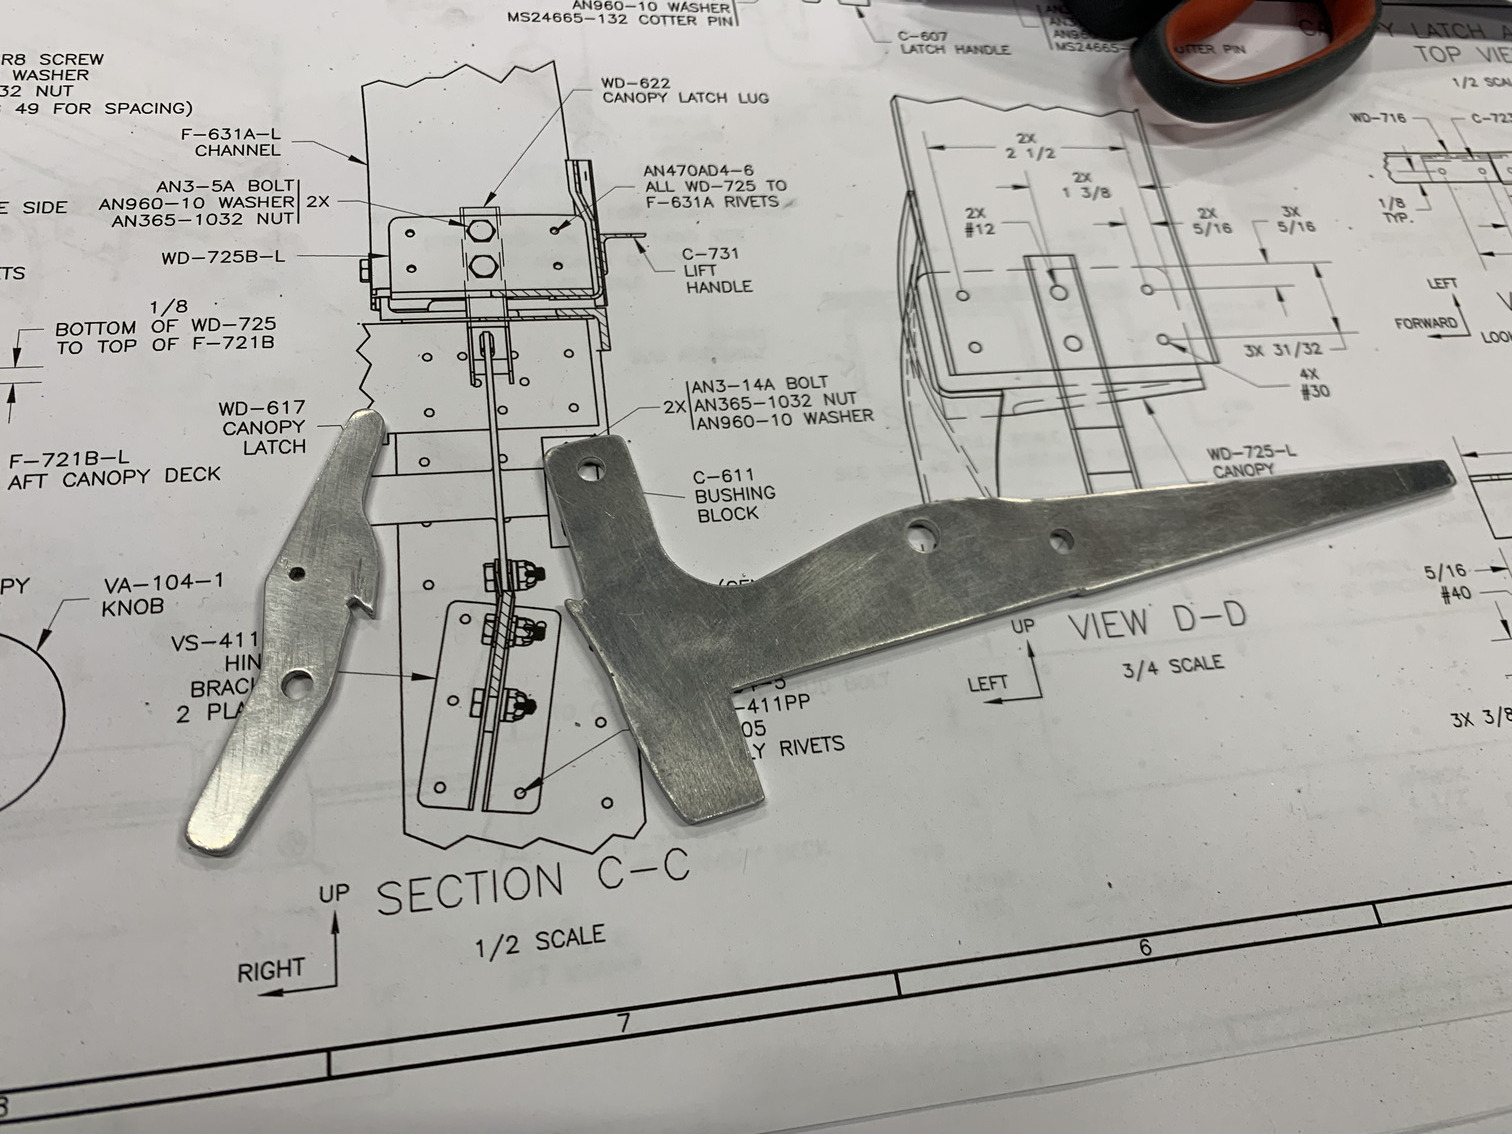
Next, I got to work on the canopy latch mechanism. This template from DWG48 is used to drill holes and make some cuts in the forward left side skin. I carefully aligned it with the existing skin to longeron rivets and then taped it in place.
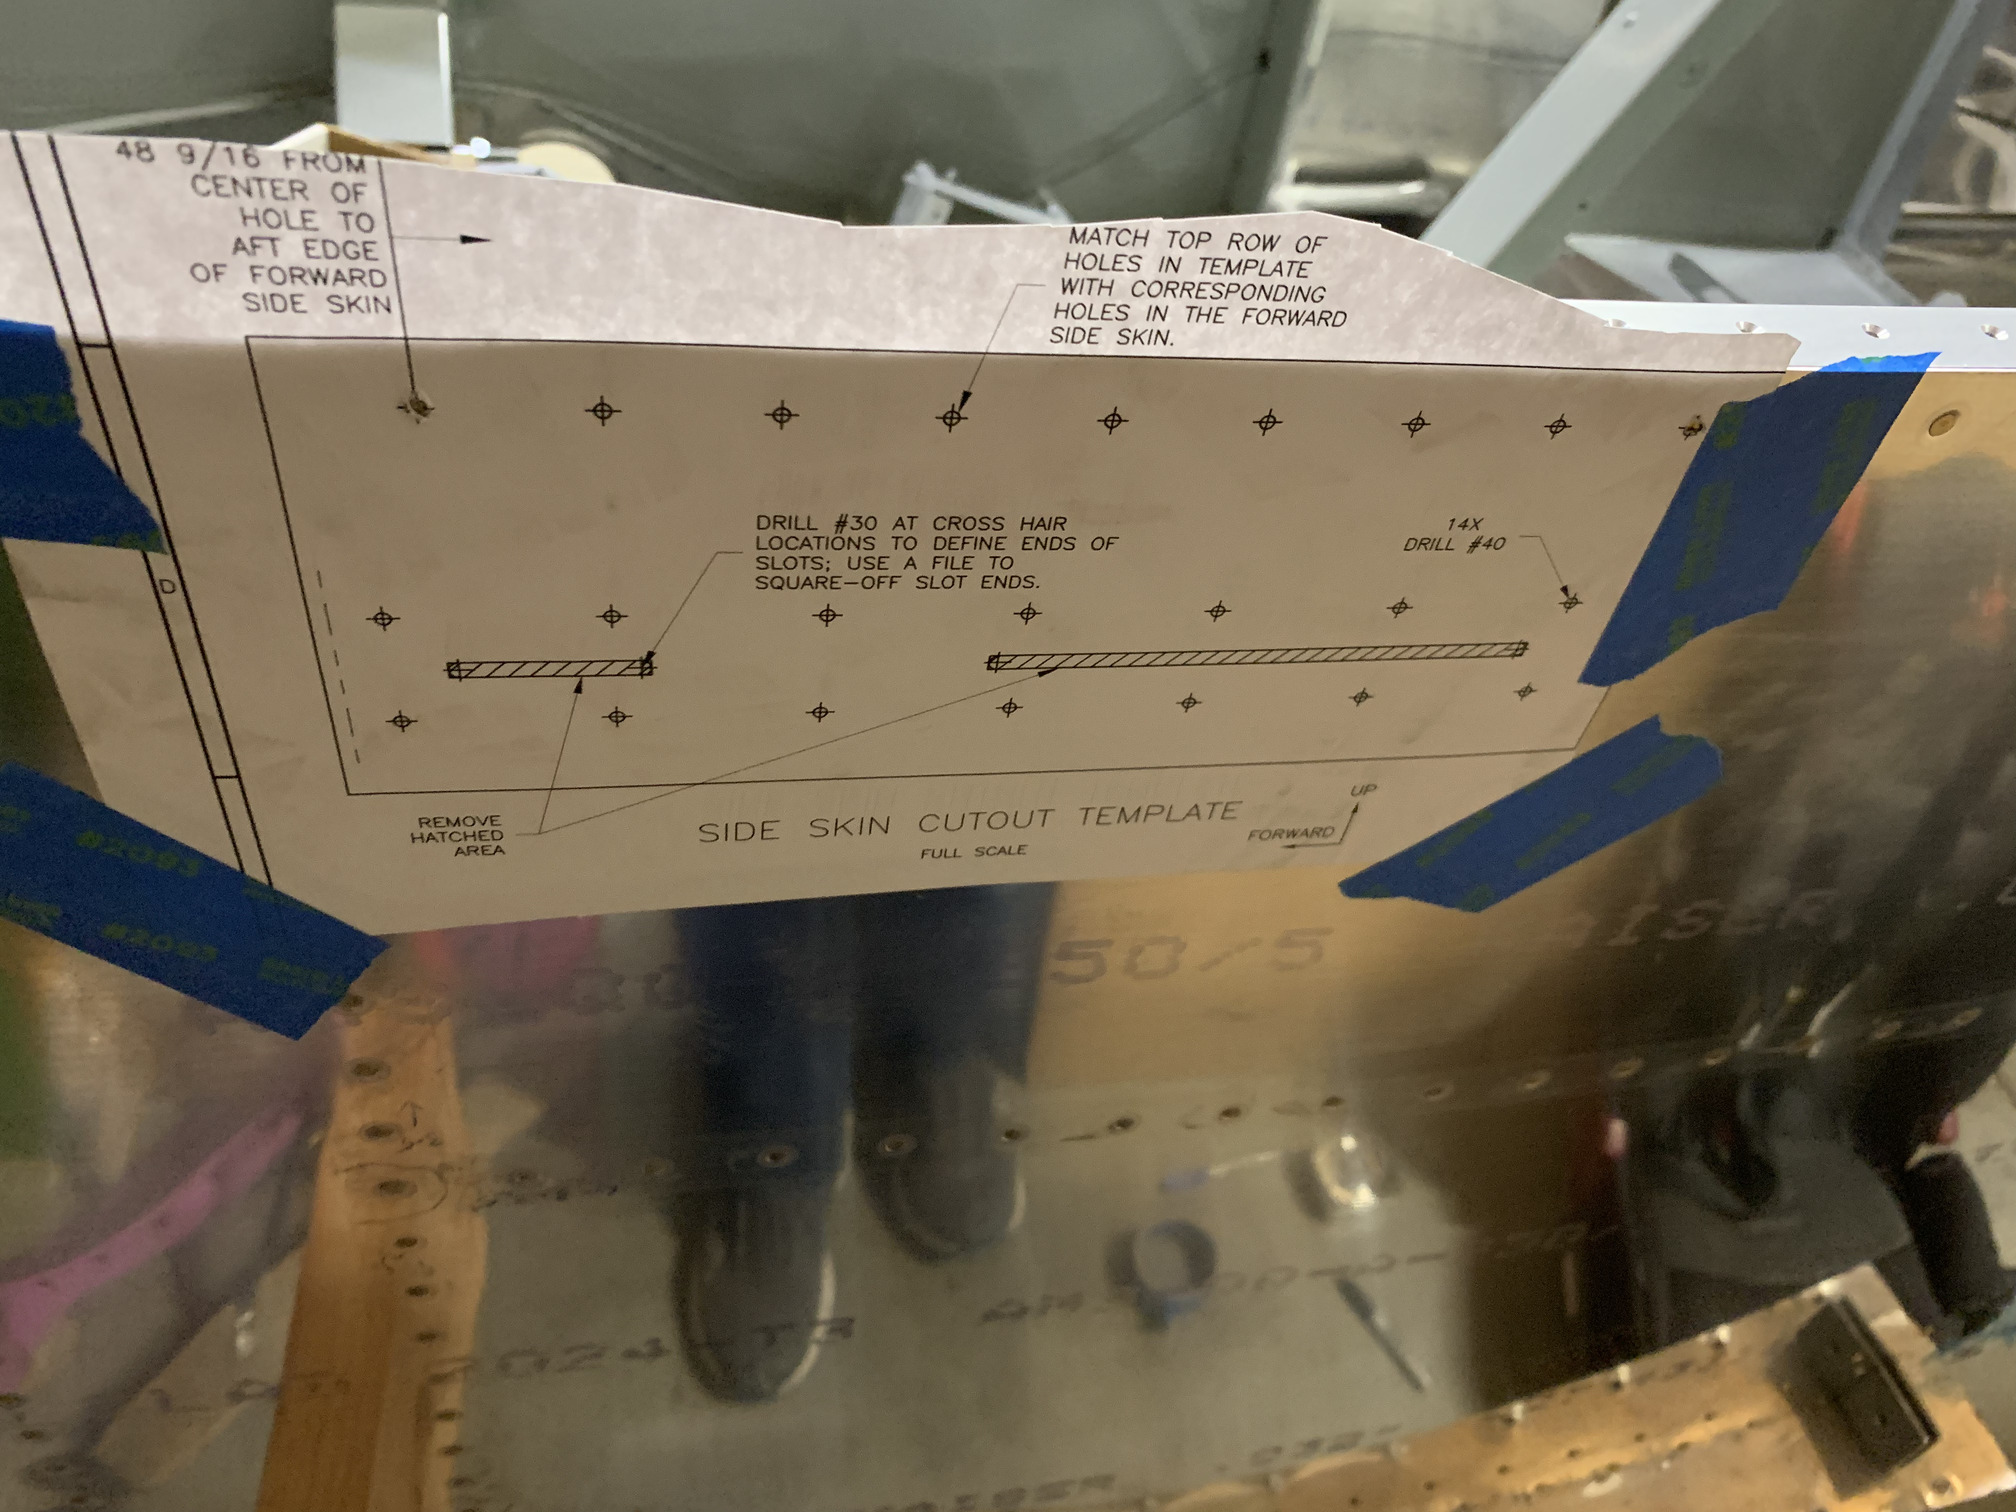
I drilled all of the holes and then removed the template.
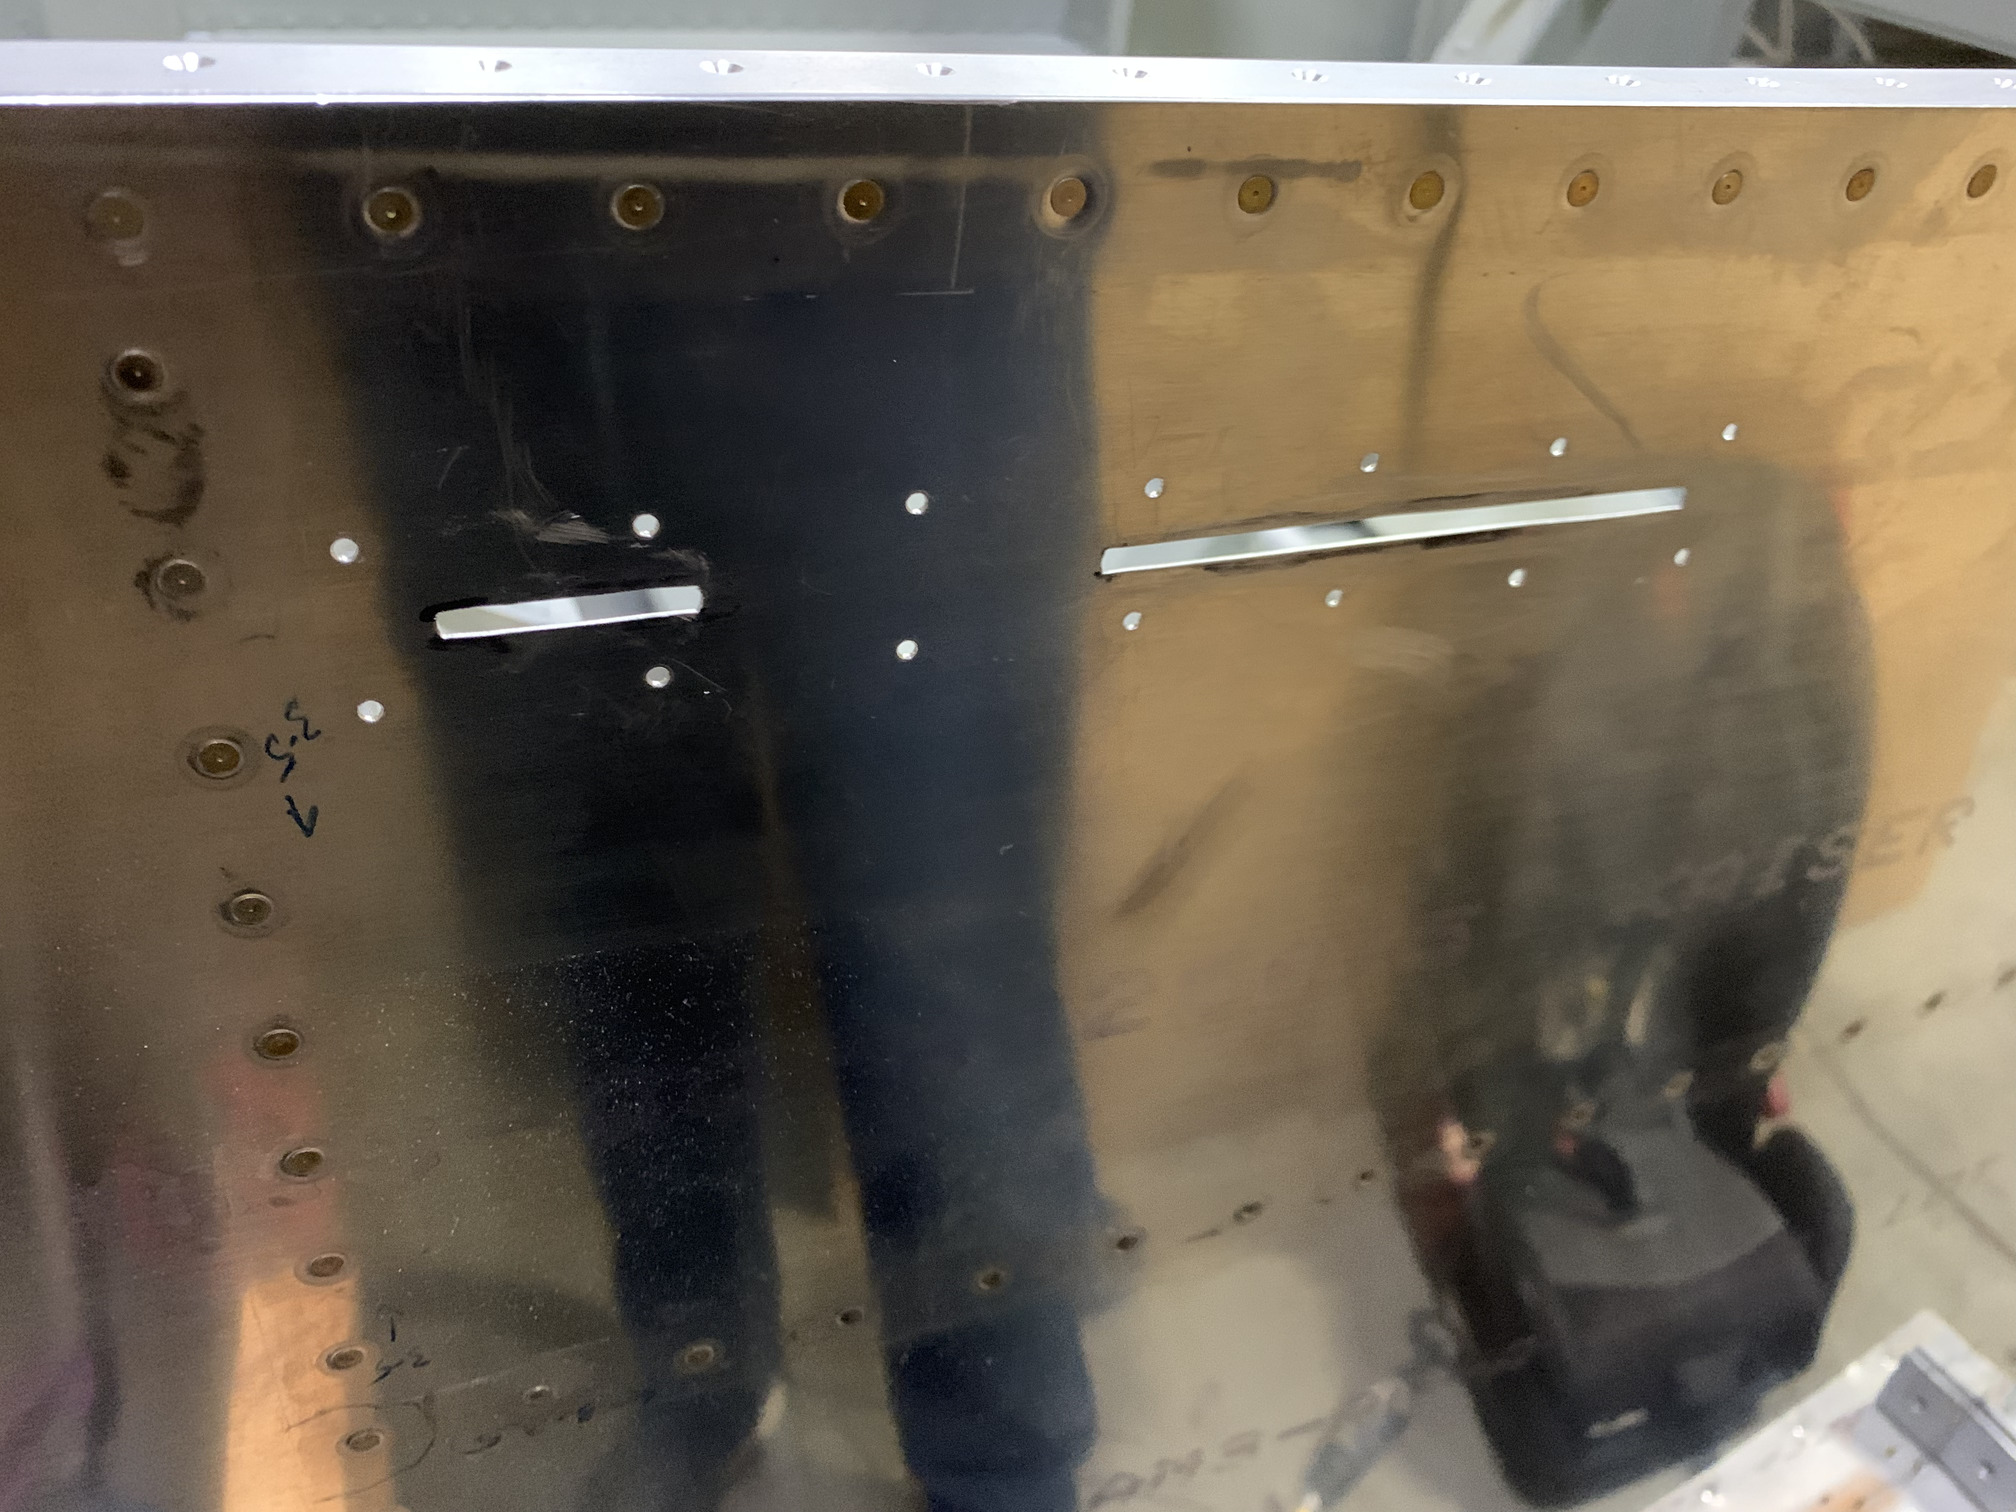
I then very carefully connected the #30 holes for the slots with a wheel.
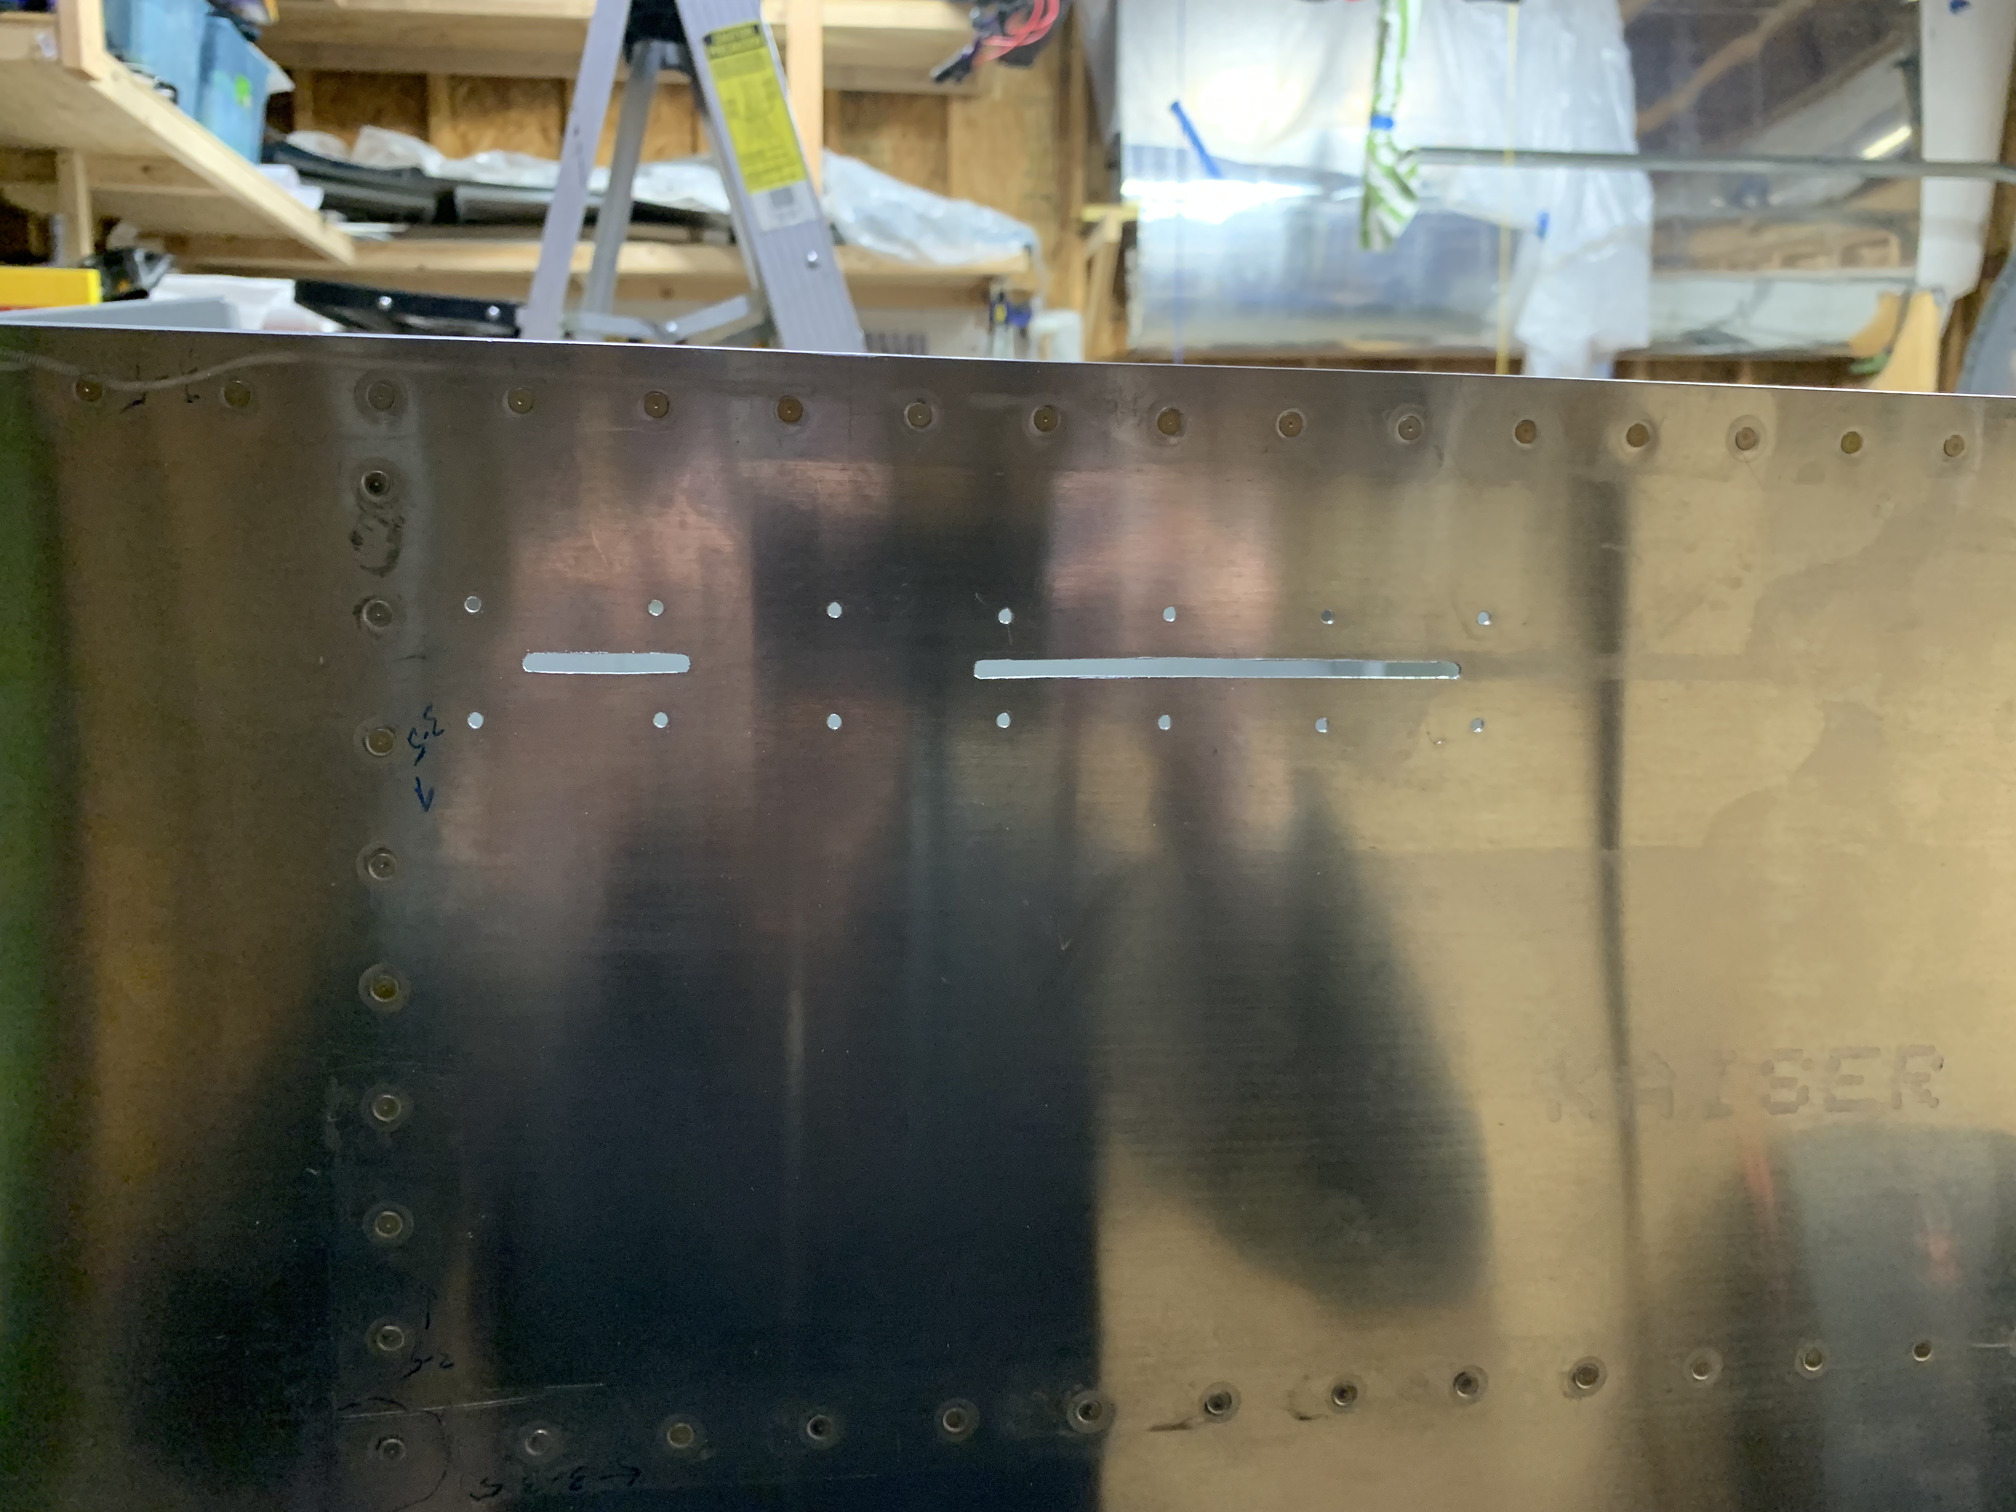
I then finished the slots with files and some emery cloth. Not perfect, but very good.
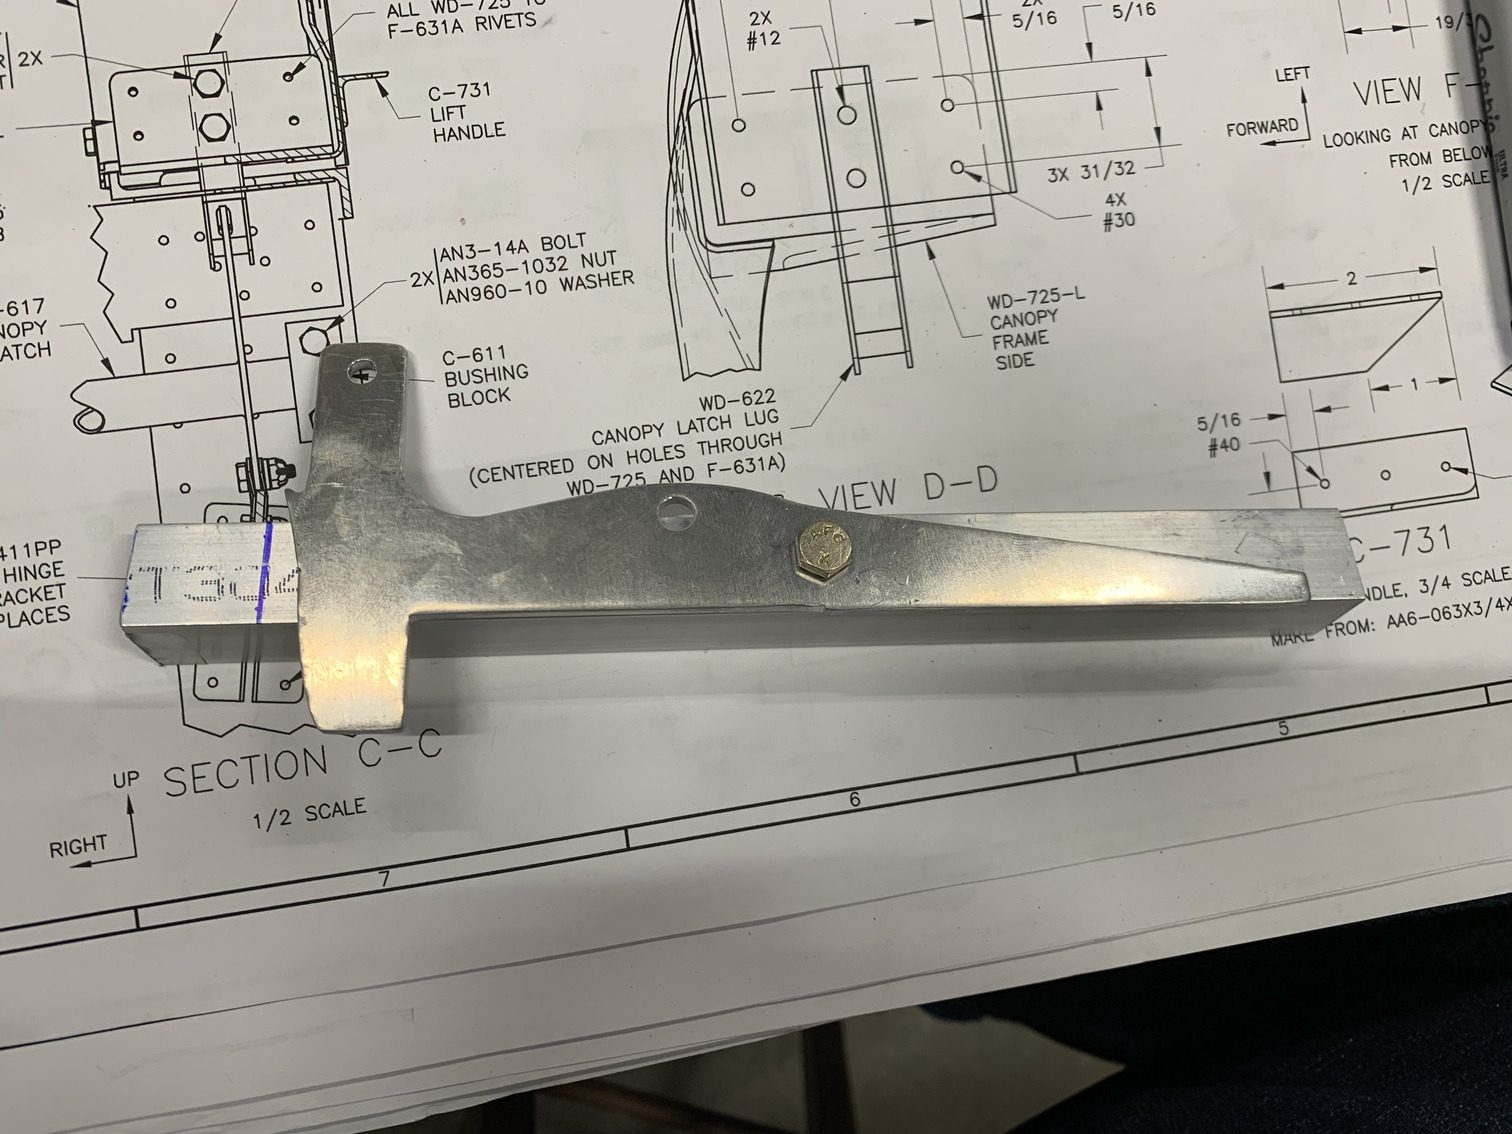
I then started working on the thick aluminum C-607 latch and C-609 latch handle. These needed to be straightened, so I did that with the bench vise and a mallet.
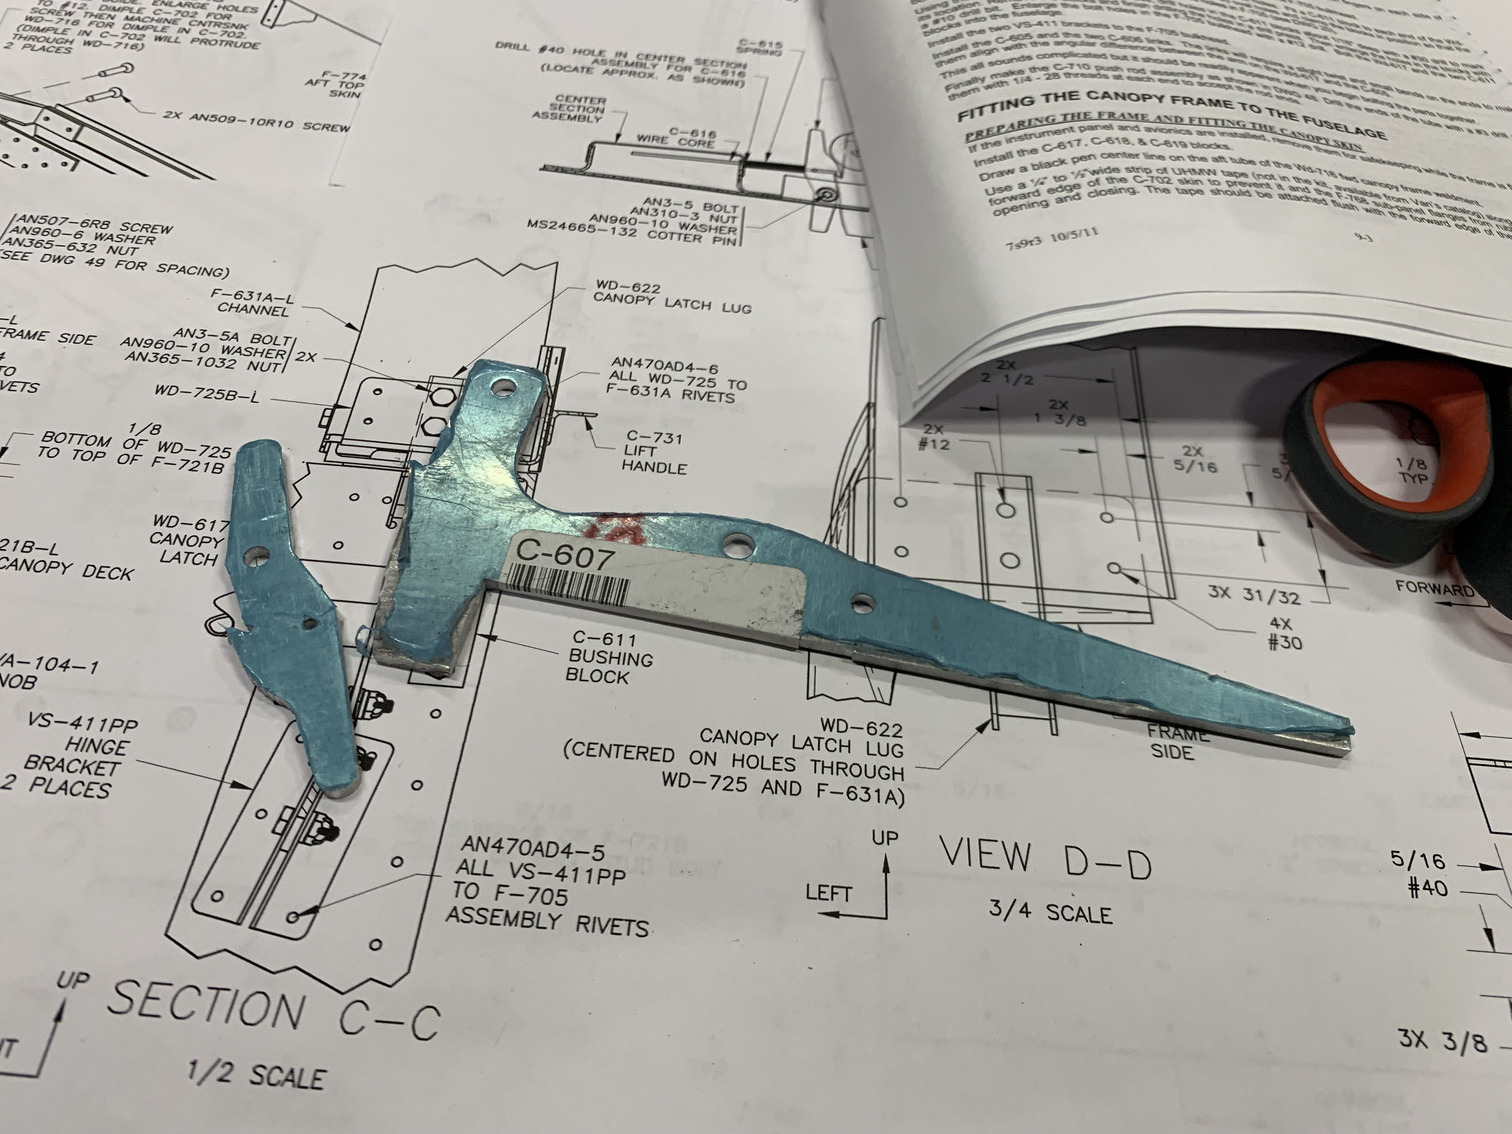
I edge finished both of them.
I fabricated the lower C-712 canopy latch angles and drilled the hole for the latch handle. Here it is bolted in place to check fit.
Then, I drilled the bolt hole for the latch and bolted it in place as well. The fit is good.
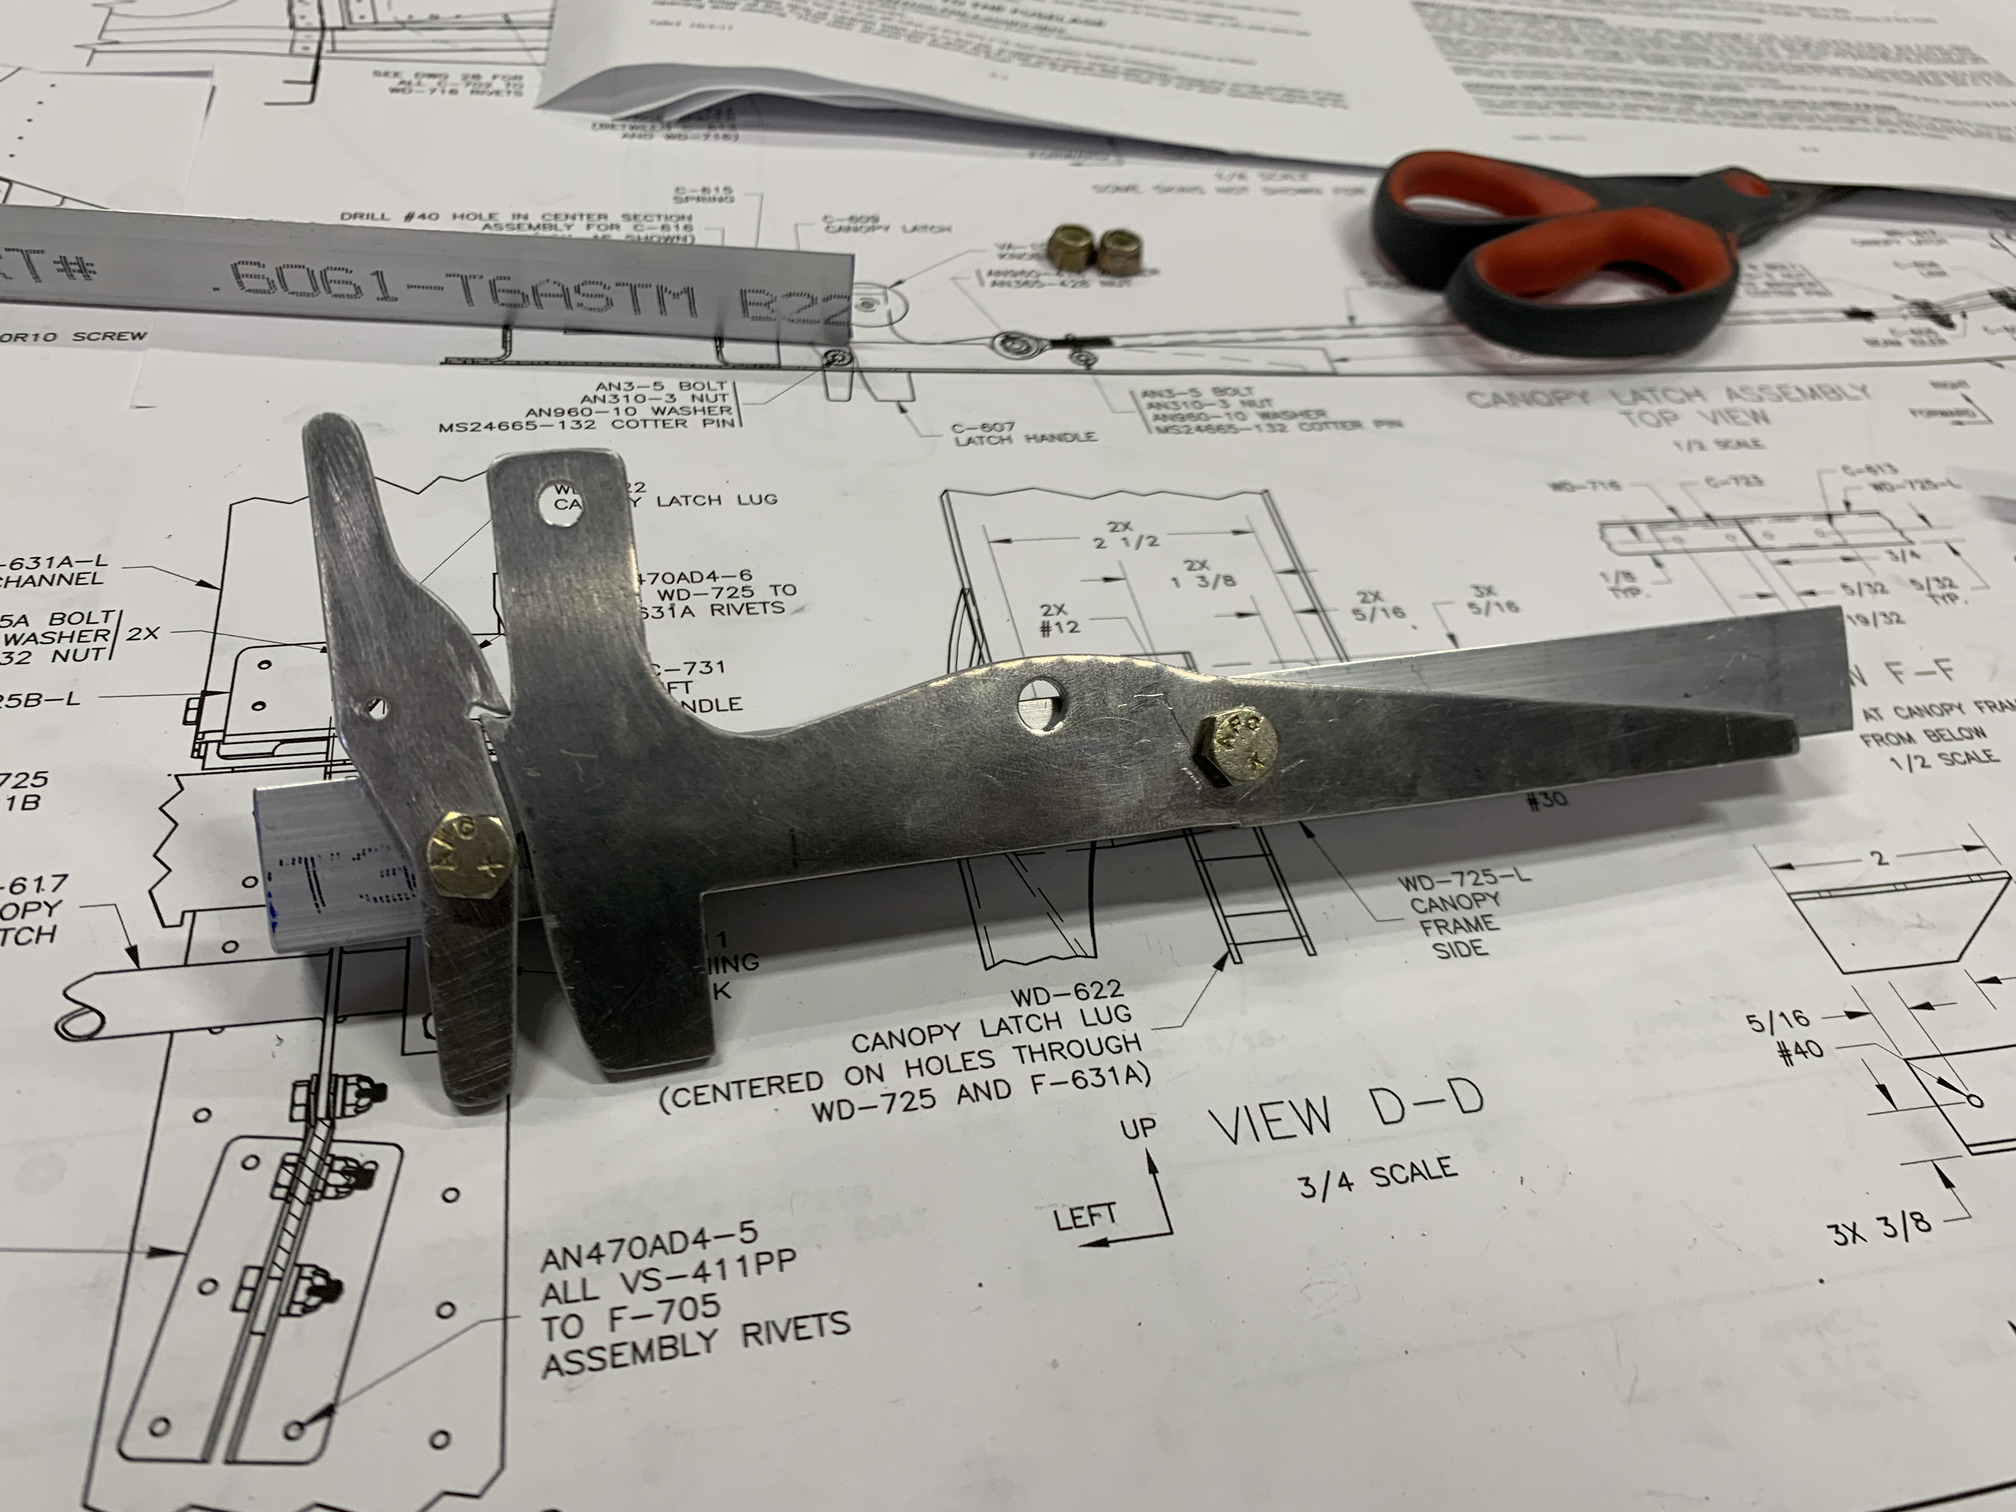
I then fabricated the upper C-712 angle and back drilled the bolt holes from the lower angle. I still need to notch the angles a little bit to make room for the rod end bearing that attaches the latch handle to the C-710 pushrod.
It's exciting to be making progress on this!
| Previous - Index - Next |
This work is licensed under Attribution-NonCommercial-NoDerivatives 4.0 International![]()
![]()
![]()
![]()