Log (By Day)
Log (By Category)
Pictures
Pics of Me Working
Links
| ||||||||||||
Monday January 3, 2022
Canopy Frame Prep, Drilling, Fitting
(Canopy)
7.0 Hours
| Previous - Index - Next |
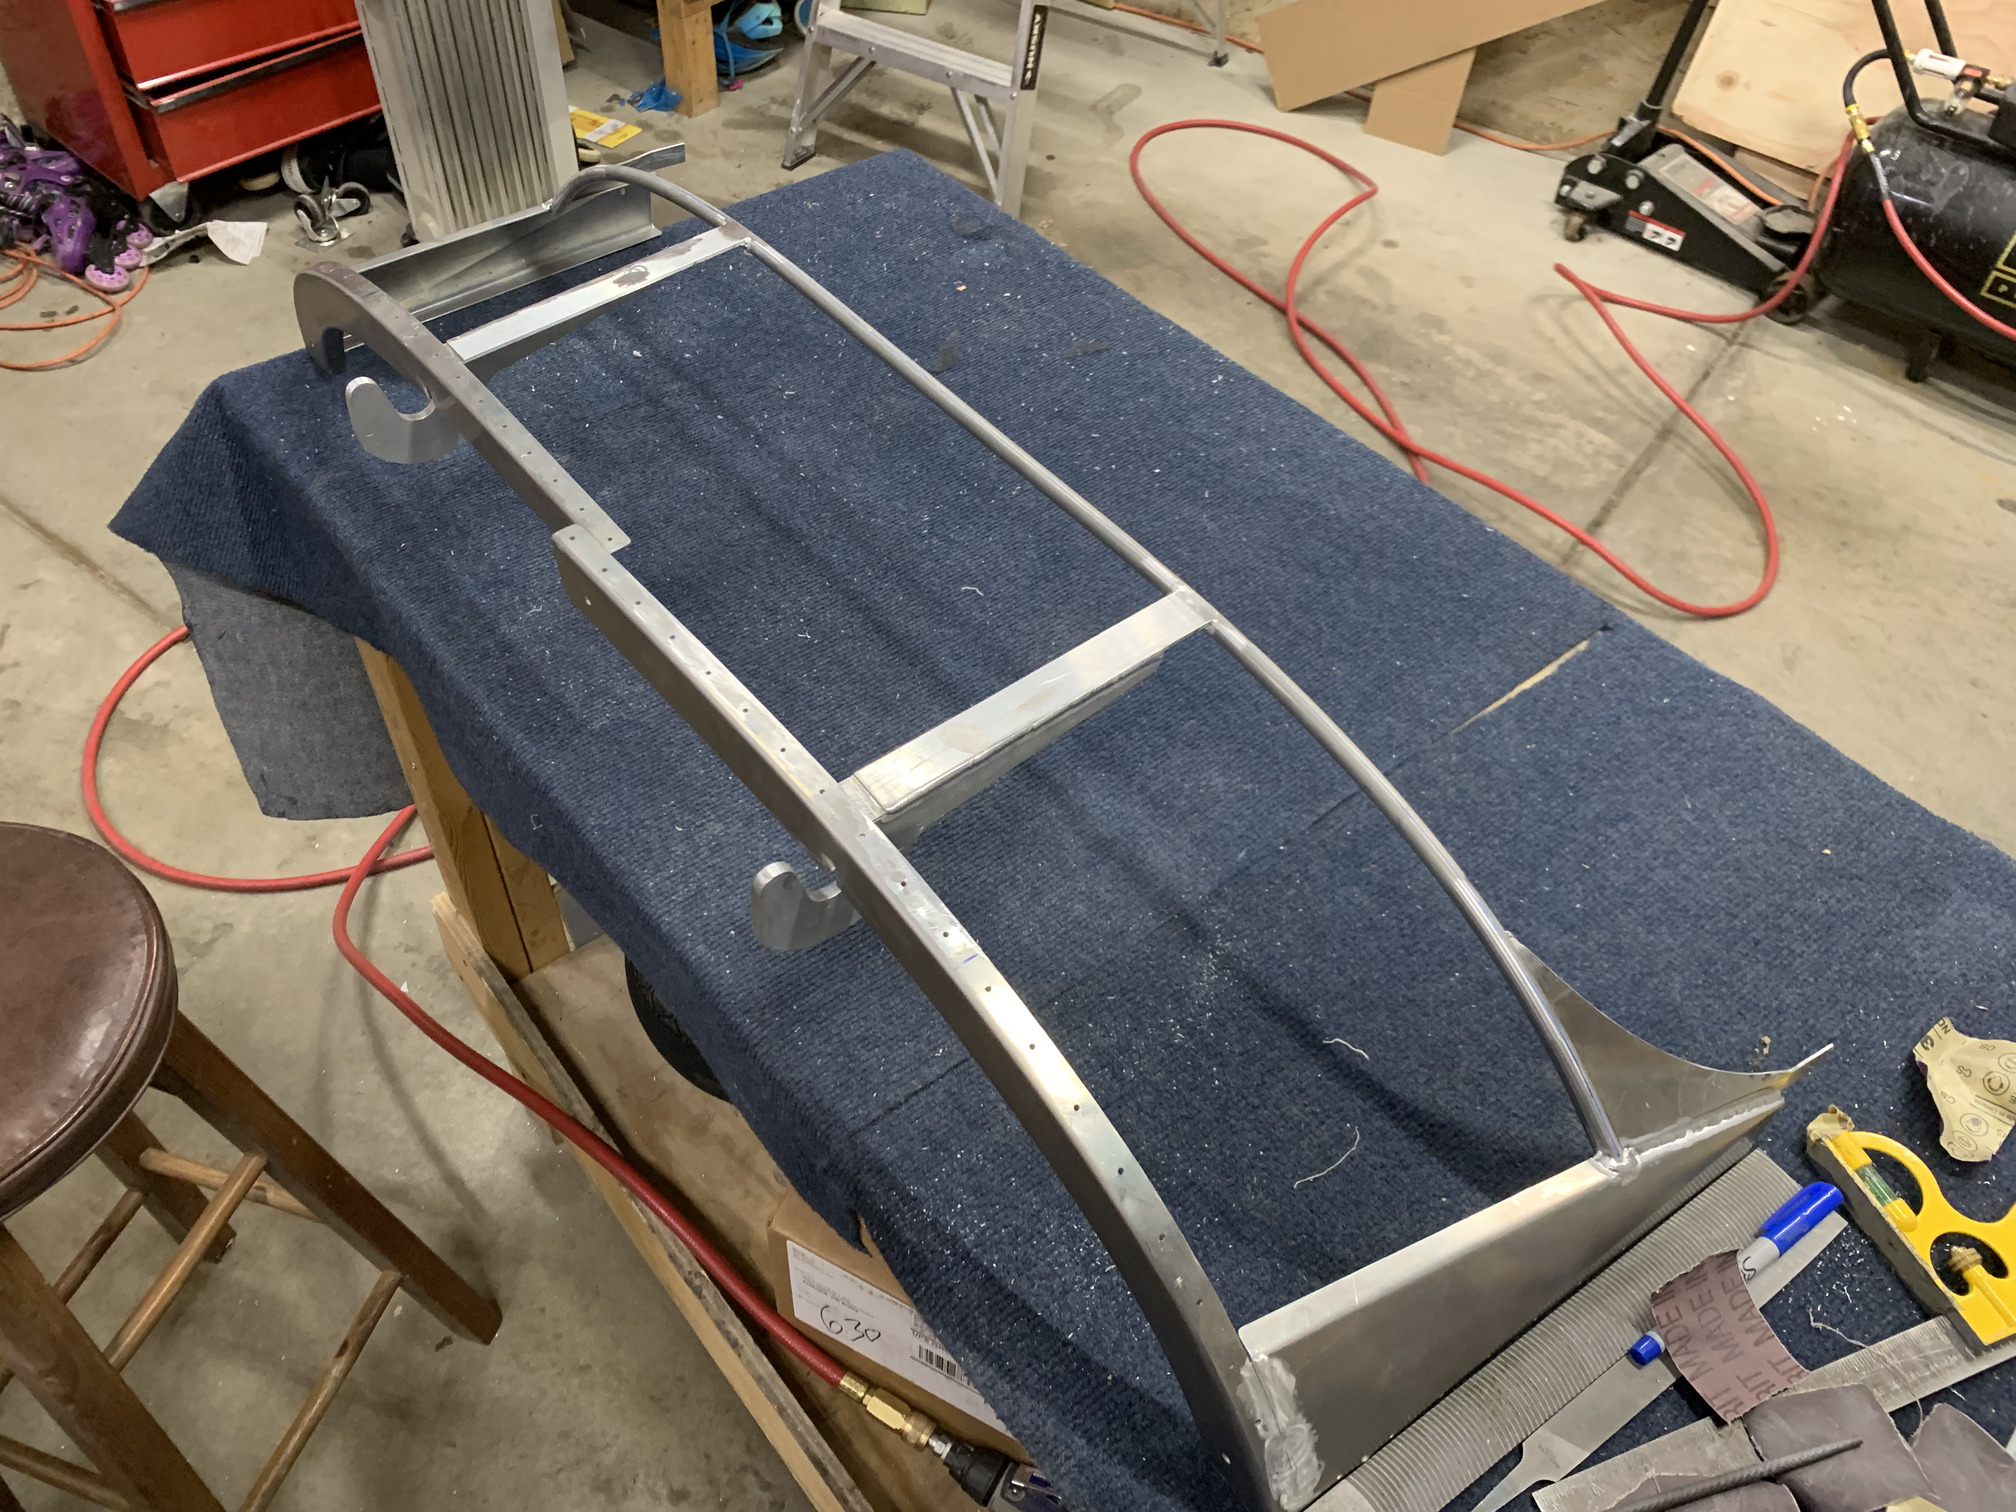
I moved on to the canopy frame today. Here is the WD-716 weldment that forms the structure of the forward canopy frame.

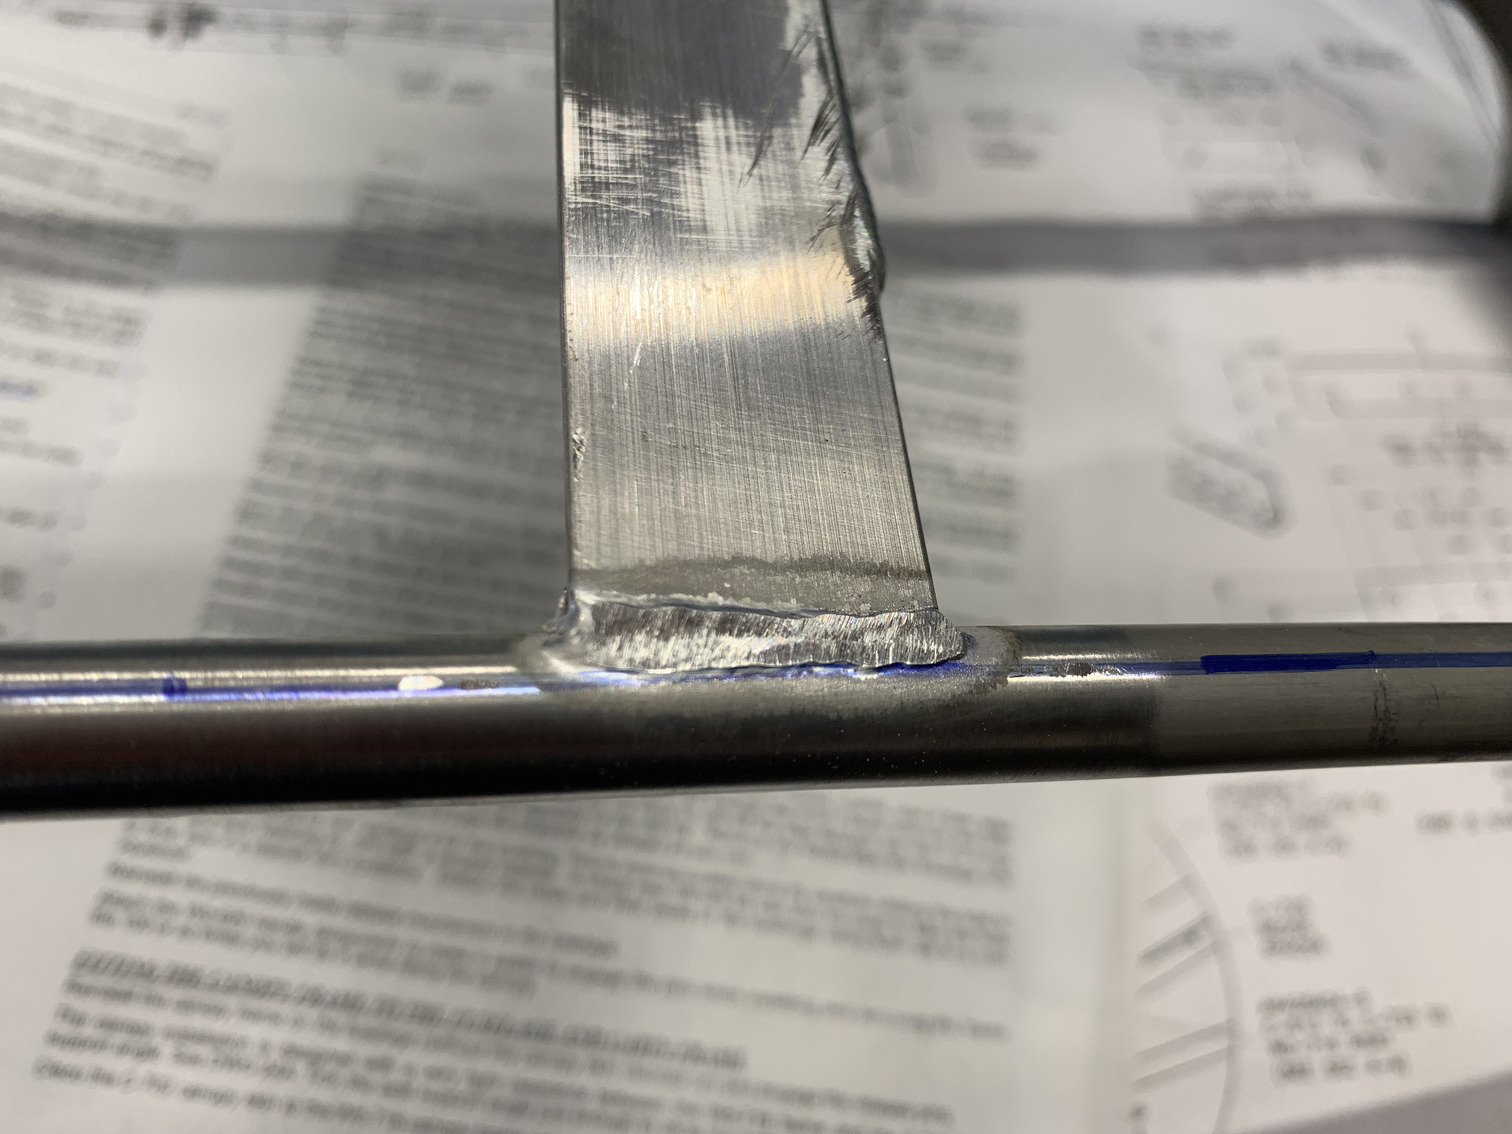
I spent a while grinding down a few areas where the weld sticks up above the rest of the structure, like here.
Then, I spent long time deburring all of the nooks and cranies. I also marked a centerline on the tube part of the weldment.
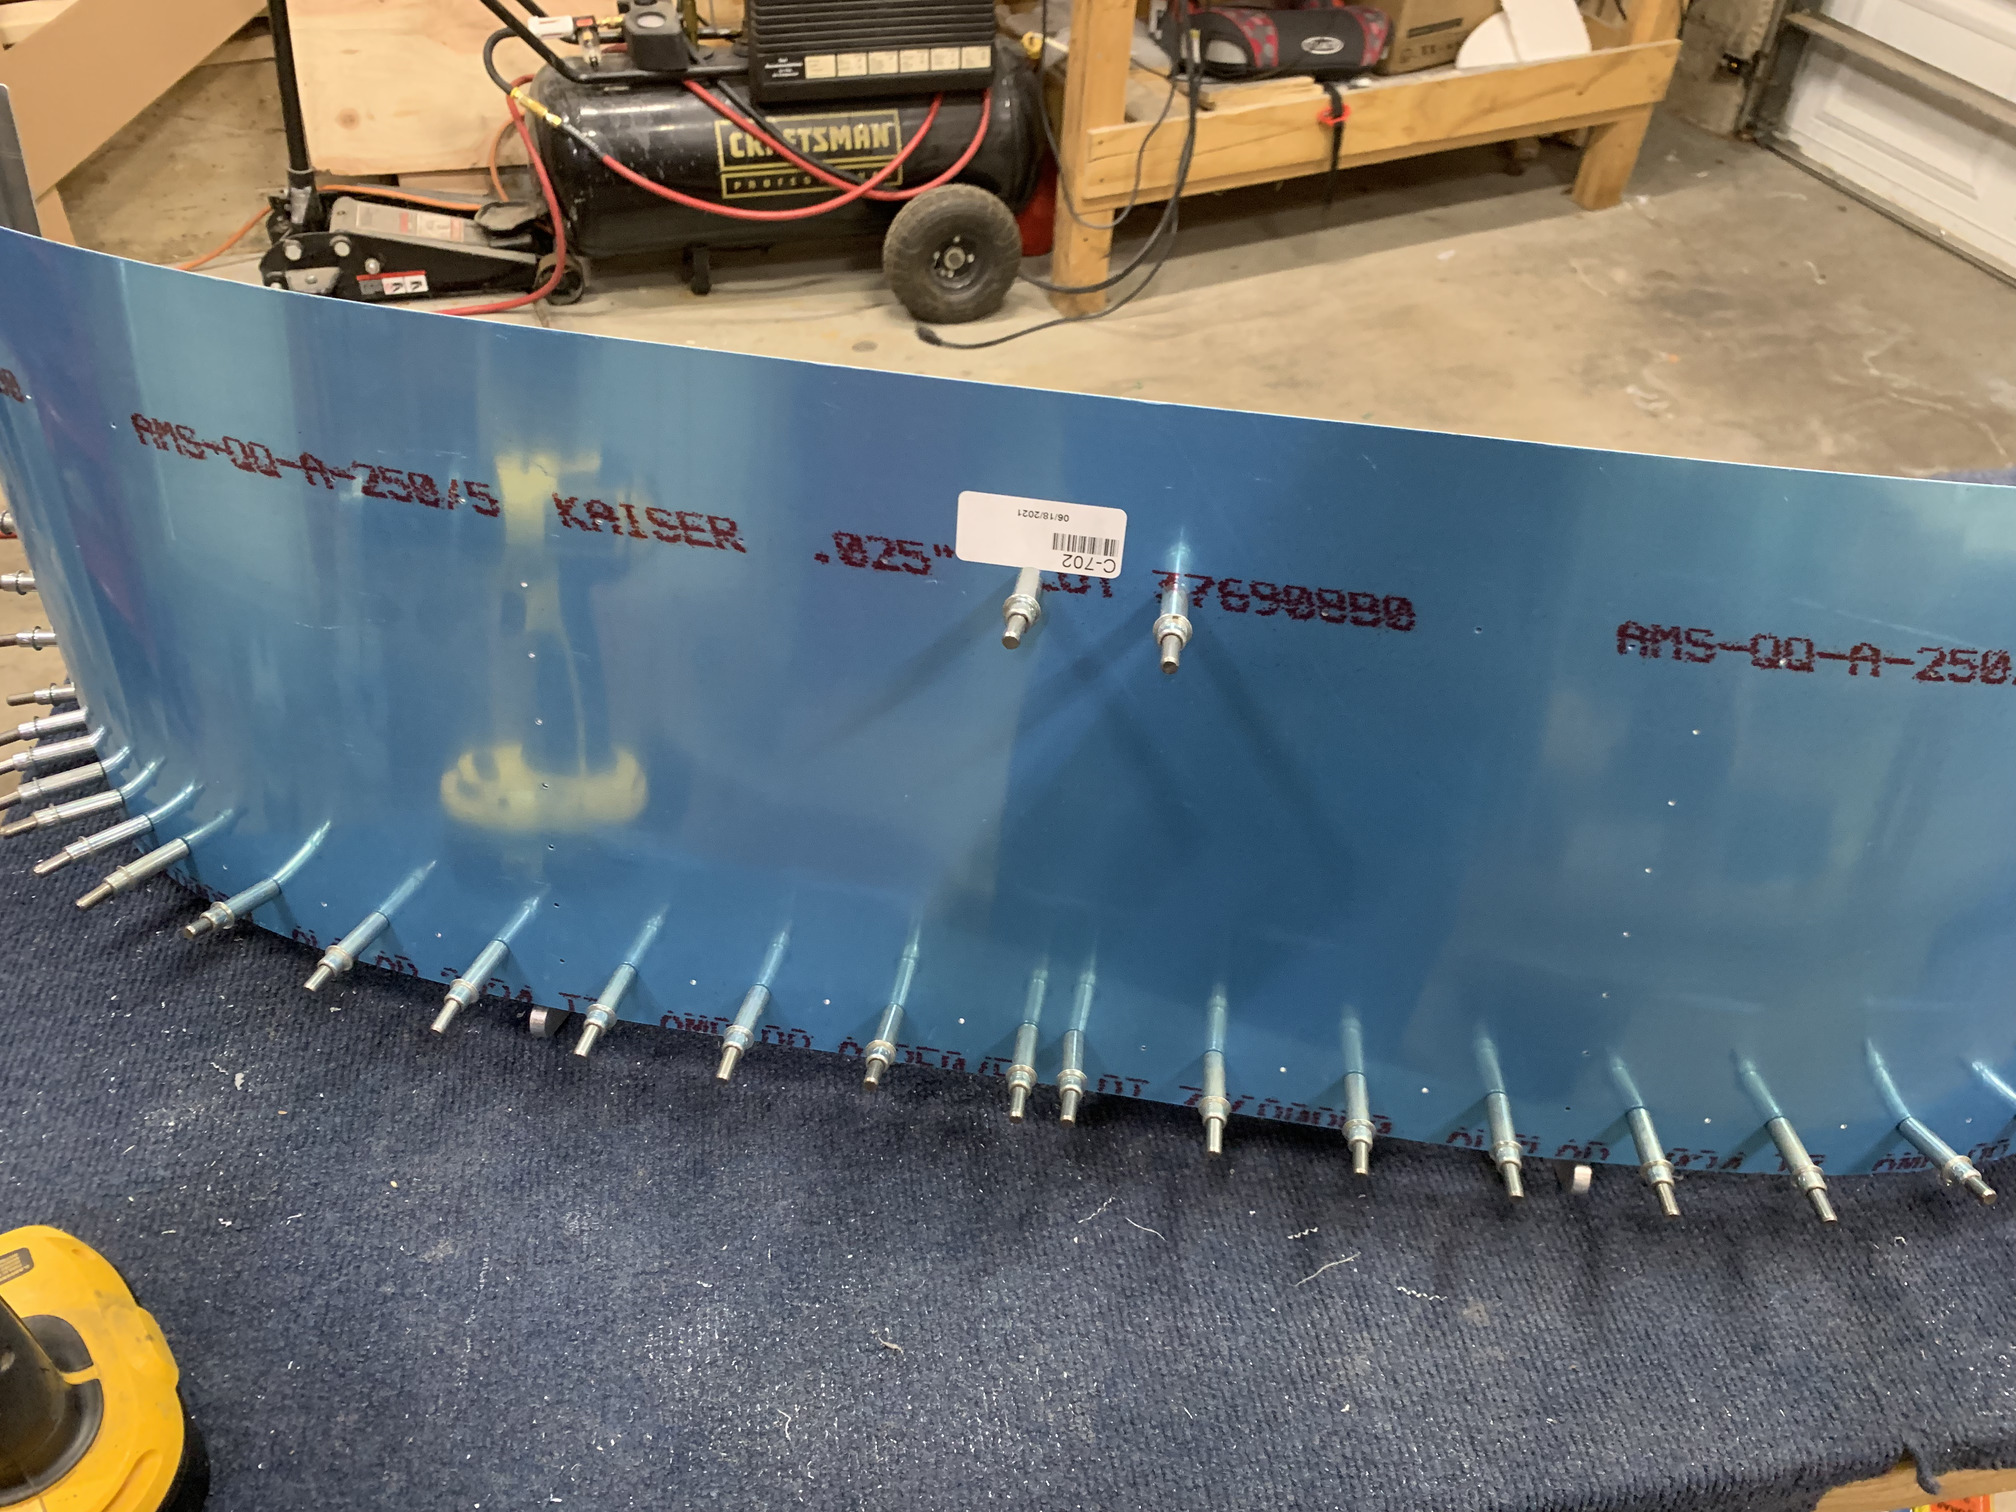
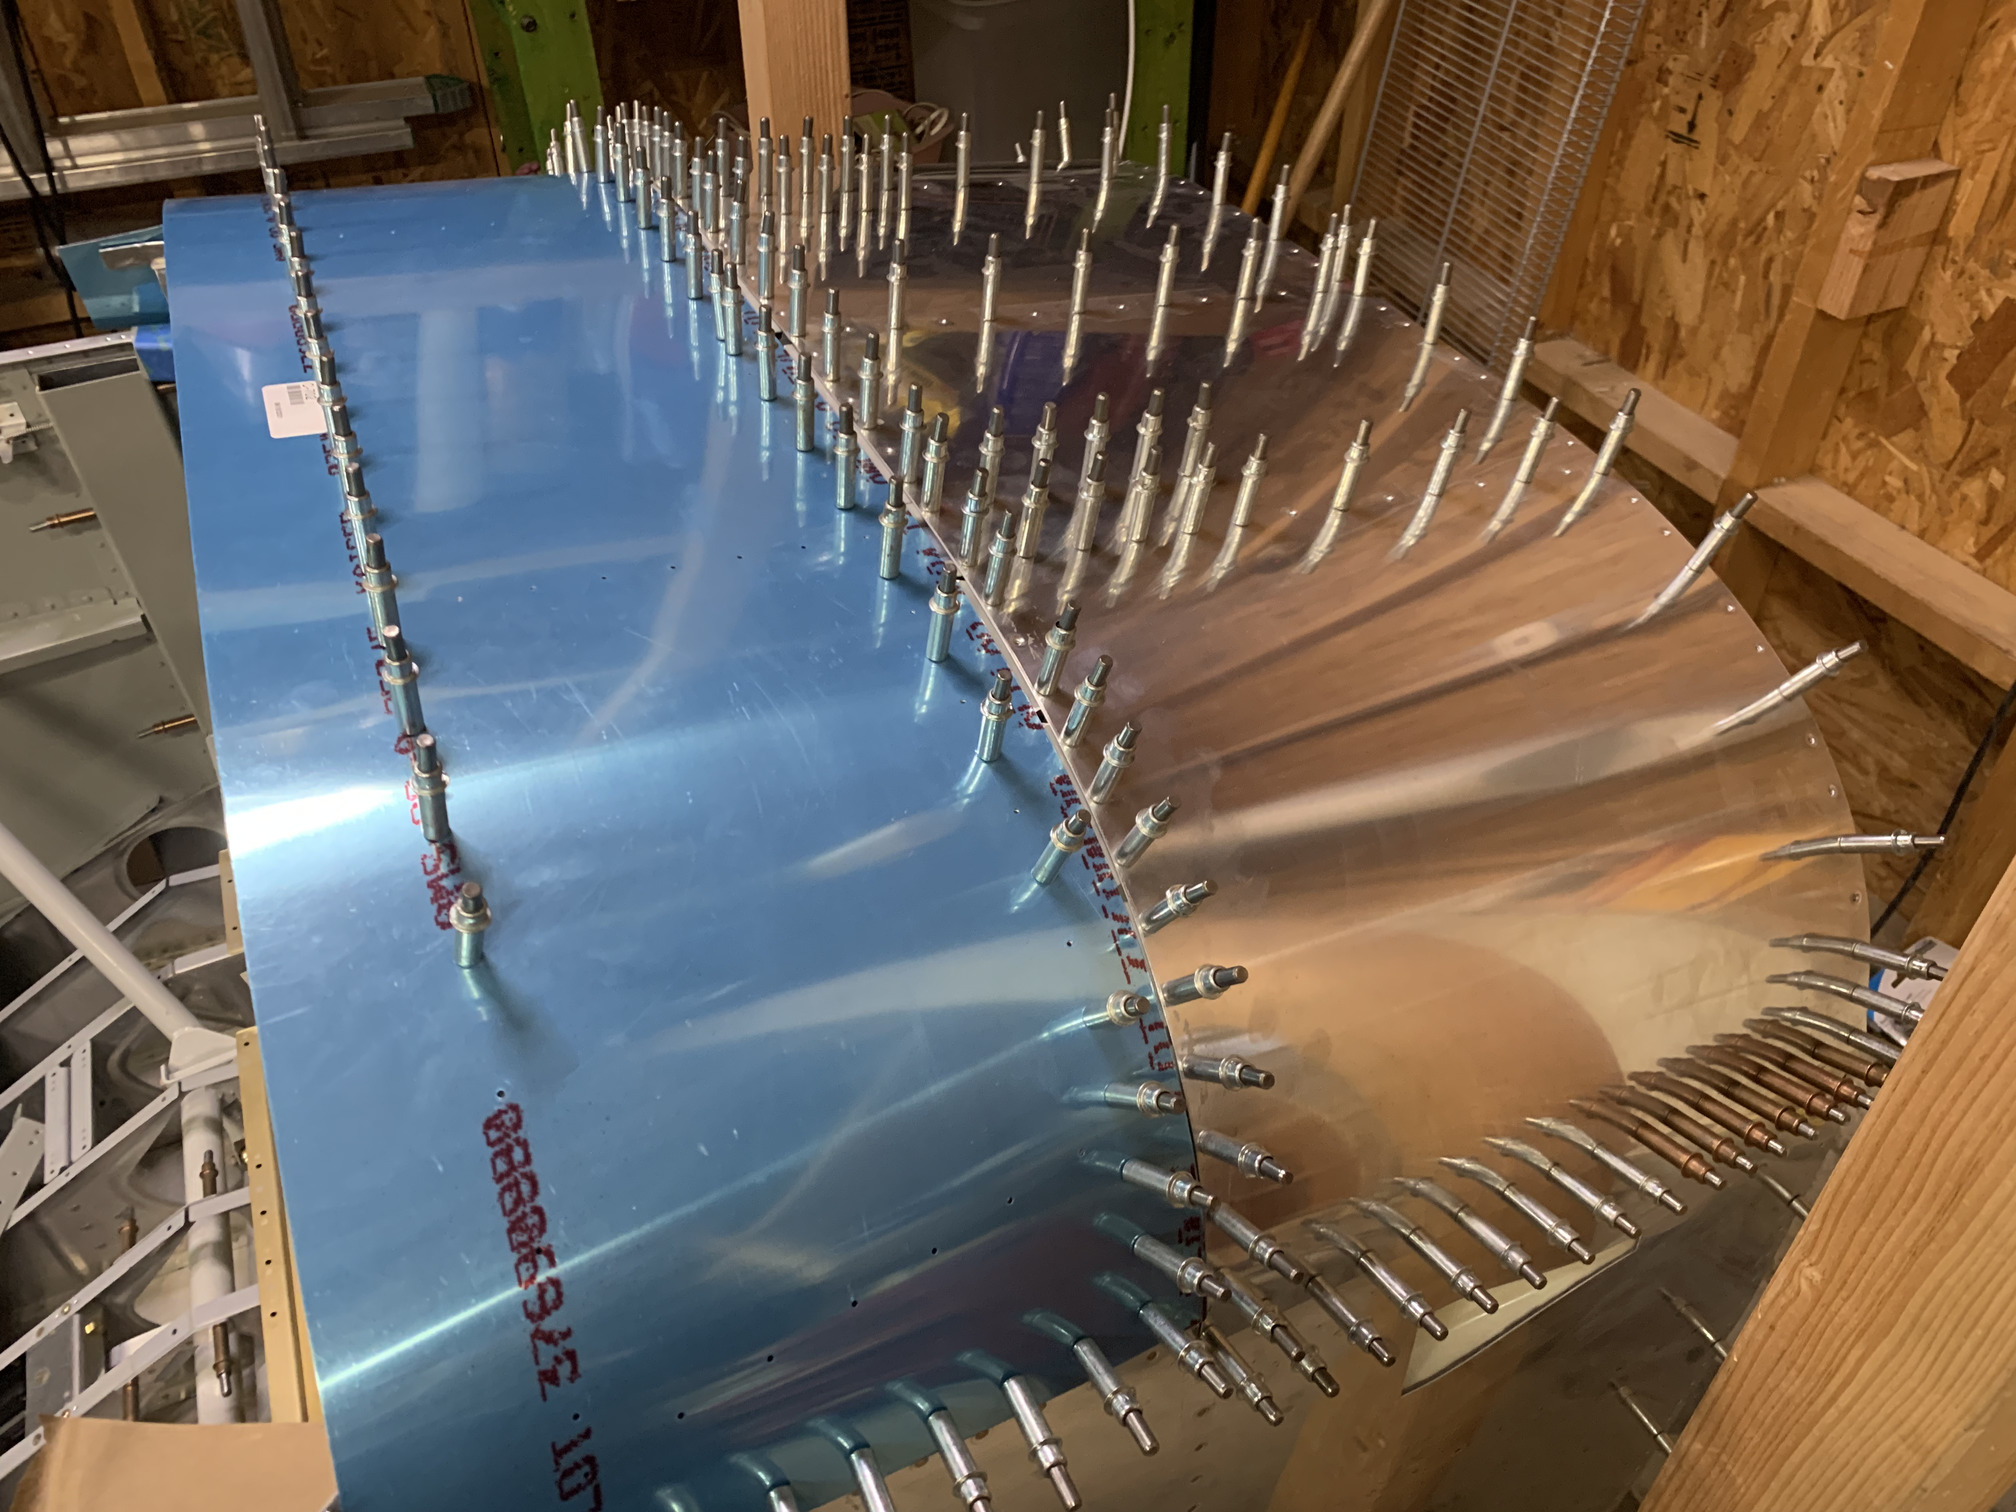
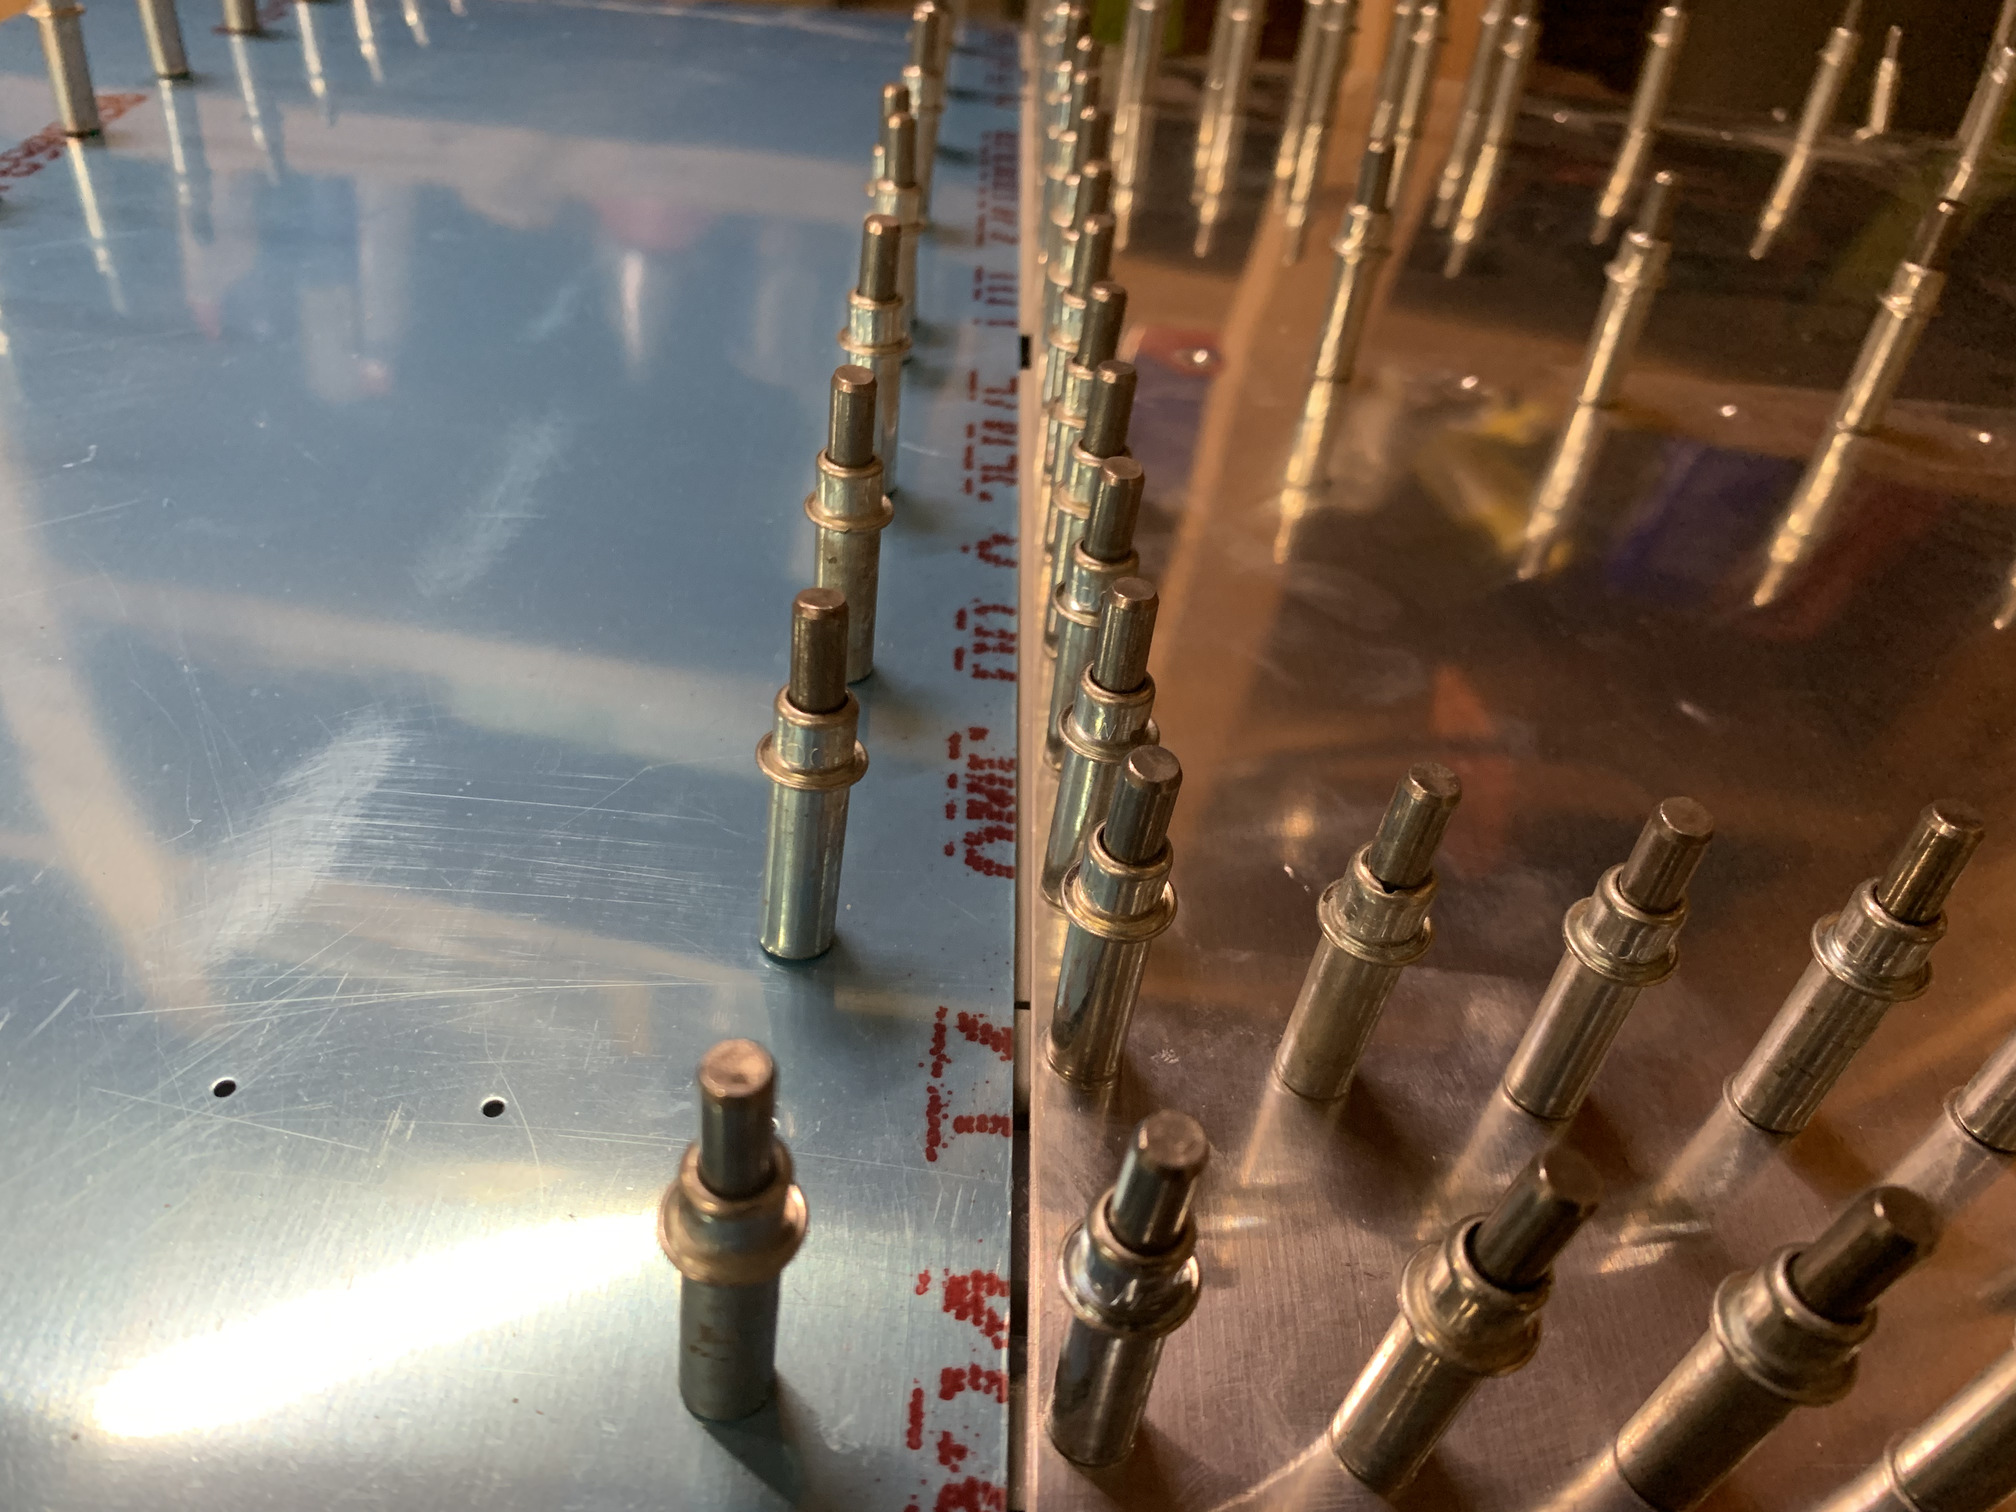
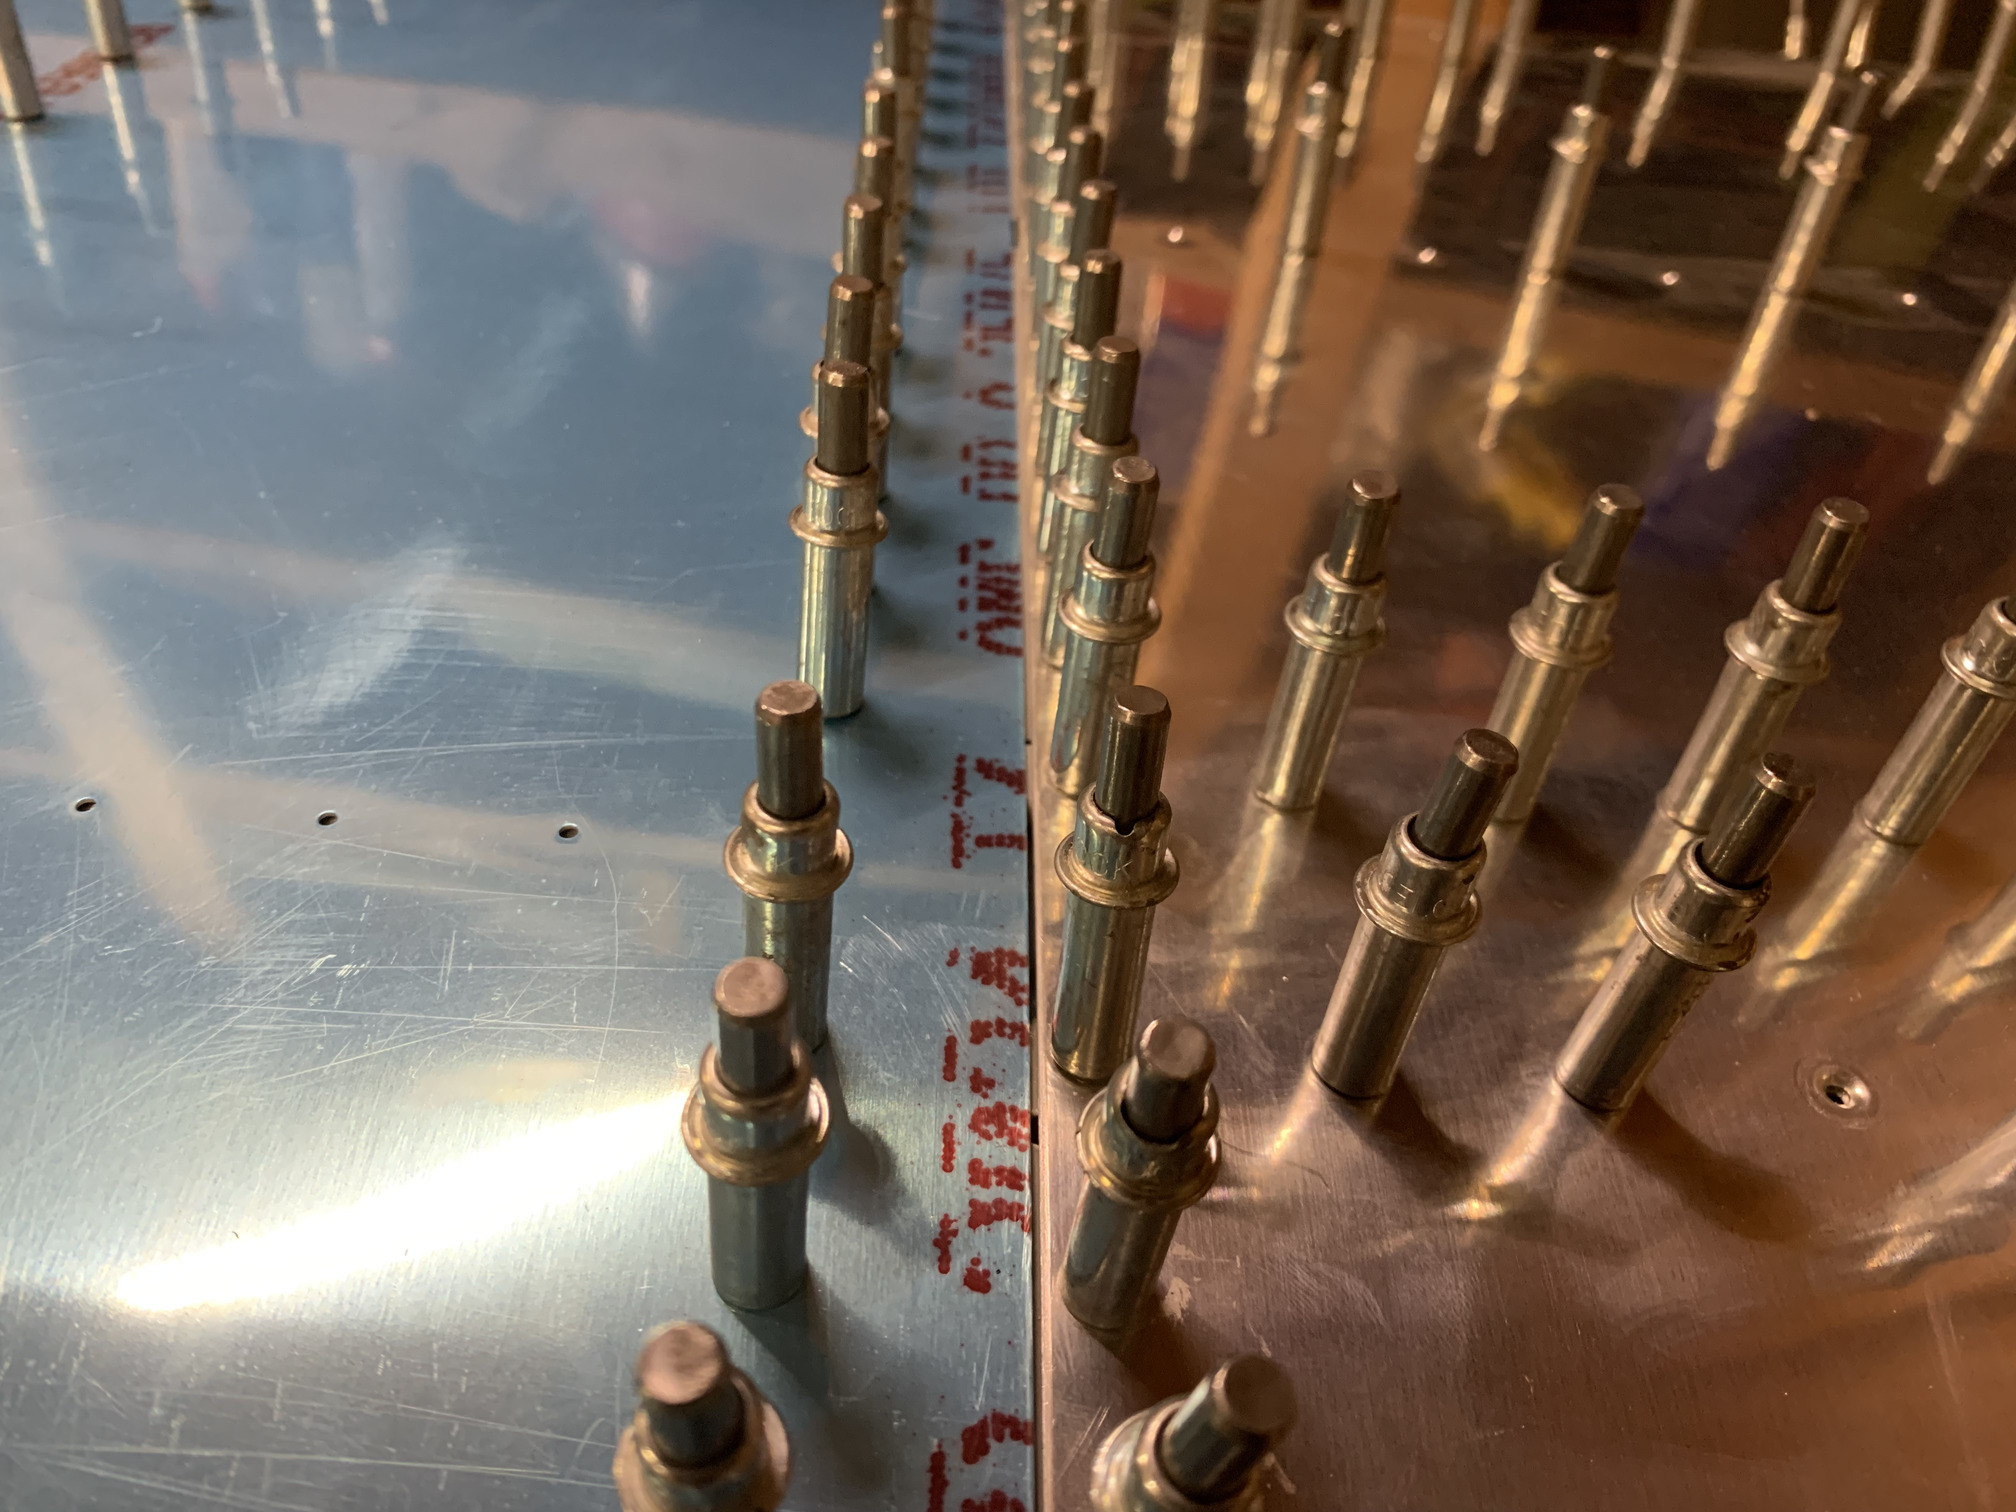
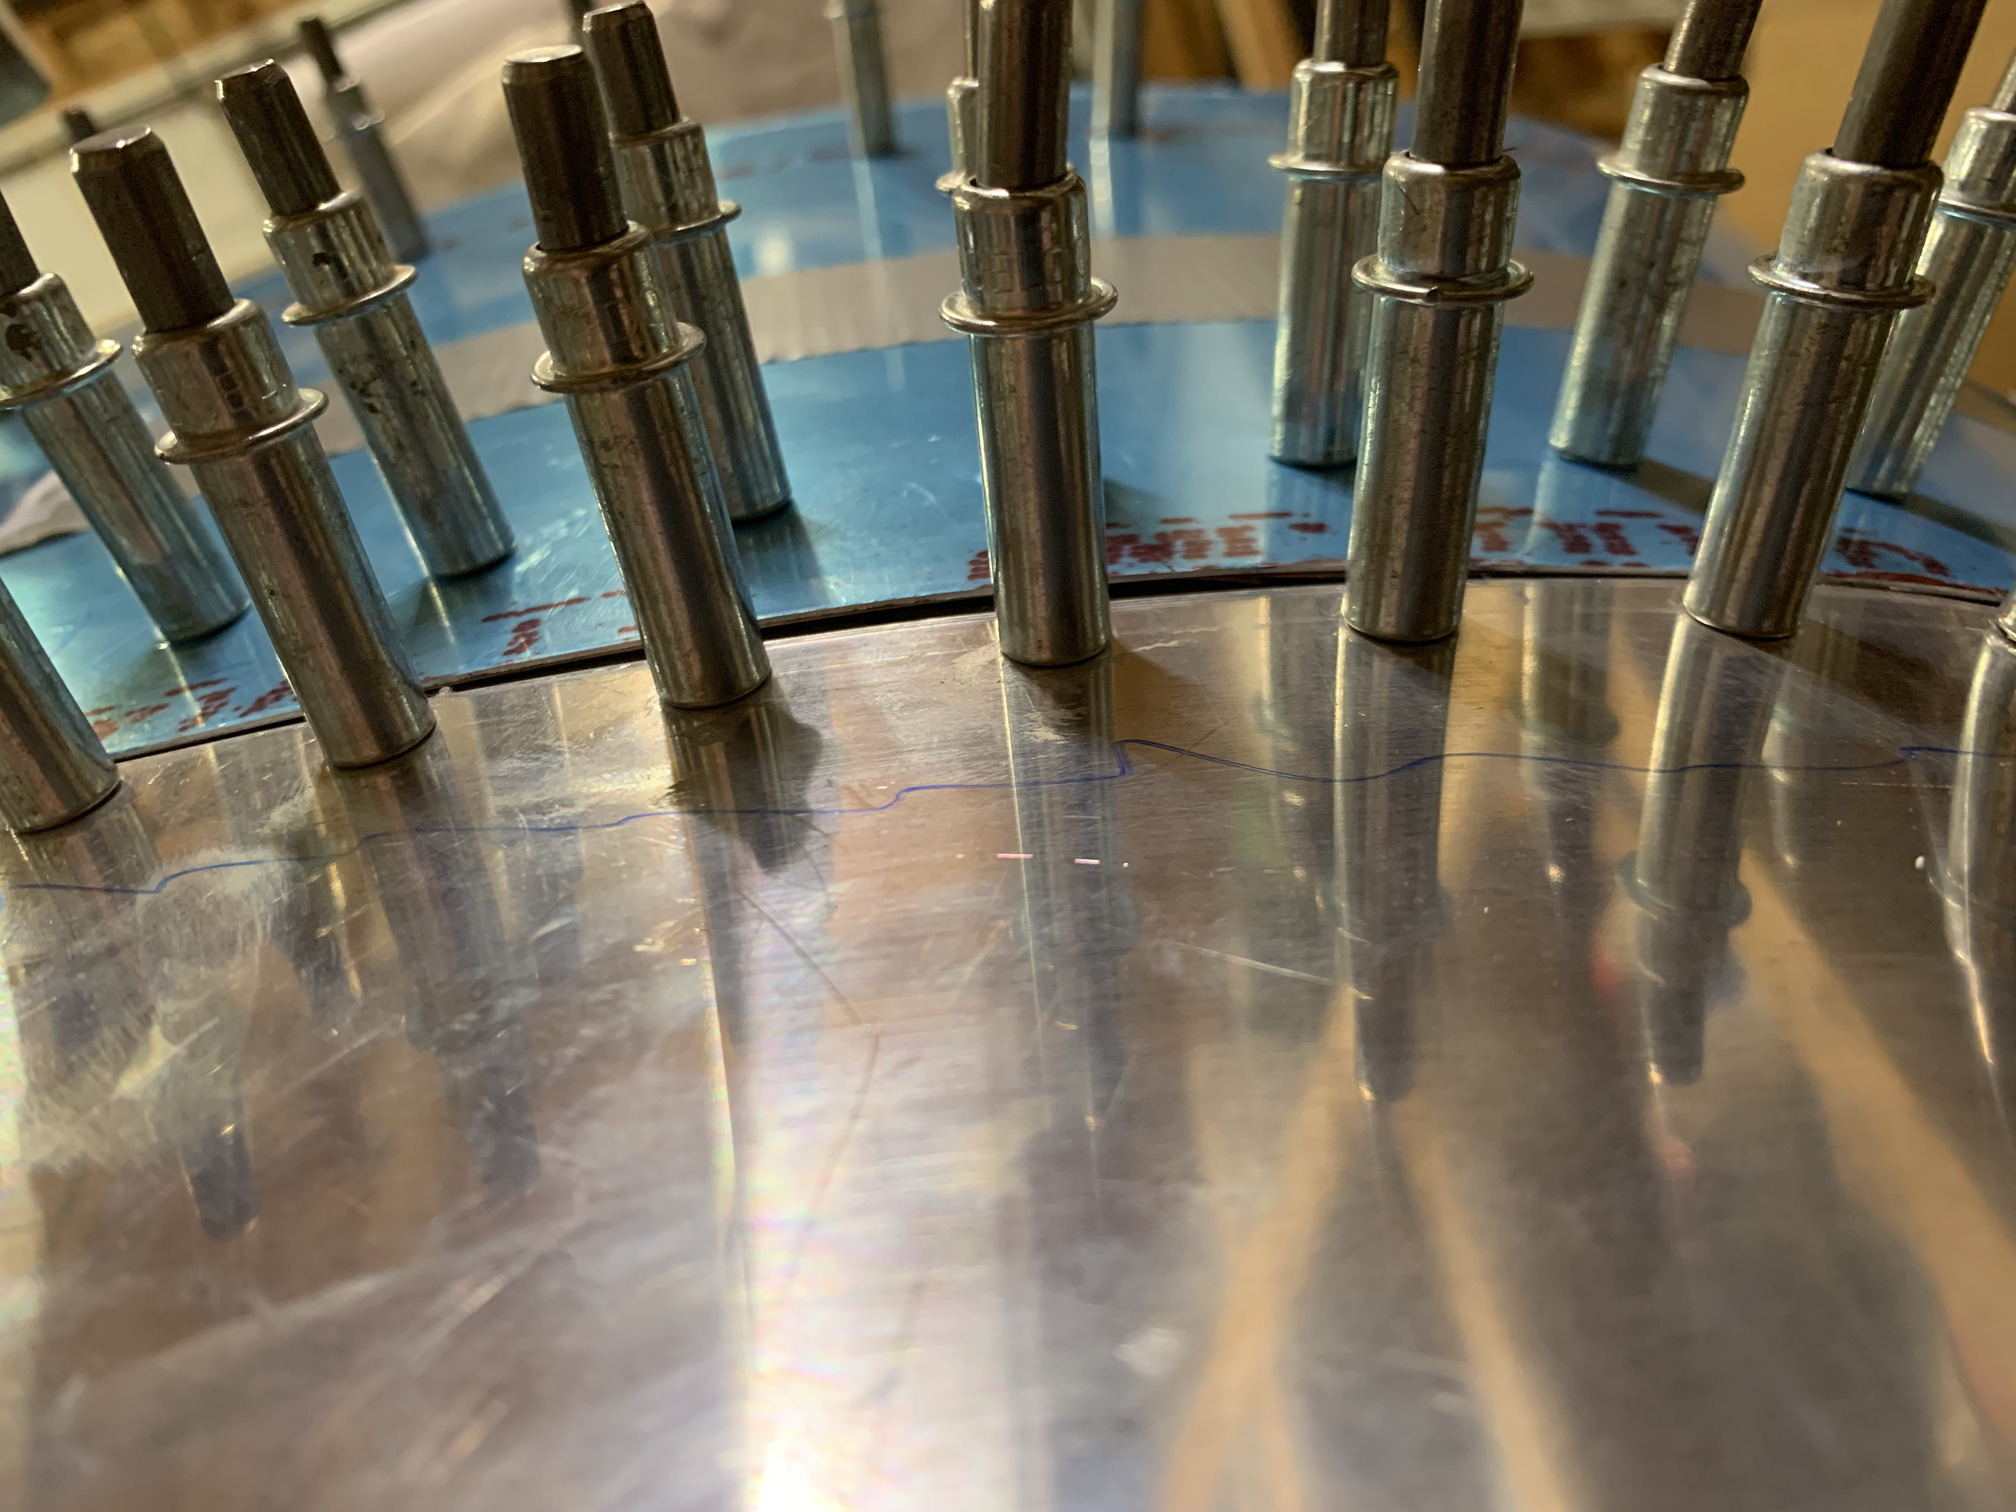
Then, I cleco'd the C-702 forward skin to the front of the WD-716 and drilled into the tube from the existing holes in the skin, using the centerline to verify positioning.
At the lateral edges of the skin/frame, the skin has a huge bulge if you try to lay it flush on the tube. The thing is, there are holes here that you are expected to drill into the tube. I spent a while scratching my head and then checked VAF. Apparently this is a very common problem (even back to Dan Checkoway) that they have not fixed. People generally put some washers or aluminum tubing in here as a spacer and then fill the area with flox to hide it. For now, I'm just going to leave these holes unattached and I'll decide what to do with them later.

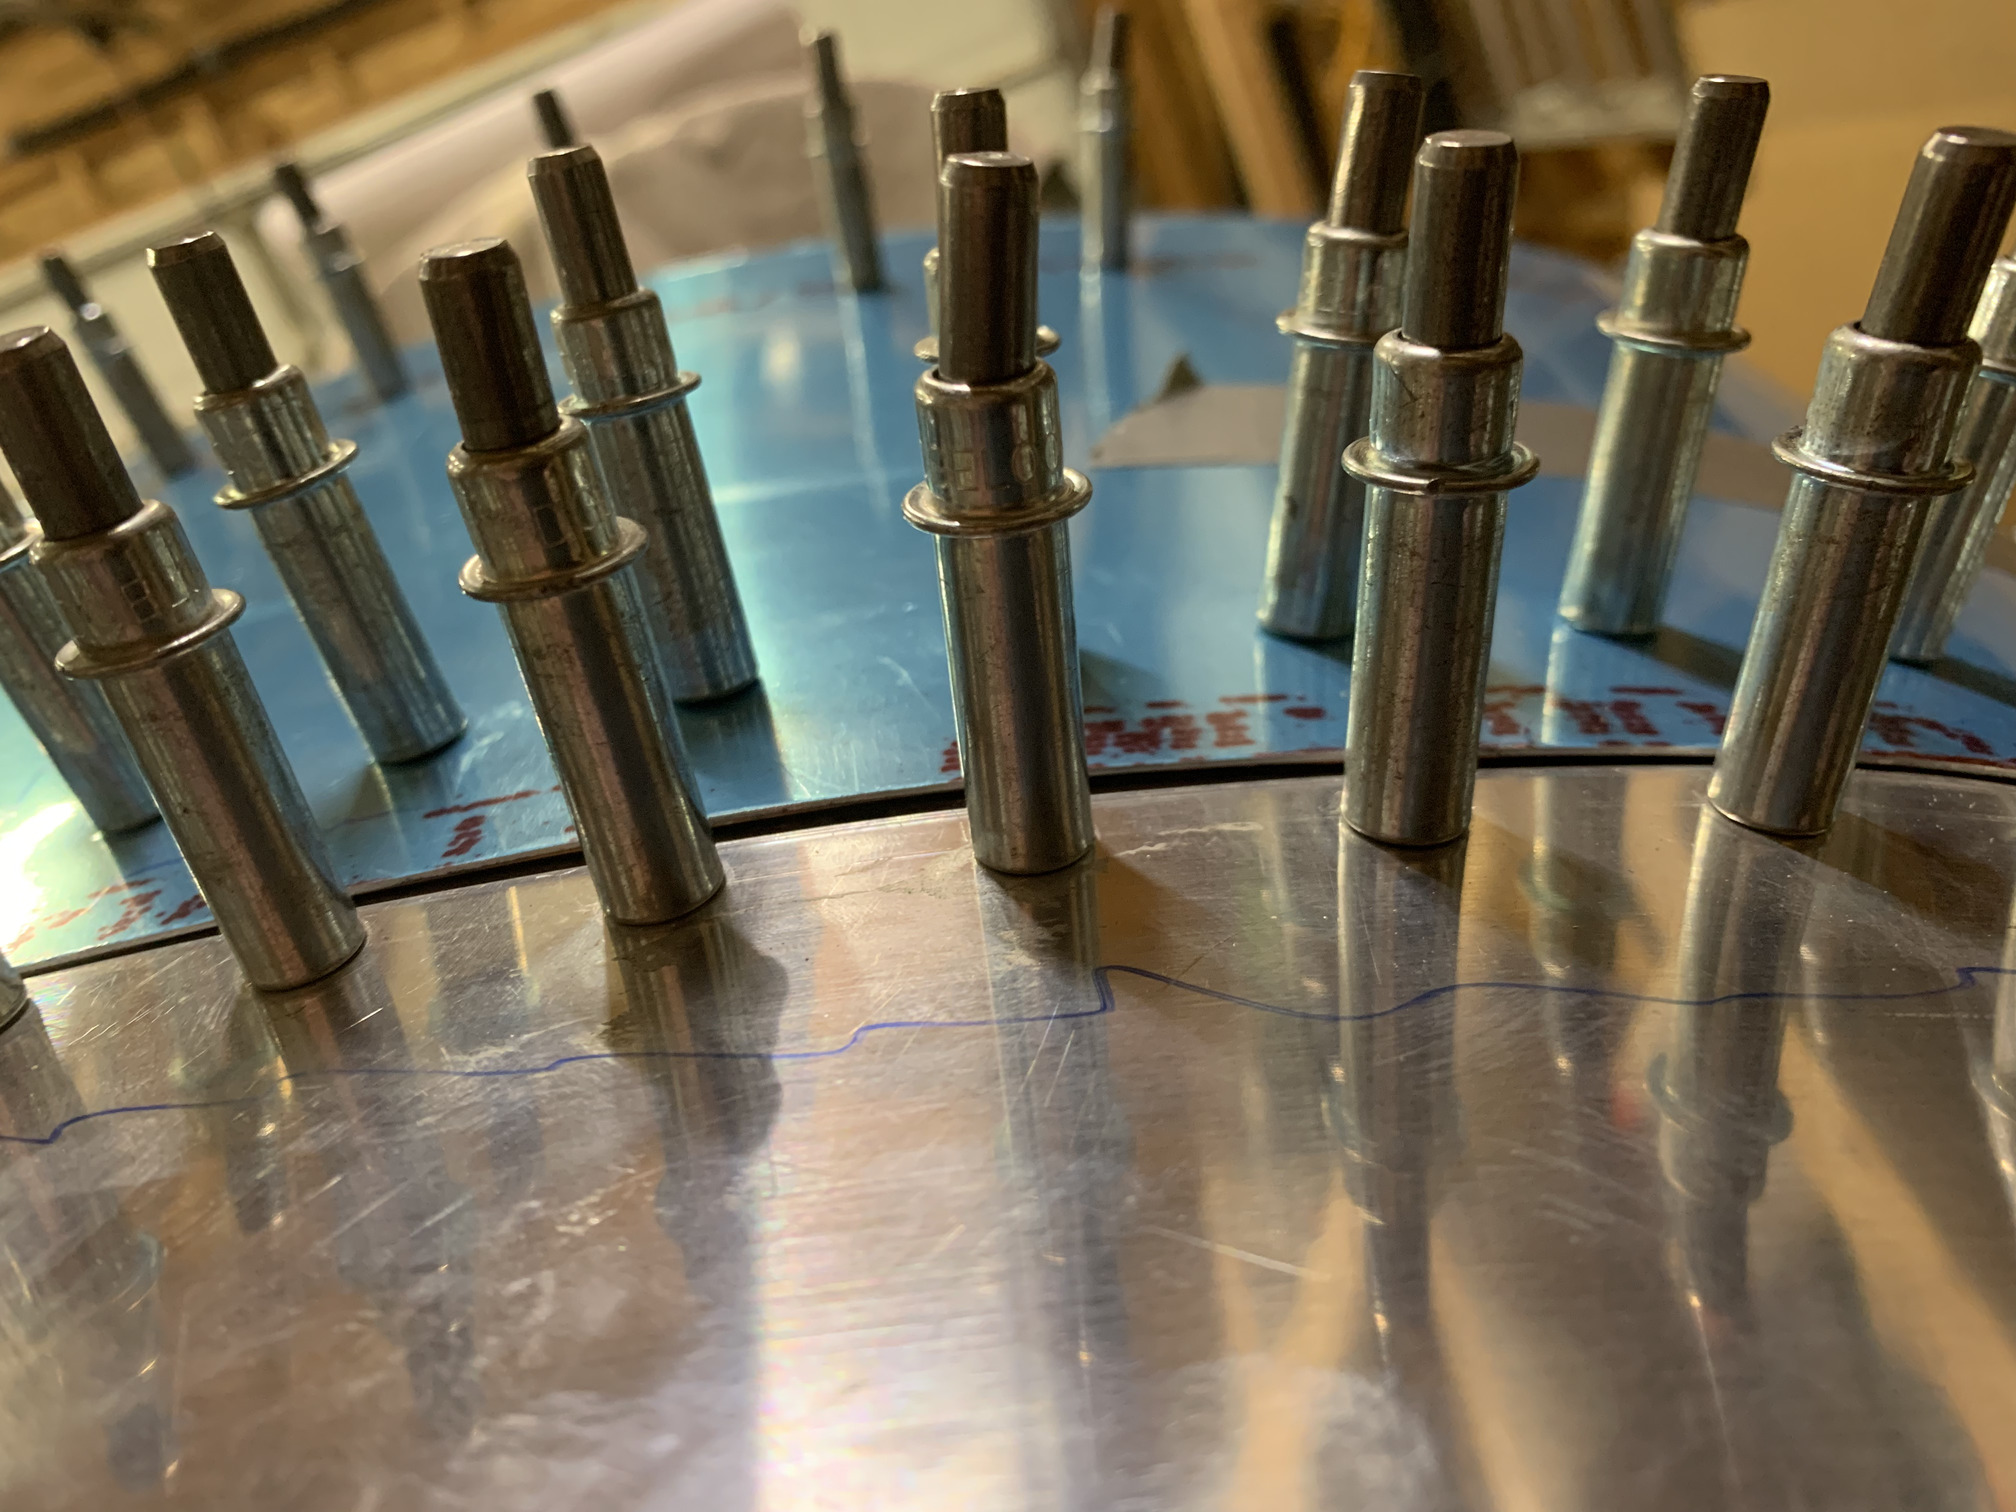
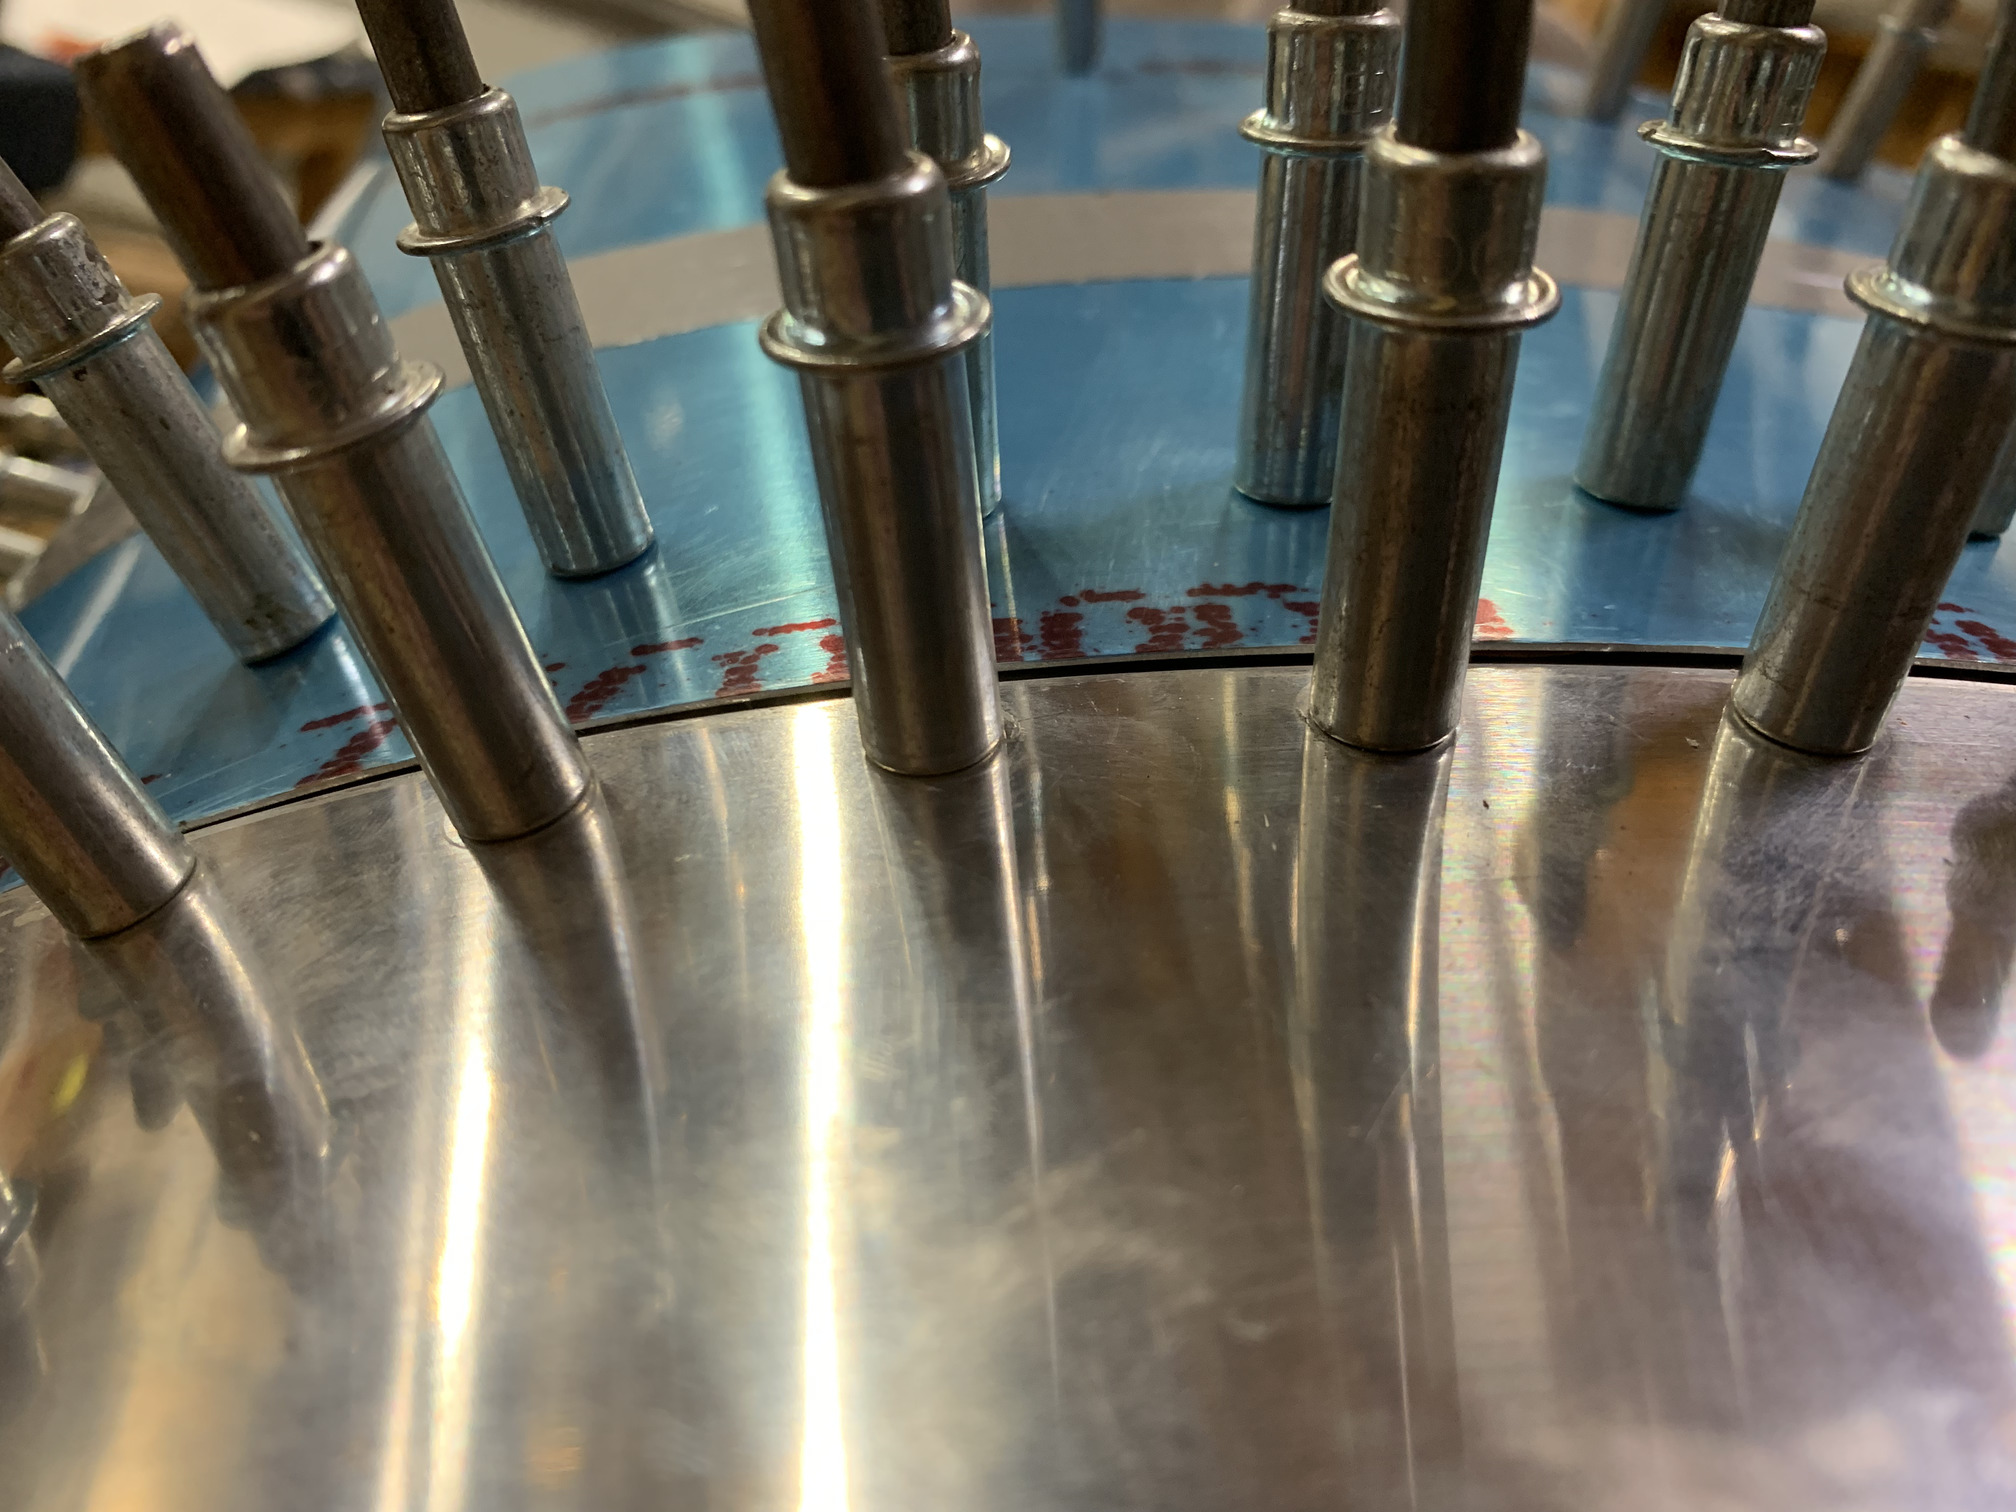
Then, I cleco'd the forward top skin to the fuselage and slid the weldment/skin into place. The UHMW spacers make a very tight fit for the hinges to slide in to...not easy to get it in place.
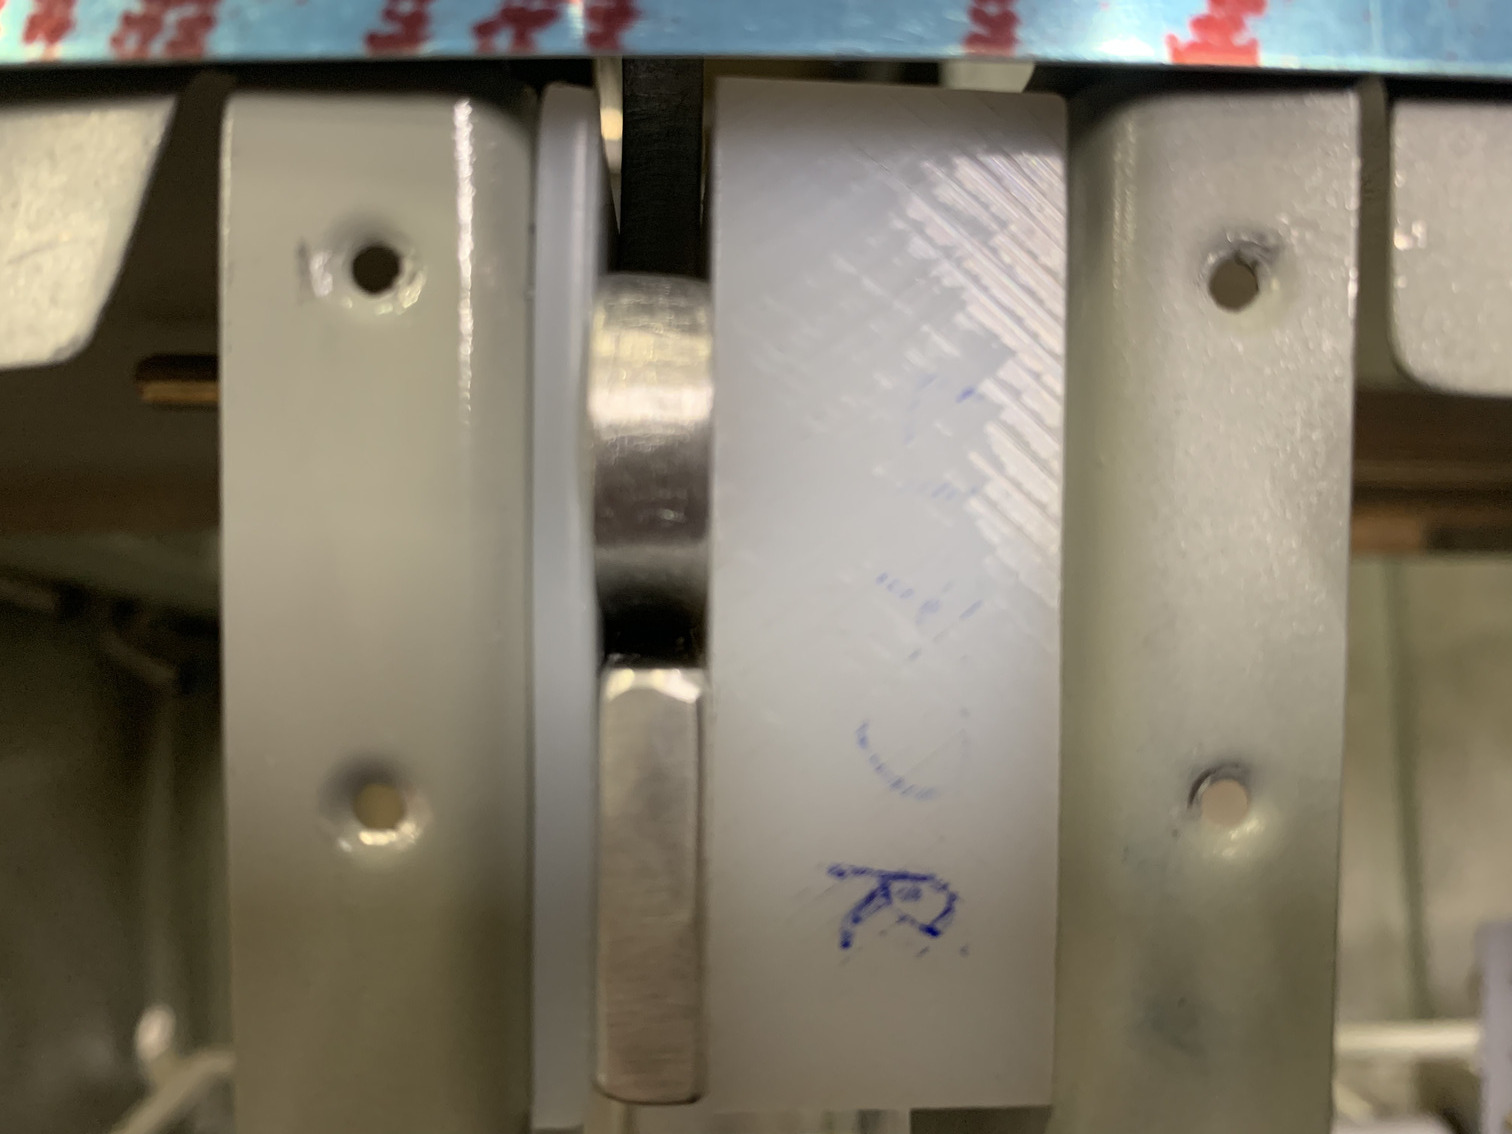
The fit wasn't terrible to start with, but the gap was a little on the large side.
It was a full 1/8" and I couldn't get it to close up at all.
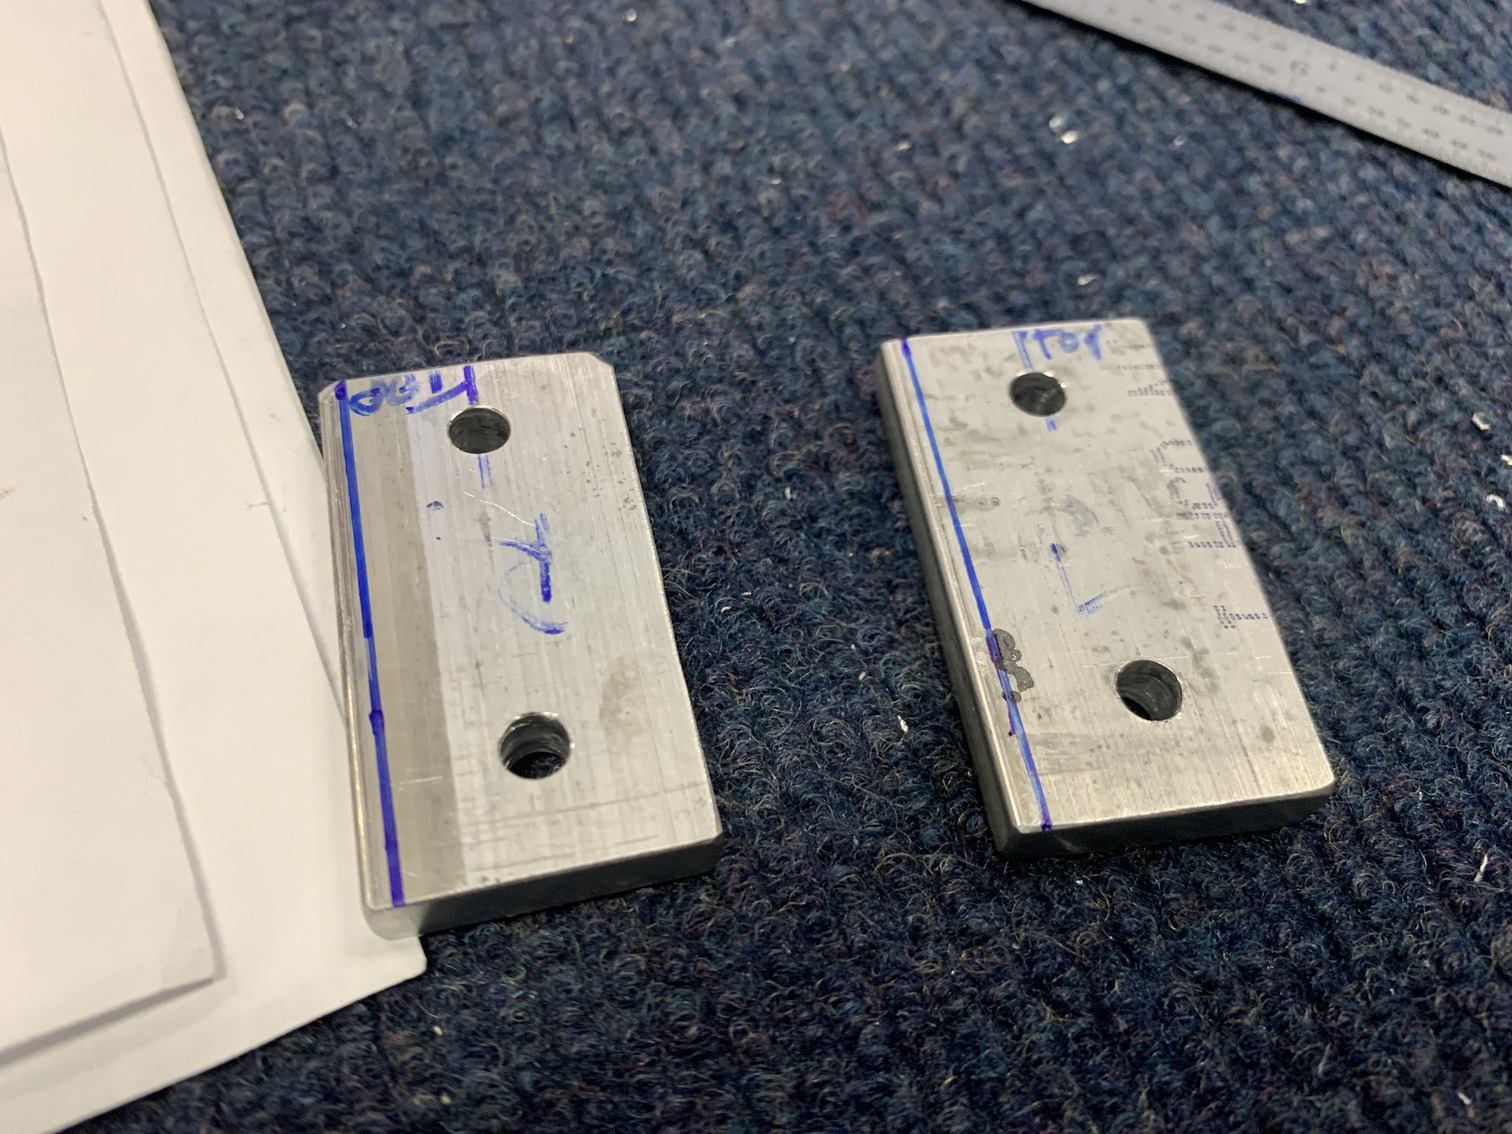
I was suspicious that the C-619 aluminum spacer was preventing the hinge on the weldment from moving forward. I took off the frame and sure enough. You can't really see it in this shot without flash down into the crevice, but the spacer was preventing the hinge from advancing.
I marked off about 3/32" and removed it from the forward edge of both spacers.
I reassembled everything and the gap was much smaller.
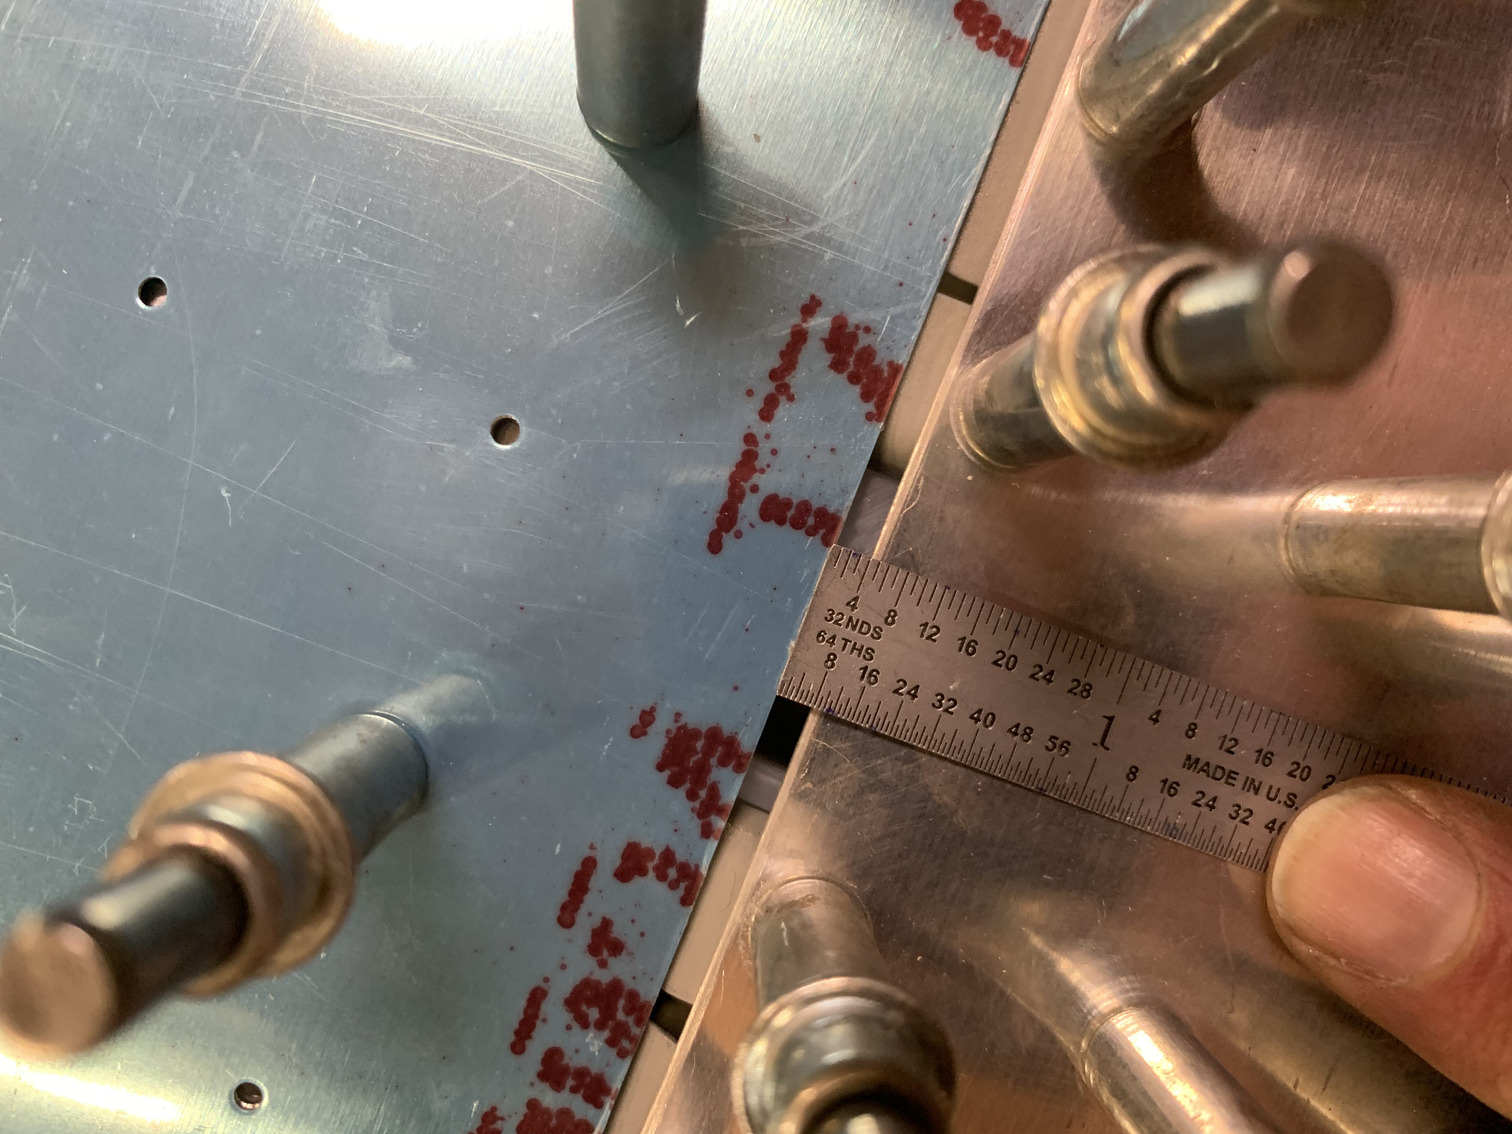
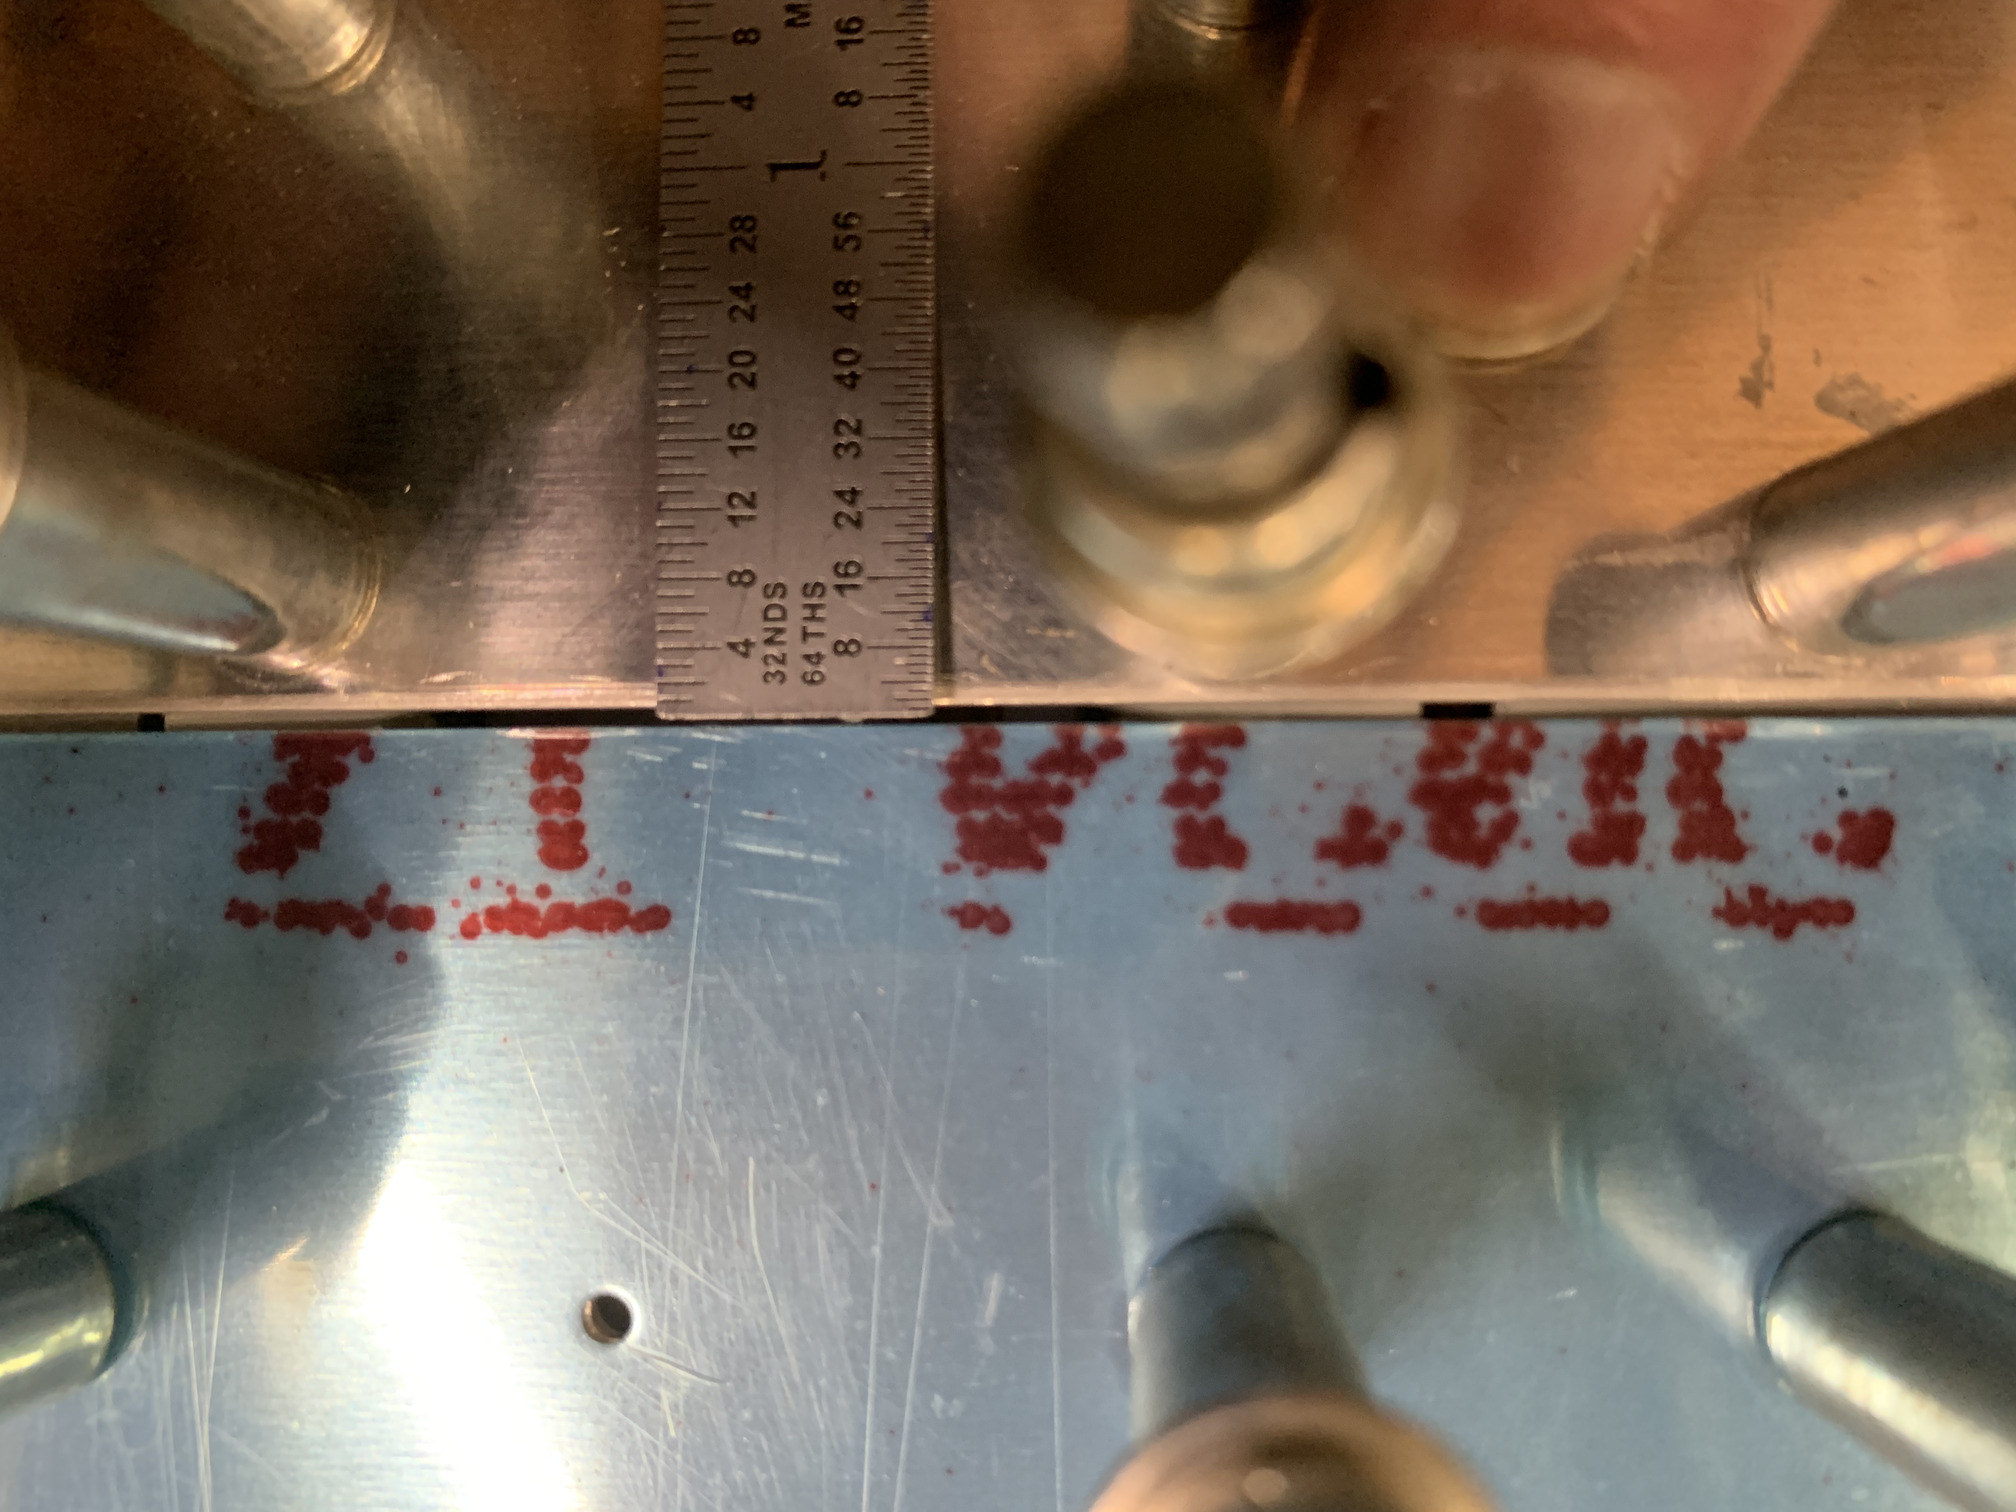
It's right at about 1/32", which is about what the manual recommends for this spacing.
The fit between the canopy skin and the forward fuselage skin is decent. Here in the center section it's perfect.

Not great on the left side, though.
Better on the right, but still not great. I tried removing the frame and filing down the flanges of the subpanels in case they were pushing up the canopy skin. I also bent down the seal supports a little bit in case they were pushing it out. Finally, I rolled the forward edge of the skin a bit in the areas where it was proud.
The fit improved a bit. Here's the left side, which was the worst of the bunch, and it has tightened up somewhat. The fit on the right side was much improved.
I did some more reading on VAF and it seems like most people deal with some degree of mismatch here. The options are to leave it how it is (yuck), put a shim under the front fuselage skin, use a shrinker, or build up the forward skin with flox. I'll see how it looks when it's all done and make a decision then. I suspect I'll try the shrinker, as it seemed to work for Mike Bullock.
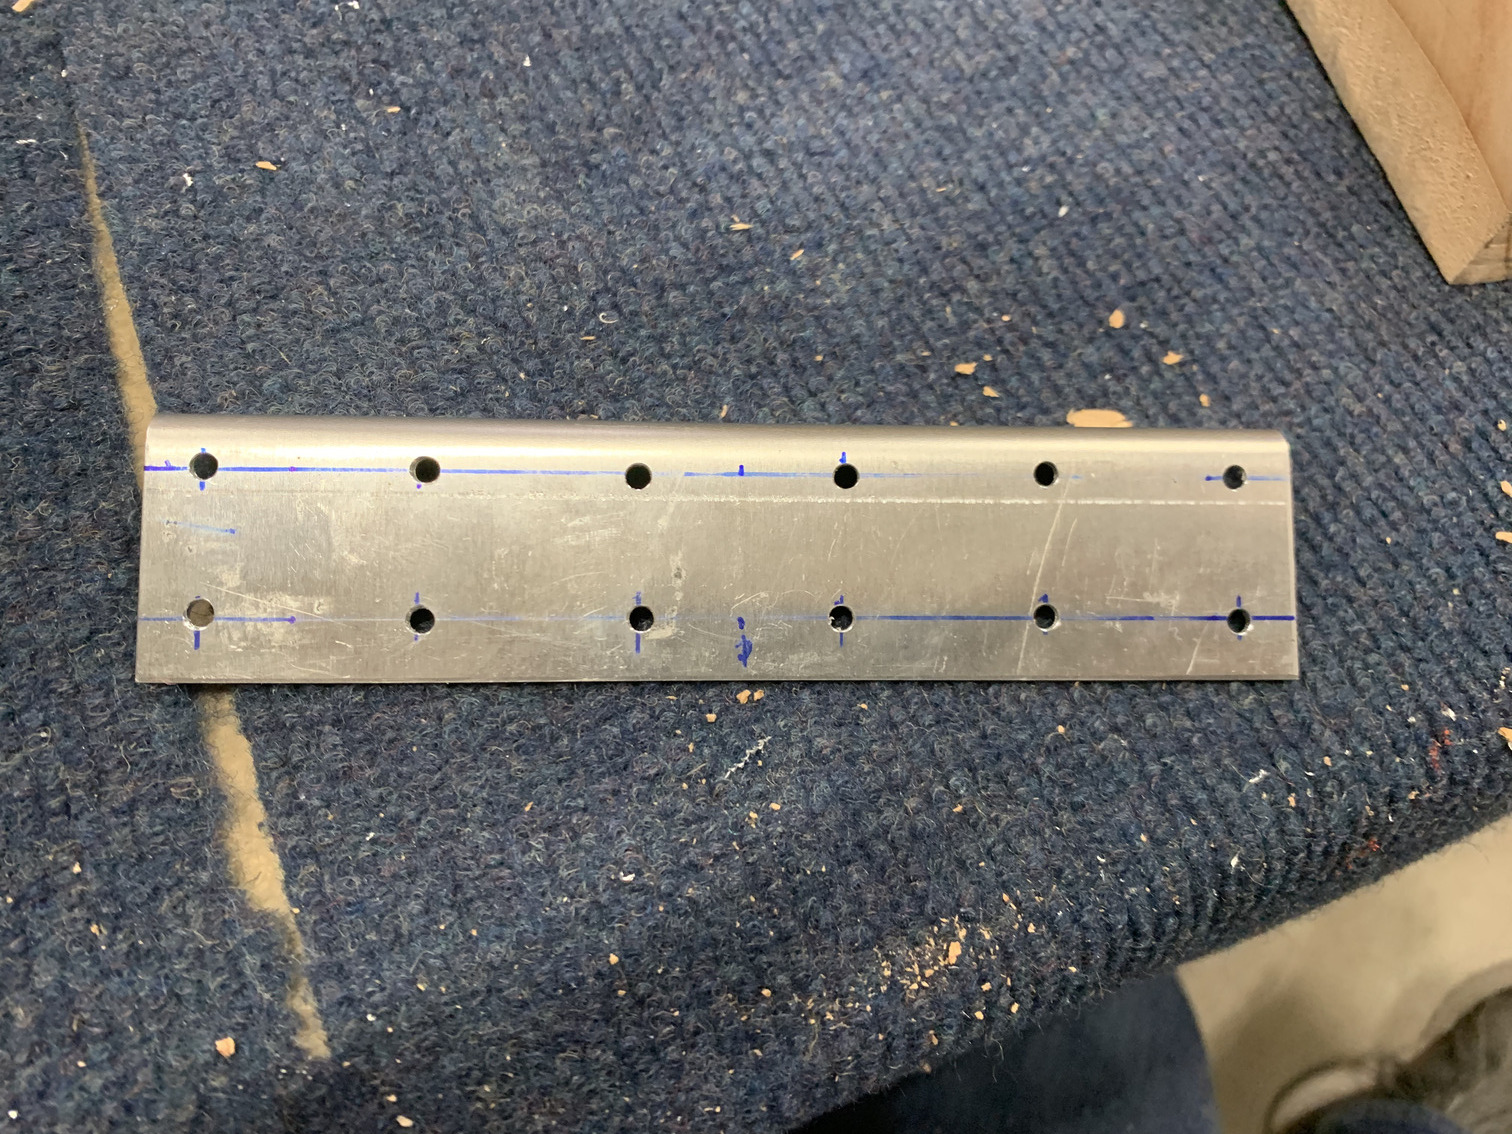
I marked and drilled holes in the C-614 splice plate.
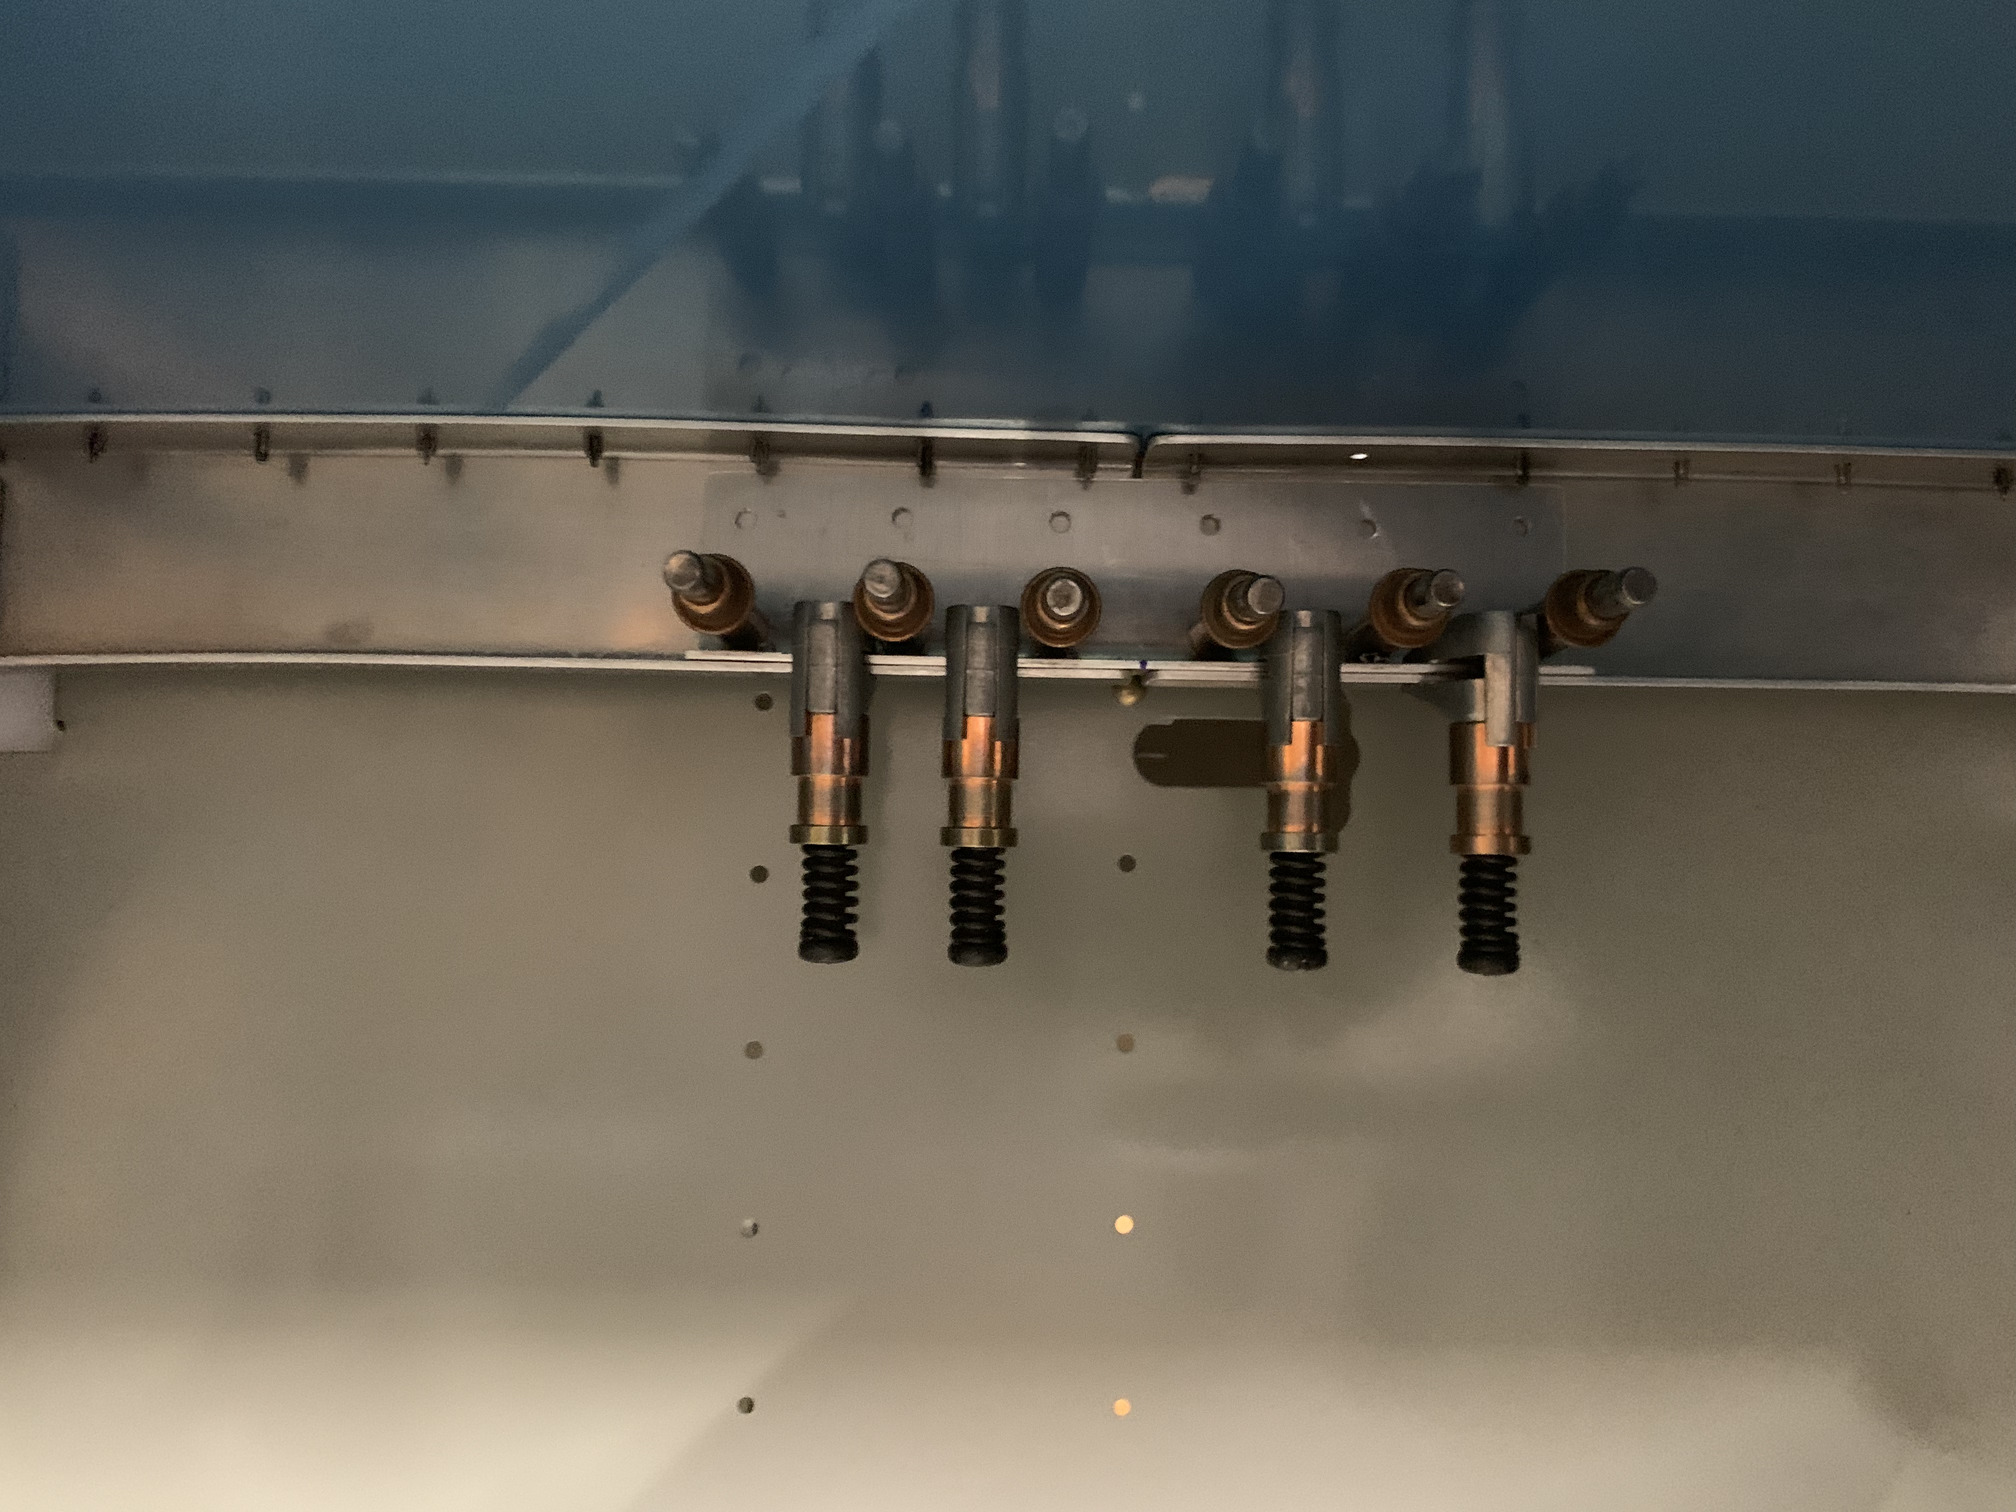
I decided to move on...I fit the frame carefully in place and taped it down again. Then, I drilled the C-614 splice plate to the two halves of the frame.
I took everything apart and removed the blue plastic from the bottom of the C-702 skin. I did some hole deburring as well. This orange tape is some electrical tape to simulate the thickness of the UHMW tape that will go in this spot once it arrives.

Then I remounted the frame/skin again, checked fit (still the same!), and drilled the skin to the ribs that come back from the hinges.
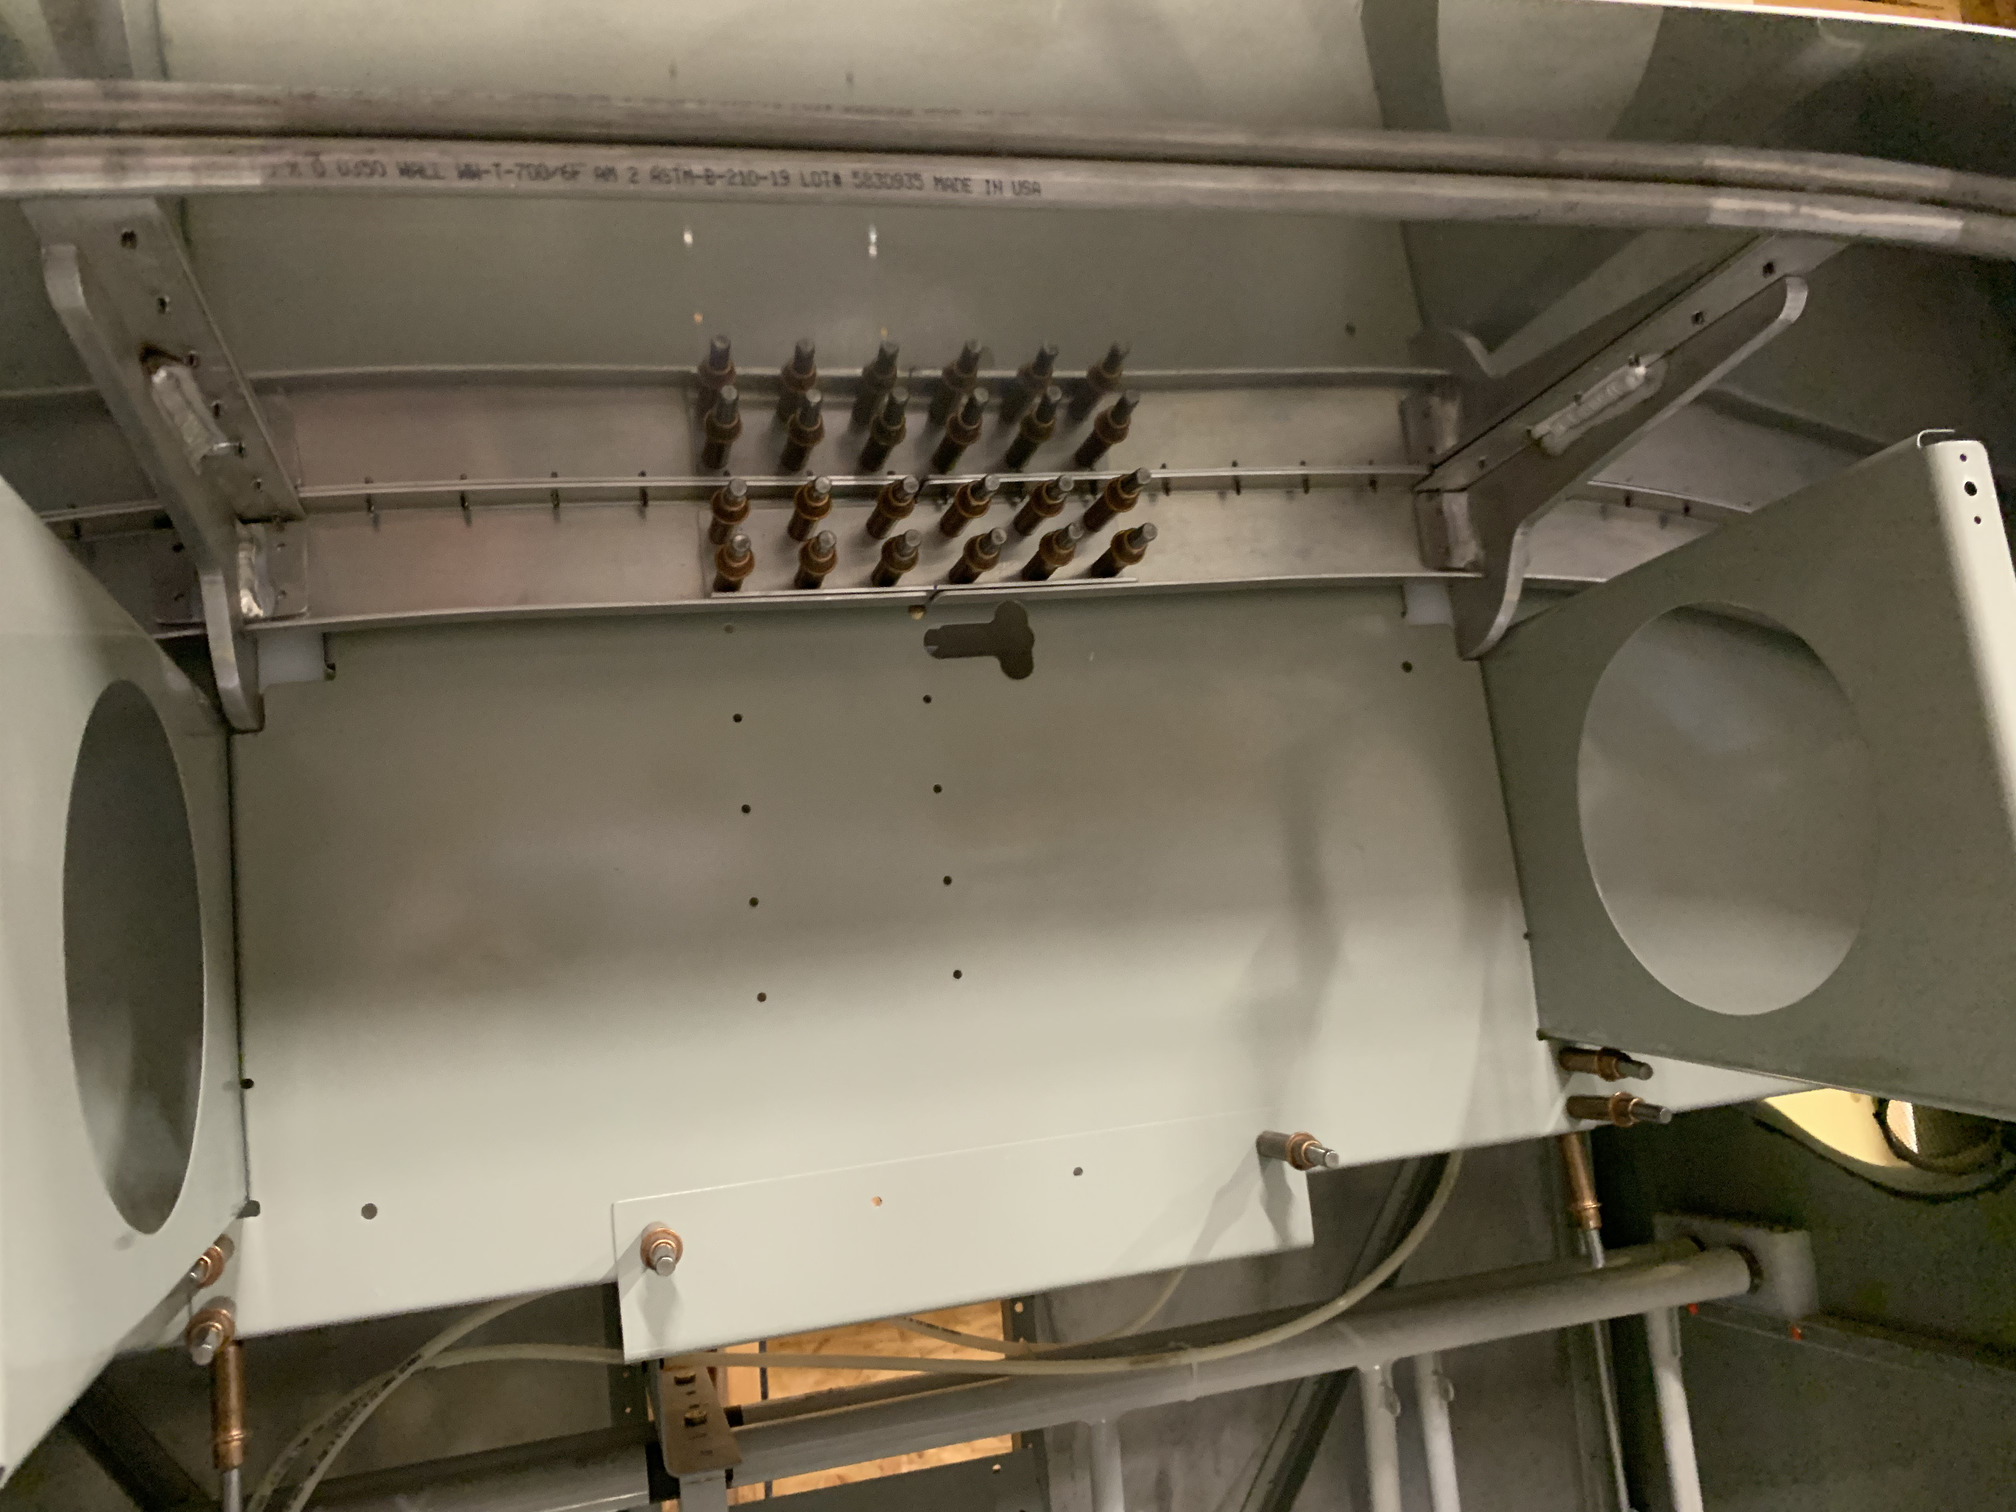
Everything with the canopy takes extra time because the fit is very much up to the builder. There's a lot of iteration. I installed and removed the frame/skin assembly from the fuselage so many times today. Still, the fit is pretty good, and on the whole this is not as scary as I thought it would be.
| Previous - Index - Next |
This work is licensed under Attribution-NonCommercial-NoDerivatives 4.0 International![]()
![]()
![]()
![]()