Log (By Day)
Log (By Category)
Pictures
Pics of Me Working
Links
| ||||||||||||
Monday January 17, 2022
Canopy Misc, Engine Mount Drilling
(0.5 Hours
Canopy, 3.3 Hours
Firewall Forward)
3.8 Hours Total
| Previous - Index - Next |
Now that I finished painting some of the latch mechanism, I reinstalled it in the fuselage. I also put some UHMW tape in some of the areas where things move against each other to try and protect against wear.

I cleco'd the canopy reinforcement braces back into place in preparation for starting to trim the plexiglass.
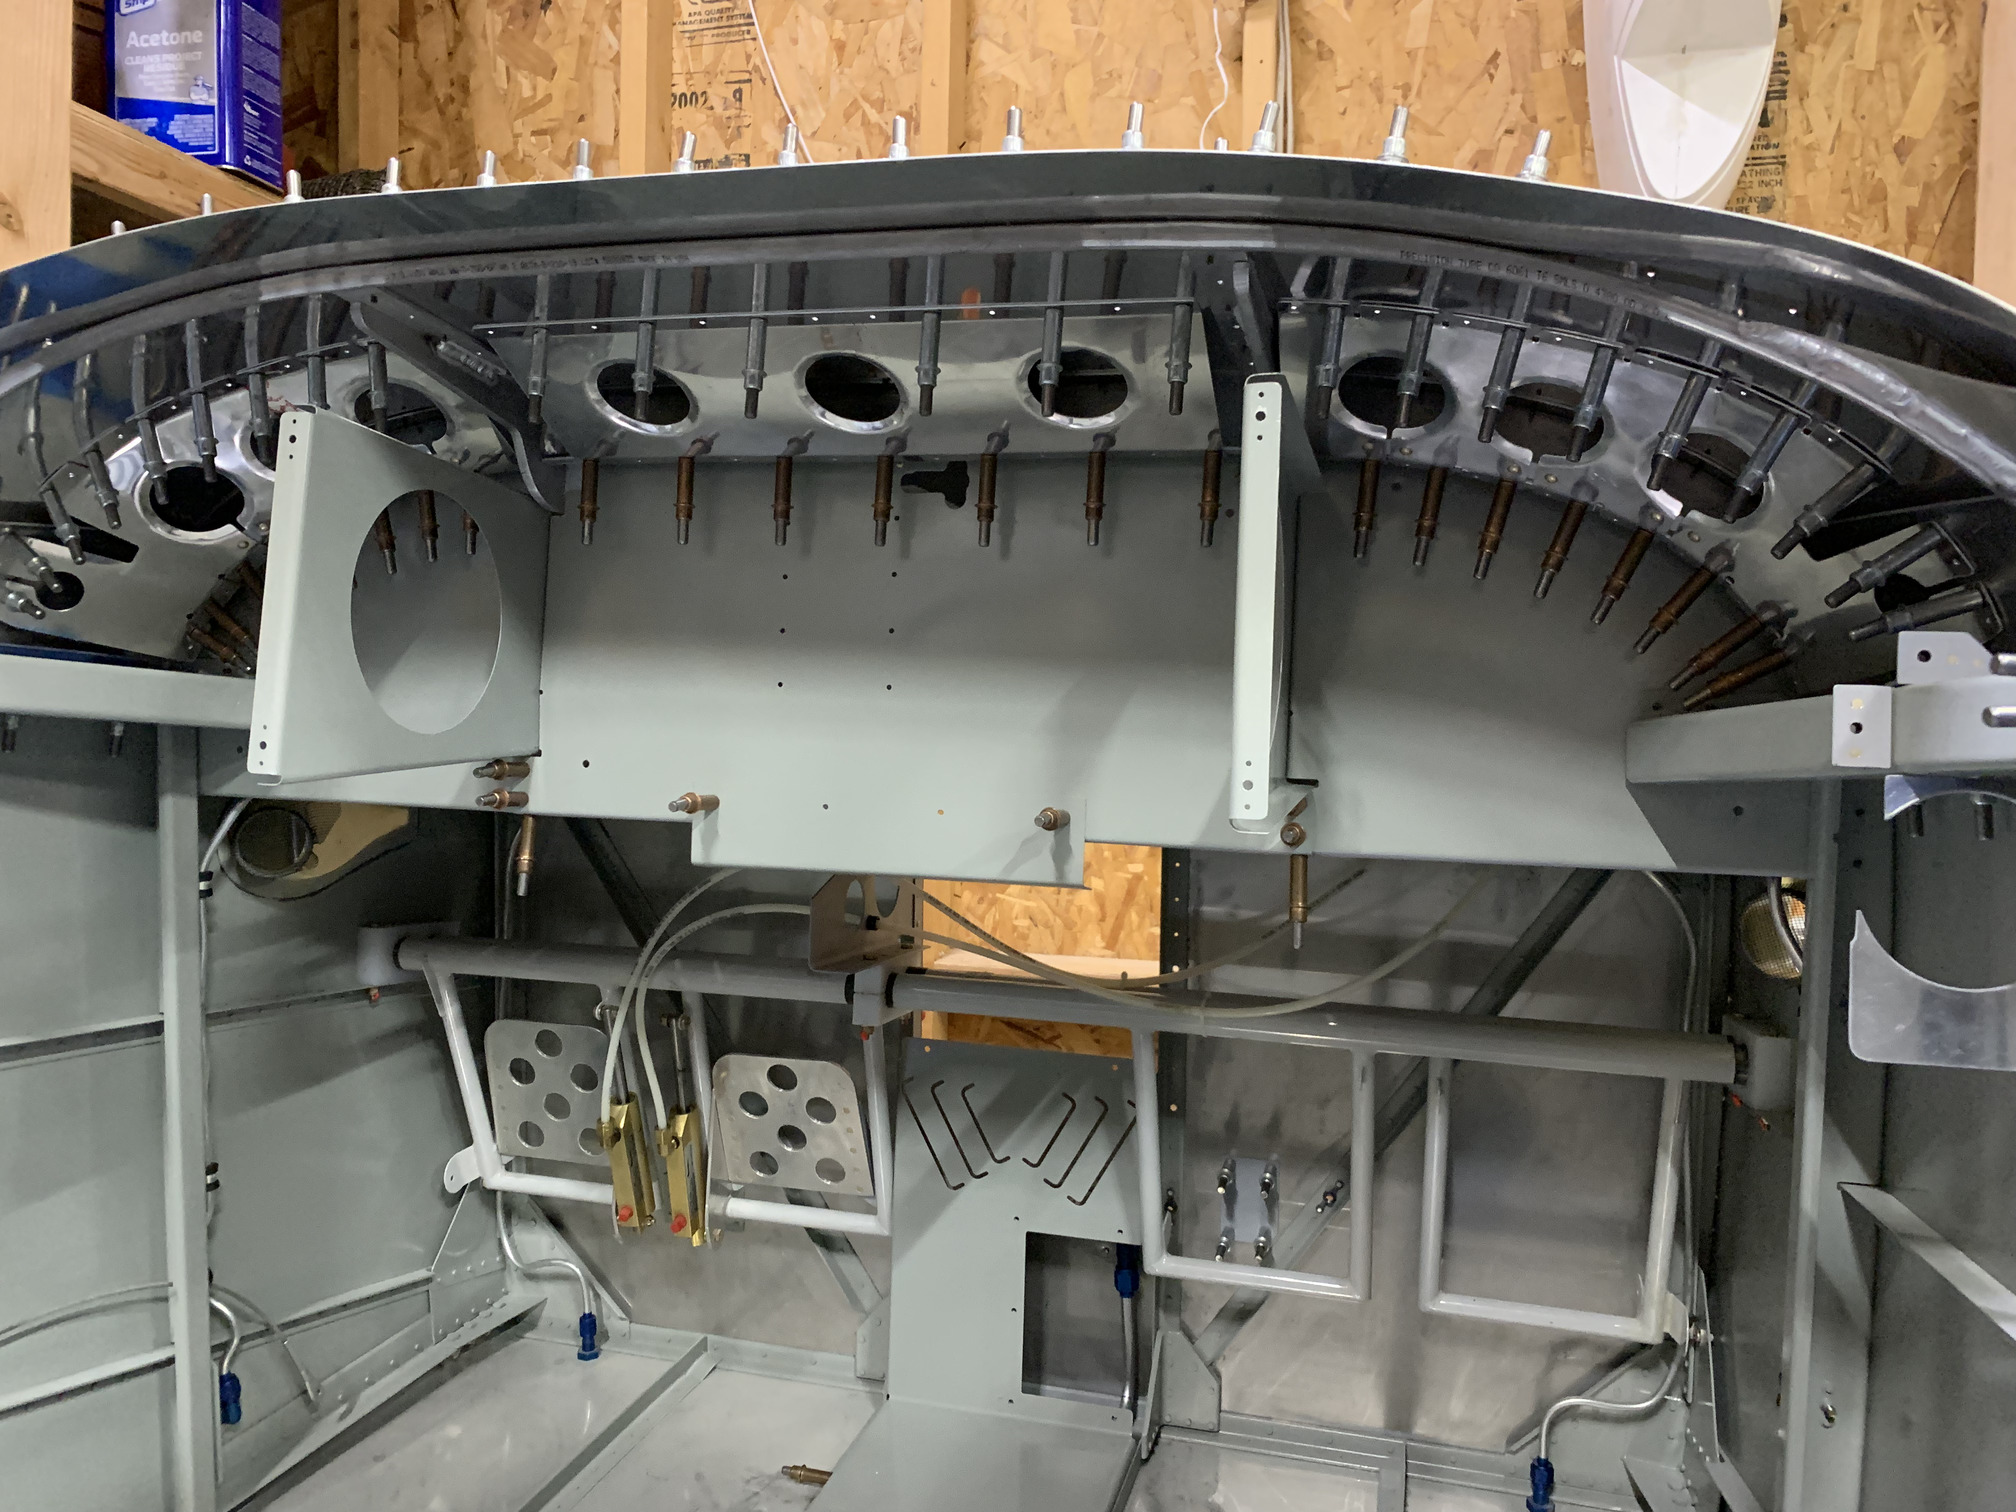
I didn't want to start on the plexiglass today, since I'm going to be busy with work for the next week or so. So, I got out the engine mount. I duct-taped it in place on the firewall, using the tooling holes to align the mount.
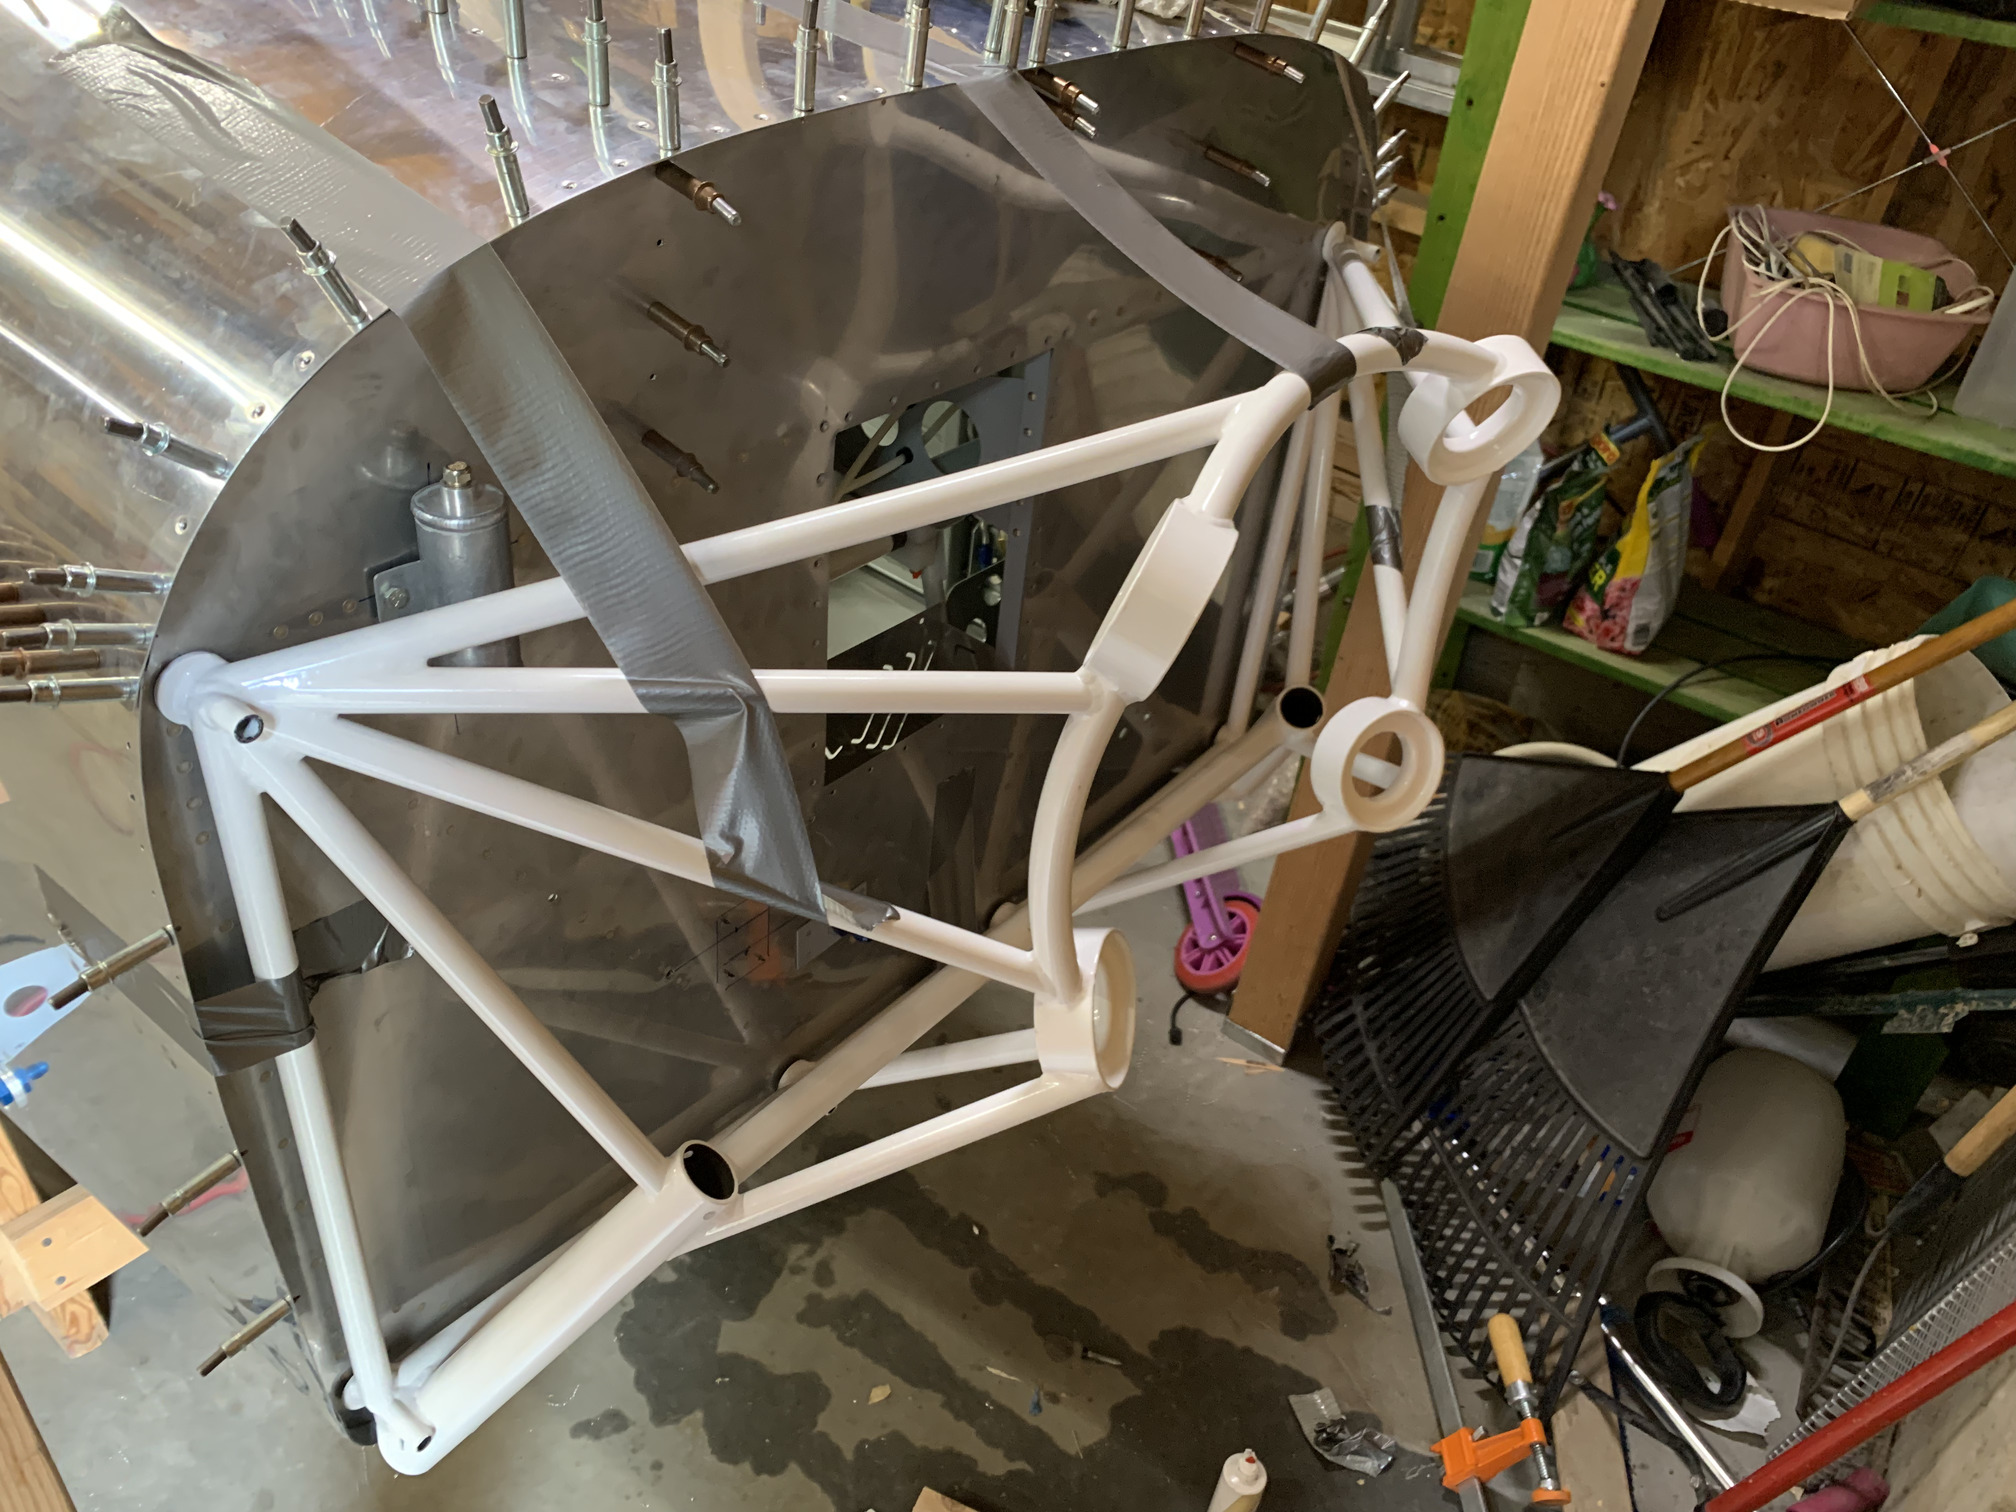
My strategy was to use a bushing to drill out to 1/4" first.

Then I removed the bushing and drilled the hole out to 3/8".
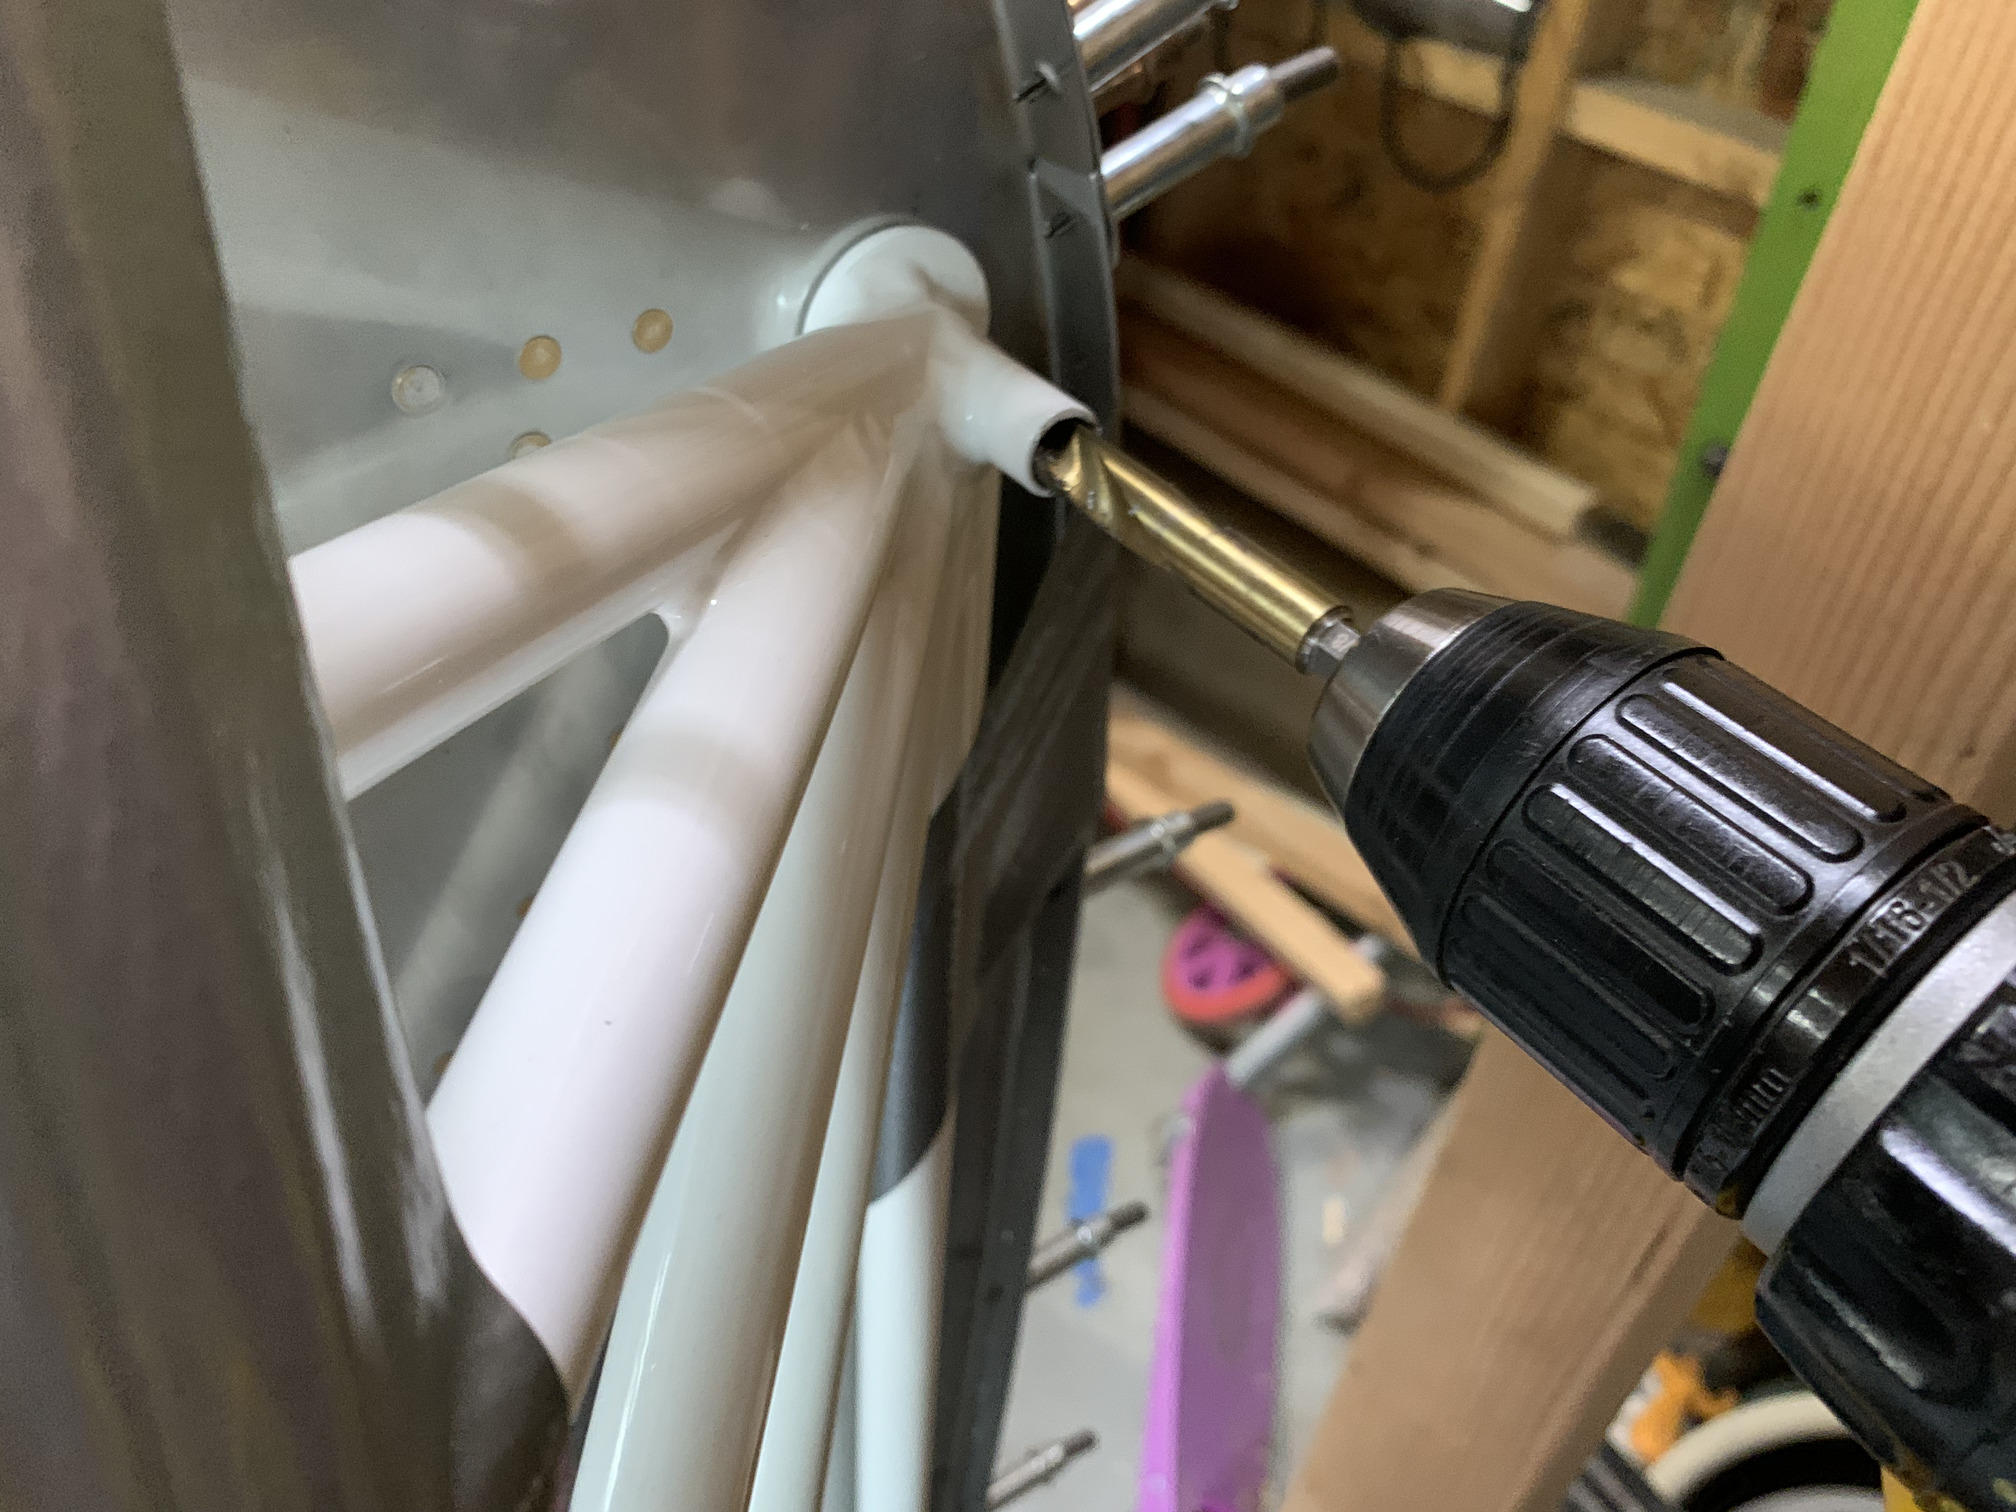
I drilled both of the top holes to lock in the positioning--it came out great--and then drilled the four holes along the bottom row.

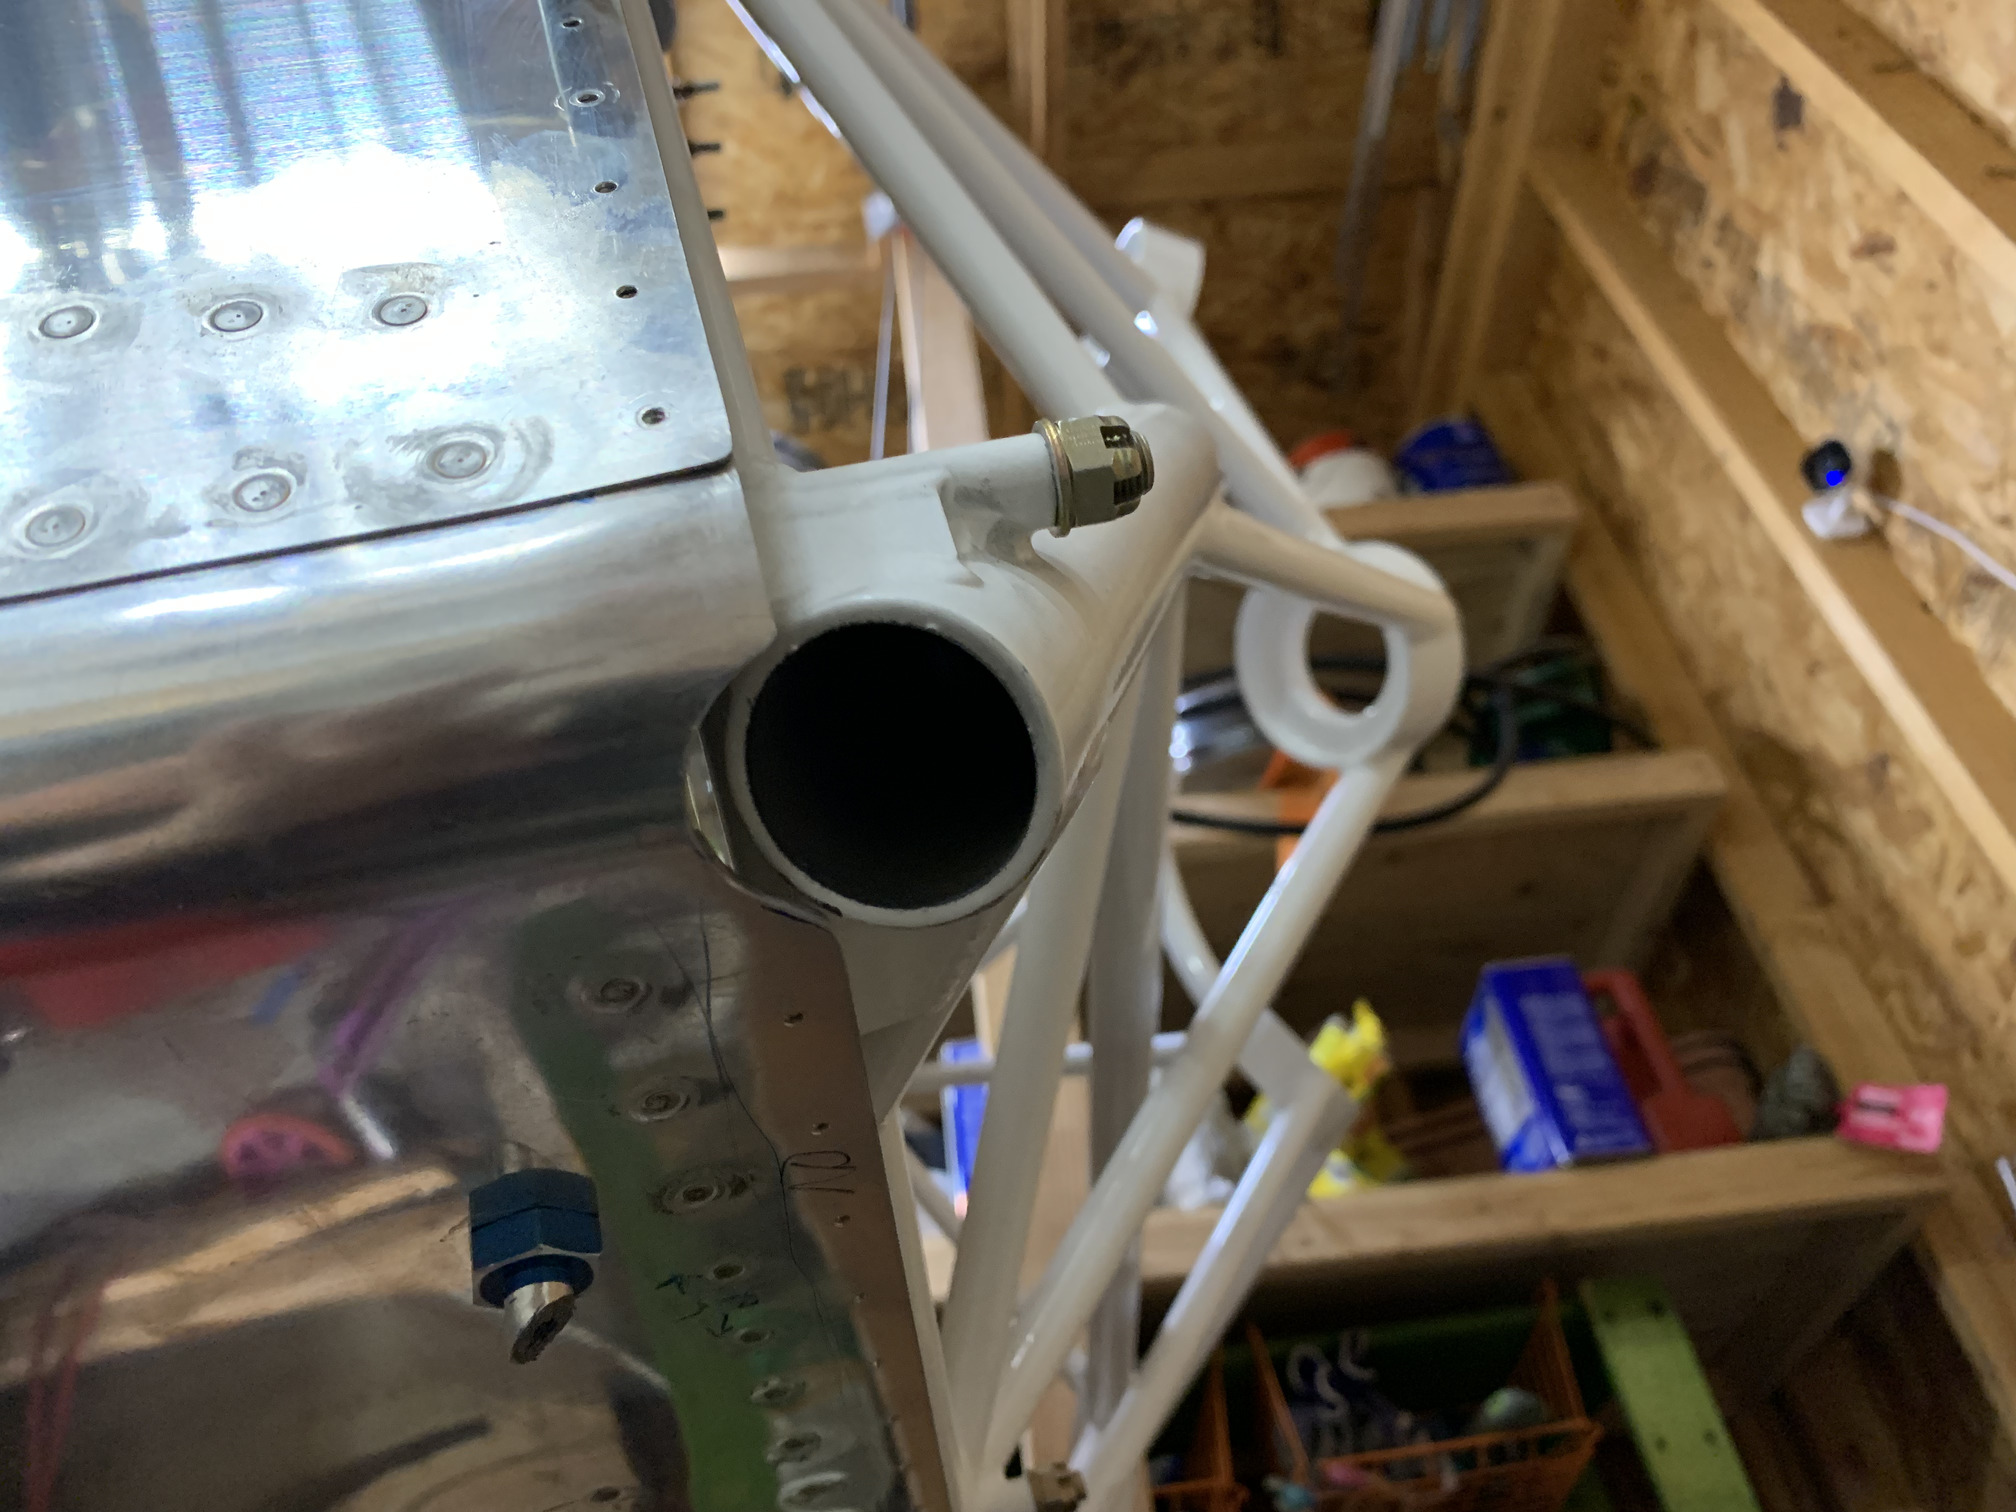
Here you can see the four lower bolts from the inside. The positioning all worked out well. No edge distance problems.

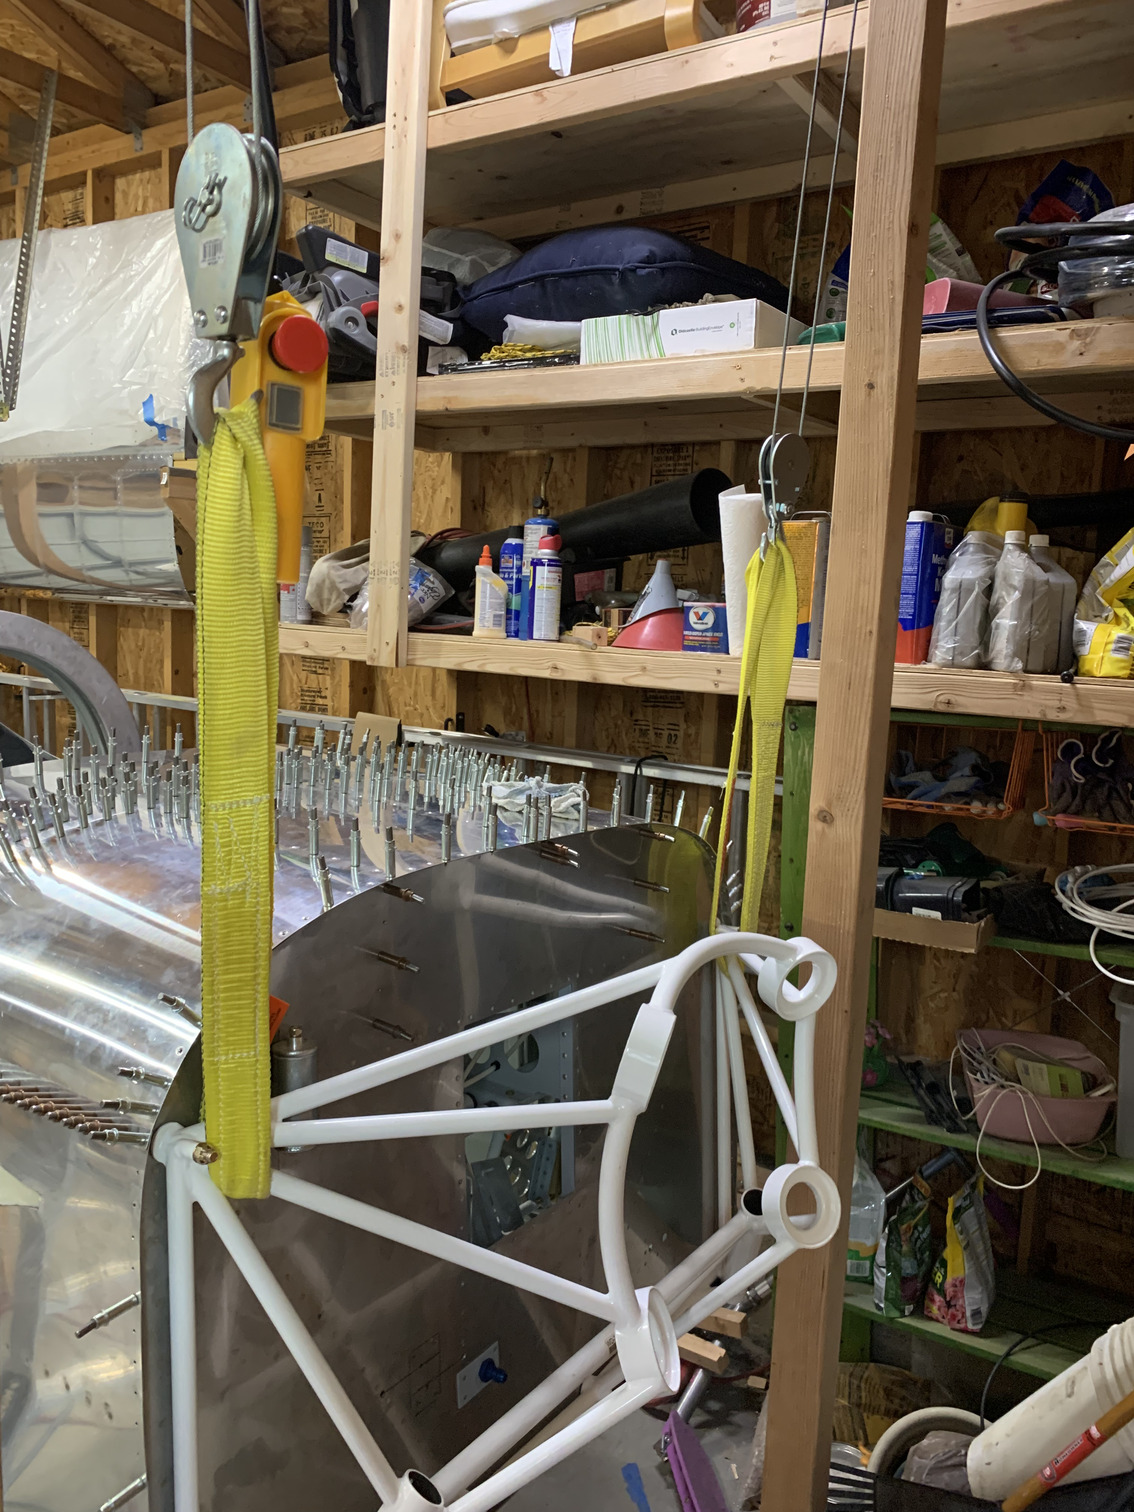
I can use my winch to lift the fuselage by the engine mount. This will be useful when I go to install the landing gear.
I worked for a while on these cut-outs in the bottom forward skin and the firewall to allow the landing gear room to pass from the engine mount.

Got them pretty close.
I started to try to install the landing gear just for fun, but the fit is very tight and I decided to wait on this.
| Previous - Index - Next |
This work is licensed under Attribution-NonCommercial-NoDerivatives 4.0 International![]()
![]()
![]()
![]()