Log (By Day)
Log (By Category)
Pictures
Pics of Me Working
Links
| ||||||||||||
Saturday March 12, 2022
Canopy Drilling
(Canopy)
5.2 Hours
| Previous - Index - Next |
I finally got back to work on the canopy today. First, I cranked up the heat in the garage. Then, I got the the canopy carefully clamped in place.

The instructions have you drill the splice plate for the rear canopy frame. This is difficult, though, because the splice plate fits inside the aft side of the F-631 frame, but it's impossible to drill from there. So, I transferred the holes to a flat piece of scrap and used that to drill the holes through the front.
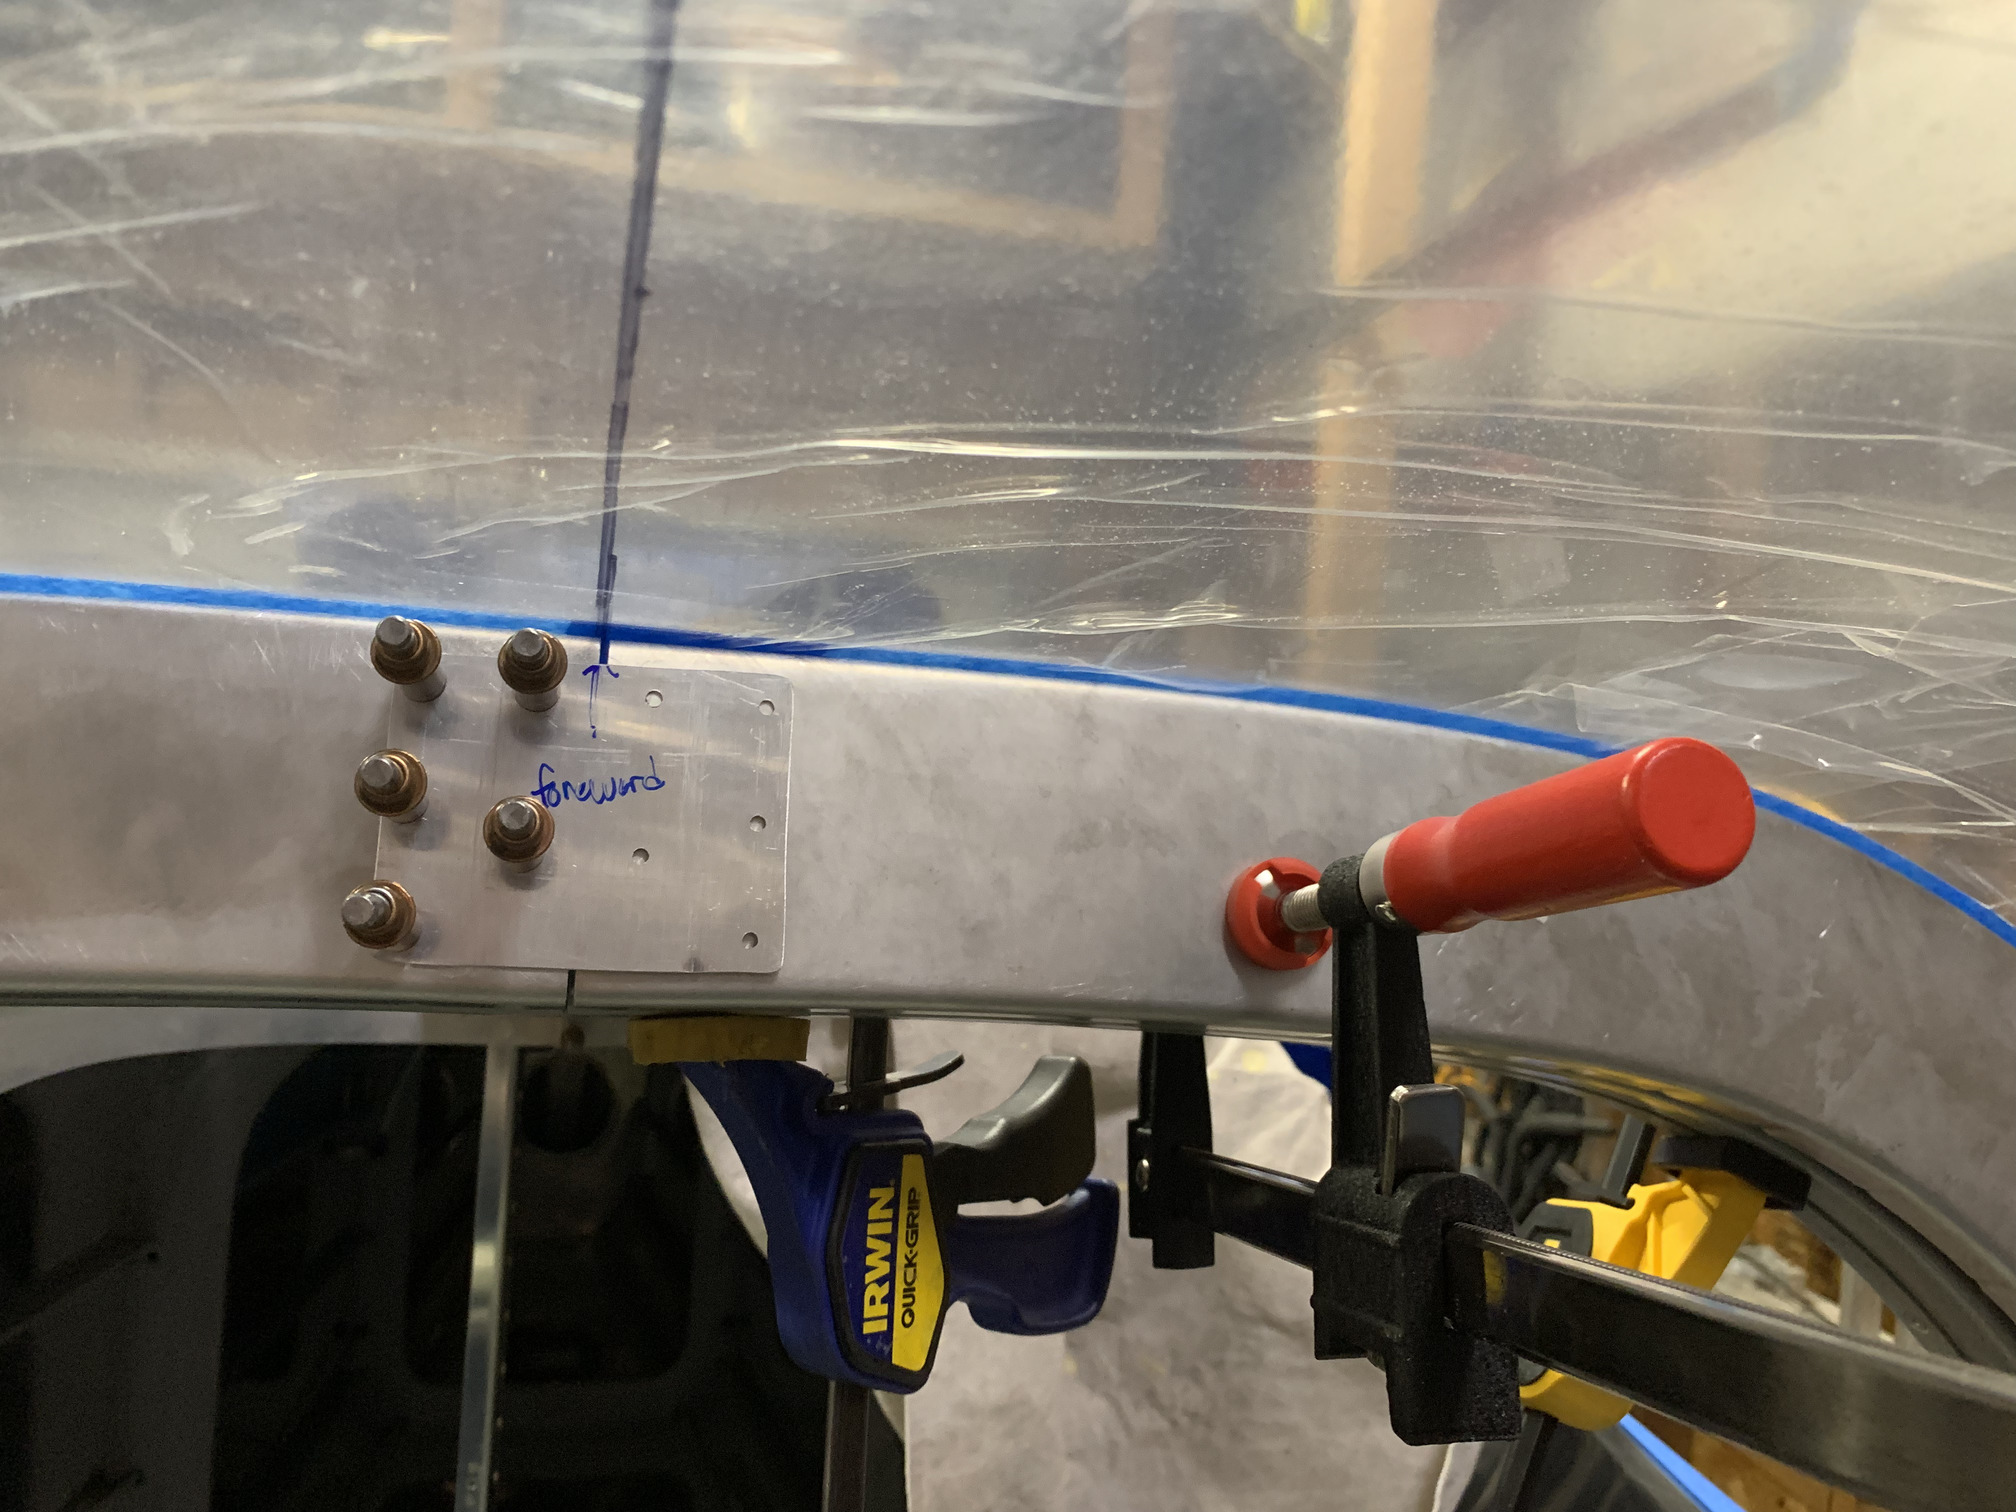
Fun shot of me sitting inside the canopy.

Here's the splice plate template drilled in place.
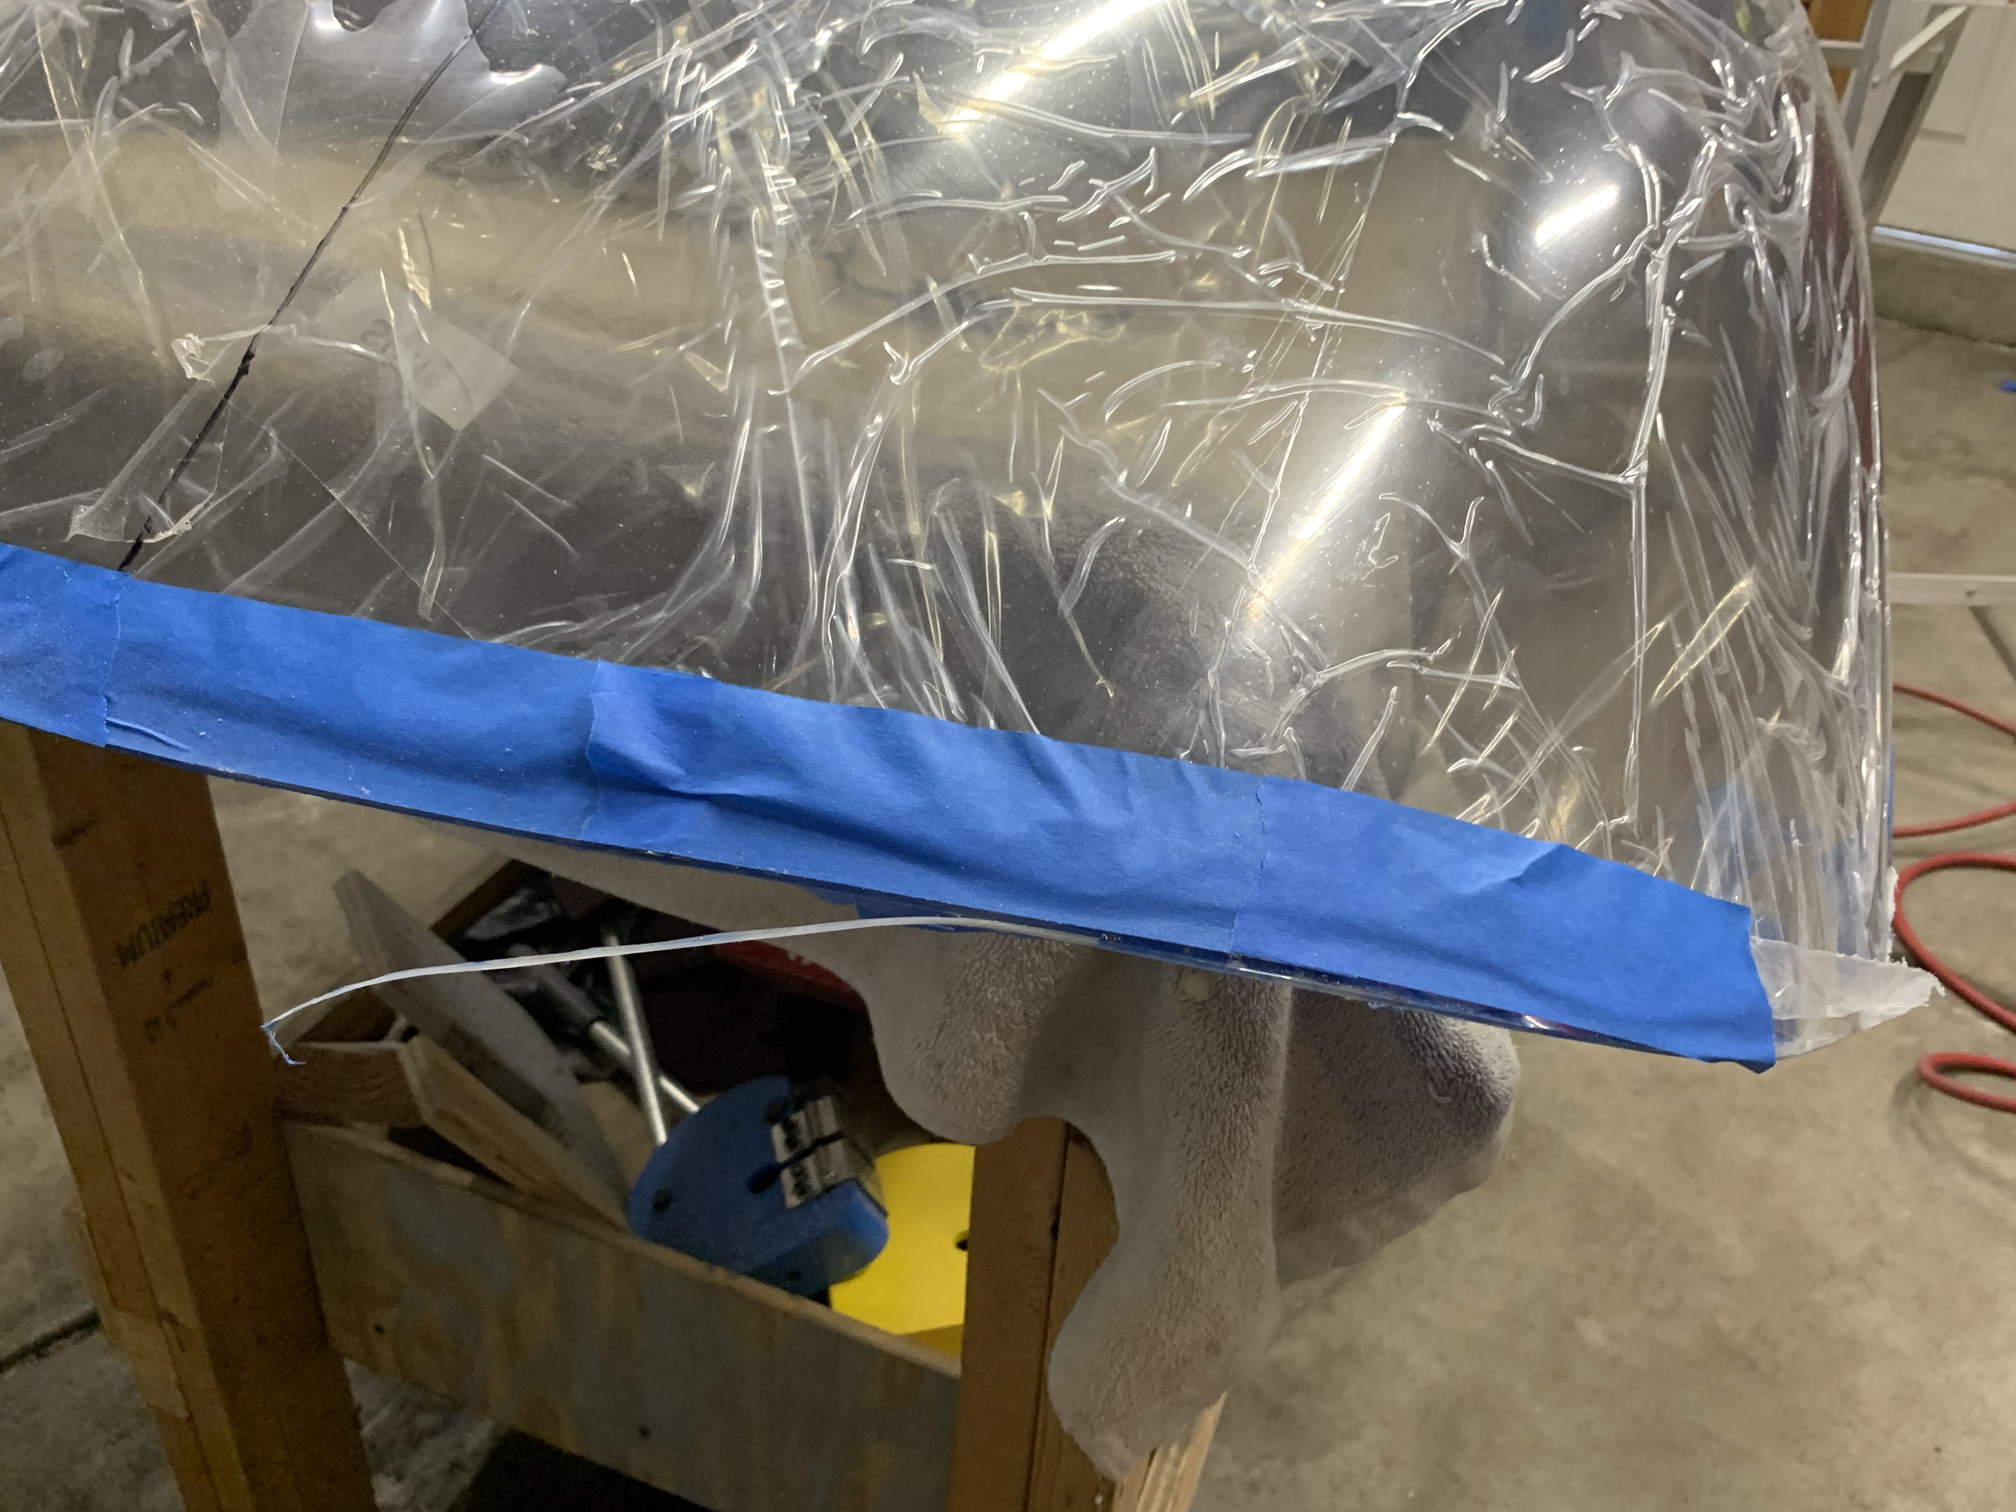
Then I marked the front and sides for final trimming, removed the plexi, and made the trim.
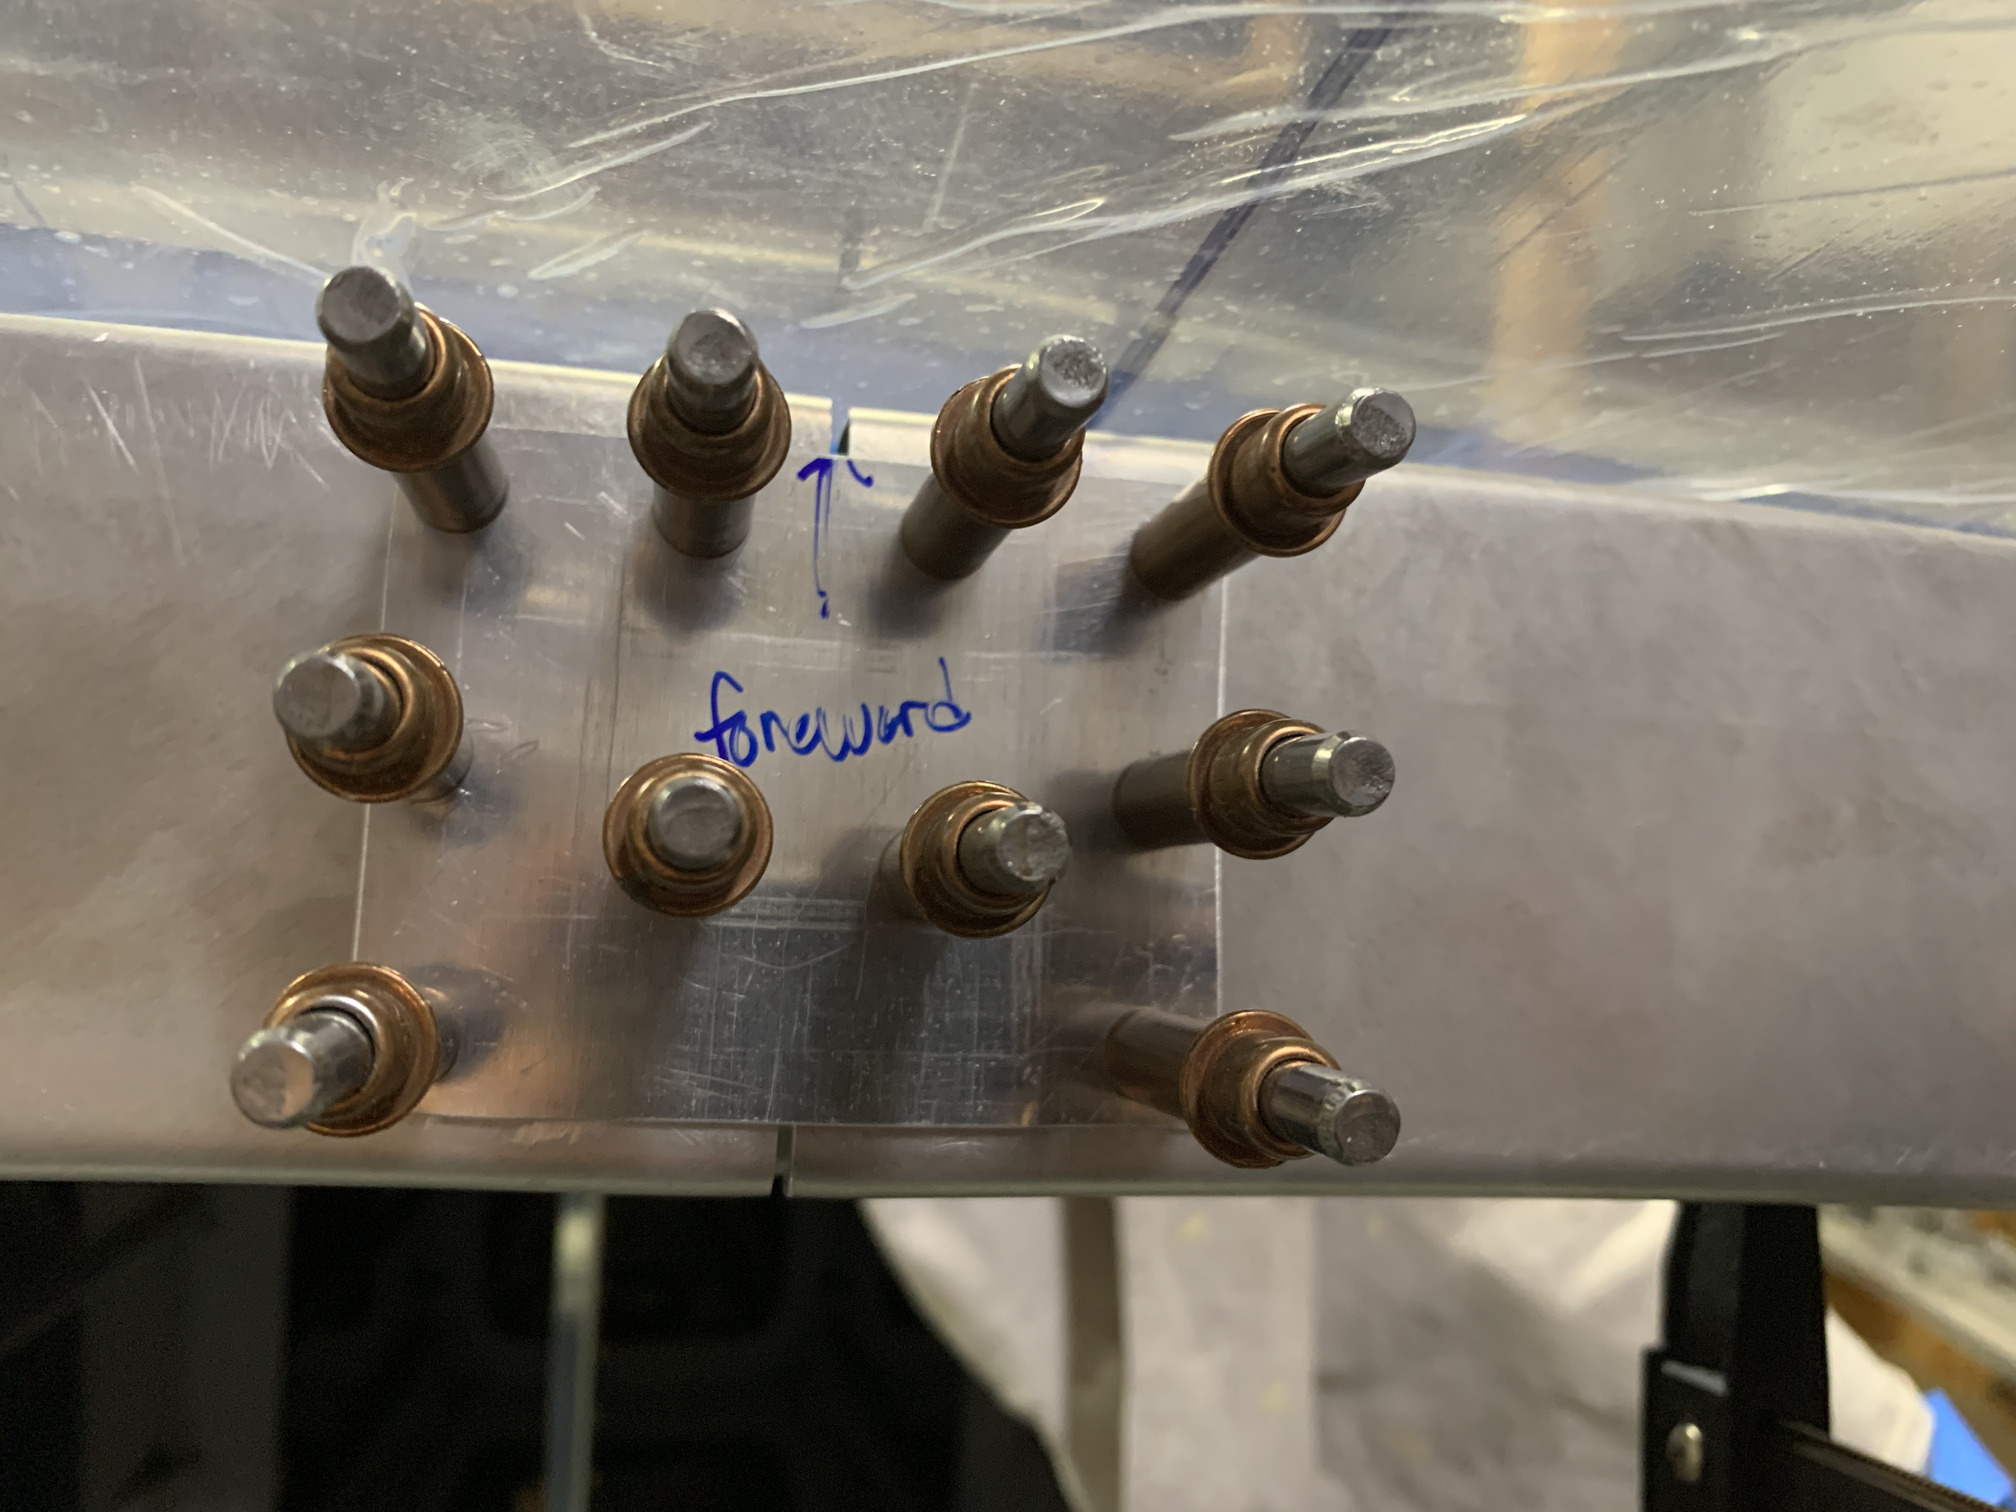
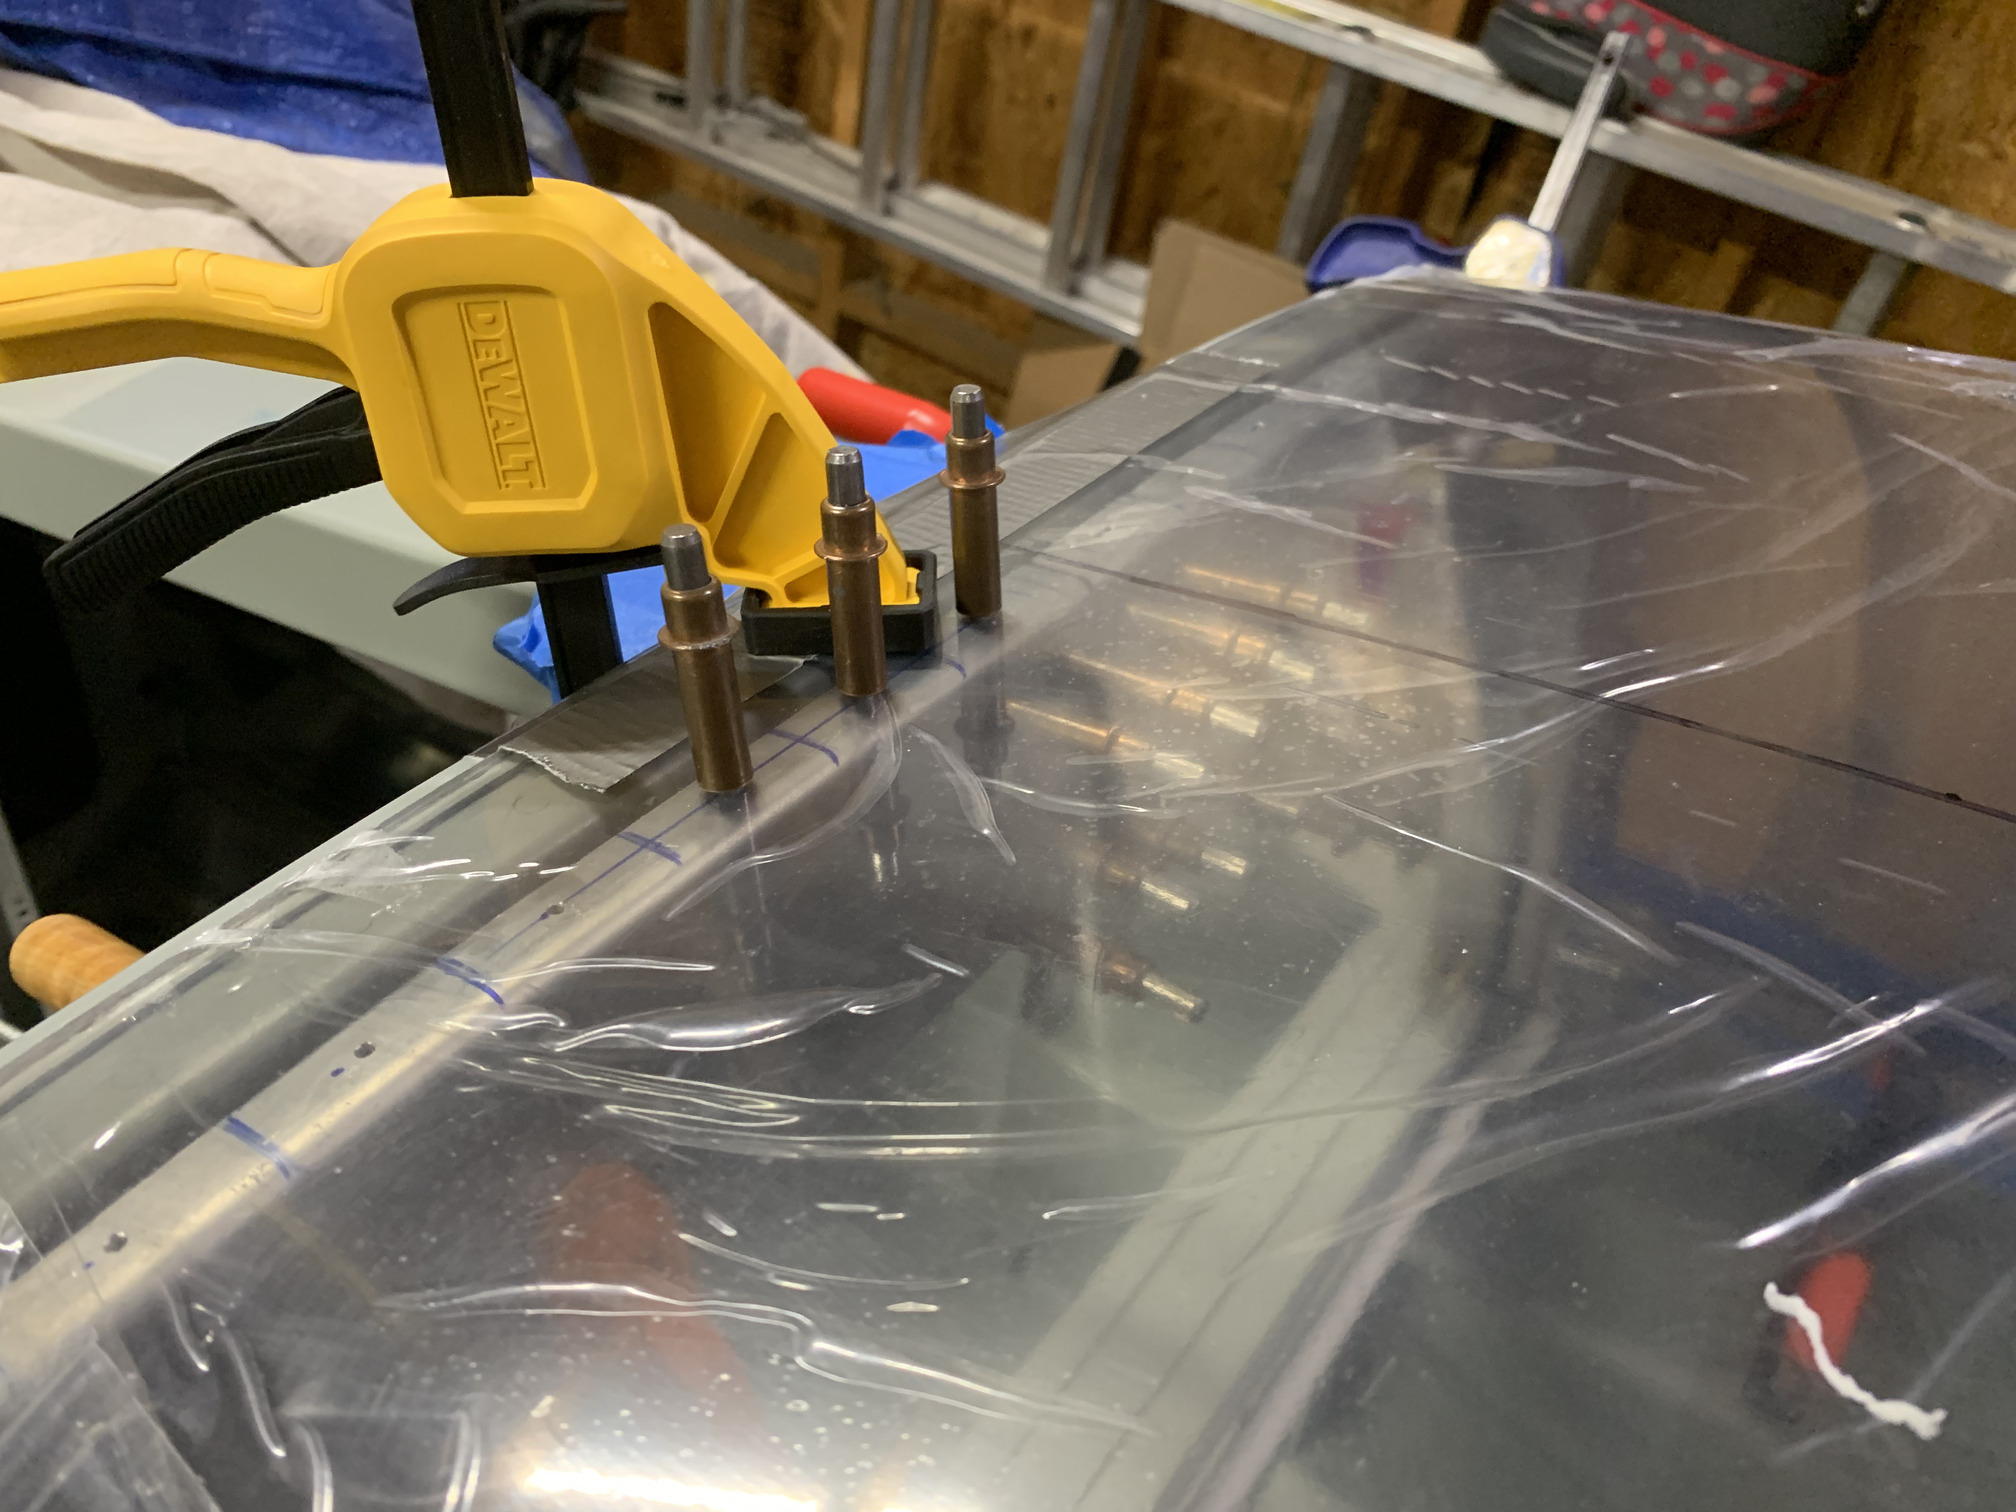
Then I carefully marked and drilled #40 holes in the canopy frame.
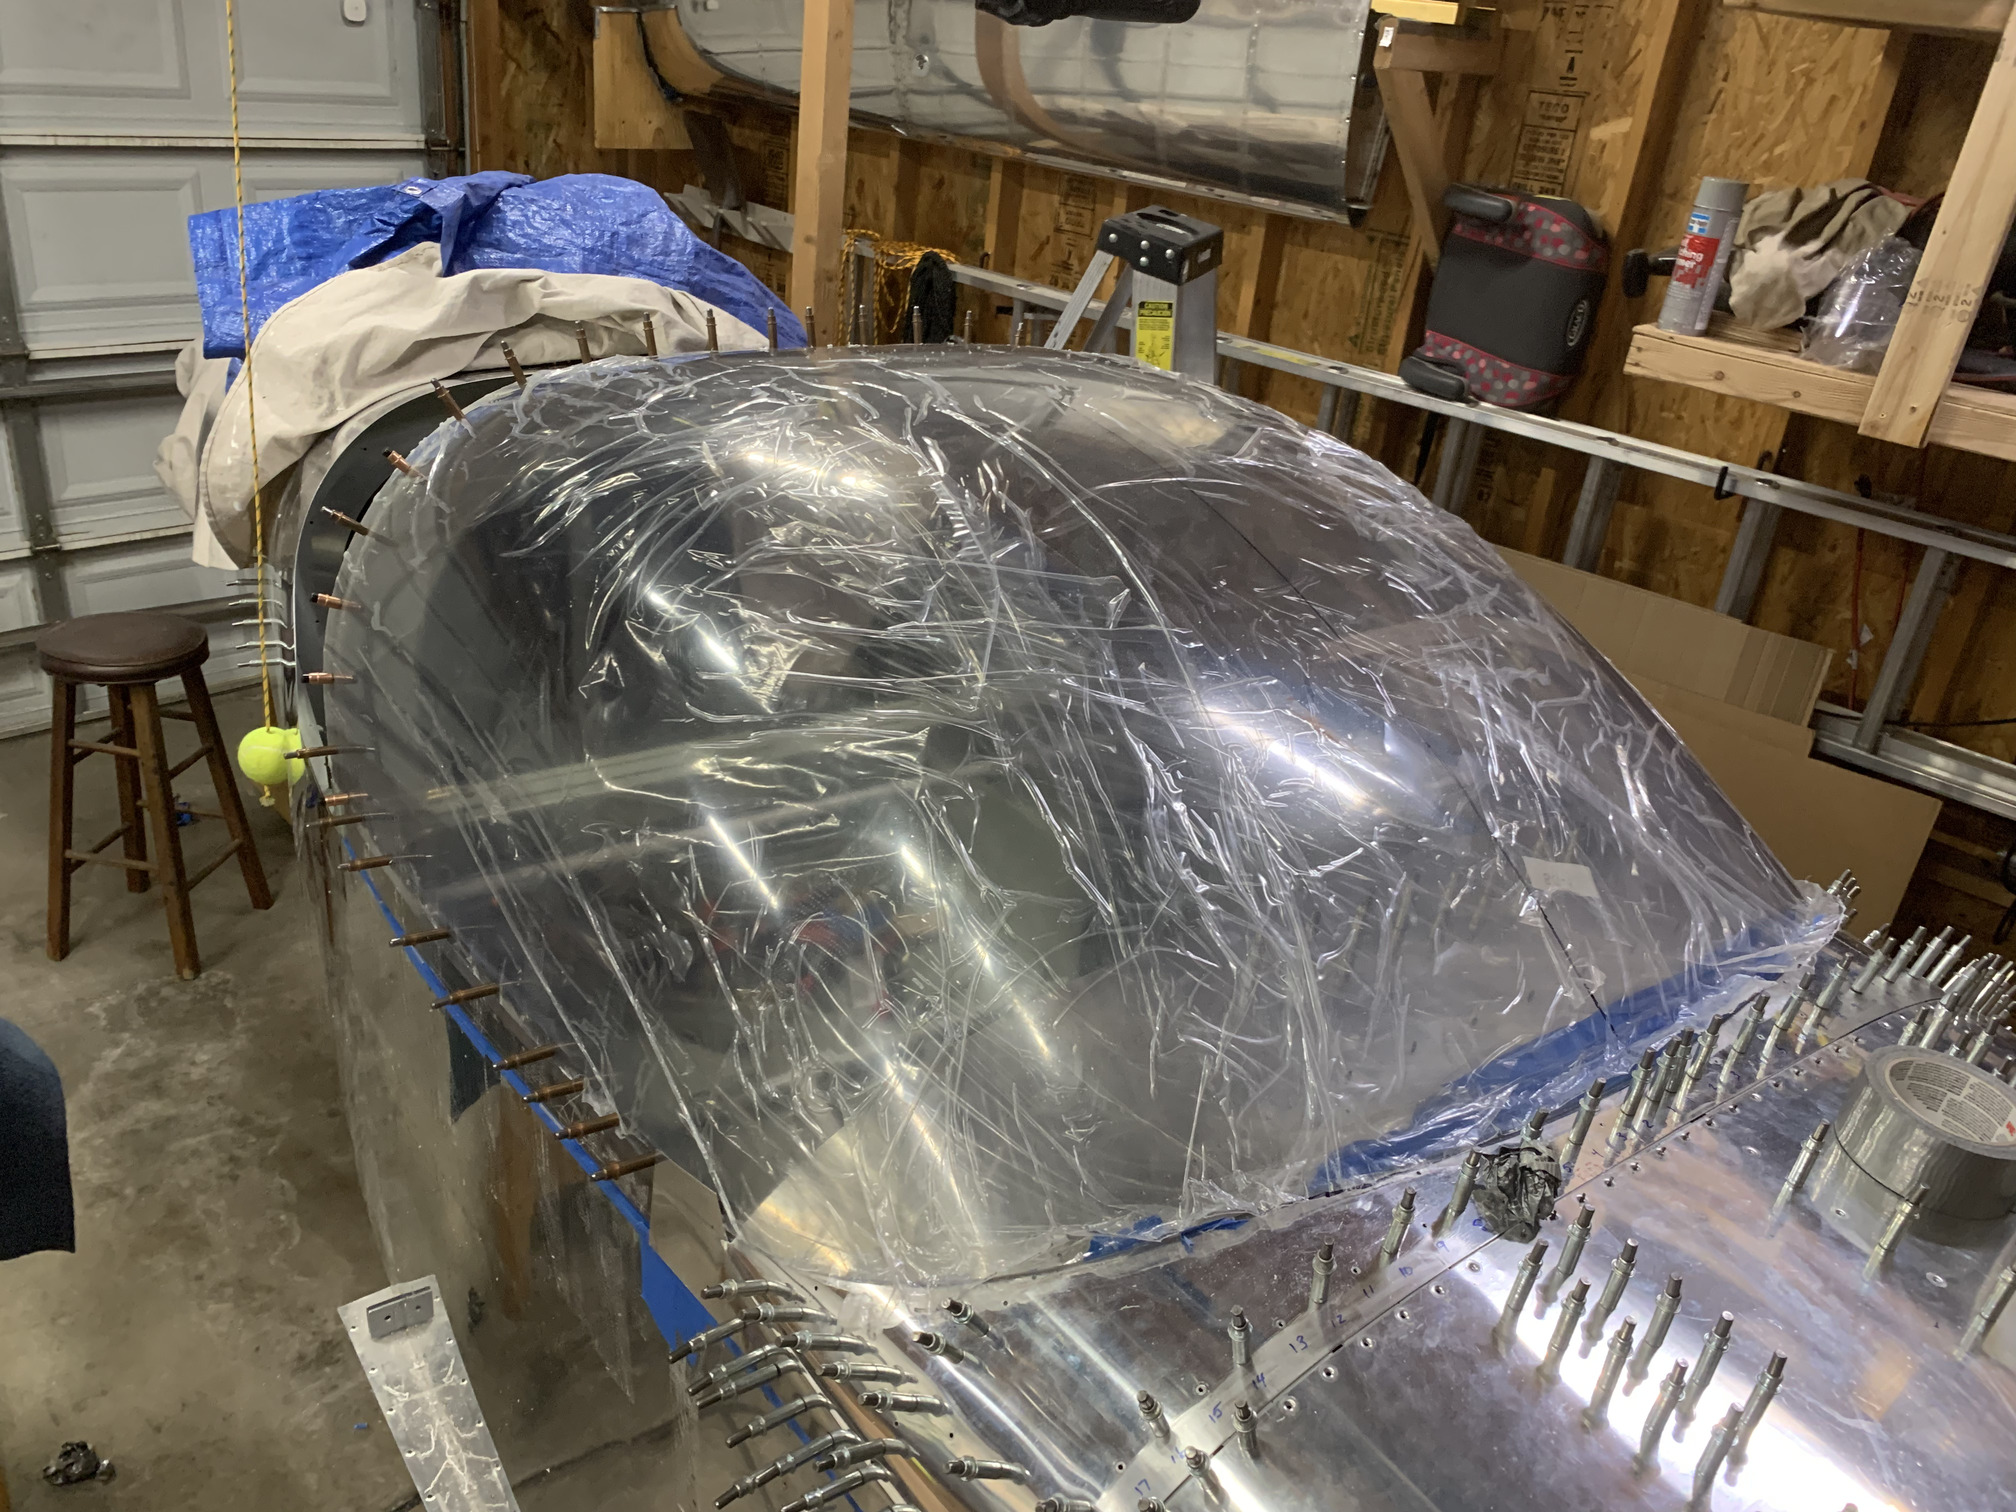
Finally, I clamped and taped the heck out of the plexi to the frame for drilling.
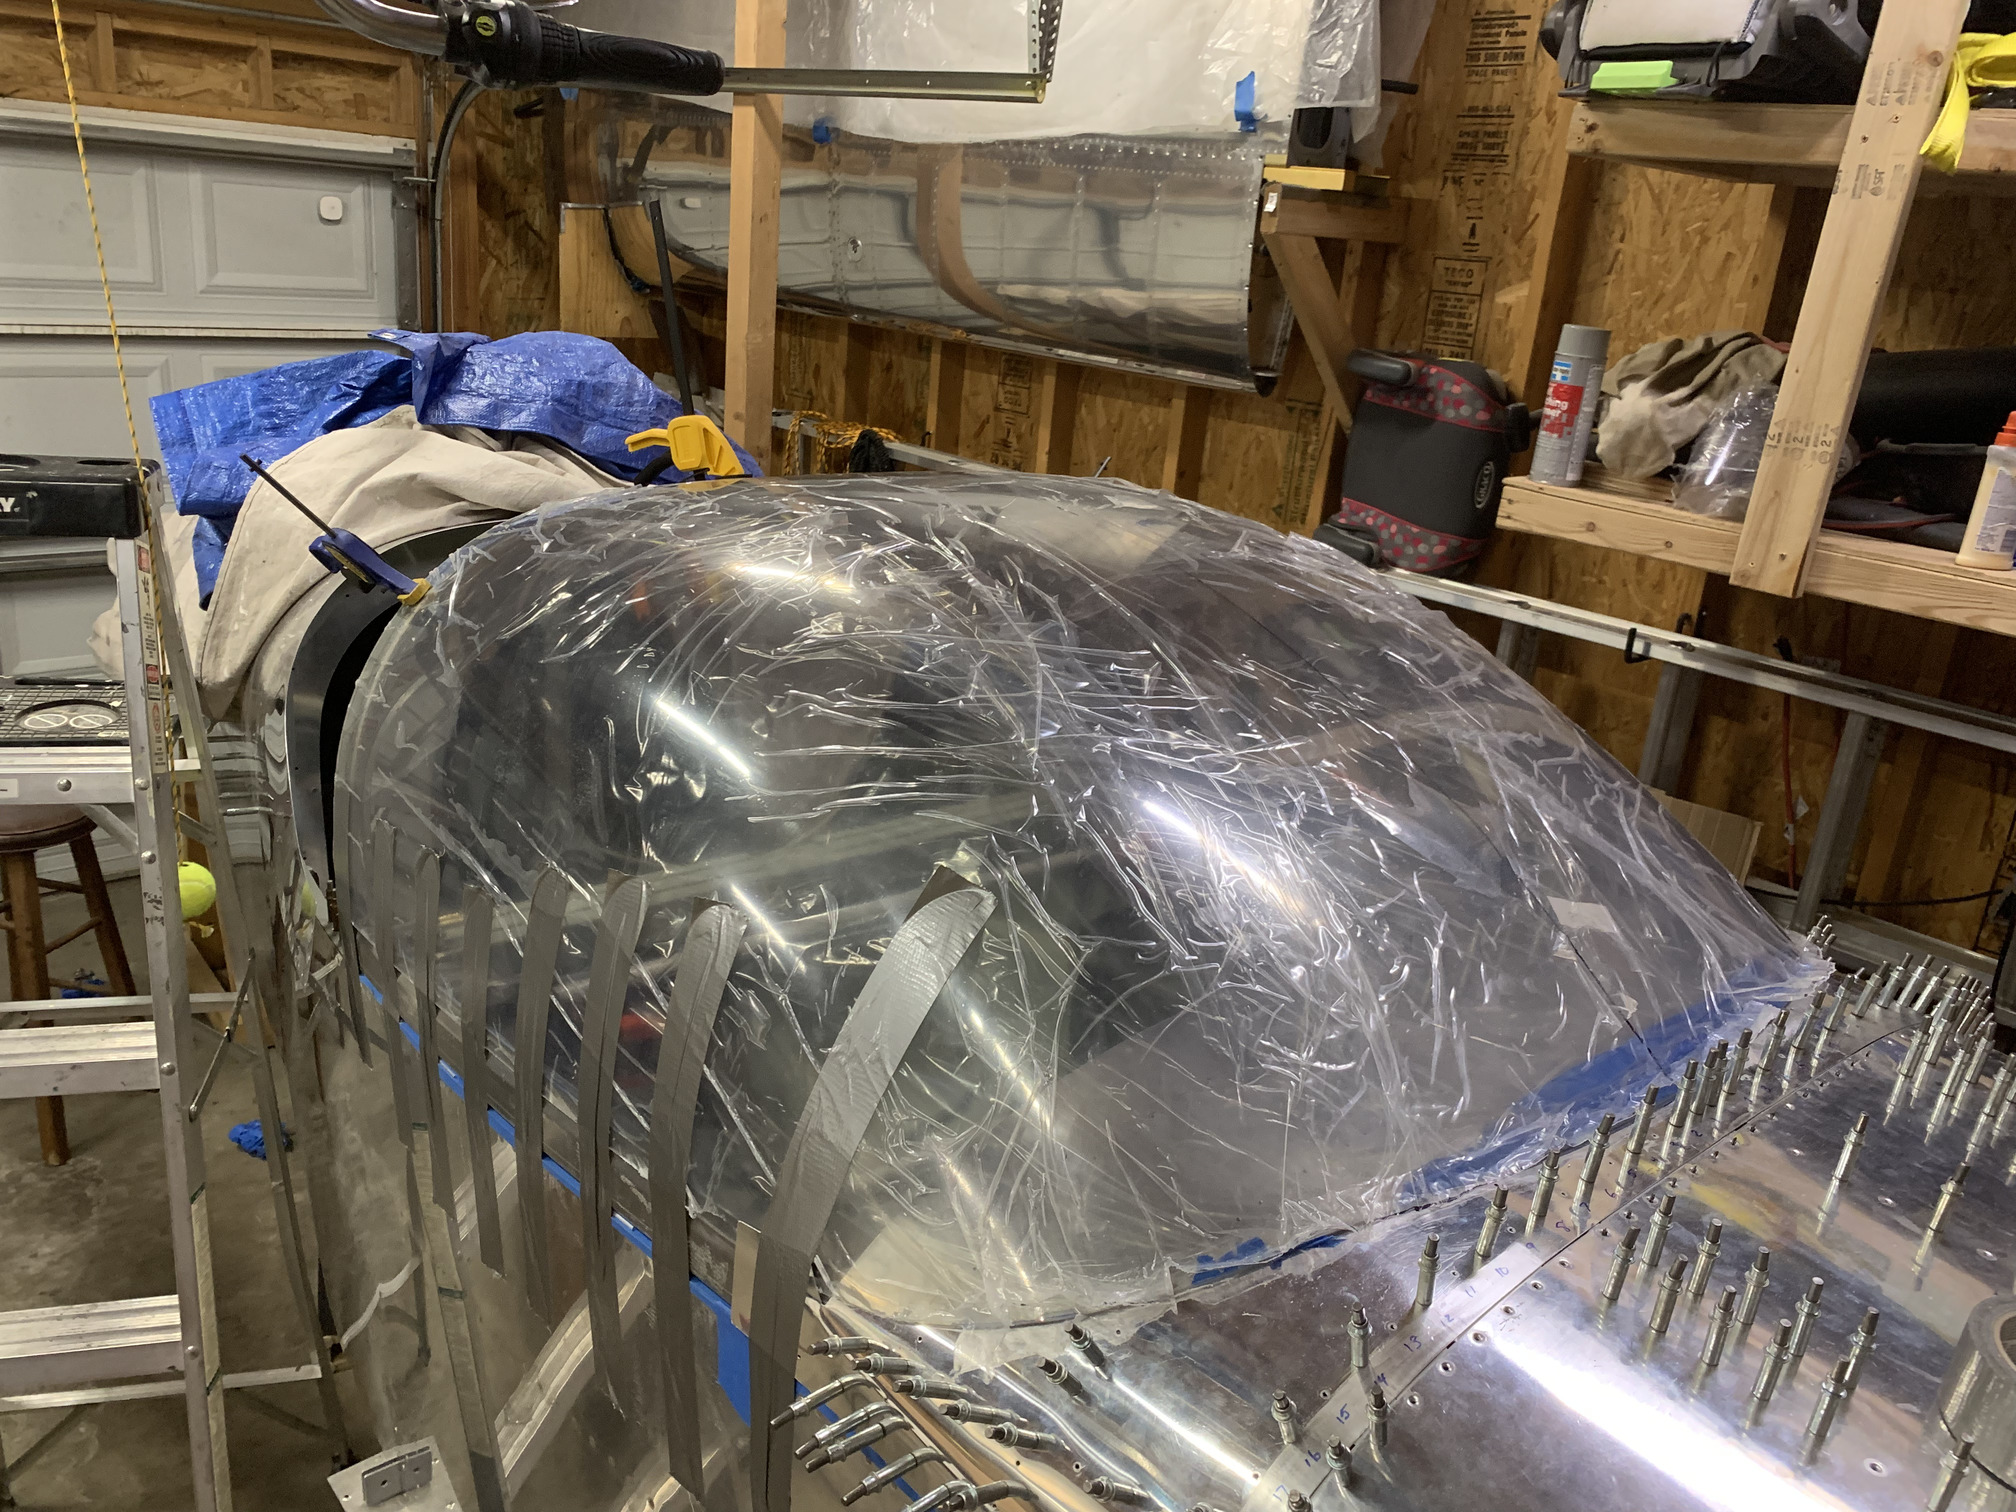
I started from the aft top holes and worked outward. My strategy was to use the #30 plexiglass bit to drill to the preexisting #40 hole in the metal. Then I used a #30 twist bit to finish the hole through the metal. This worked well...no cracks.
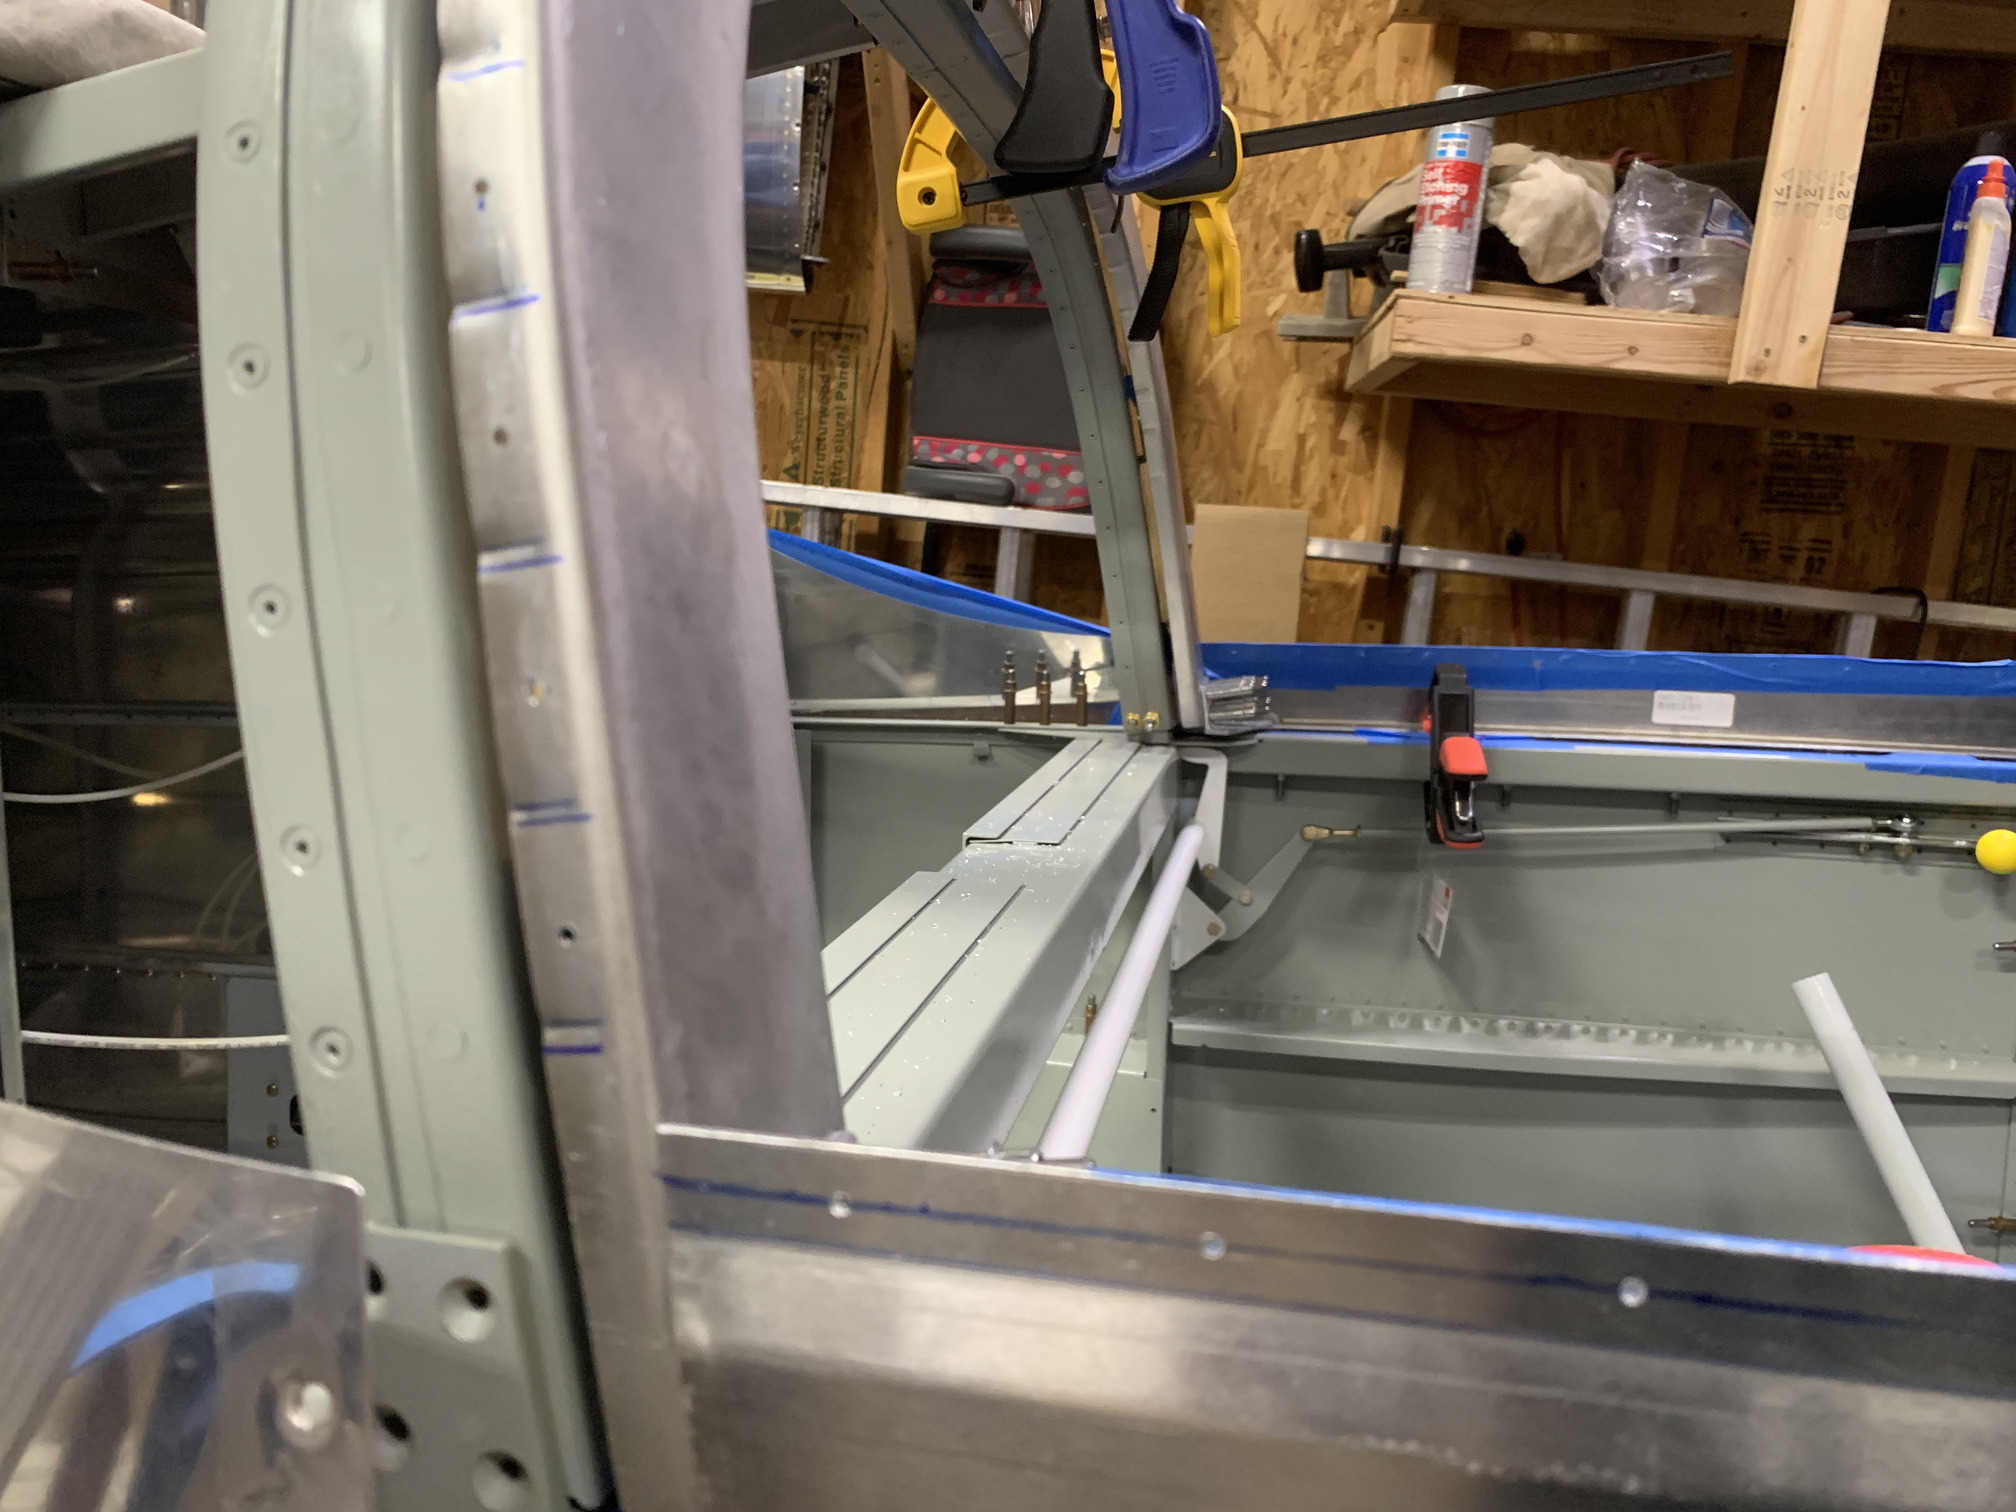
The plexi is now locked in place on the frame and the fit looks great. There's a tiny bit of gap between the front and the front skin, but it takes very minimal pressure to close it up. I'll add a clip up there when I do the fiberglass faring.
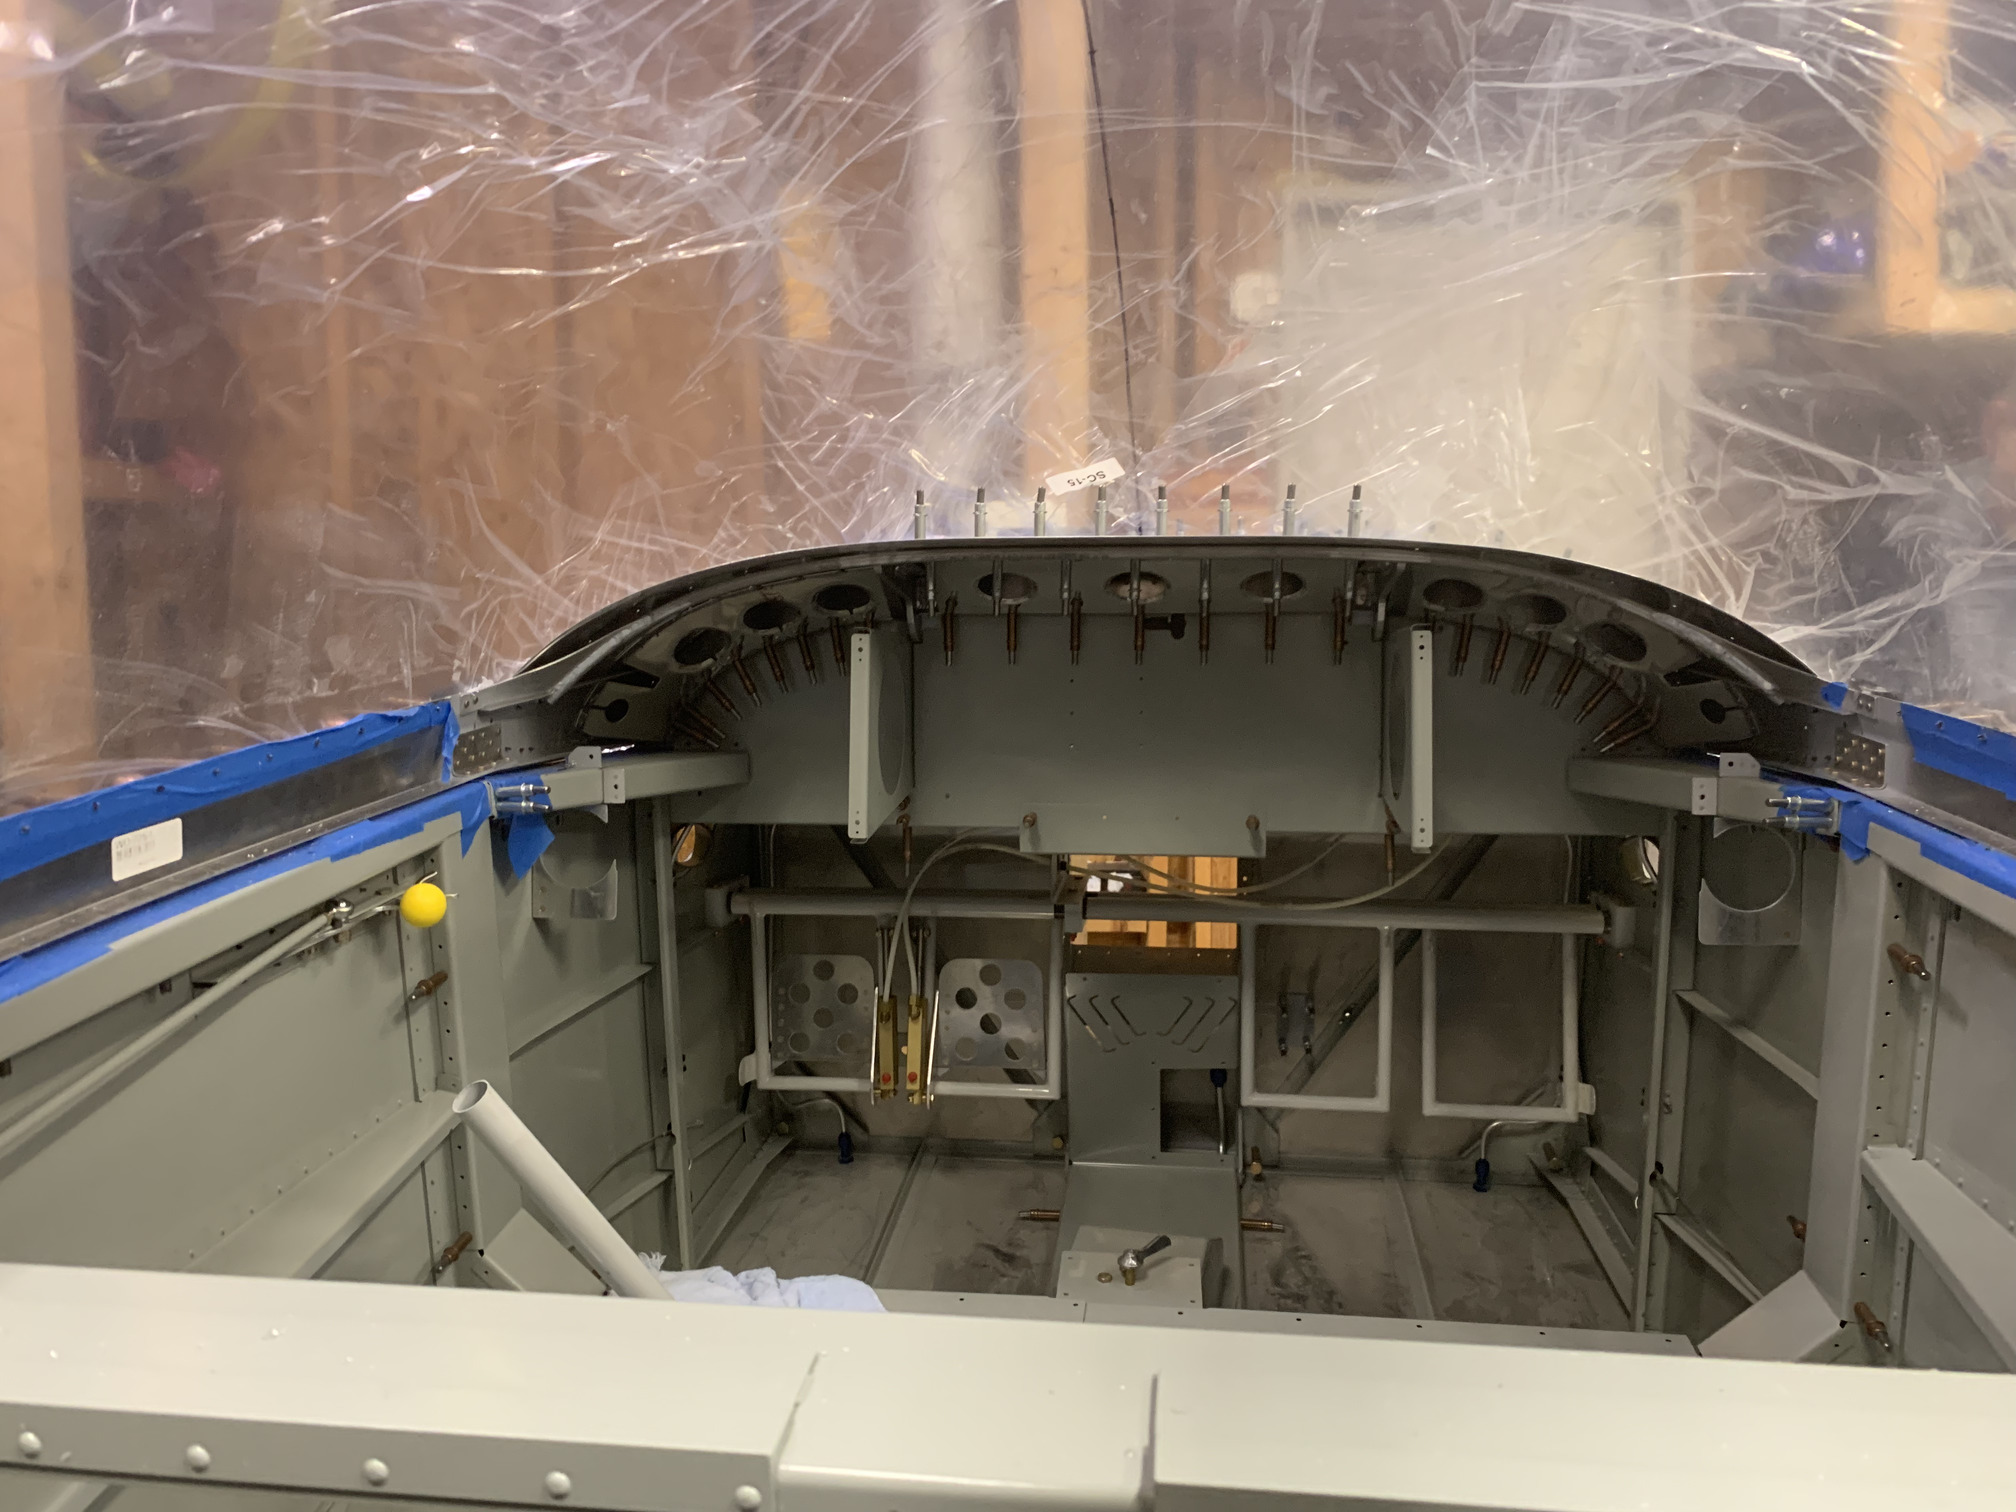
Gratuitous shot of the inside. This looks great!
| Previous - Index - Next |
This work is licensed under Attribution-NonCommercial-NoDerivatives 4.0 International![]()
![]()
![]()
![]()