Log (By Day)
Log (By Category)
Pictures
Pics of Me Working
Links
| ||||||||||||
Sunday September 17, 2006
VS & HS Riveting, Rudder Stiffeners
(2.2 Hours
Horizontal Stabilizer, 3.0 Hours
Rudder, 4.0 Hours
Vertical Stabilizer)
9.2 Hours Total
| Previous - Index - Next |
Today was a long day and I got a lot of stuff done, particularly with my dad's help in the evening.
I decided to drill the two nonexistant holes on the lower hinge bracket on the VS rear spar, so I did that and deburred, dimpled, and countersunk them. Then I riveted the hinge brackets and rear spar doubler to the rear spar. Then I riveted the parts of the VS skeleton together that were possible to rivet with the squeezer. This doesn't sound like a lot, but it took a while.
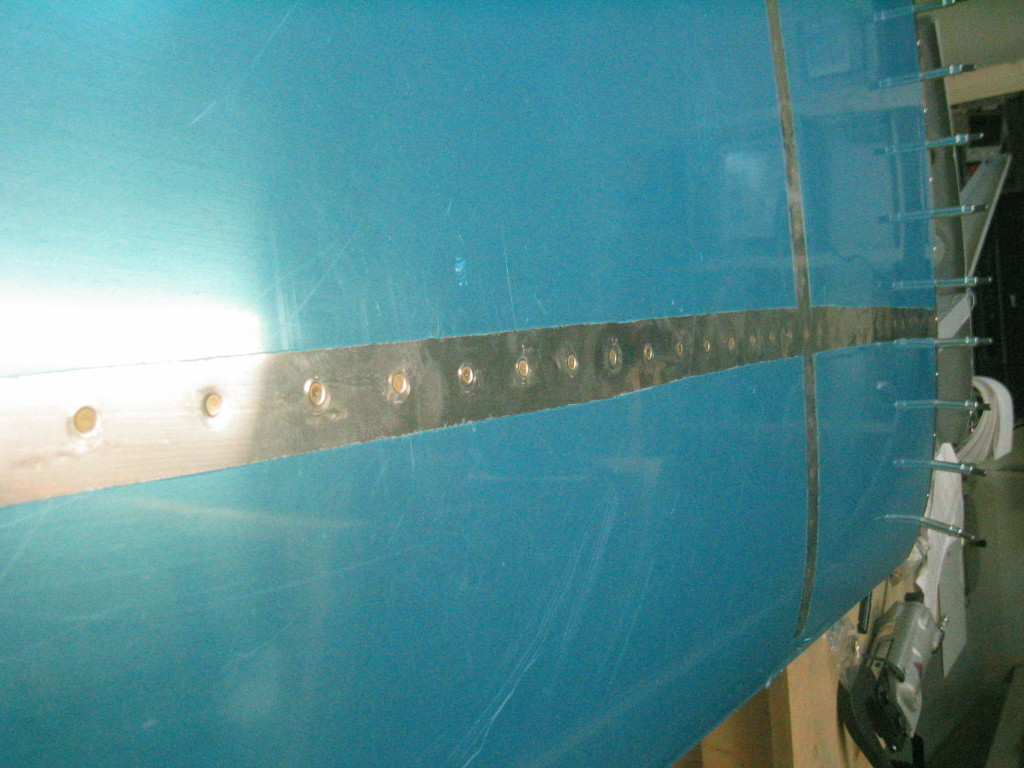
Here's the VS rear spar, with the doubler riveted in.
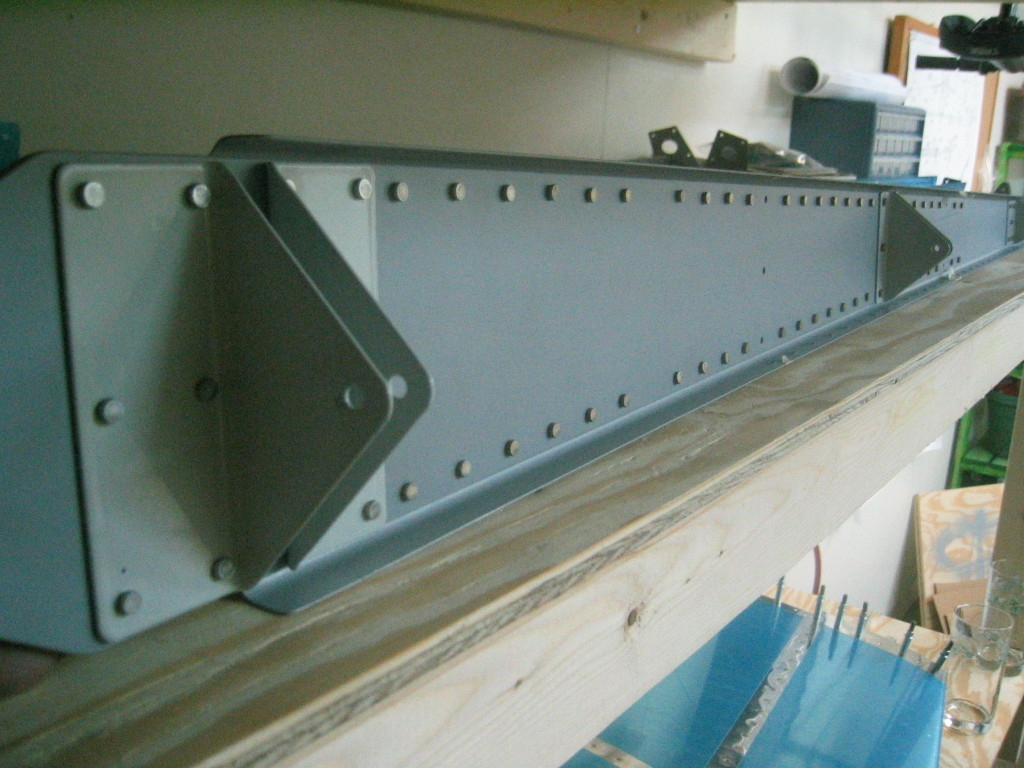
And here's the HS rear spar while we're at it, since I didn't have a camera yesterday.
And here's the center hinge bearing with the hole for the bolt I broke.

At this point, I couldn't do anything further on the VS or HS without help shooting or bucking, so I started working on the rudder. I trimmed the 16 rudder skin stiffeners, cut the aft tapers, and ground them all down to smooth, radiused surfaces. Then I clecoed the stiffeners to the skins and match drilled them all.
Here's a bundle of finished stiffeners.

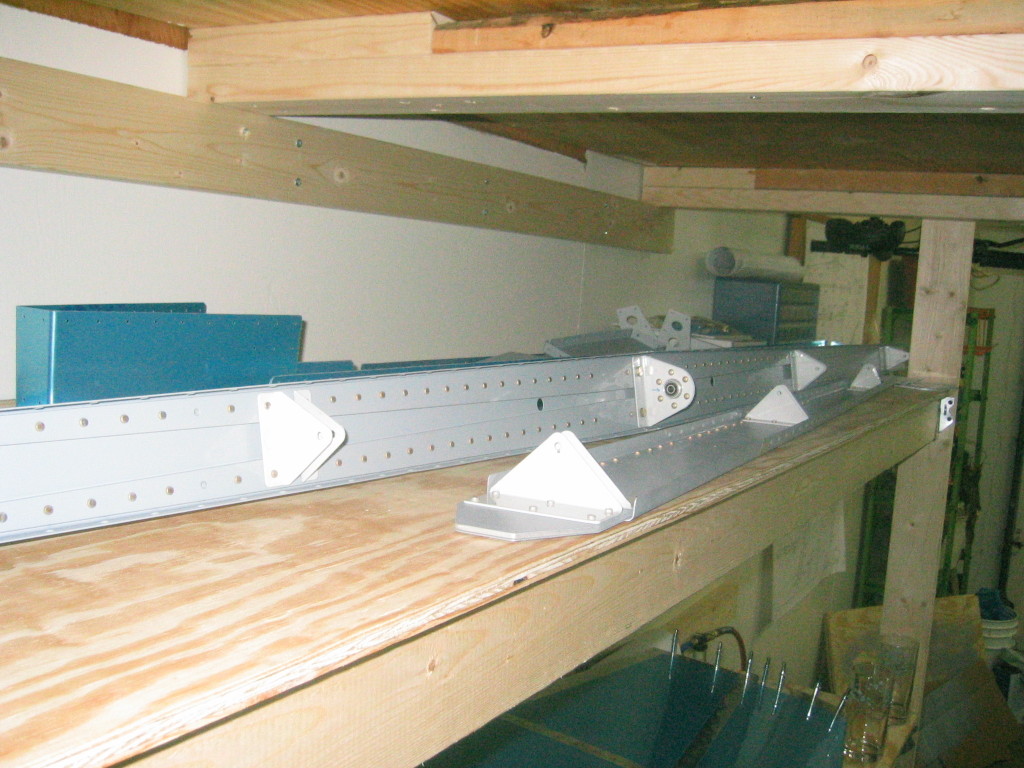
In the evening, my dad came over and we started shooting rivets. We finished riveting the VS ribs to the VS front spar and then riveted the parts of the VS skin that you have to shoot (which consists of the front spar and inside ribs. The VS is now done with shooting. The rest of the rivets should be possible to squeeze.
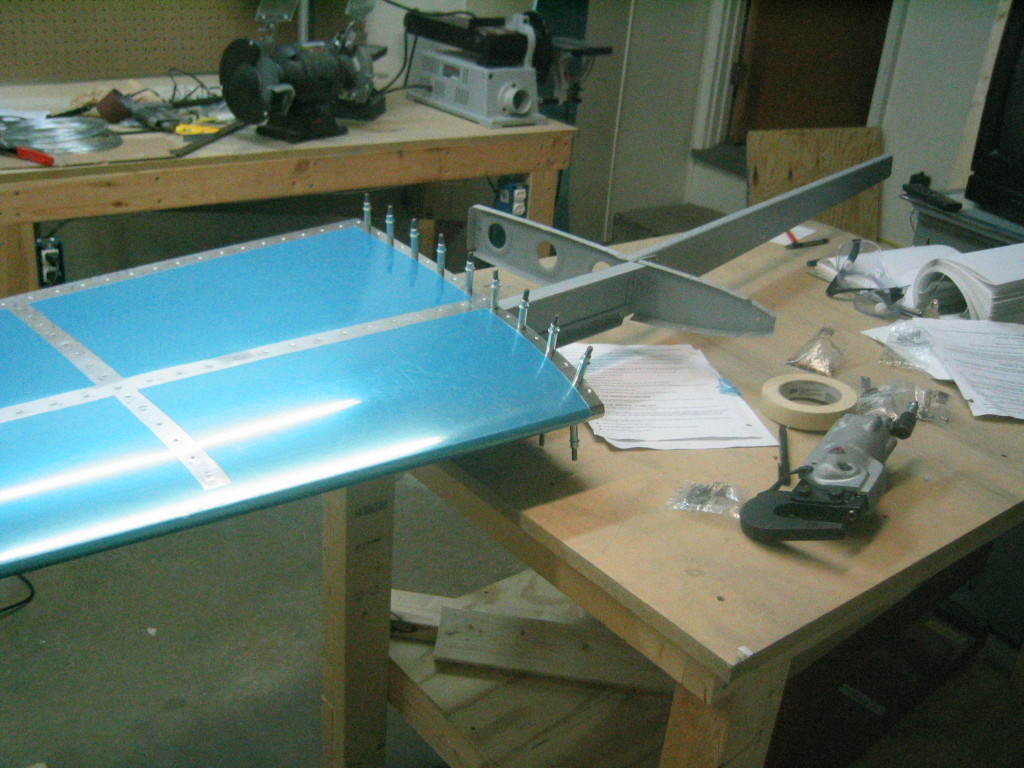
Here's the VS with the interior rivets complete.
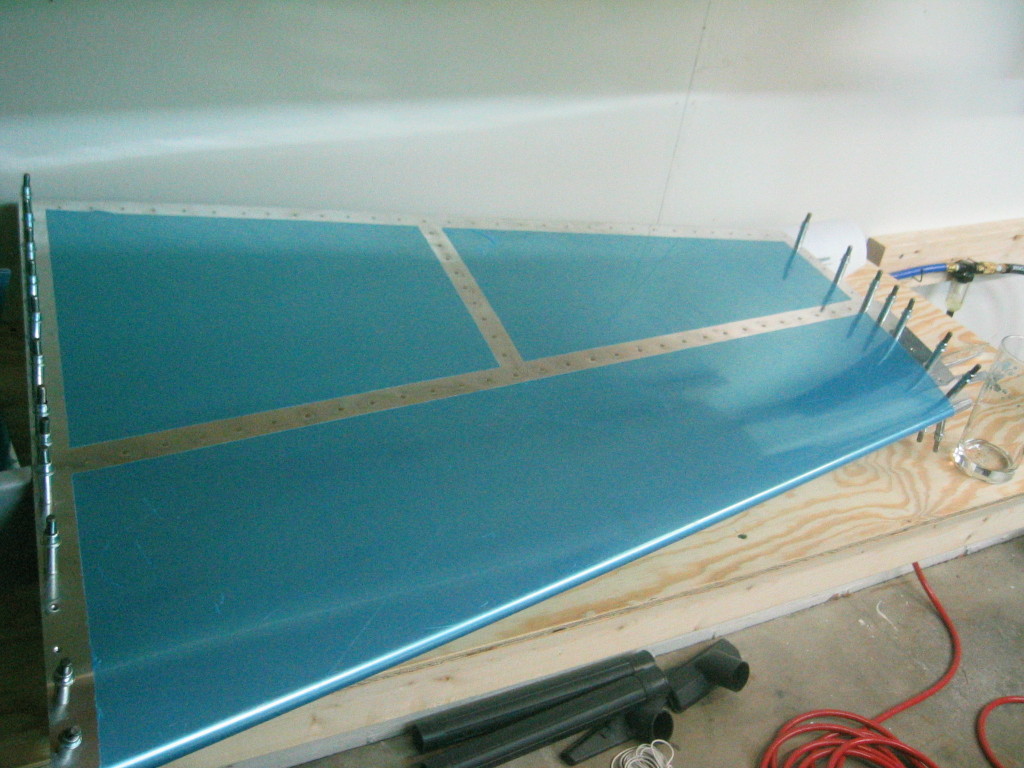
We finished riveting the HS 405 and 404 ribs to the HS front spar. Next, we riveted the left HS-707 nose rib to the left skin. Finally, we clecoed in the front spar and ribs and again riveted all of the interior rivets where it's impossible to squeeze. All rivet shooting/bucking on the left HS is now complete. I'll need help again riveting the right HS together before I can put the rear HS spar on and squeeze the rest of those rivets.
Assorted pictures of the HS with the interior rivets on the left side complete. I know it might look like we did the right-hand side, but the whole assembly is upside-down in this picture, so it really is the left side.
| Previous - Index - Next |
This work is licensed under Attribution-NonCommercial-NoDerivatives 4.0 International![]()
![]()
![]()
![]()