Log (By Day)
Log (By Category)
Pictures
Pics of Me Working
Links
| ||||||||||||
Sunday May 8, 2022
Canopy Latch Lugs, Fit
(Canopy)
4.4 Hours
| Previous - Index - Next |
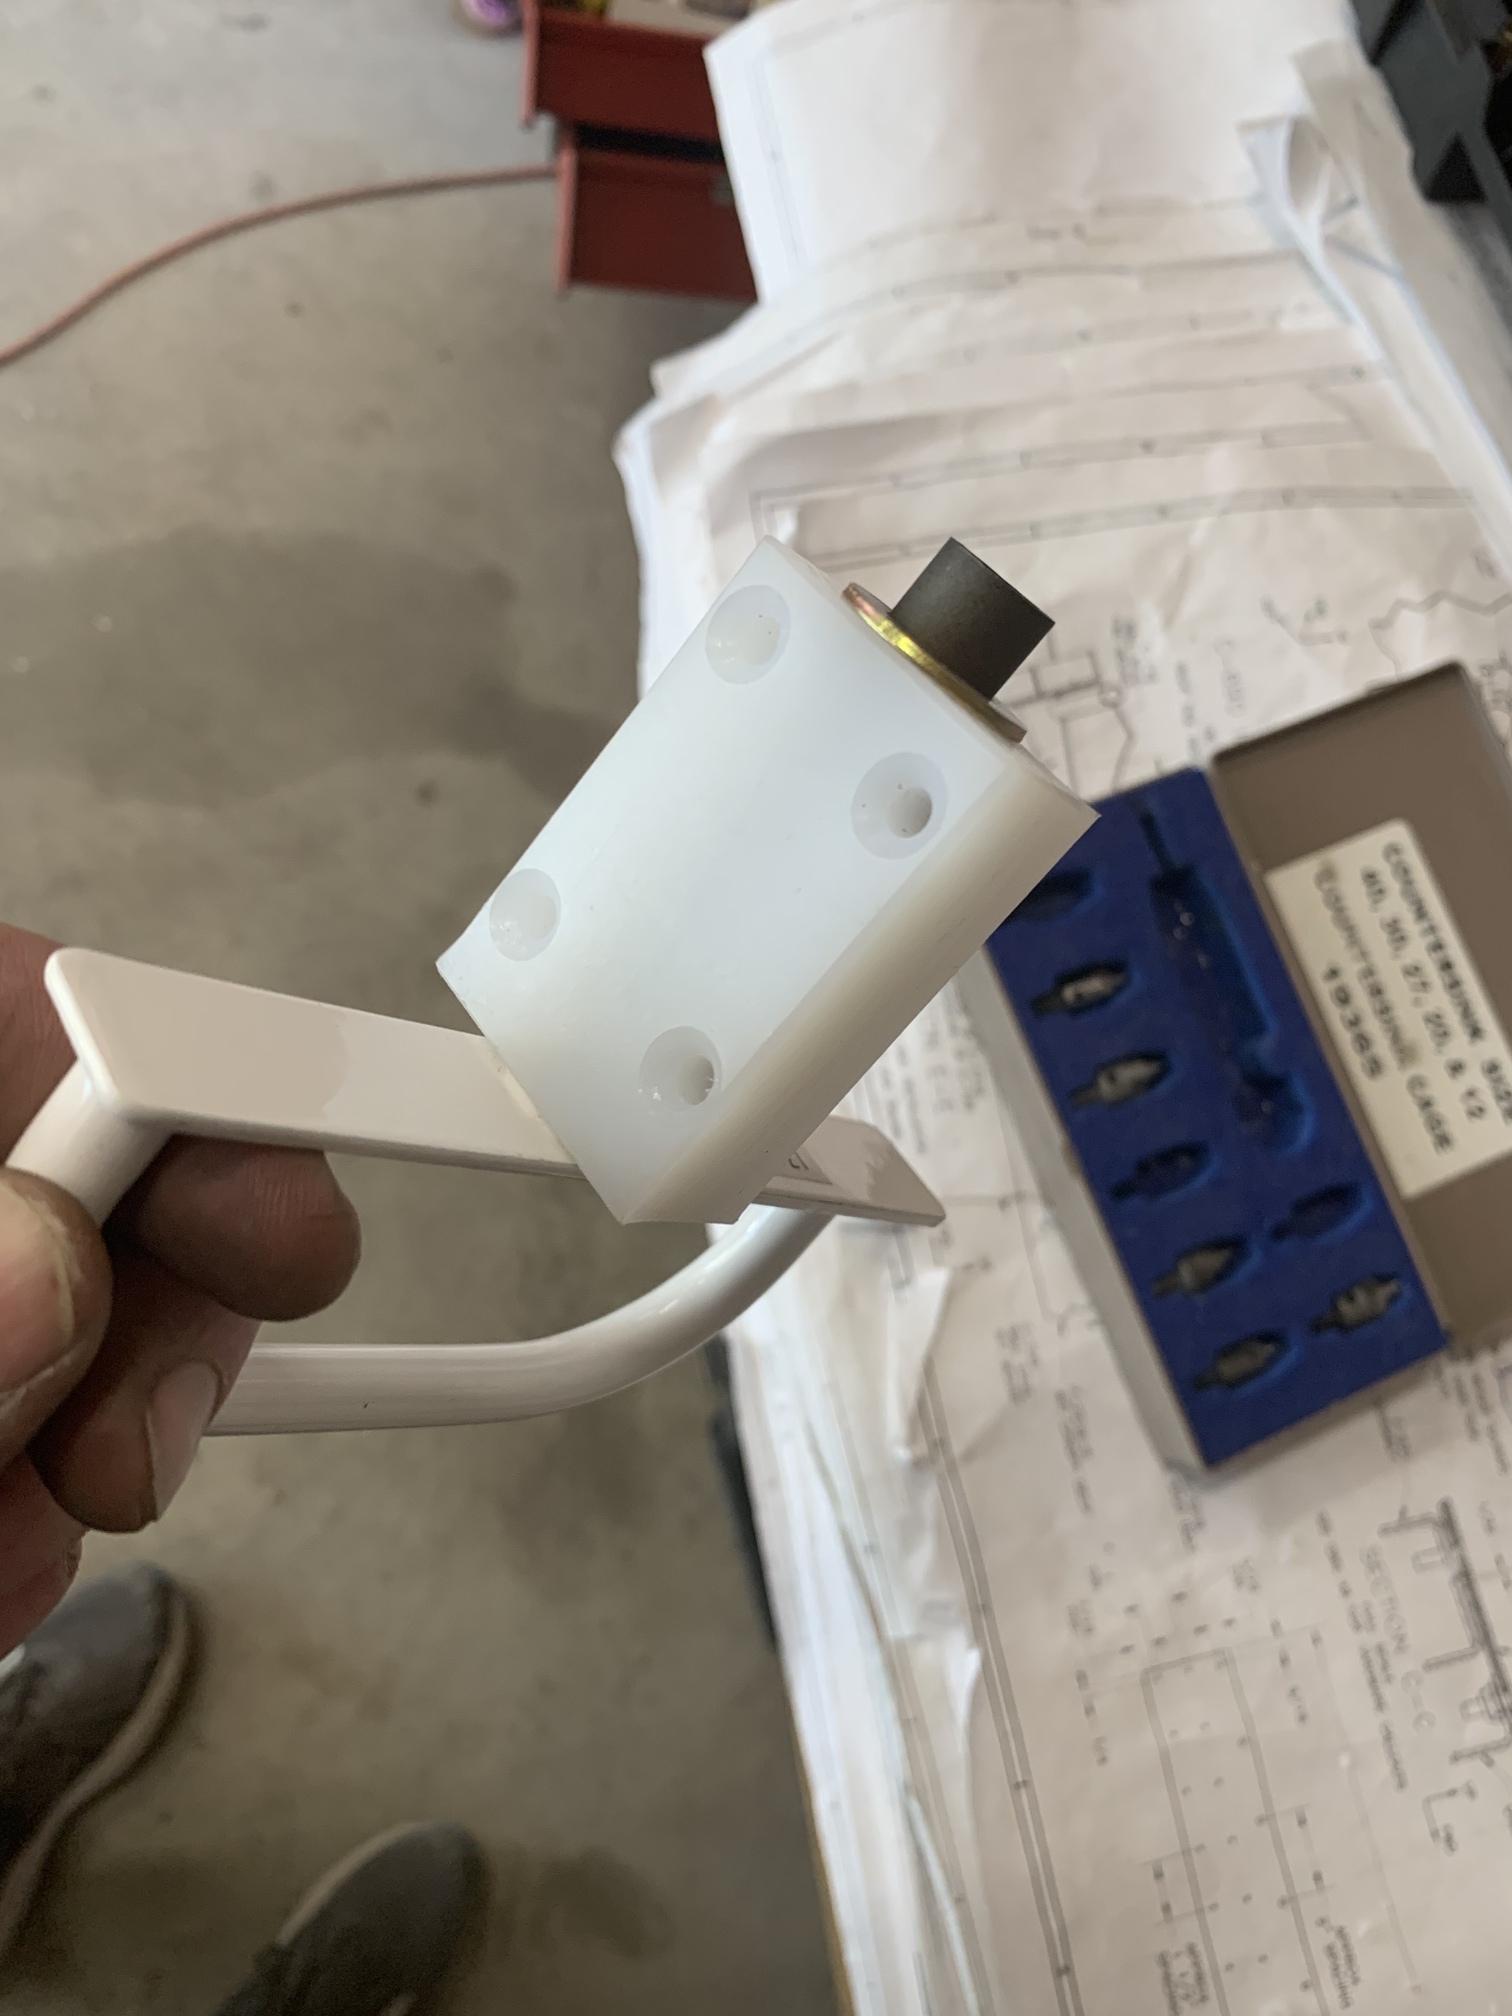
I found a tip on VAF last night that was helpful for fitting the latch lugs. The idea is to make a piece of scrap similar in width, but taller than one of the lugs. Then you drill a hole in it.

Cleco it in place and then lower it and mark where the latch touches it.
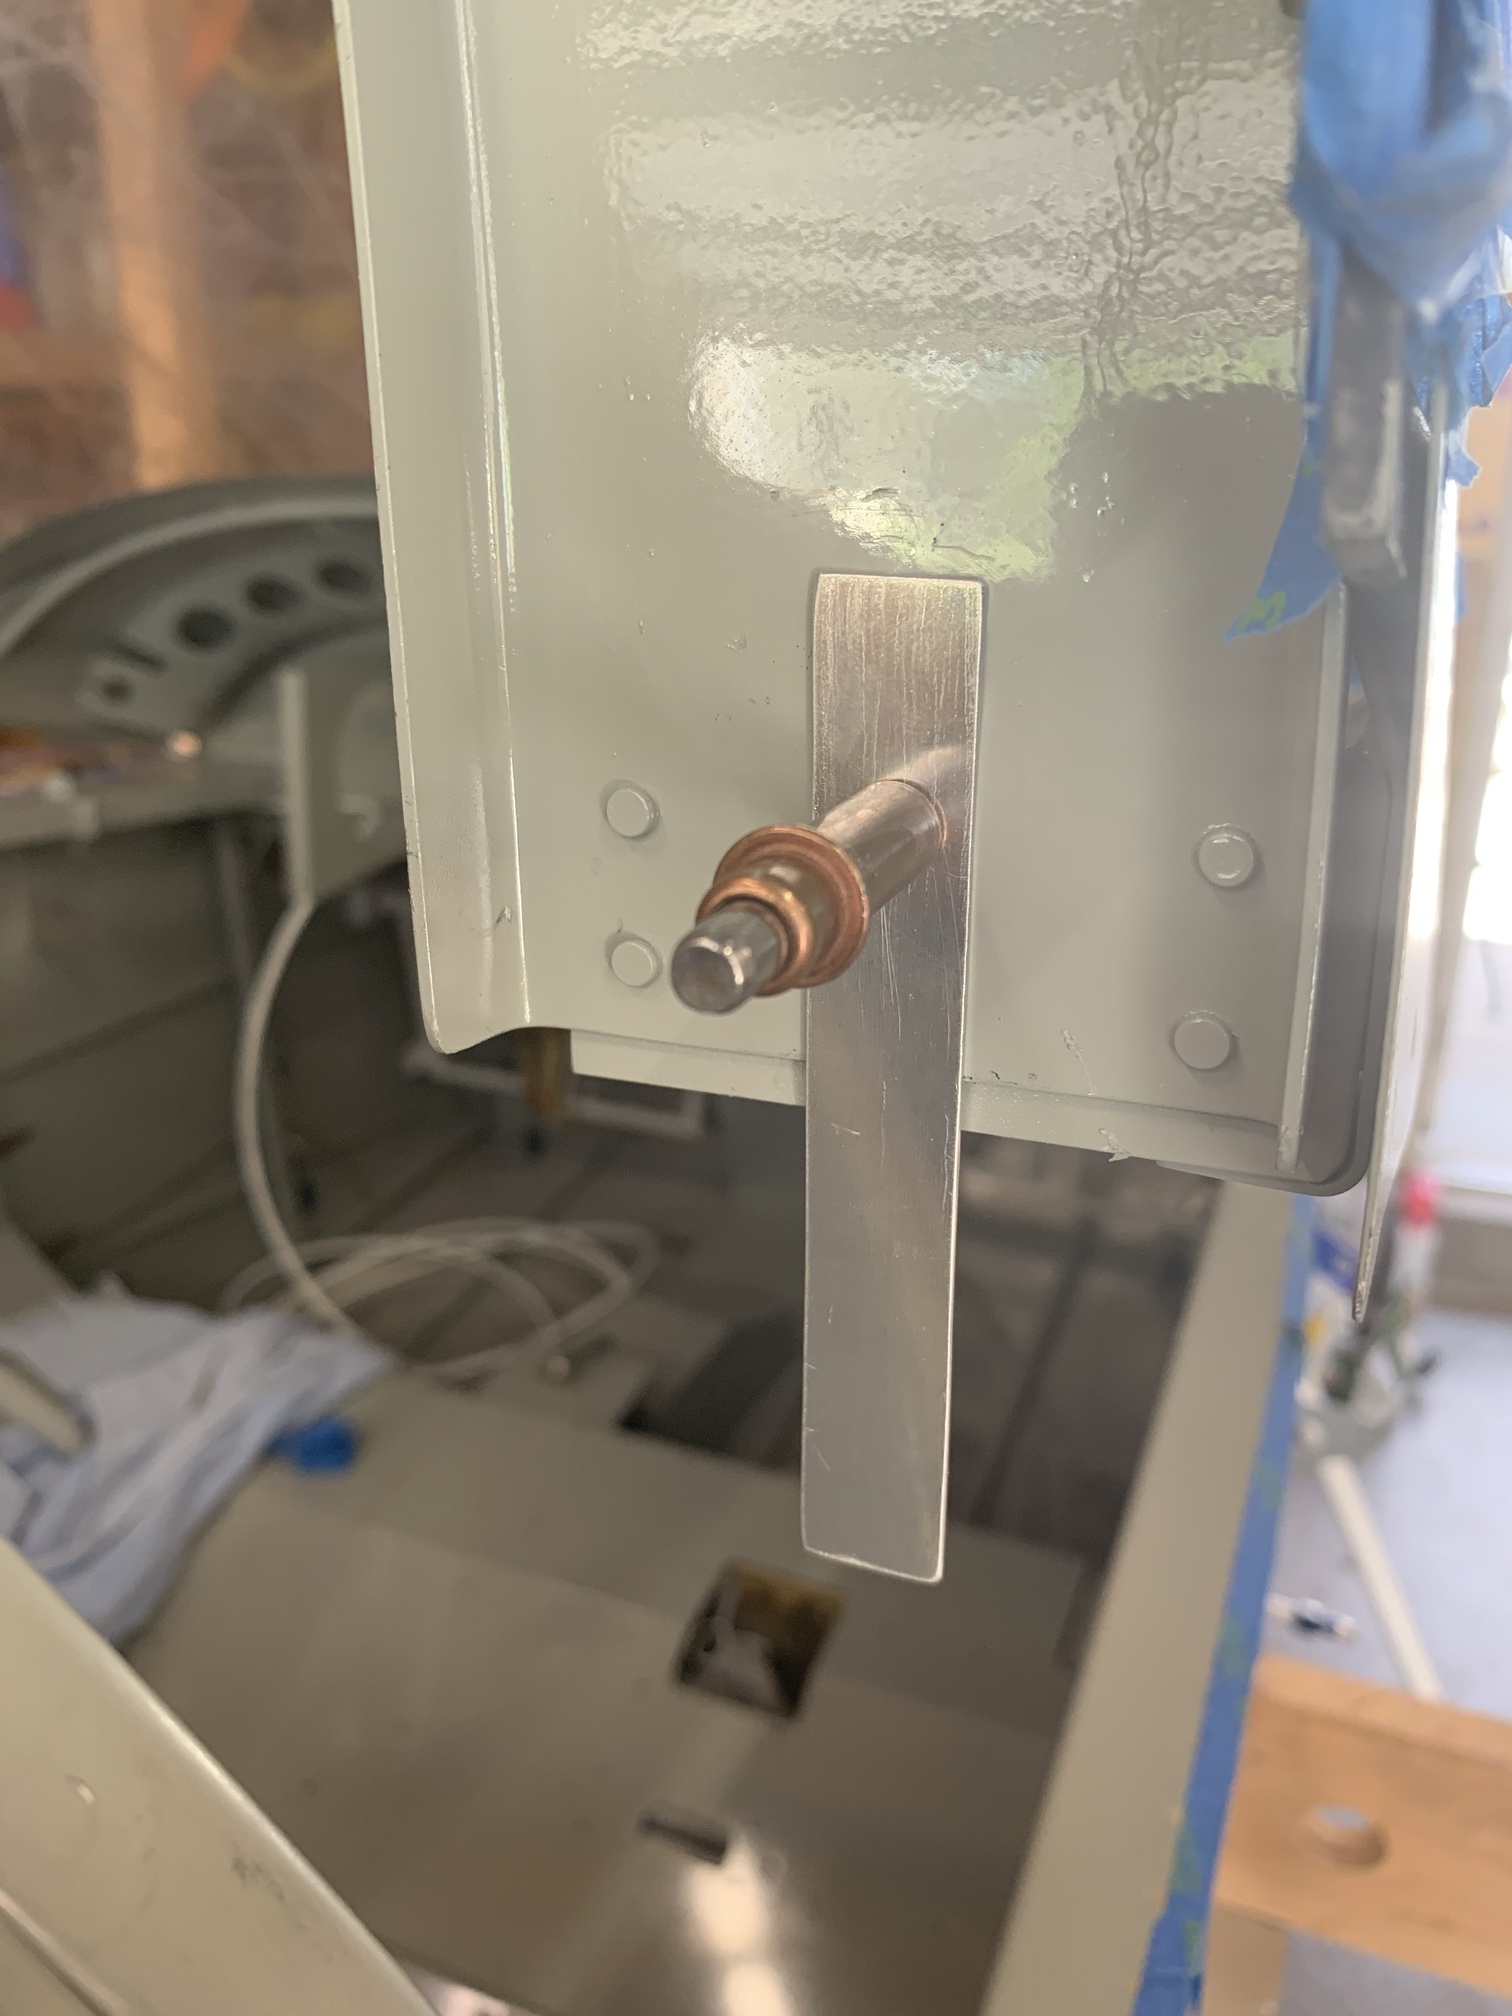
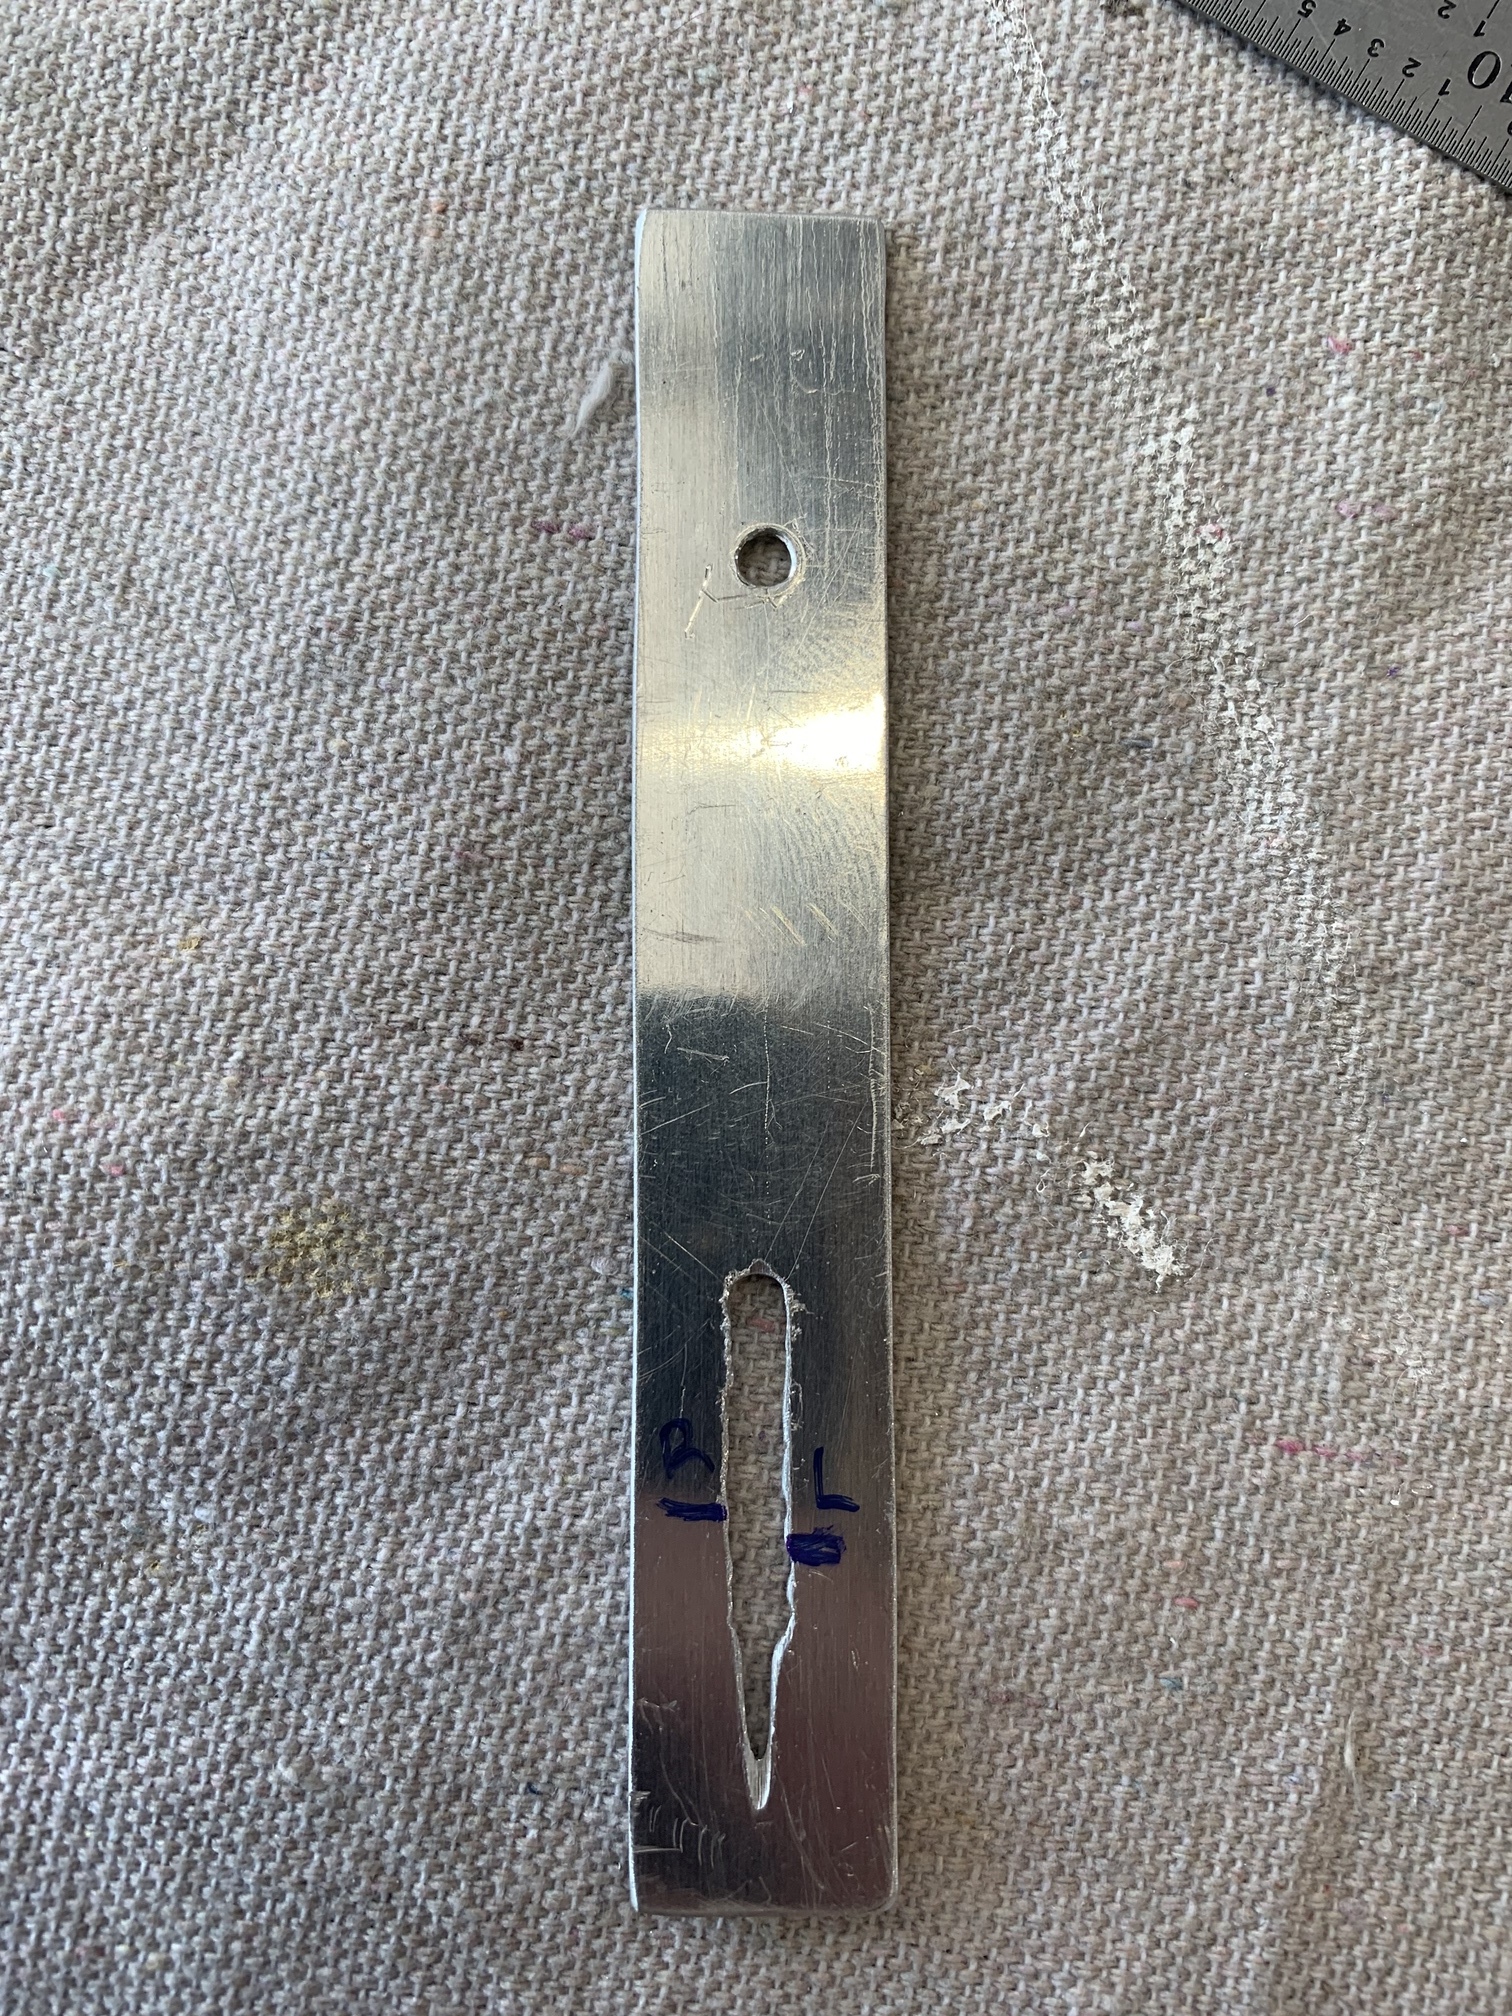
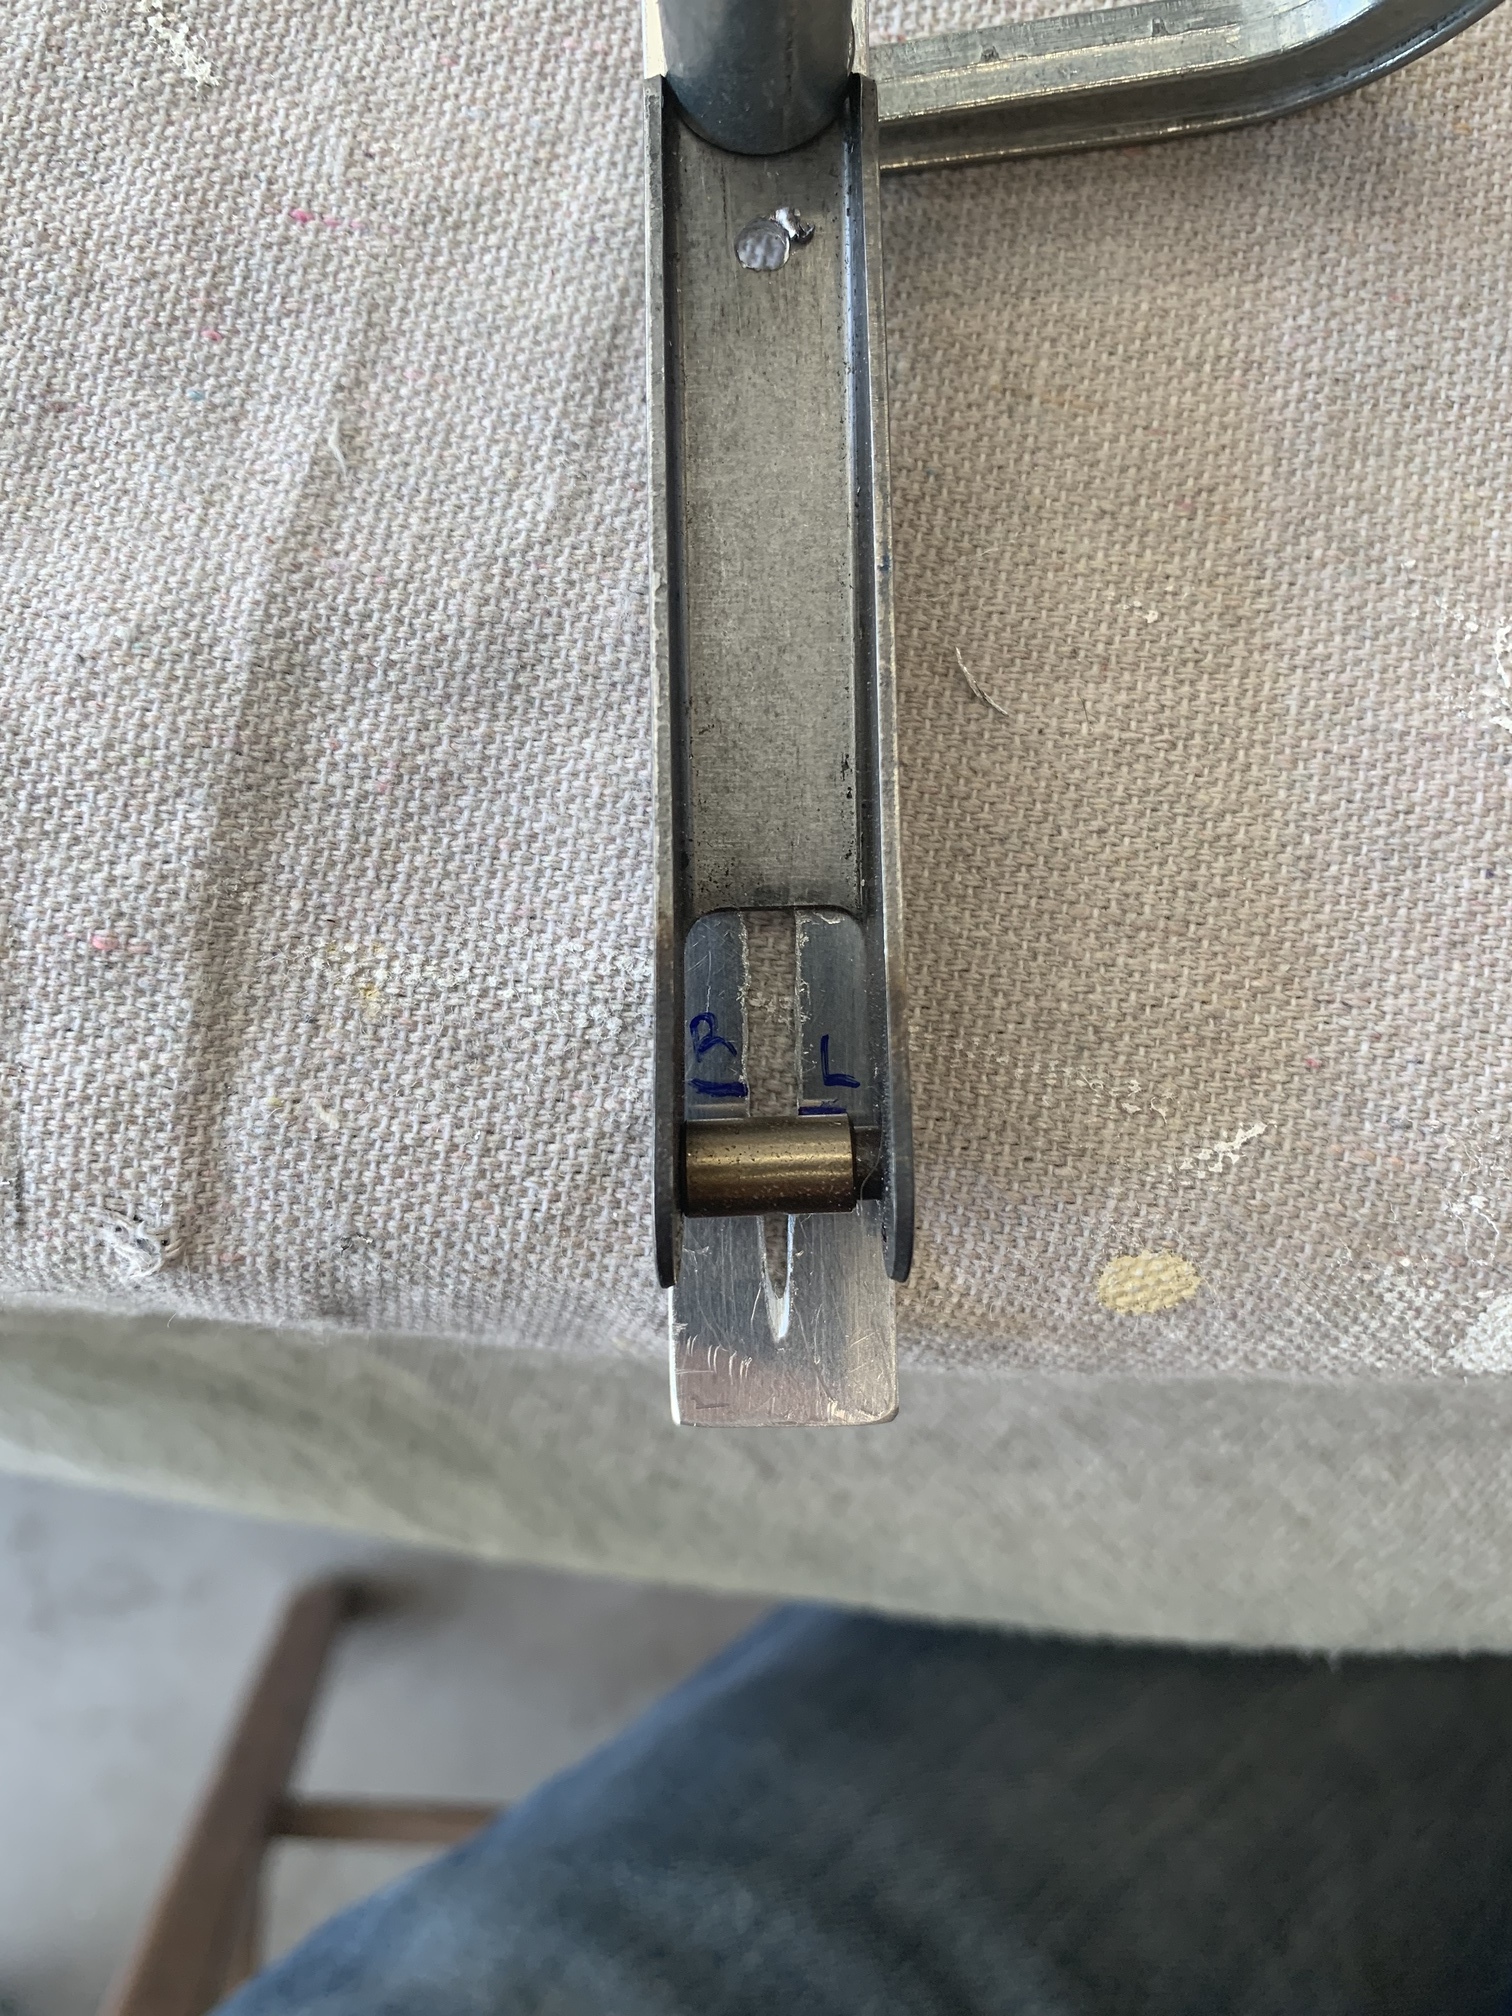
I tried it, but felt like it was imprecise, because you can't rotate the latch to the fully closed position. So, I cut a slot in the scrap for the latch.
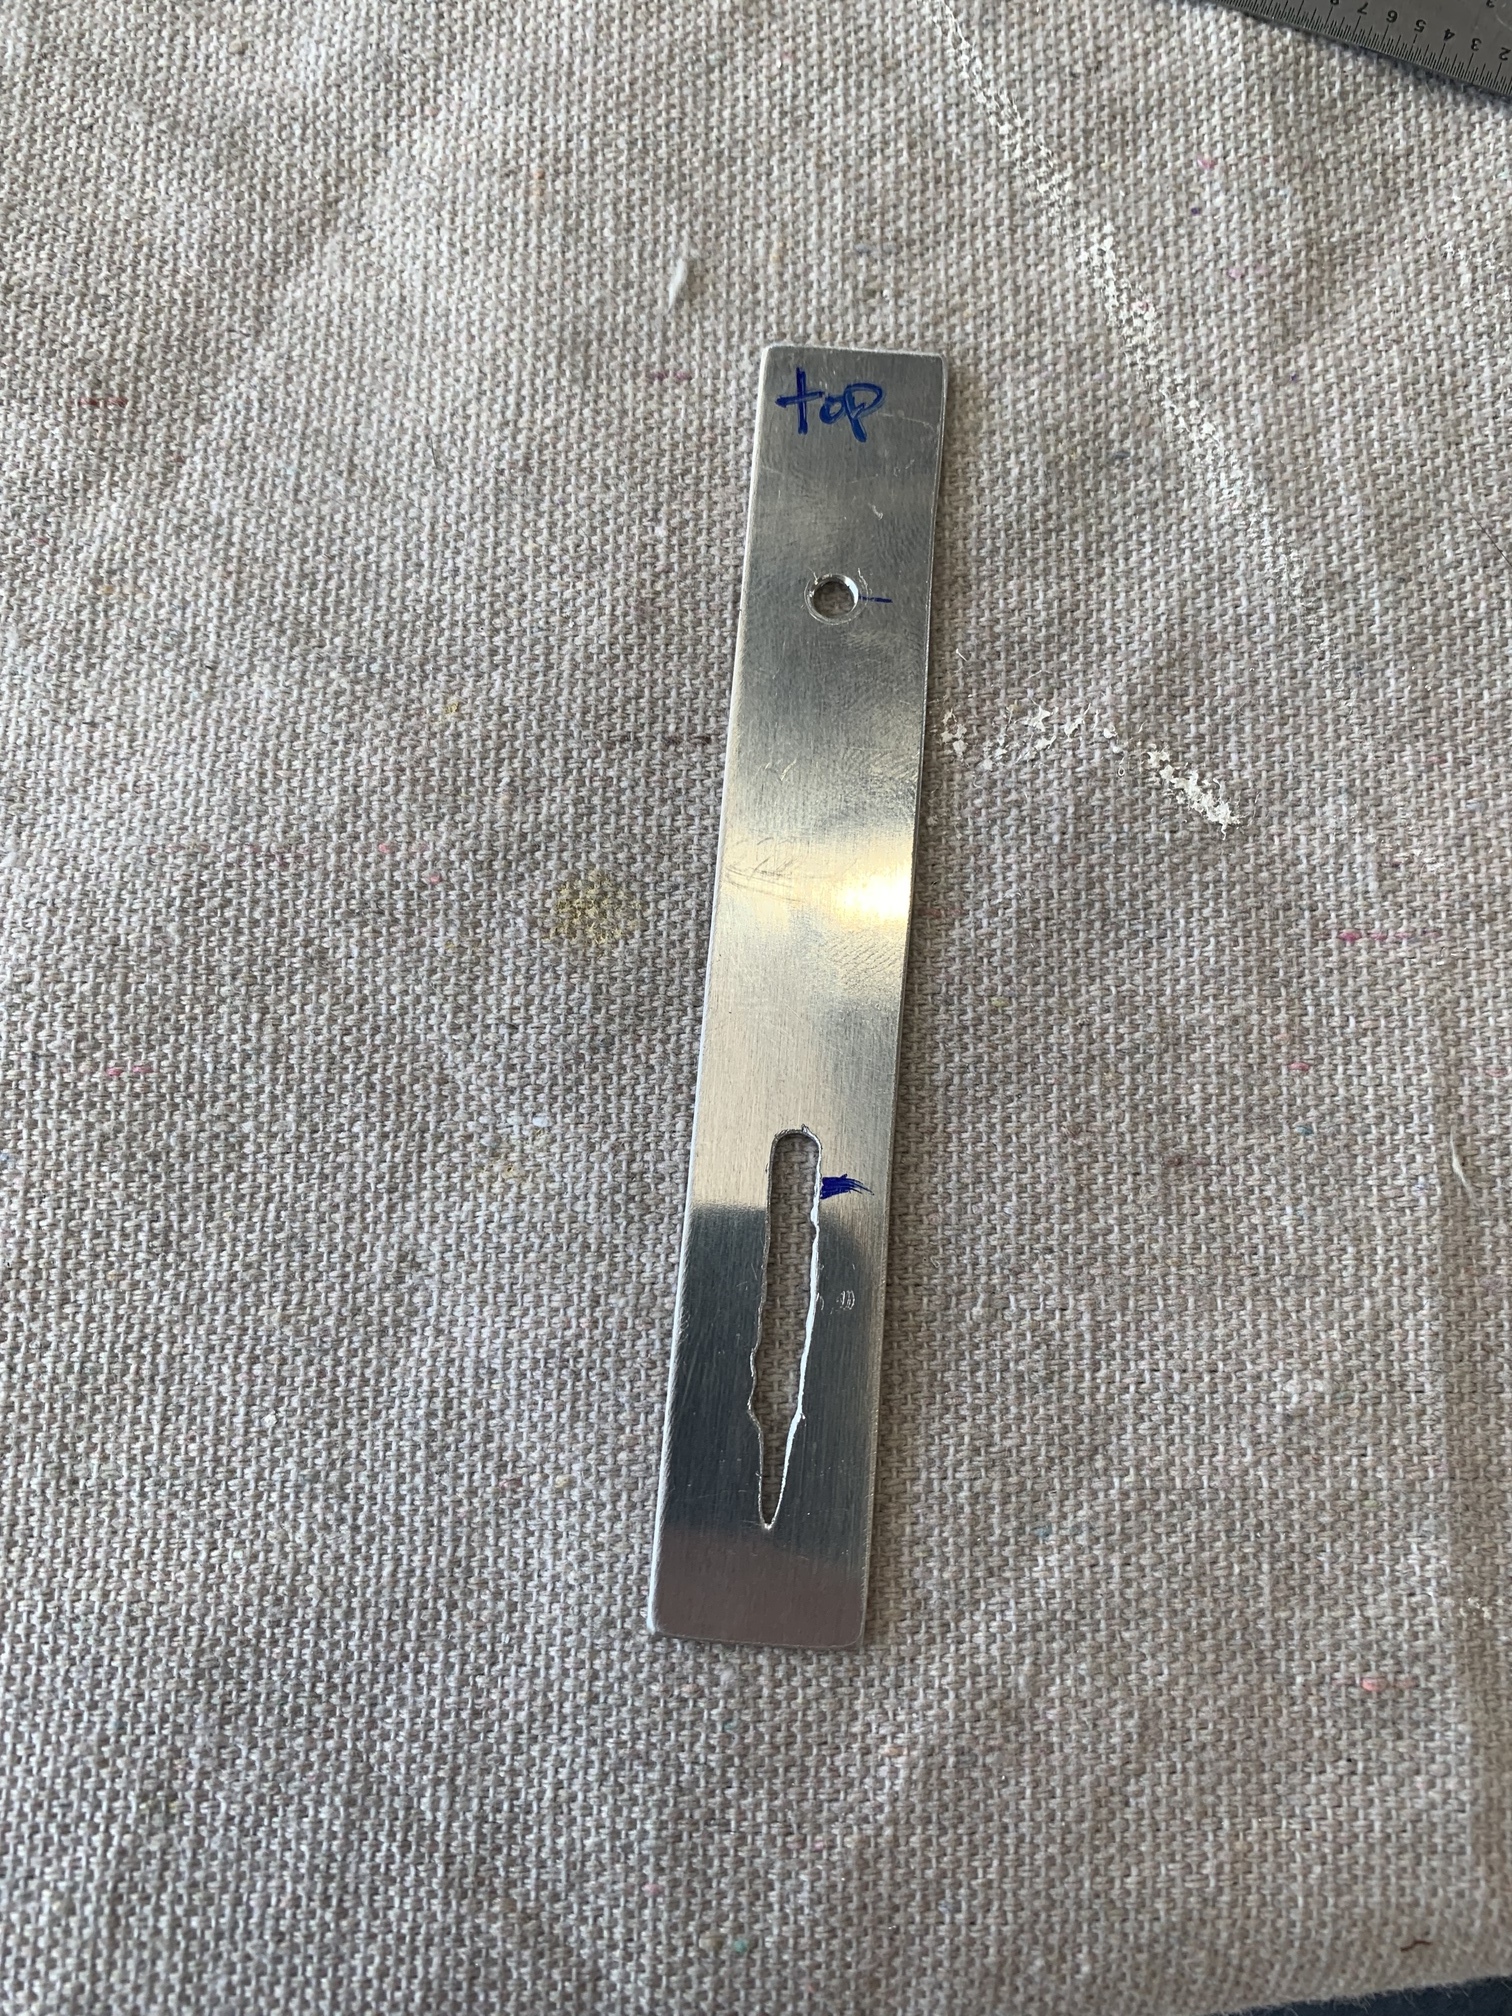
Like this...

...and this.
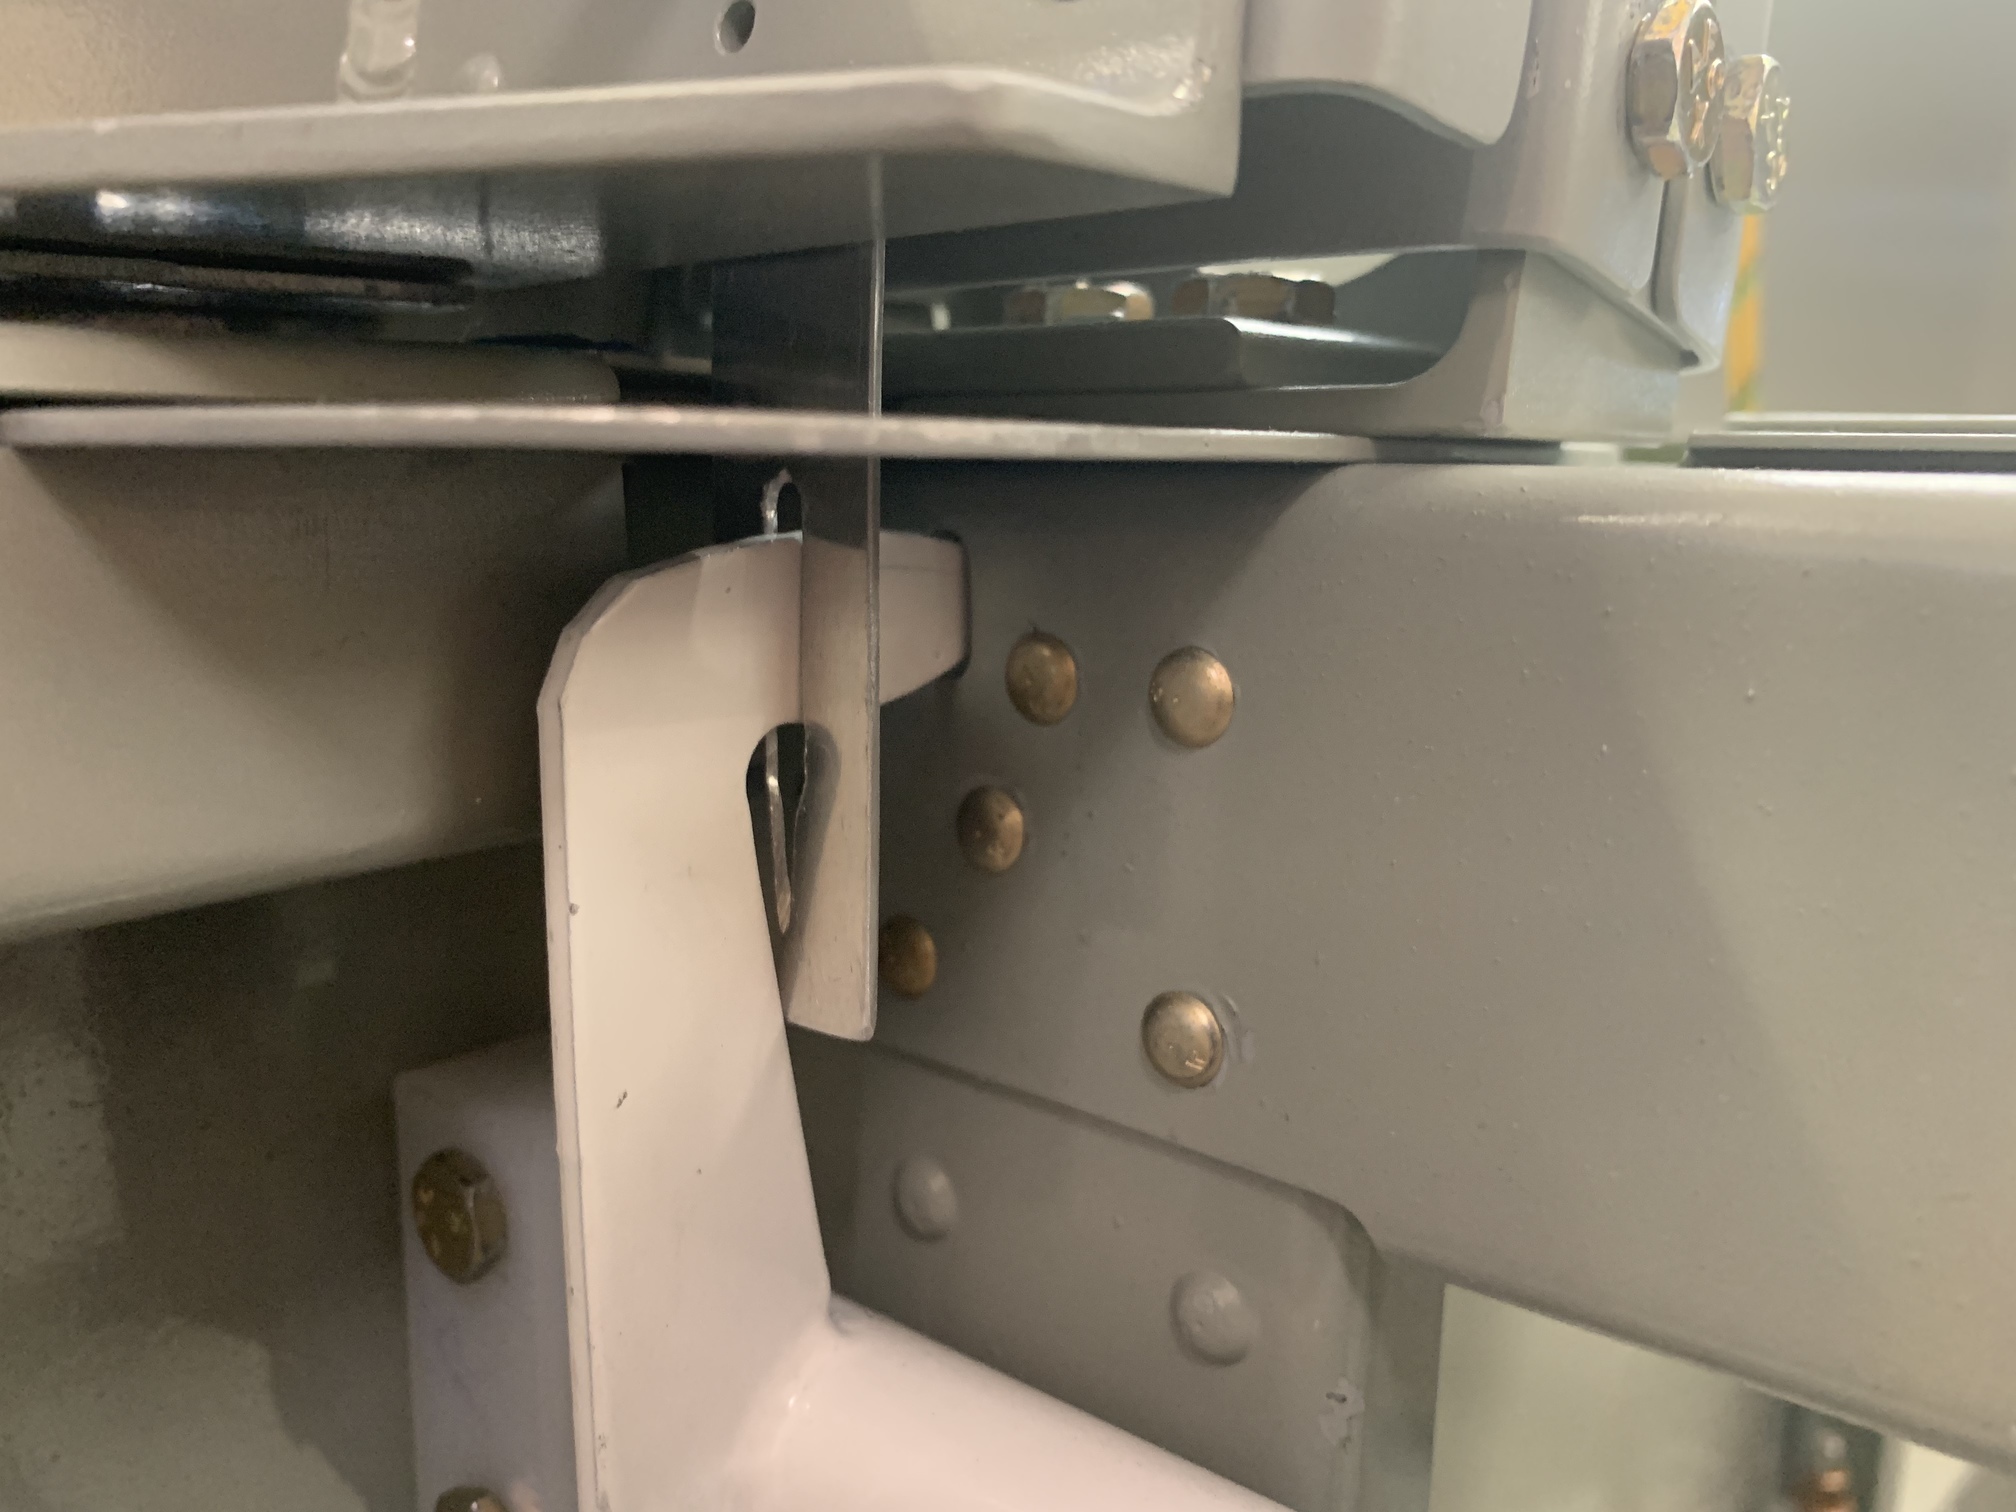
In this way I marked exactly where the latch positioned once closed on each side, relative to the hole in the frame.
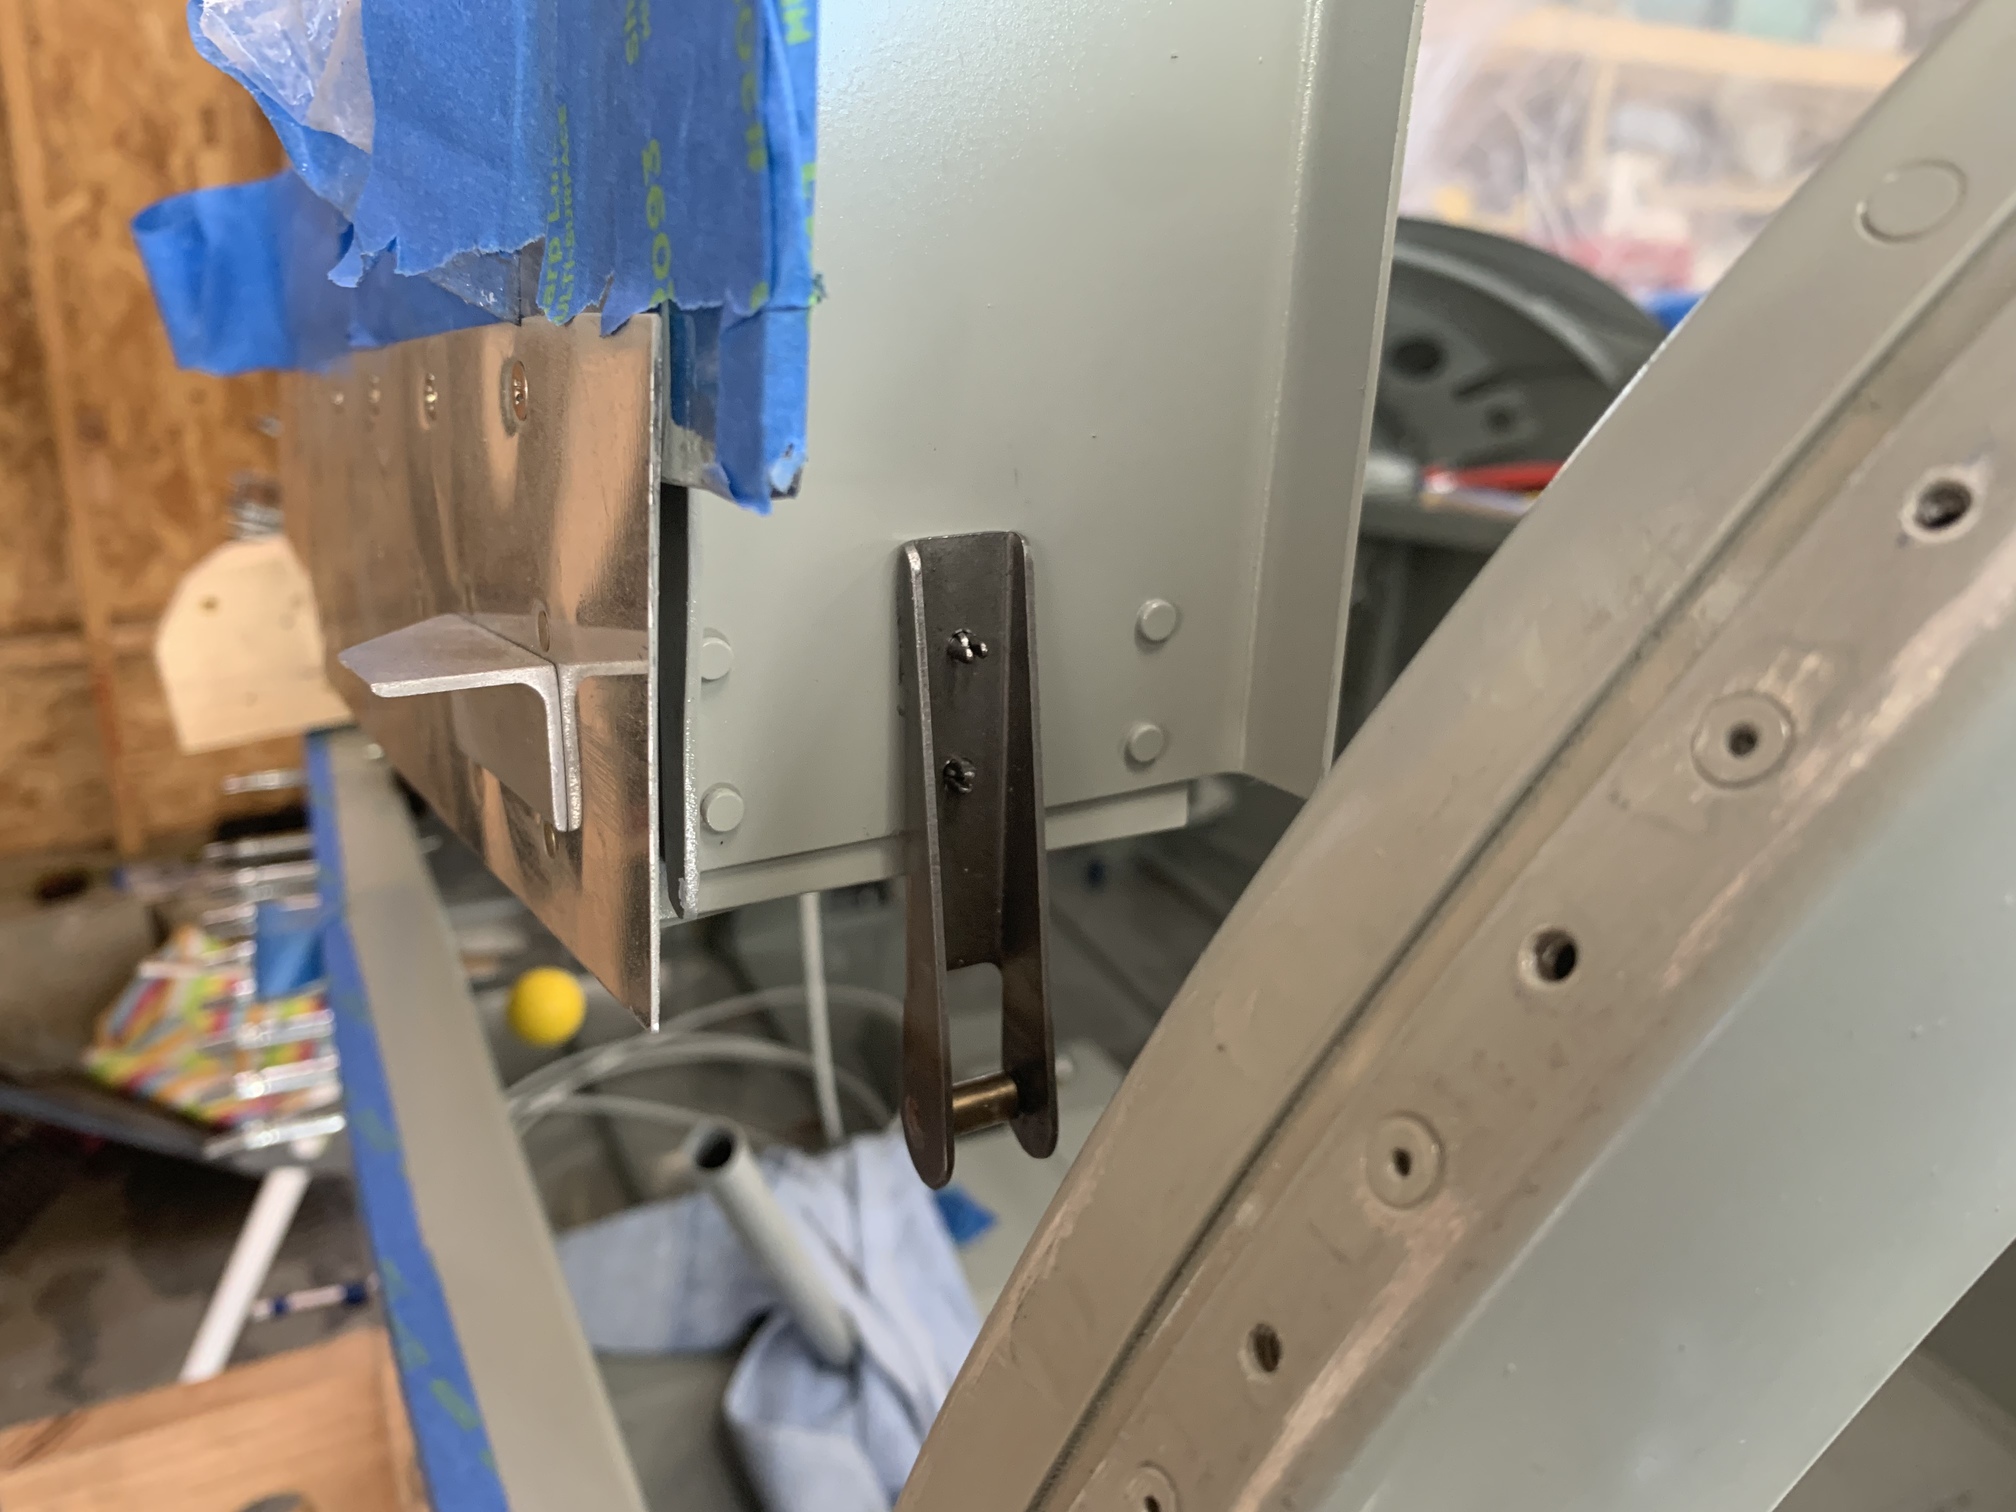
I then used this to drill a hole in the bracket the appropriate distance from the top of the lug.
This worked perfectly.
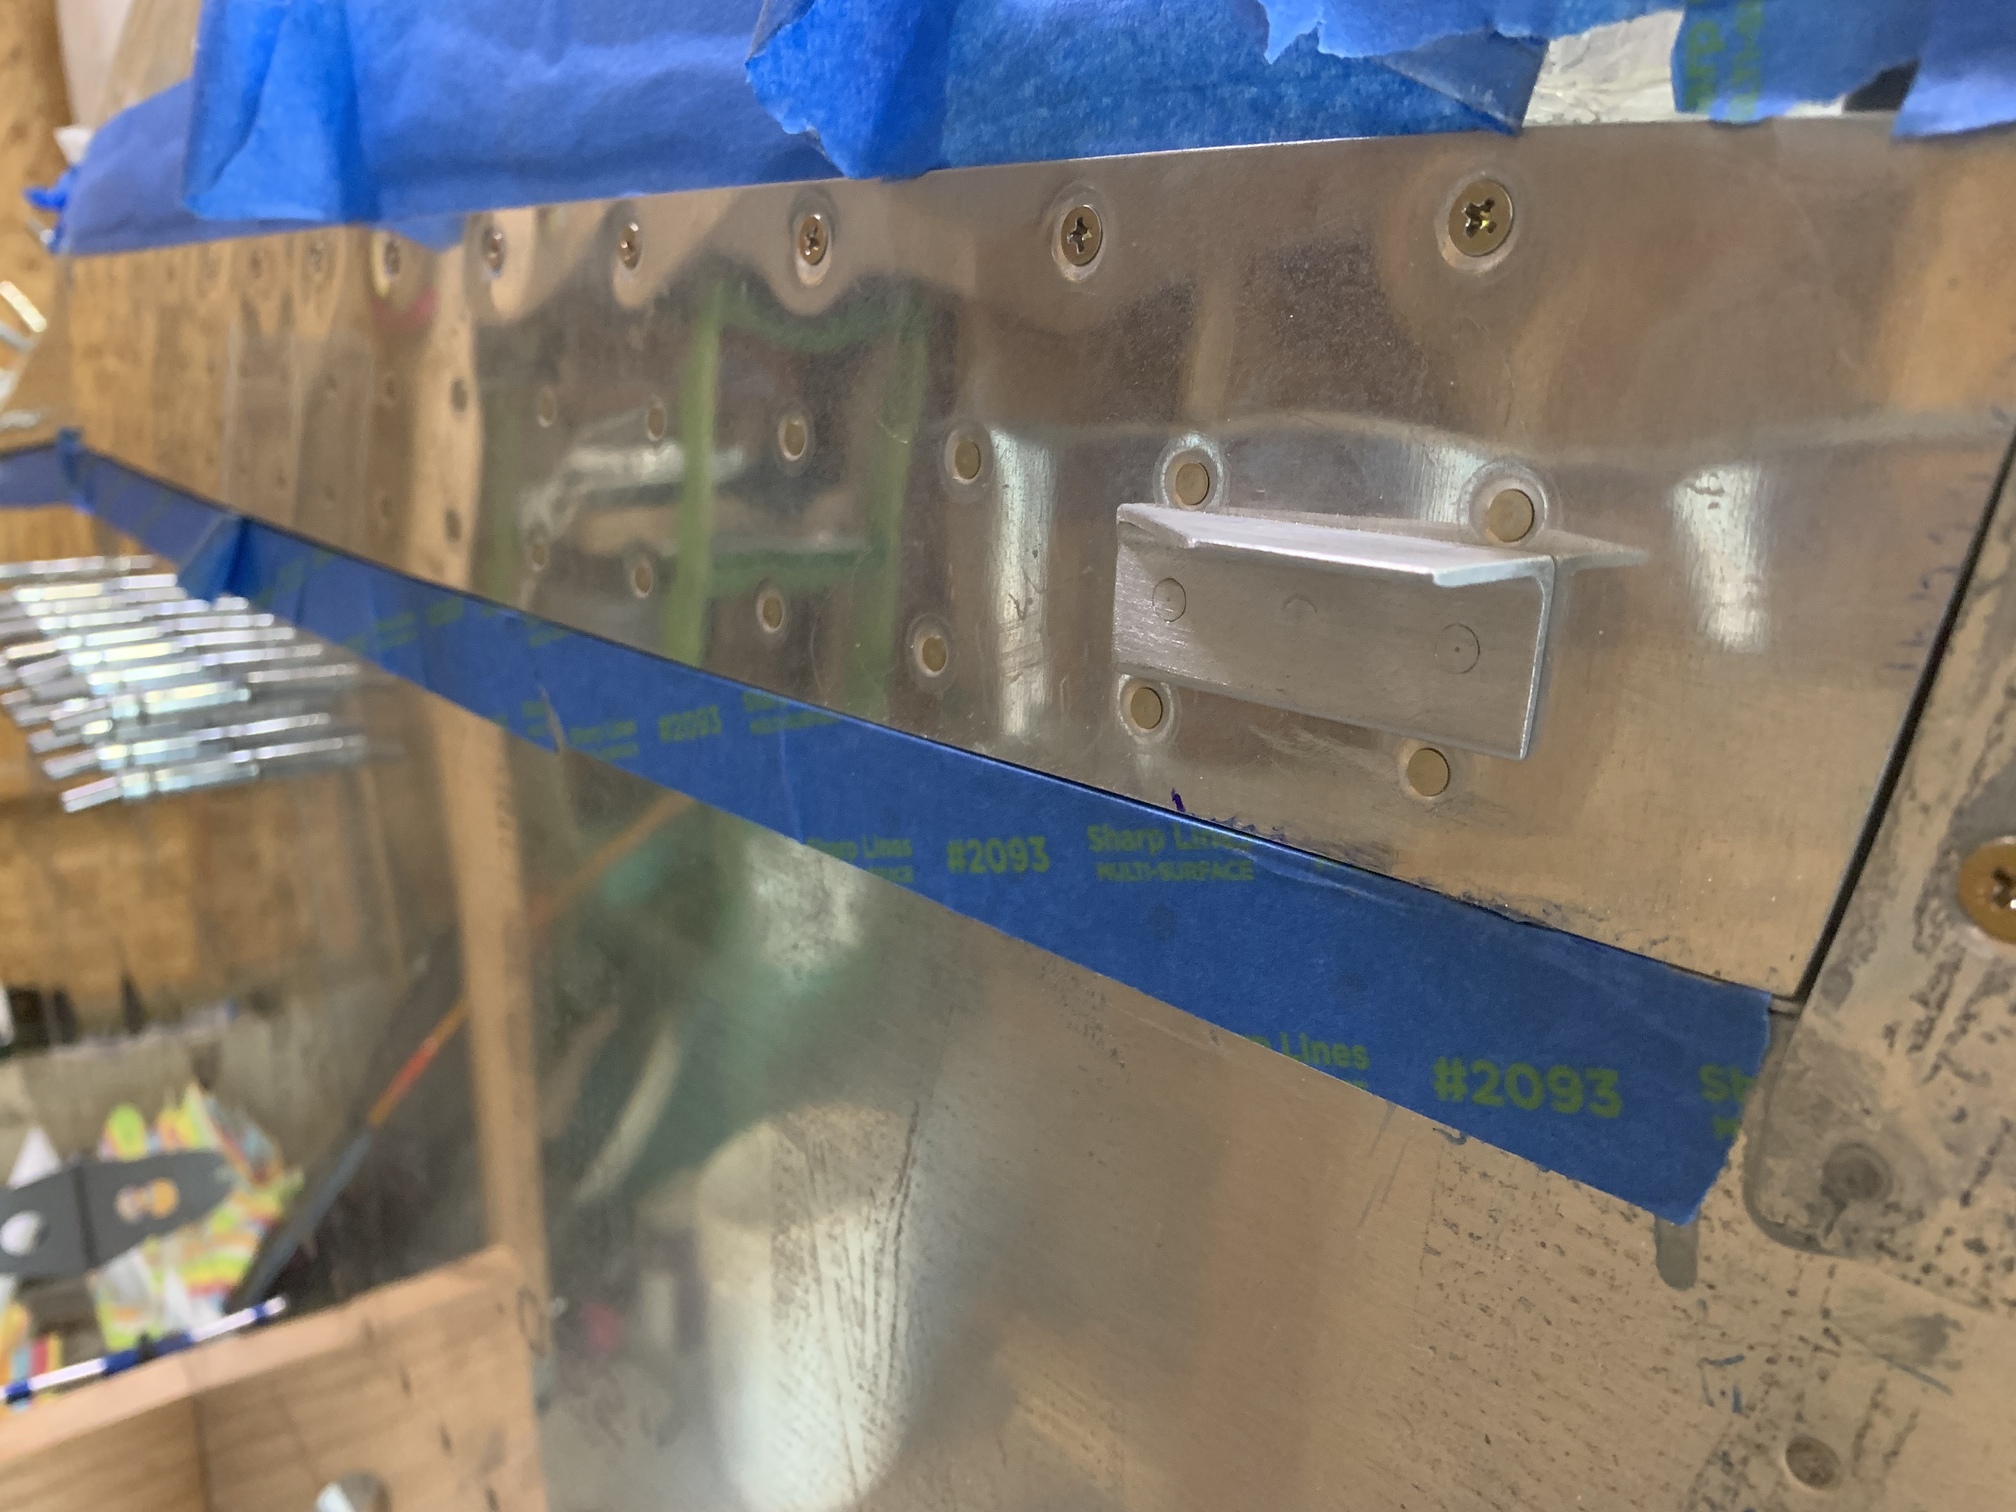
Got both latch lugs drilled.
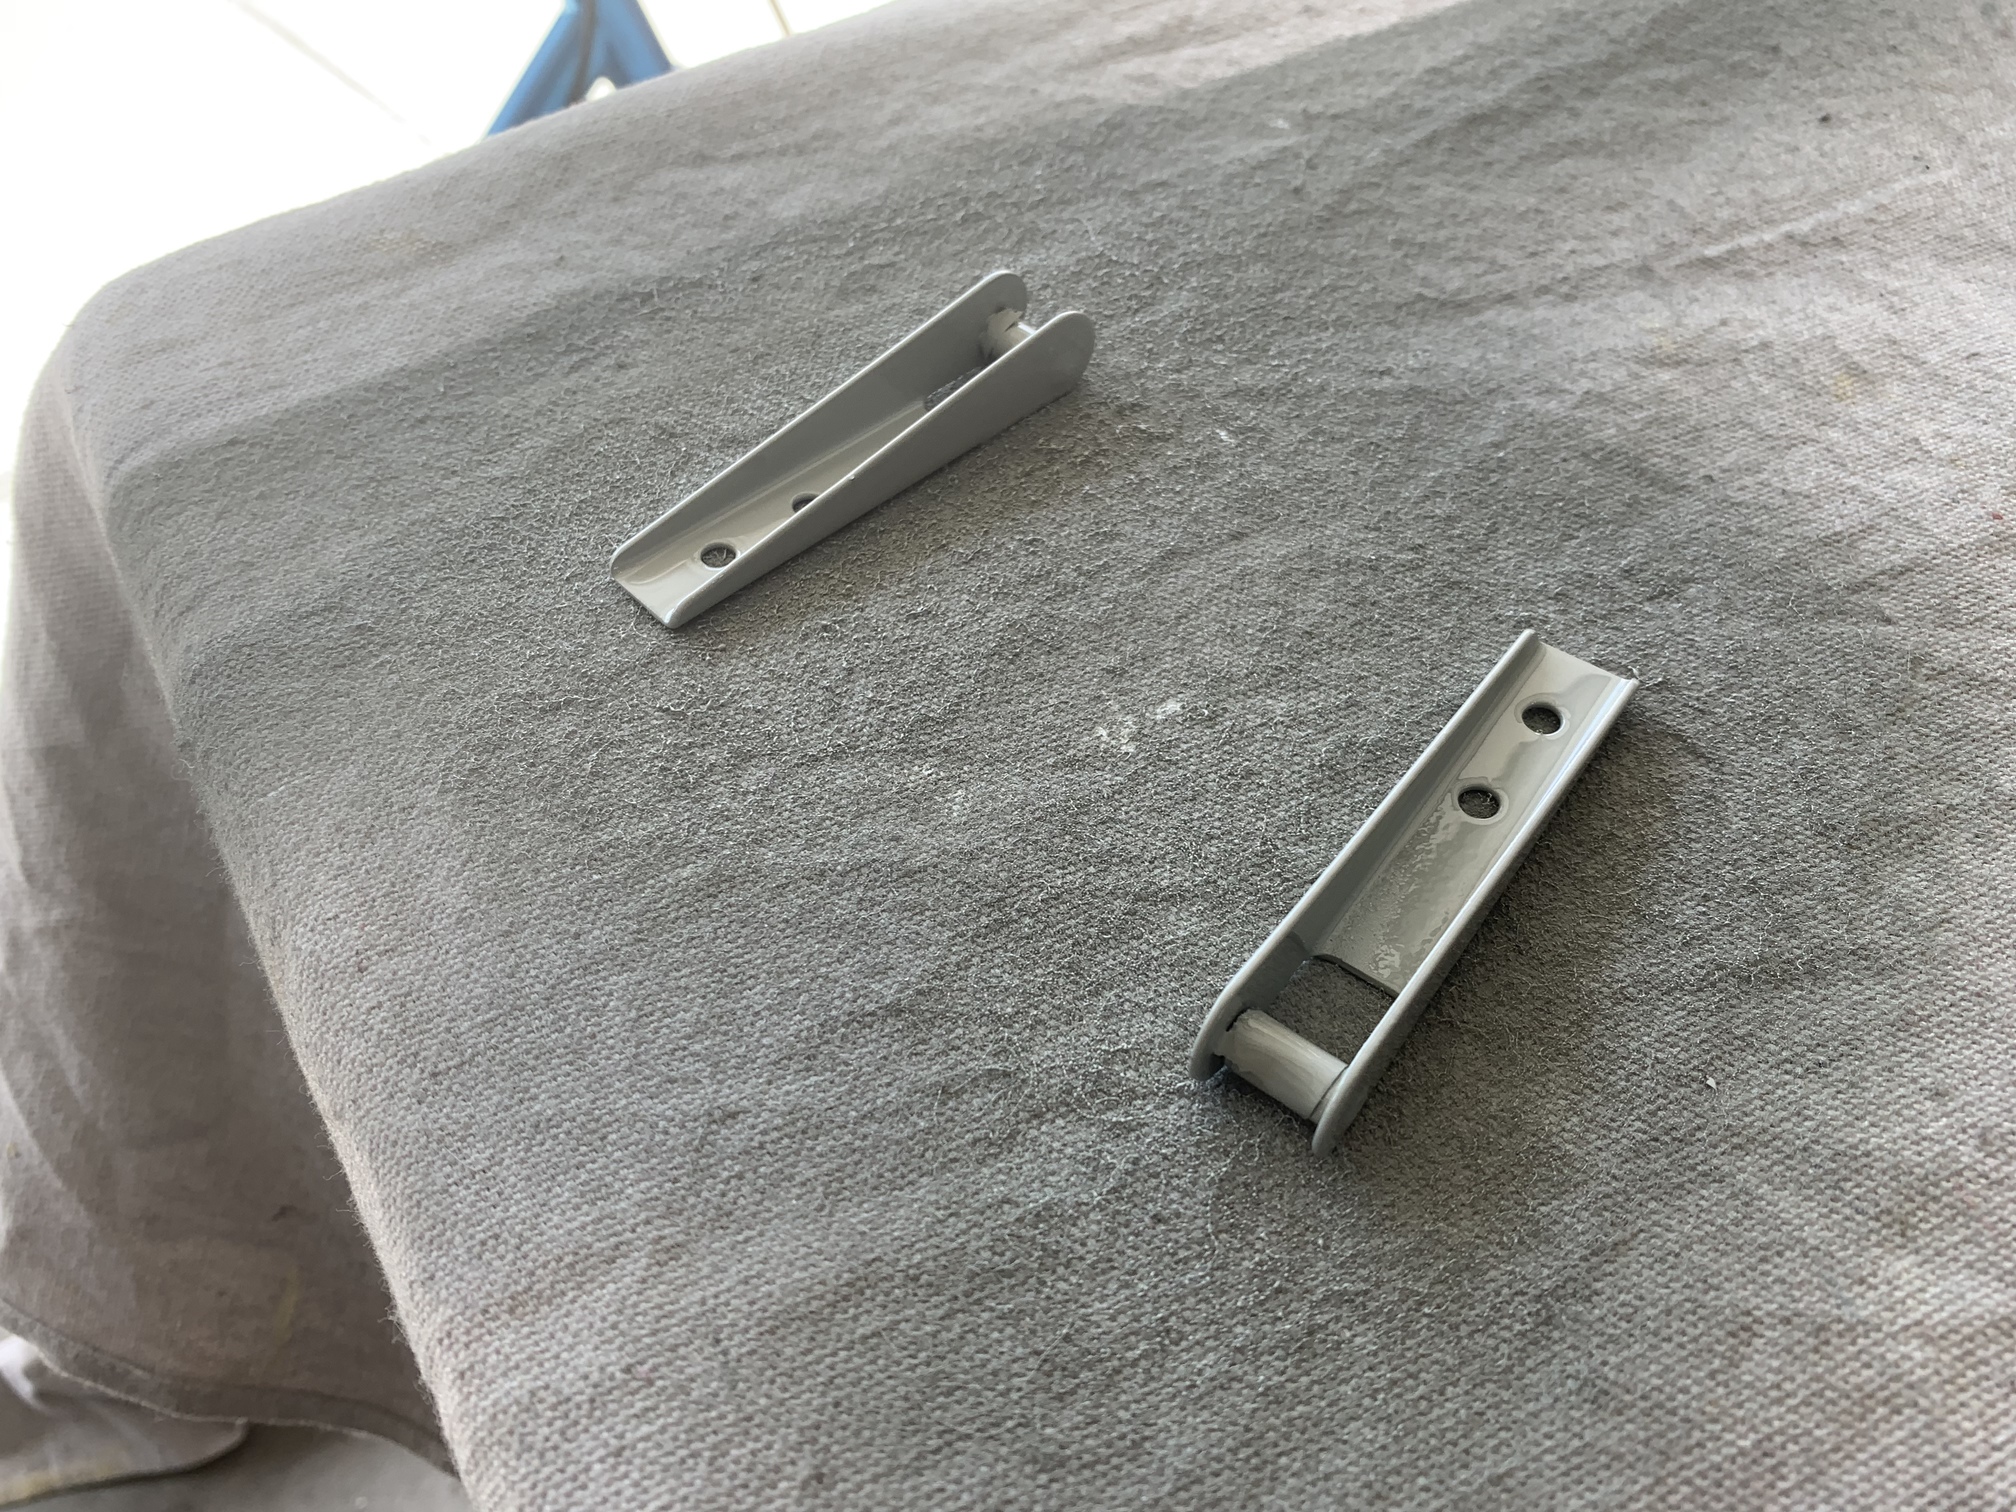
Then I primed and painted them.
While I waited for those to dry, I worked on the canopy handle. I match drilled the plastic block from the C-704 splice plate and then countersunk them for the screws. I still need to drill the top of the handle weldment and install a cotter pin.
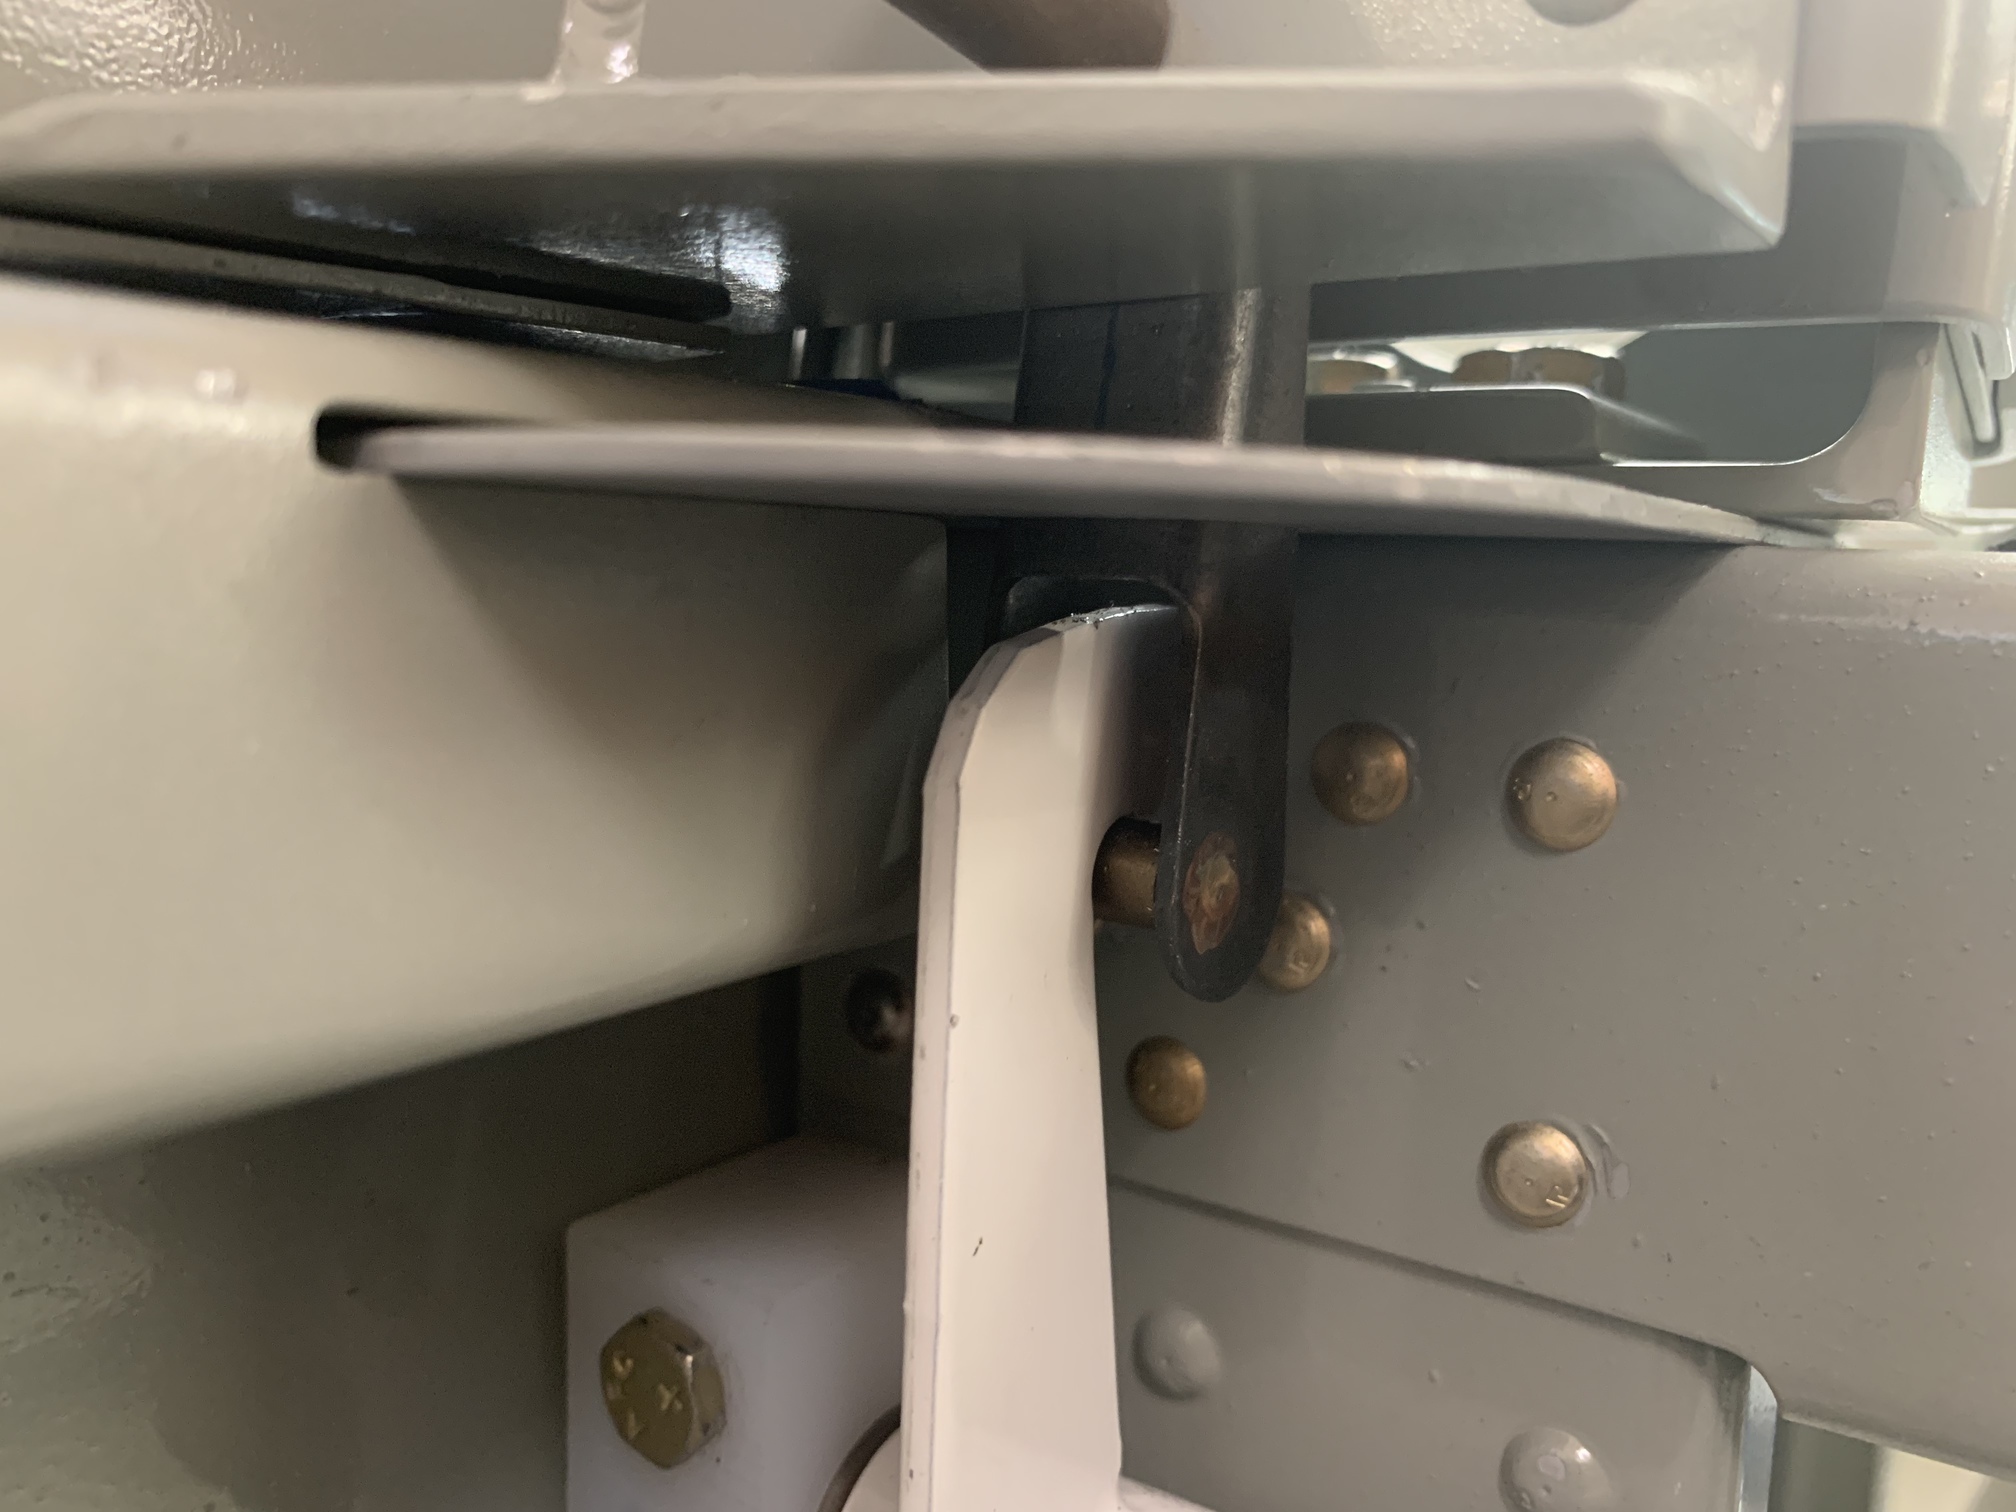
Once the latch lugs were dry, I cleco'd them back to the frame and installed these plastic guide blocks that I got from Buller Enterprises, Inc. They work really well to guide the lugs down into the latch hole.
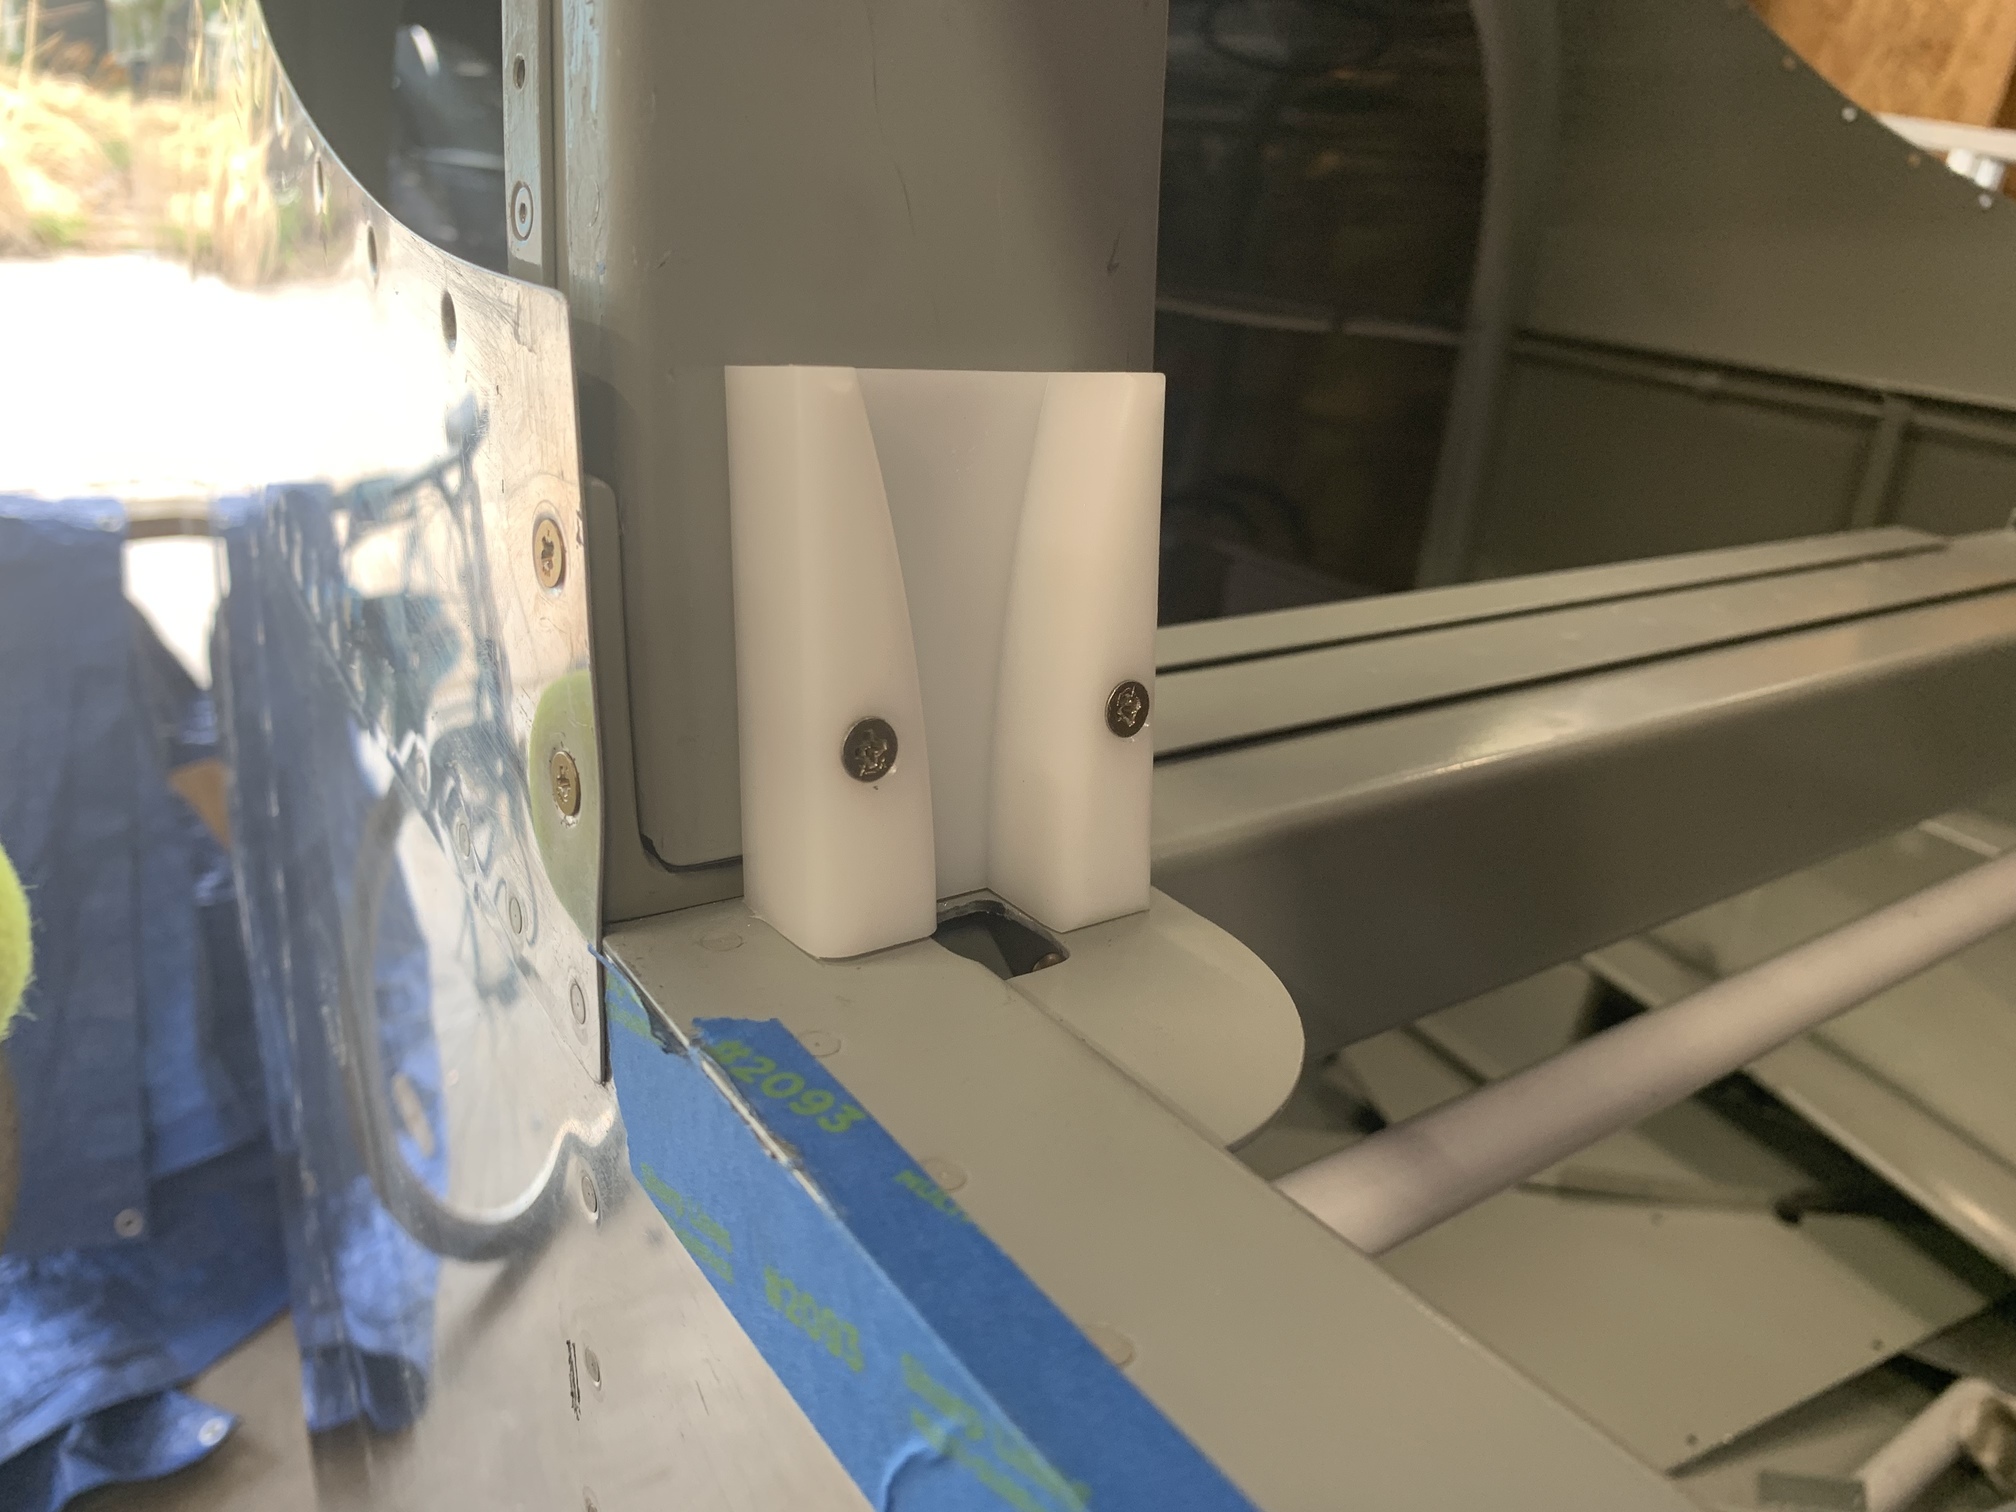
I spent quite a while tweaking the fit and making sure the latch mechanism operated smoothly. I mounted the guide block on the left side a little bit inboard of its natural position to help push the left side of the canopy inboard--it previously had a tendancy to sit a bit proud.
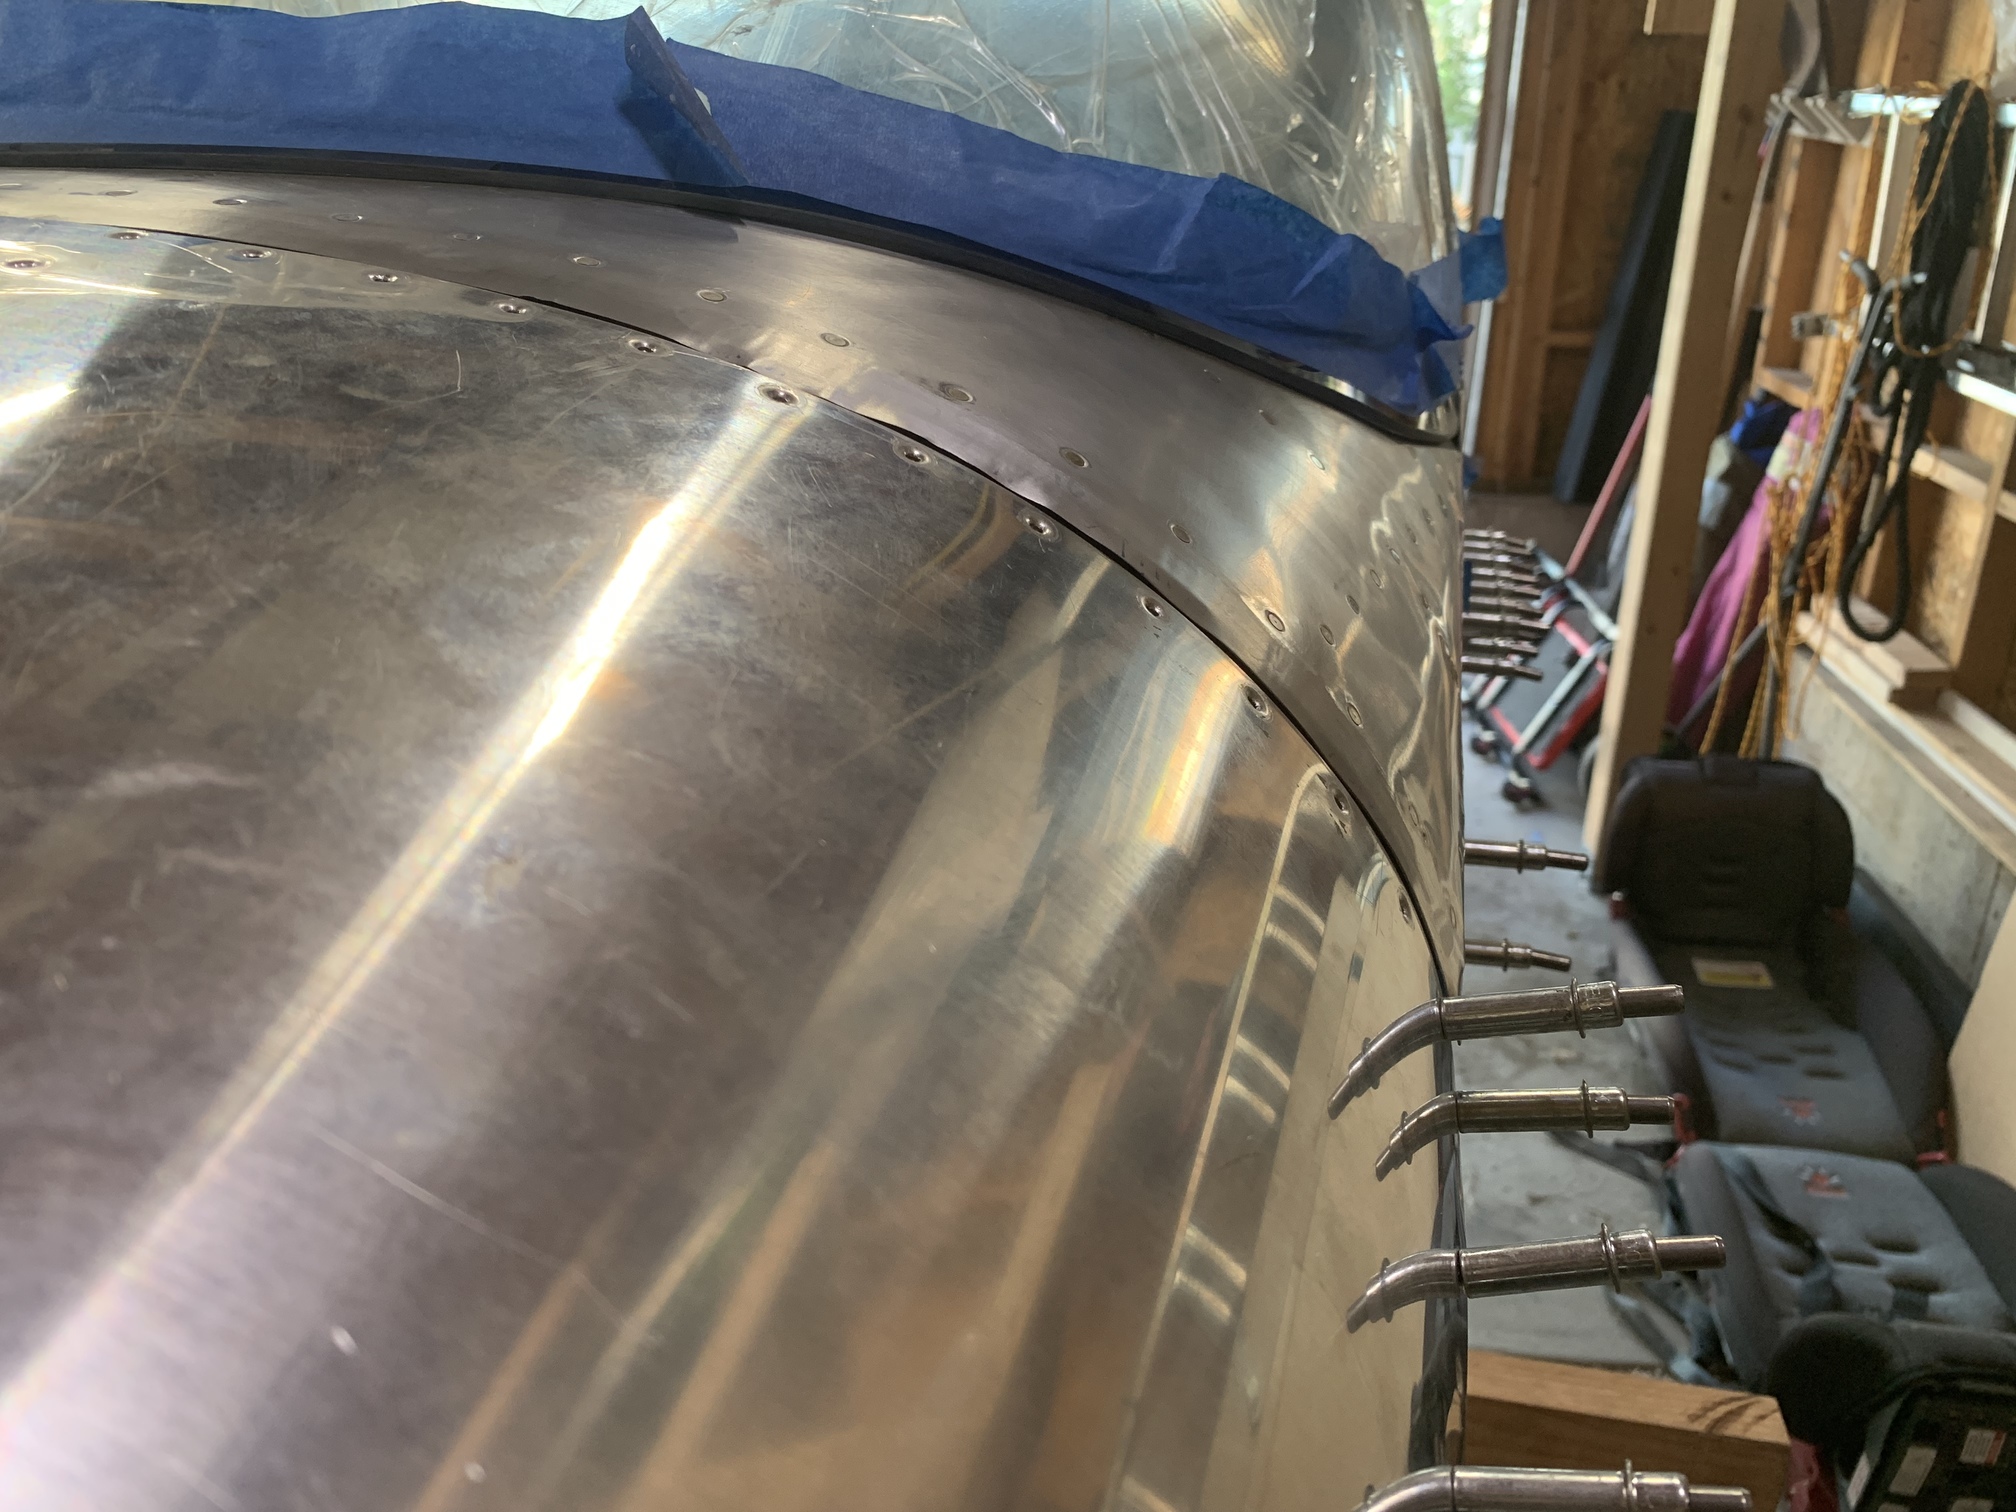
In the end, the fit is quite good on the sides between the canopy and the fuselage side skins. Not perfect, though. Each side has a little bit of a bow where it sticks out slightly beyond the fuselage. If I want to, I can add a little filler/fiberglass to the fuselage side to match the canopy side. I'll wait to do this until the canopy is mounted for the last time and the front skin is riveted.
Here's the right side.

And the left side.
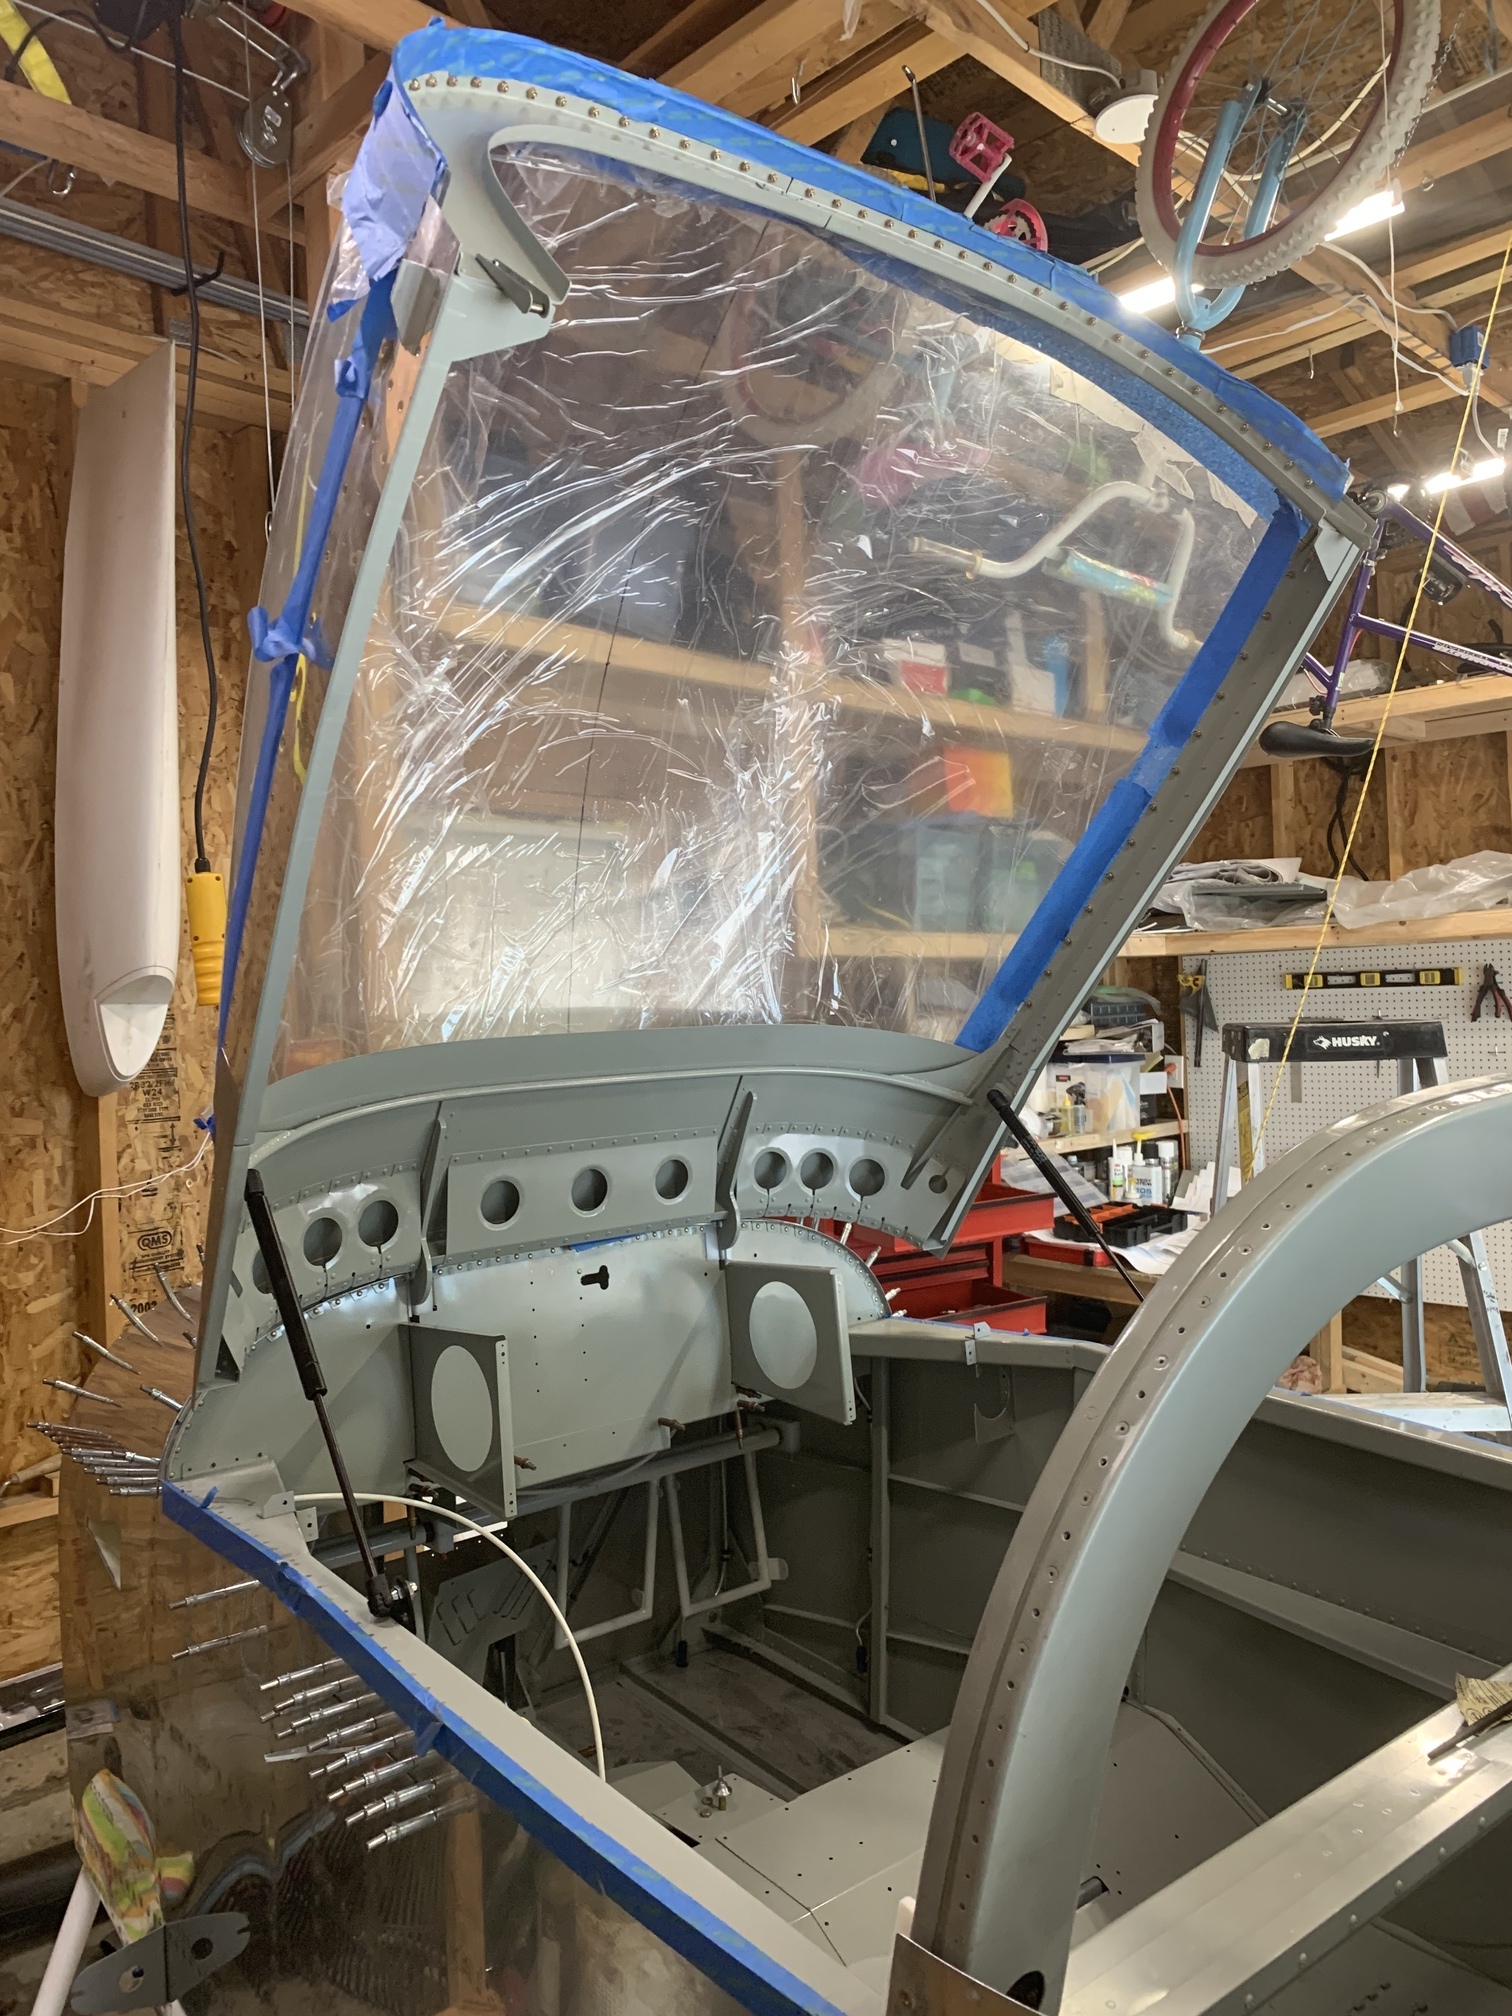
It's starting to look a little more like a plane.
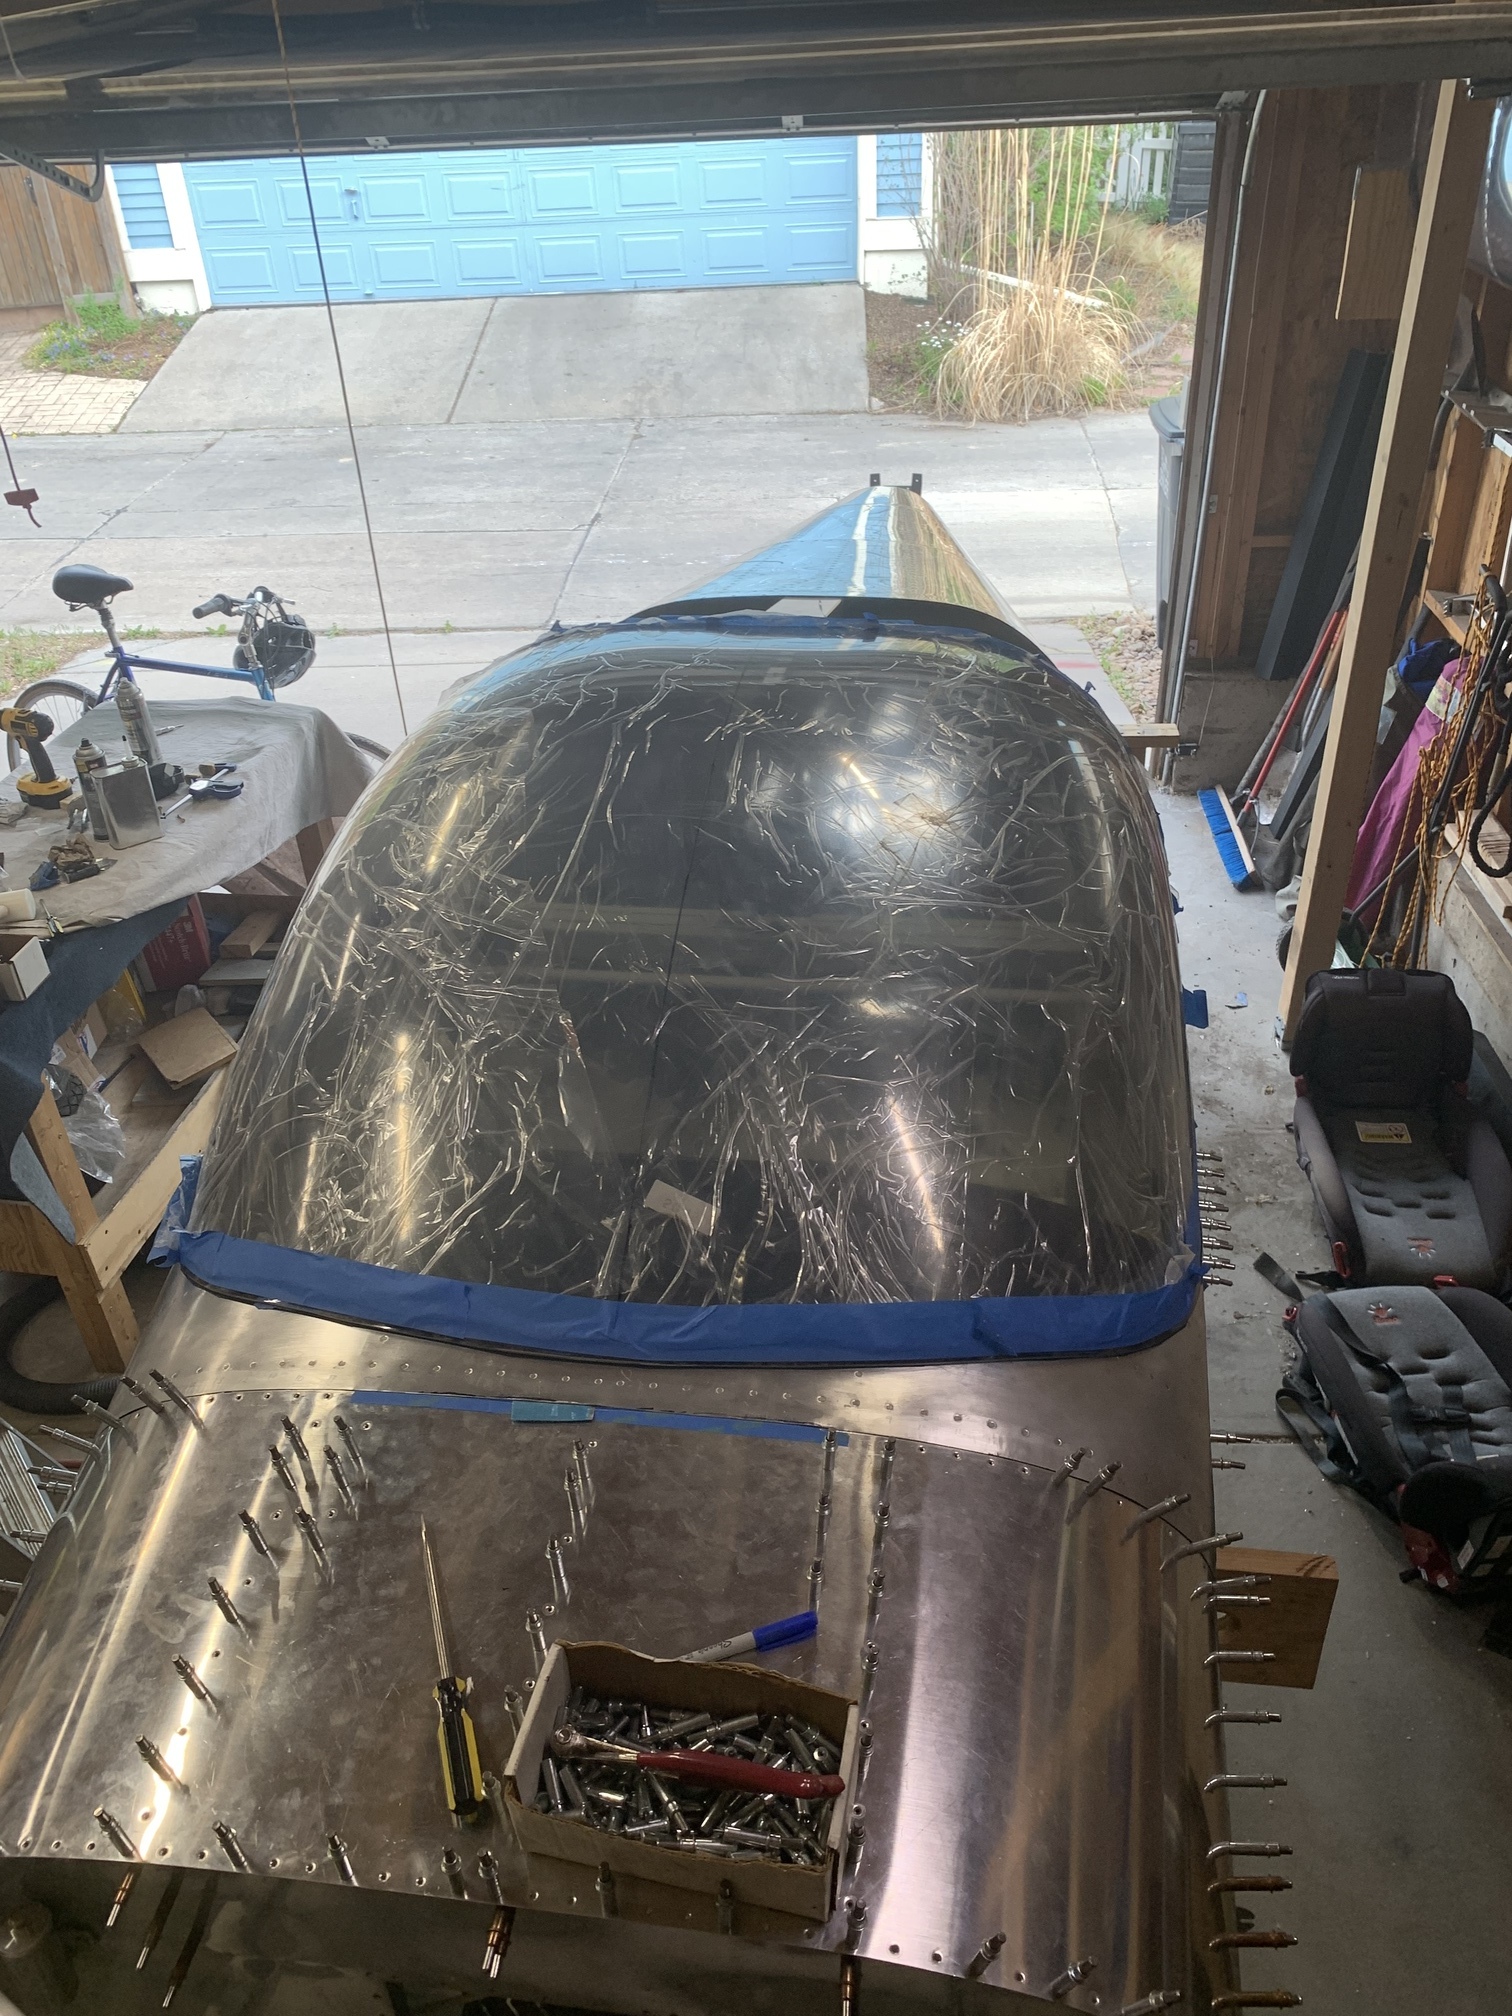
I reinstalled the gas struts to see what they would do to the fit. It turns out that they don't really change anything on the sides as long as the front skin is installed. That is good news.
Unfortunately, the canopy skin is still catching on a few areas on the front skin when I open the canopy. I did some more filing to try and fix this. It's only really catching in the places where I can't cleco the skin down, so it has a tendency to float up a little bit. It should hopefully improve once the front skin is riveted in place.
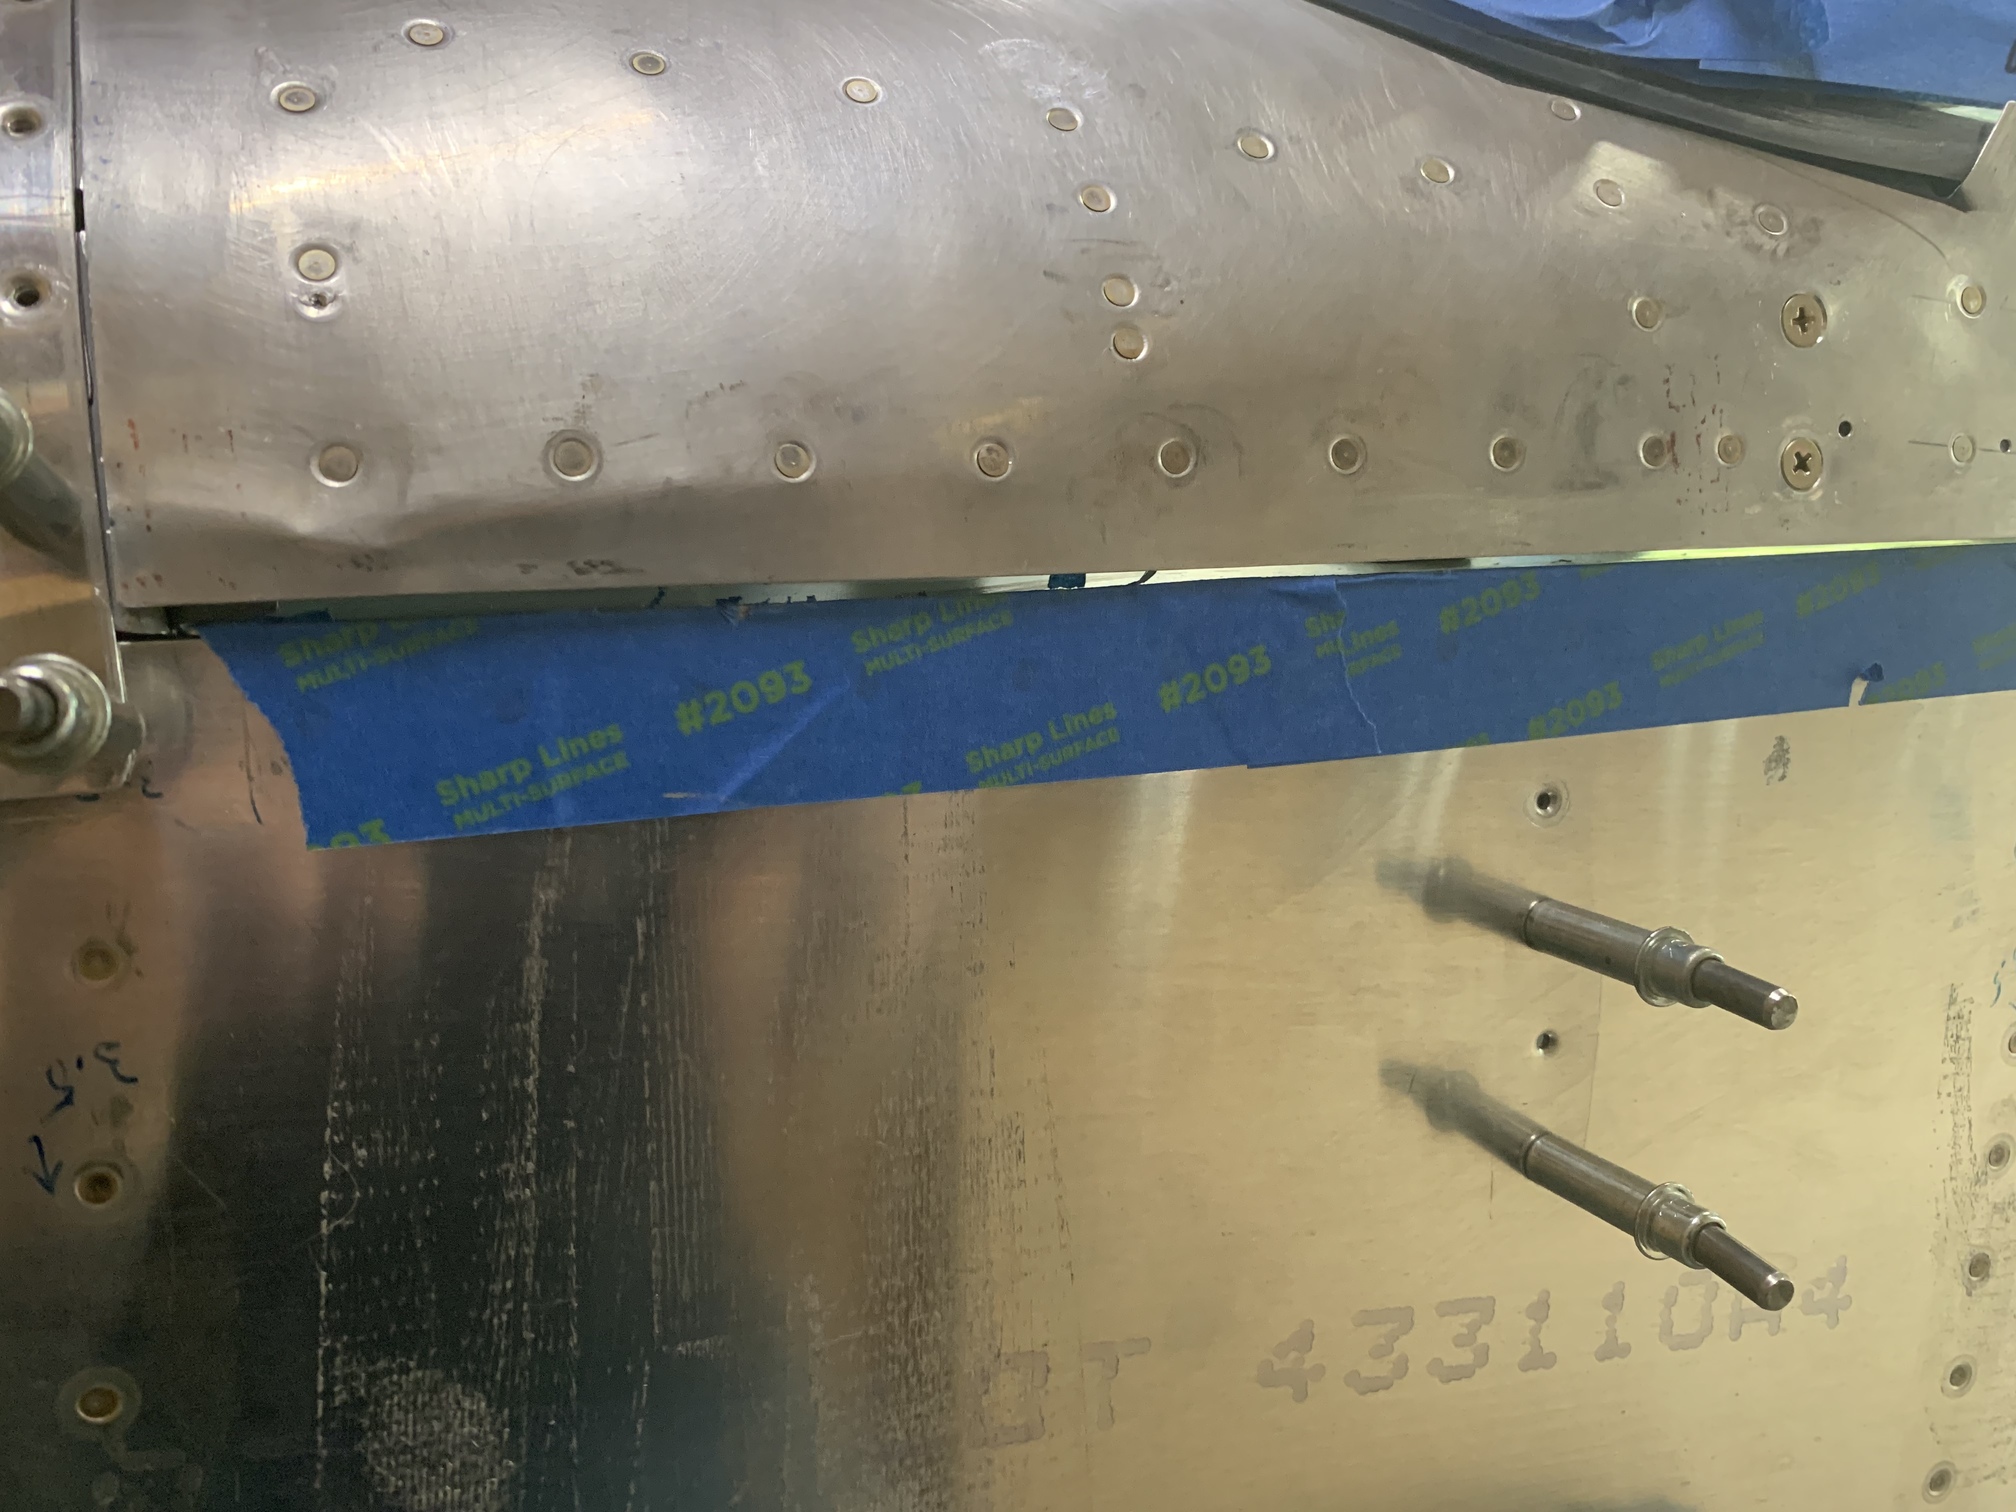
The curve of the front canopy skin is a bit proud on the left side, still. I think the gas strut pushes it up a bit here, because I can manually push it down, but it doesn't stay. You may recall that I had put a spacer under the skin here to get a good match, but something has changed since then.
This is the biggest gap all around, the front left side. This could be fixed with some filler/fiberglass in the future.
It's really annoying that I've been able to get the fit so good everywhere except for the front left. The only real fix would be to weld and re-drill the hinge point on the left side, but I don't think I want to go to that trouble. In the end this is all cosmetic...
| Previous - Index - Next |
This work is licensed under Attribution-NonCommercial-NoDerivatives 4.0 International![]()
![]()
![]()
![]()