Log (By Day)
Log (By Category)
Pictures
Pics of Me Working
Links
| ||||||||||||
Sunday July 3, 2022
Empennage Fairing Work
(Empennage)
3.2 Hours
| Previous - Index - Next |
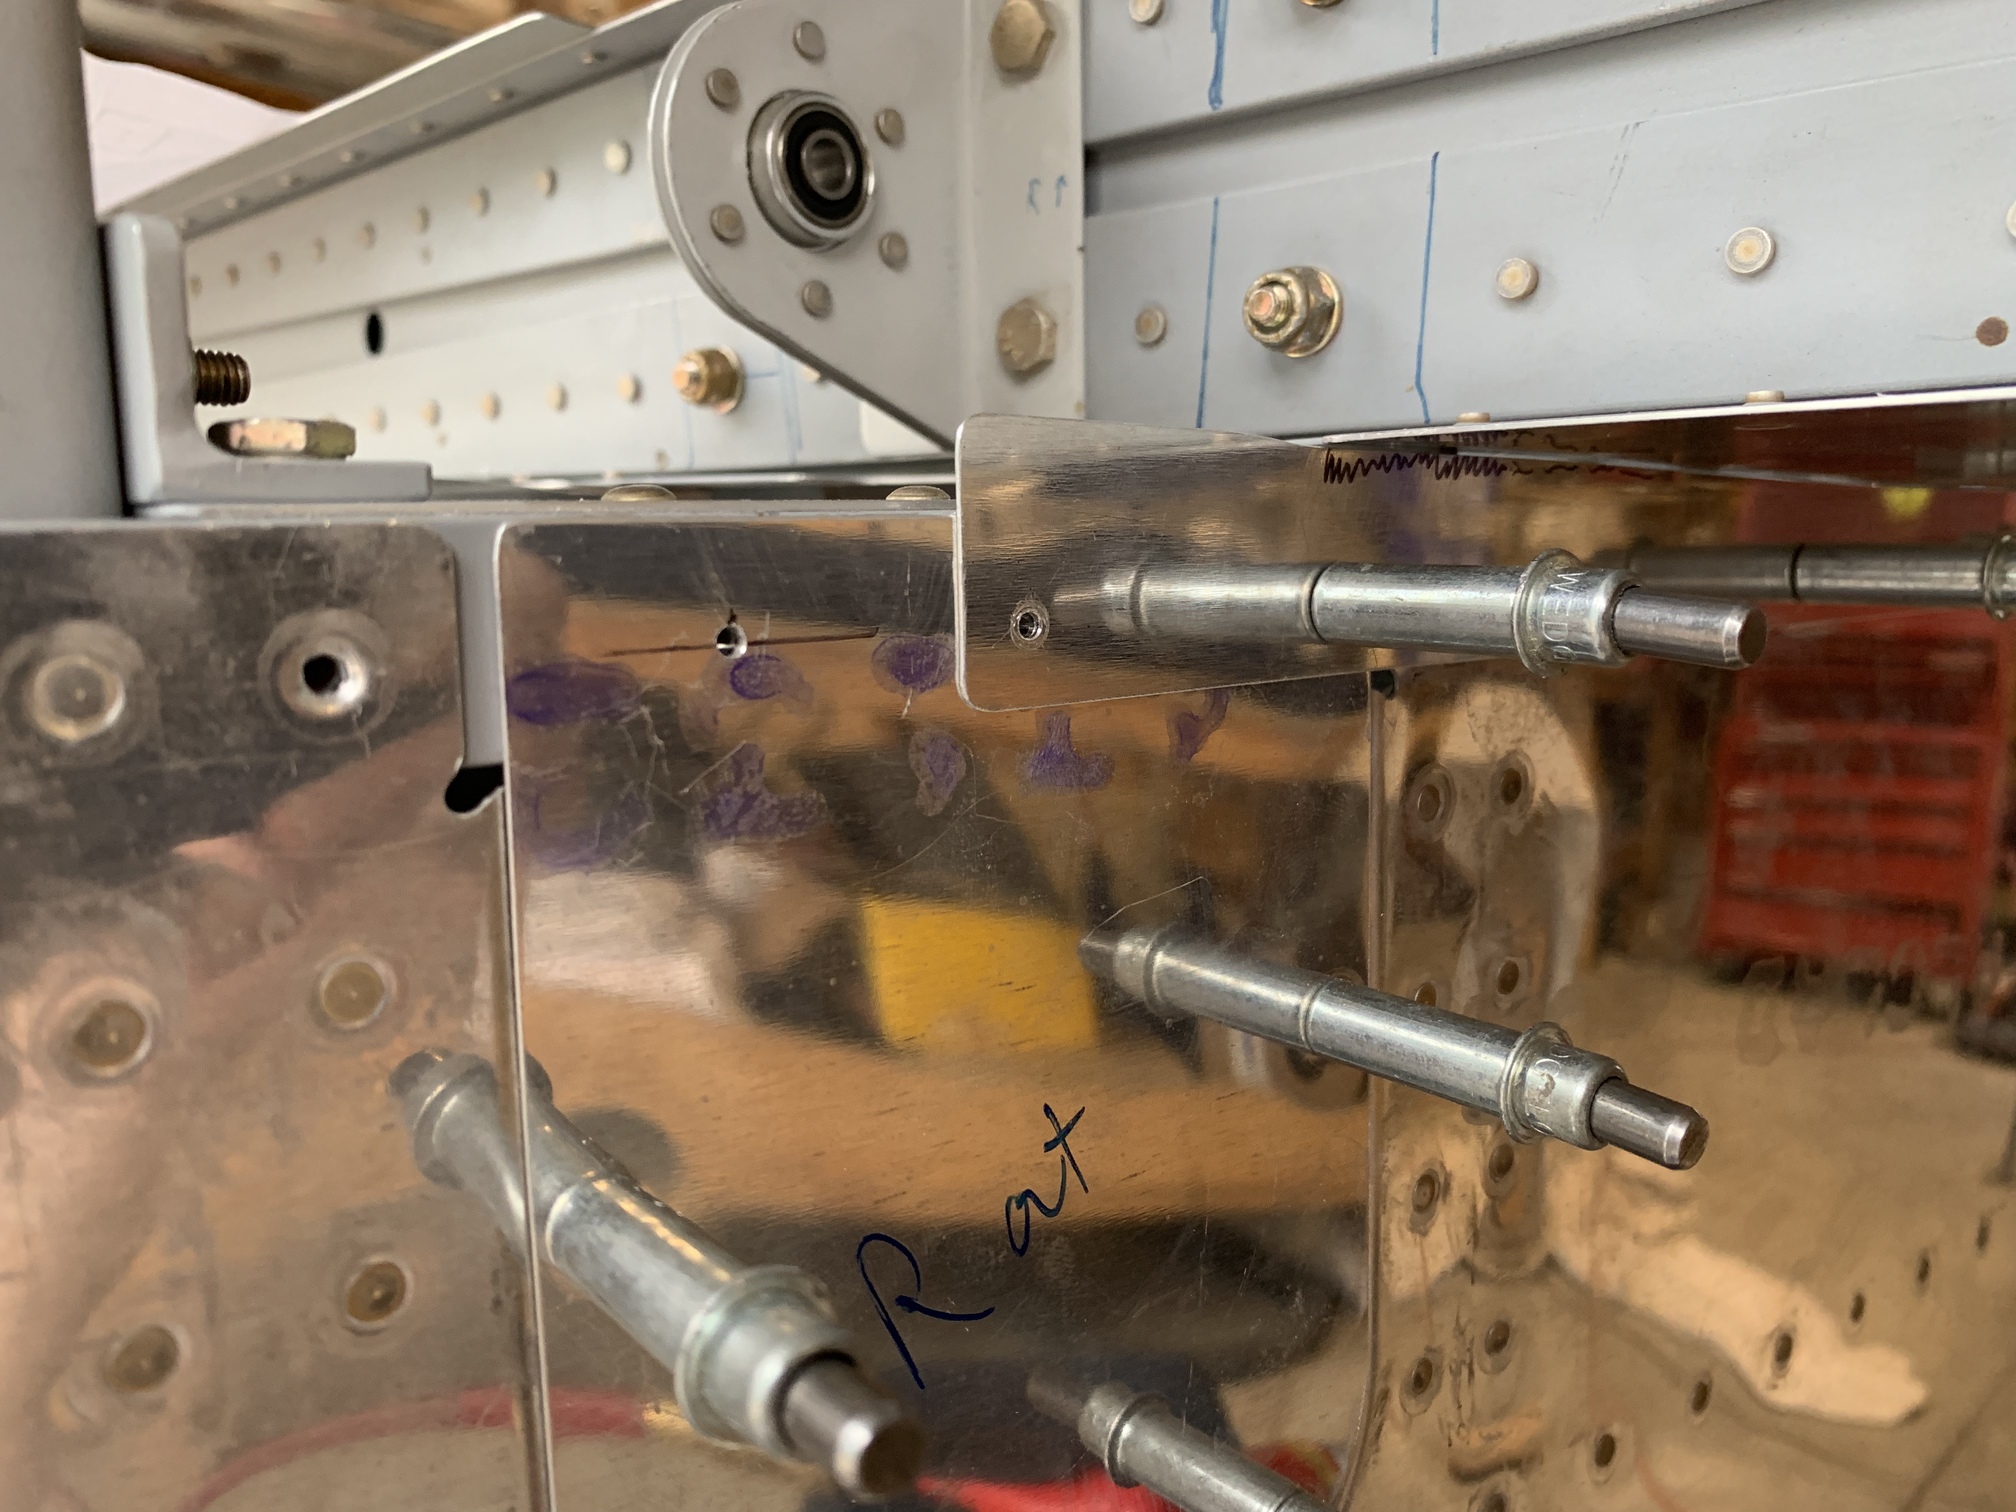
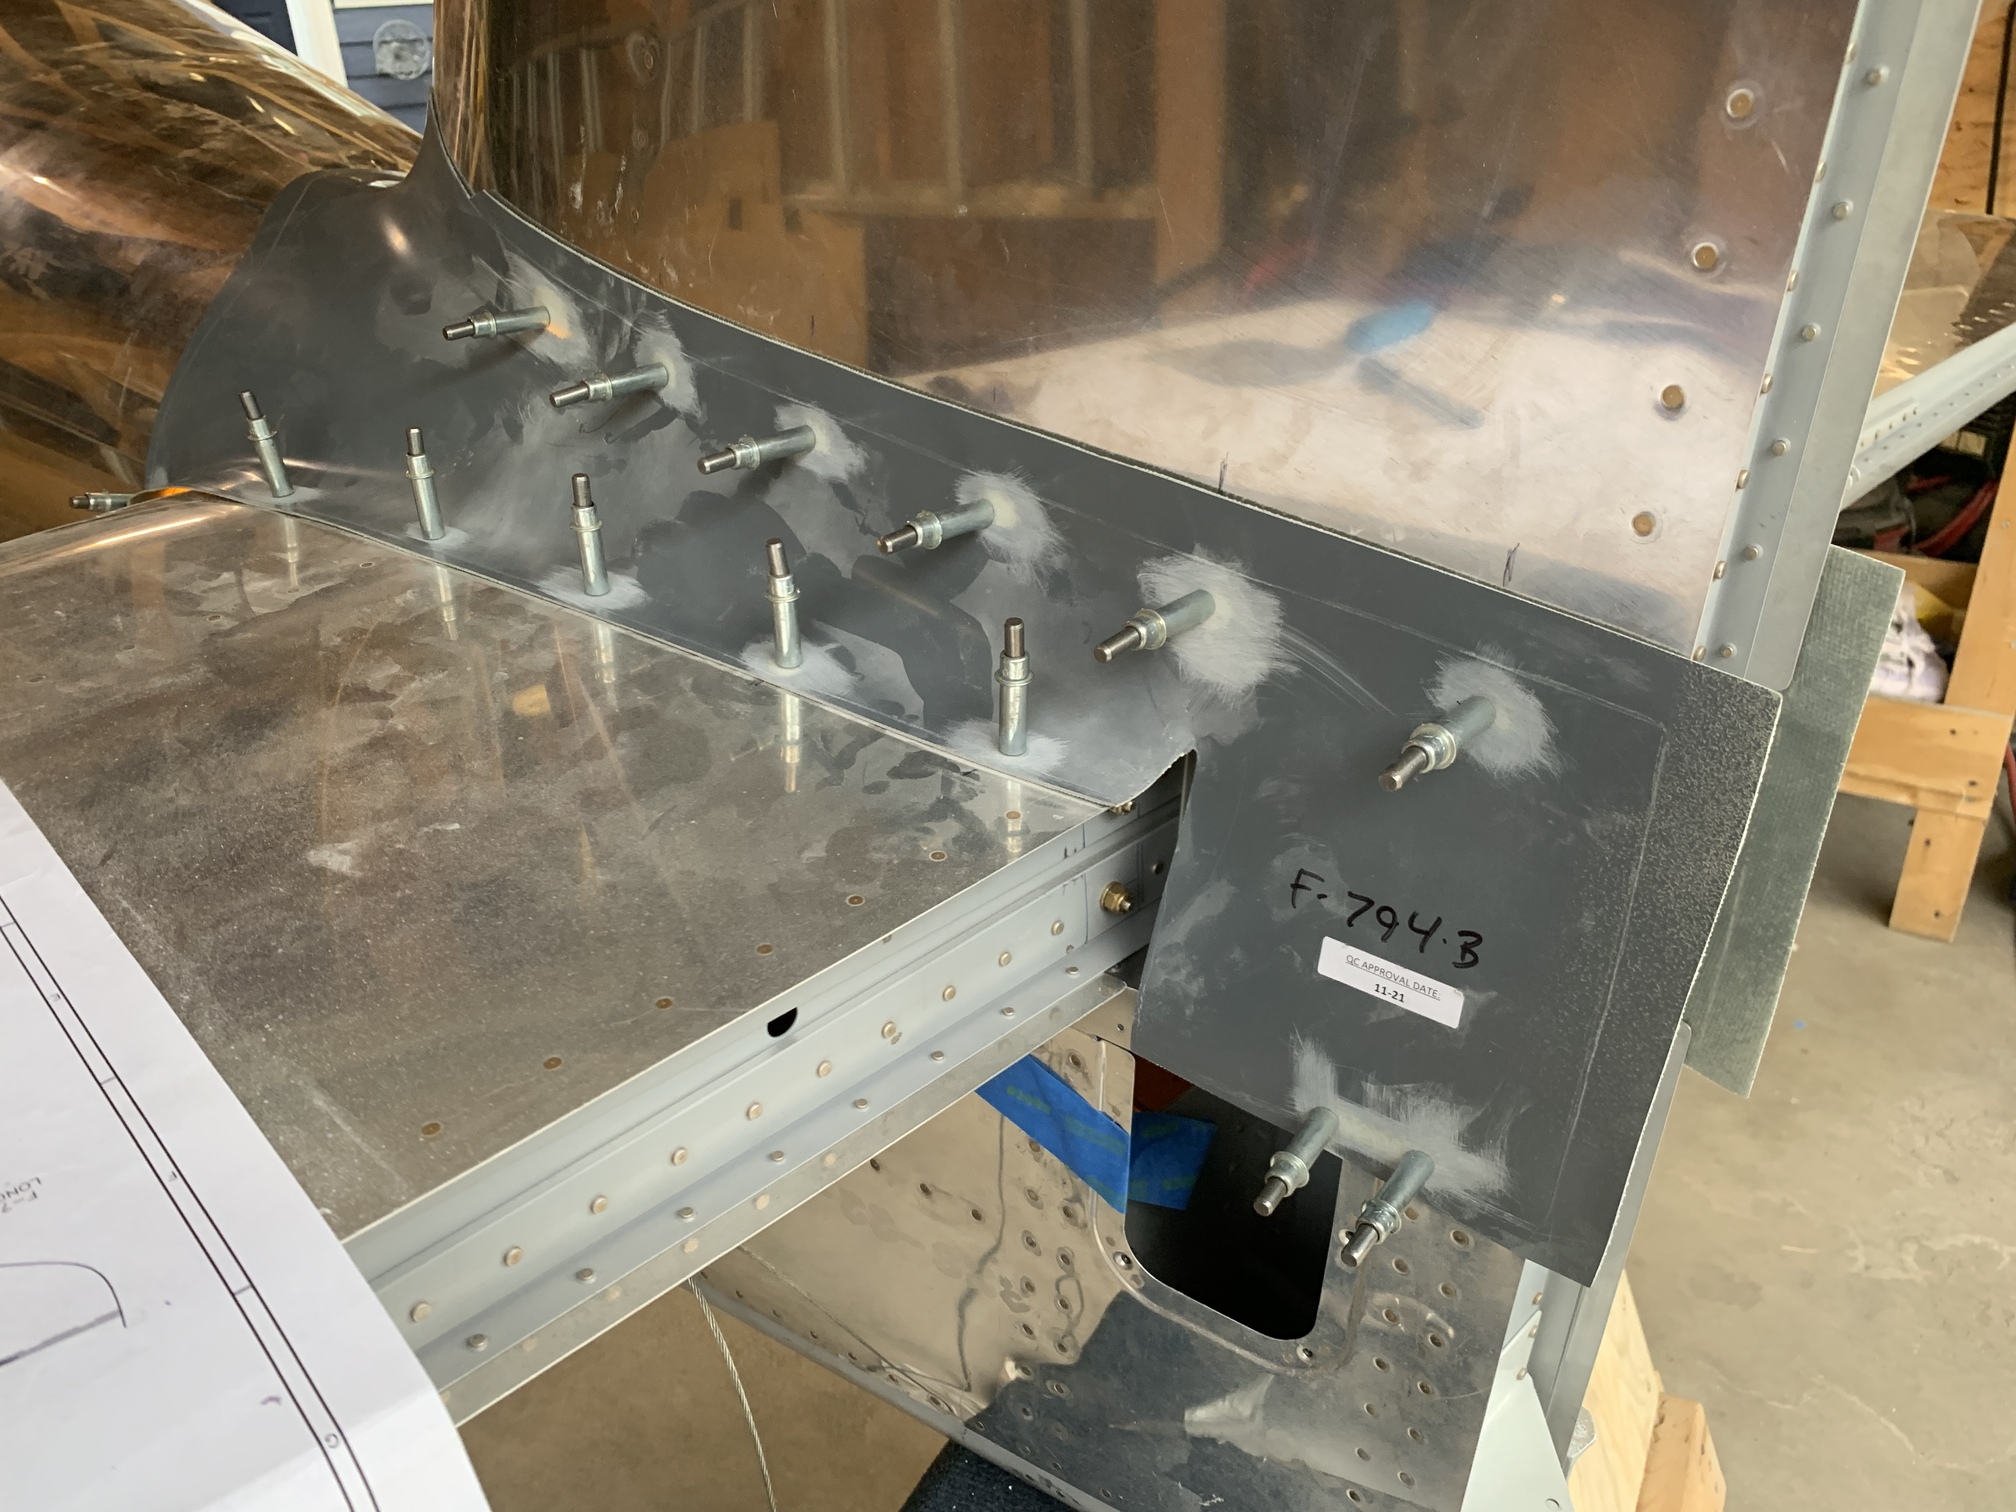
Today I kept working on the empennage fairing. After some more work sanding the right lower metal fairing, I drilled these holes through the inspection cover and the longeron. I also drilled out the hole just aft of the inspection cover.
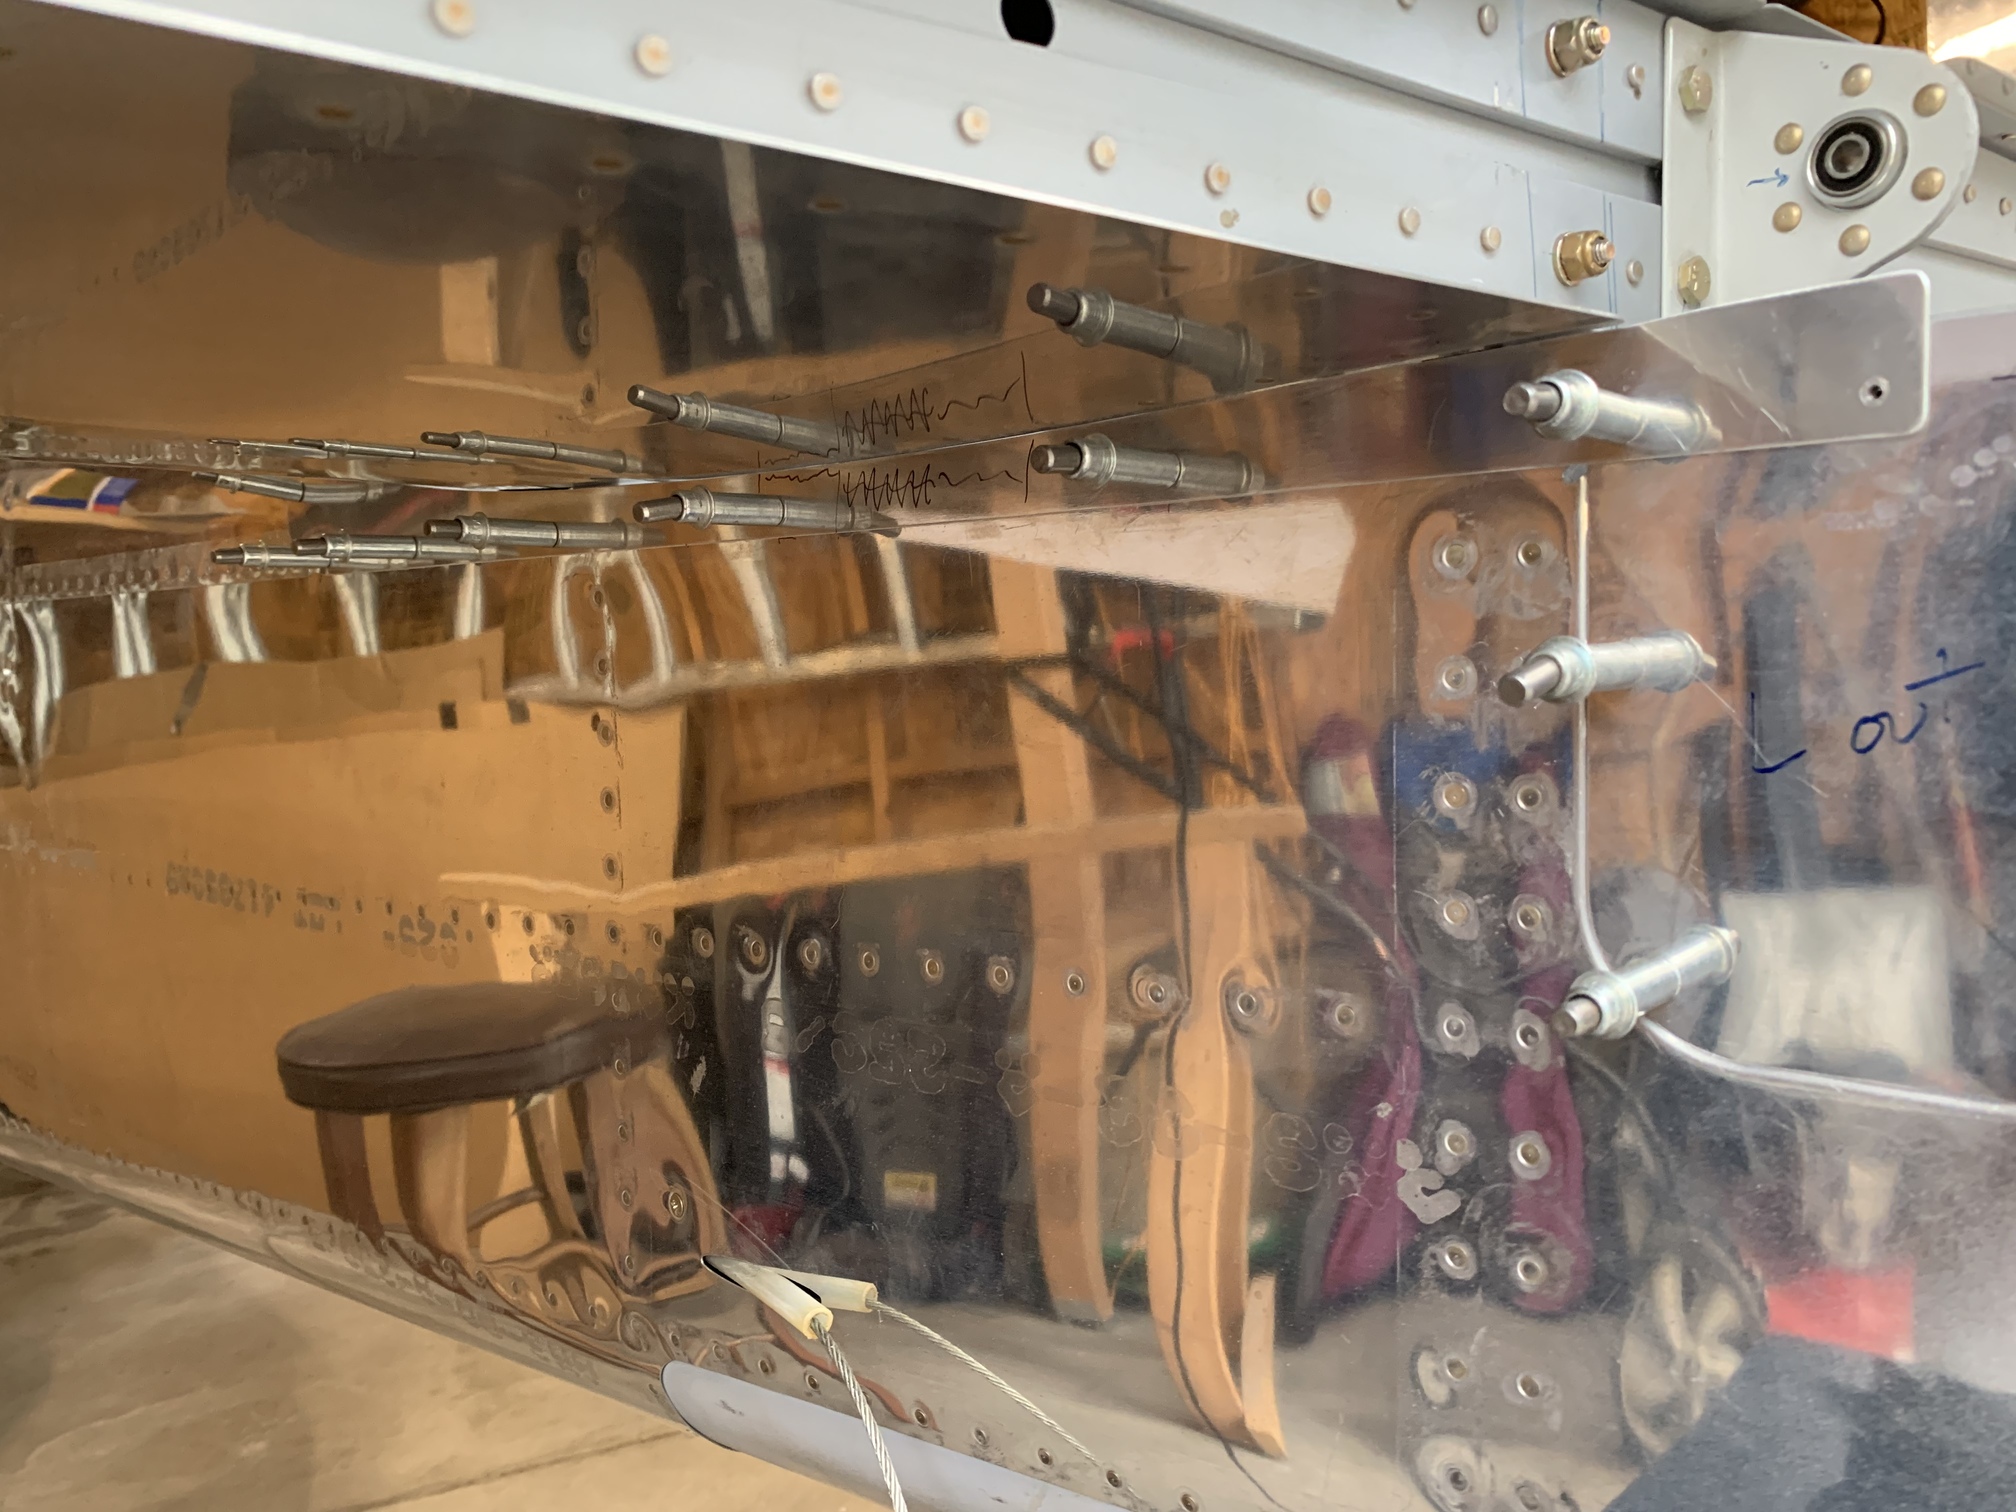
Then I fit the metal lower fairing on the left side.
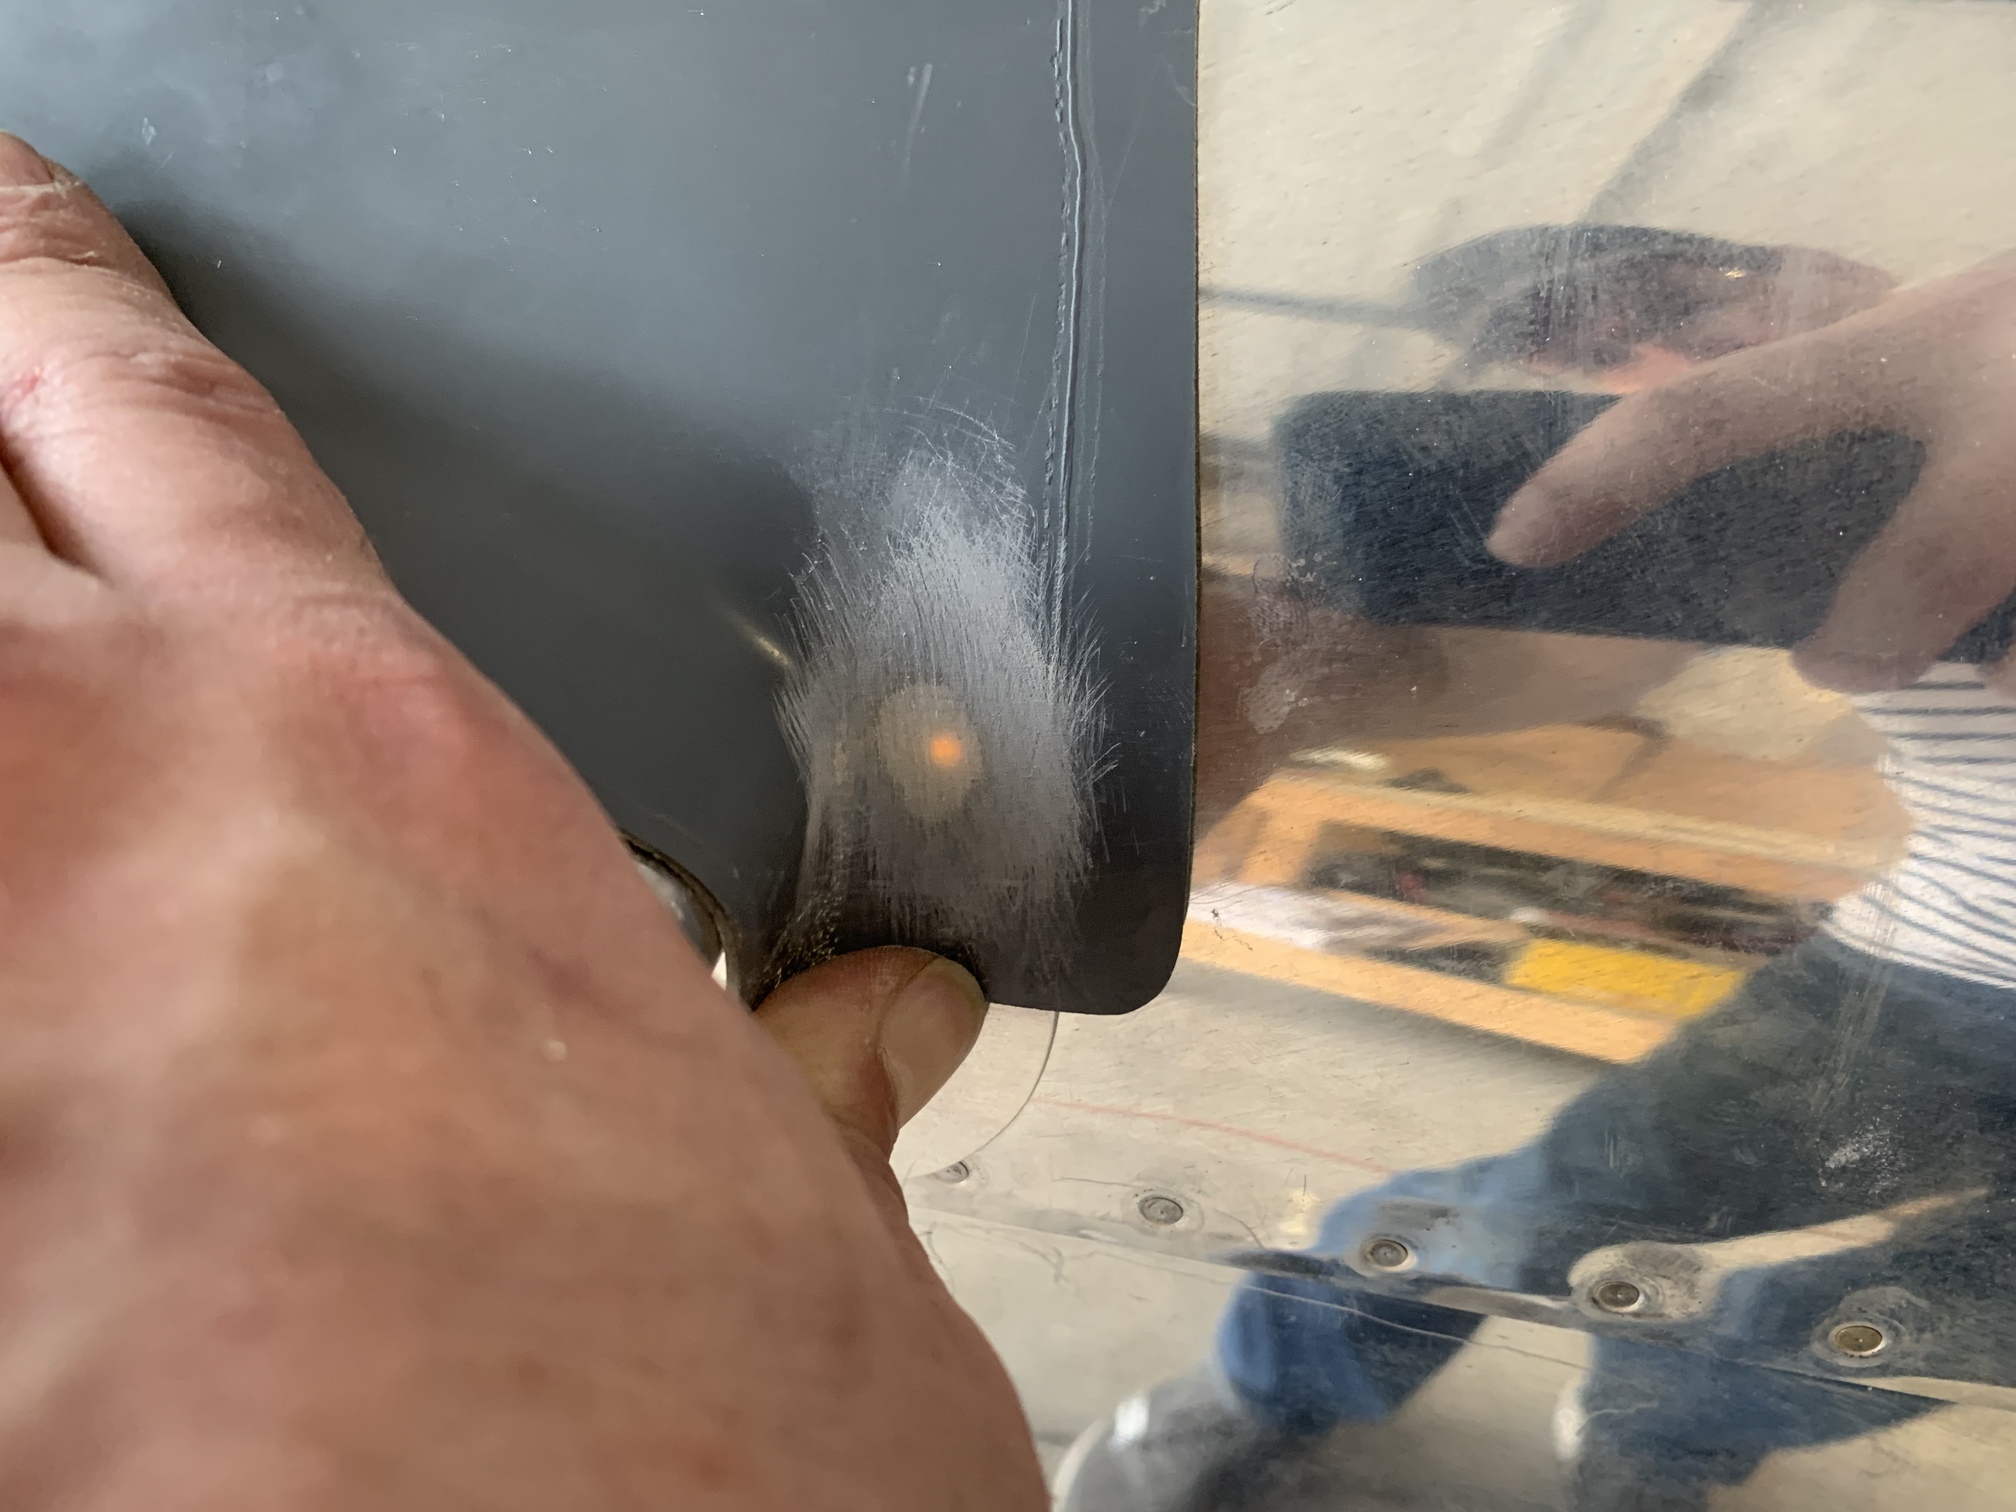
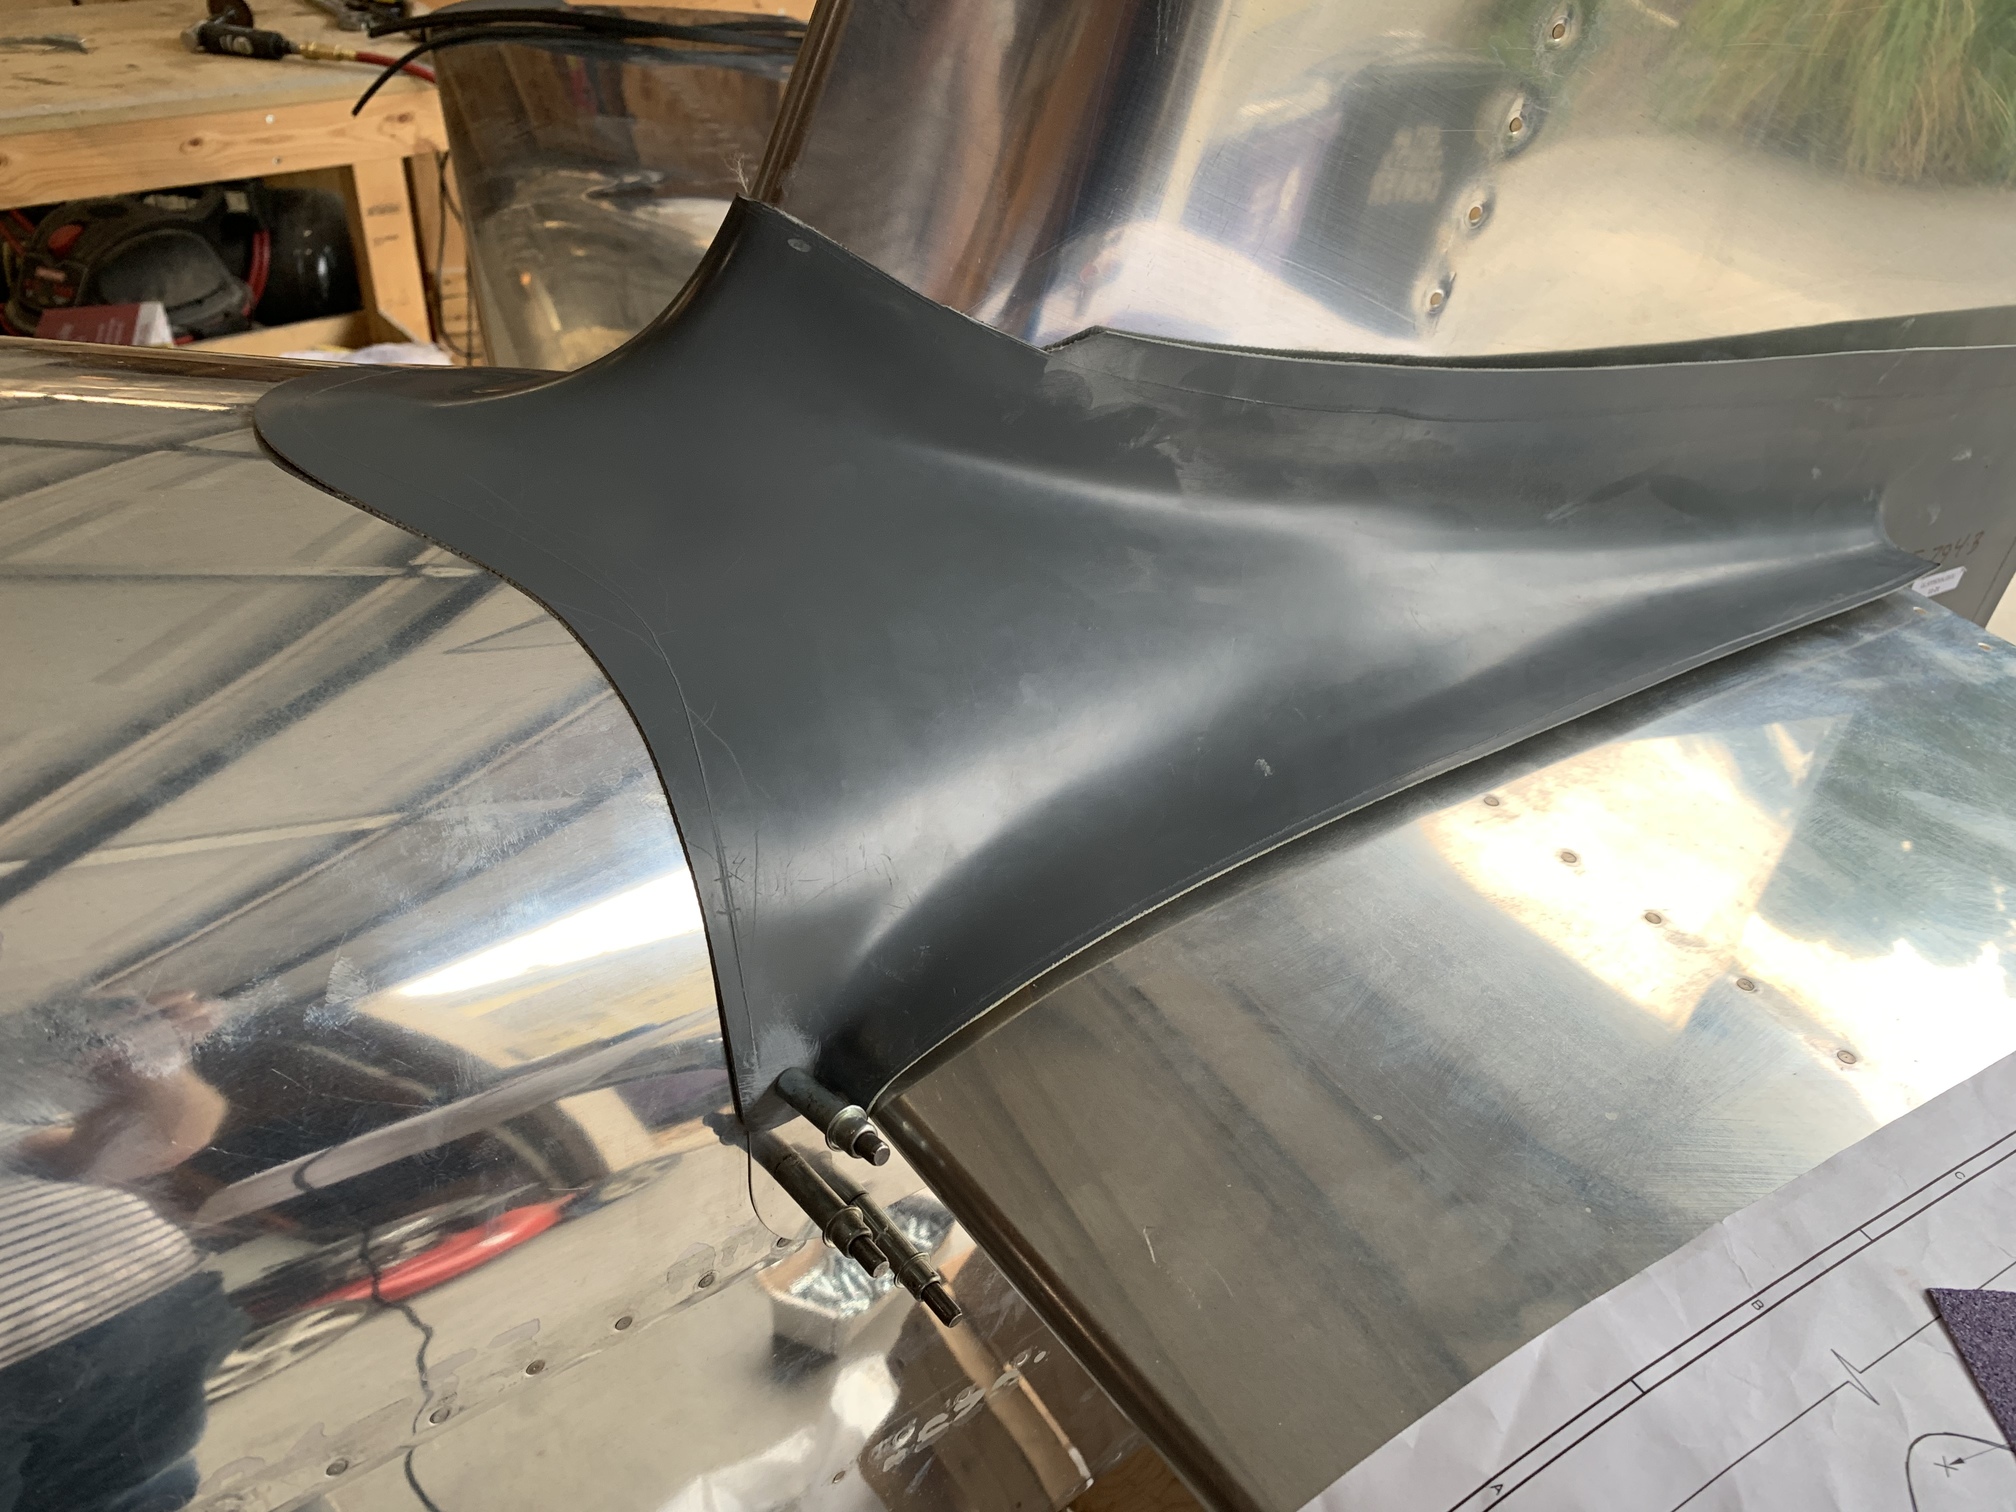
Next, I got out the upper fiberglass fairing and put it in place. As you'll see in the next series of pictures, the fit is so-so.
The only way I could figure to drill the fairing to the empennage was to sand the paint away and use light from inside to illuminate the holes.
I did the same thing on the other side.
And then I started working my way aft.
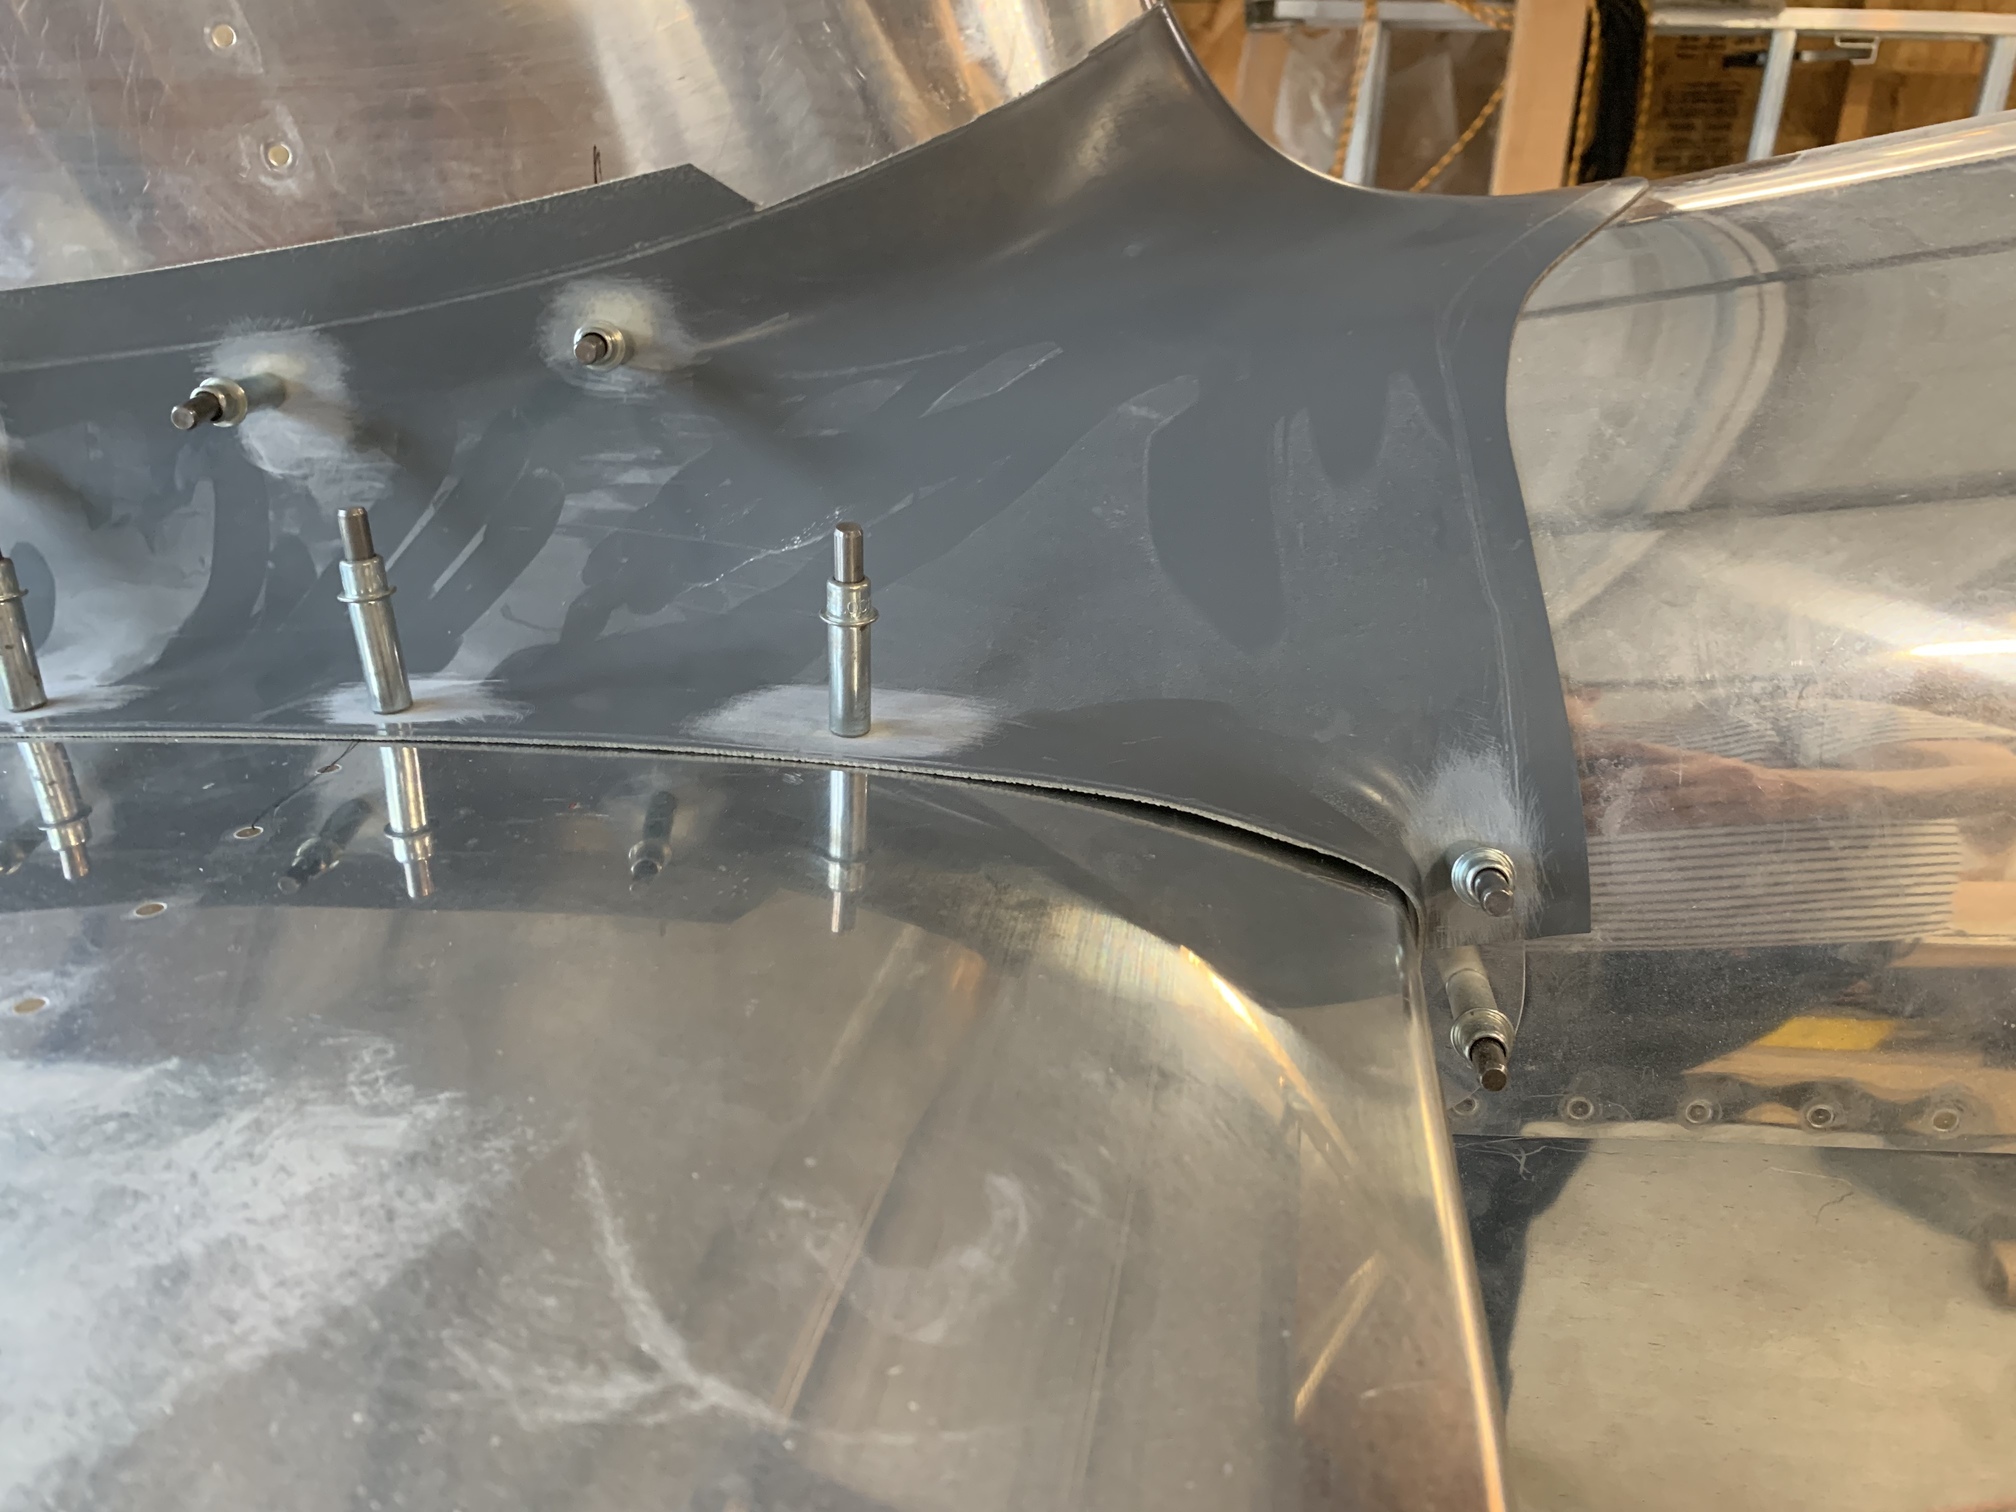
I did all of the holes on the right. You can probably see in this picture that the fairing doesn't sit flat against the vertical stabilizer on this side. It does fit fairly well to the horizontal stabilizer except in the front.
Here's a better picture of the gap in the front.
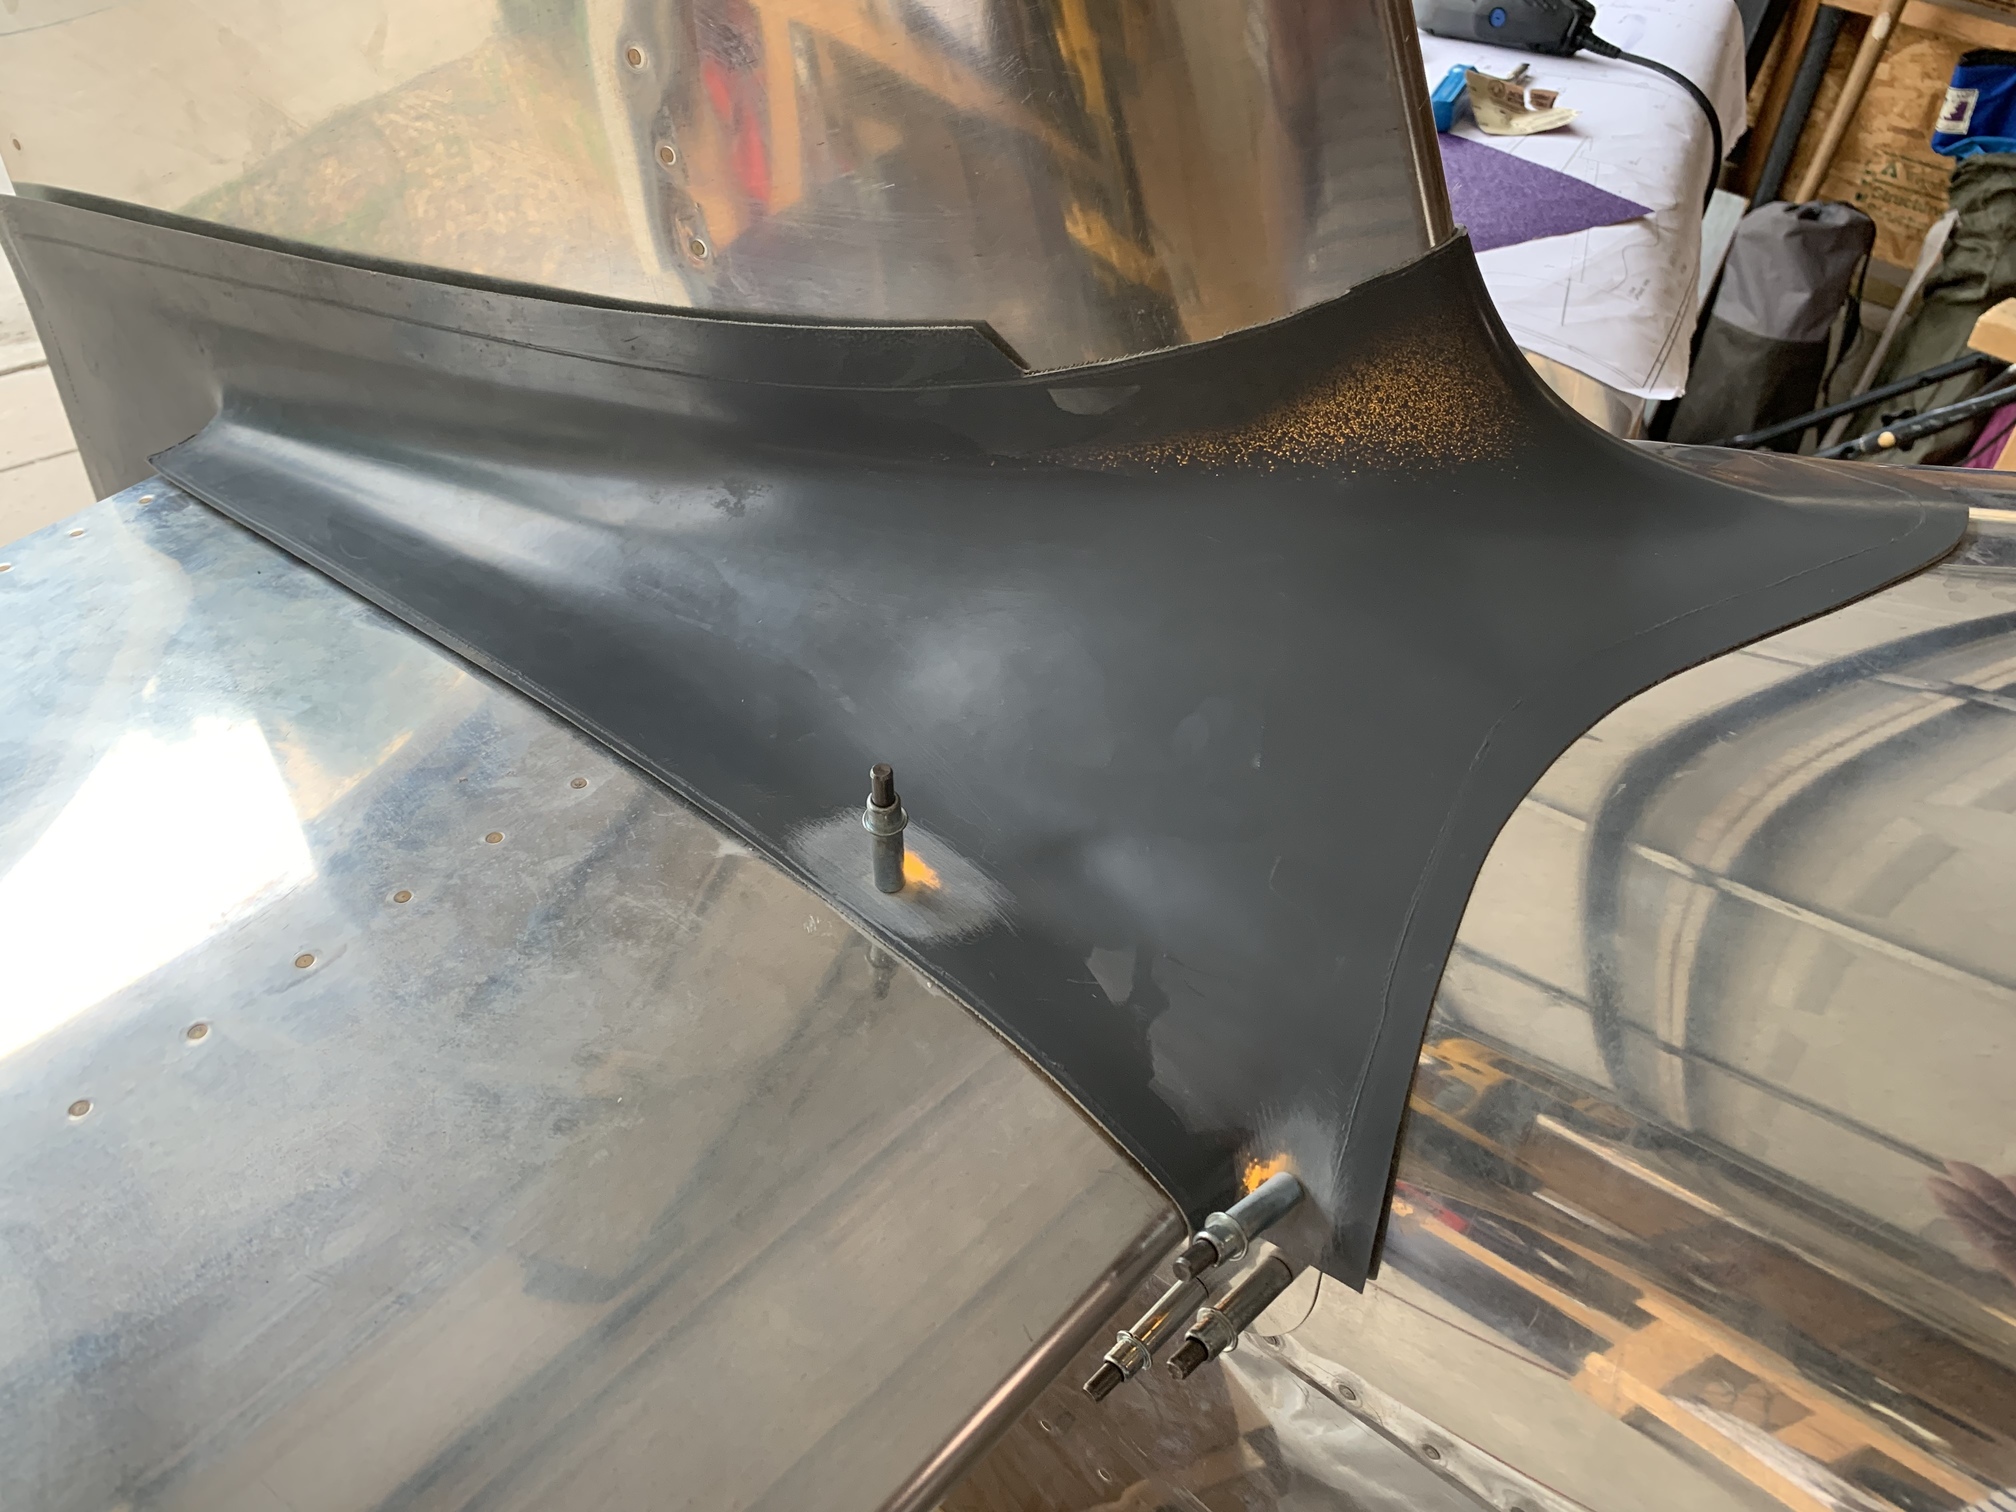
I then drilled all of the holes on the left. The fit to the vertical stab is better on this side, but the gap at the front of the horizontal stab is worse.
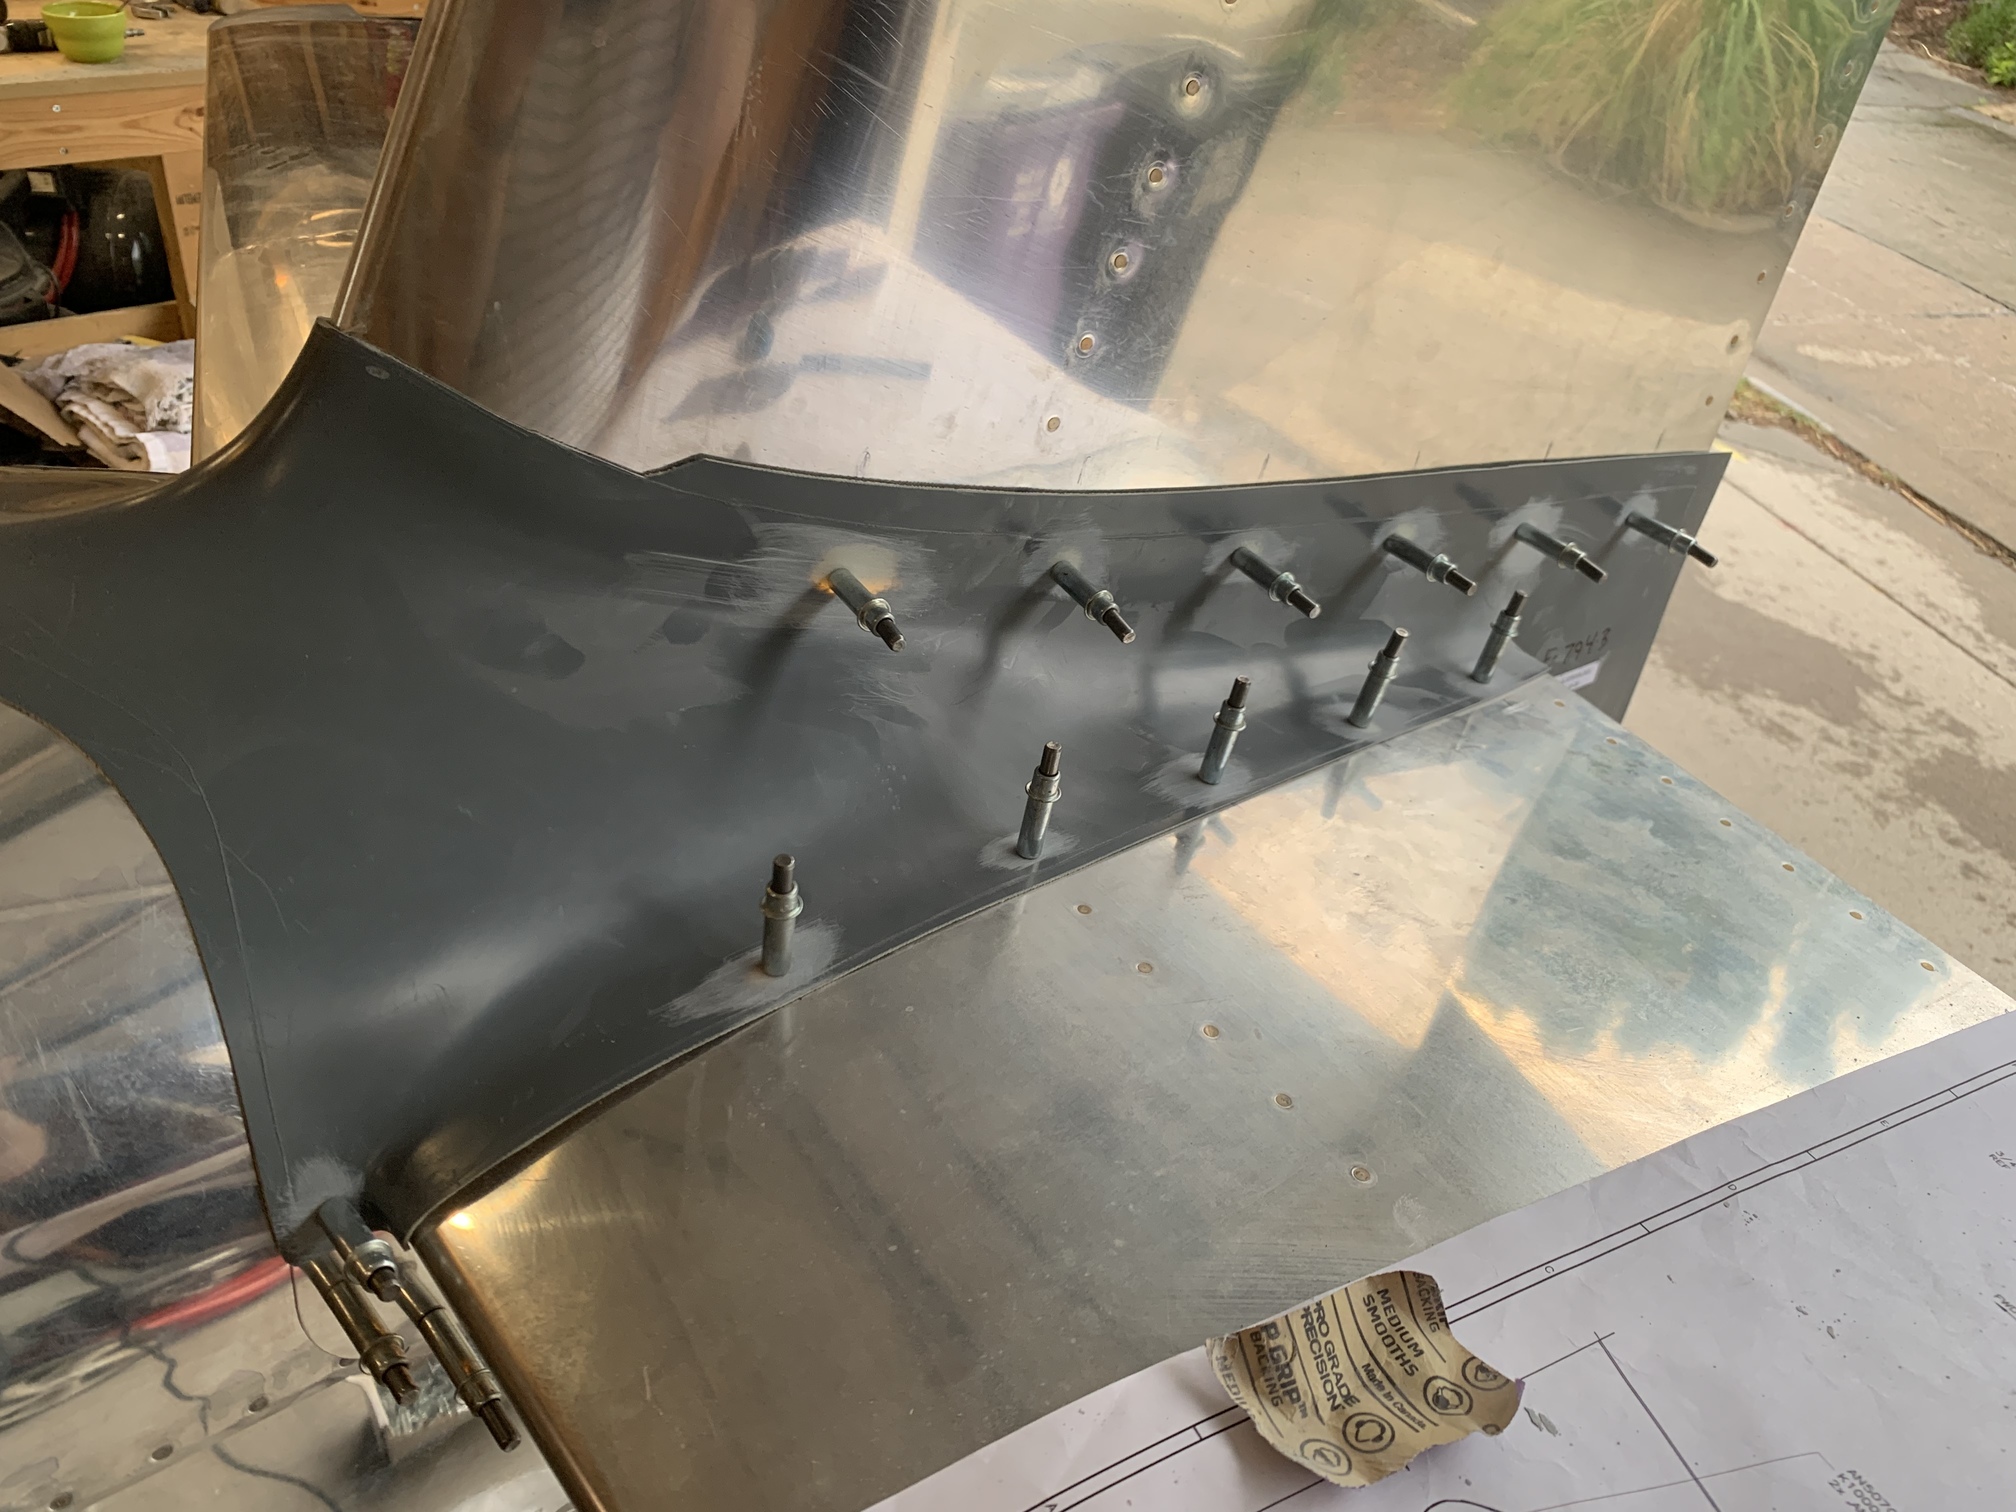
The fit could have been a lot worse. My plan at this point is to start trimming excess from the edges and then see if I need to lay up extra fiberglass or try to reform the fairing with heat to get it to sit flush. I will also trim away the poorly fitting areas at the front of the horizontal stab on both sides and lay up some new fiberglass.
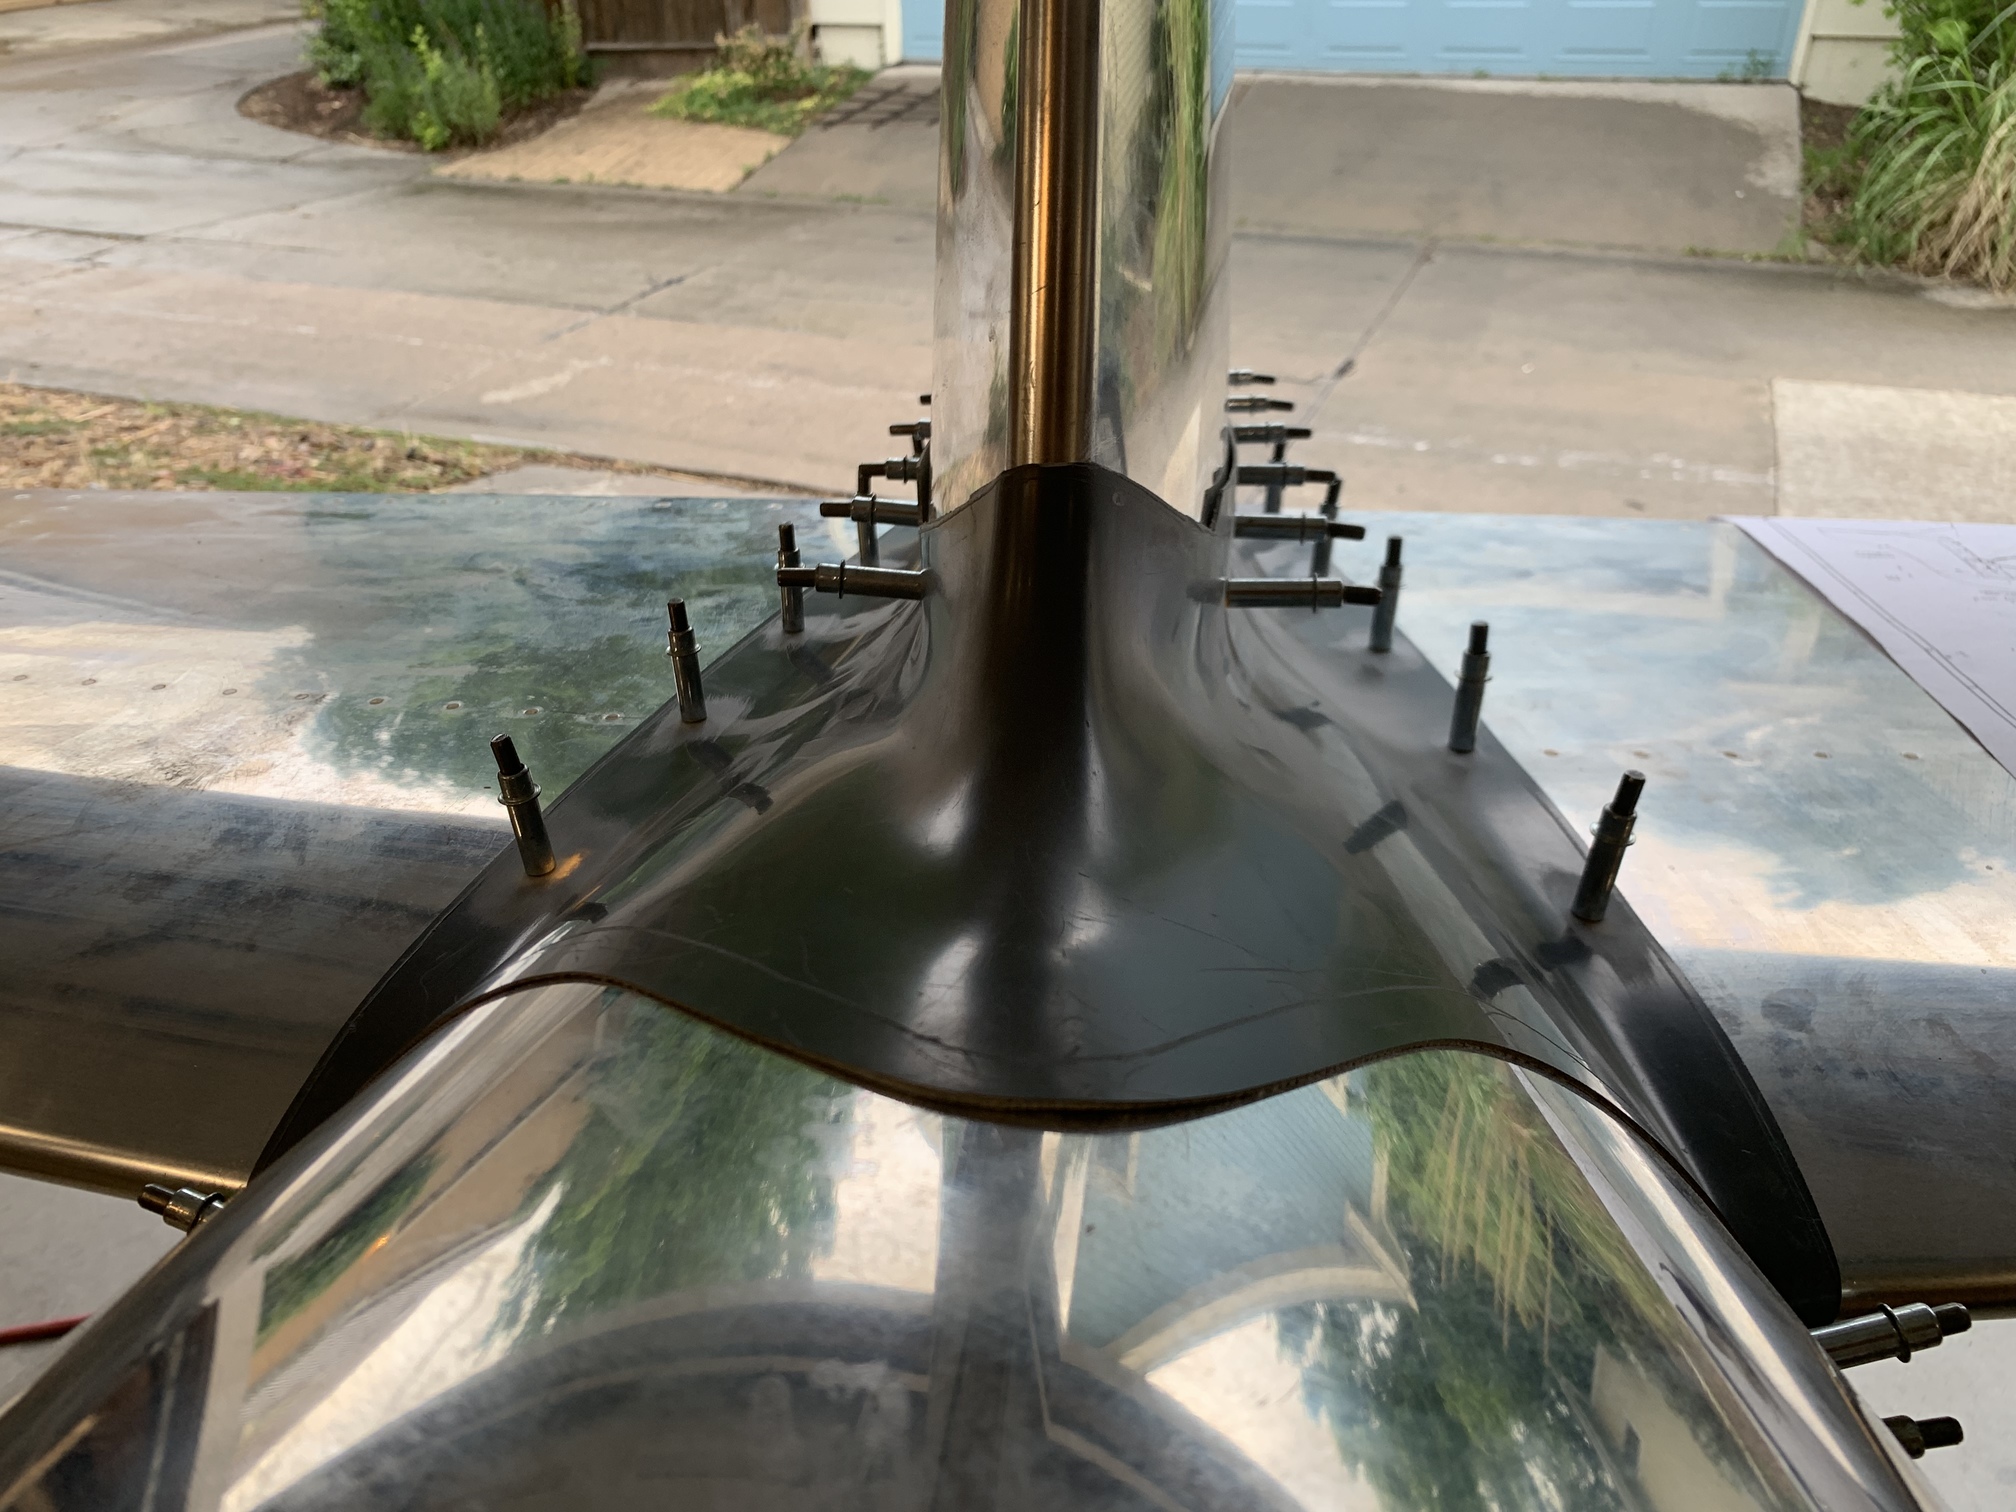
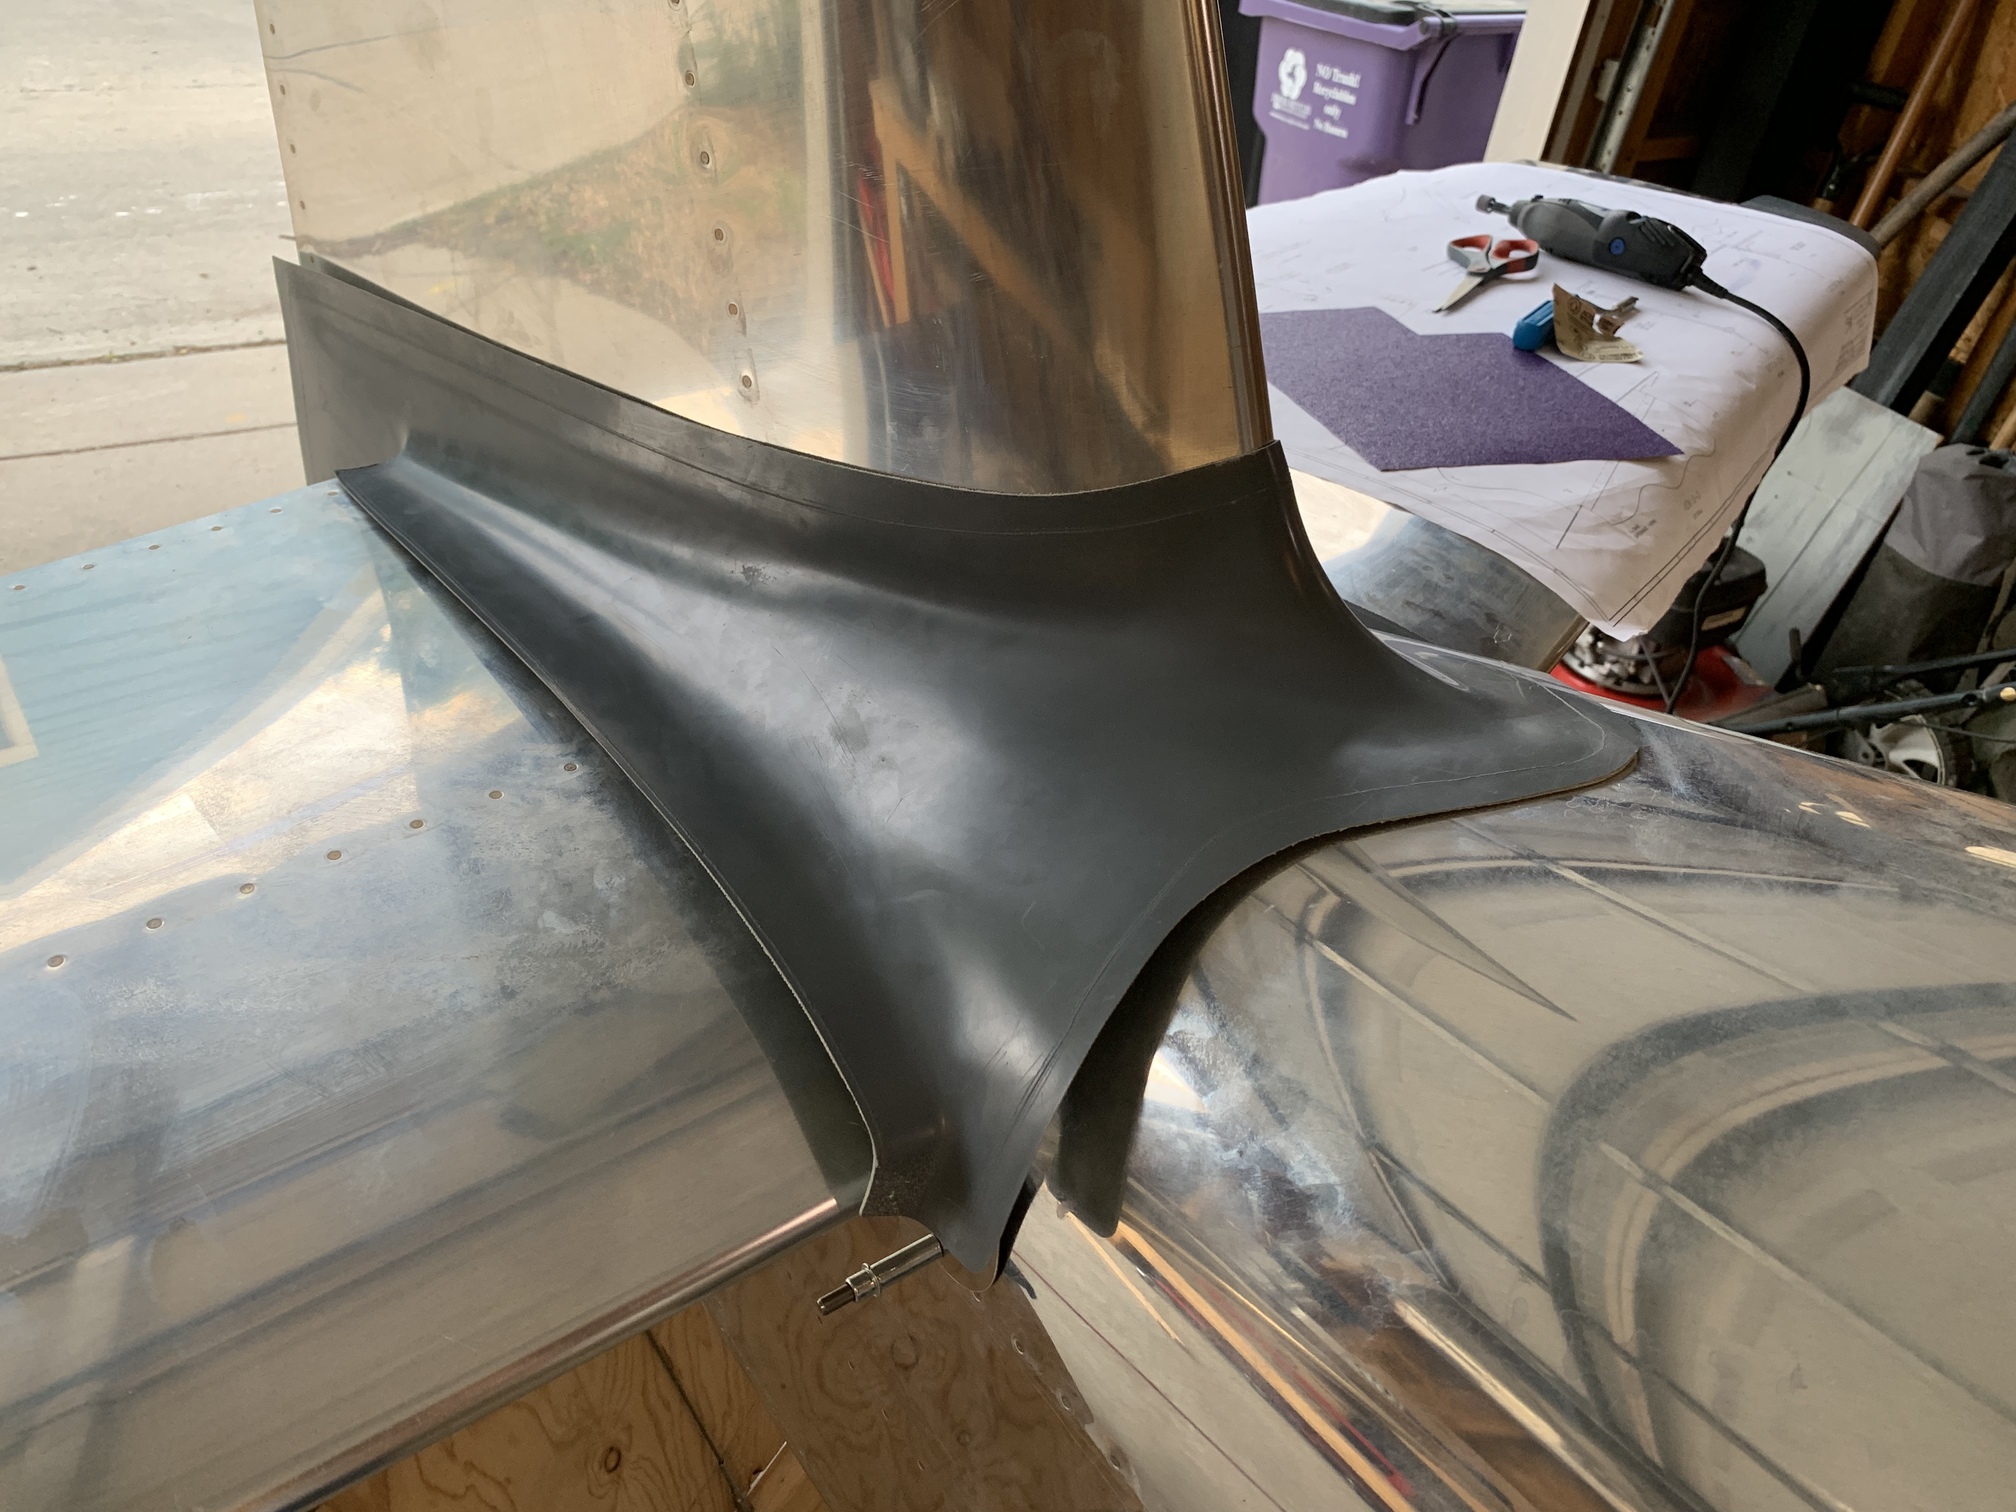
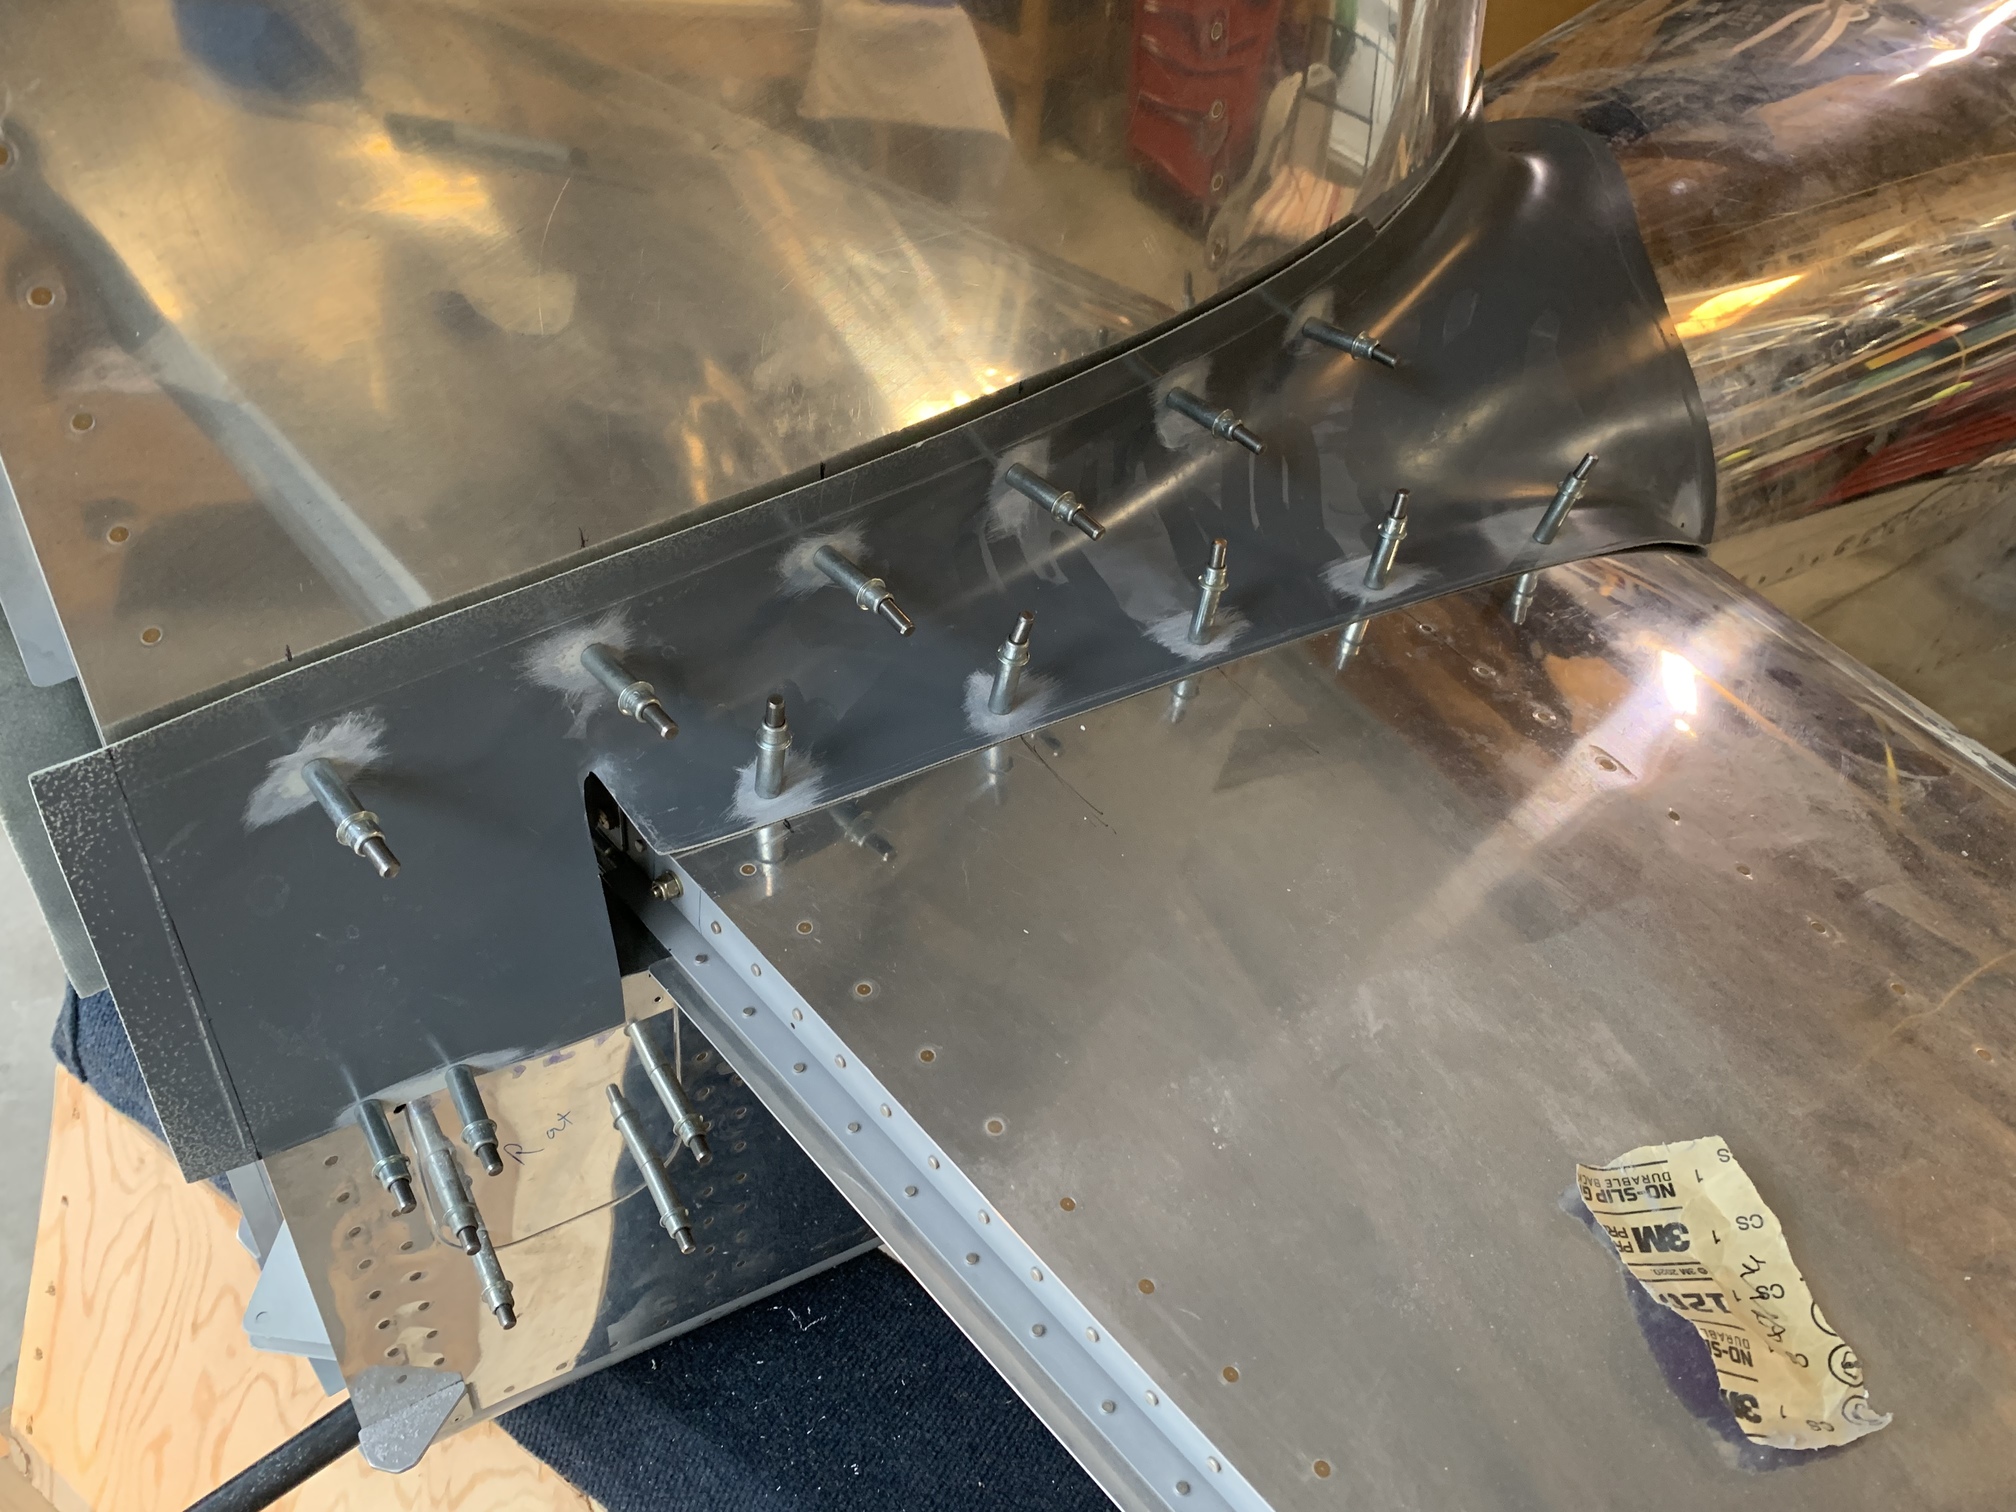
Here's a shot of the aft area where the fairing wraps around where the elevator control horns bolt together in the middle.
I need to trim some of the fairing away to make room for the elevator control horns. I want to trim as little as possible, so I'll get the elevators out tomorrow and see what needs to happen.

| Previous - Index - Next |
This work is licensed under Attribution-NonCommercial-NoDerivatives 4.0 International![]()
![]()
![]()
![]()