Log (By Day)
Log (By Category)
Pictures
Pics of Me Working
Links
| ||||||||||||
Saturday October 22, 2022
Empennage Fairing Painting, Cabin Painting, Rudder Lower Fairing
(1.5 Hours
Center Fuselage, 0.5 Hours
Empennage, 1.3 Hours
Rudder)
3.3 Hours Total
| Previous - Index - Next |
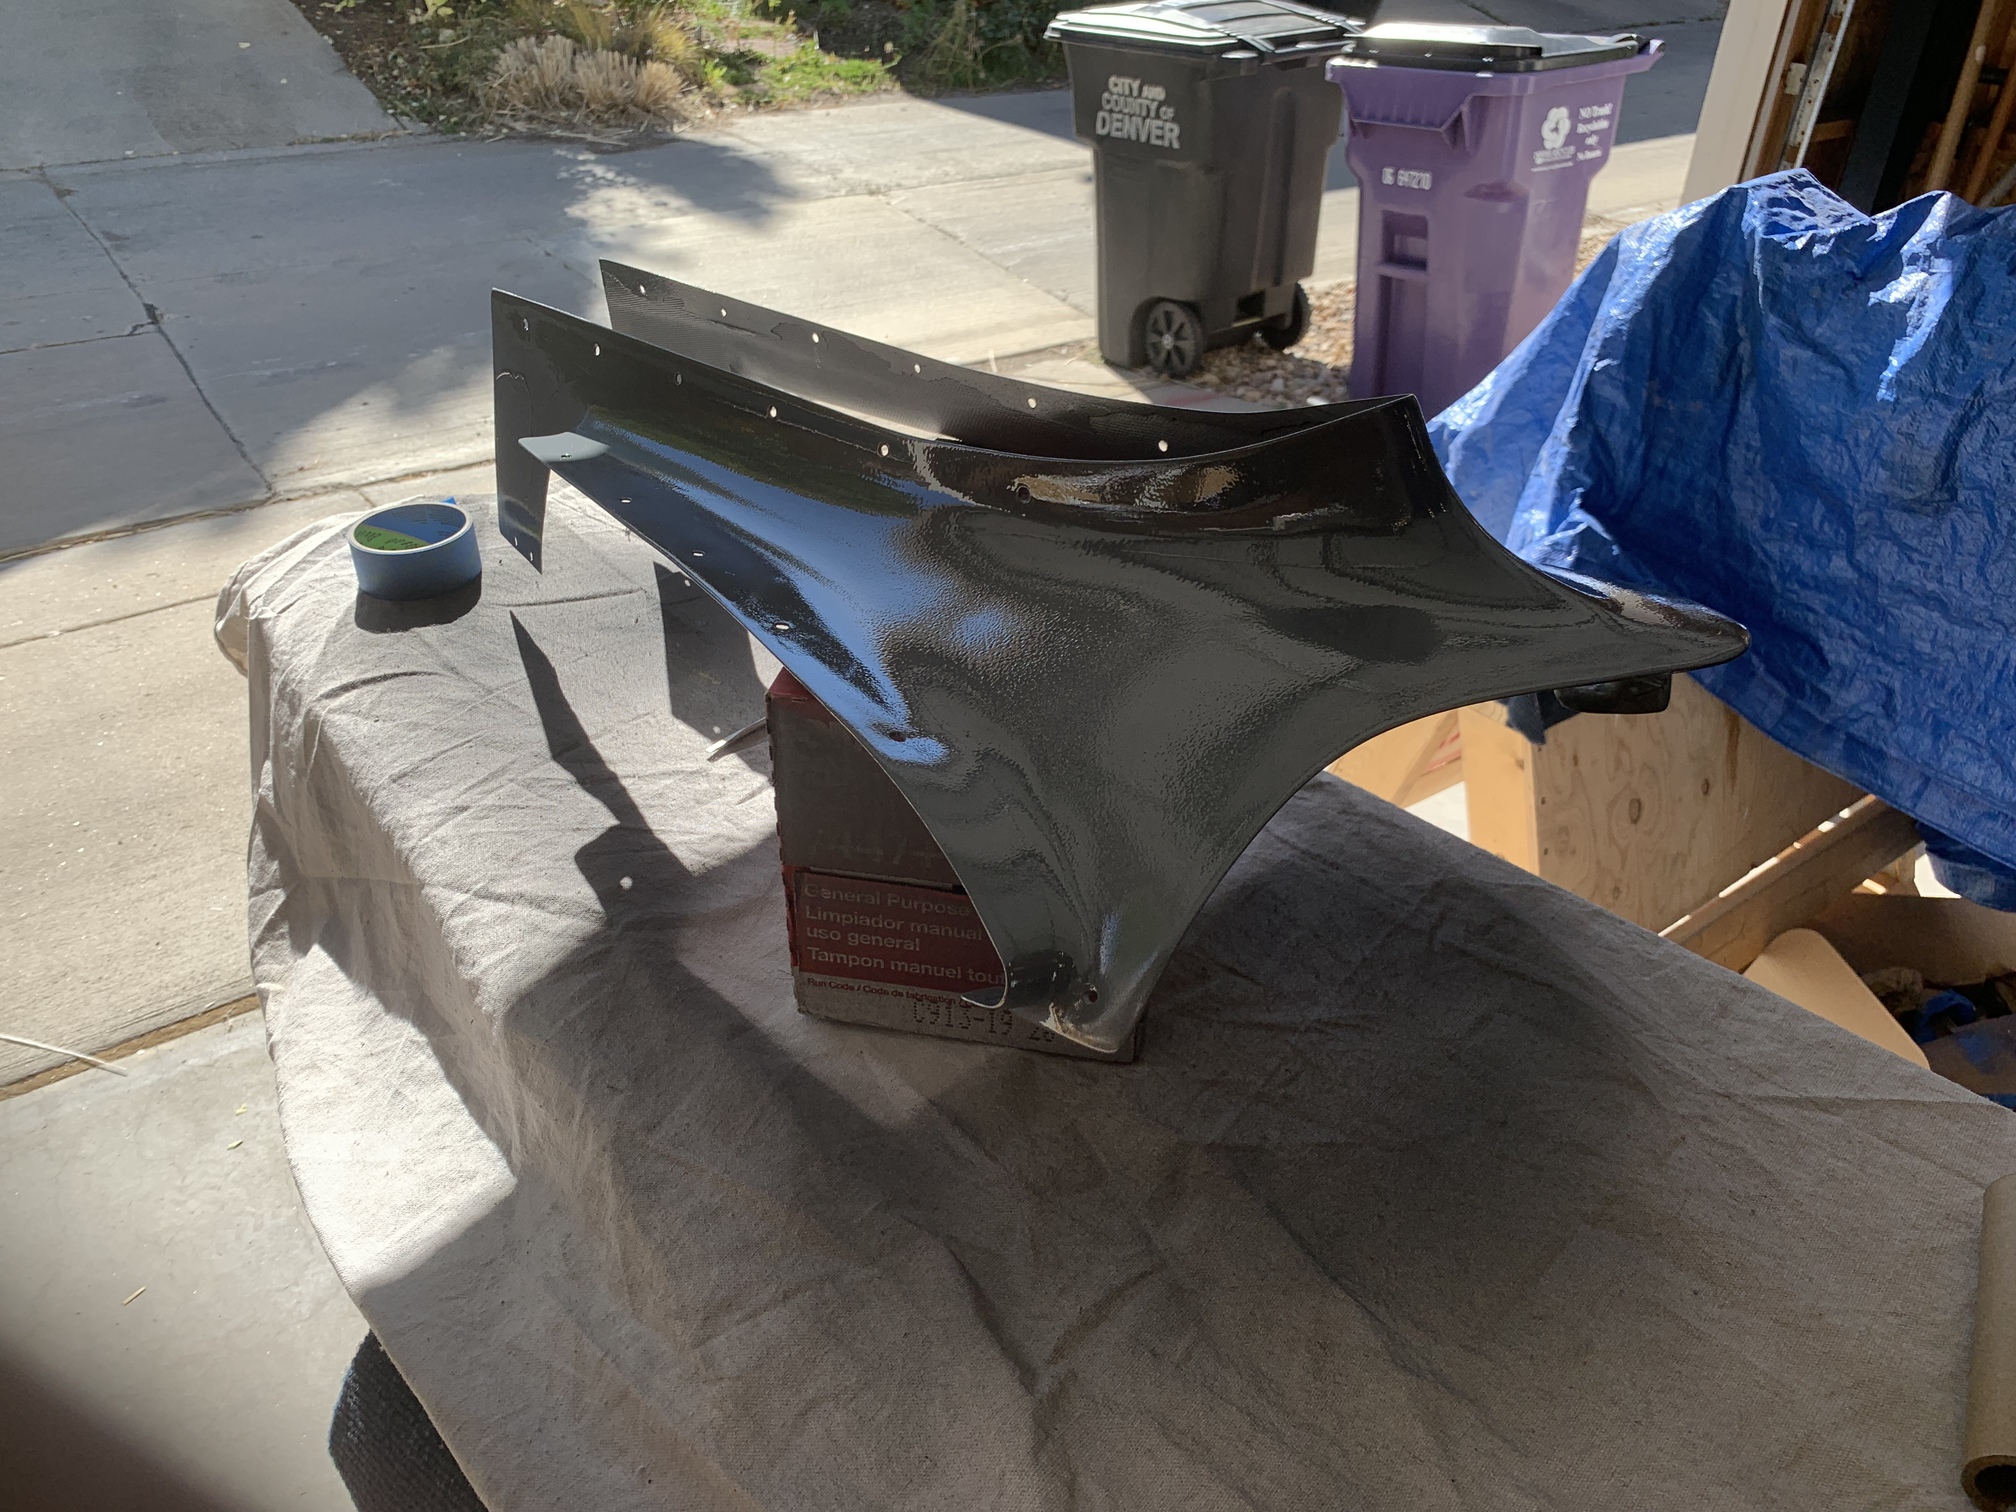
I put down three coats of epoxy primer on the empennage fairing. I laid it up thick in a few spots to fill some pinholes and it ran. That's fine, though, because I will wet sand it all down. I'm pleased with how this came out.
I also finished masking off the cabin and then laid down a coat (or two in a few spots) of the dark gray.

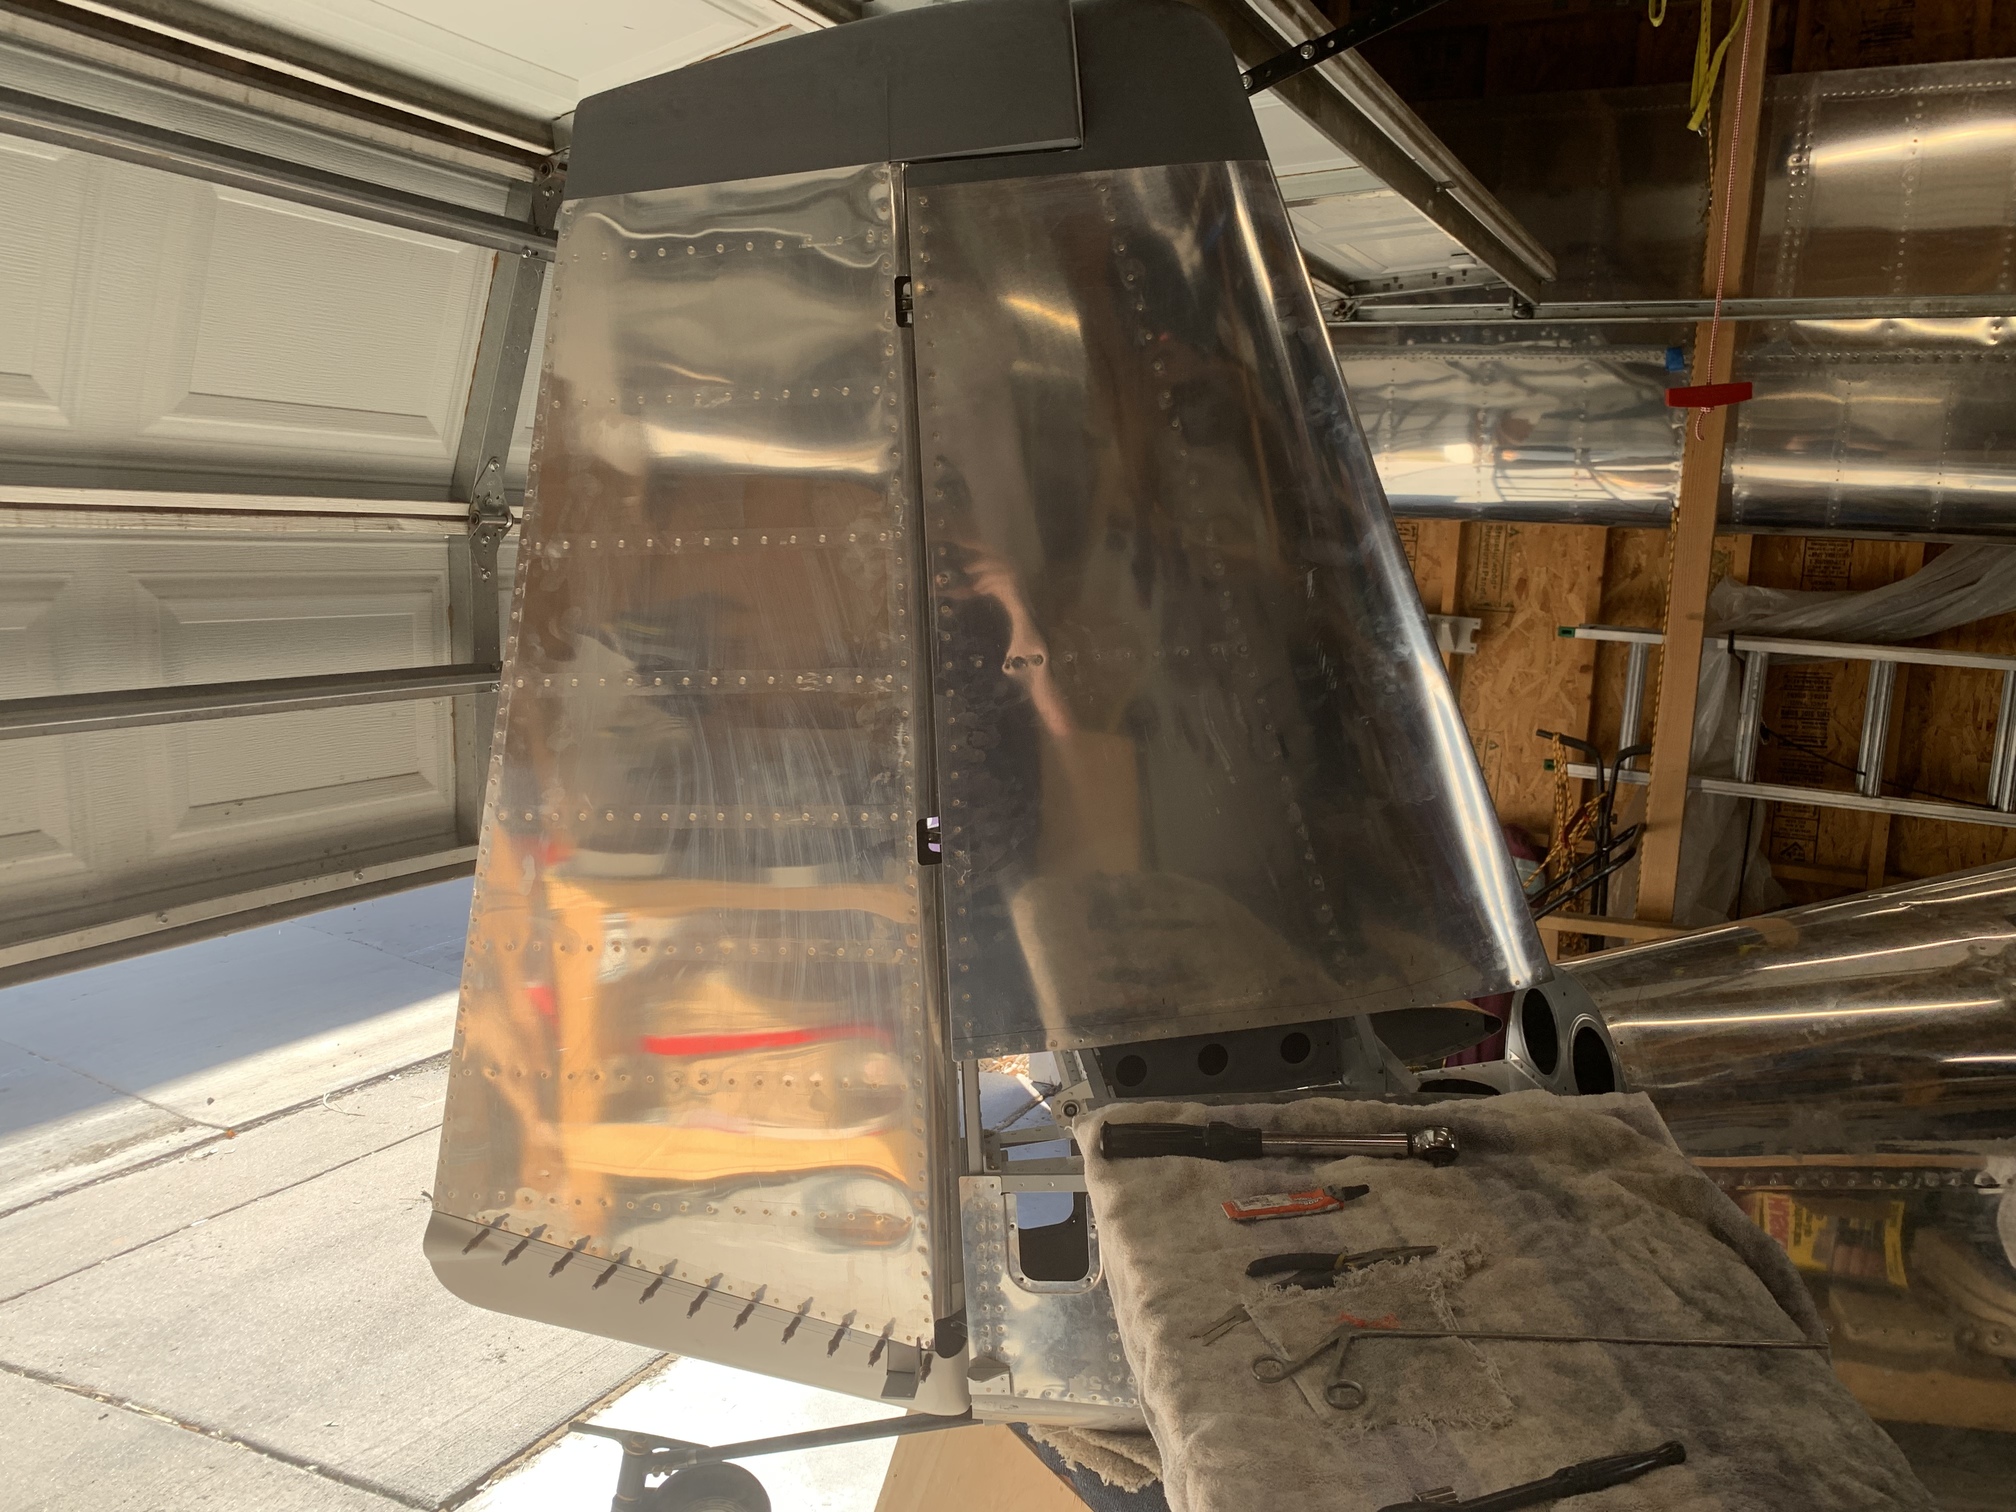
I installed the four missing one-lug nutplates on the HS after they arrived today.
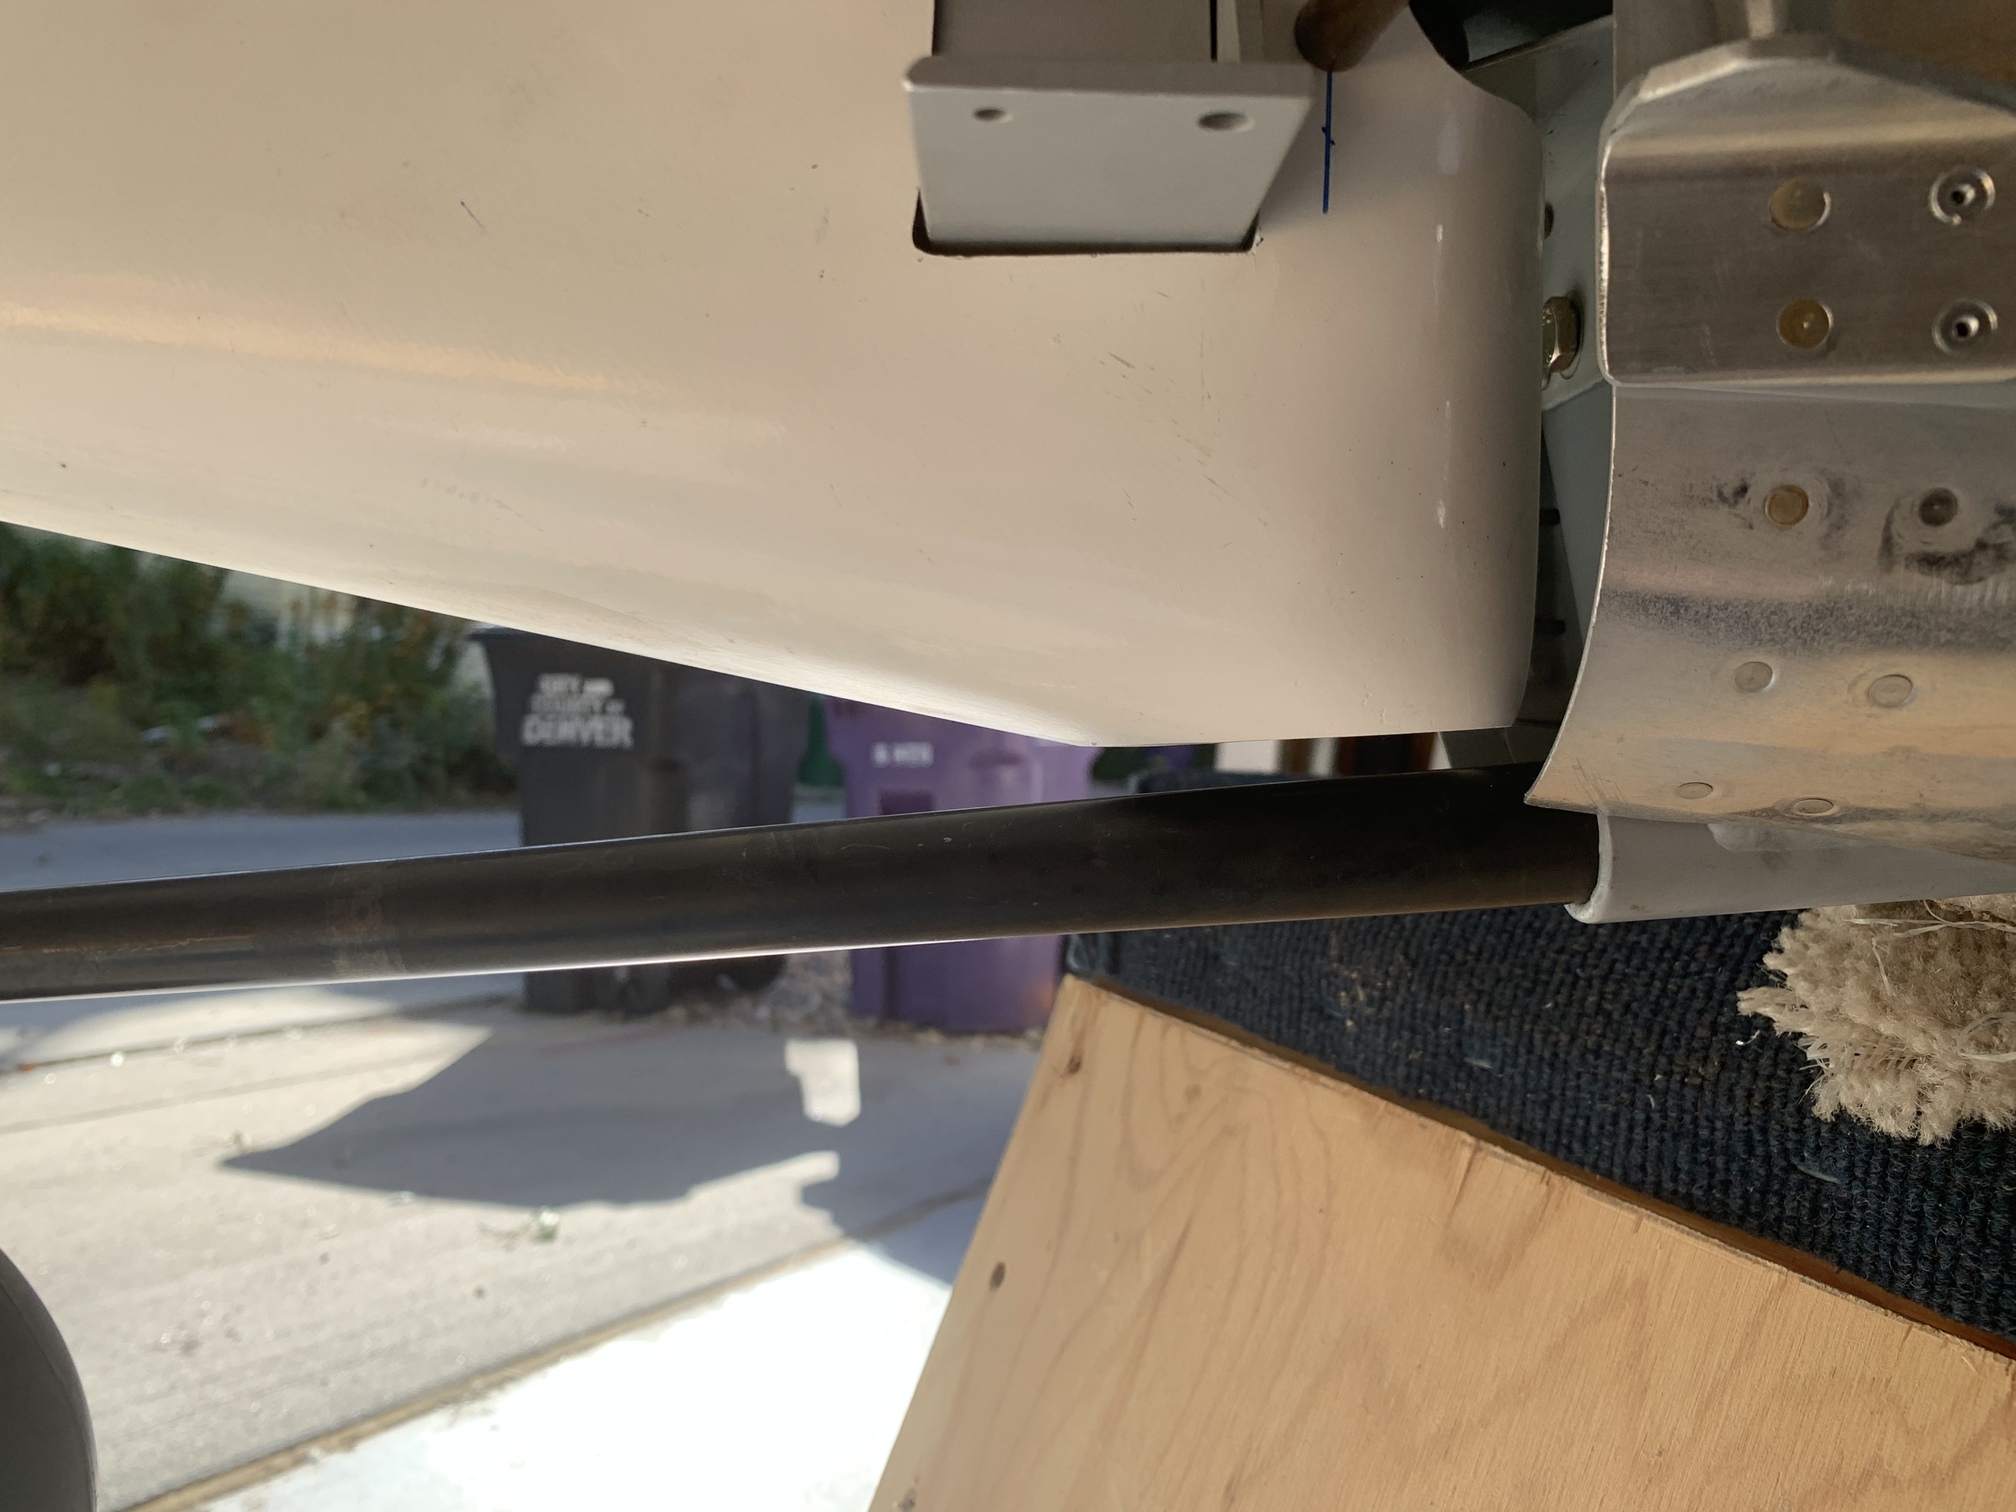
Then I reinstalled the VS and HS and hung the rudder in place so I could work on the lower rudder fairing.
Problem! It touches the tailwheel spring at the front.
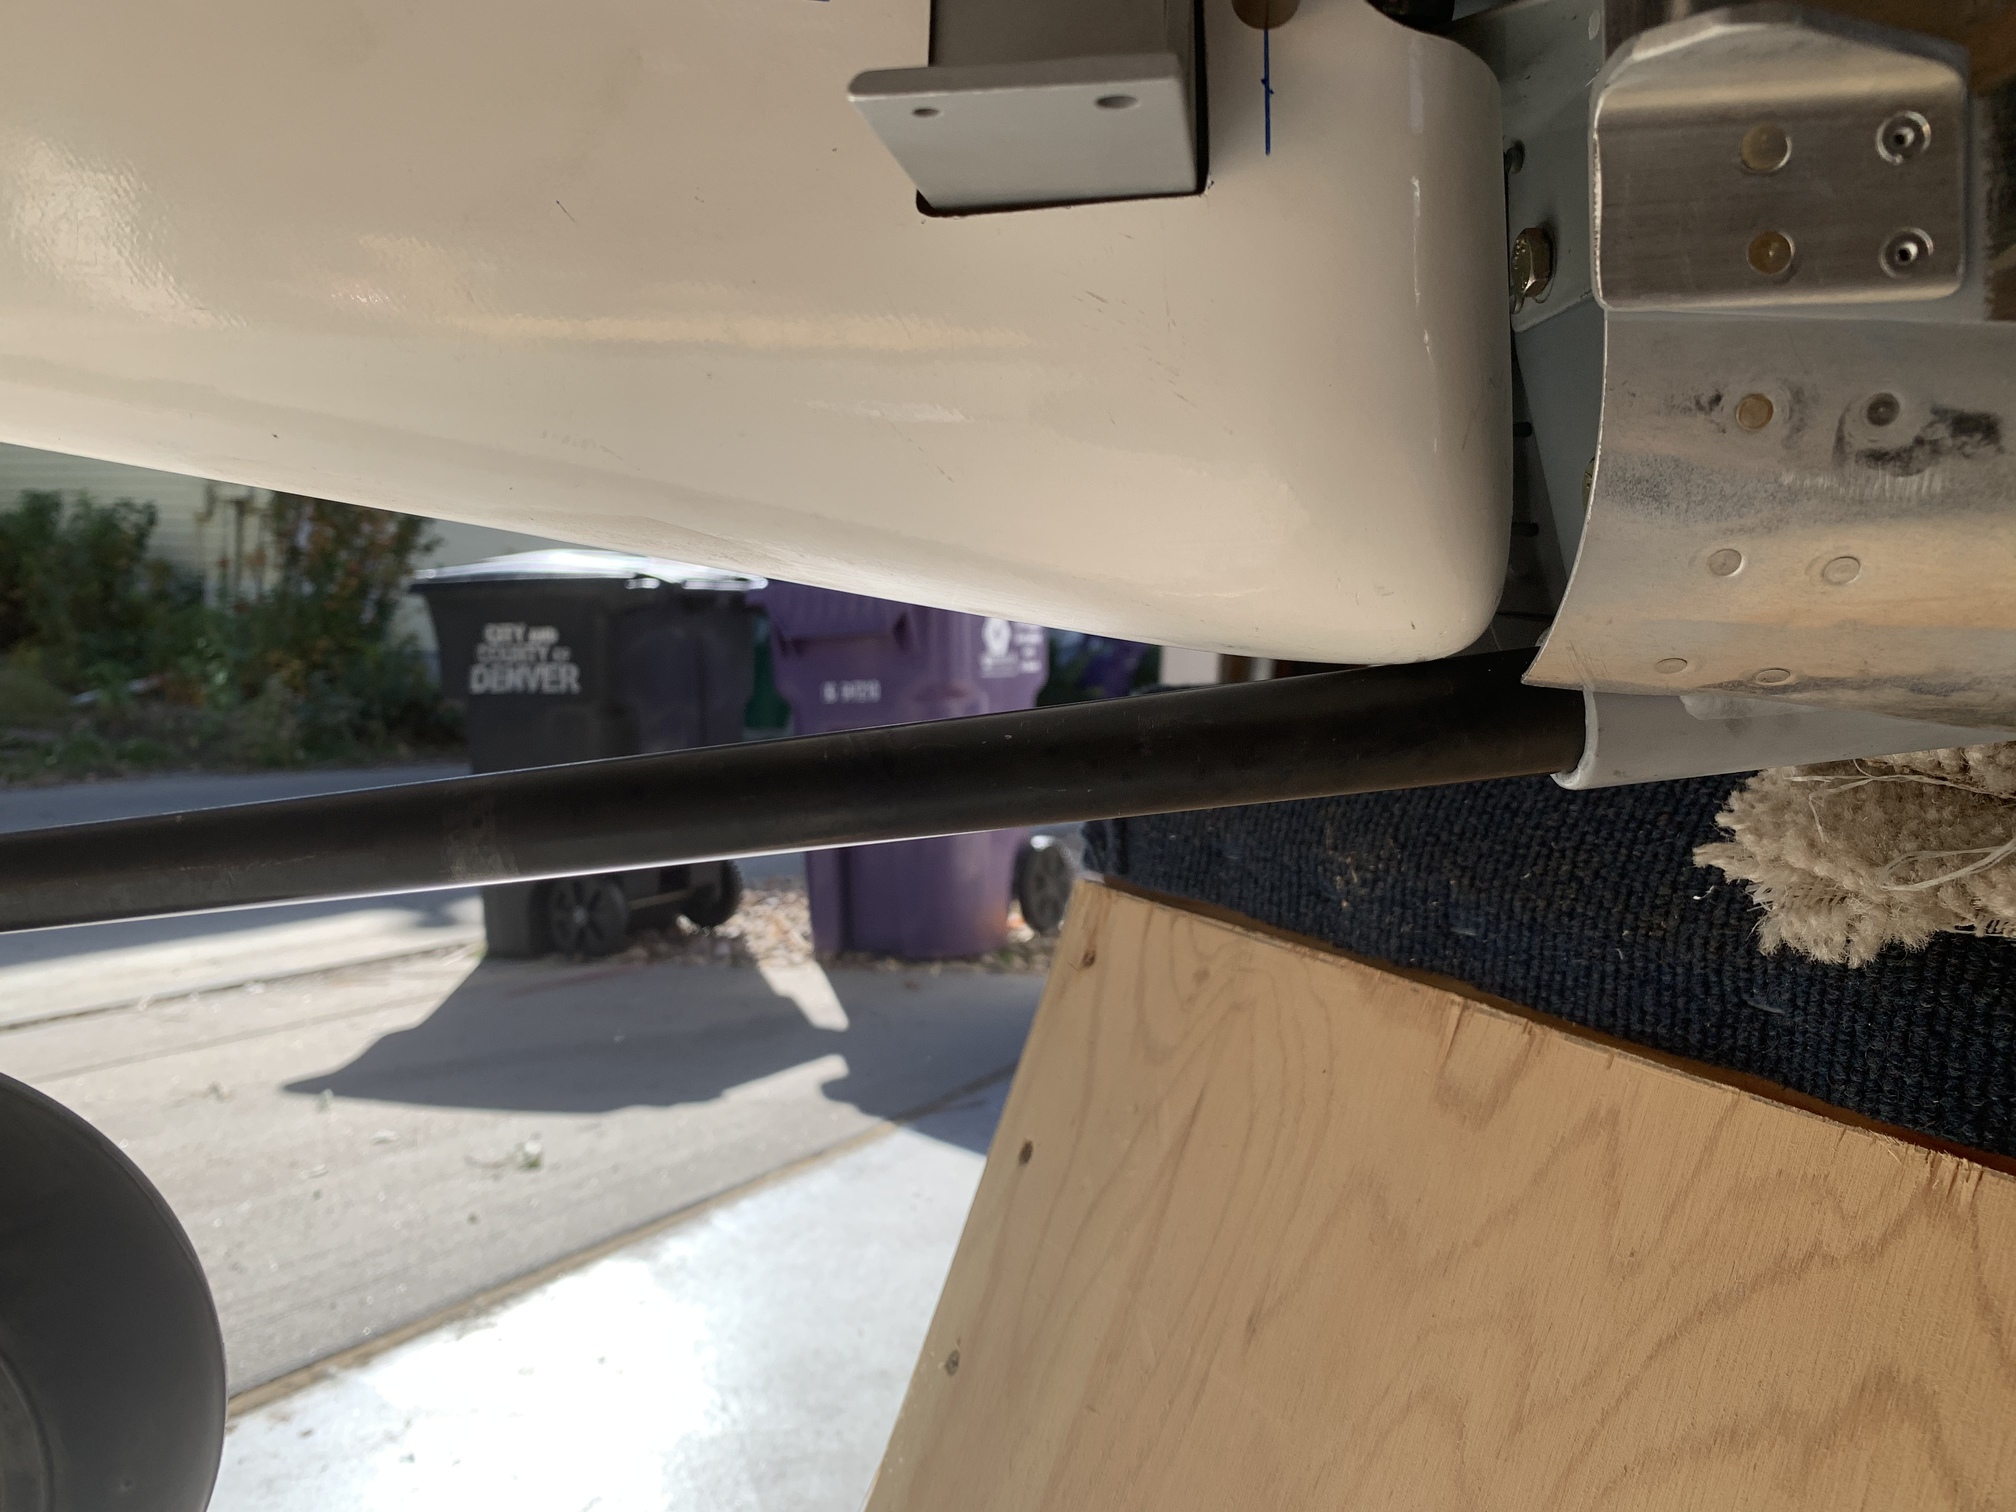
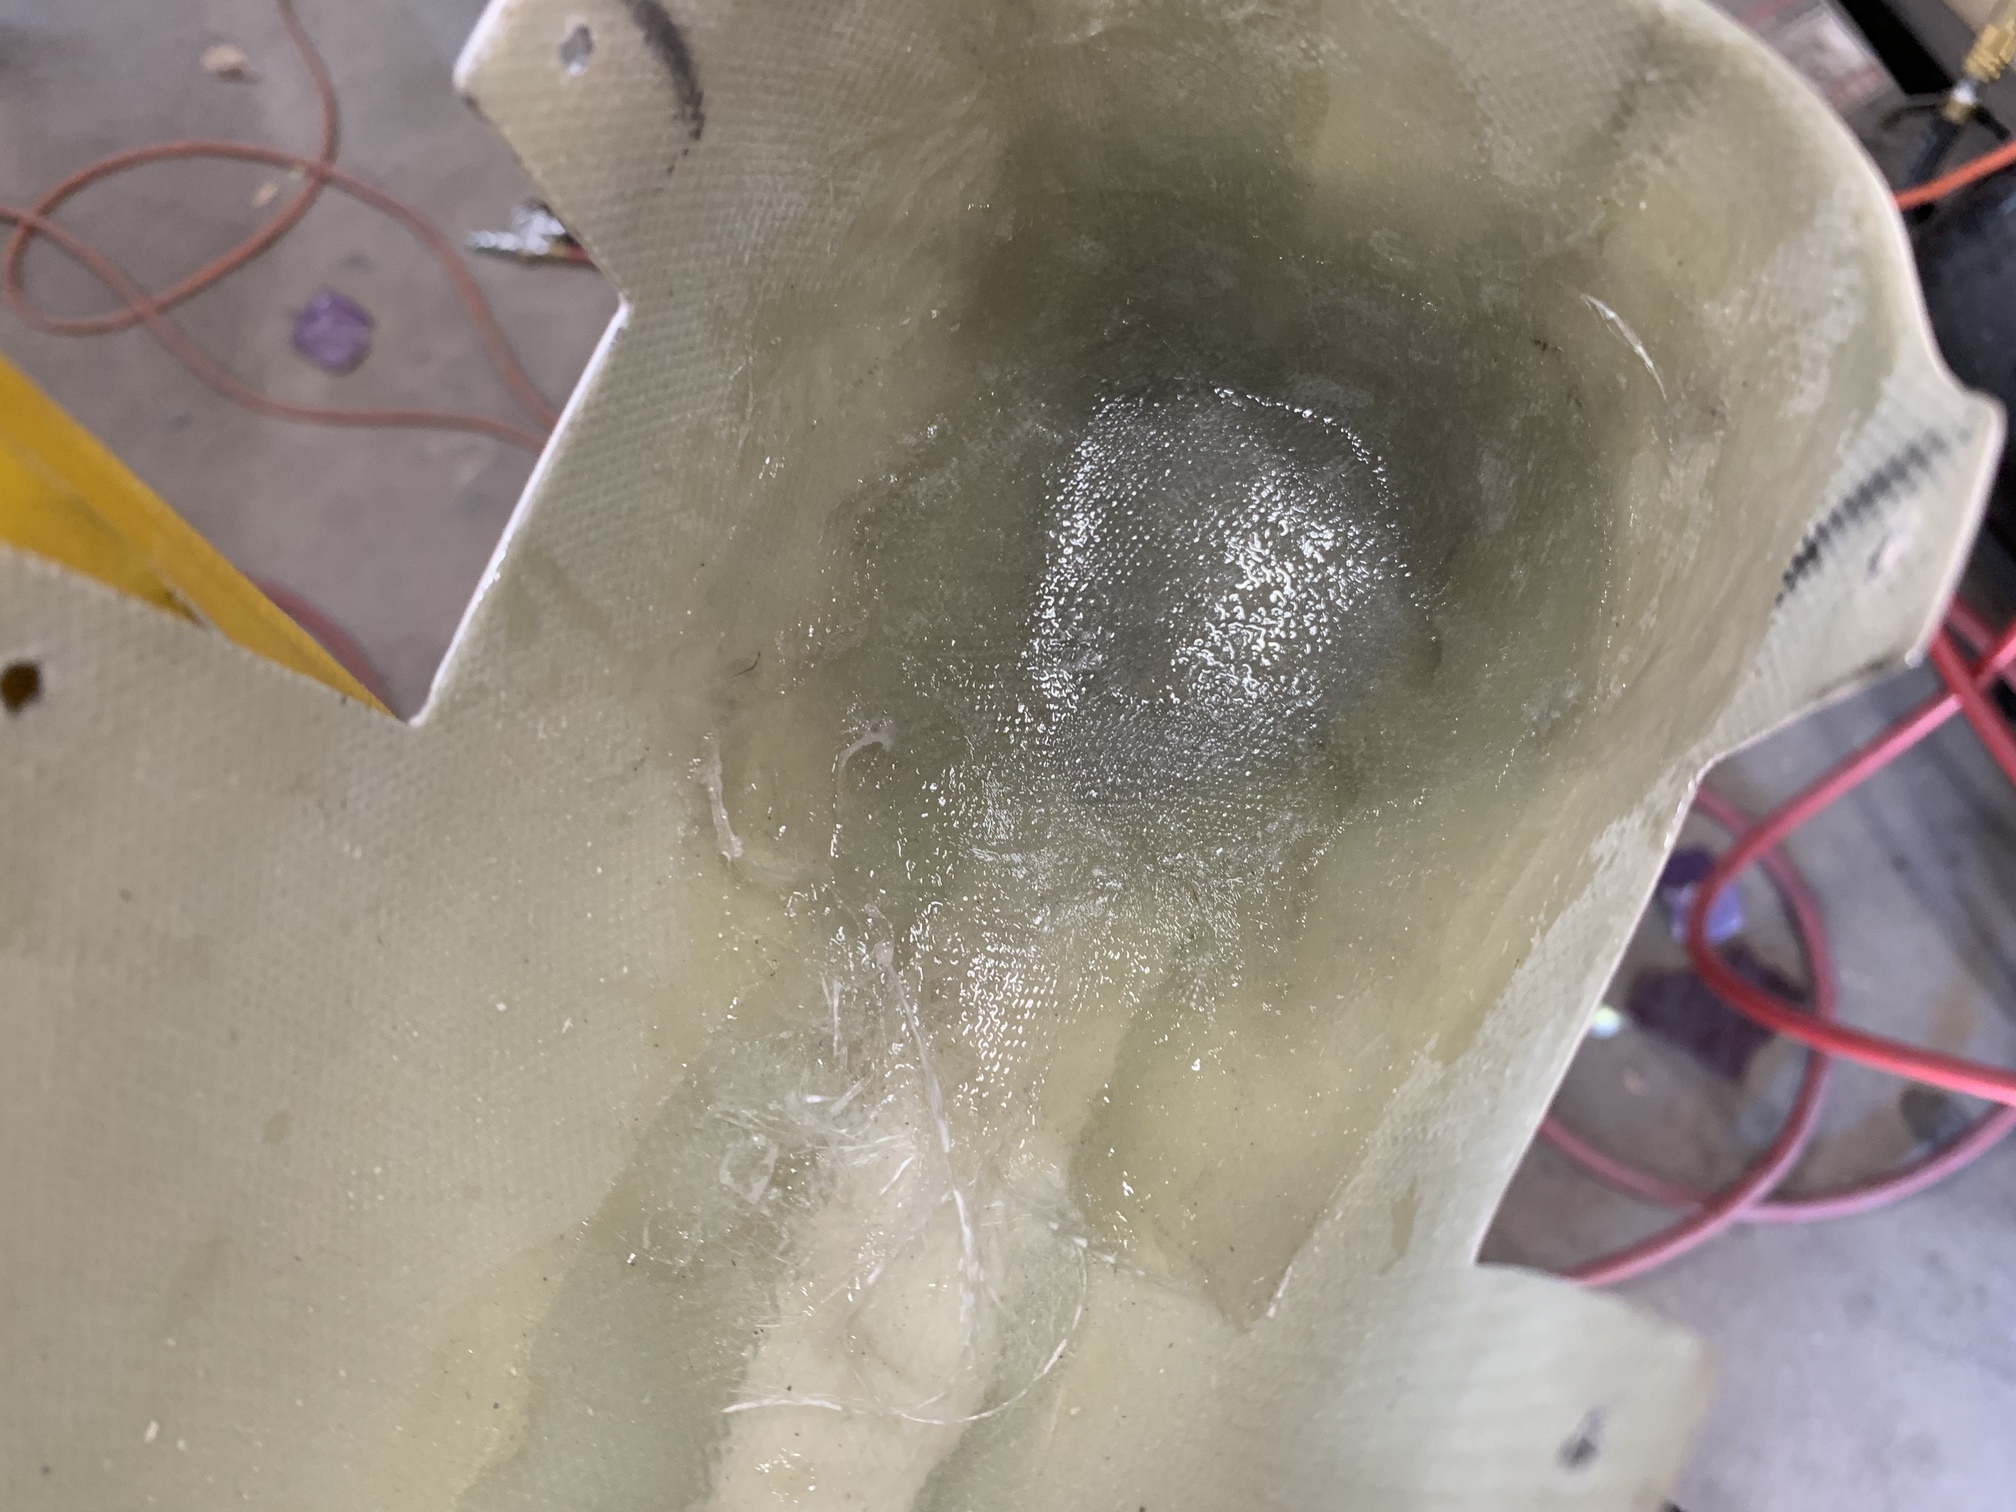
I spent a while pondering how to fix this and then settled on slicing off a bit of the fairing at the front. Here's the rough cut-out.
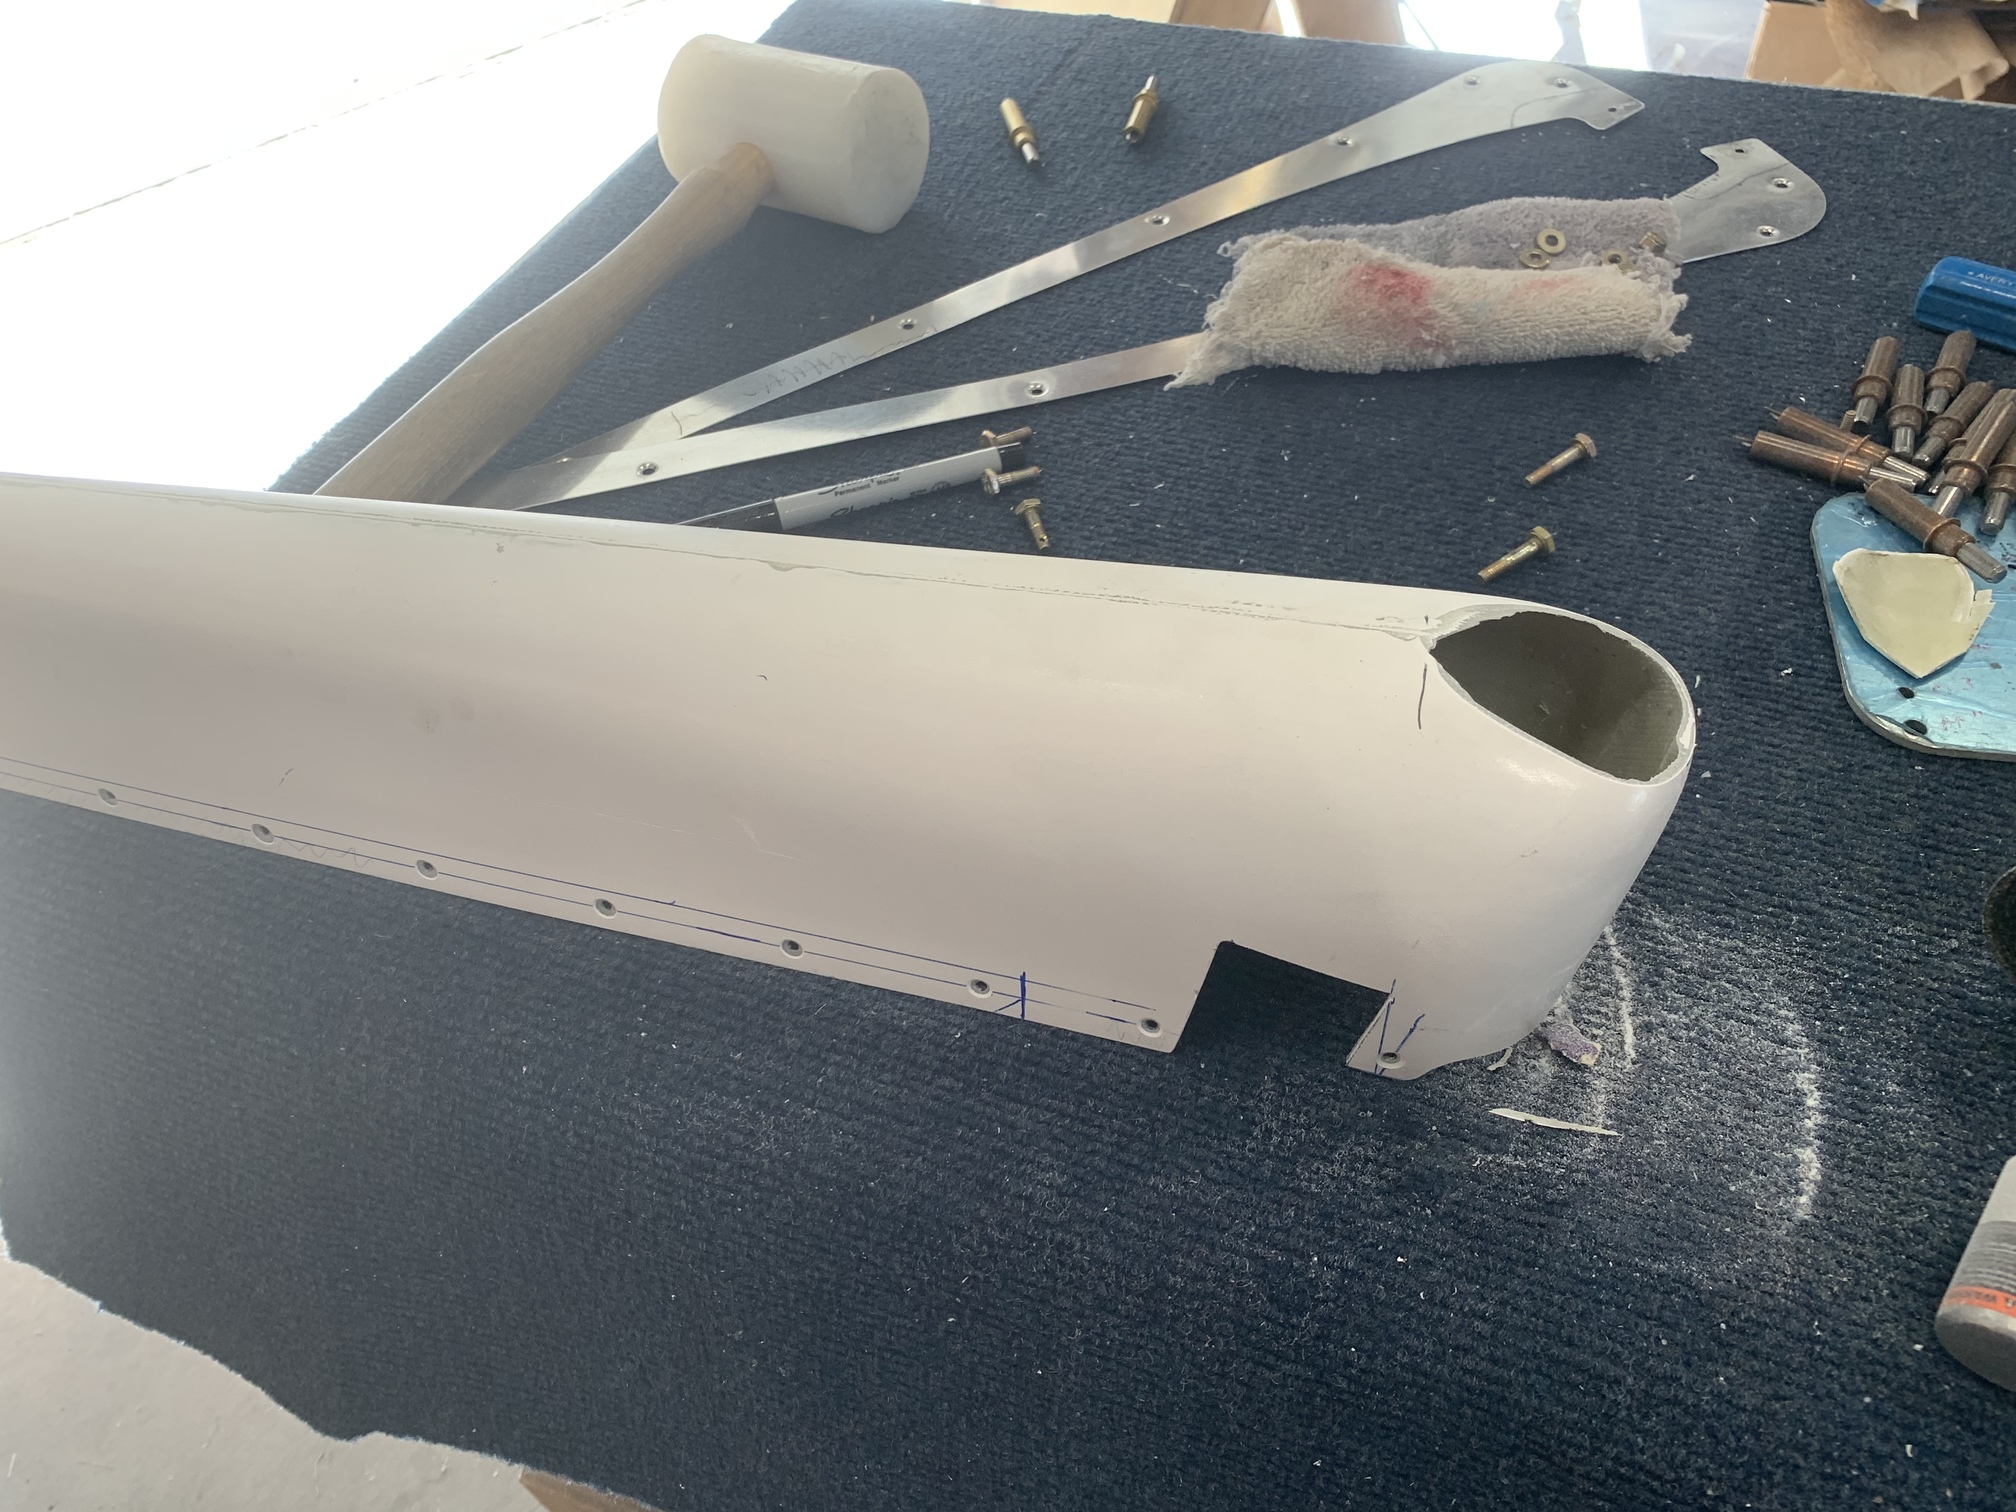
This gives nice clearance to the tail spring.
Then I put some tape on the outside of the hole and laid up several layers of fiberglass on the inside. This is not structural, so it doesn't have to be perfect. I will fill and sand the outside after it cures.
Finally, I got out the AeroLEDS Suntail tail light and started to look at how to install it on the rudder fairing.
| Previous - Index - Next |
This work is licensed under Attribution-NonCommercial-NoDerivatives 4.0 International![]()
![]()
![]()
![]()