Log (By Day)
Log (By Category)
Pictures
Pics of Me Working
Links
| ||||||||||||
Sunday October 23, 2022
Rudder Lower Fairing, Tail Light, Antenna Installation
(0.9 Hours
Center Fuselage, 2.8 Hours
Electrical, 2.8 Hours
Rudder)
6.5 Hours Total
| Previous - Index - Next |
The fiberglass on the rudder tip cured and I sanded it down a bit.
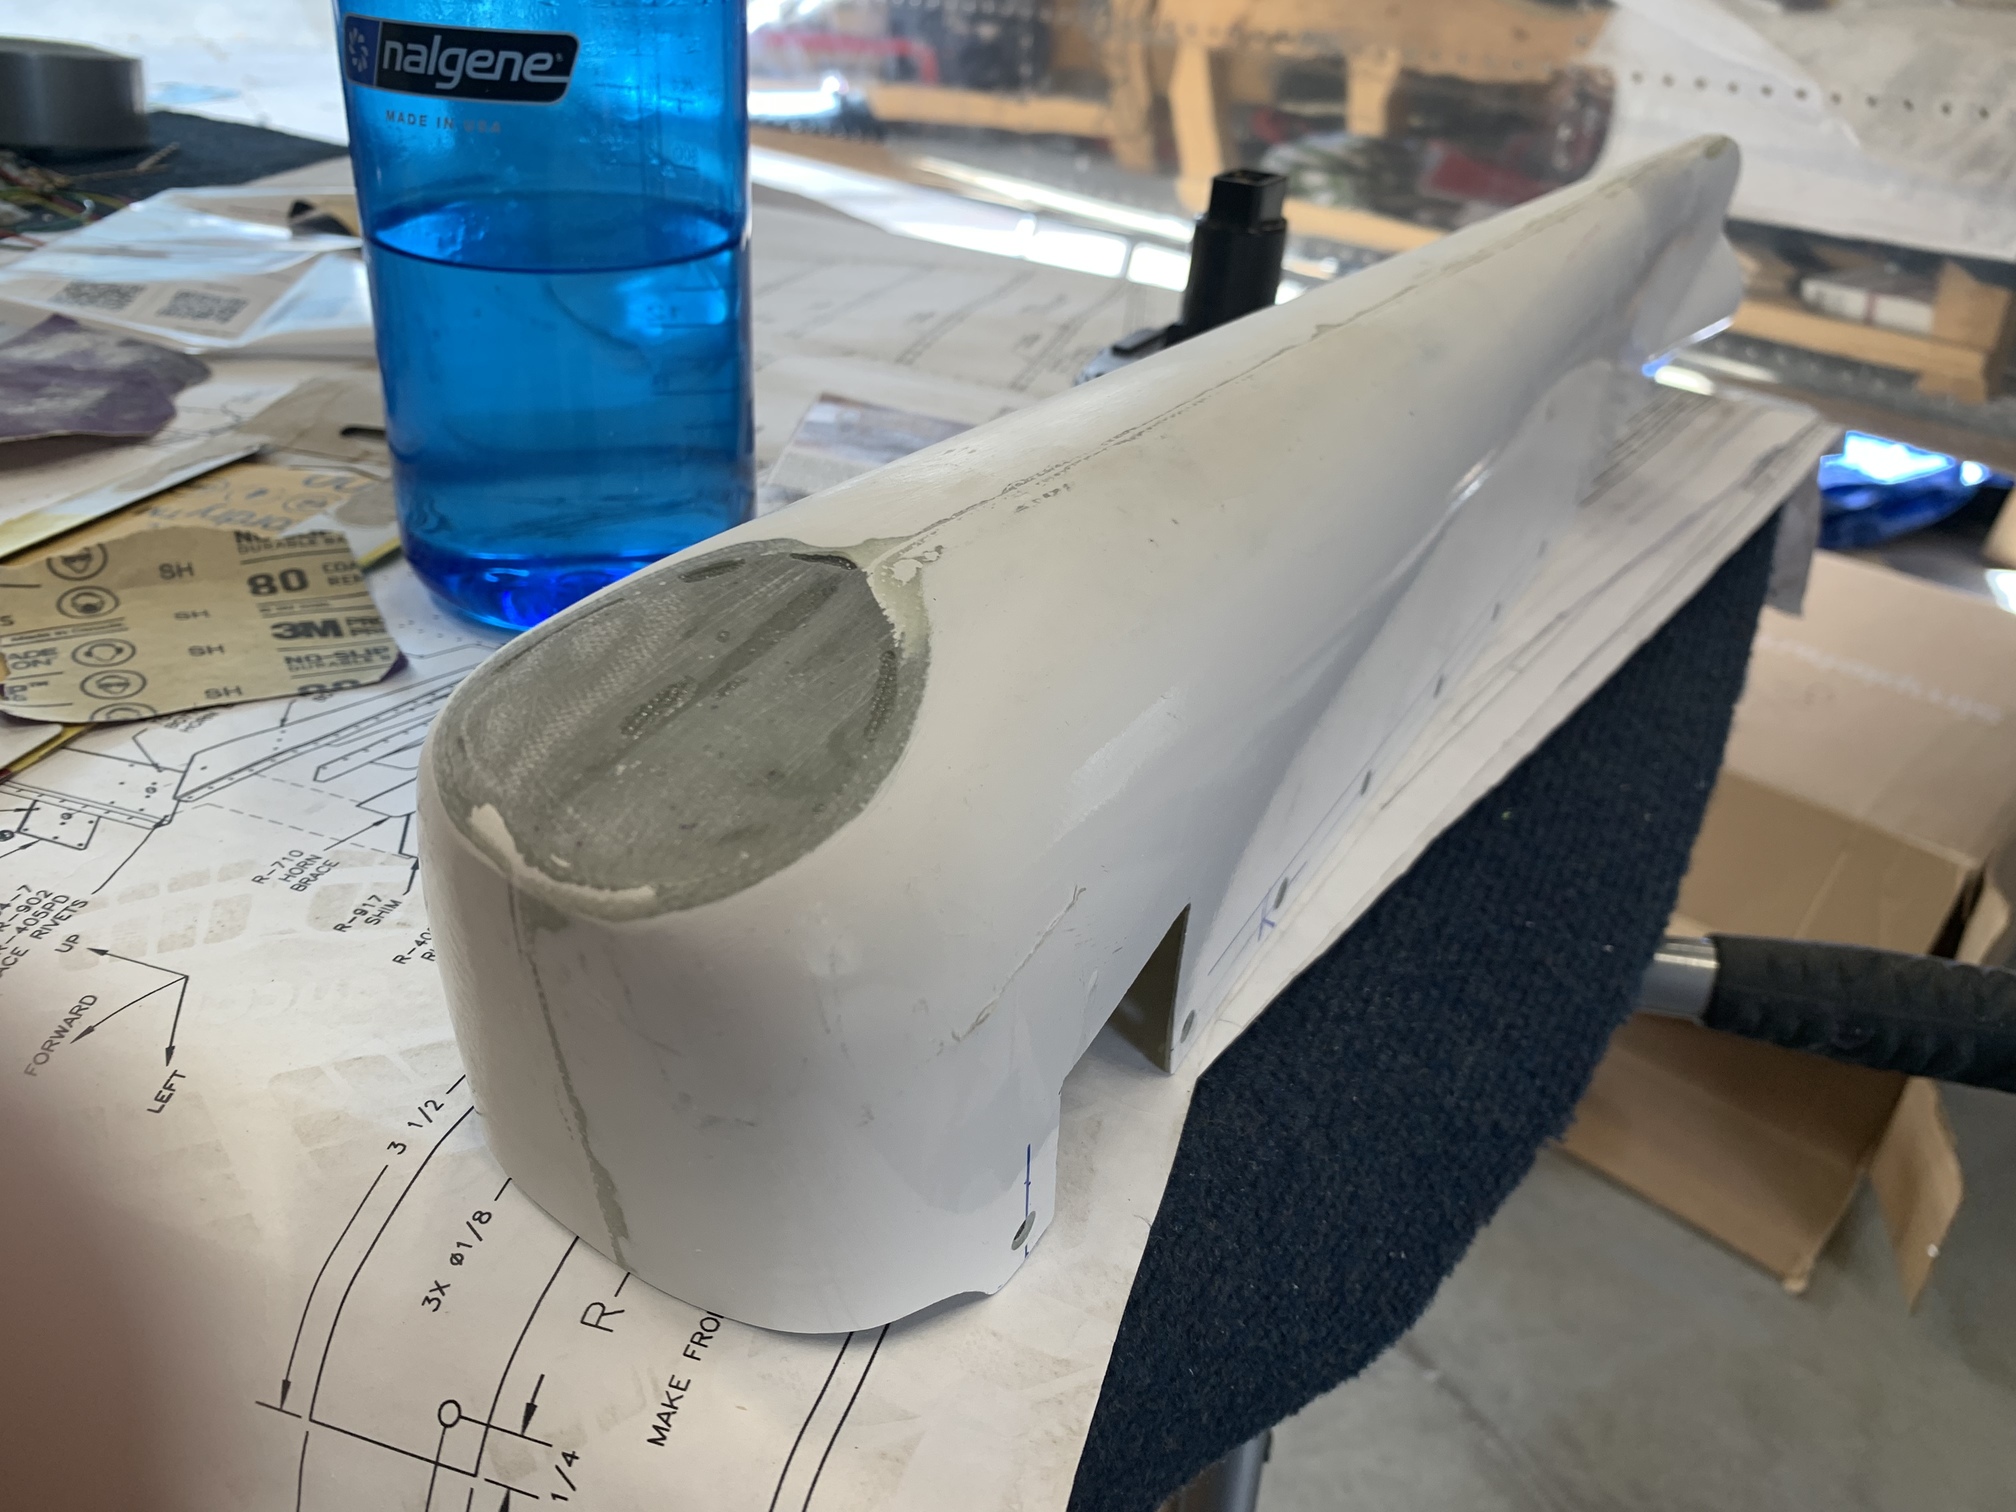
The gap looks perfect.

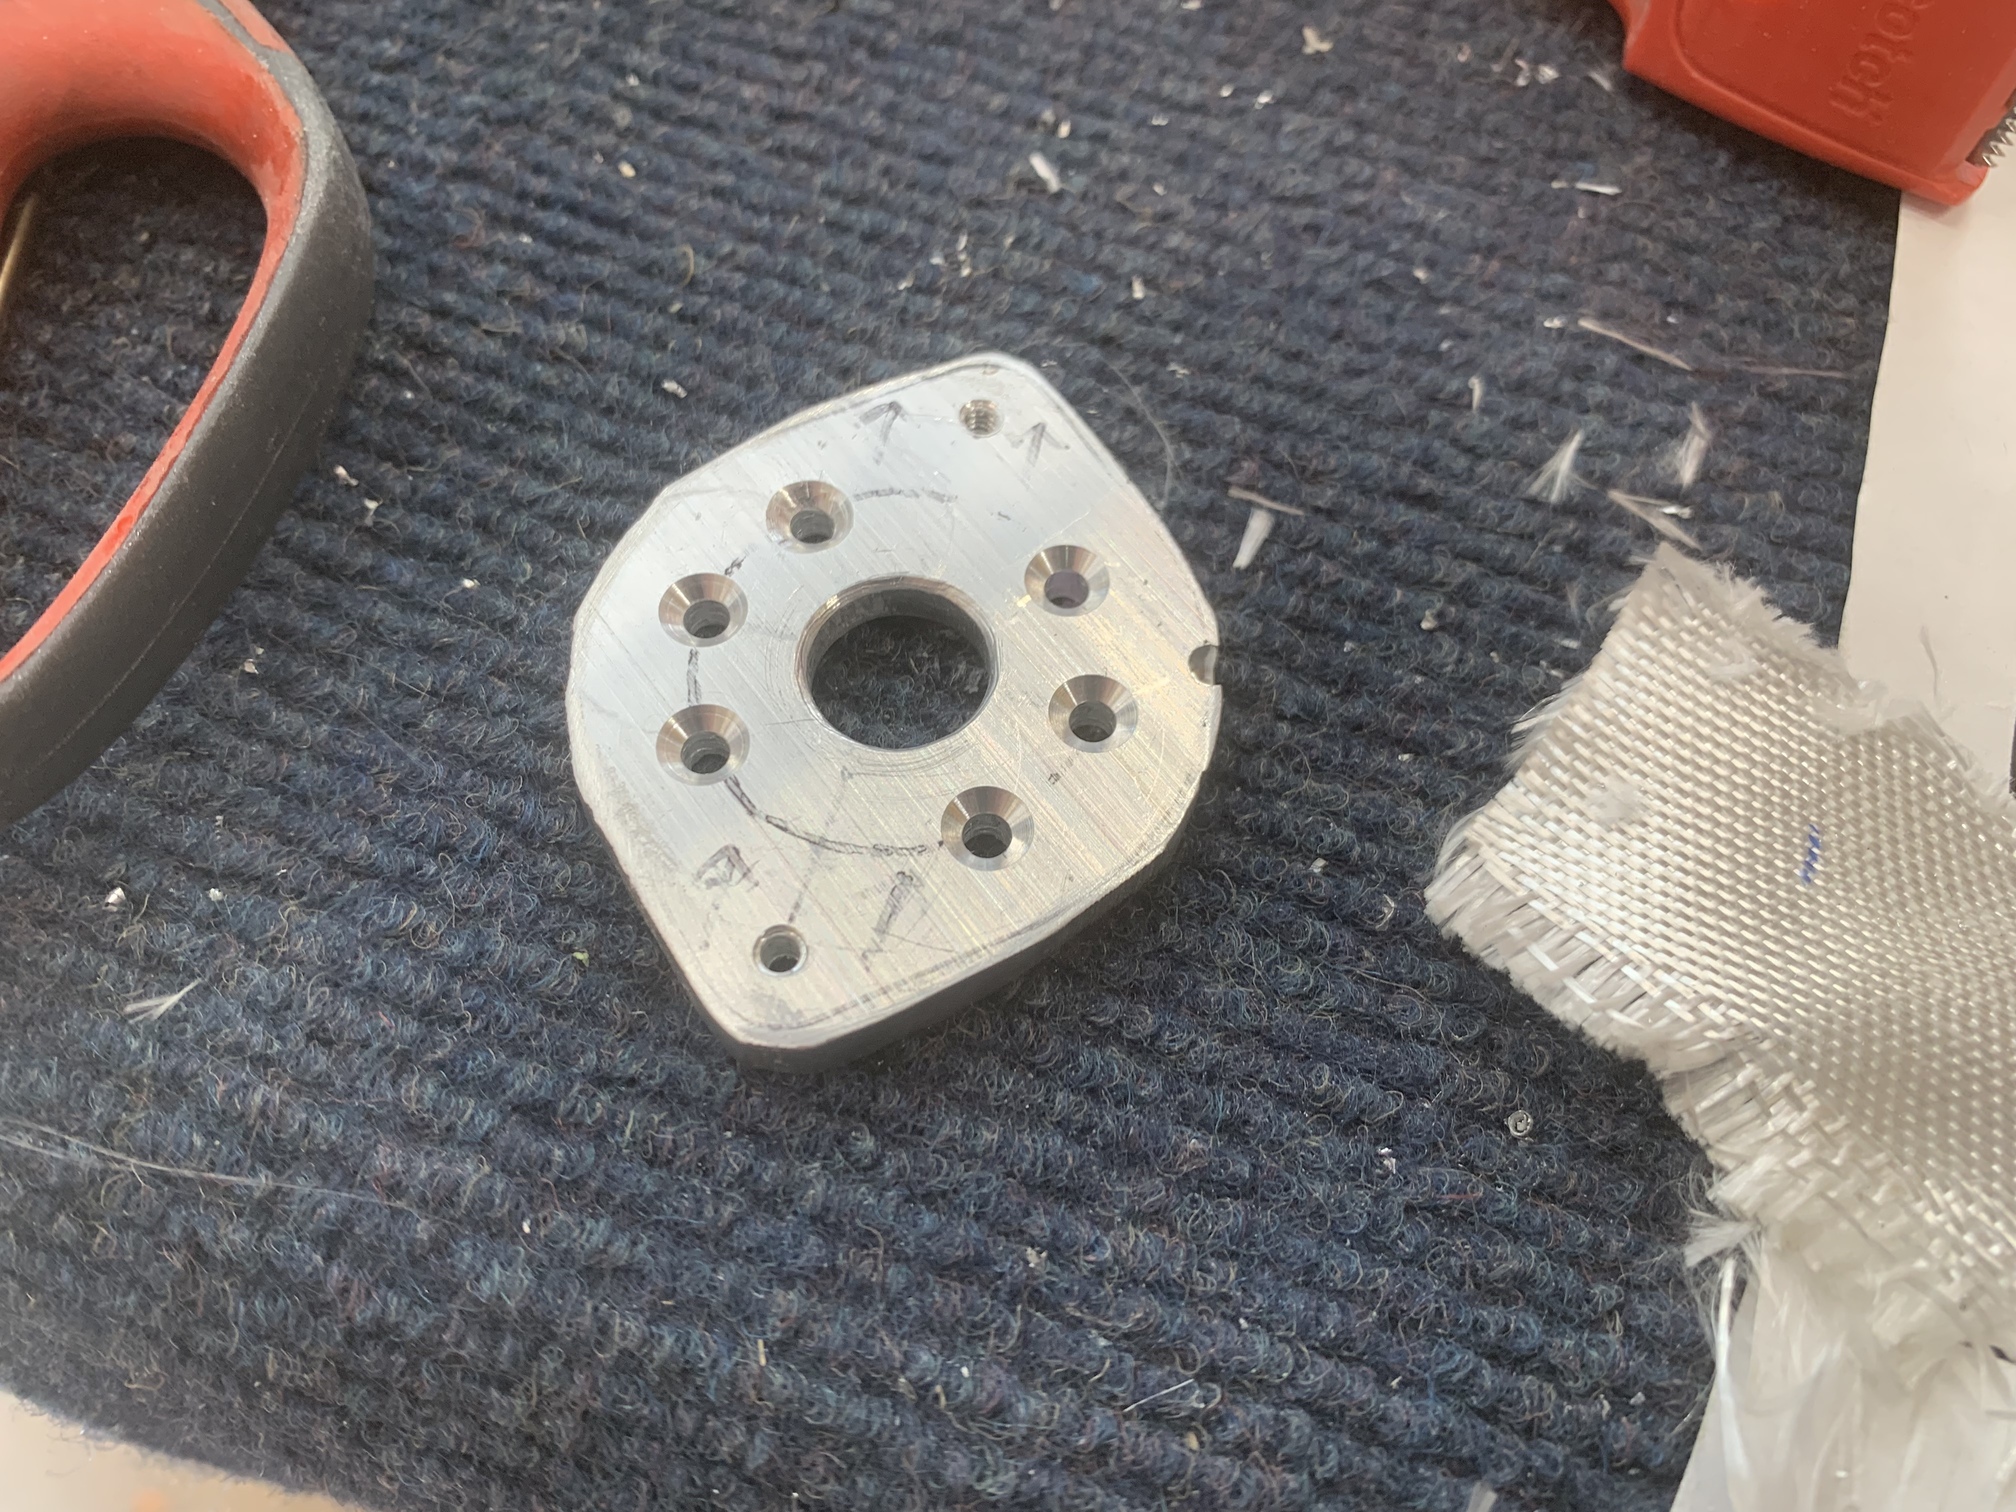
I decided to mount the AeroLEDs Suntail tail light to the rudder tip by fabricating a mounting plate out of aluminum. Here I cut out the appropriate size and made a large hole in the middle for the wires.
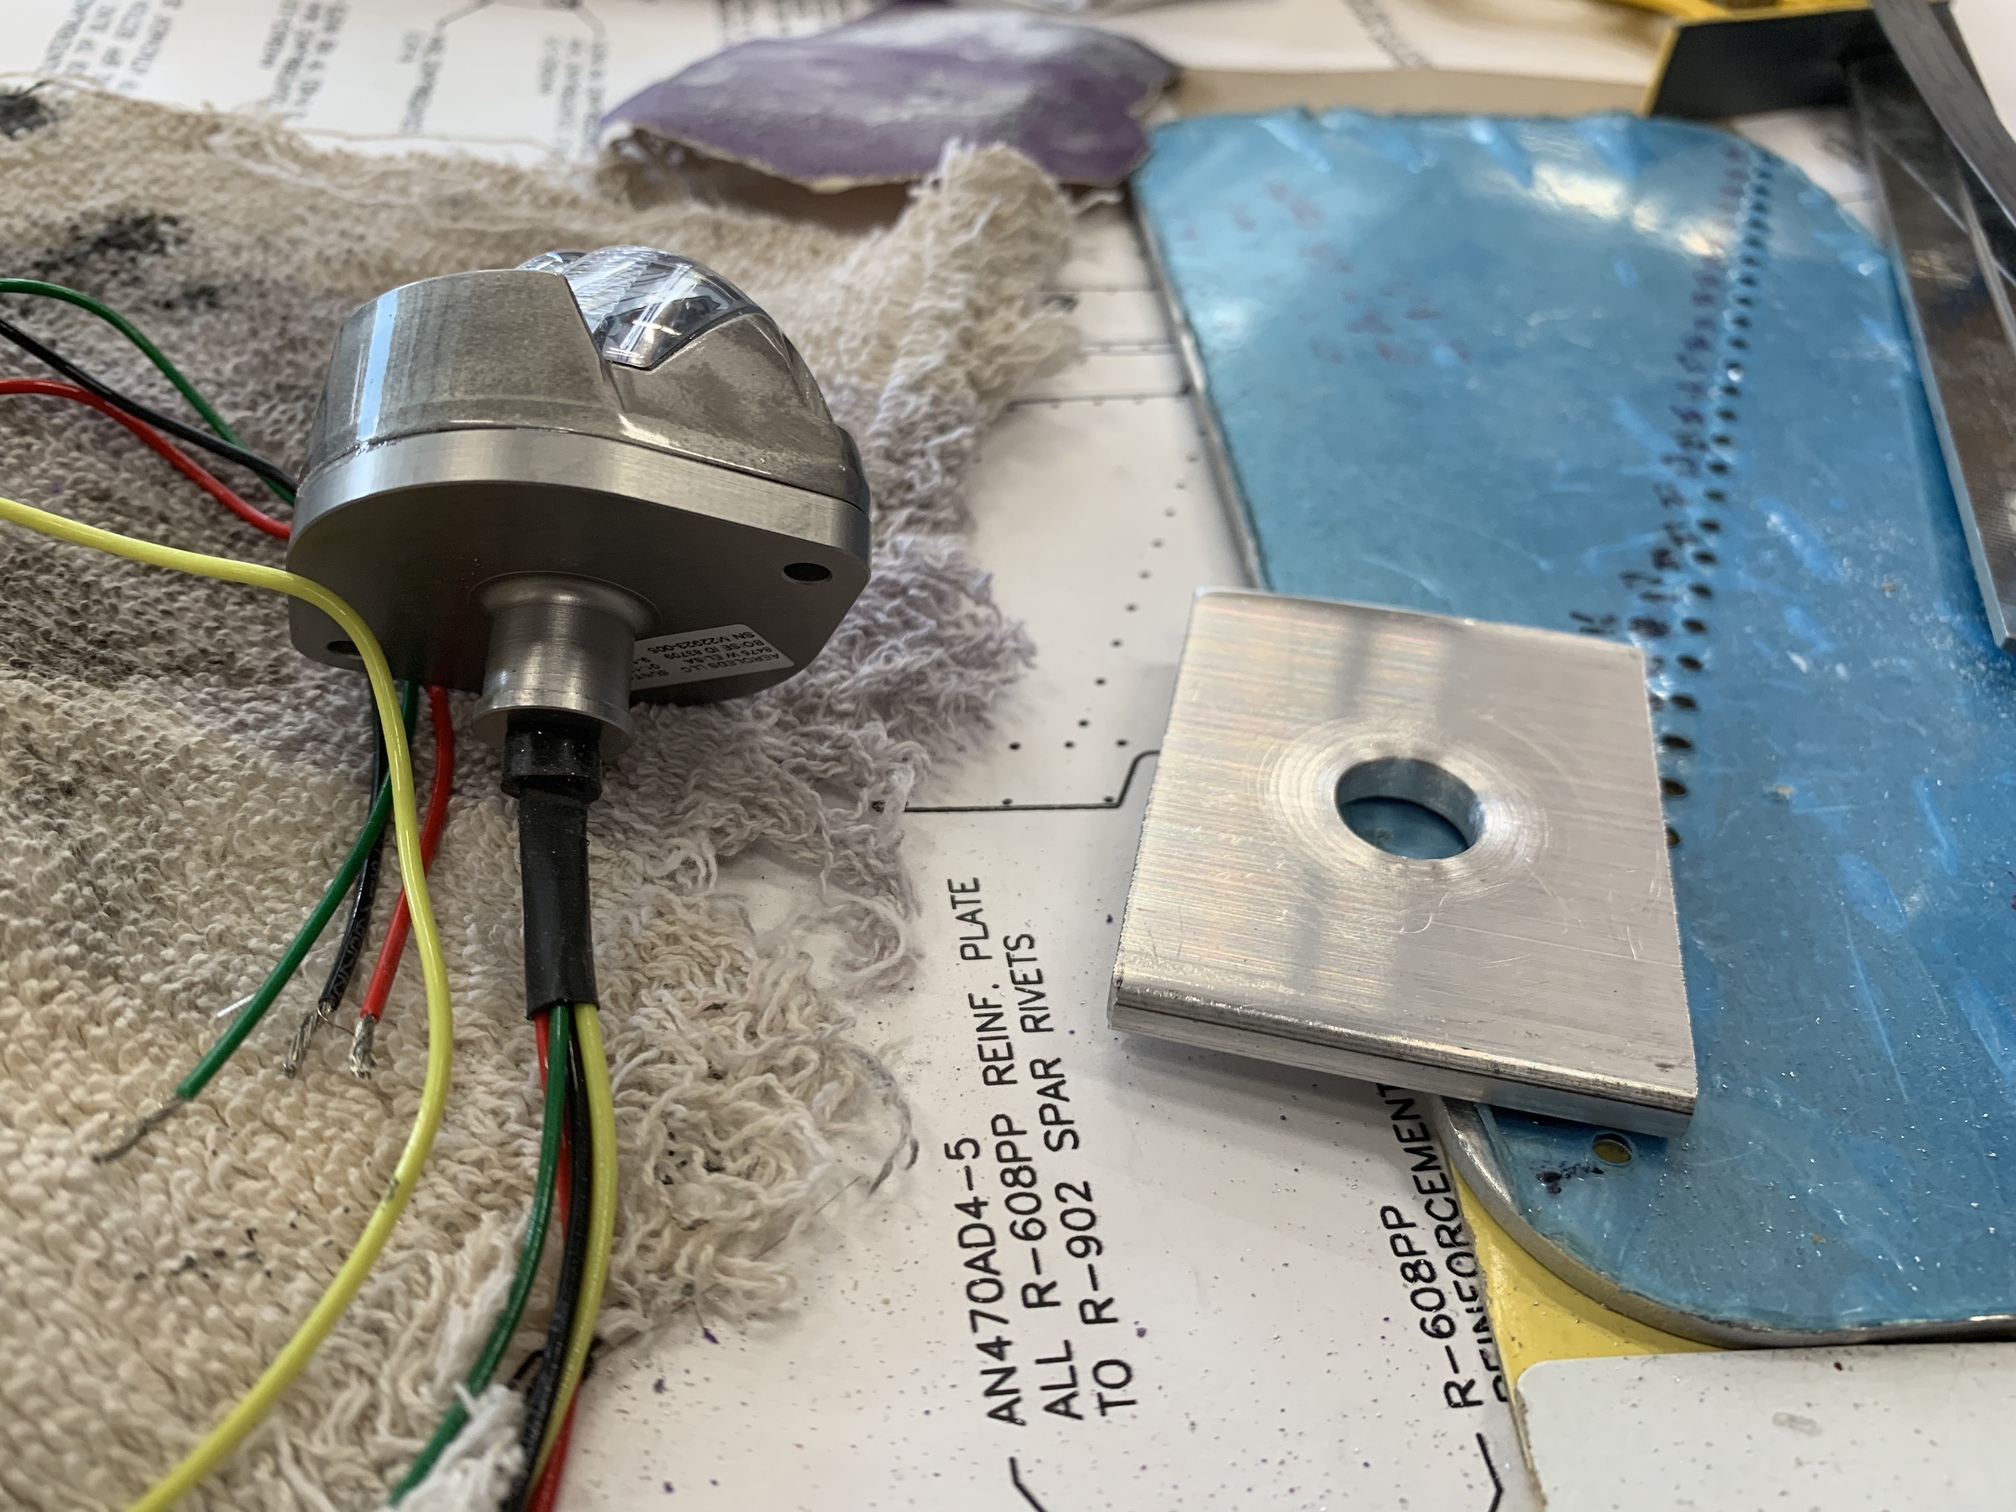
I then marked the outline and drilled a couple of #30 holes through the light into the mounting plate.
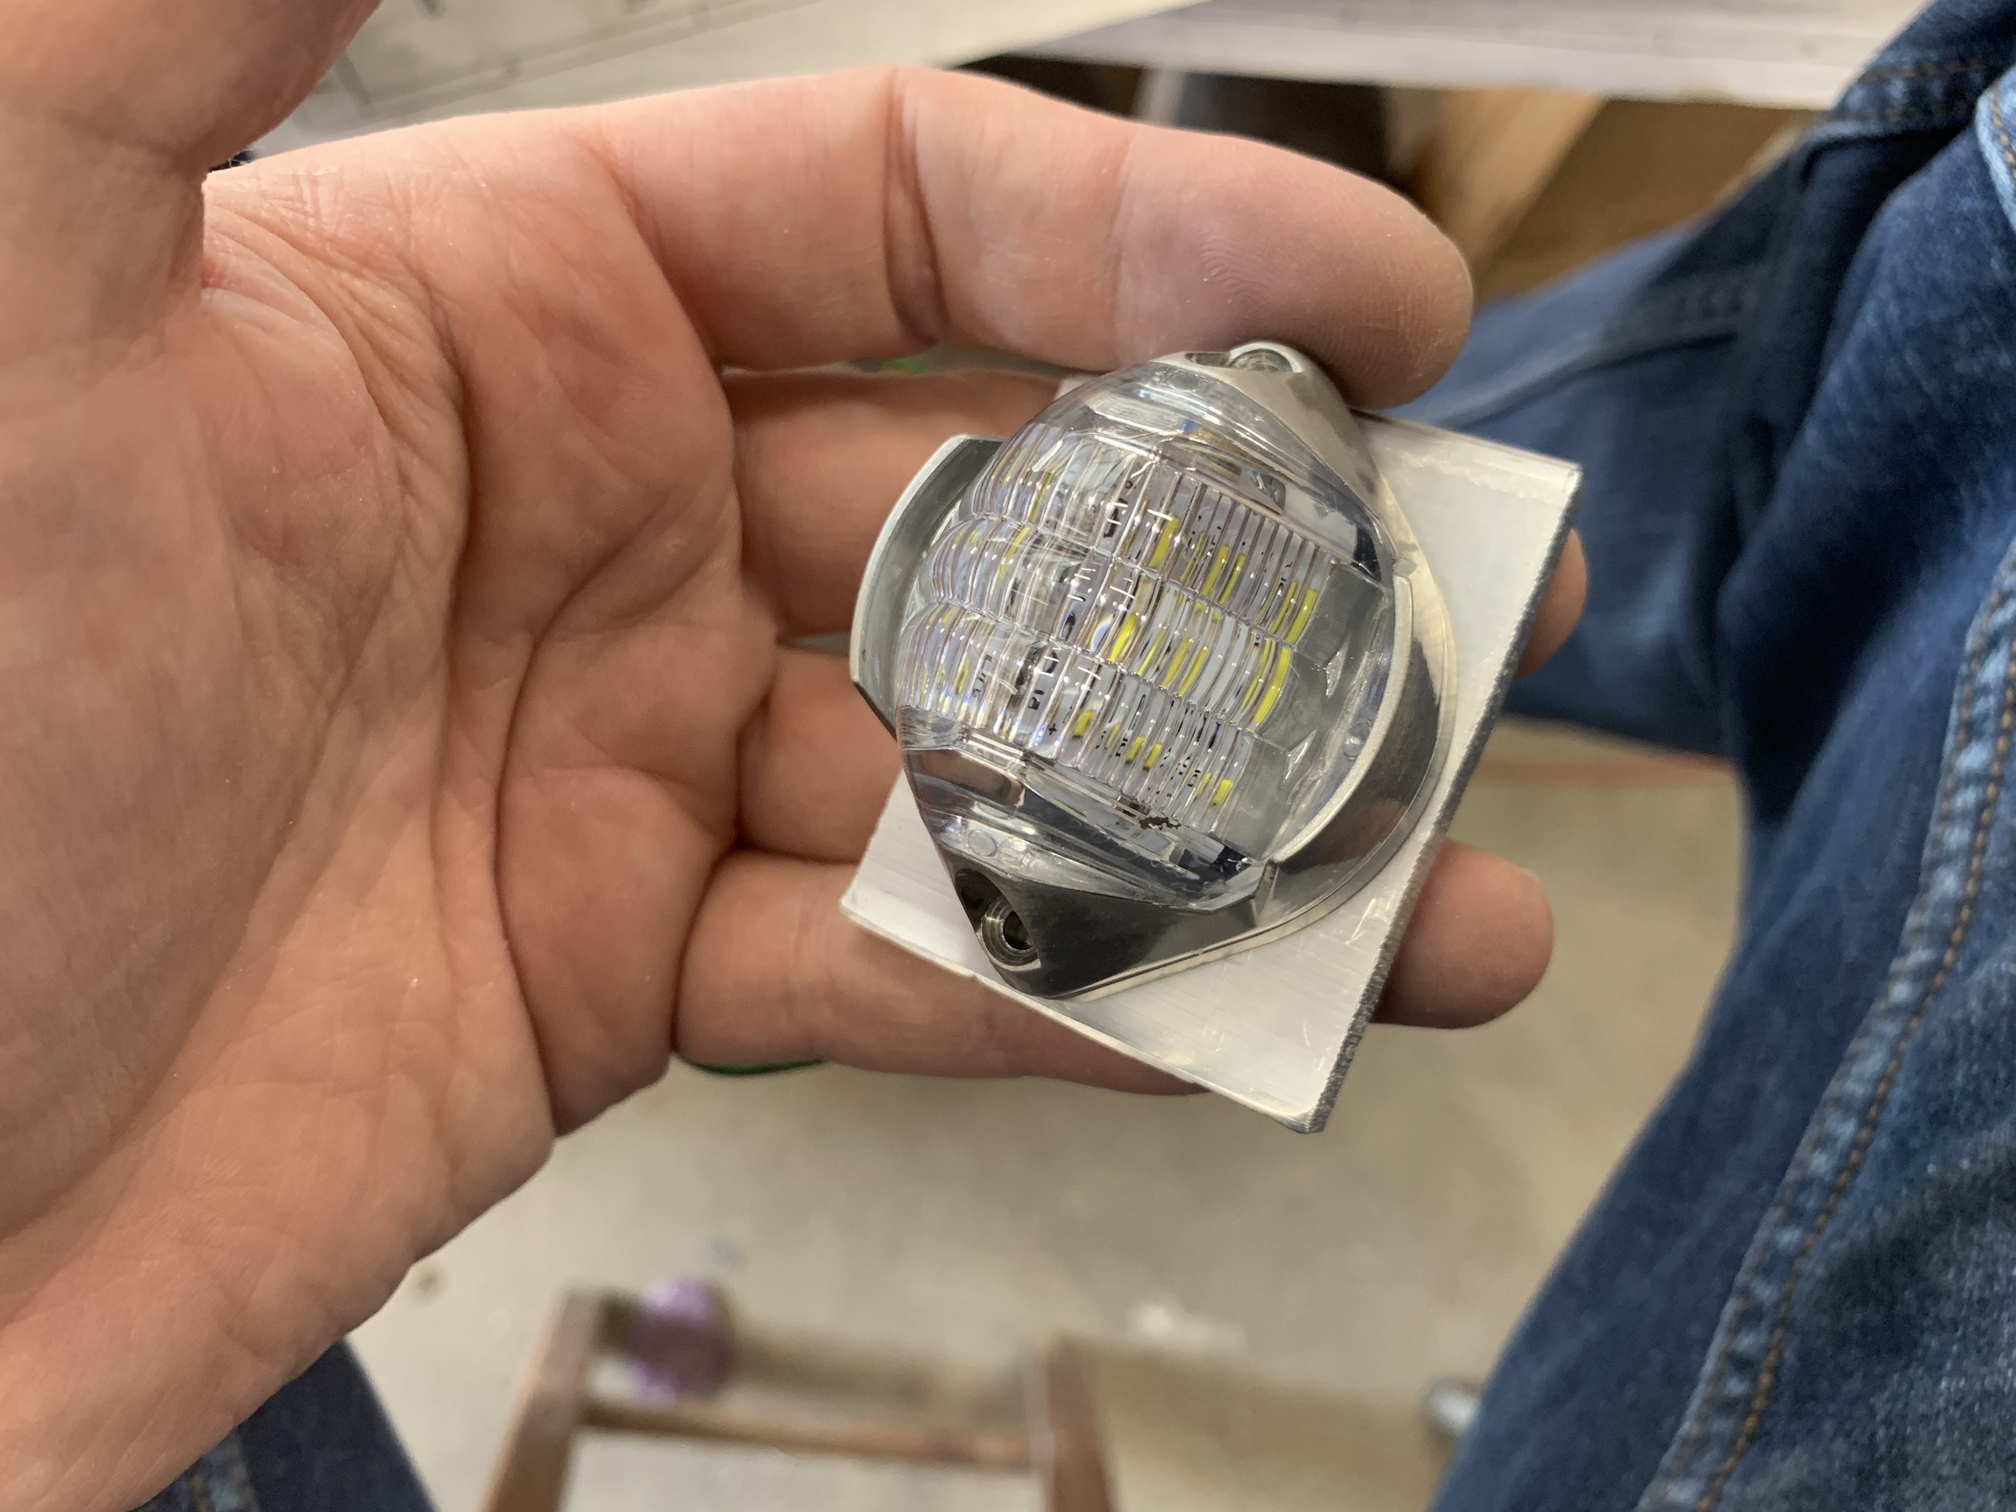
I rough cut the outline with the band saw. At this point I tried to tap the #4-40 holes for the screws from the light, but my tap immediately broke. None of the hardware stores have a tap that small, so I'll have to wait for an order to arrive.
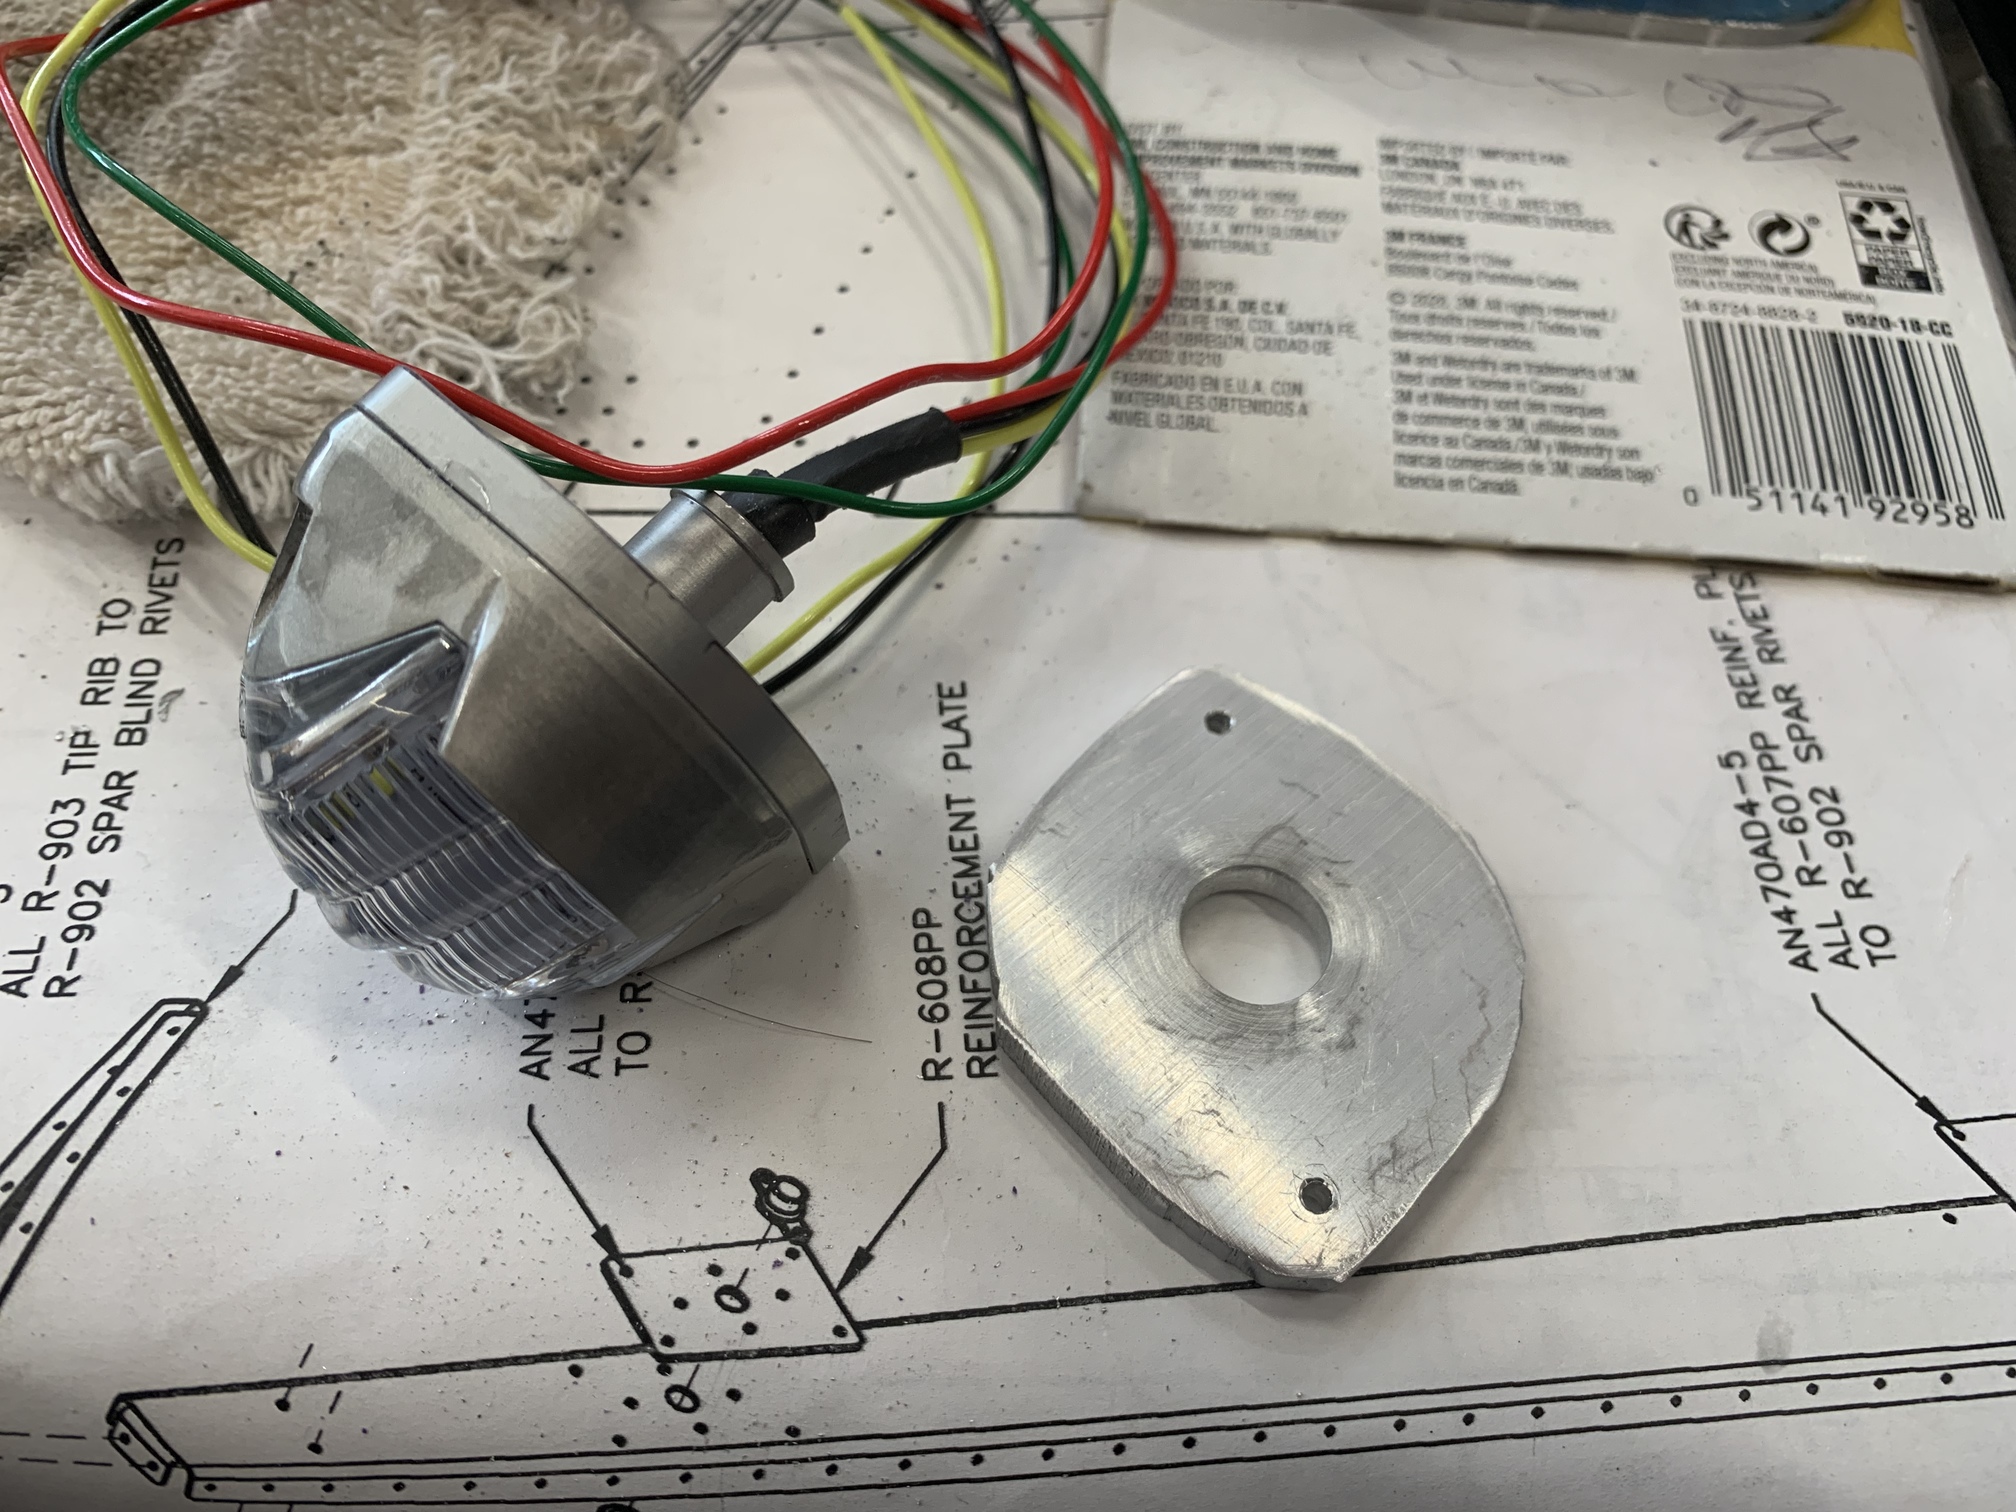
I drilled and countersunk holes for the CS4-4 blind rivets that will attach the plate to the tip.
I also drilled a few of the holes into the tip, but I will wait to drill the rivet holes until I get the tap.
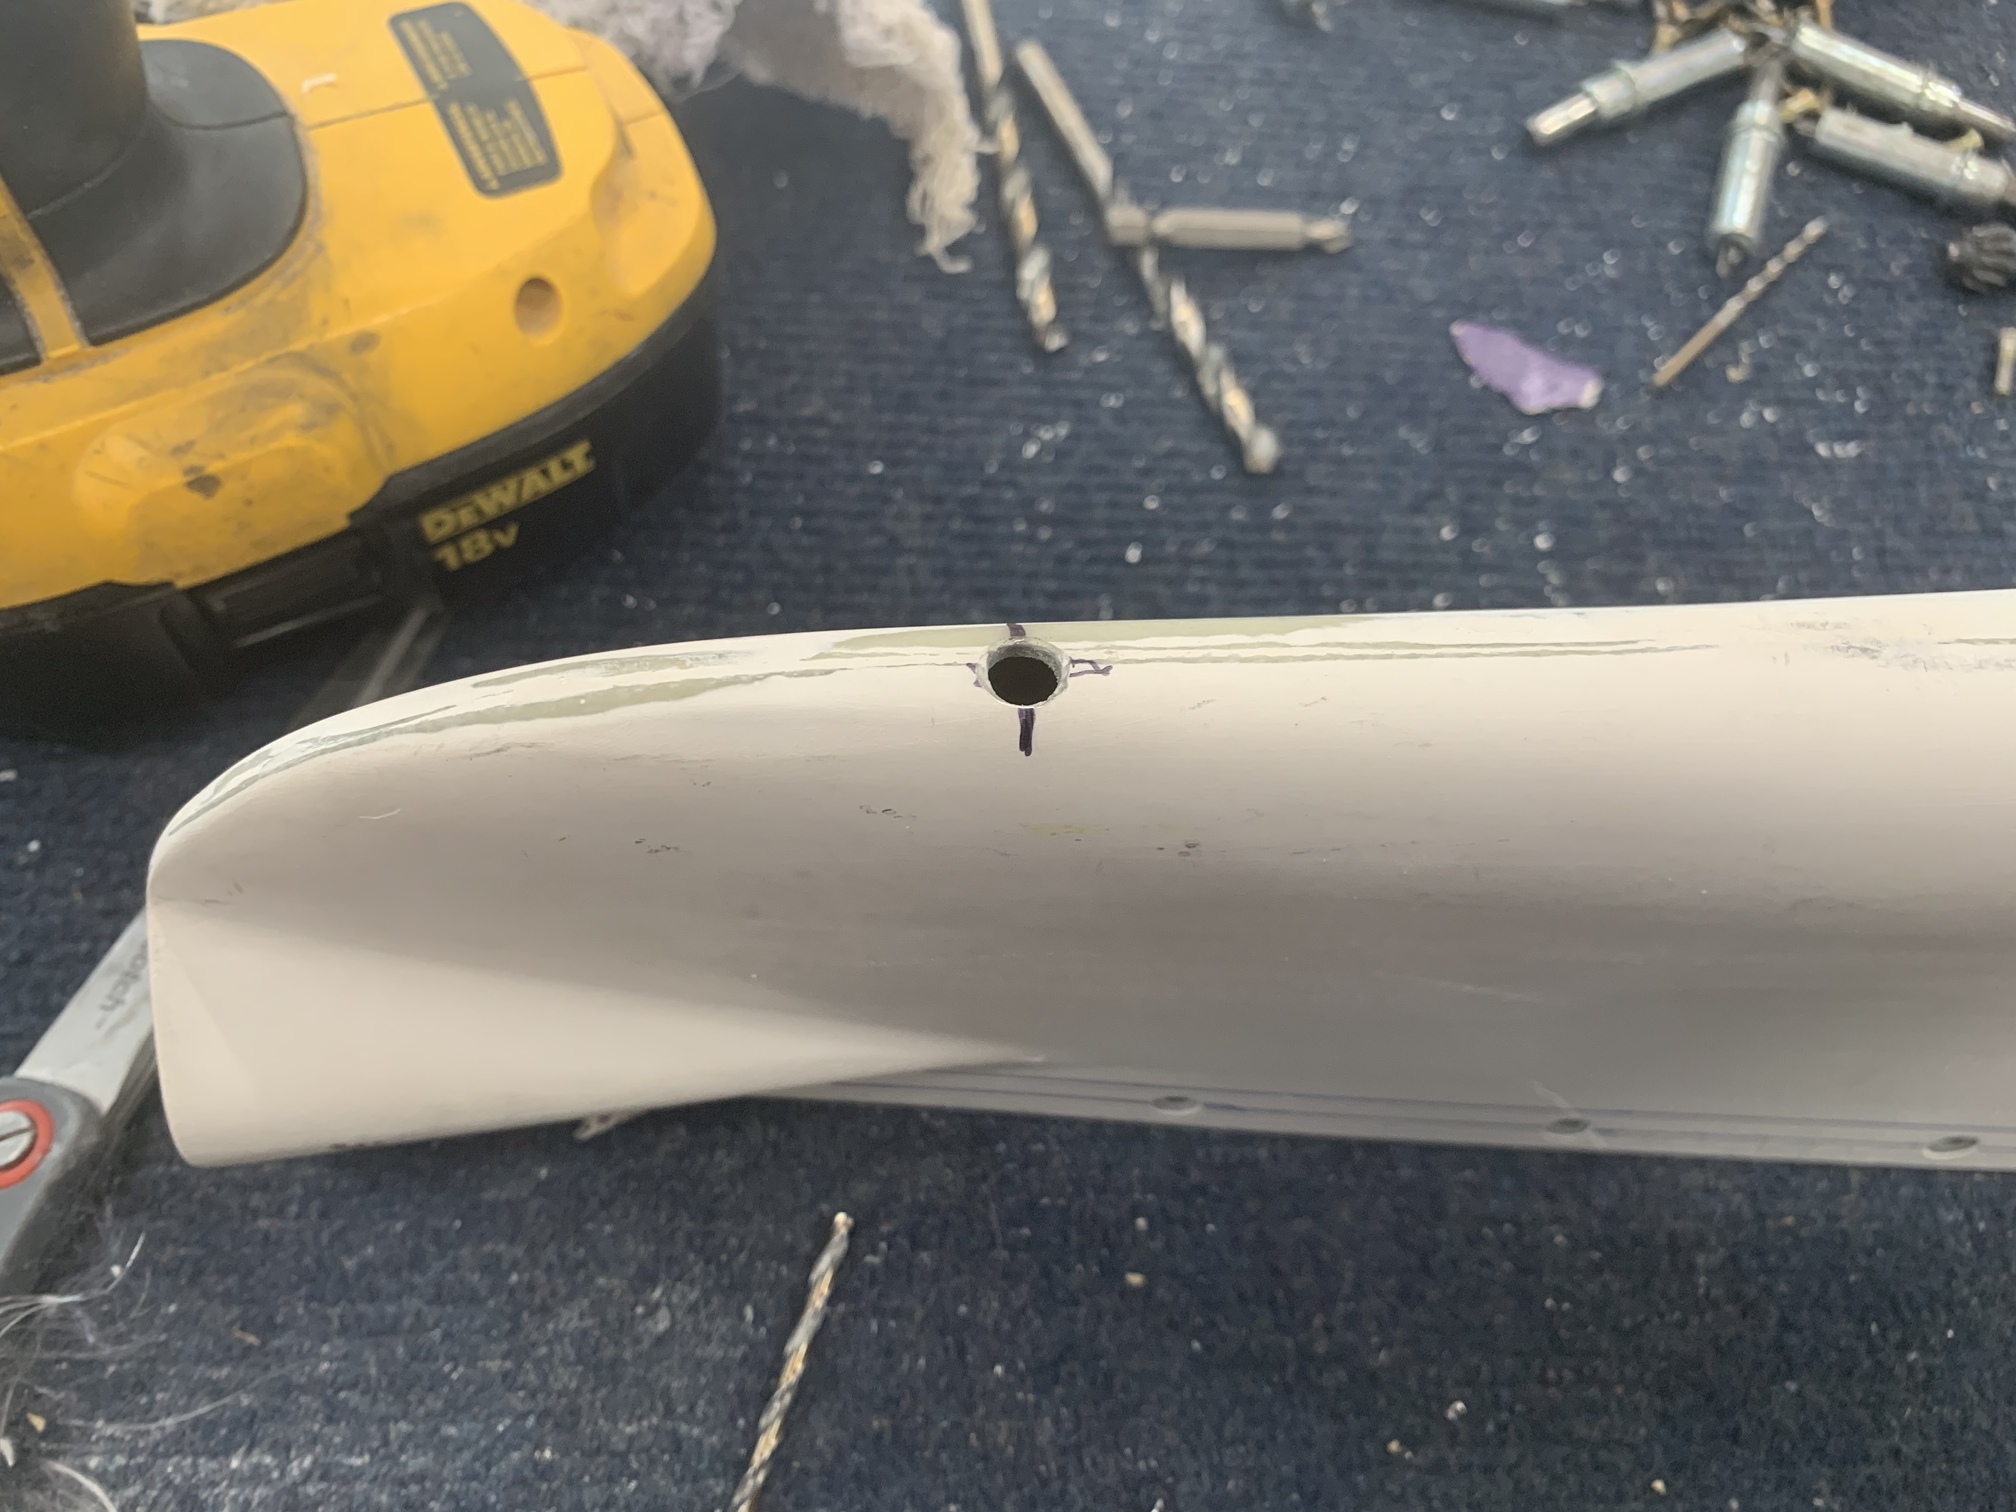
I then worked on the drain hole in the bottom rudder fairing. With the tail wheel on the ground, the rudder fairing is nearly level, so it isn't obvious where to put the drain. So I ended up just putting it here in the back. I can always add another hole at the front if the level changes with the engine on the front.
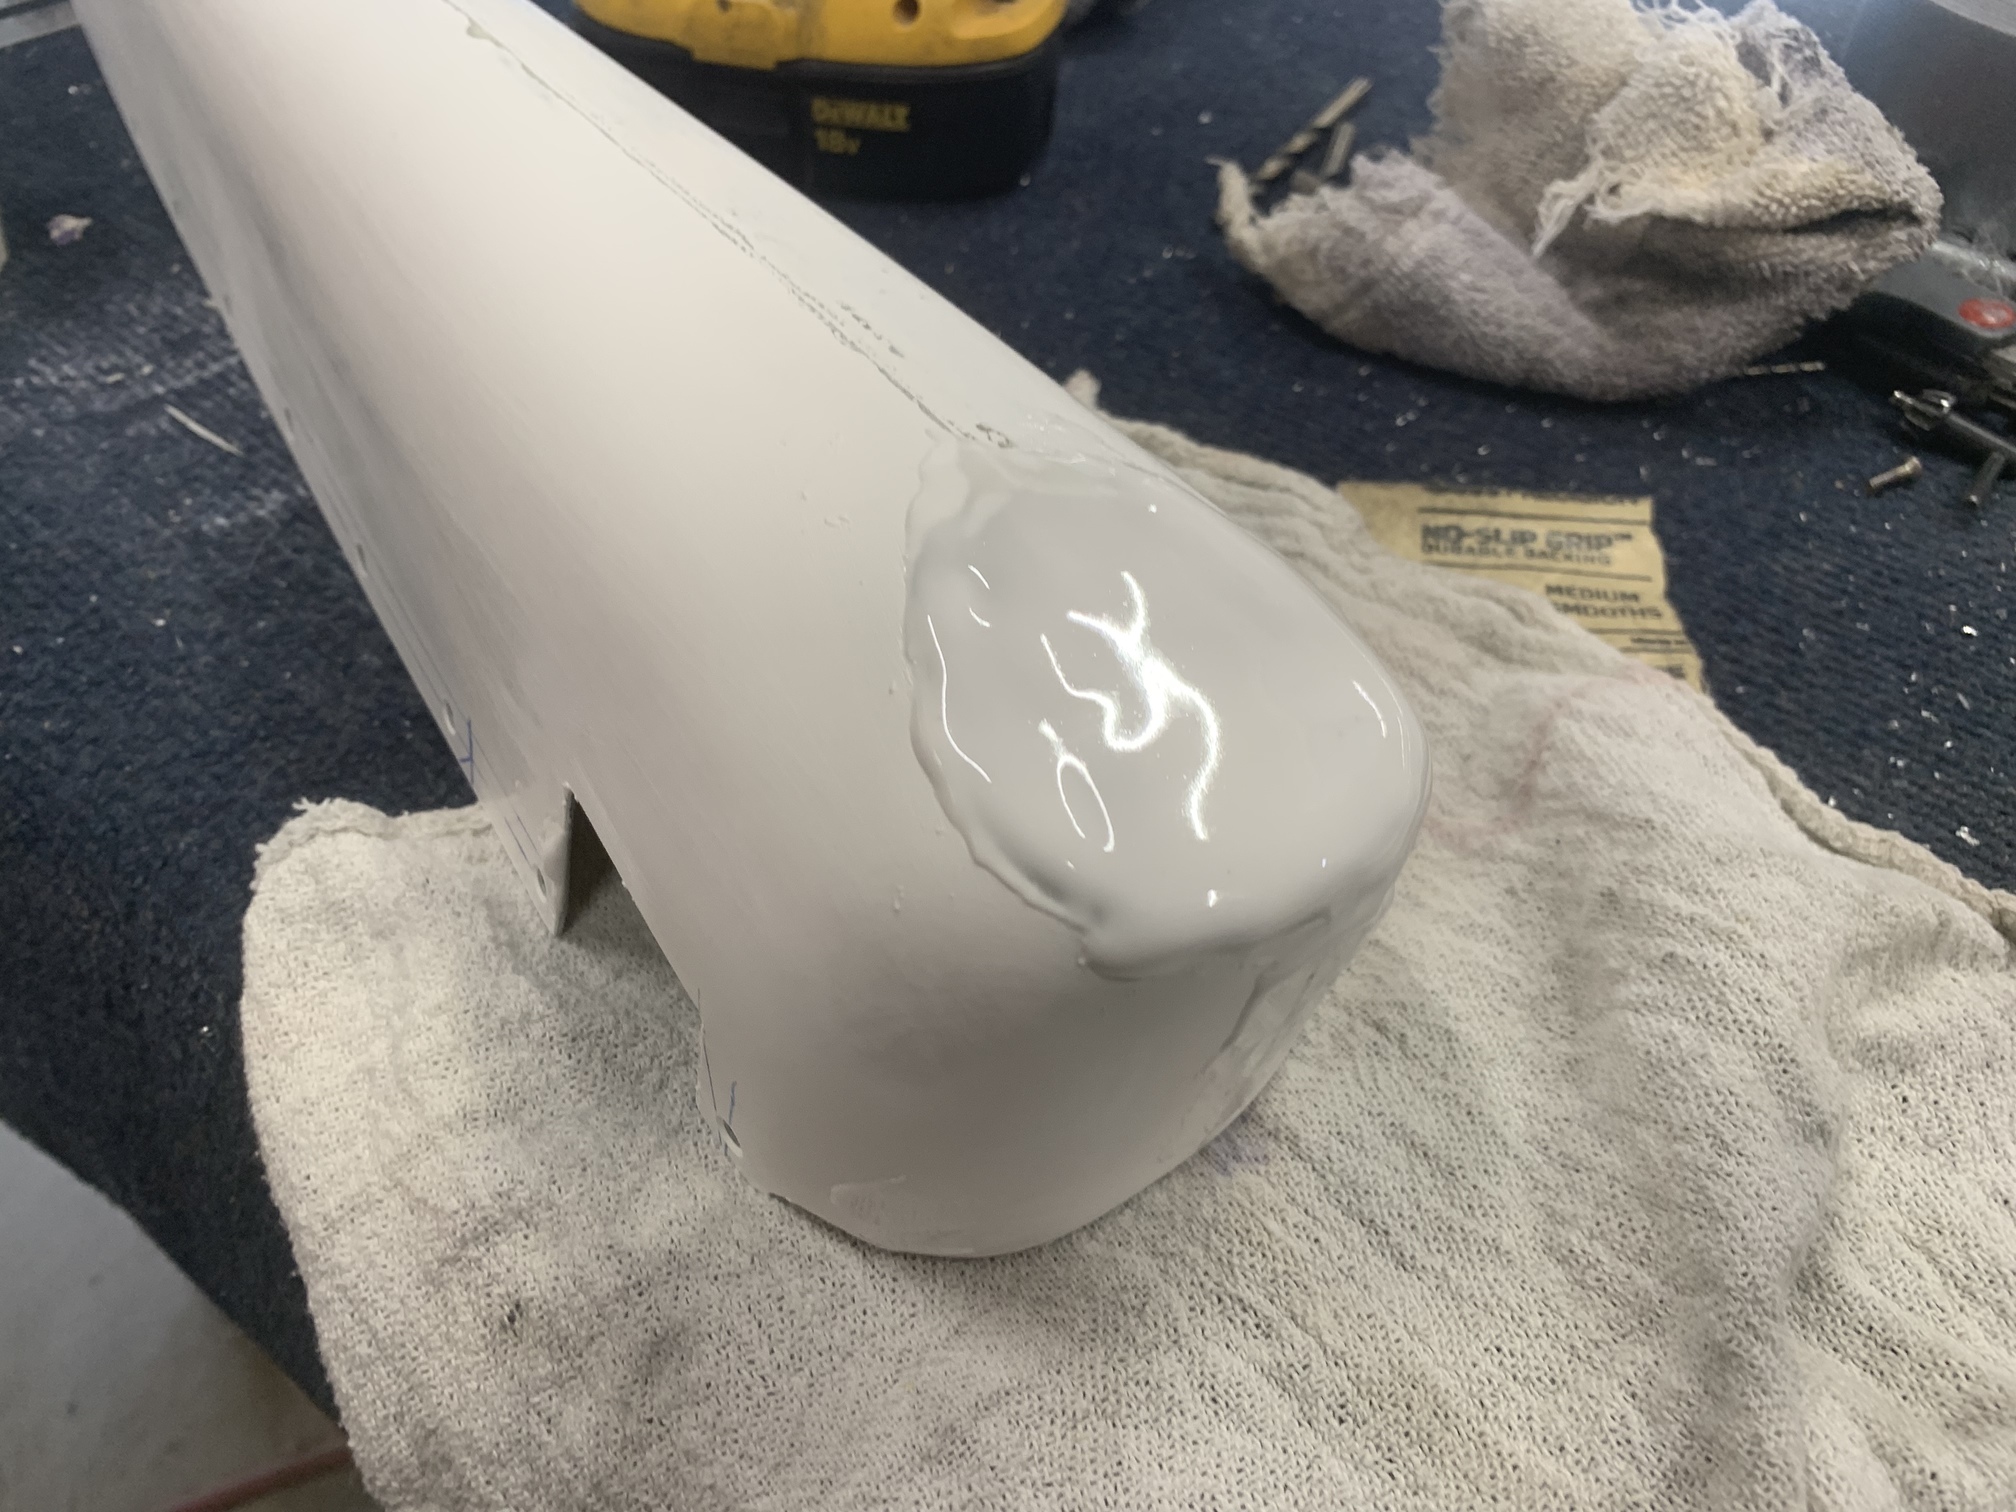
Then, I globbed some epoxy/micro onto the patch on the tip.
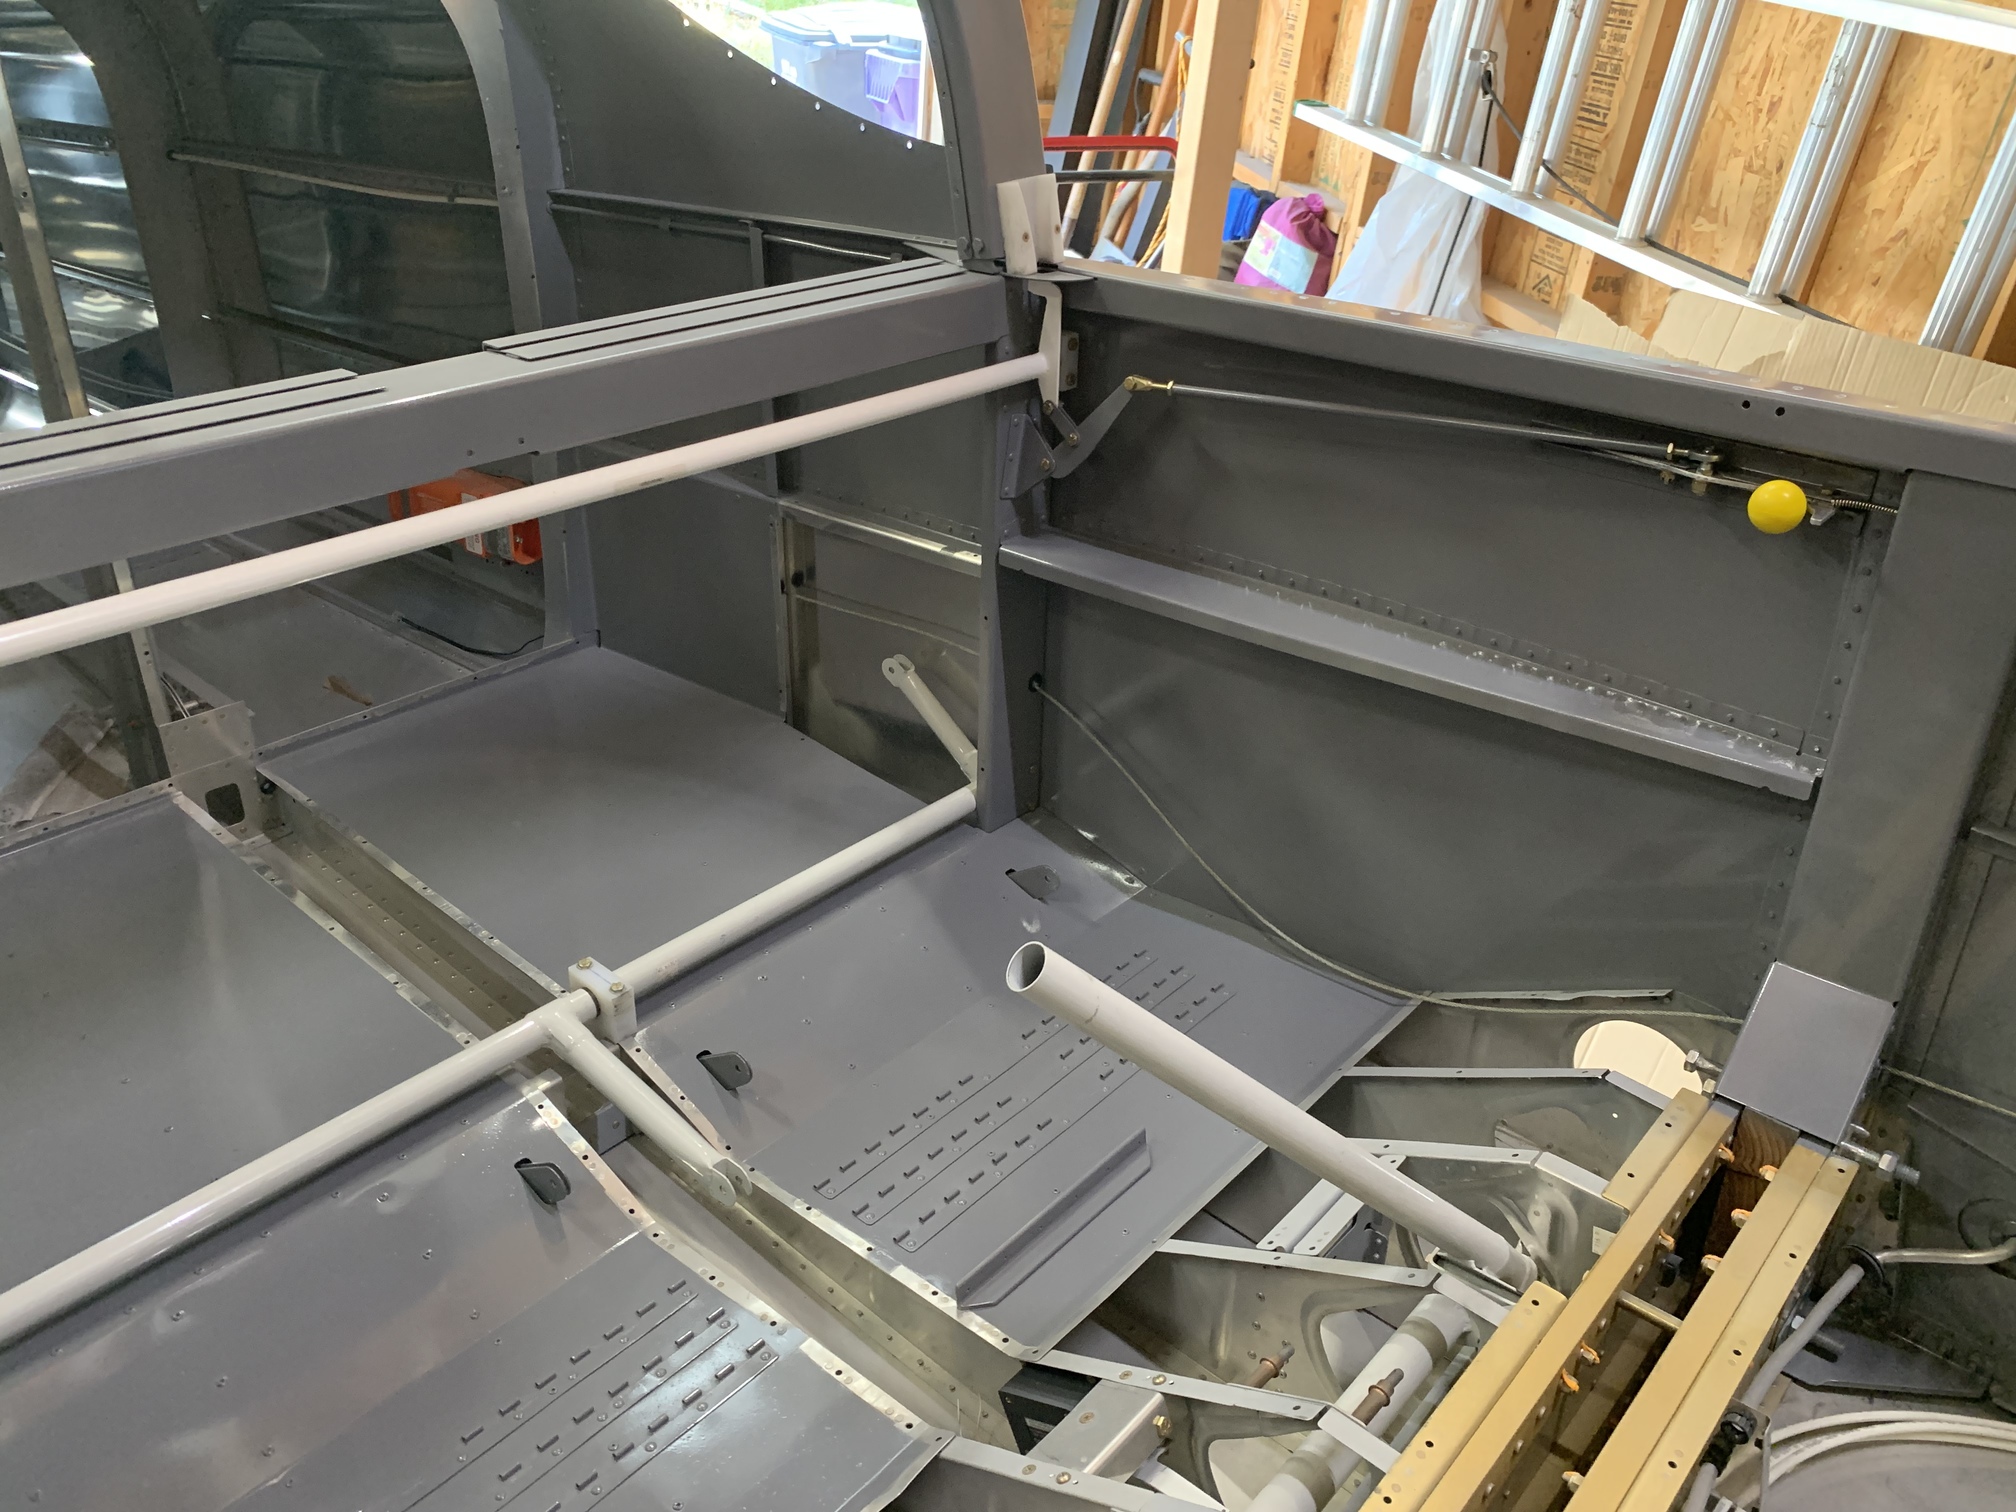
I ripped all of the masking out of the fuselage and reinstalled the flap and canopy weldments as well as the canopy latch mechanism.
Then I started working on mounts for the two comm antennas and the transponder antenna. I did some reading on VAF and there are a lot of different ideas, but I ended up going with both comm antennas on the bottom of the fuselage, just forward of the main spar carry through. Several people mentioned this working on their RV-6/7 and I like keeping the big antenna cables in front of the spar so I don't have to pass them through the limited holes in the spar.
I bought these bent whip antennas from Delta Pop Aviation a while back. They install easily with three holes--two for mounting and one for the BNC connector.
Here is the first one installed loosely on the right side.
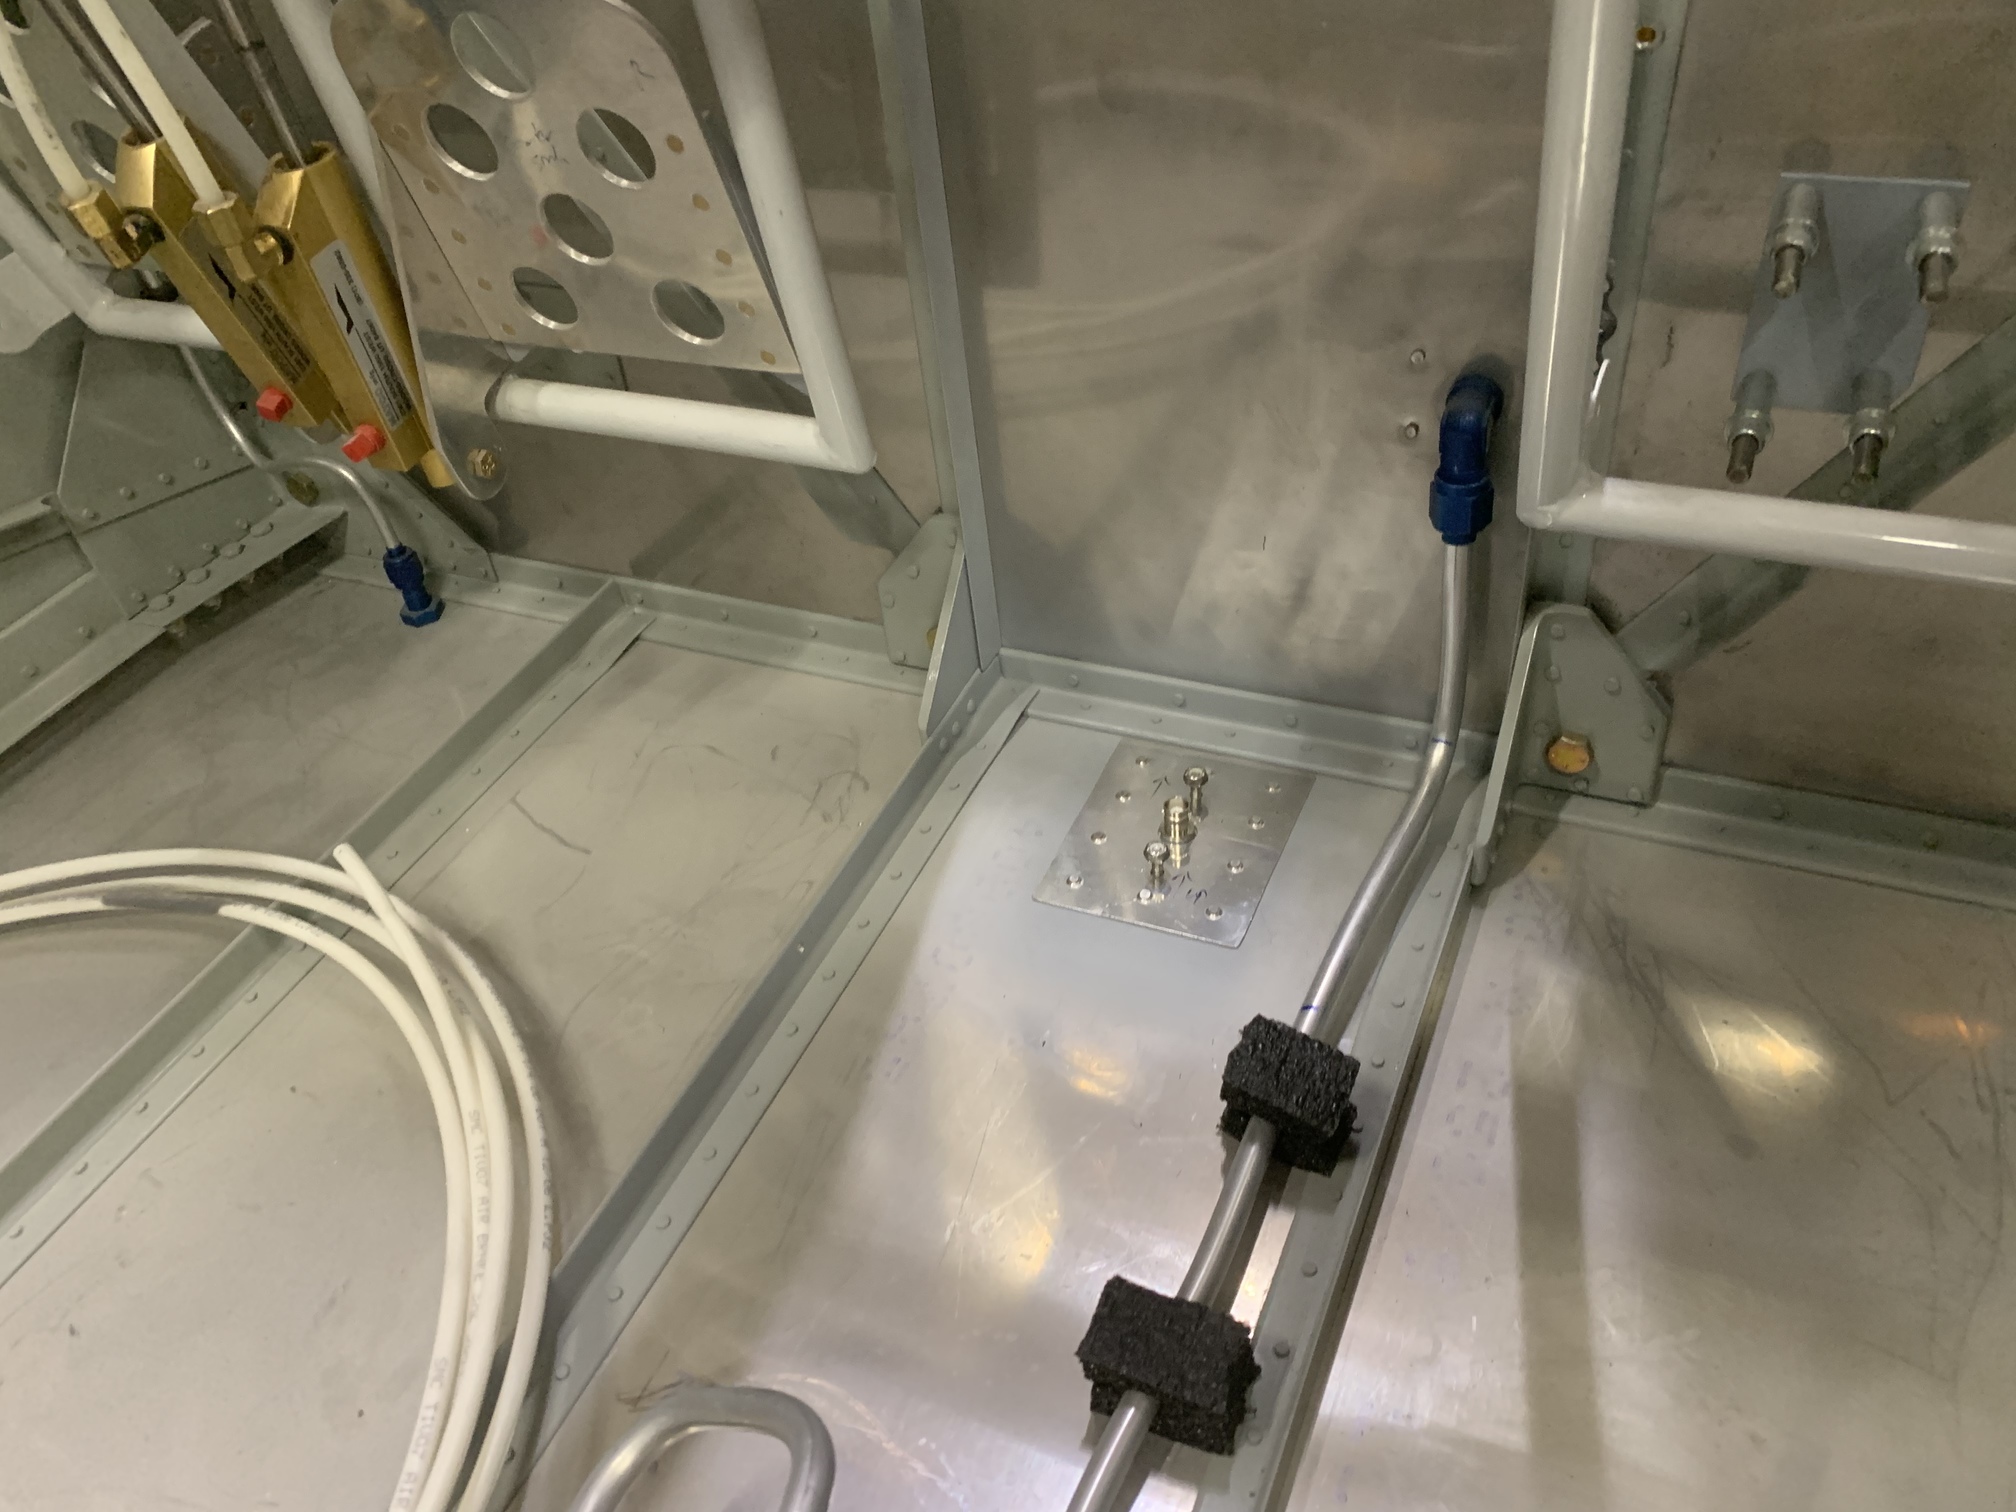
Here is where it comes into the fuselage. The aft screw actually goes through the spar flange. The mounting screws and BNC connector are almost entirely hidden by a cover.
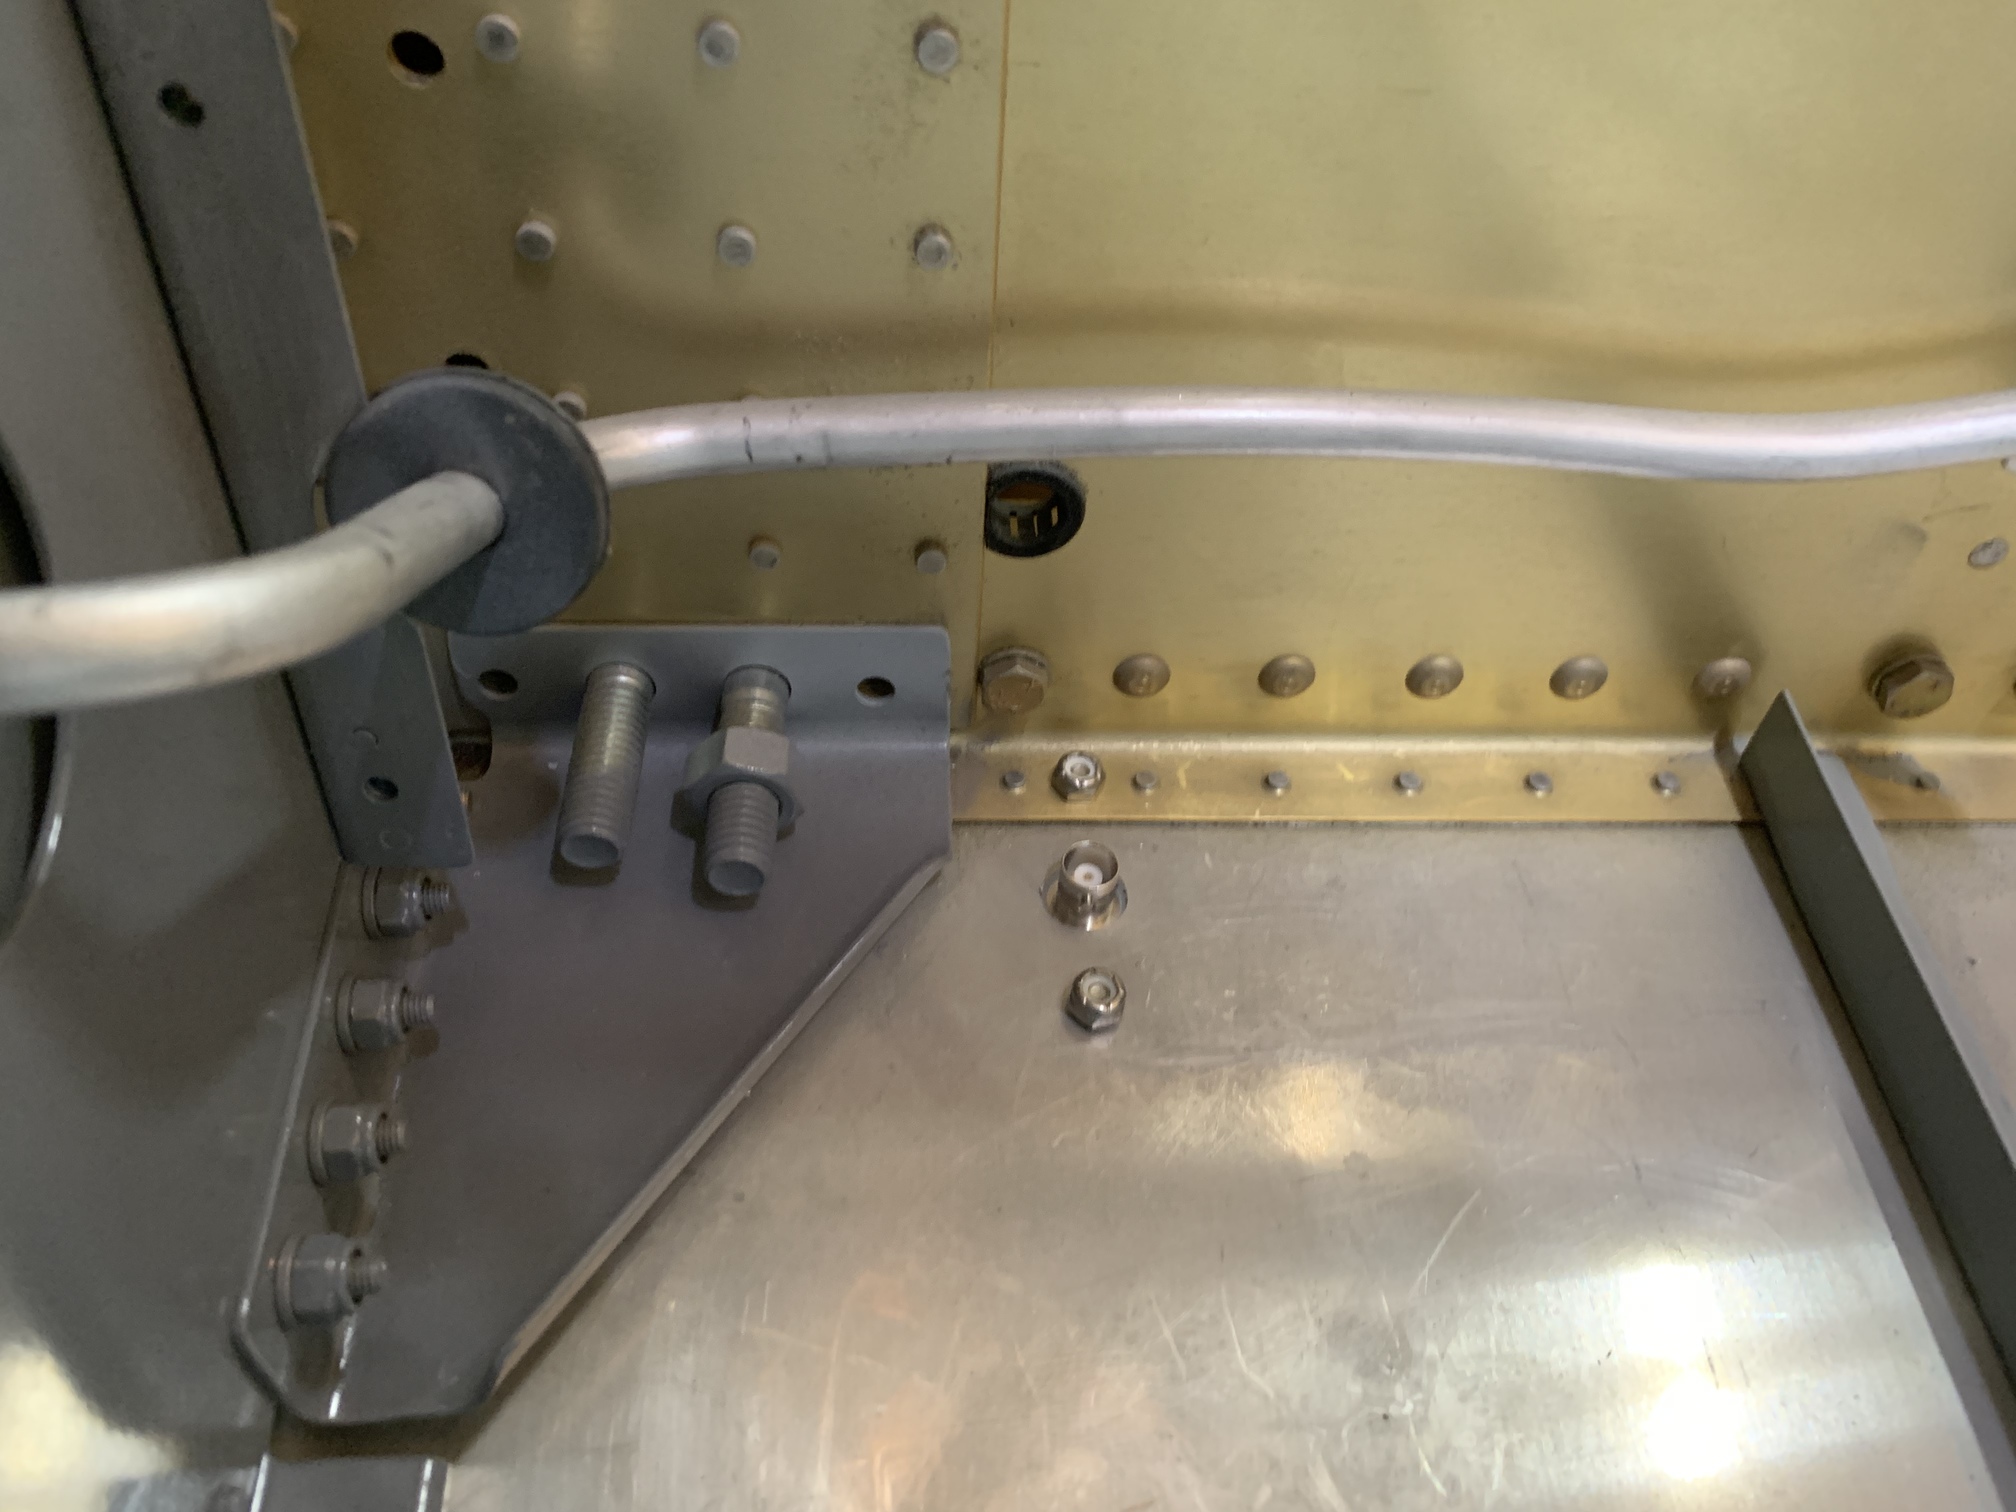
Here is the cover cleco'd in place. The forward screw will interfere slightly with the cover, but I can notch it and nobody will ever see this. I'm really pleased with this spot for the comm antennas.
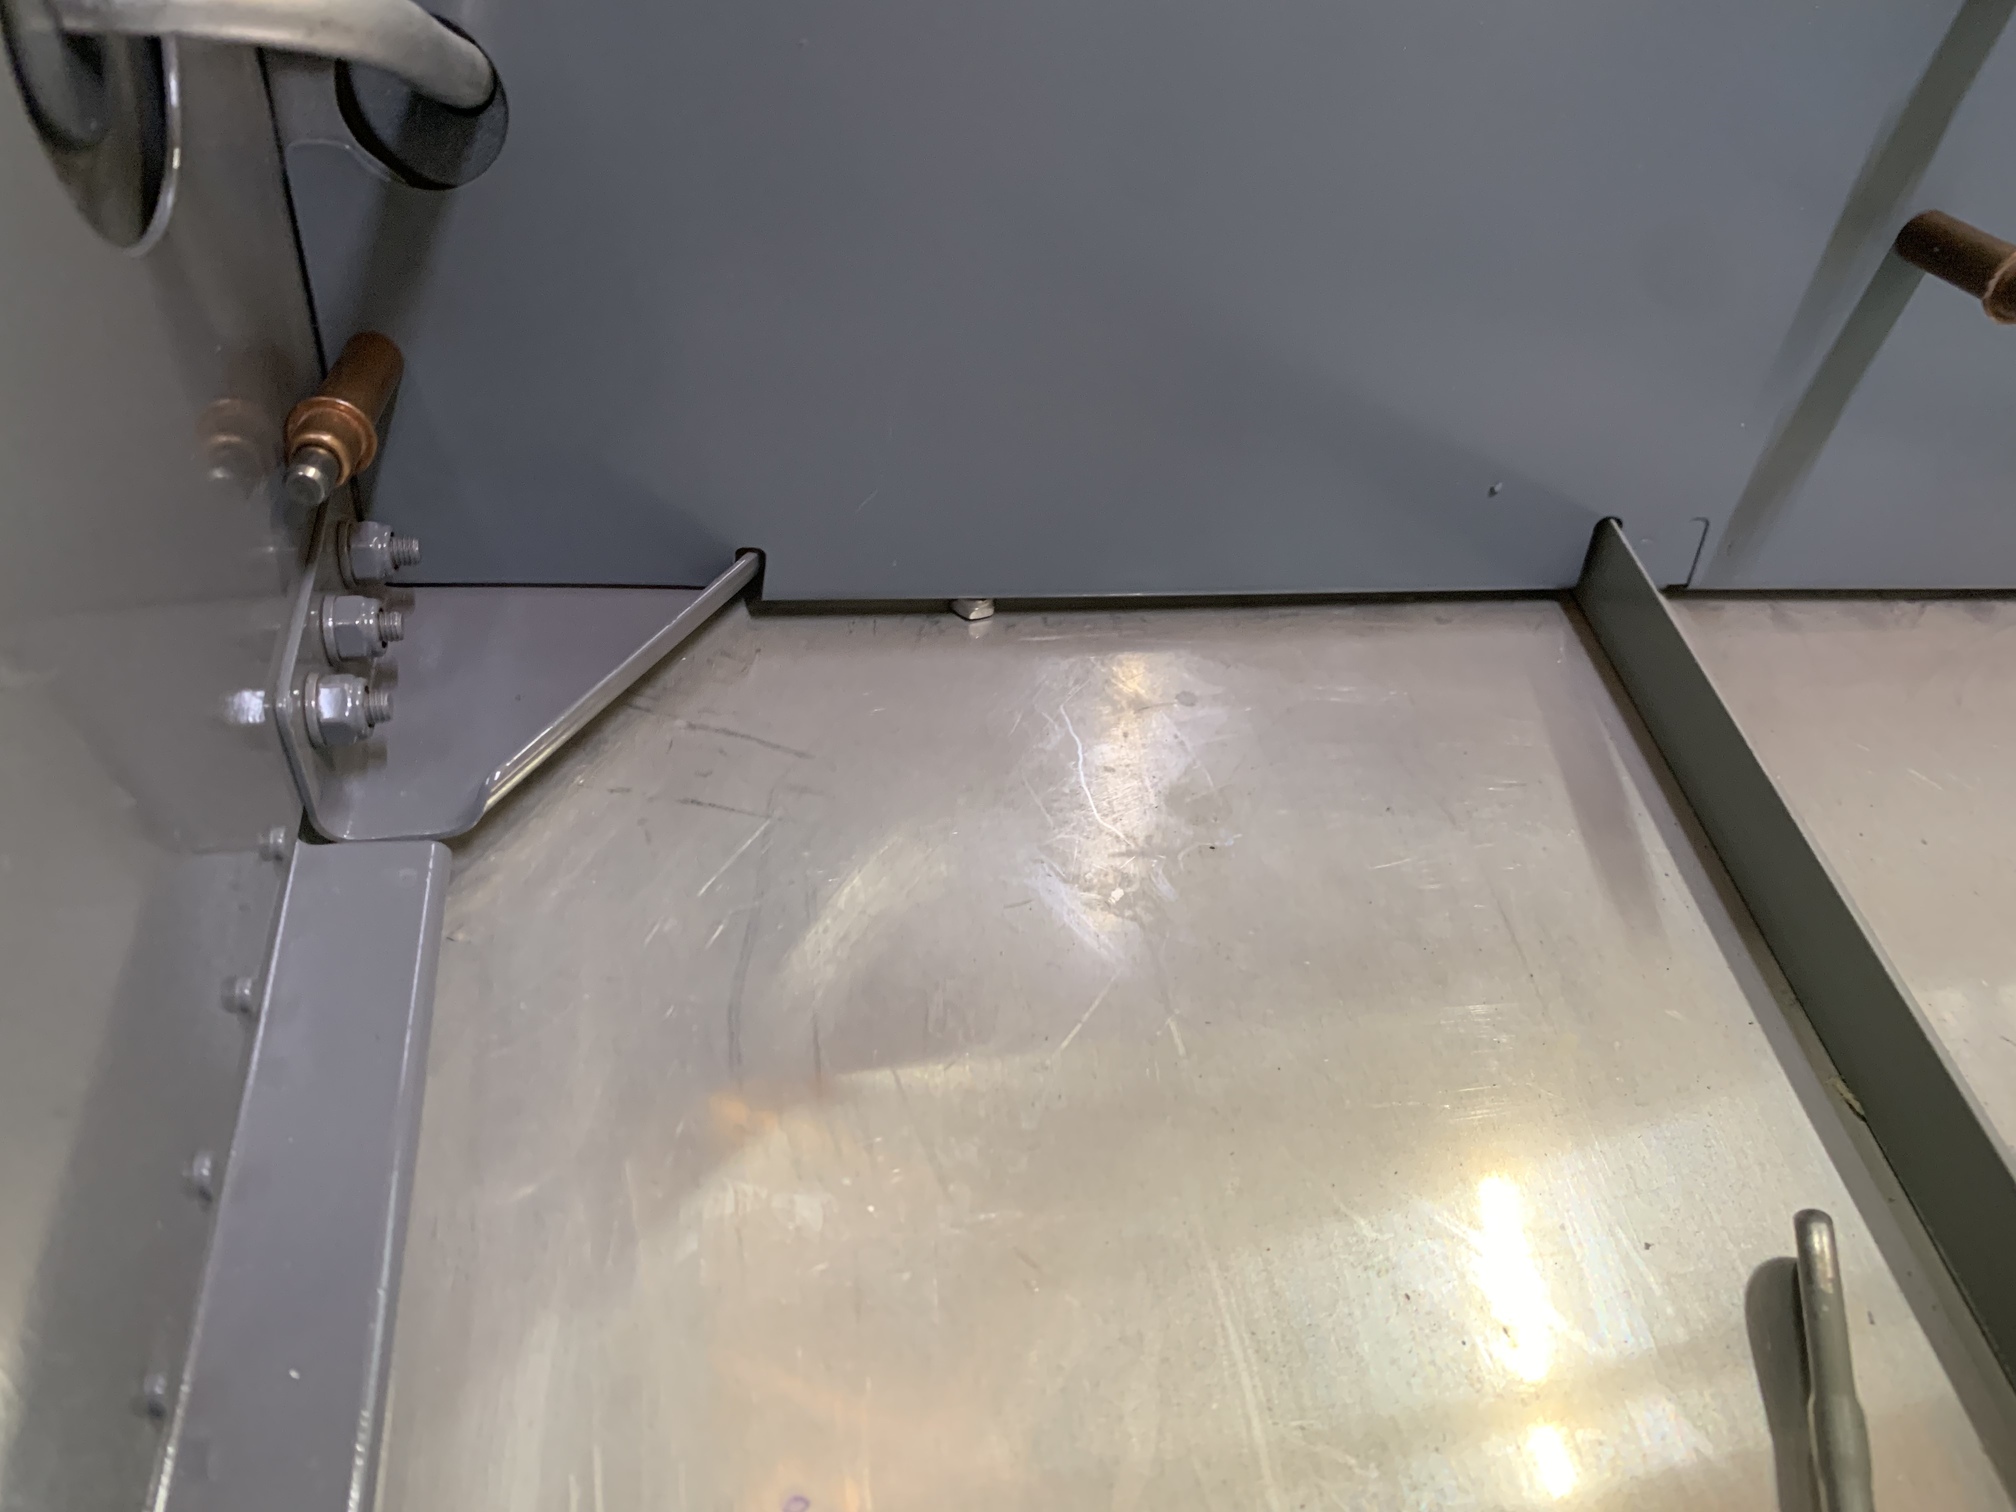
I did the same thing on the left side (none of the nuts are tightened). The two antennas are over 30" apart, but according to some VAF folks, there may be some interference when one is transmitting.
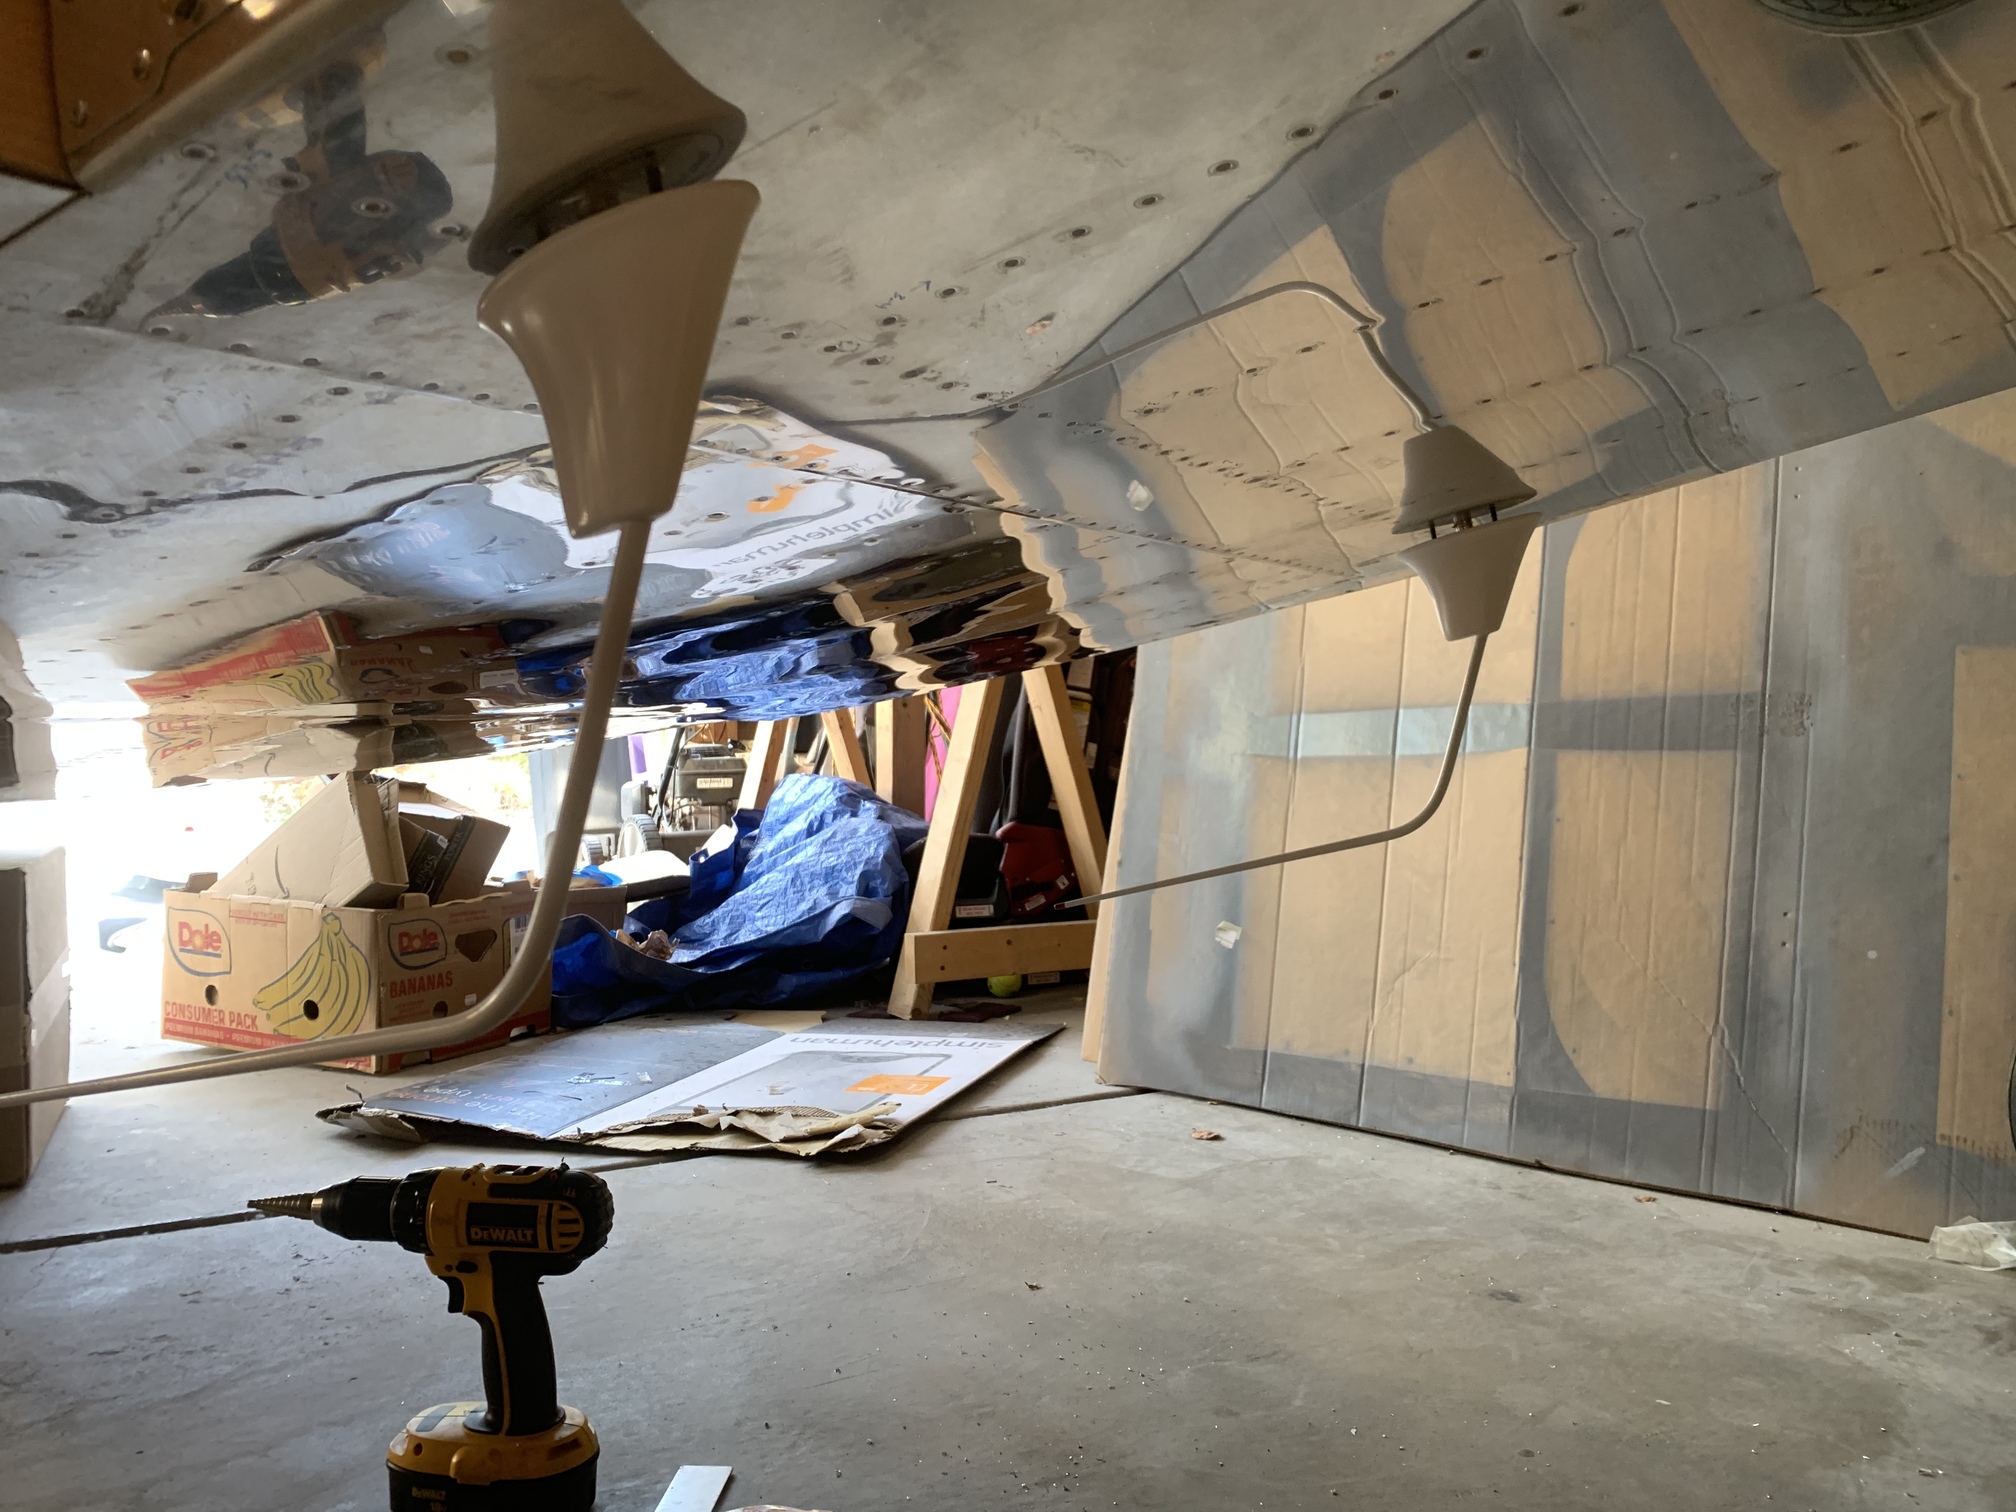
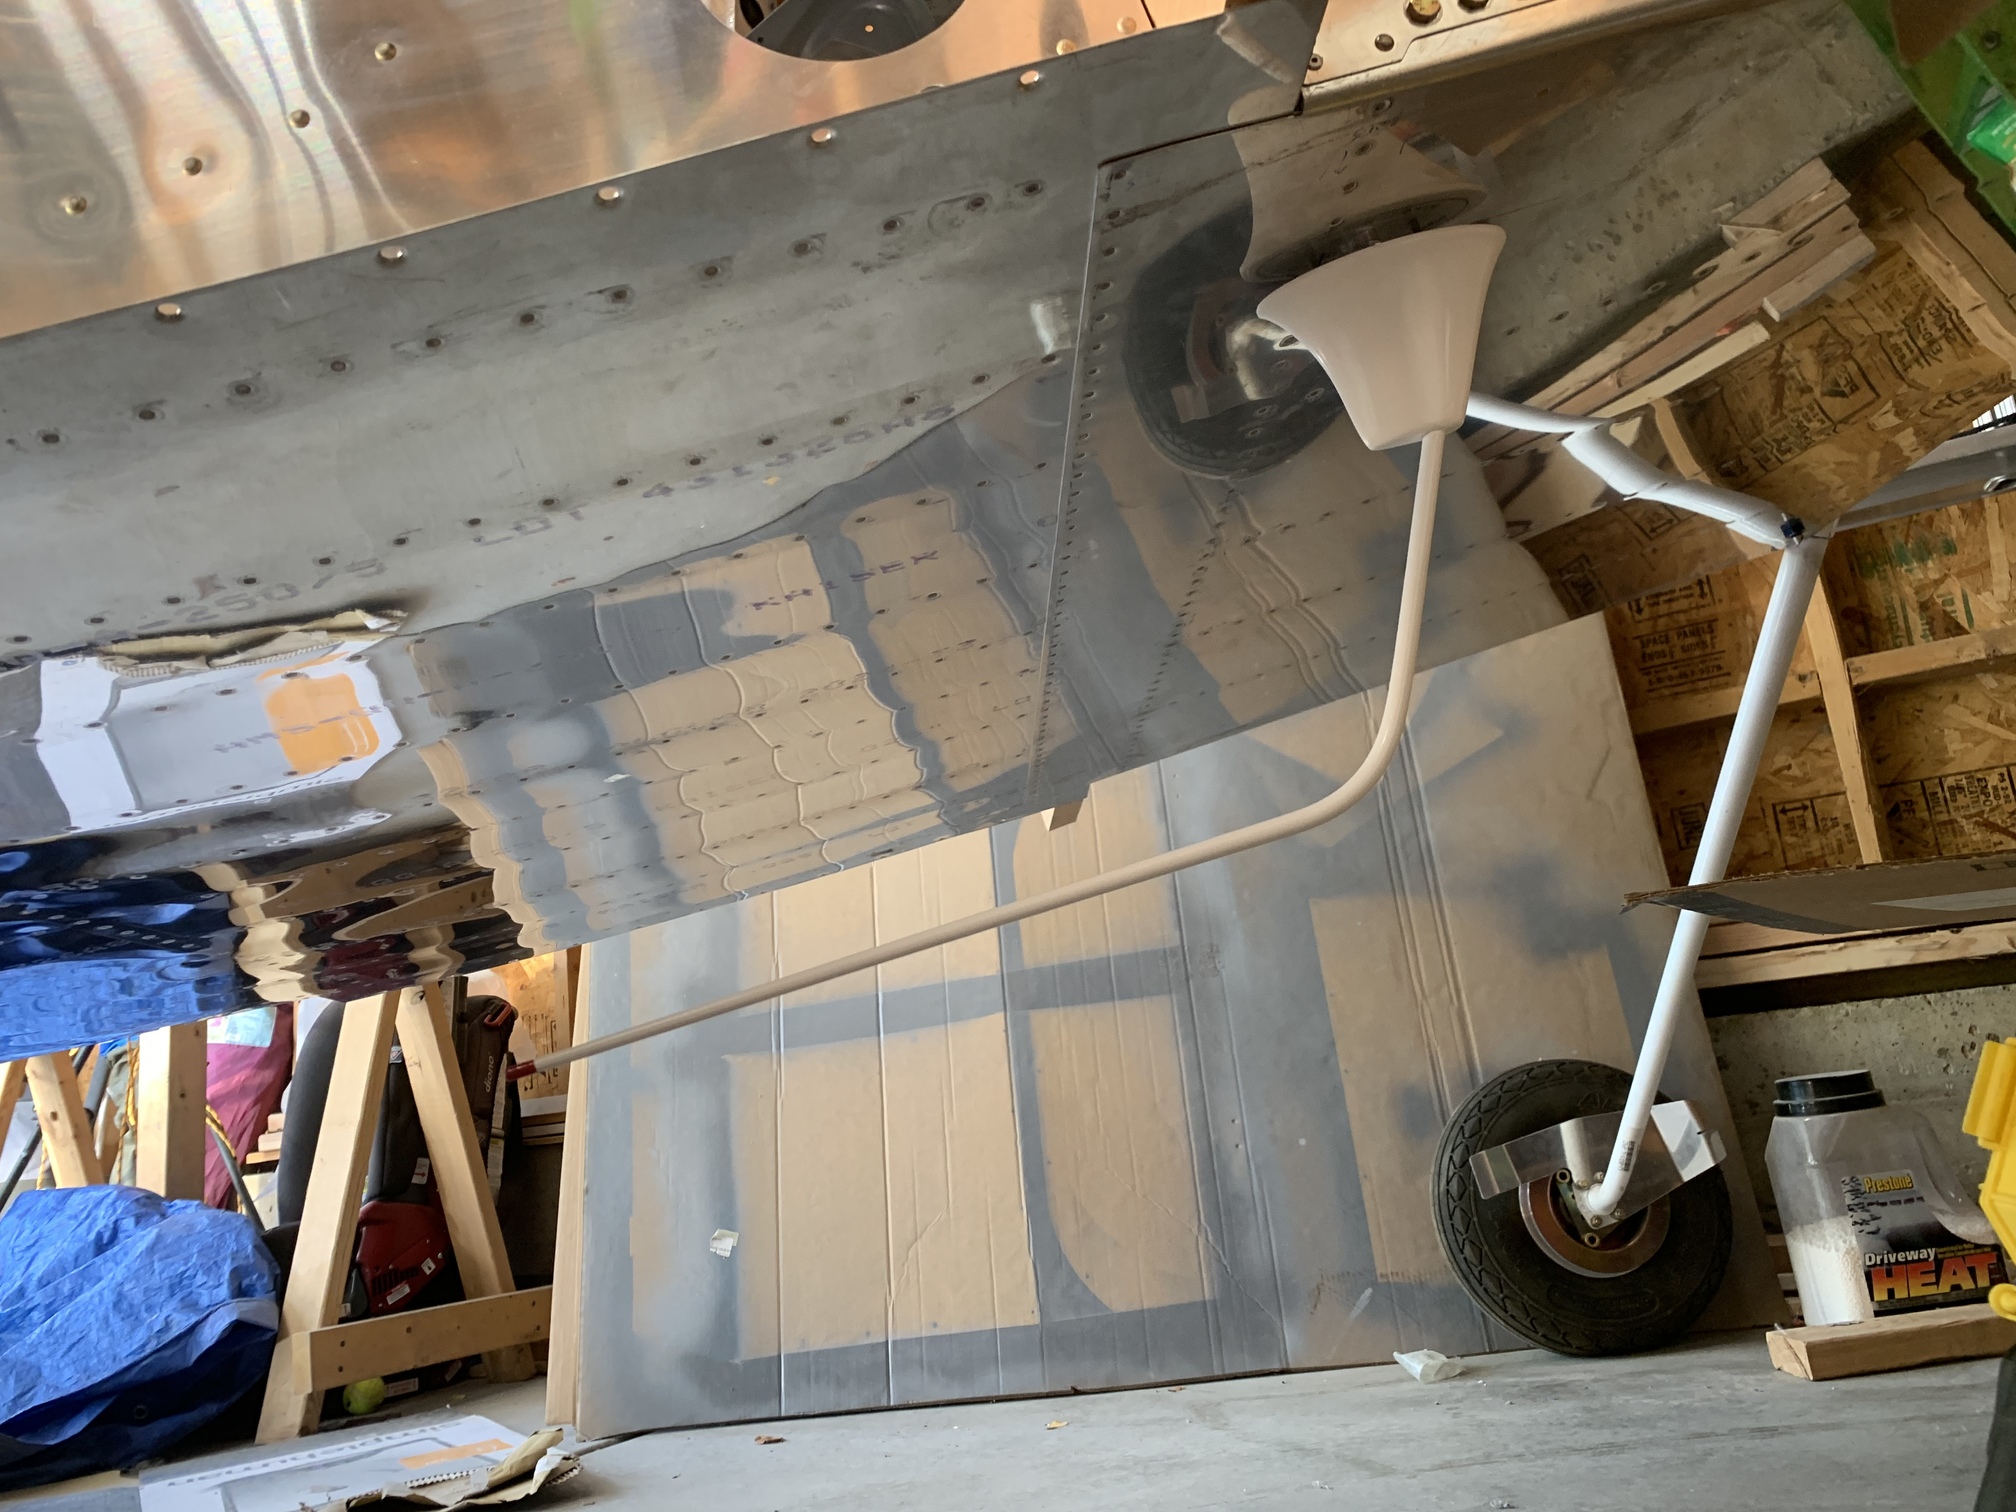
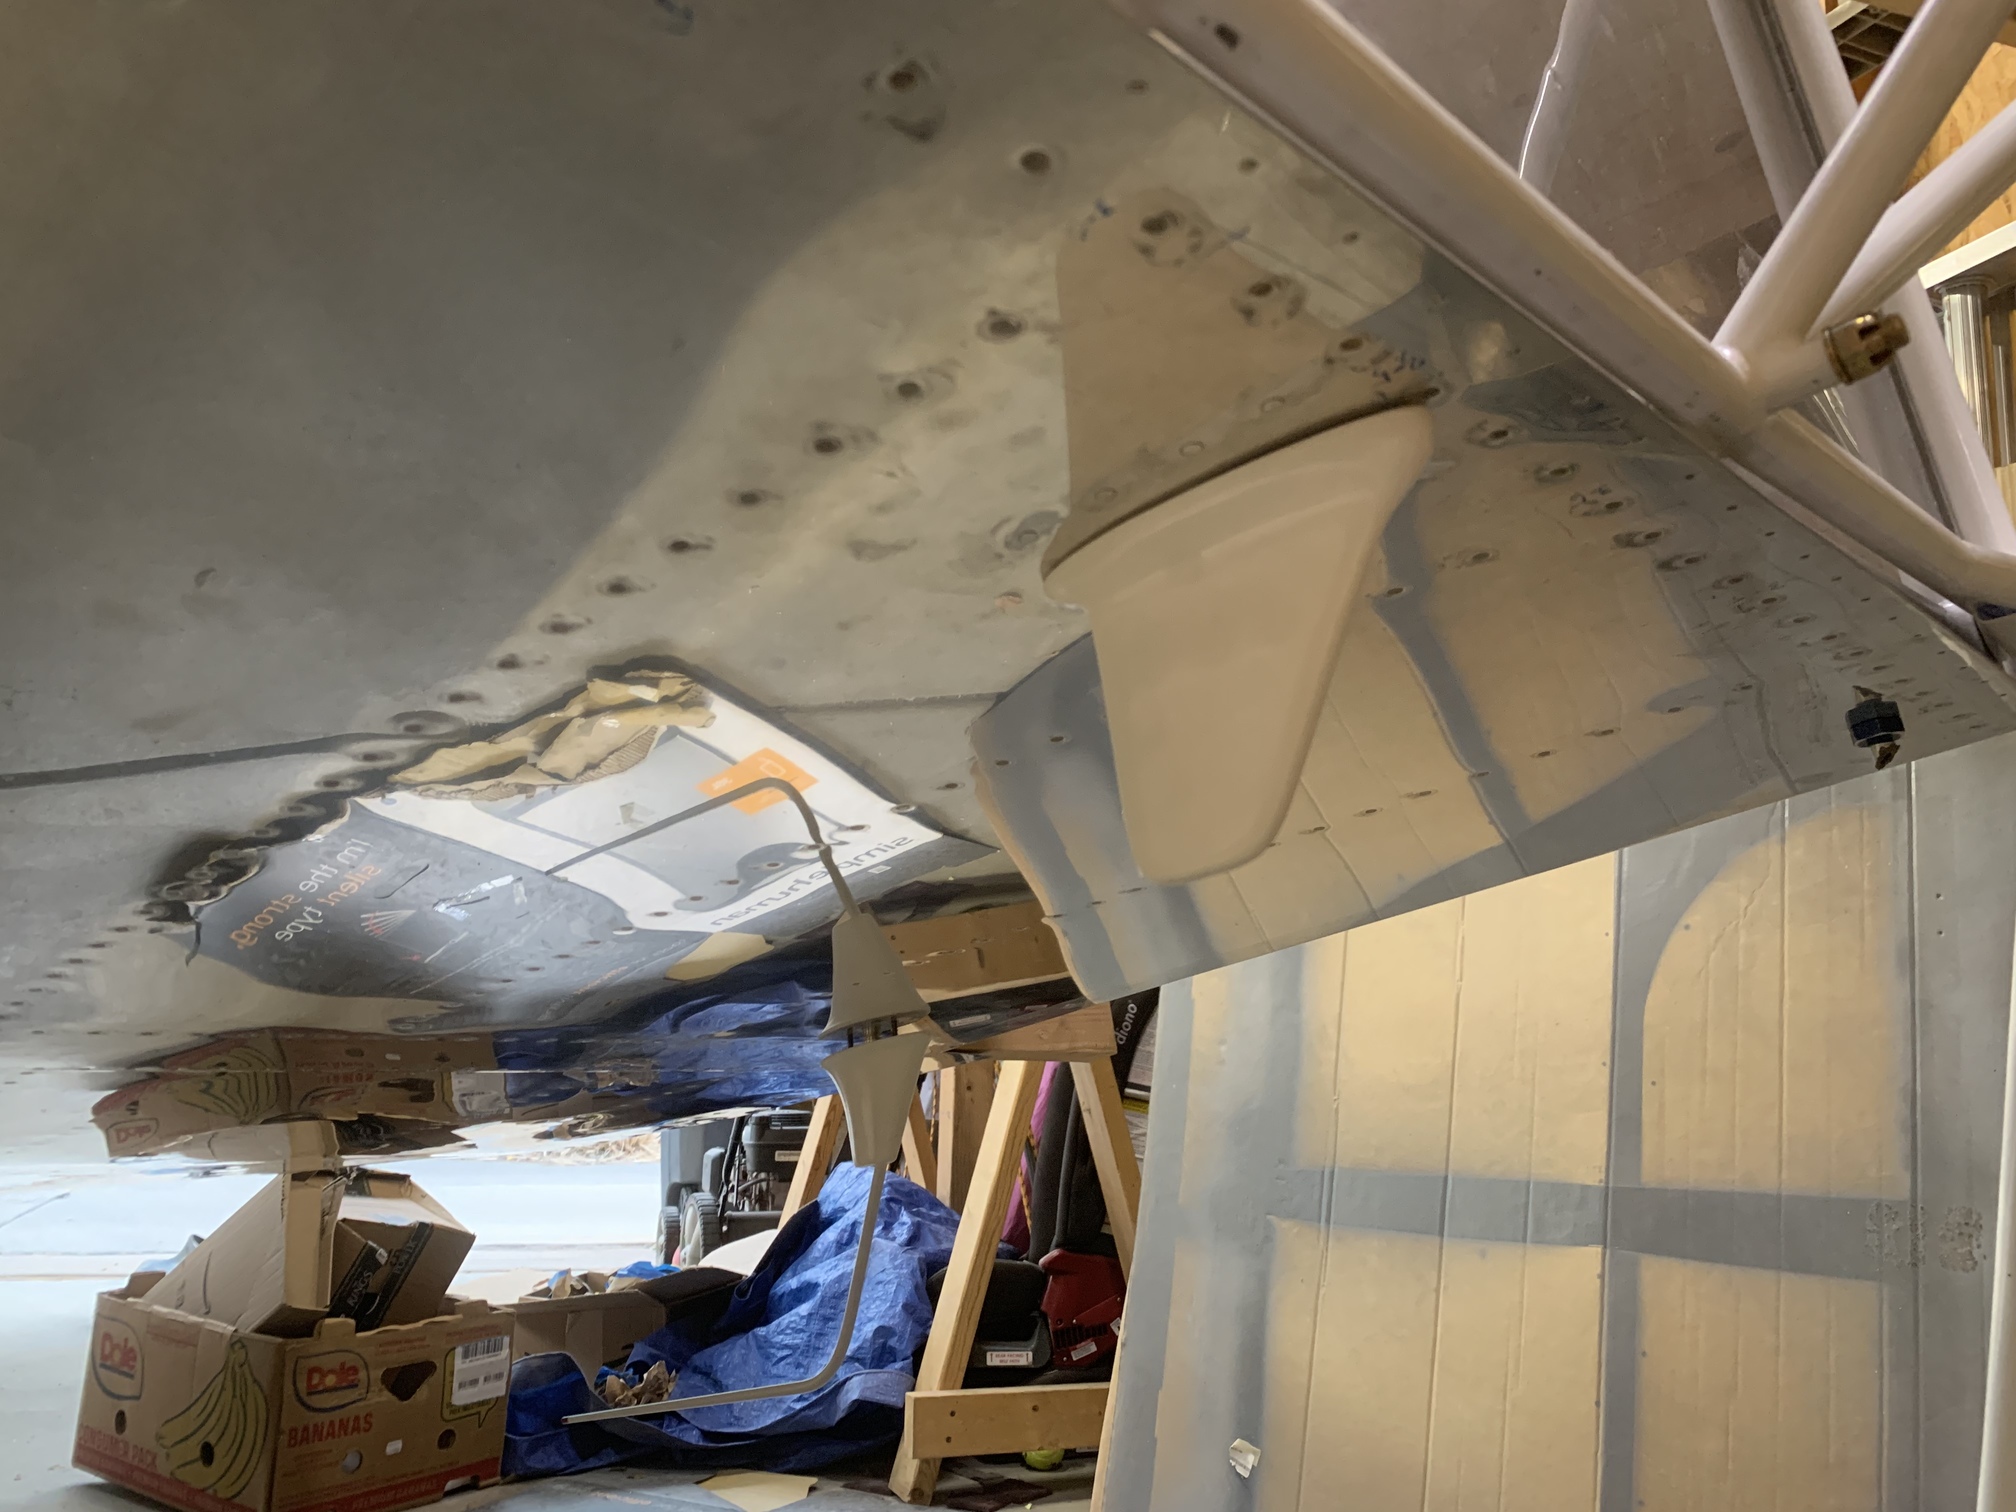
Then I installed the single transponder antenna (the Garmin transponder I'm planning to use can do both transponder out and ADS in from the same antenna) in the center of the bottom fuselage just aft of the firewall.
I fabricated a doubler to reinforce this spot and riveted it in place.
And a view from the bottom (again, the nuts aren't tightened)...
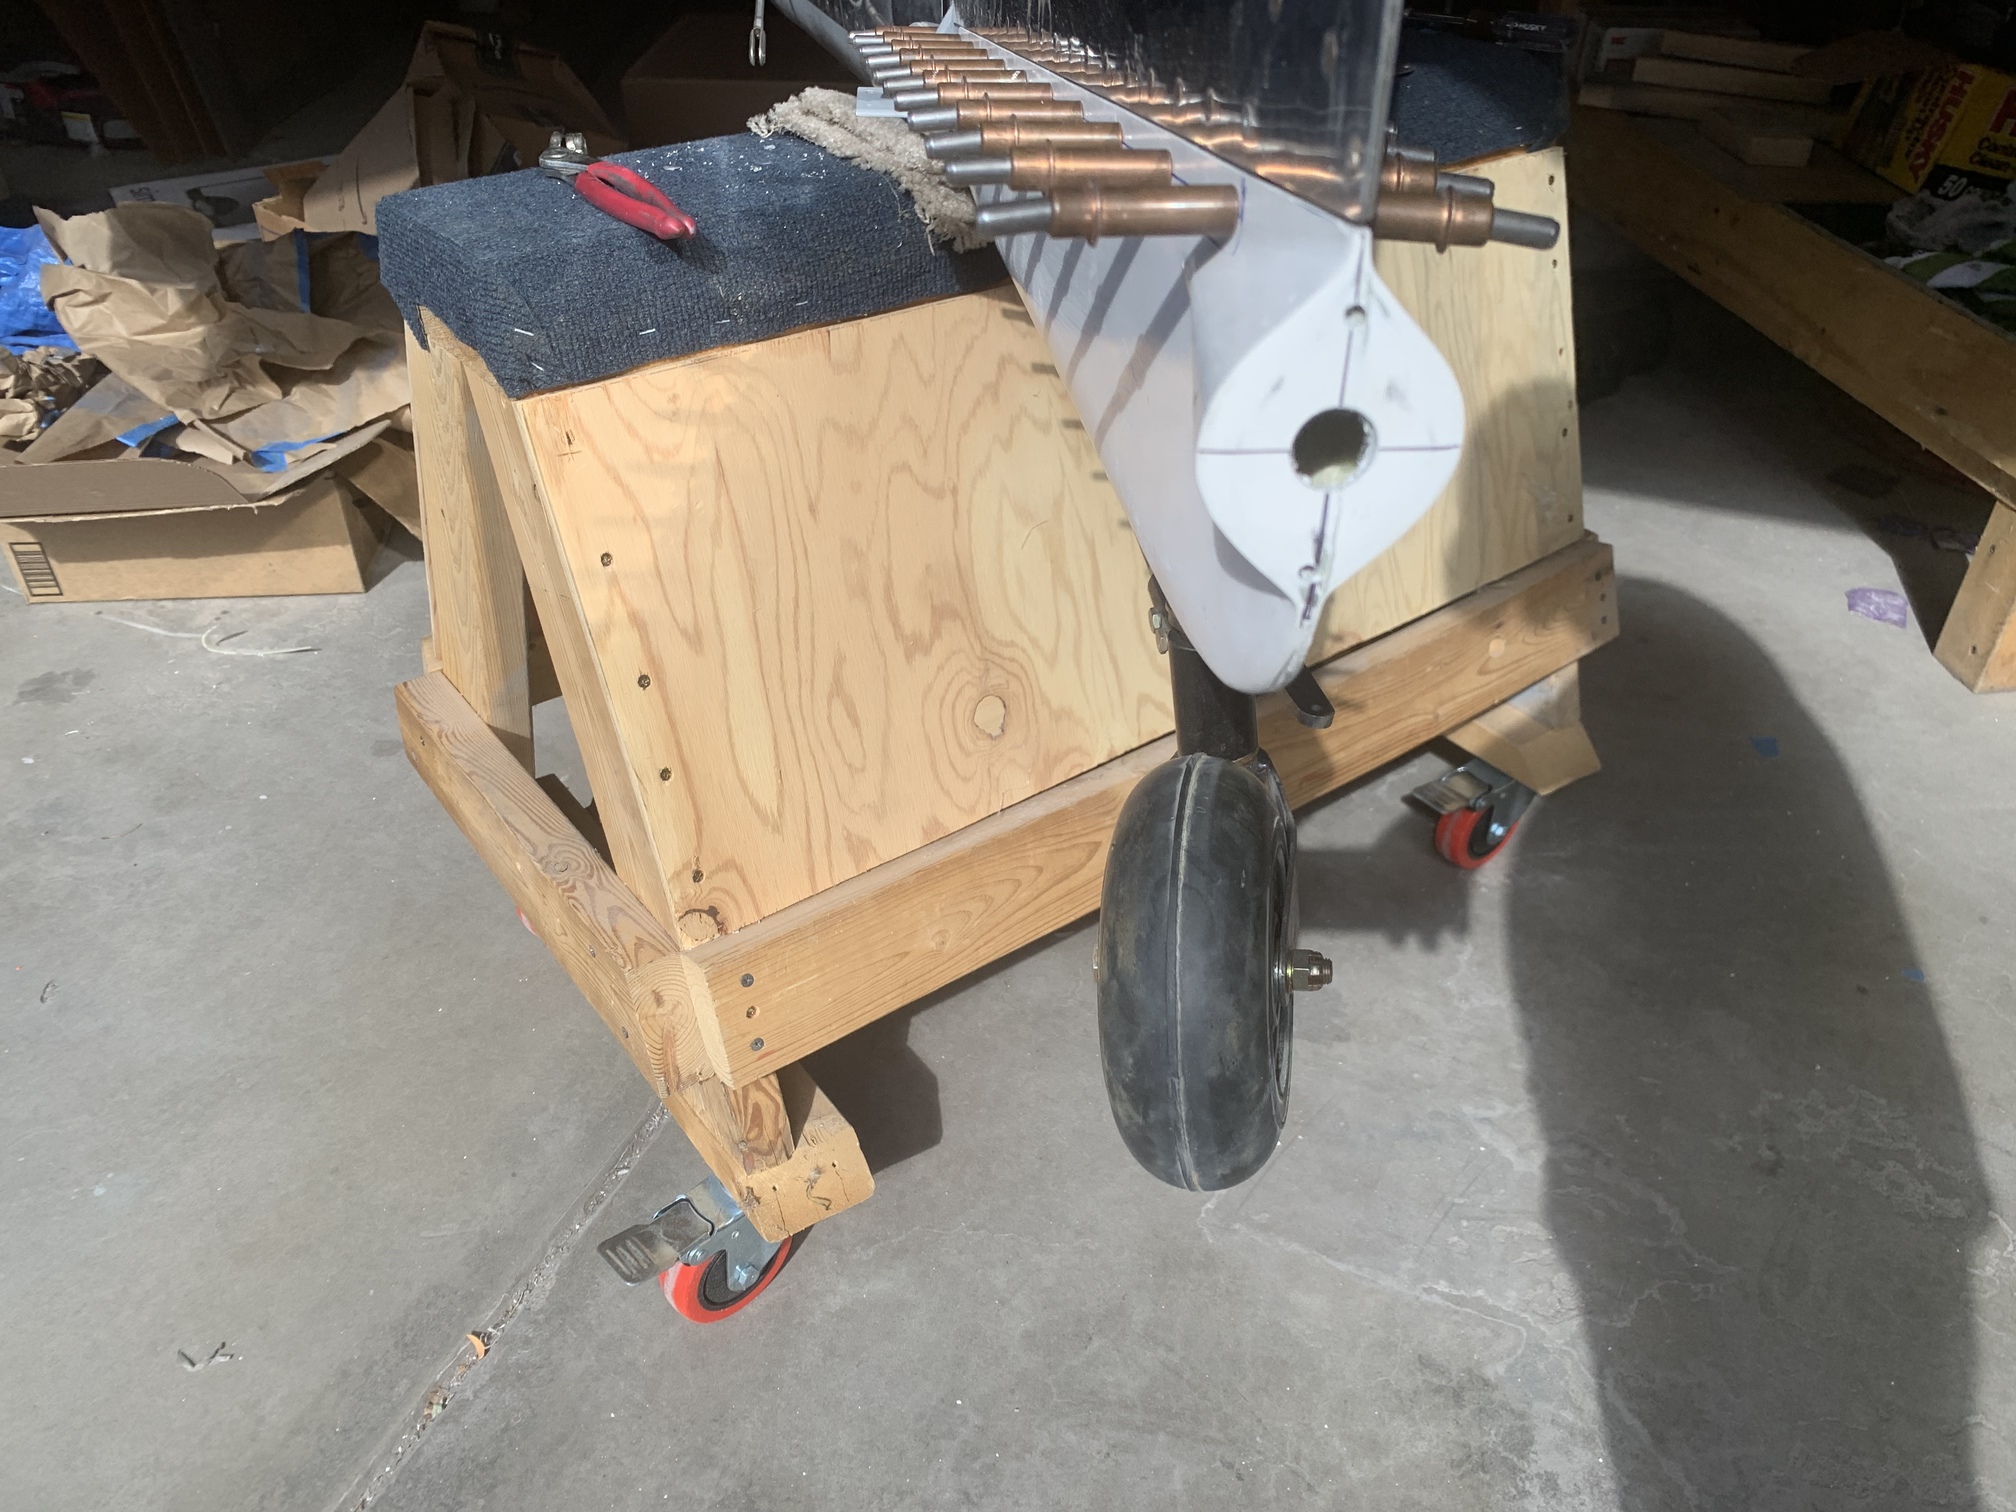
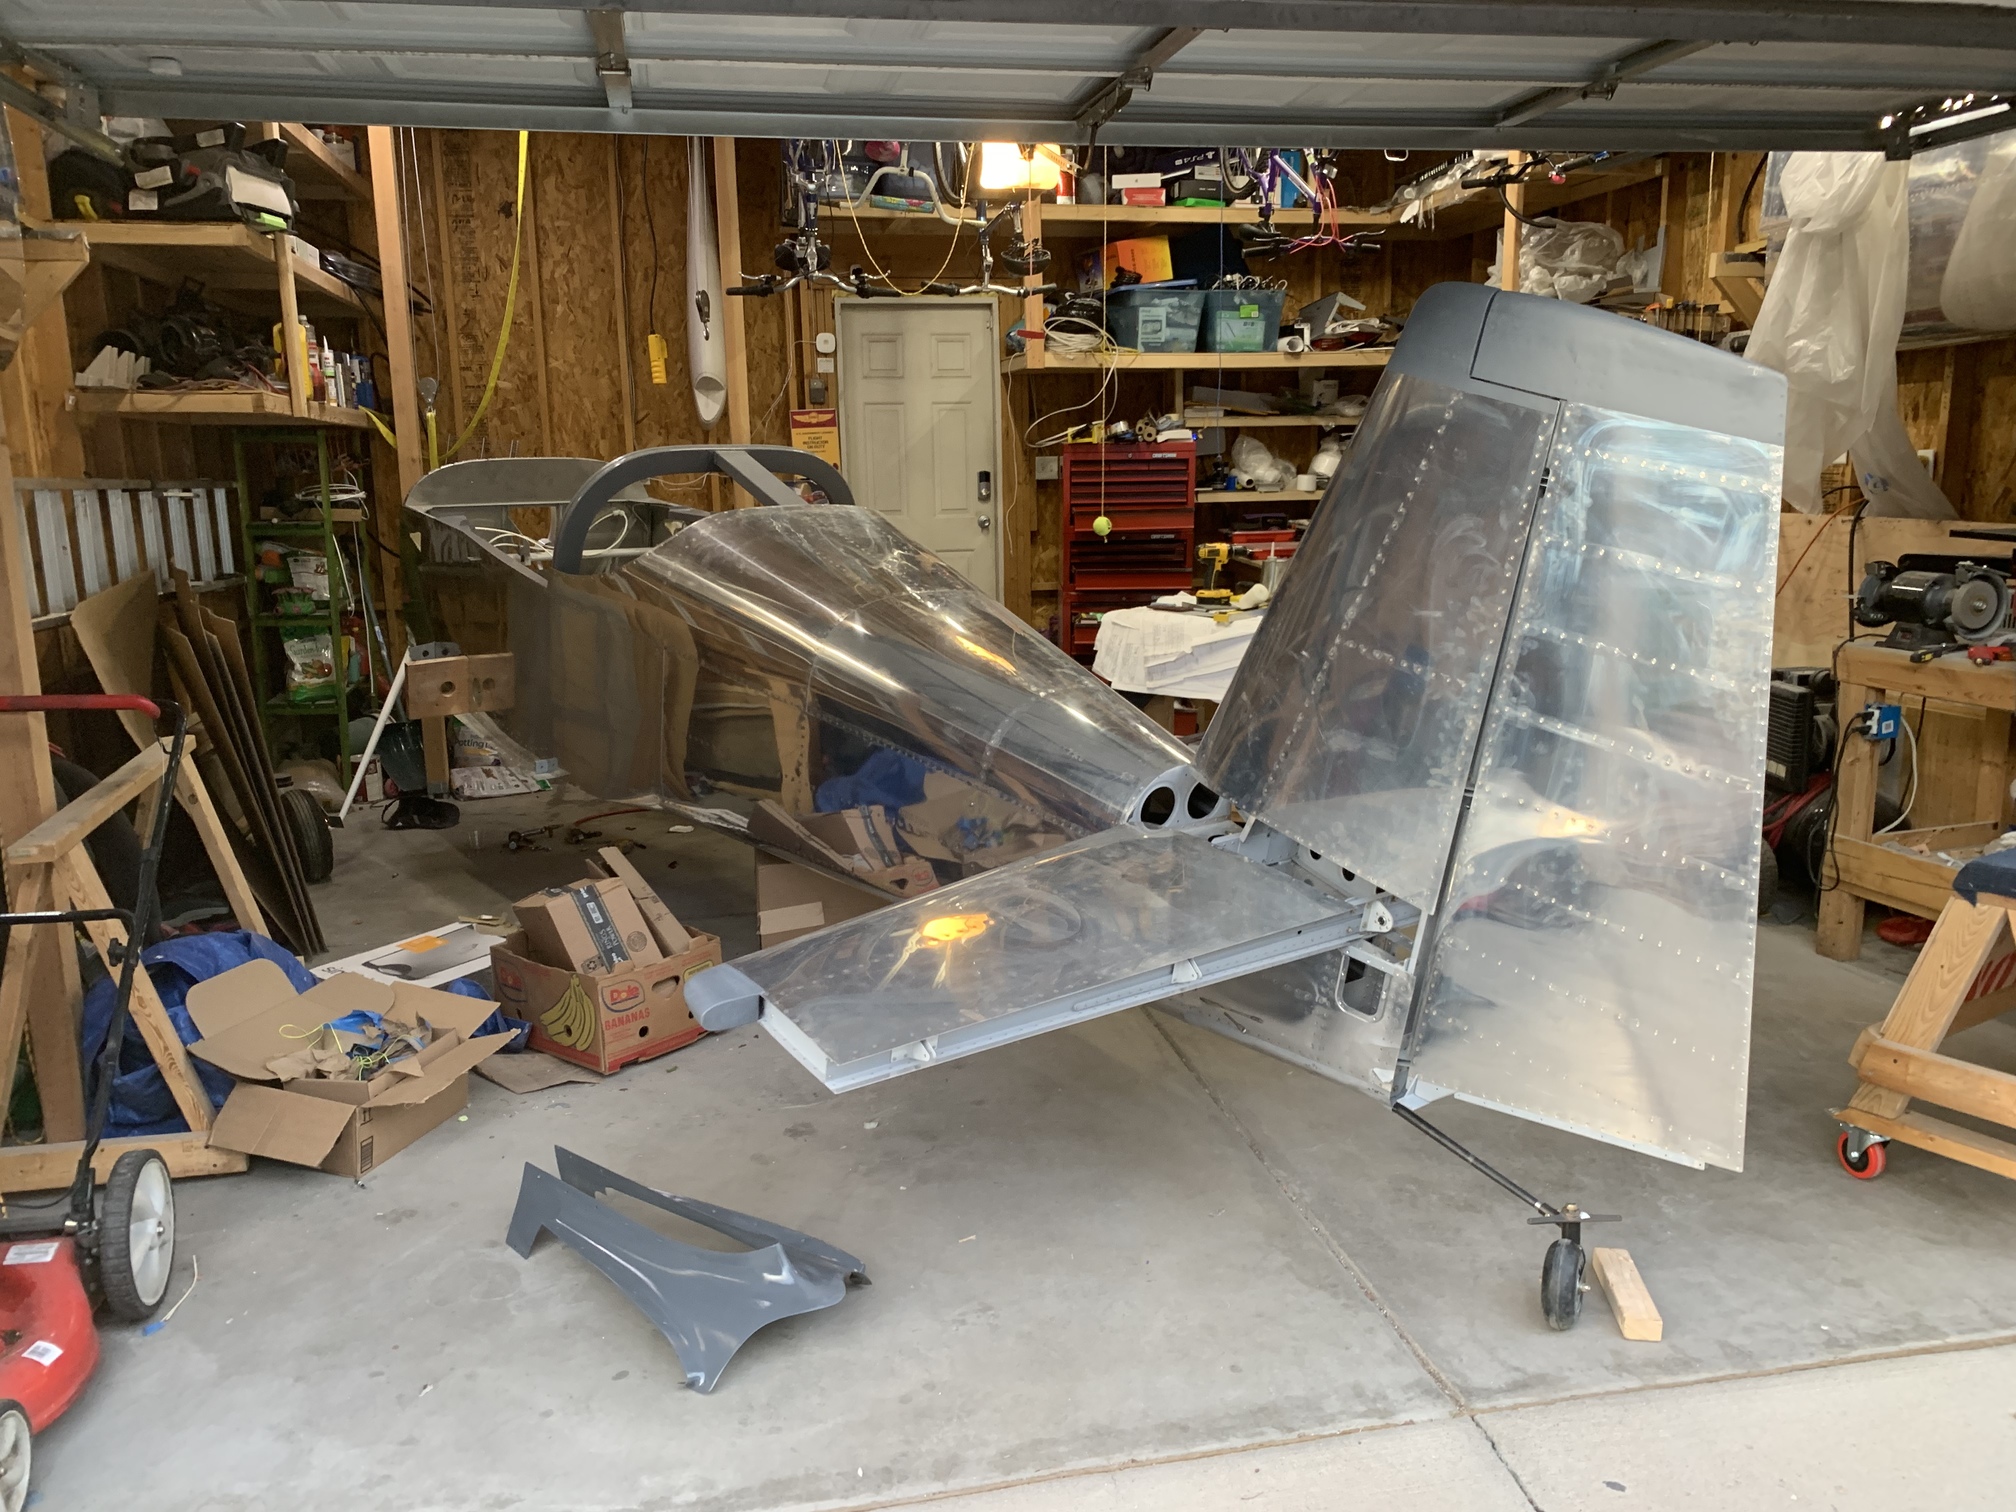
Just a shot of the garage for posterity.
| Previous - Index - Next |
This work is licensed under Attribution-NonCommercial-NoDerivatives 4.0 International![]()
![]()
![]()
![]()