Log (By Day)
Log (By Category)
Pictures
Pics of Me Working
Links
| ||||||||||||
Tuesday August 8, 2023
Horizontal Stabilizer Reinforcement Plates, Left Wing Tip Sanding/Painting
(4.0 Hours
Horizontal Stabilizer, 1.0 Hours
Wing Tips)
5.0 Hours Total
| Previous - Index - Next |
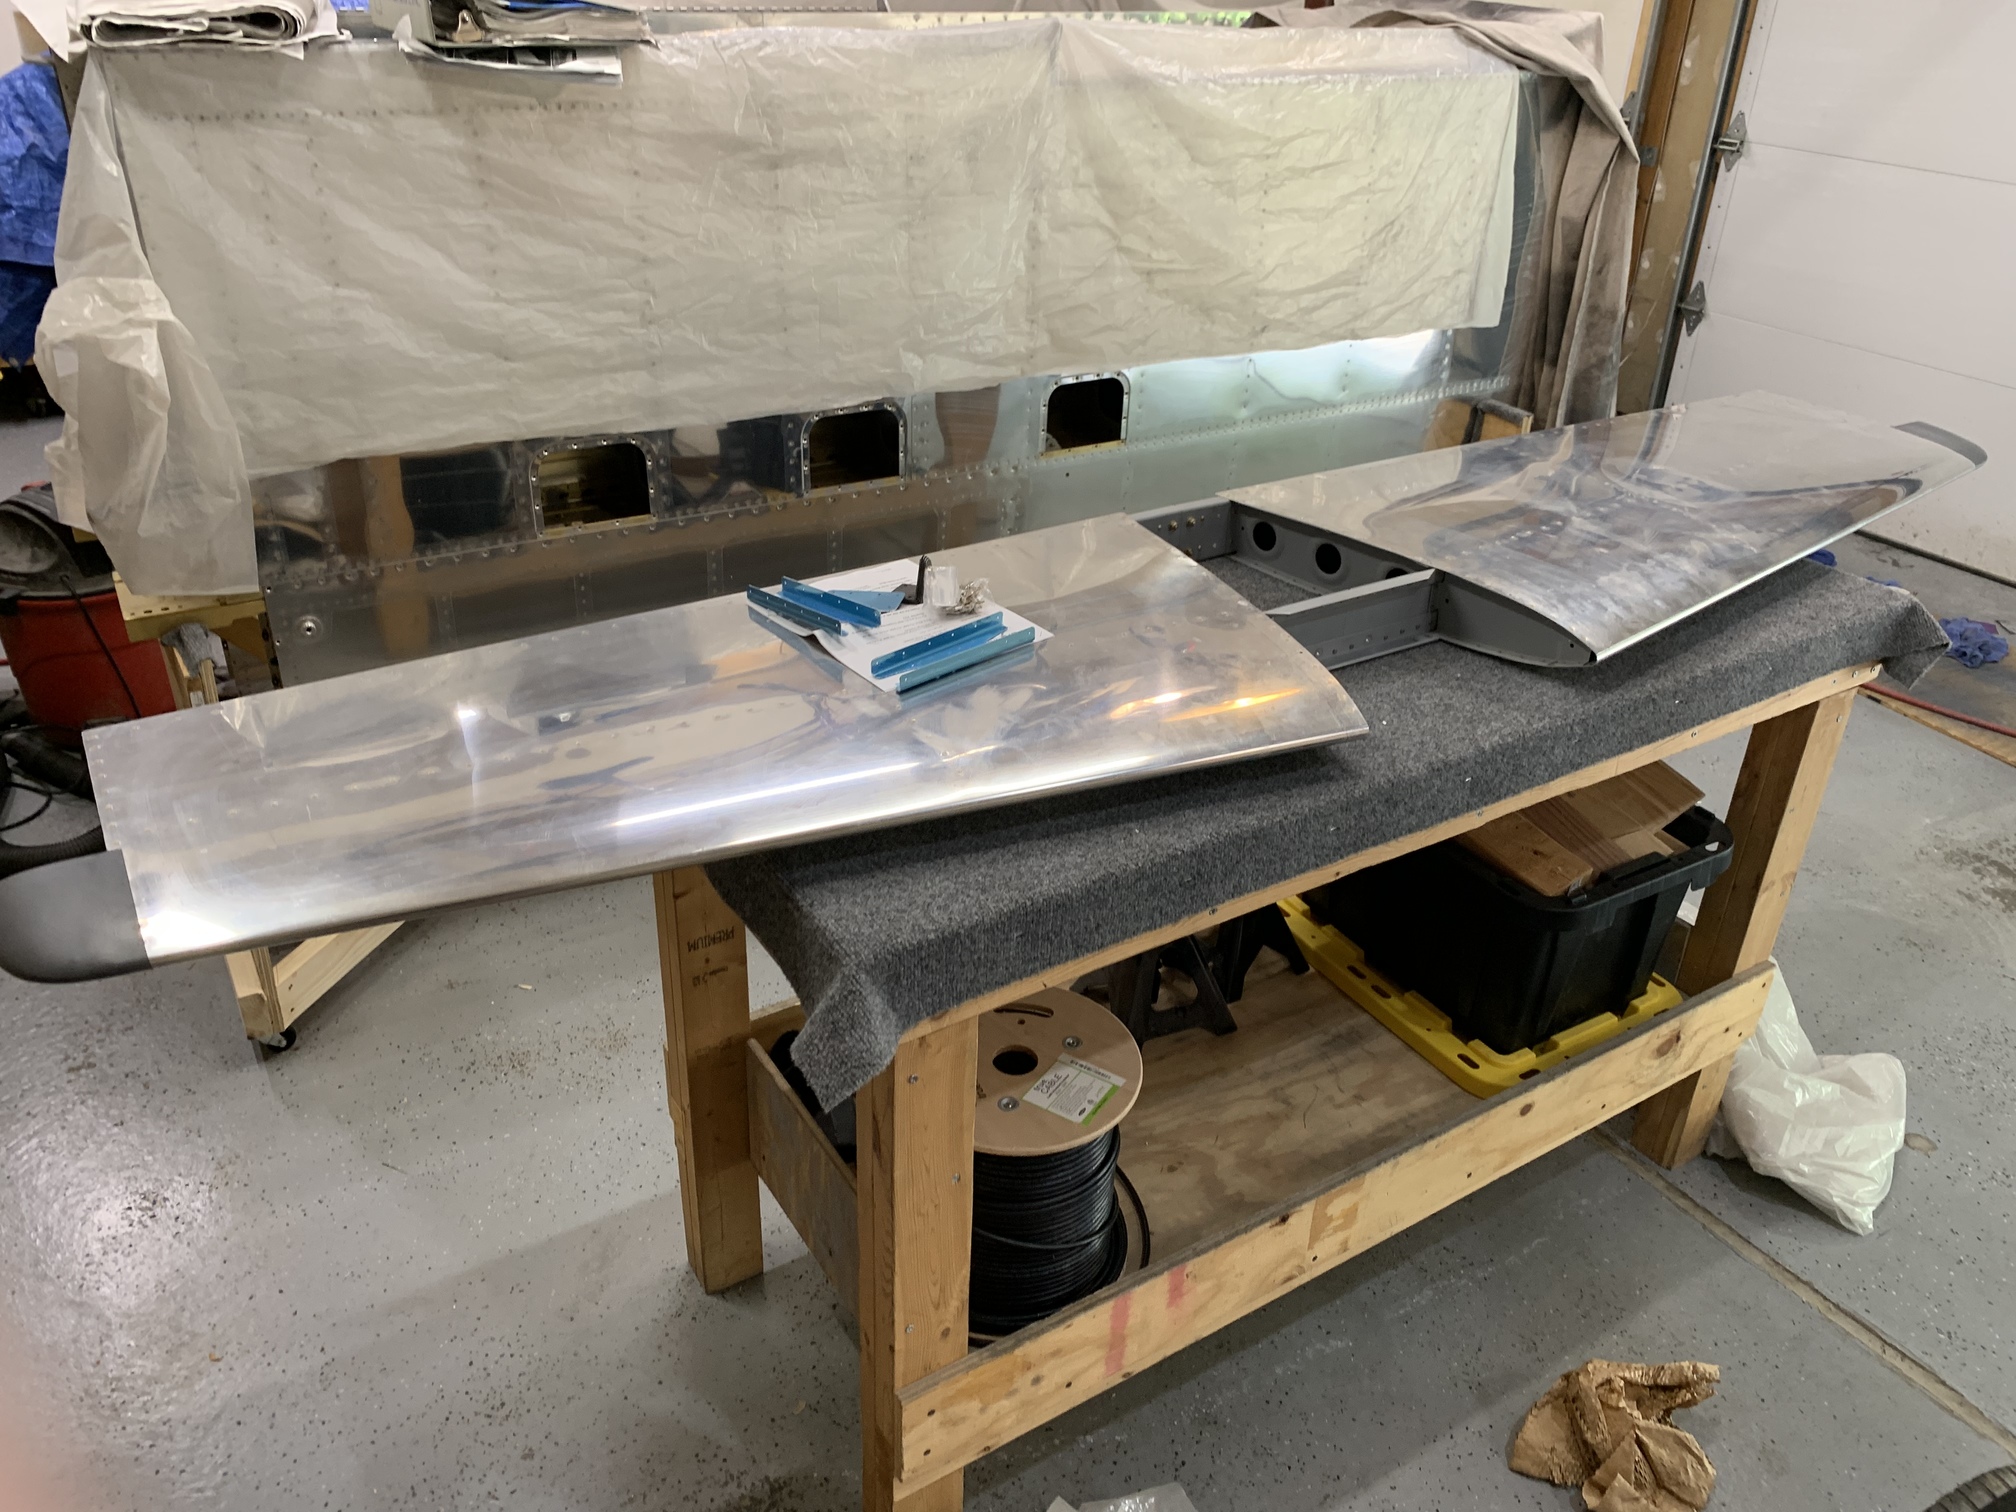
Today I moved the horizontal stabilizer up from the new "airplane parts storage room" in the basement. Earlier this year, Vans issued an SB for the horizontal stab on the -4, -6, -7, and -8 due to the appearance of cracks in a number of planes at the outboard elevator hinge attach points. The SB requires inspection for cracks and installation of some reinforcement plates if cracks are found. It is optional to install one of the reinforcement plates or to continue checking for cracks each year. Since my plane hasn't flown yet, there aren't any cracks and now is a decent time to install the reinforcement so I don't have to worry about repeated inspections in the future.
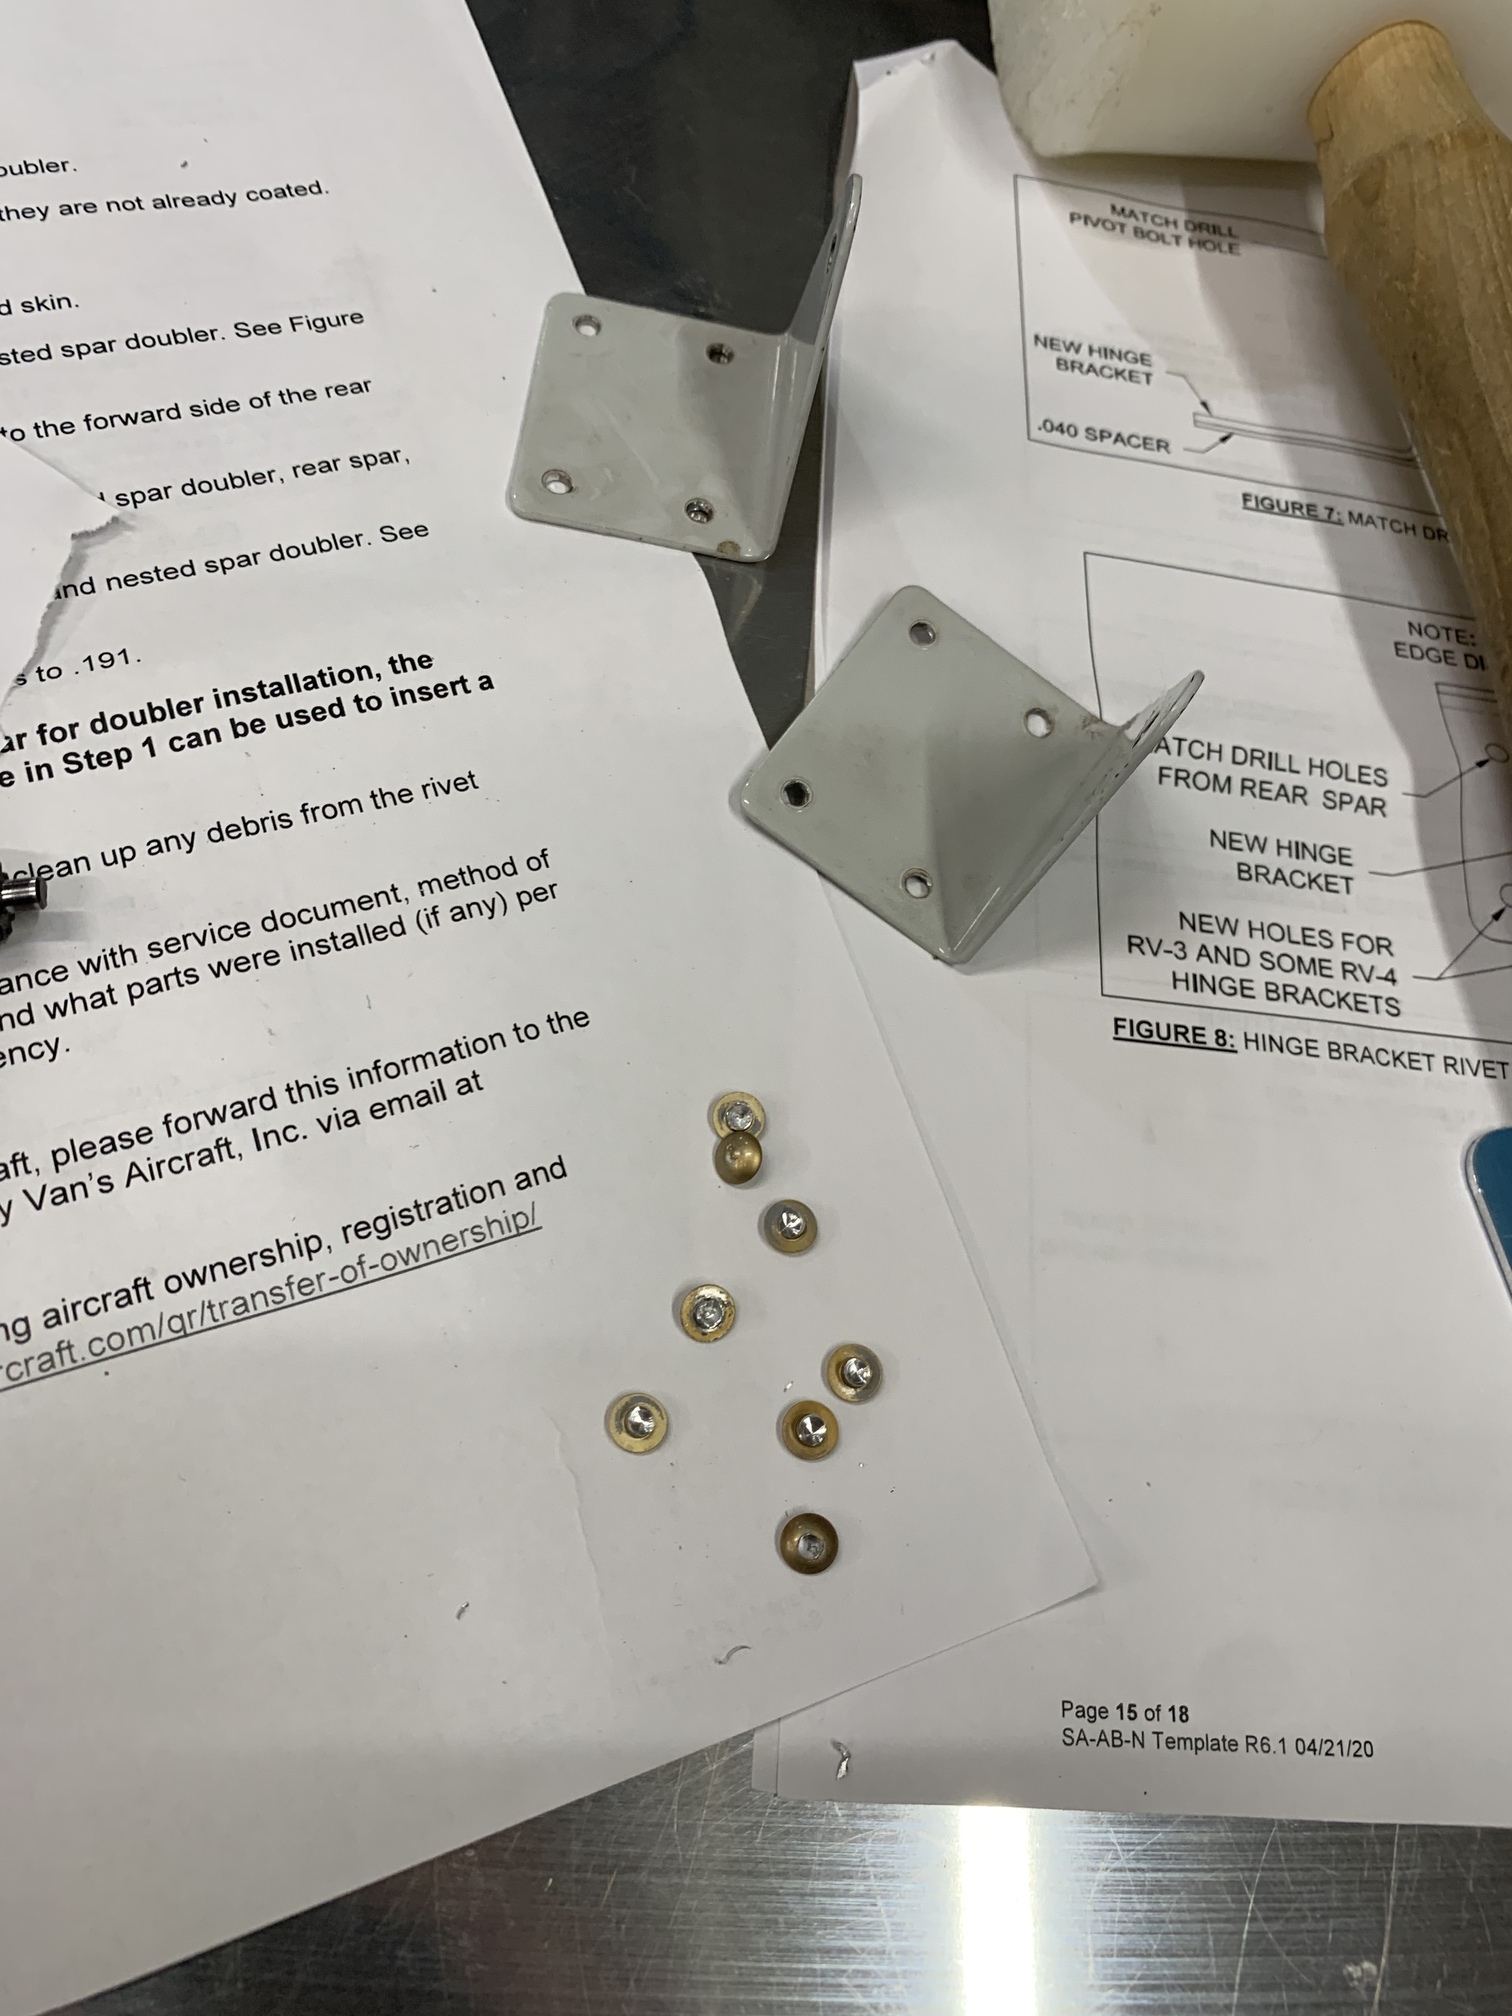
I got out the parts kit I had ordered for this earlier this year and took a look at it. There are two reinforcement plates and new, shorter hinge brackets to account for the extra thickness from the HS spar. If you have cracks, you install both plates. If you don't have cracks, you just install the aft bracket on the spar.
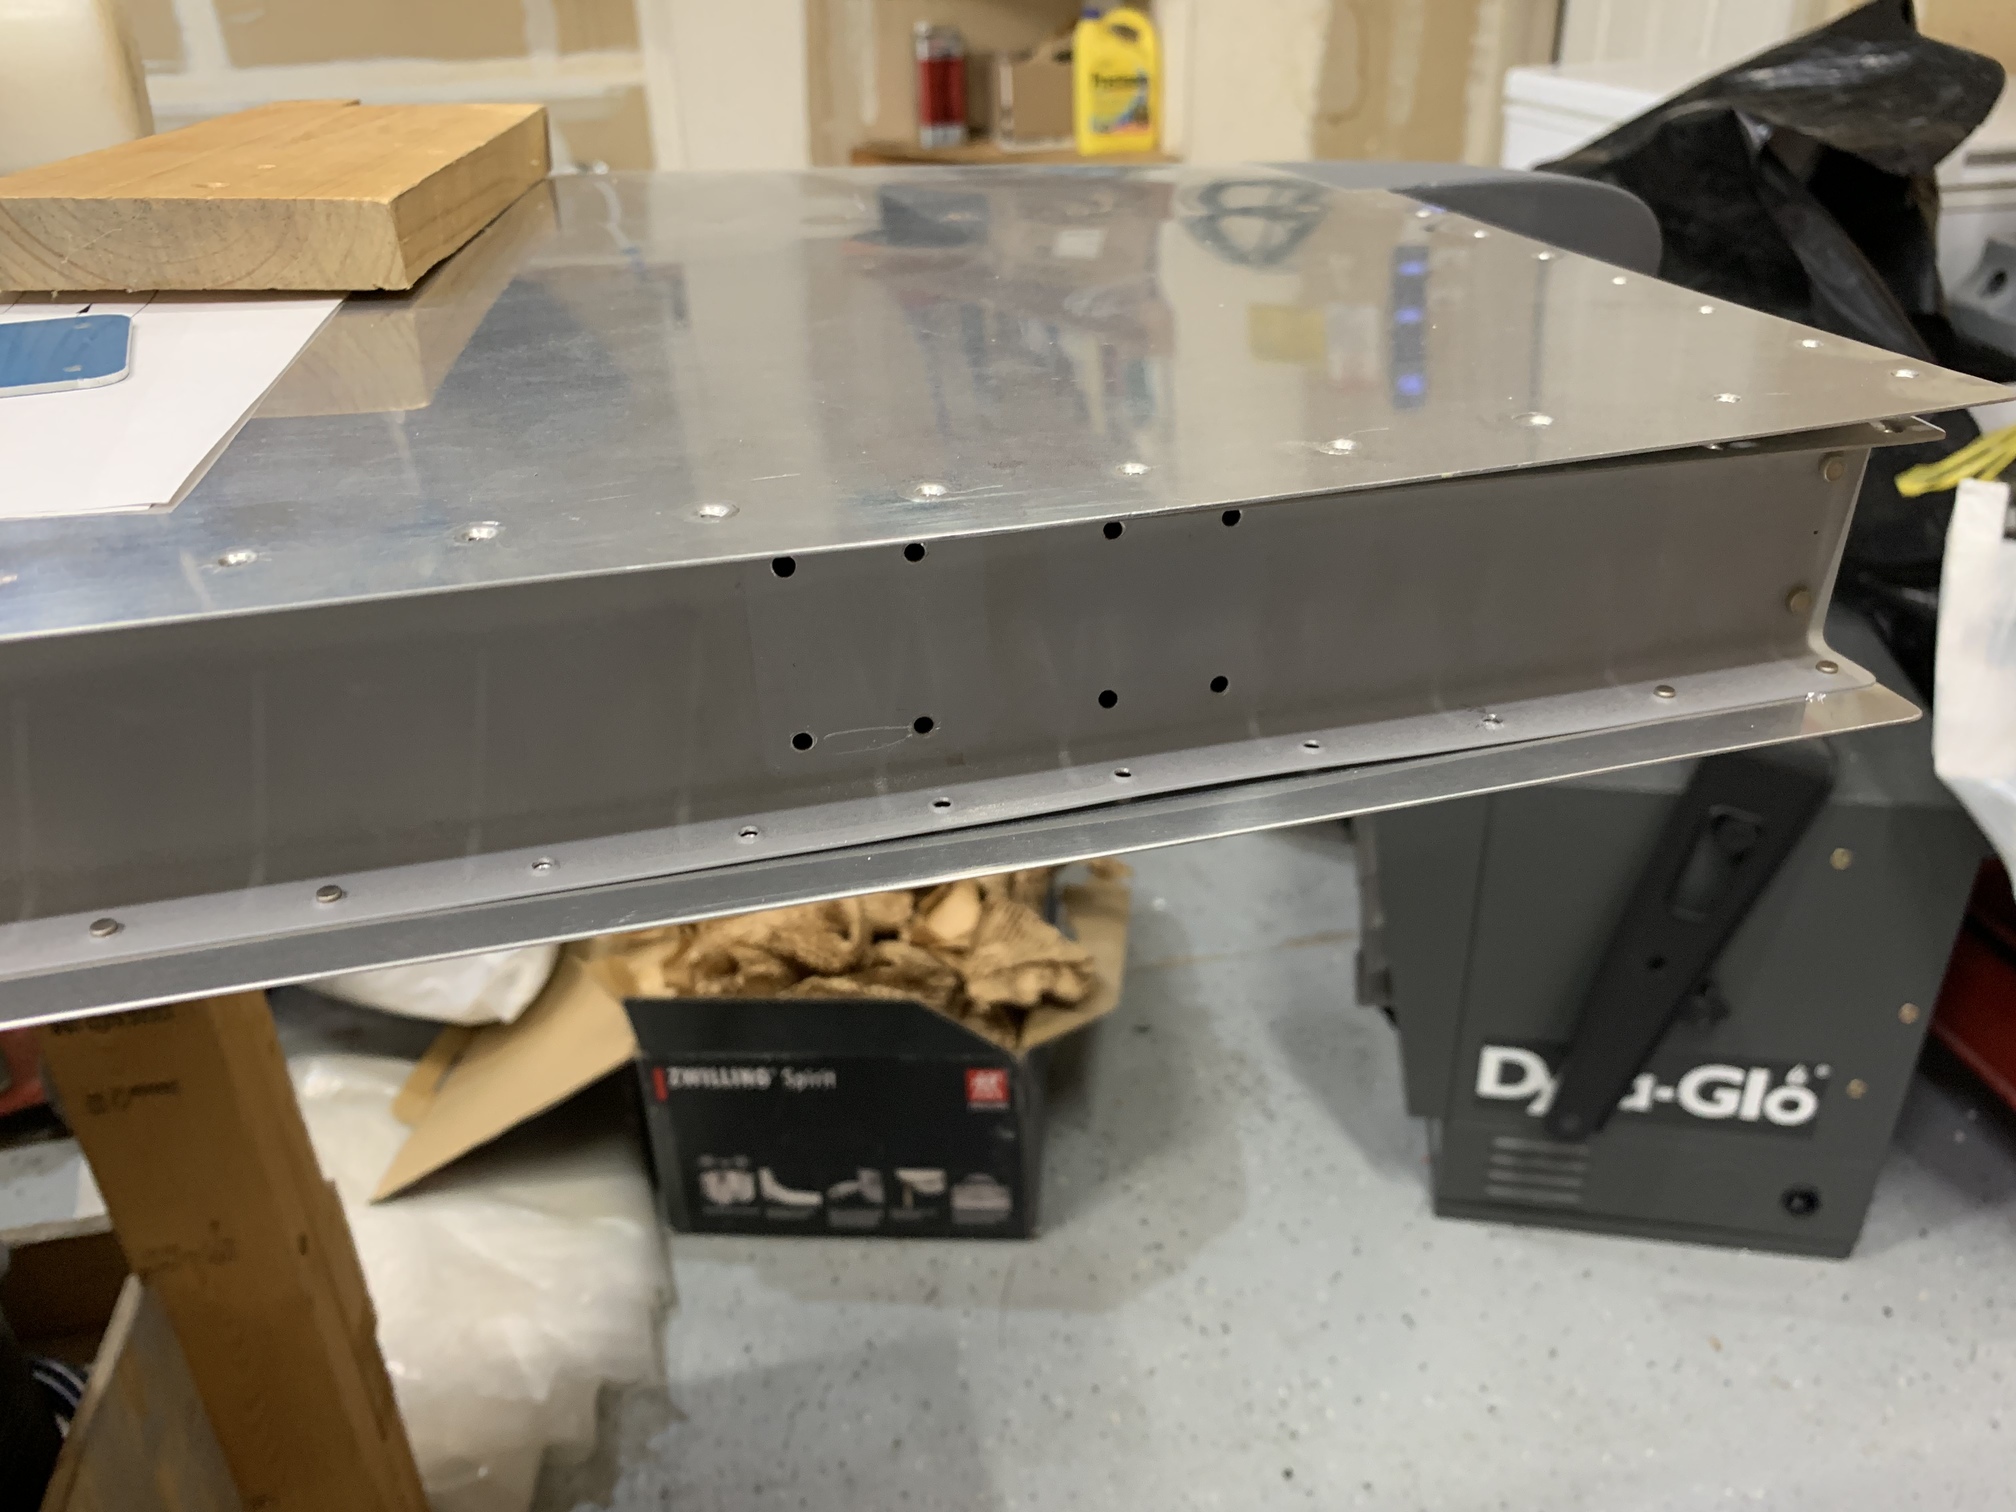
I drilled out the old hinge brackets on both sides.
I also drilled out the skin to spar rivets where the aft reinforcement plate will attach. If you aren't installing the forward reinforcement plate, you technically wouldn't have to open up the skin and get access to the forward side of the spar, but you would have to use Cherrymax blind rivets to attach the new hinge brackets to the spar. Since I was already drilling skin rivets, I just went ahead and drilled out enough to peel the skin away enough that I could use solid rivets instead of the blind rivets. I only did this on the top skin.
I drilled the reinforcement plates and hinge brackets.
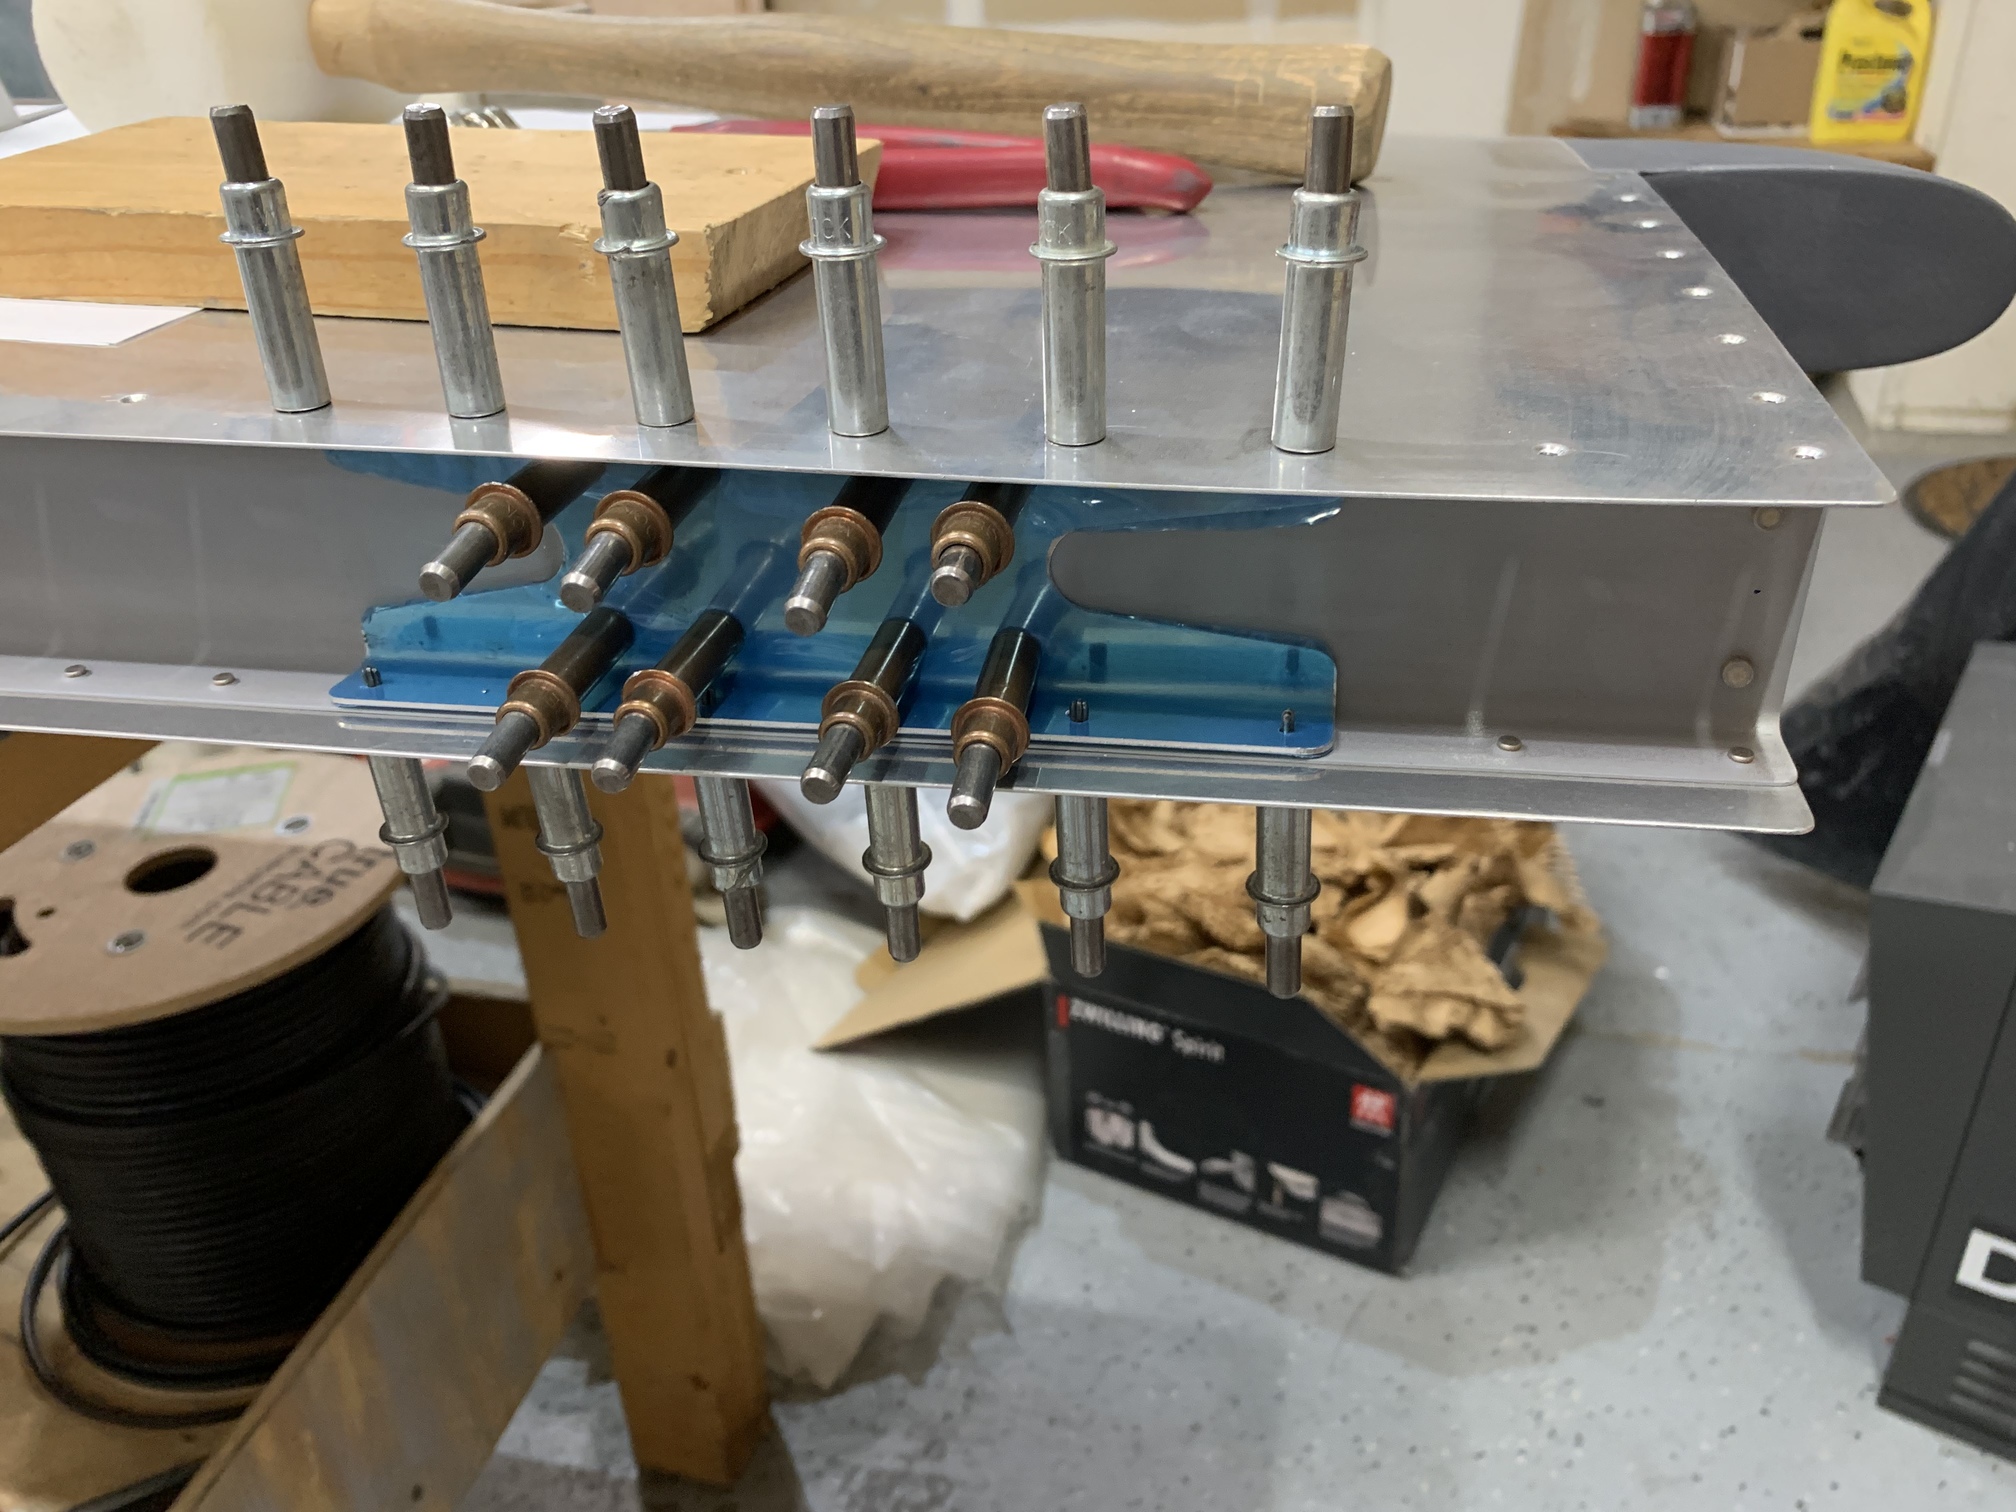
Then, I deburred, dimpled, primed, and painted all of the parts. Finally, I riveted the hinge brackets to the reinforcement plates and spar, and then reinstalled all of the skin to spar (and reinforcement plate) rivets.

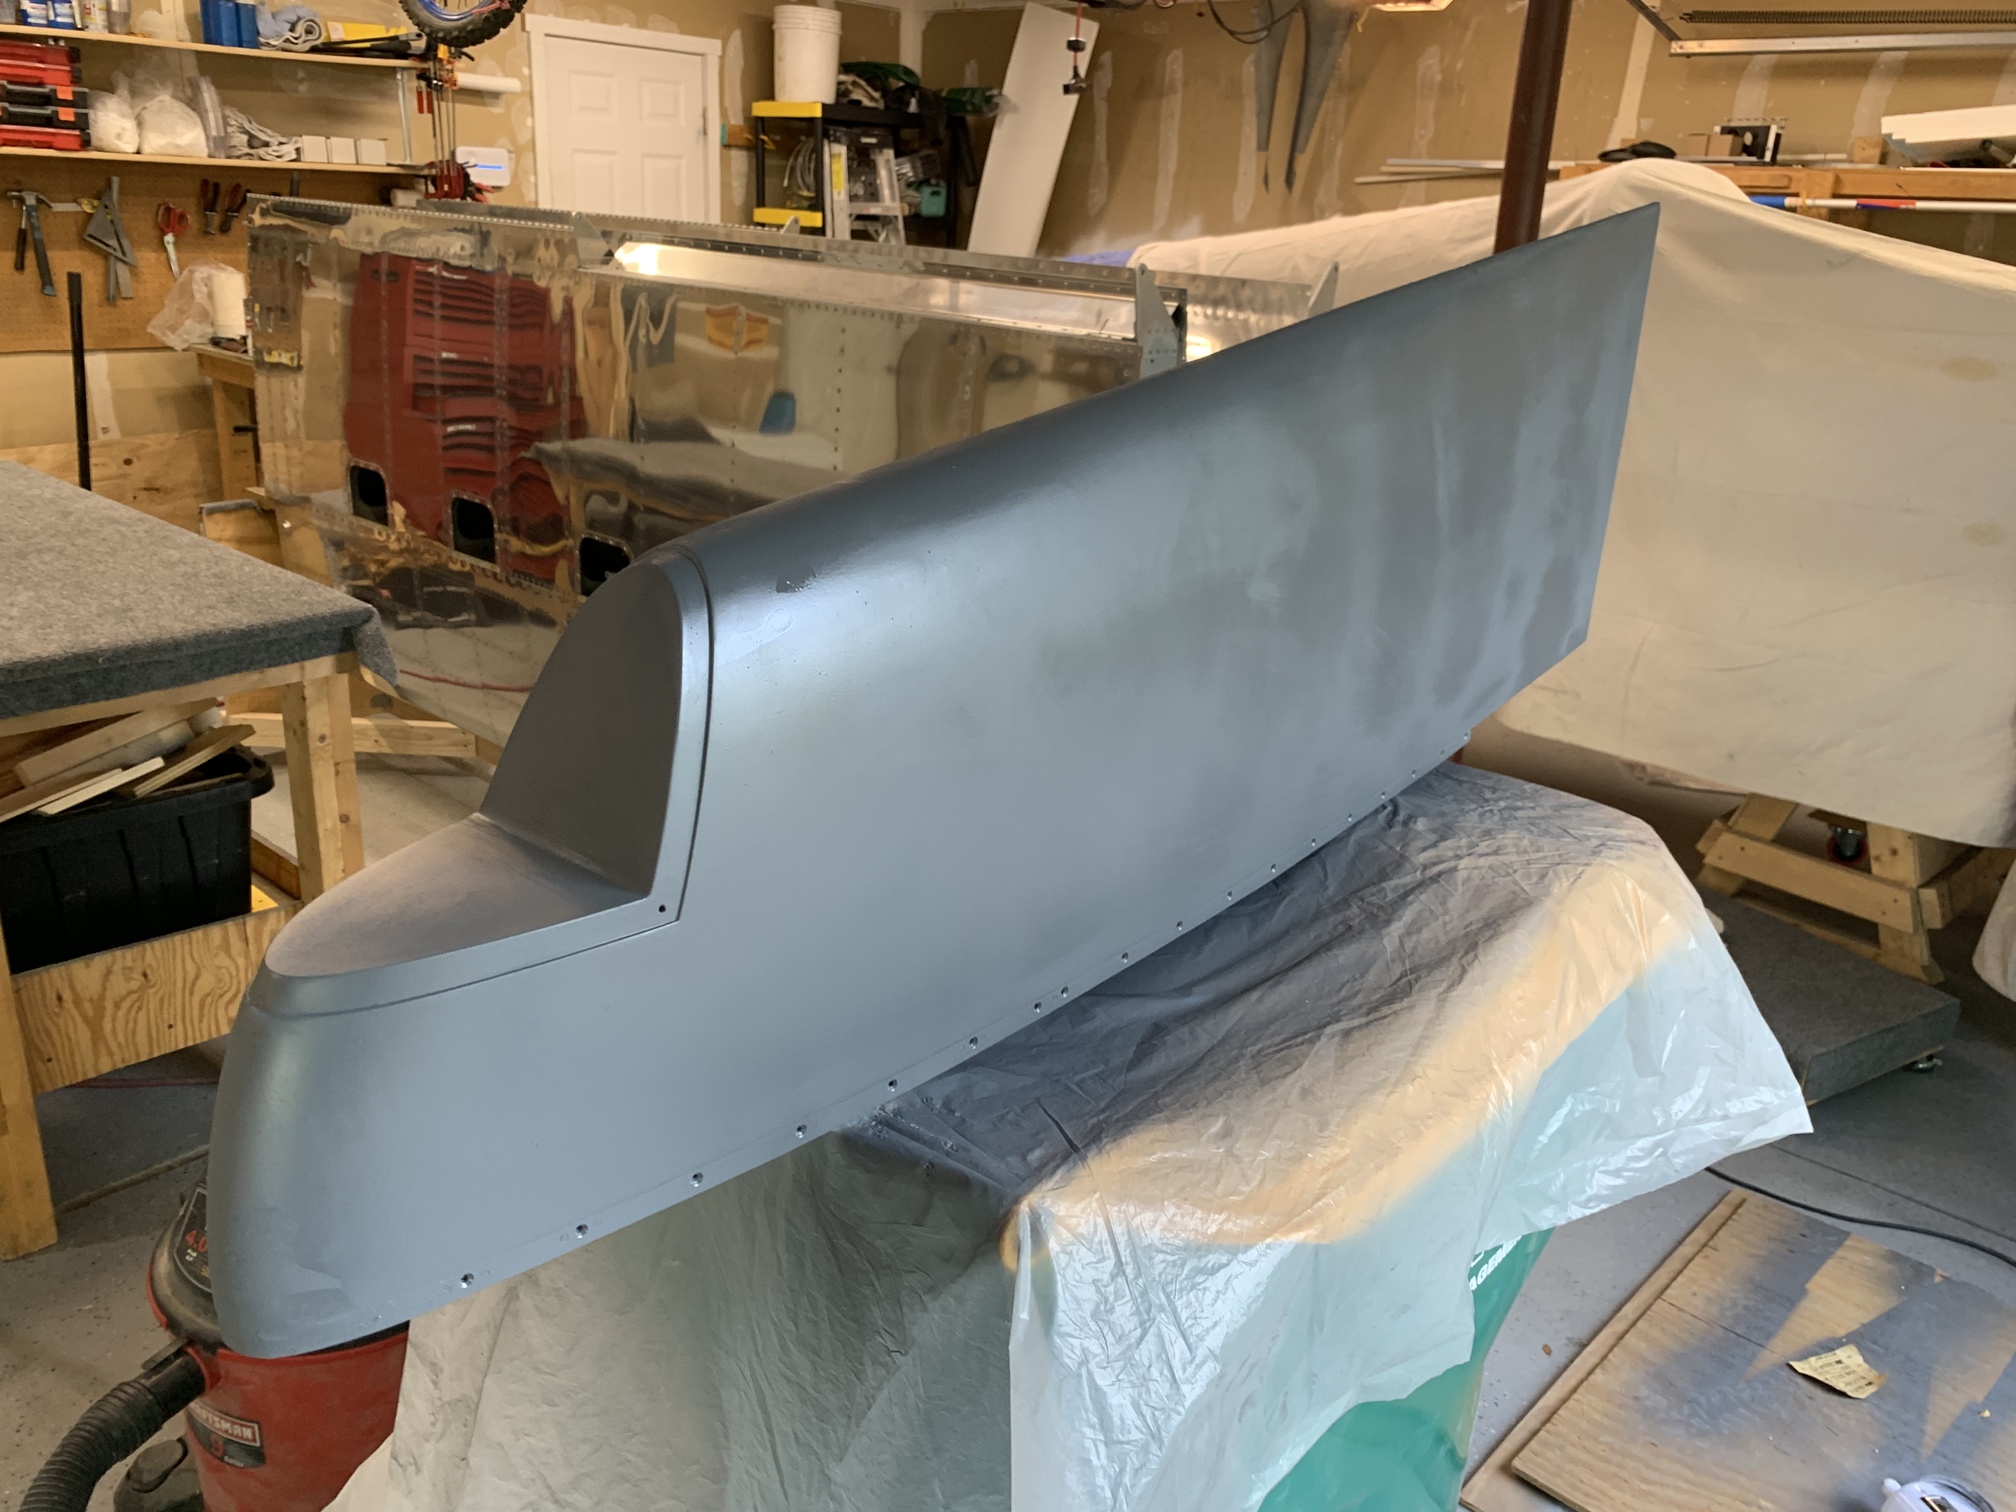
Throughout this whole process I was also working on the left wing tip. I did a bunch of sanding and a little more filling with some fast cure epoxy. Then I applied another couple coats of paint. It looks better now, although there are a couple of spots that may need some more deep sanding and painting.
| Previous - Index - Next |
This work is licensed under Attribution-NonCommercial-NoDerivatives 4.0 International![]()
![]()
![]()
![]()