Log (By Day)
Log (By Category)
Pictures
Pics of Me Working
Links
Thursday August 10, 2023
Left Wing Tip Sanding/Priming, Started Right Wing Tip
(Wing Tips)
5.2 Hours
| Previous - Index - Next |
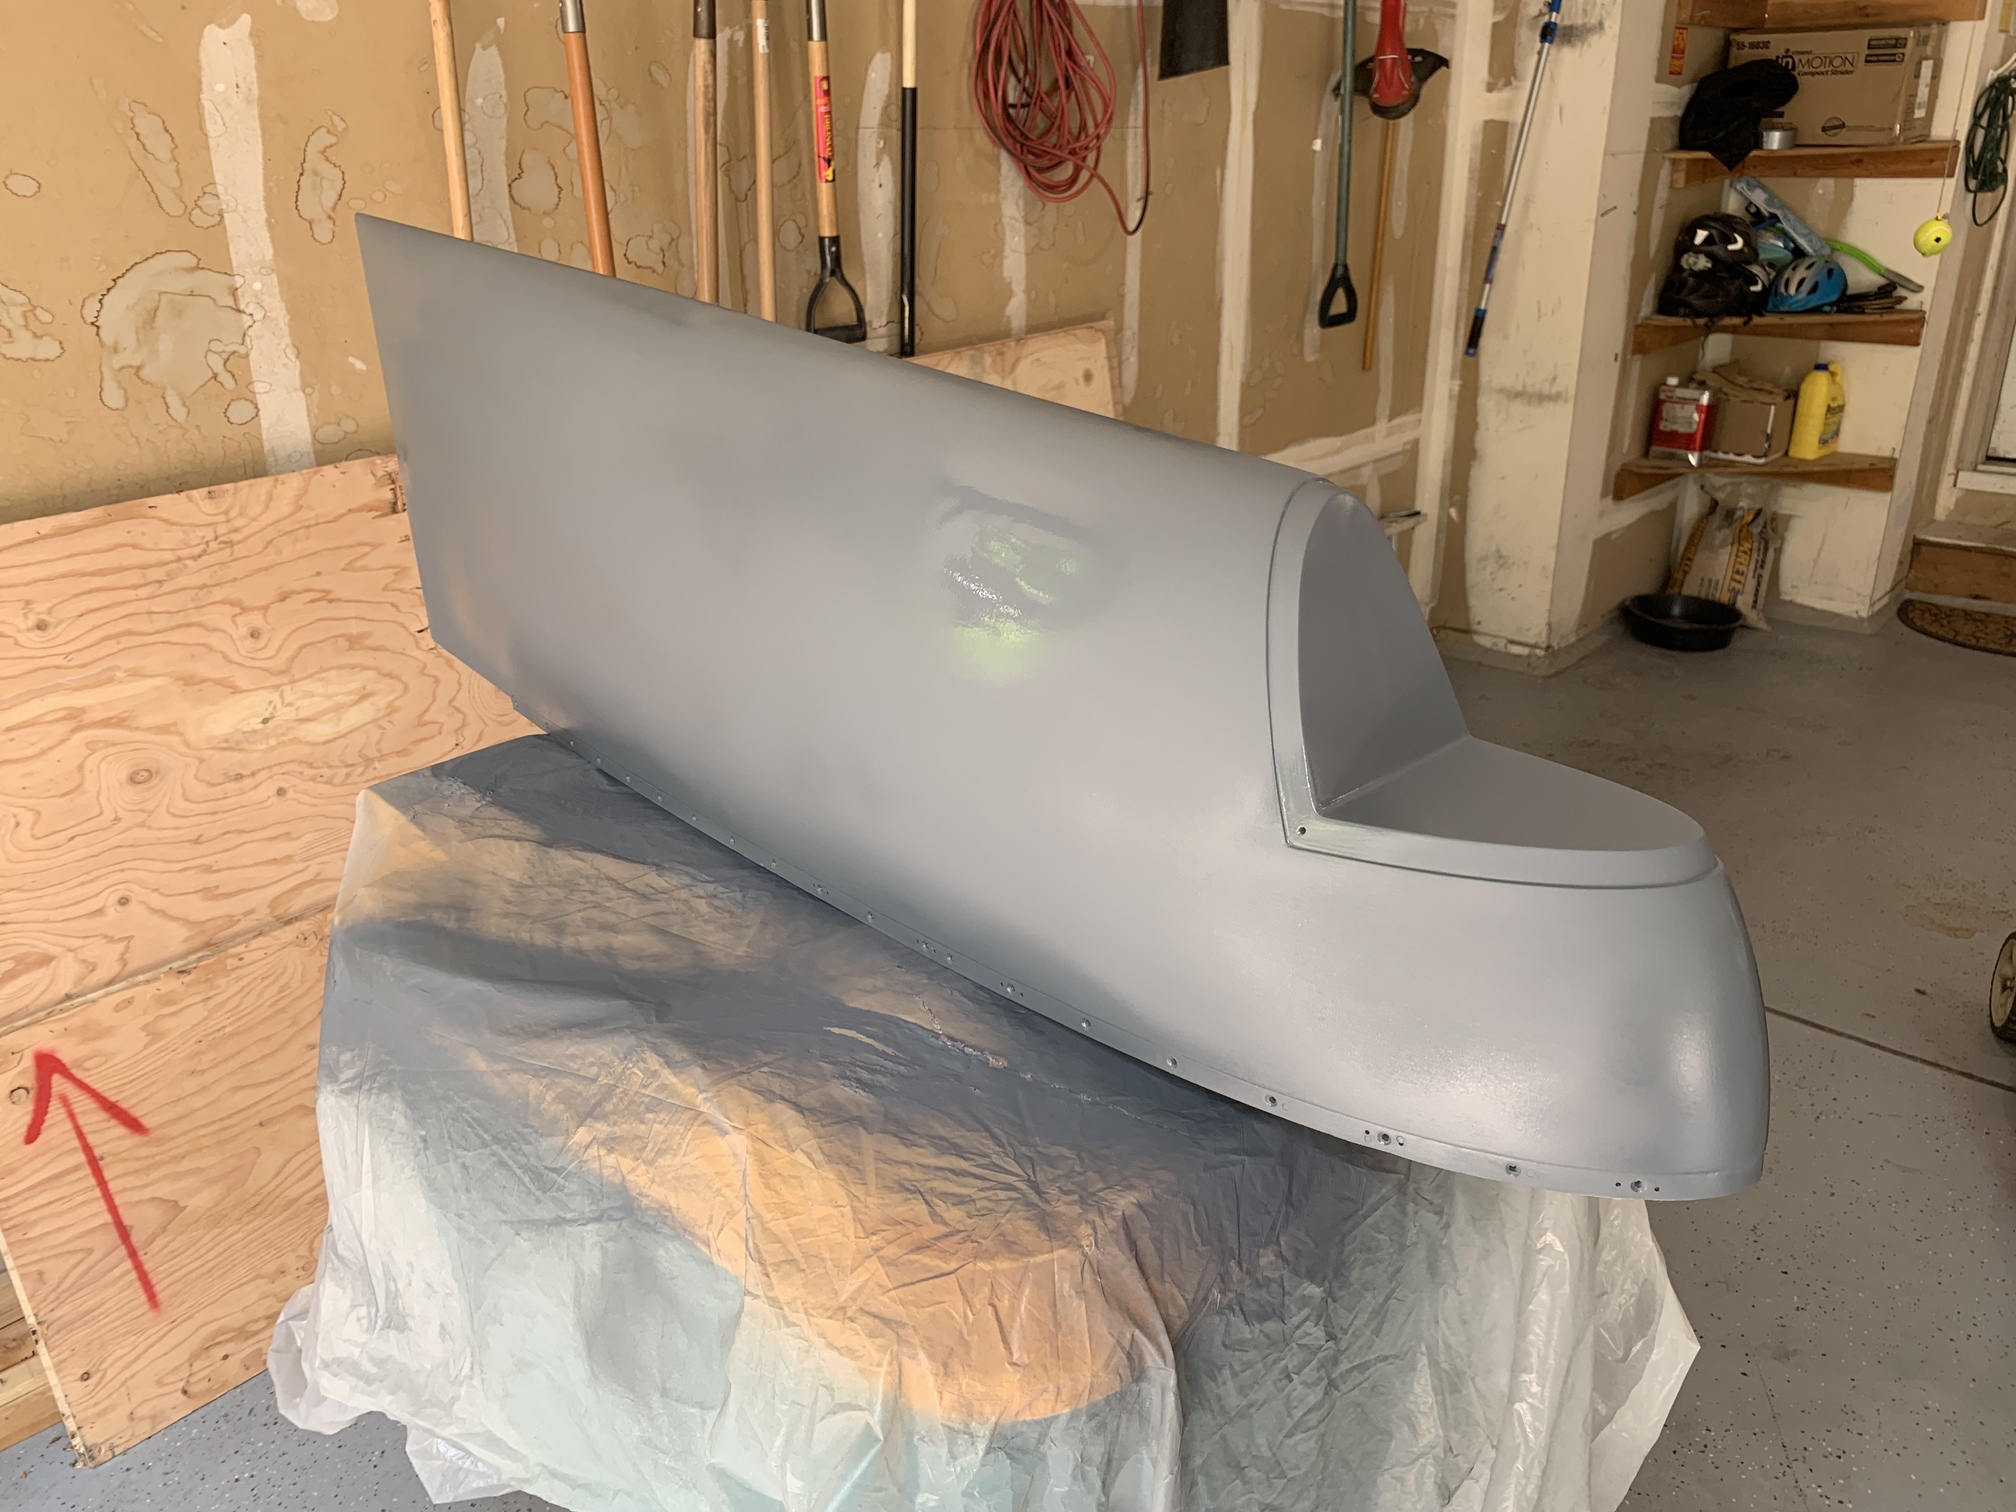
I started the day by sanding down the left wing tip. A few spots needed to be sanded down to the underlying fiberglass.
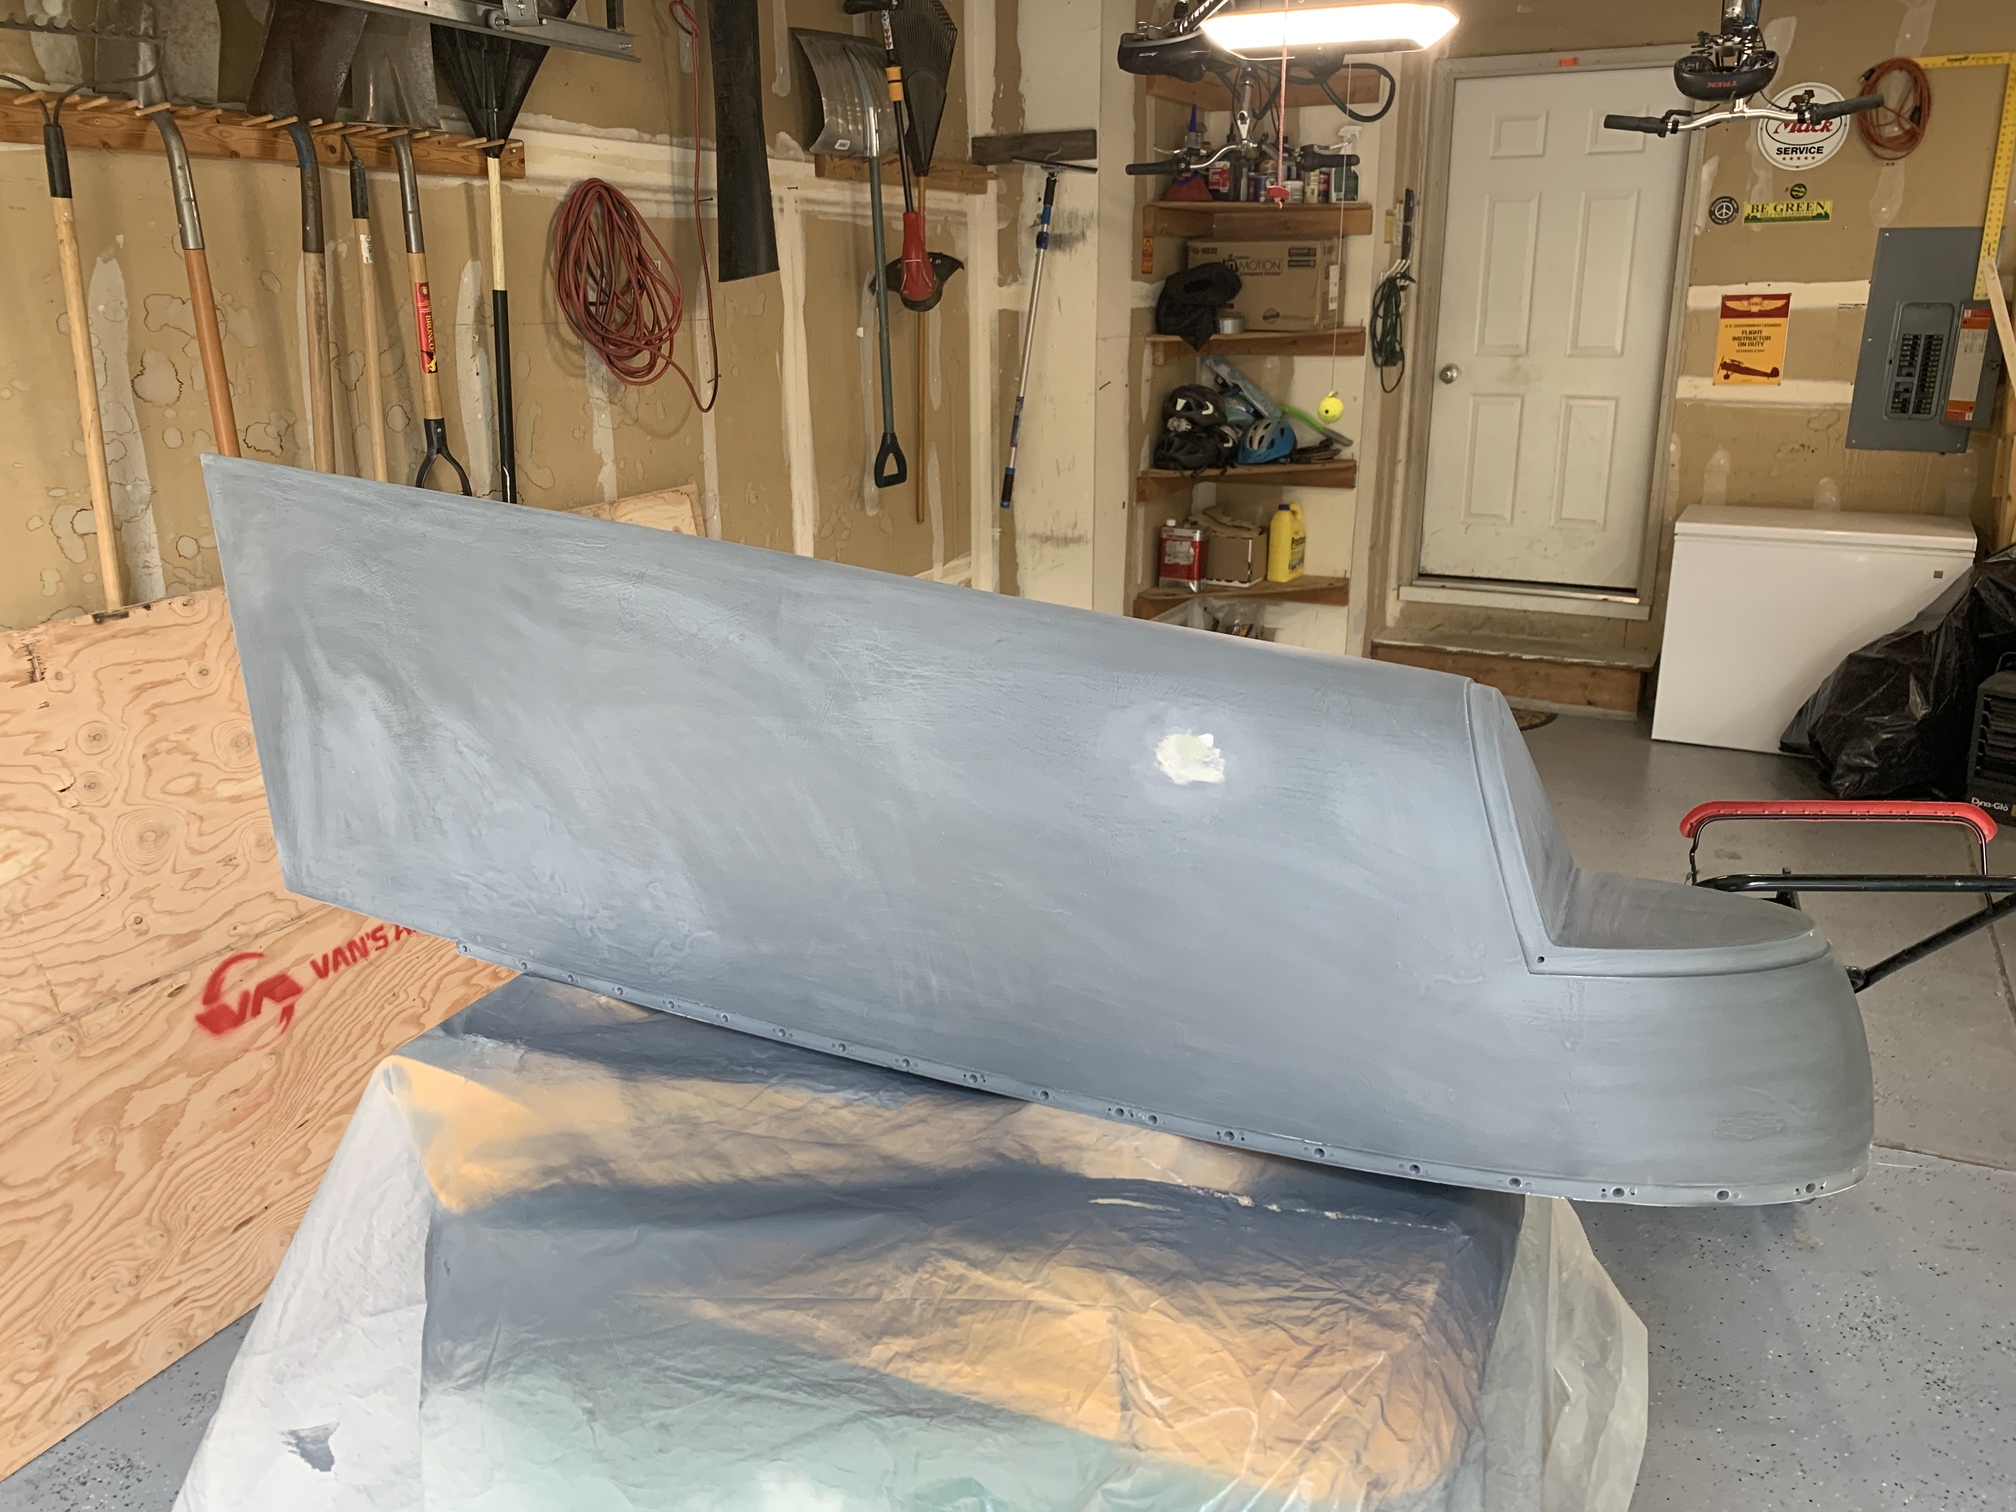
Then I shot some more primer. This should be the last coat.
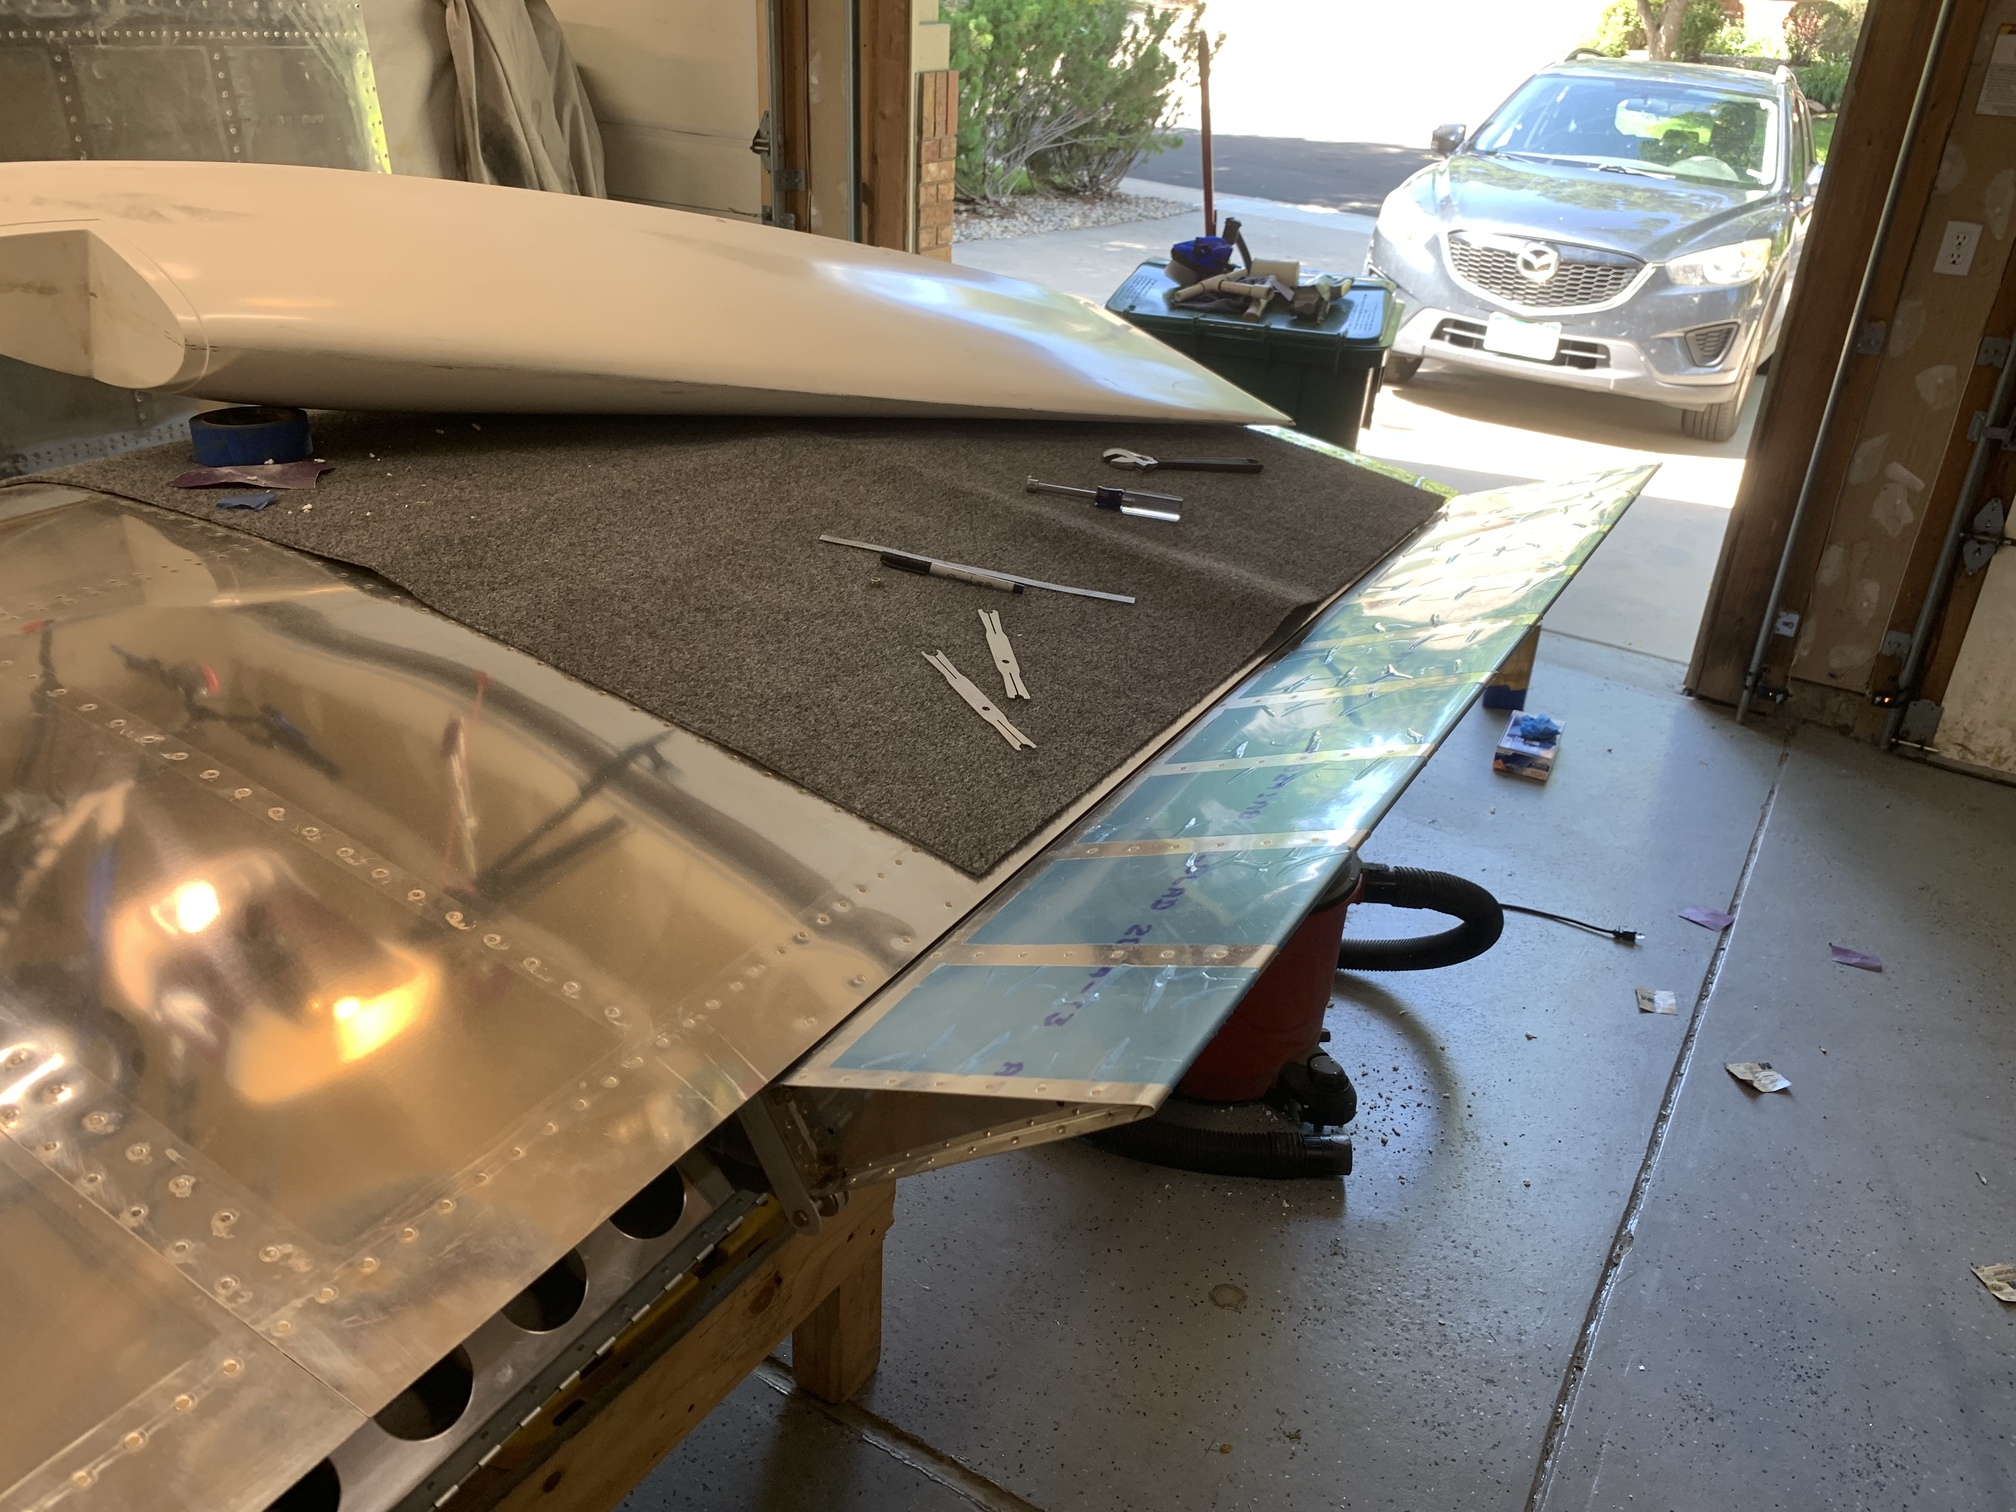
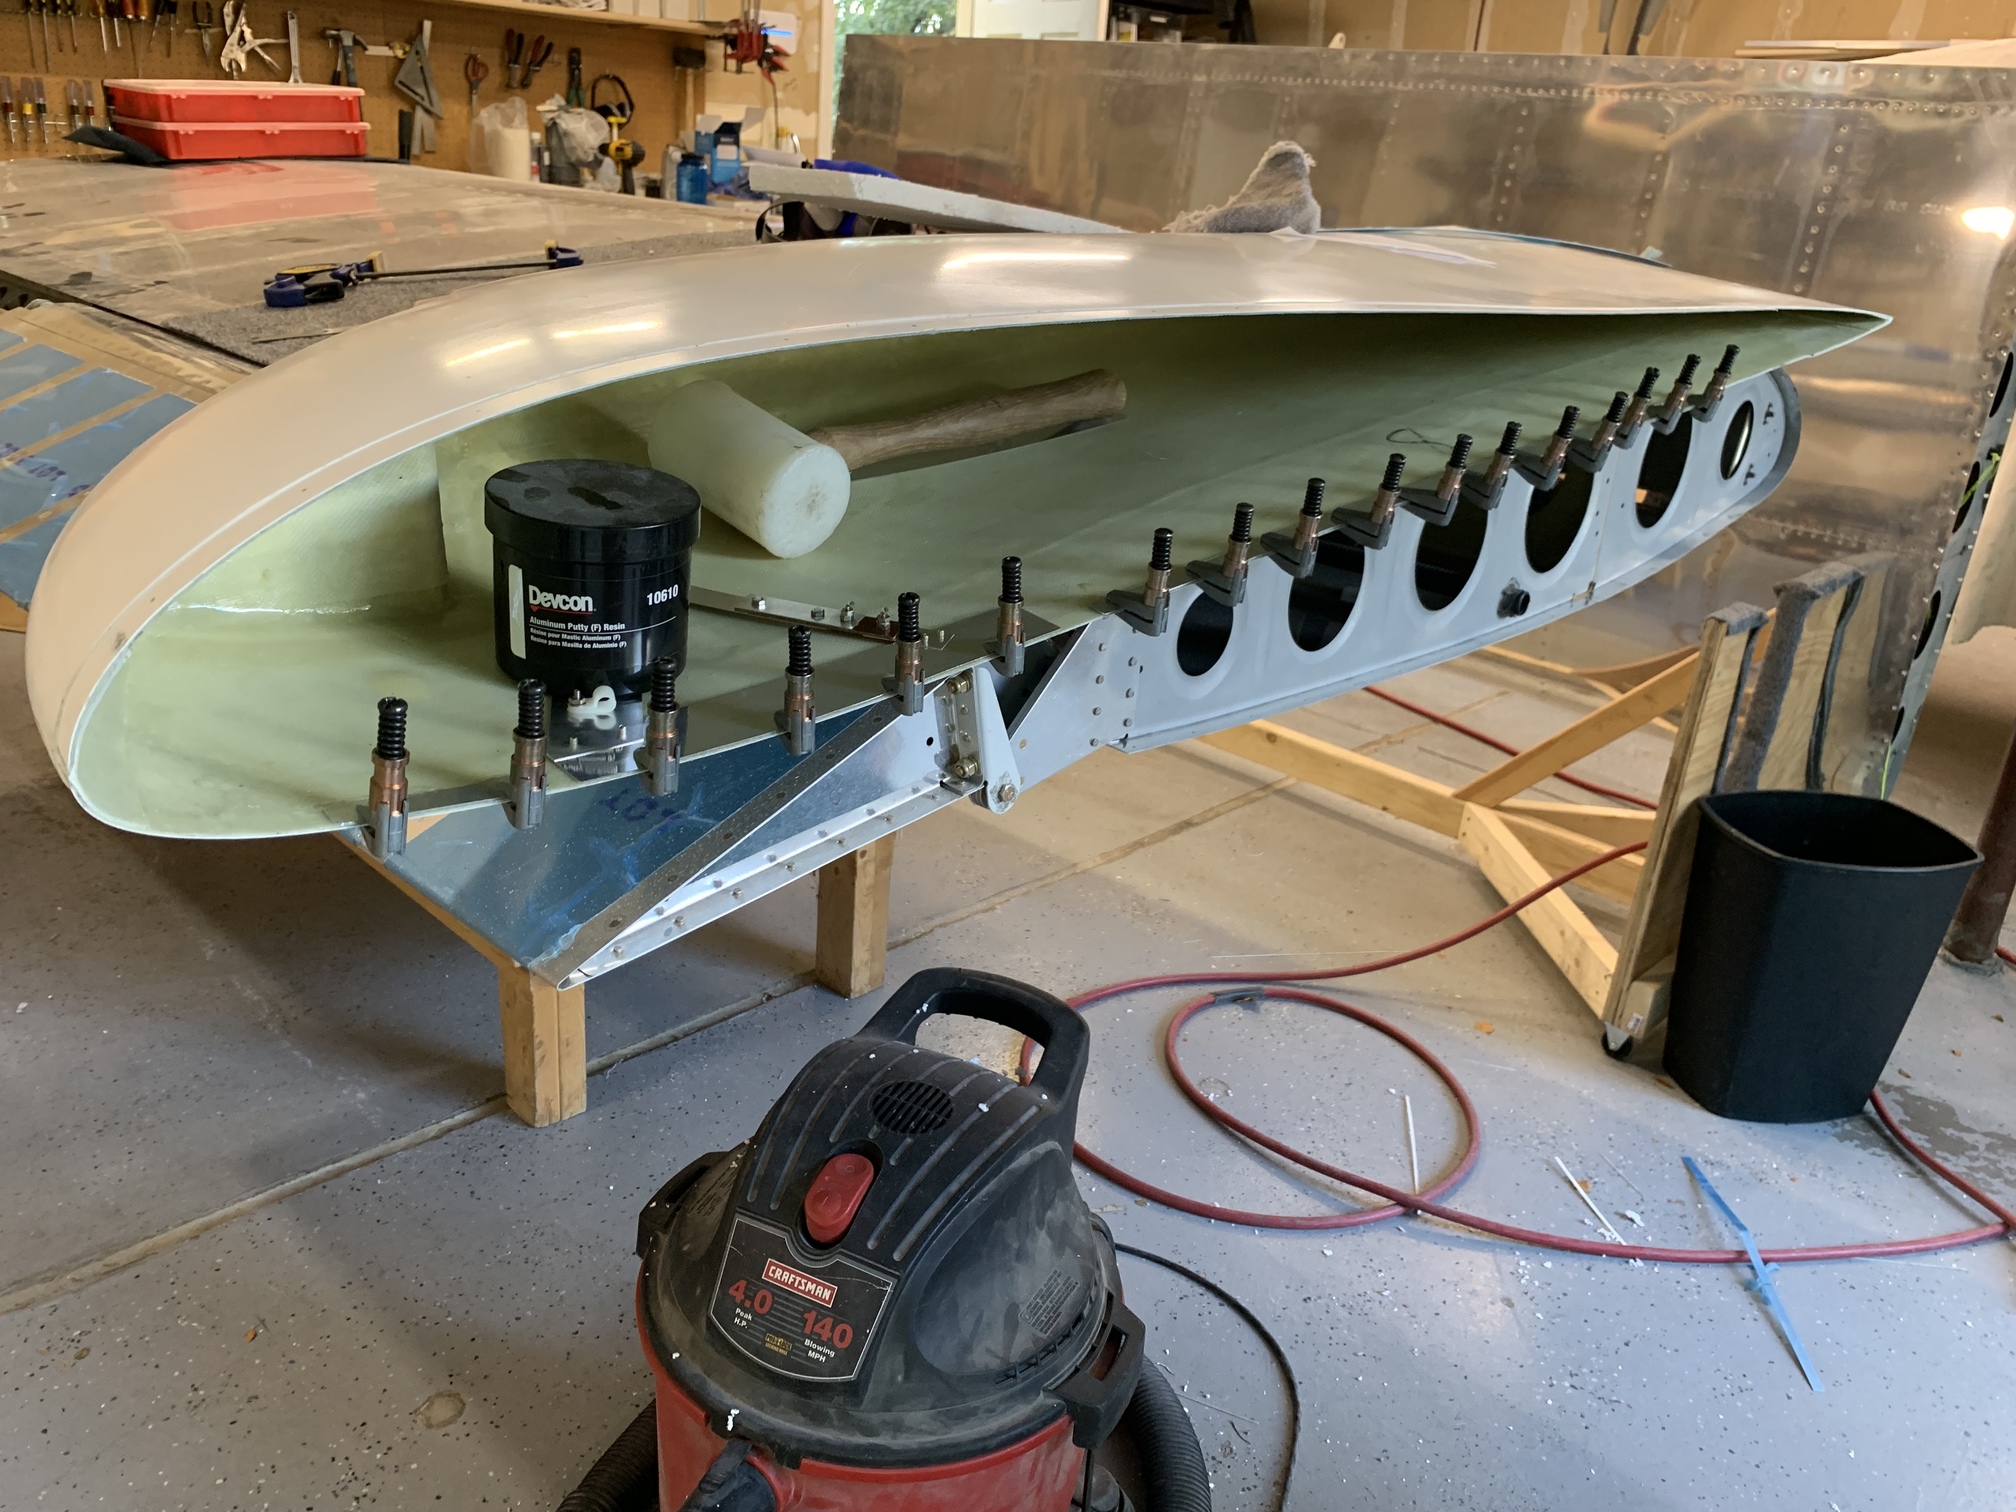
Emily helped me get the right wing out of the cradle onto one of my shop tables. I forgot about this slightly dented area at the very outboard part of the leading edge.
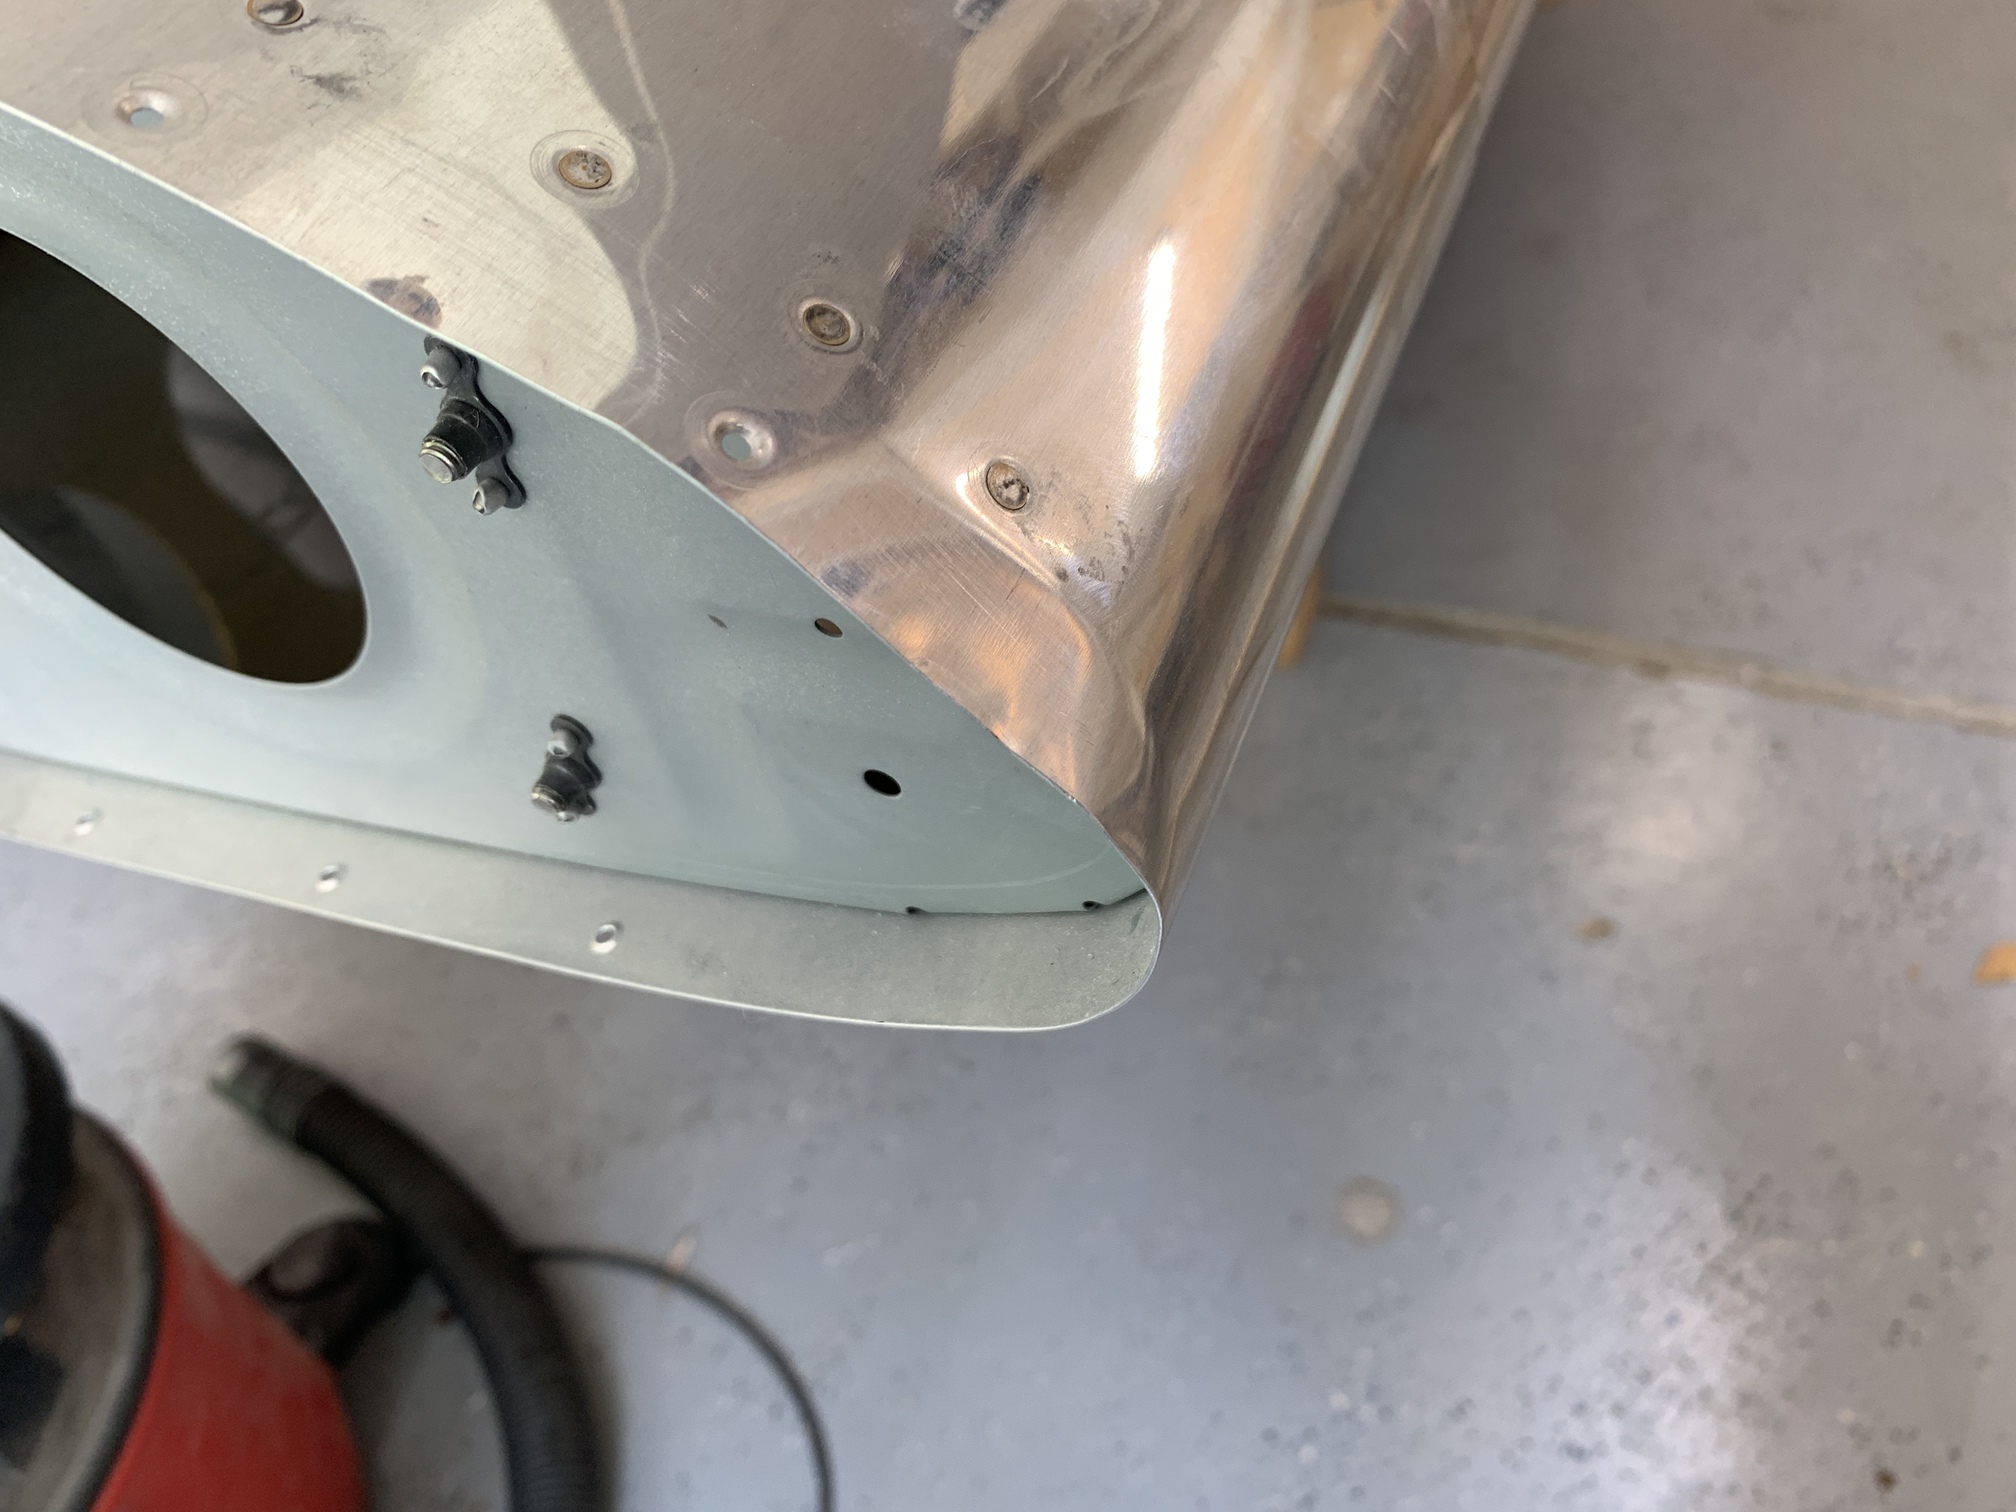
I spent some time gently tapping it back into shape with some pvc piping. Once the wing tip is installed, I can work on doing whatever I need to do to hide this.
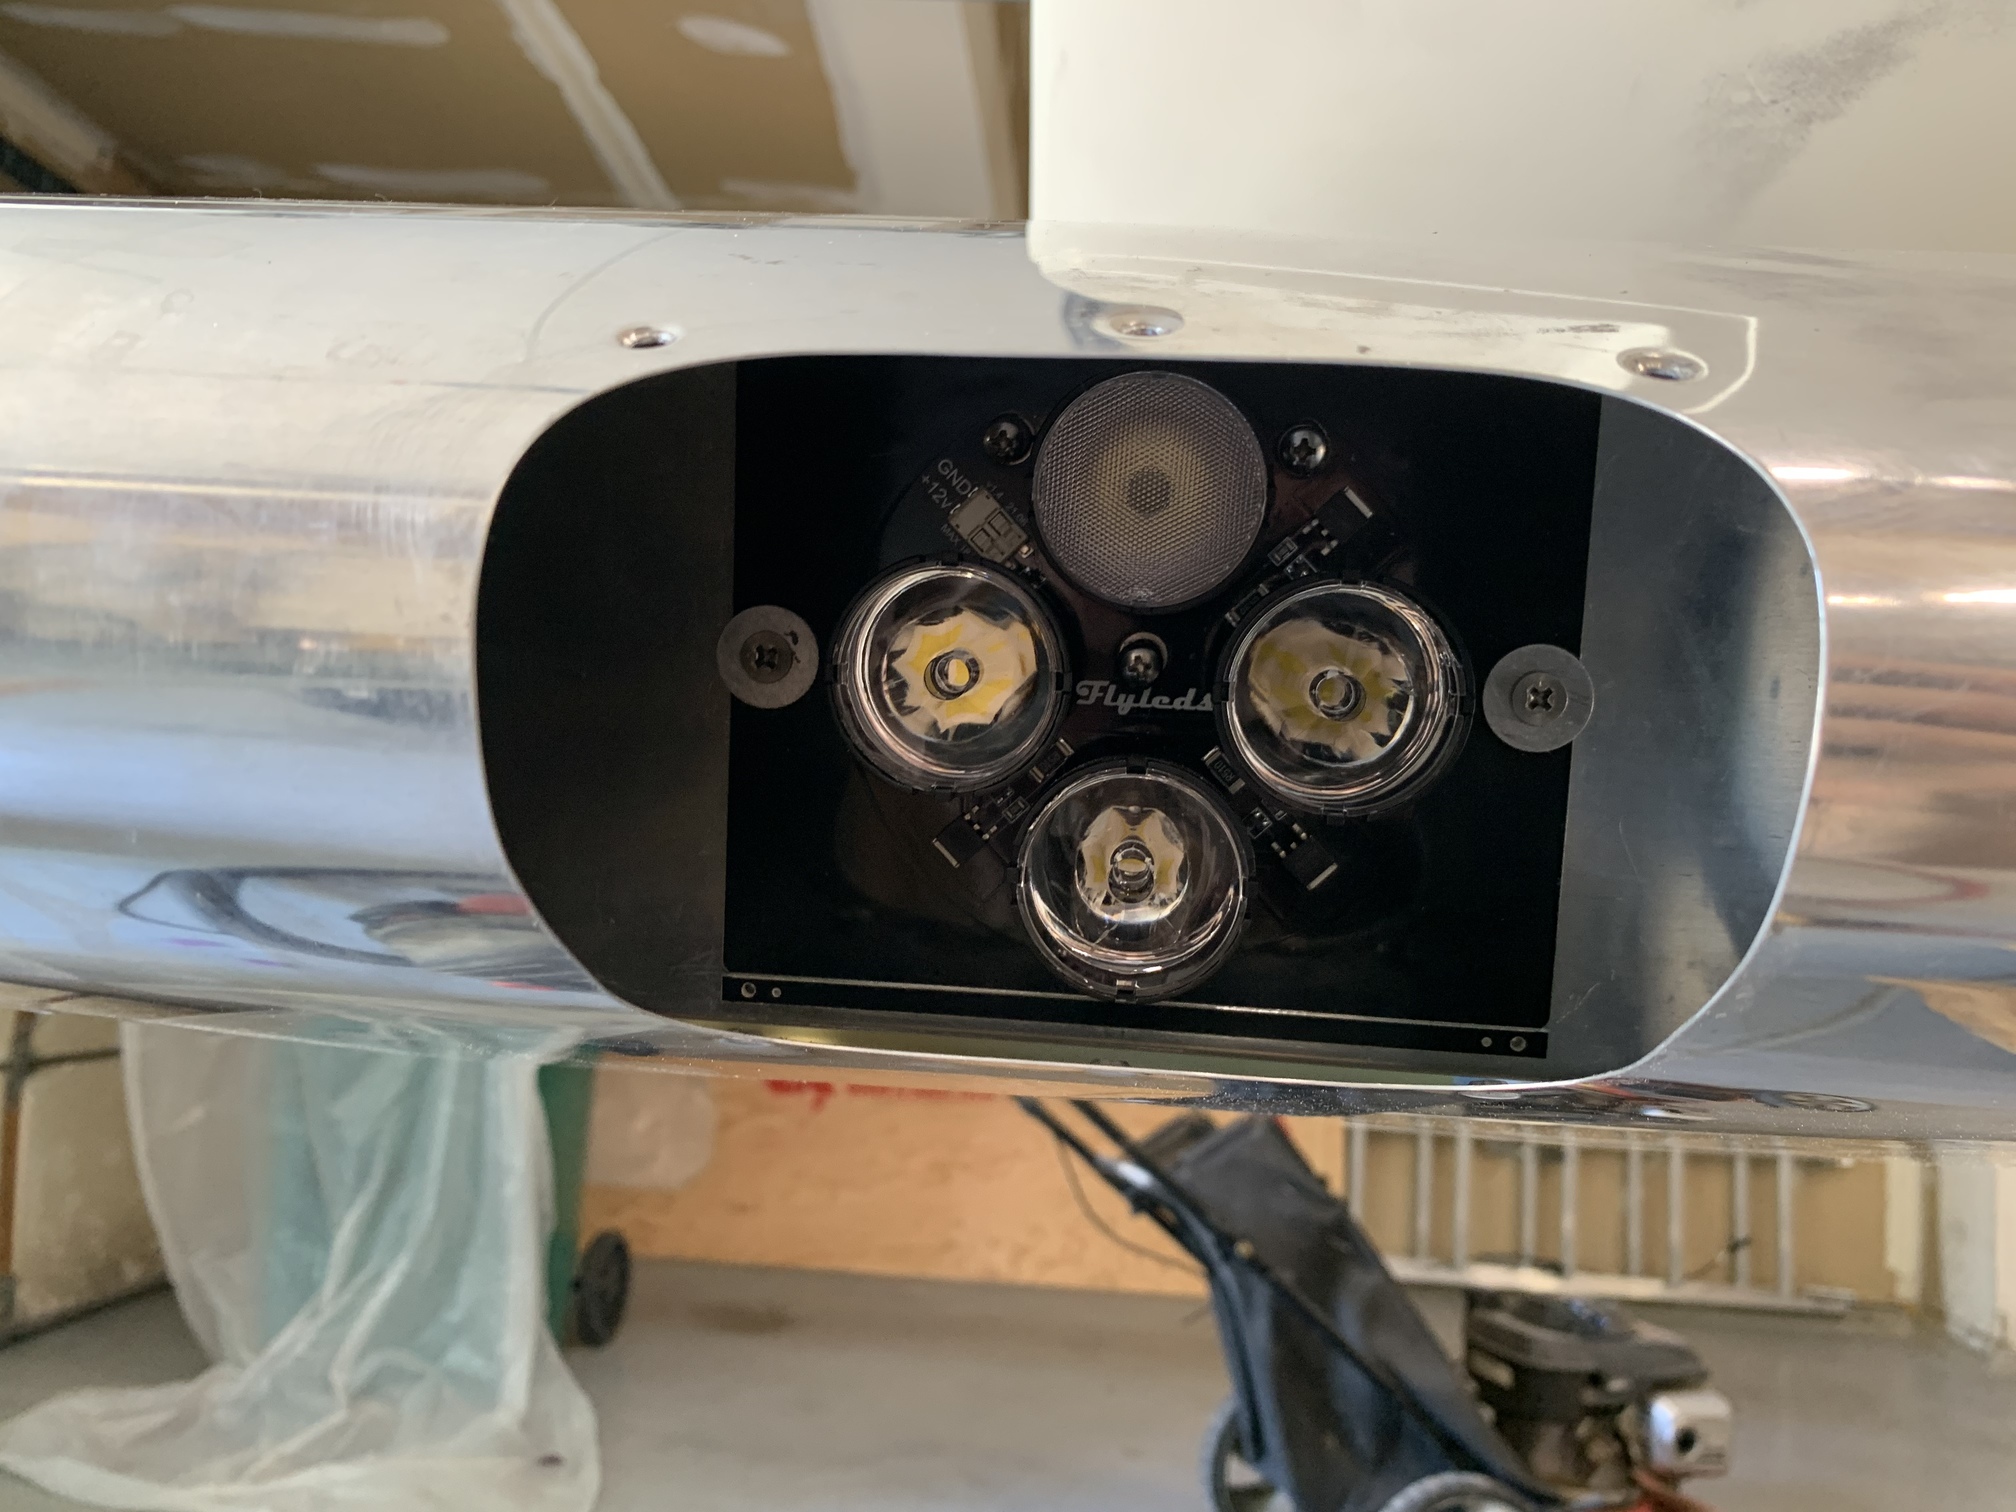
Then I spent a while installing the FlyLeds landing/taxi light in the old Duckworks mount.
Then I temporarily installed the aileron and flap on the right wing for alignment with the wing tip. I installed the control rod from the aileron to the bellcrank and stuck the bellcrank jig in there. I checked alignment with the tooling holes on the outboard wing rib and got the aileron in neutral position.
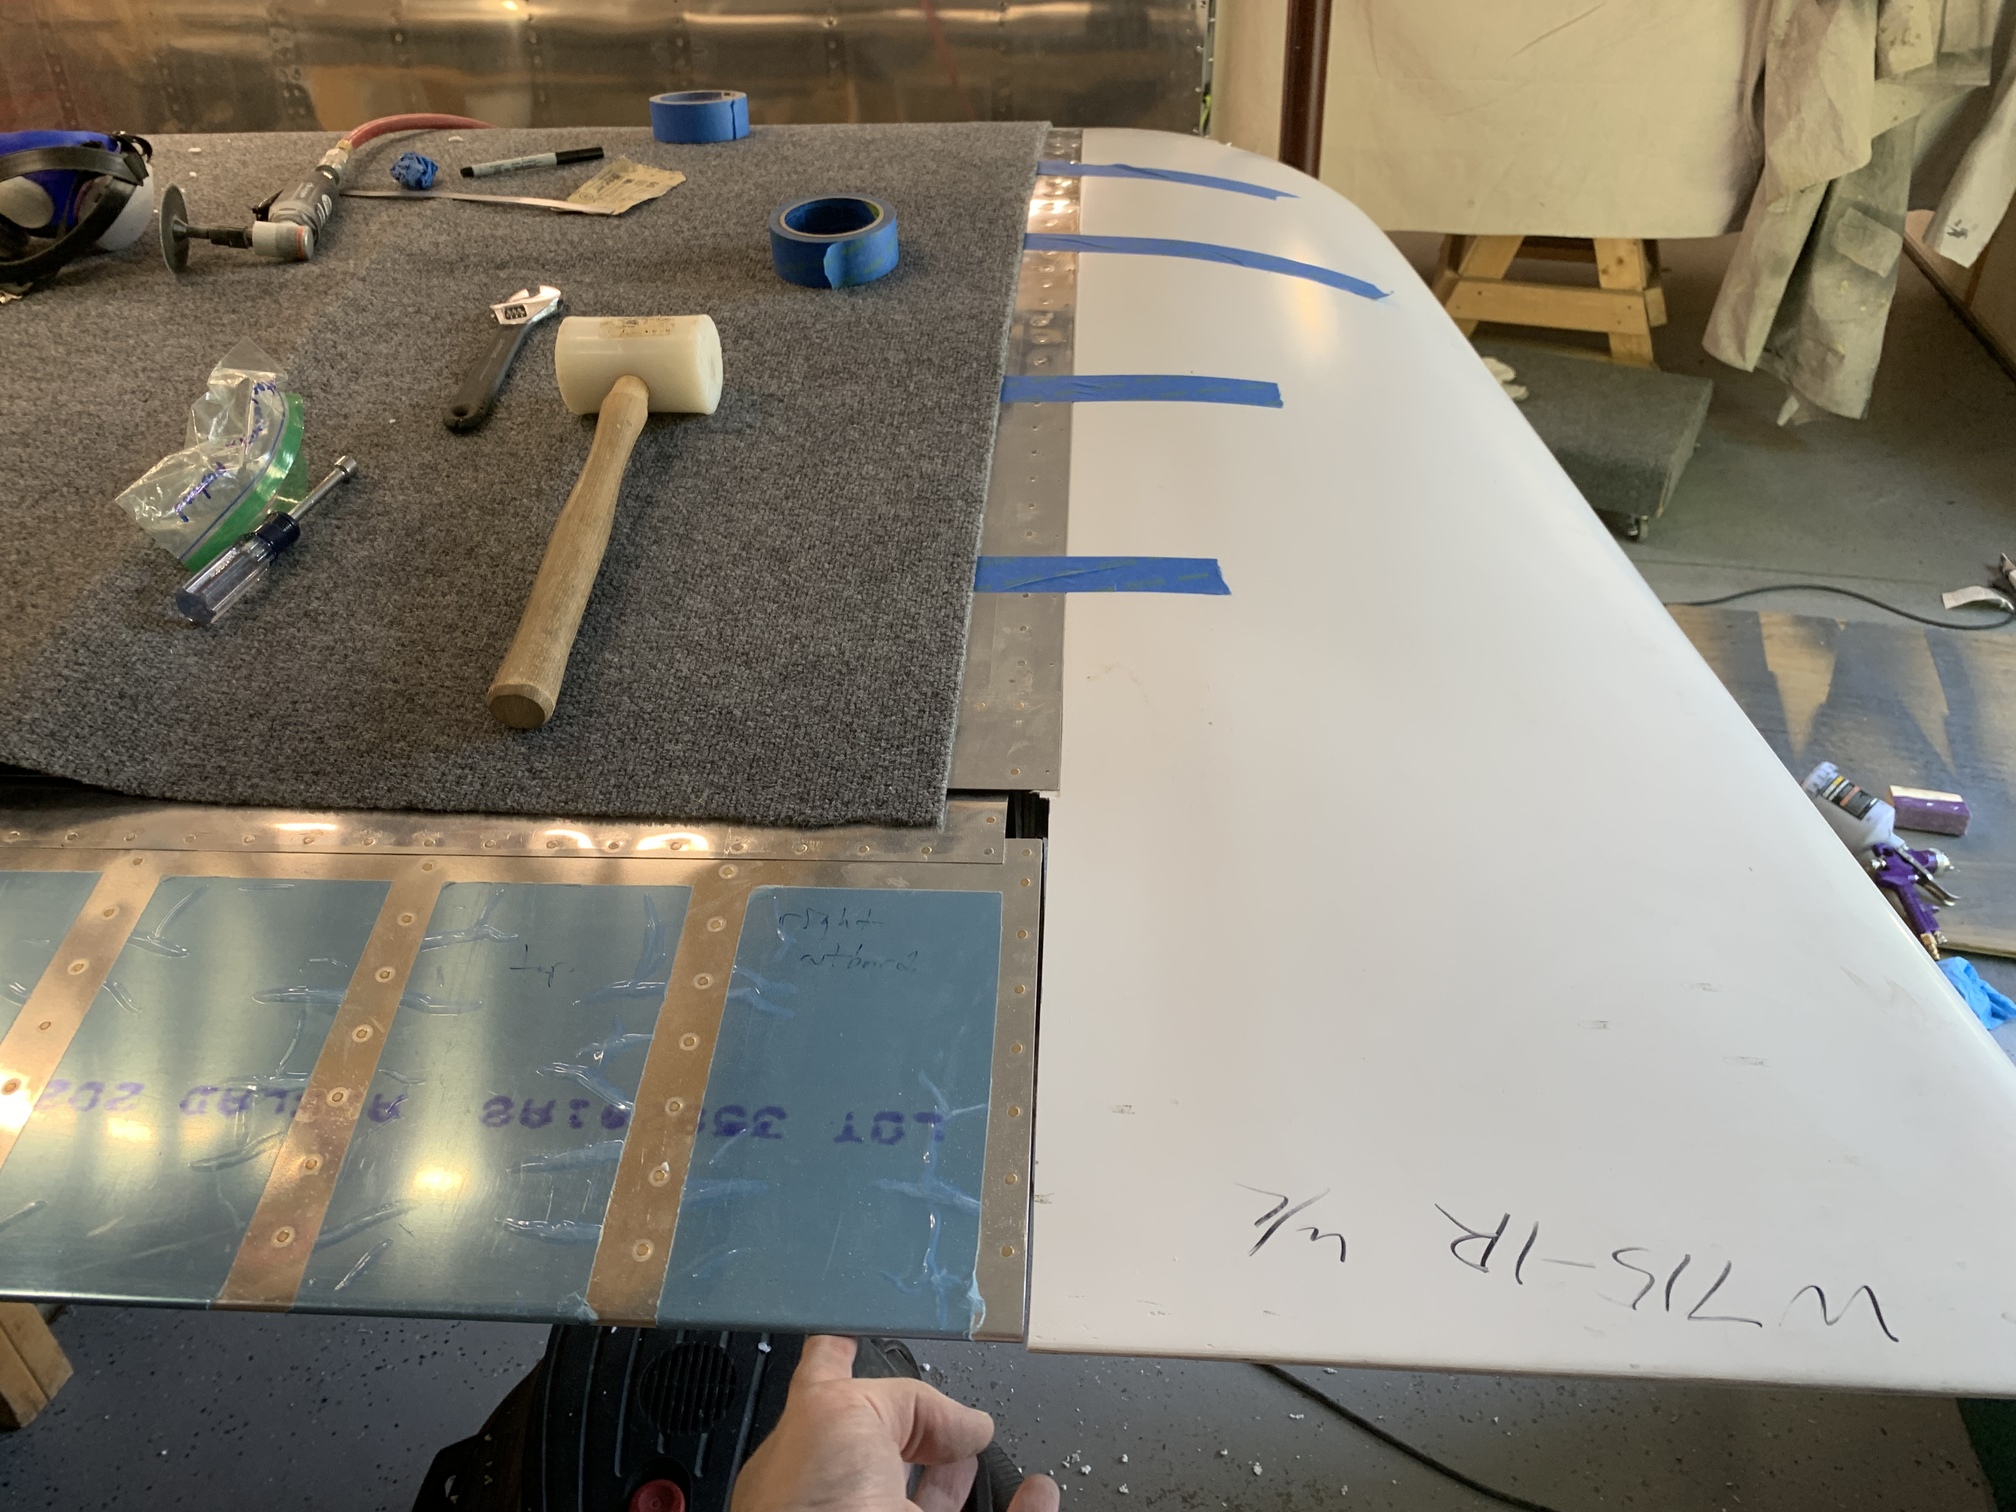
I trimmed the flange of the right wing tip to get it to fit. Then I marked the locations of the holes from the skin onto the fiberglass.
Then I pulled the tip off. This is the Archer VOR antenna that I planned to install in the right wing tip. Most people use the inboard part of the antenna as the backing strip for the nutplates on the wing tip, thus grounding it to the plane. This is where I will install it.
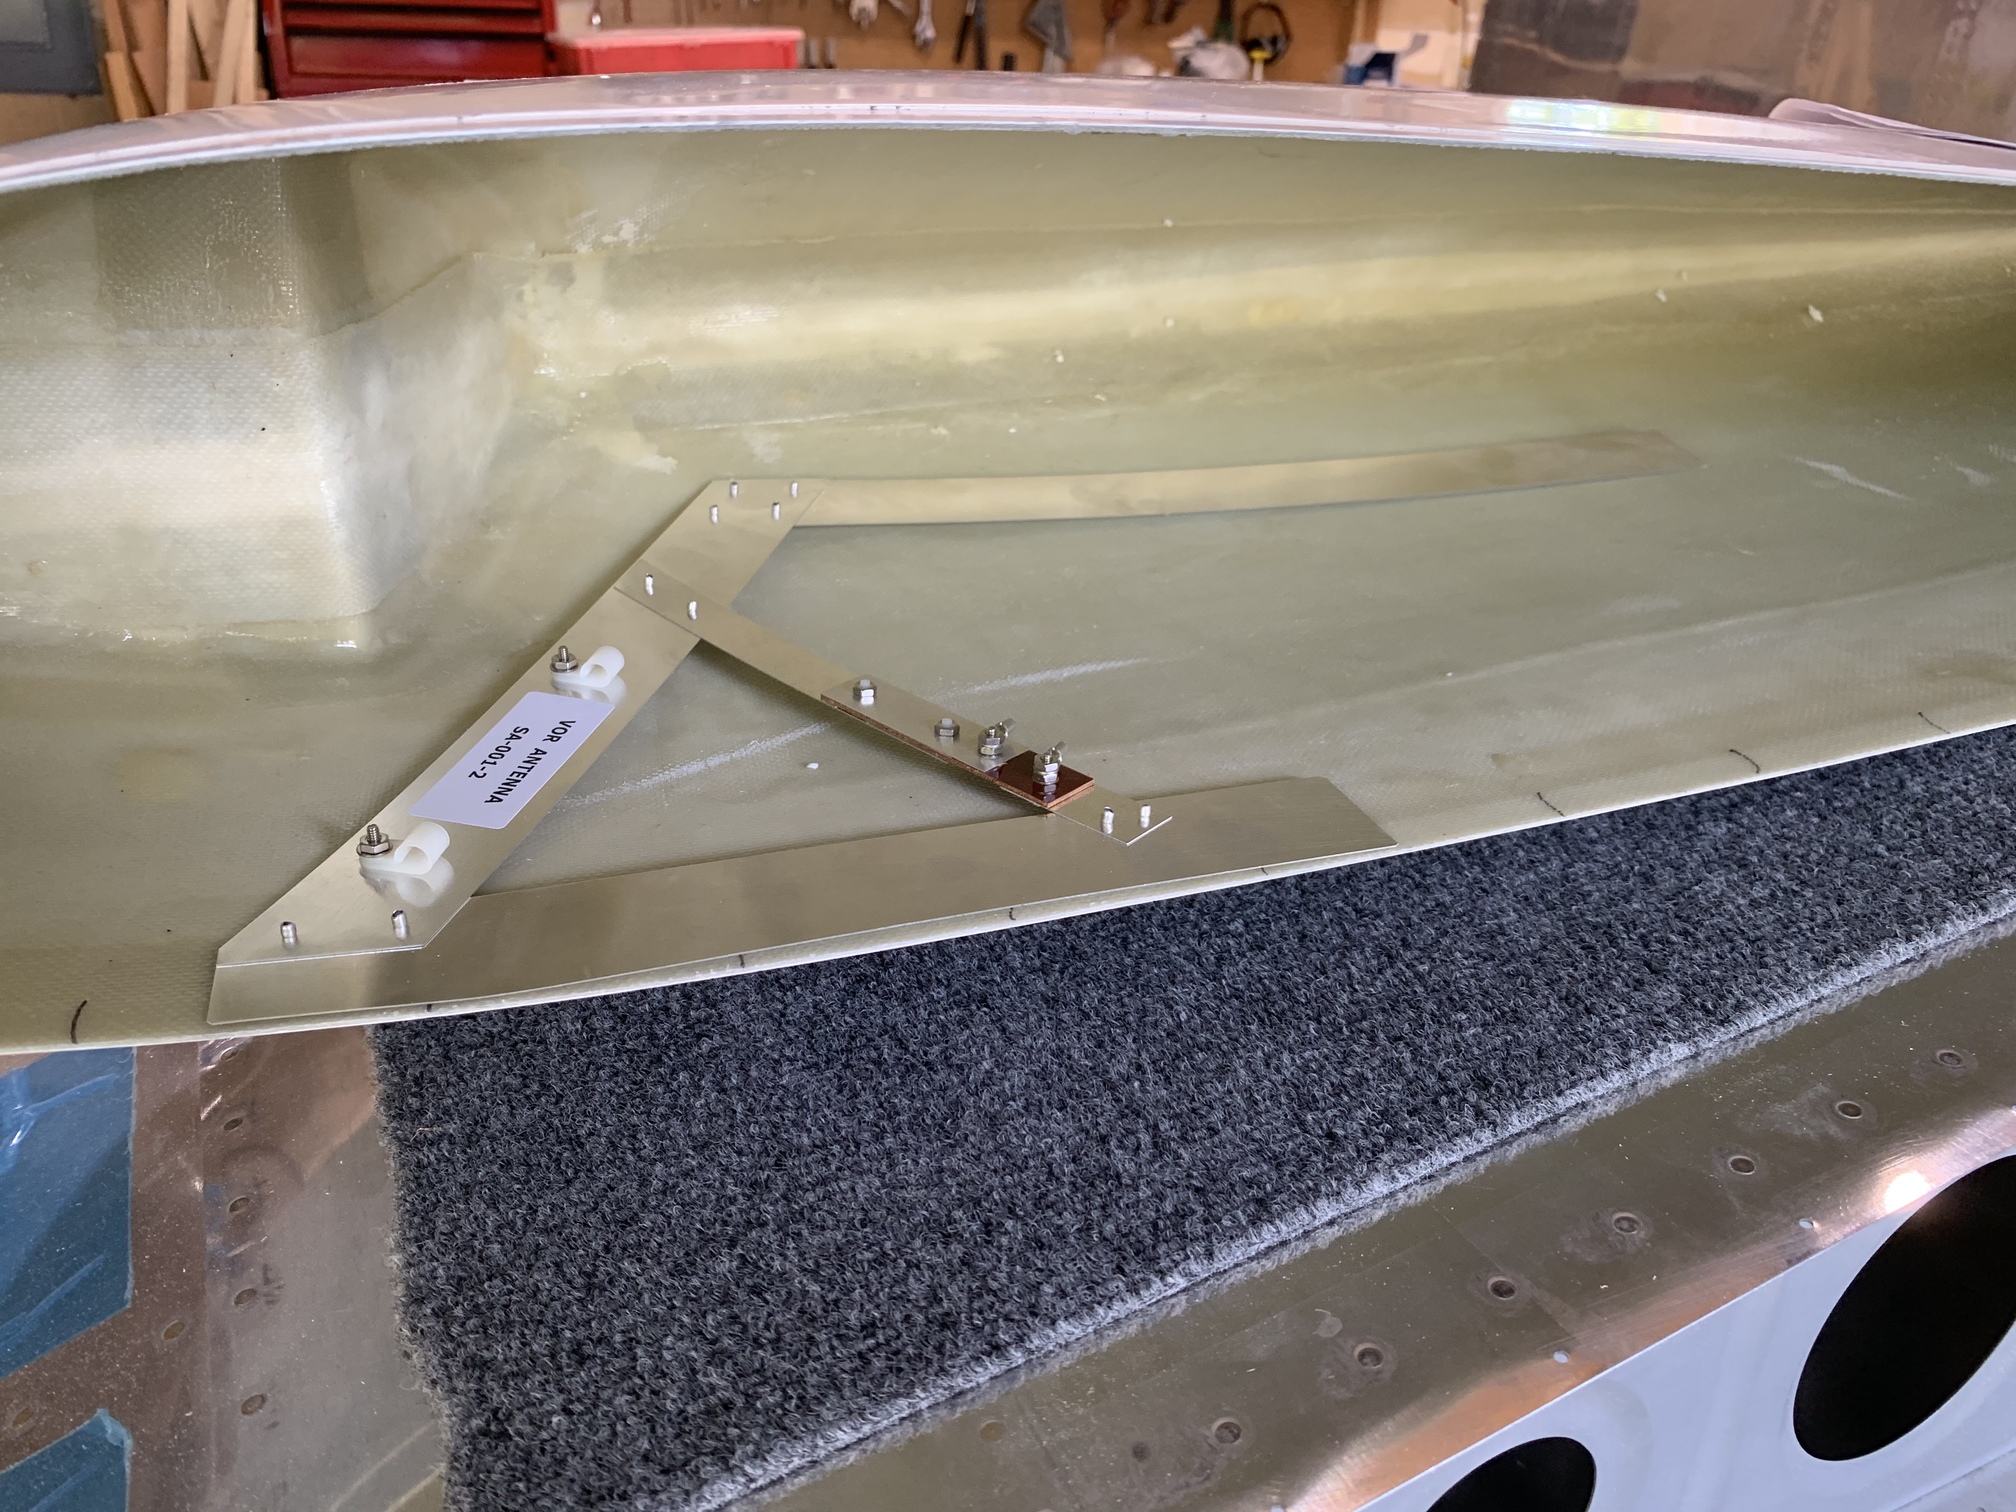
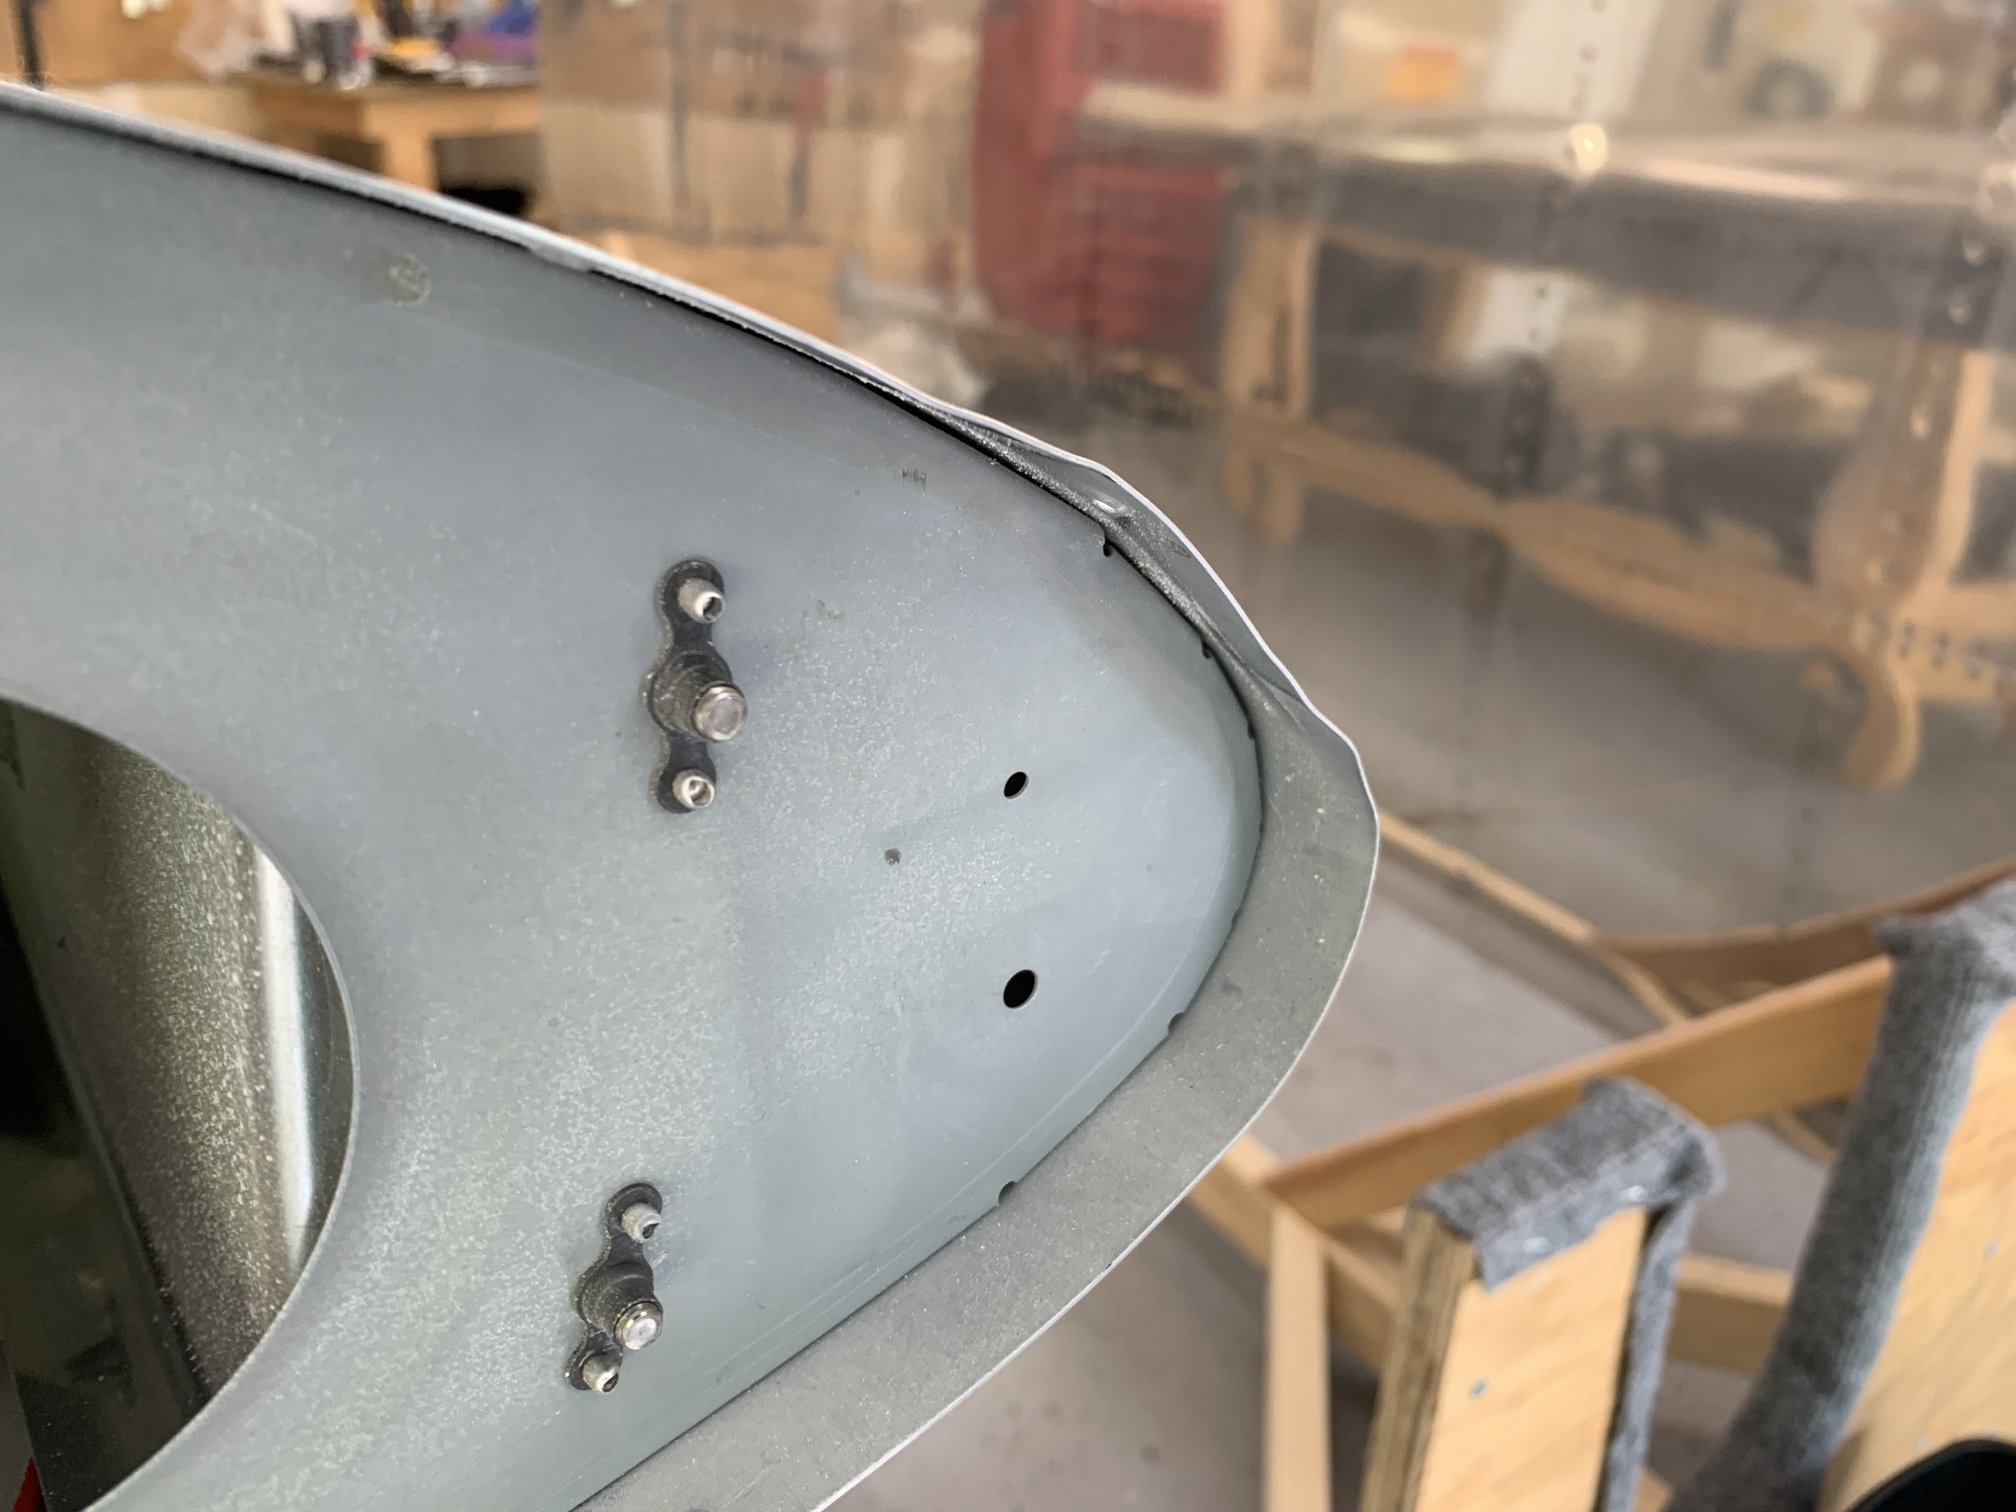
Then I epoxied some backing strips and the VOR antenna to the bottom inboard edge of the wing tip. Note that the aileron is not in neutral position in this photo.
Once this cures, I'll install backing strips on the top edge and then drill the tip to the wing.
| Previous - Index - Next |
This work is licensed under Attribution-NonCommercial-NoDerivatives 4.0 International![]()
![]()
![]()
![]()