Log (By Day)
Log (By Category)
Pictures
Pics of Me Working
Links
Sunday November 26, 2006
Shop Cleanup, Rudder Prep & Priming
(Rudder)
3.0 Hours
| Previous - Index - Next |
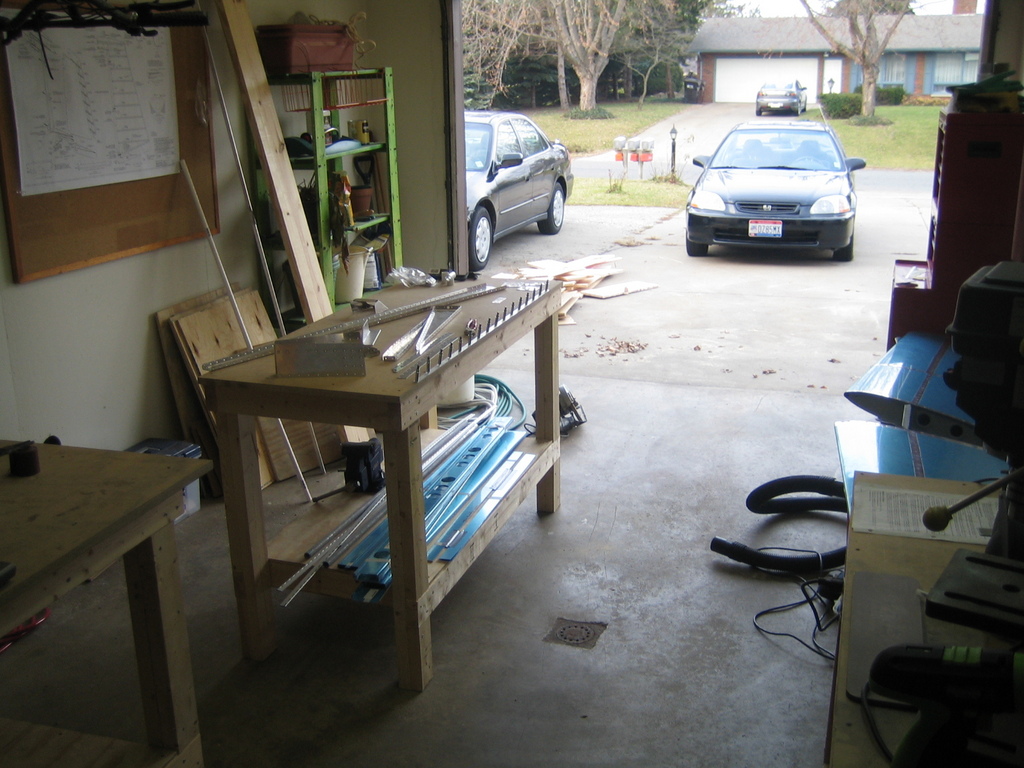
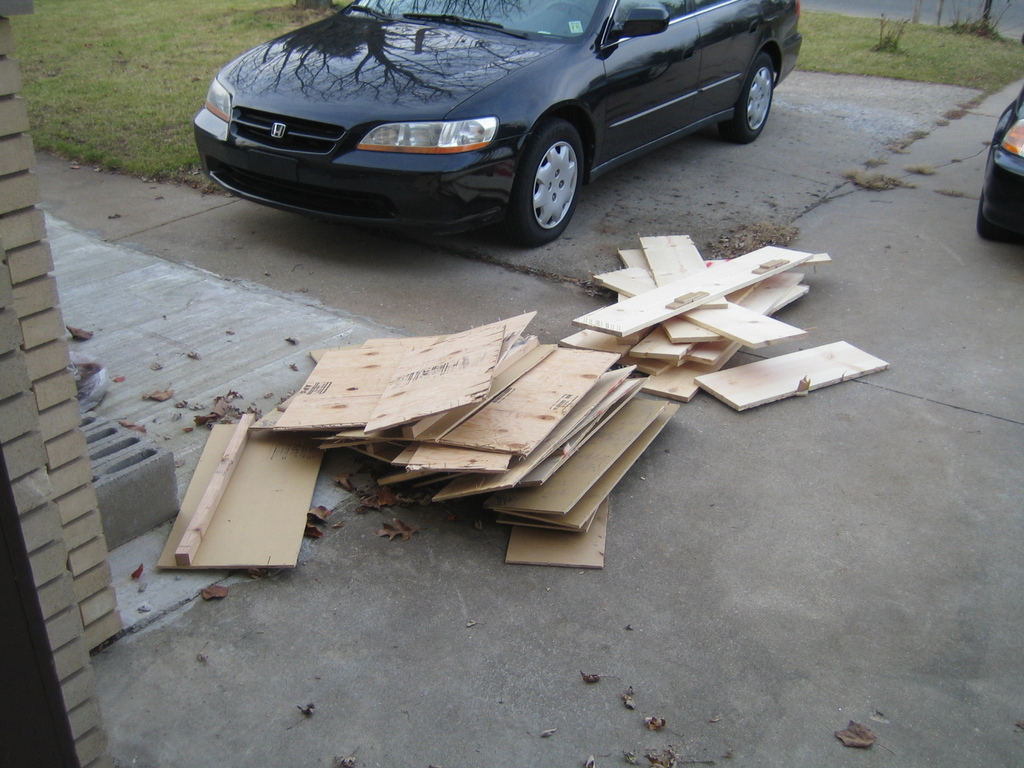
I borrowed my dad's circular saw this morning and made quick work of the wing kit crates. My shop is now usable again. You can see the piles of scrap wood out on the driveway.
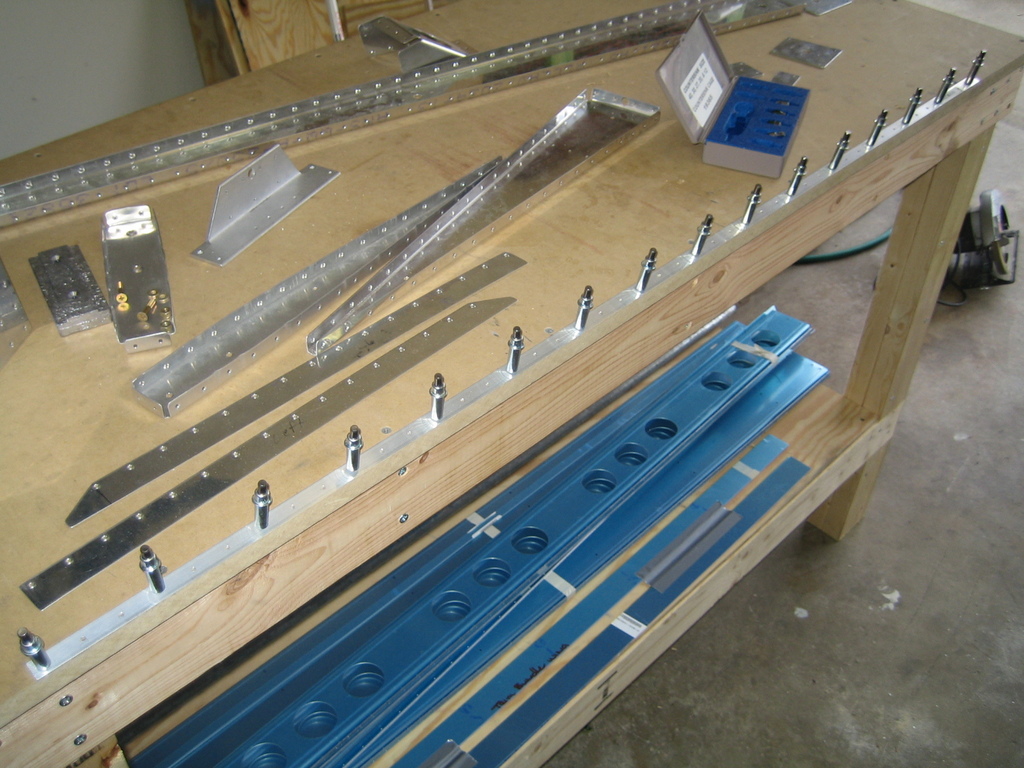
Then, I got back to work on the rudder! I began by beveling the edges of the counterweight skin, where the main rudder skins will overlap. The bevel eases the transition of the main skin and (I suppose) helps to prevent metal fatigue or cracking in the future.
This picture doesn't do the bevel justice, but it's pretty smooth.
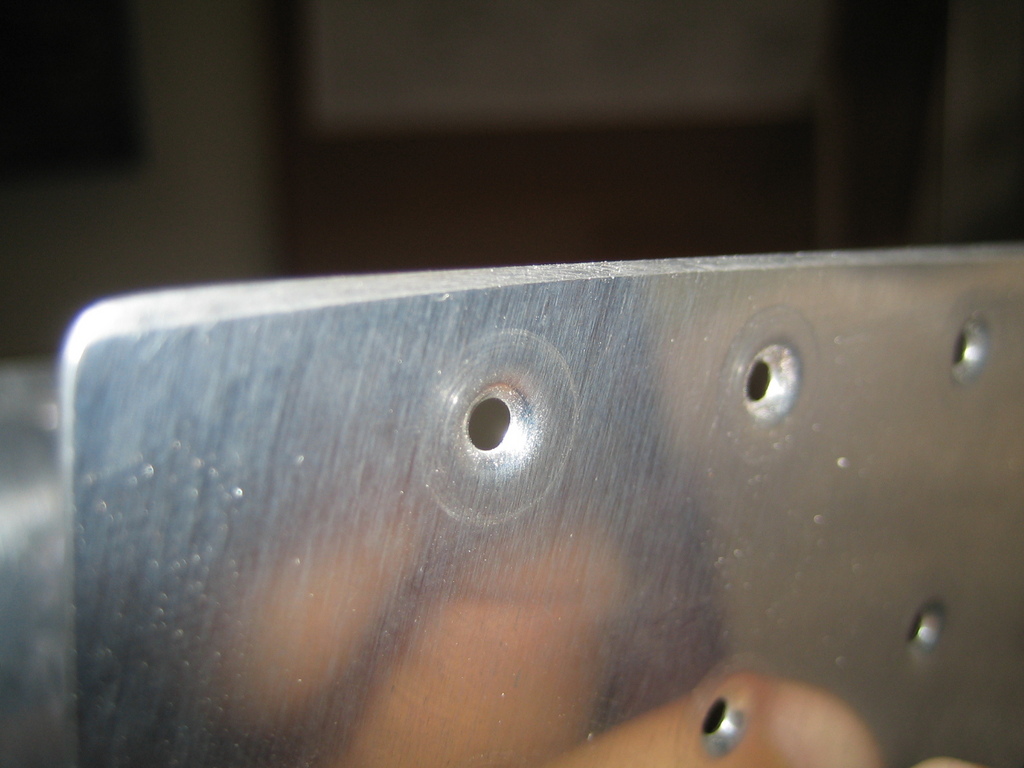
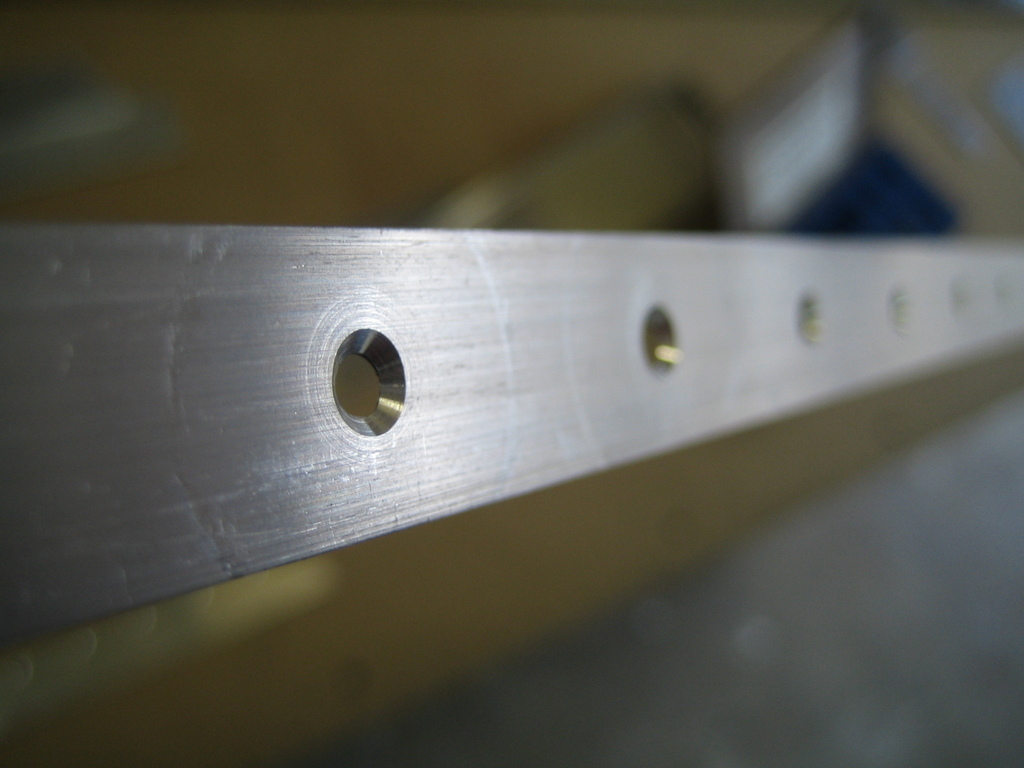
I countersunk the rudder trailing edge wedge. Previously, I drilled and clecoed it to my work bench to hold it steady and to open up the pilot hole underneath. I was a bit nervous about this step, since the wedge is fairly thin and you countersink both sides. The holes, however, turned out very well.
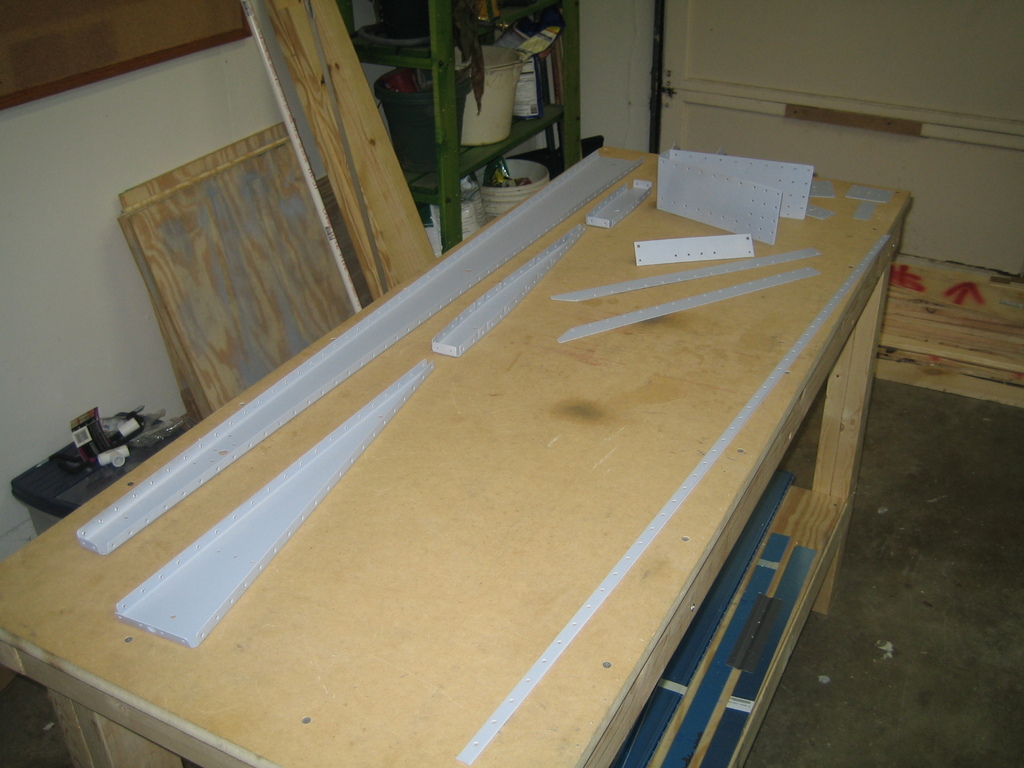
We had unseasonably warm weather today (highs around 60!) and I wanted to be sure to get the rudder priming finished while I could still do it outside. After prepping with soapy water, a Scotchbrite pad, and some lacquer thinner, I have the priming all finished. Priming is my least favorite part of this job--and I do it the easy way.
Next on the agenda: start riveting the rudder. Also, my dad picked up some thick plastic sheeting from the hardware store. I'm going to put it up over the garage door in an attempt to keep the shop warmer through the cold Michigan winter. The existing door has had a car run into it at least once and has little insulating value.
| Previous - Index - Next |
This work is licensed under Attribution-NonCommercial-NoDerivatives 4.0 International![]()
![]()
![]()
![]()