Log (By Day)
Log (By Category)
Pictures
Pics of Me Working
Links
| ||||||||||||
Monday November 27, 2006
Rudder Rivetting
(Rudder)
3.0 Hours
| Previous - Index - Next |
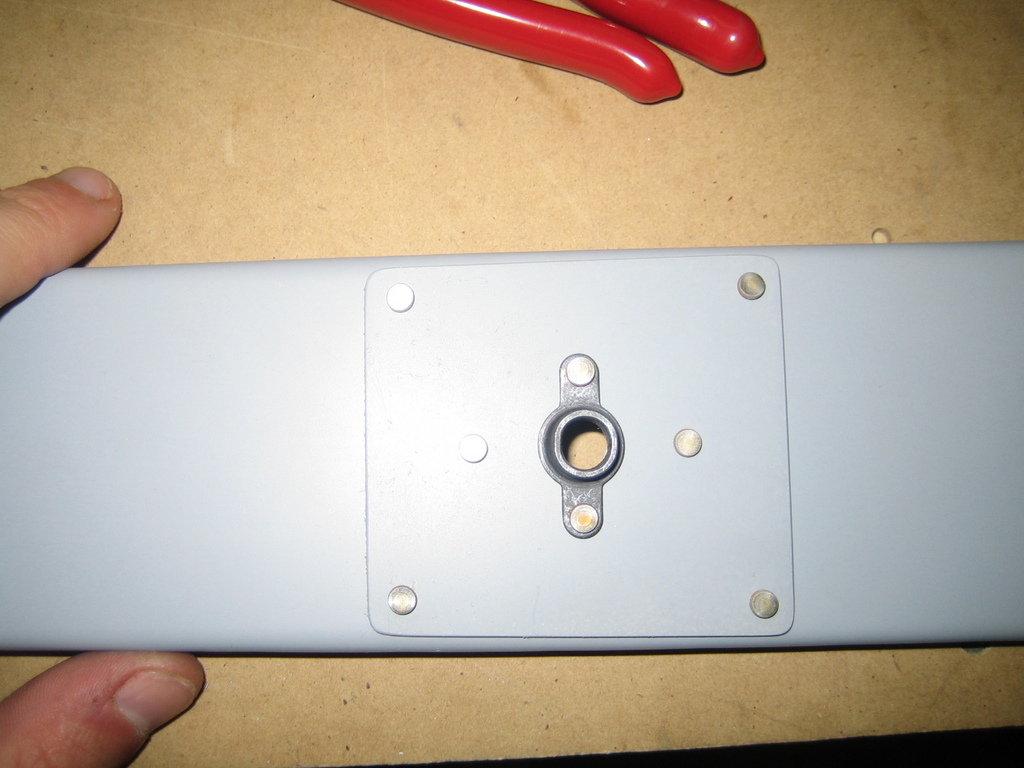
Today, I started by riveting the two rudder attach point reinforcement plates and their nutplates. These came out great.

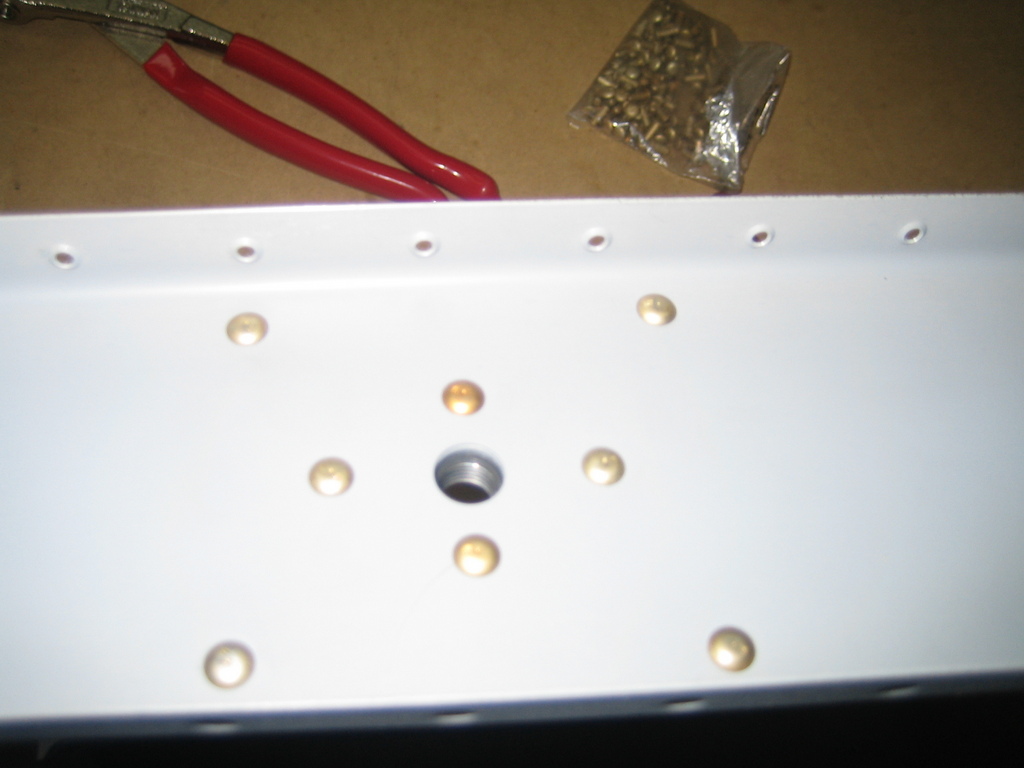
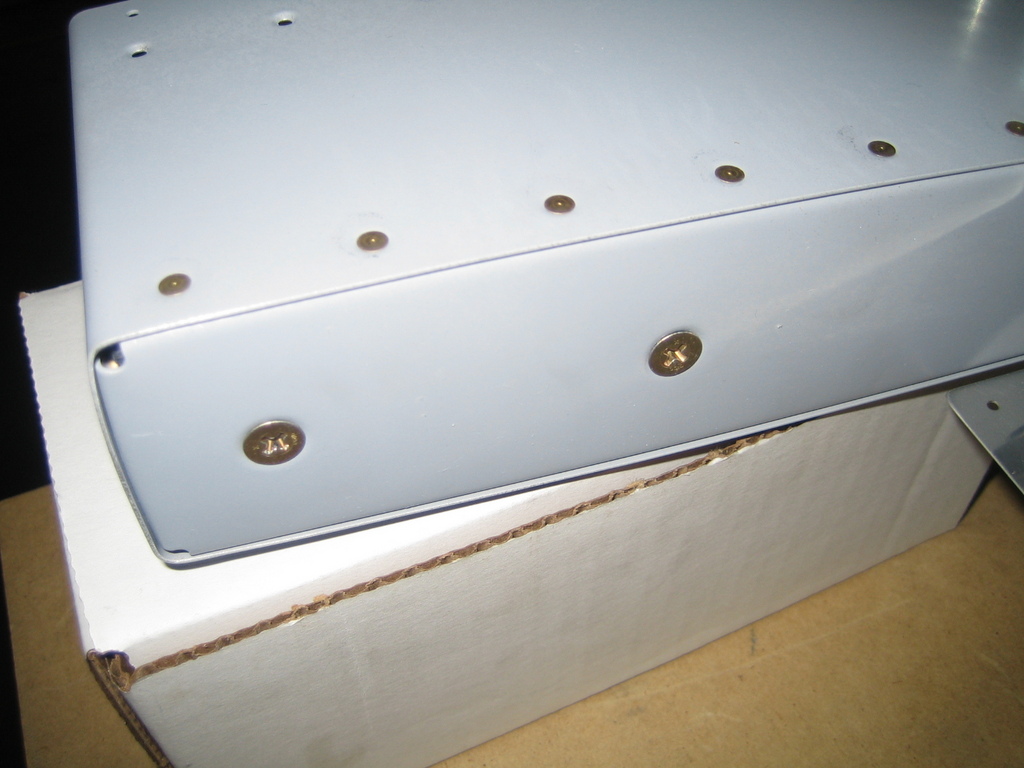
Then, I got the bottom rib and associated pieces all clecoed together and ready. First, I put in the spar to doubler plate rivets.

And then riveted the rest. You may notice that the shop heads are on the forward side of the spar here, but were on the aft side on the upper two doubler plates. The rule of thumb is that you generally want your shop heads against the thicker piece of metal. Additionally, on this rib/control horn attach point, it made it easier to rivet this way.
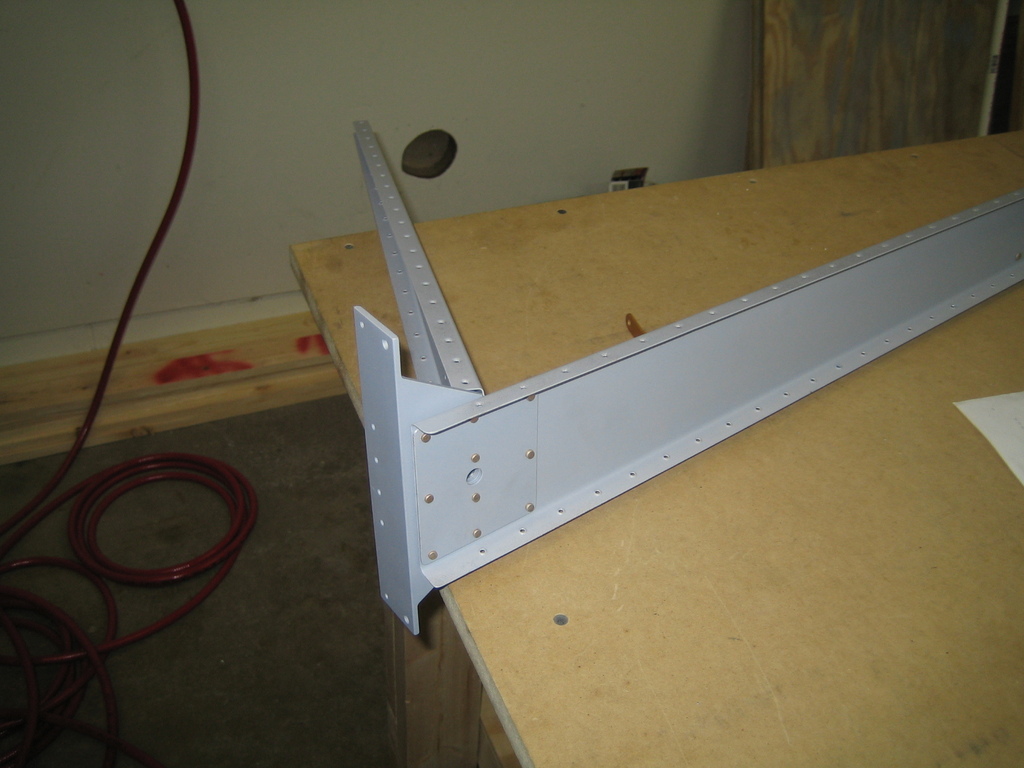
I was wondering whether I should rivet on the control horn brace now, or wait until I was riveting the skins on. Reading, I realized that there would be no way to use solid rivets on the brace to rib rivets unless I did it now. It took a bit of finagling to get my longeron yoke into that access hole to do the brace to control horn rivets, but it came out very nicely in the end.
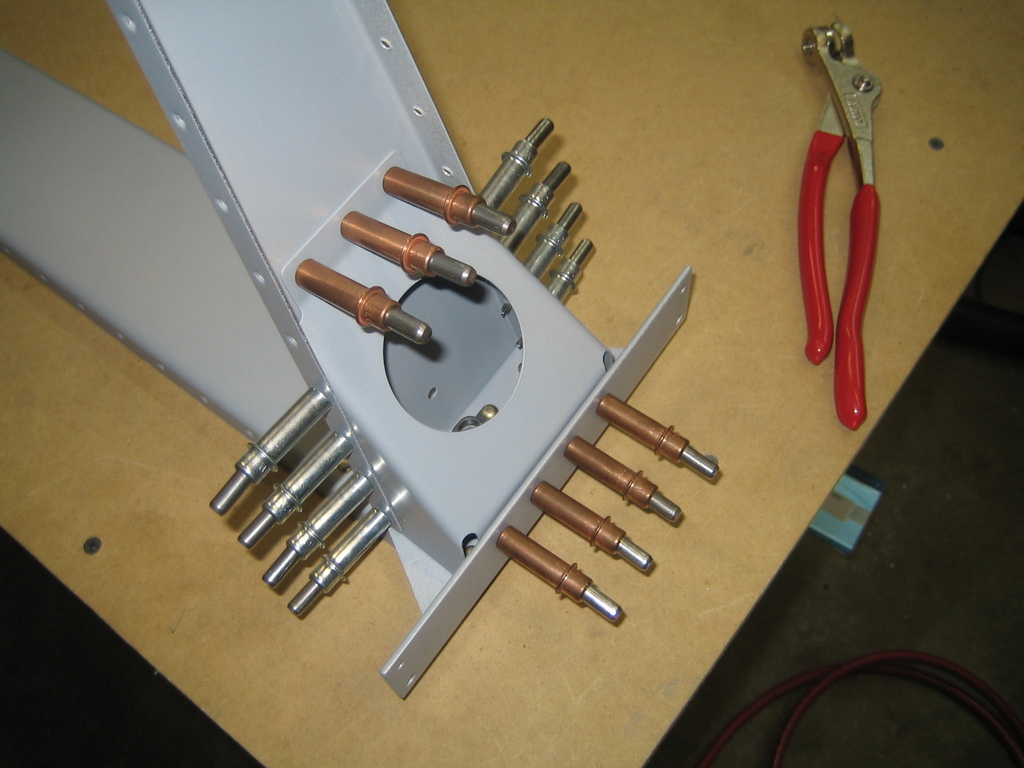

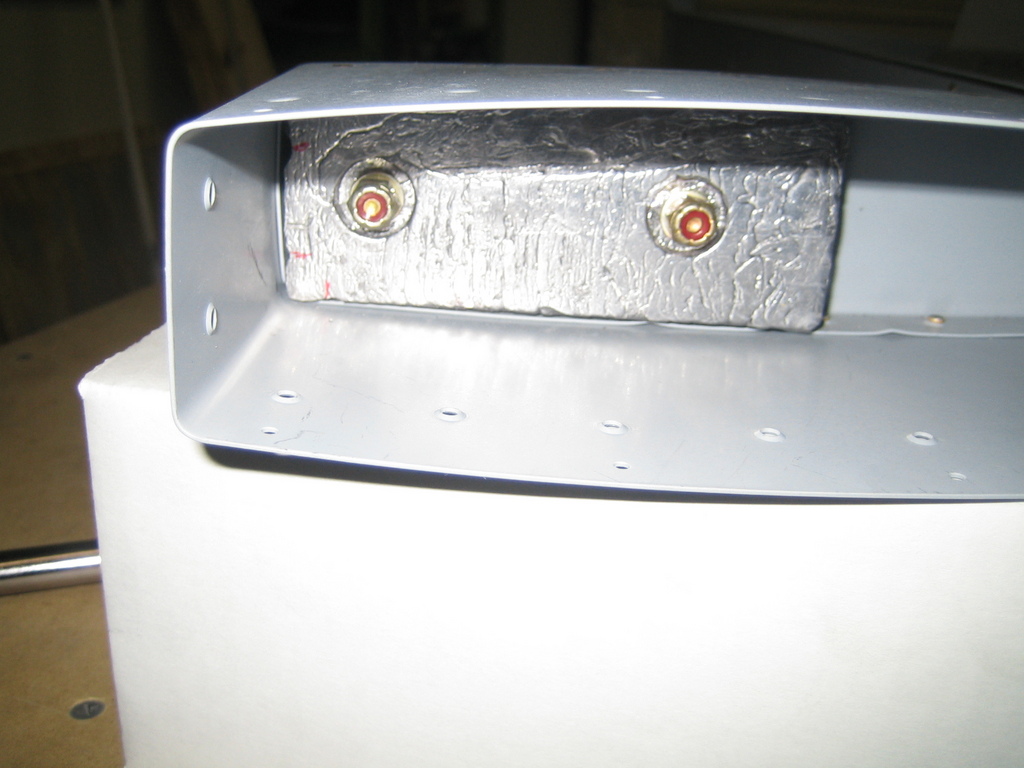
Then, I riveted the lower counterweight rib to the spar and riveted the counterweight skin to the rib.

Finally, I attempted to install the counterweight permanently. You may notice that I had to file away bits of the counterweight to make it fit around the shop heads of the rib to skin rivets.
Unfortunately, the counterweight is attached with screws that sit flush against the bottom of that rib. None of the screwdrivers I have would hold the screws still while I torqued the lock nuts down. I need to find a better screwdriver, I guess.
| Previous - Index - Next |
This work is licensed under Attribution-NonCommercial-NoDerivatives 4.0 International![]()
![]()
![]()
![]()