Log (By Day)
Log (By Category)
Pictures
Pics of Me Working
Links
| ||||||||||||
Monday February 12, 2007
Left Elevator Stiffener Riveting, Skeleton Drilling
(Left Elevator)
4.0 Hours
| Previous - Index - Next |
I started tonight by riveting the seven nutplates to the trim servo motor stiffener plate. As I may have mentioned before, I used NAS1097-AD3 rivets, which have the same shank width as normal AN426-AD3 rivets, but a smaller head. That made it possible to countersink the metal rather than dimpling it (and the nutplates). Many other people have done this and it seems to be acceptable.
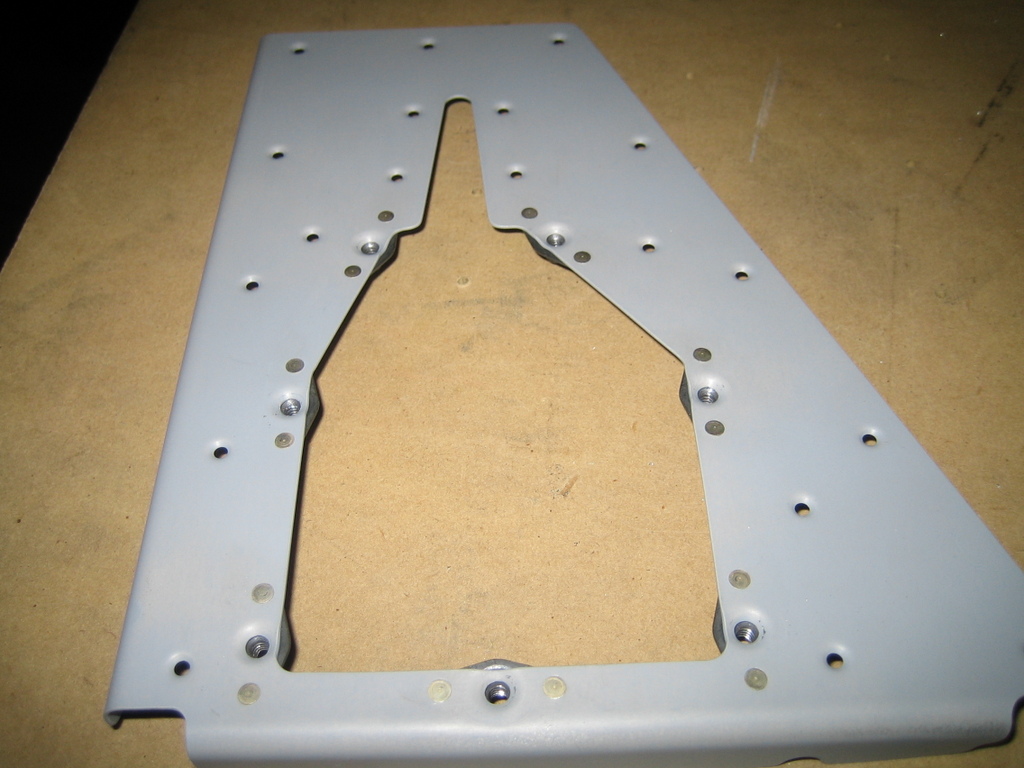
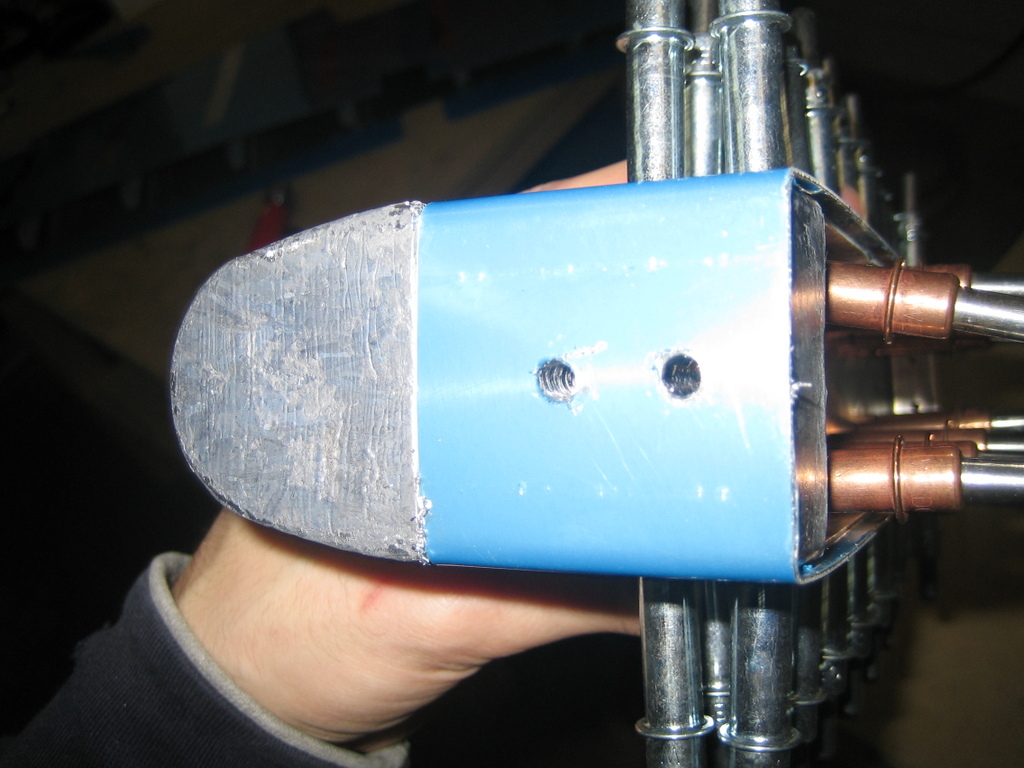
And here's the access plate screwed into place on the stiffener.

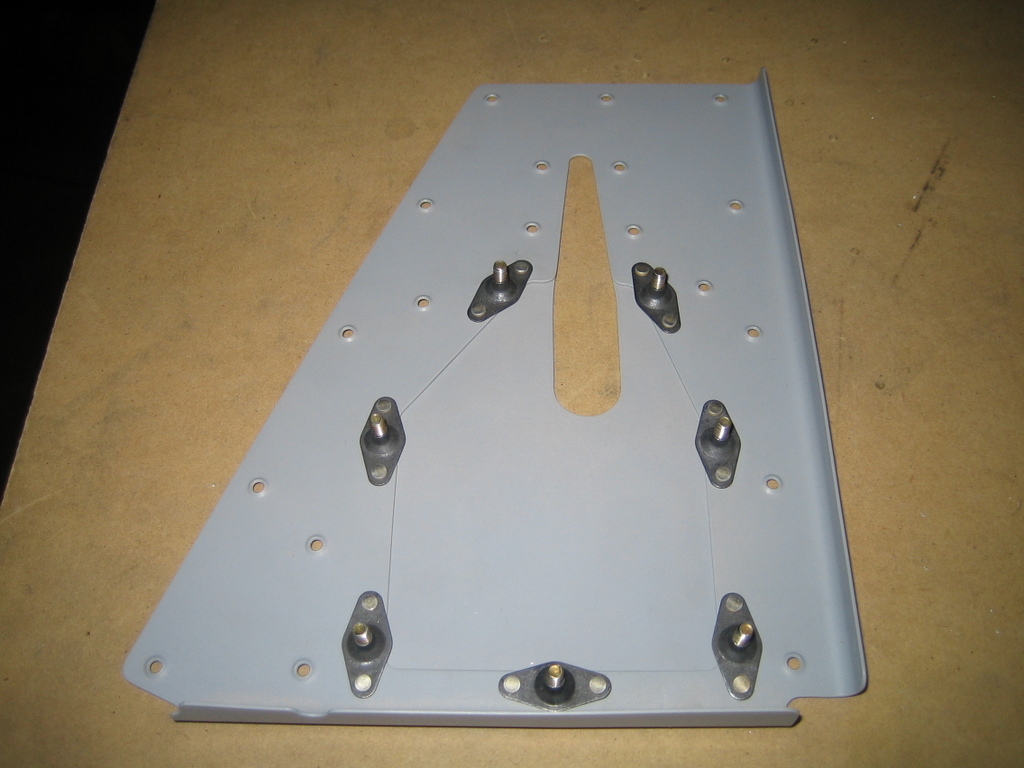
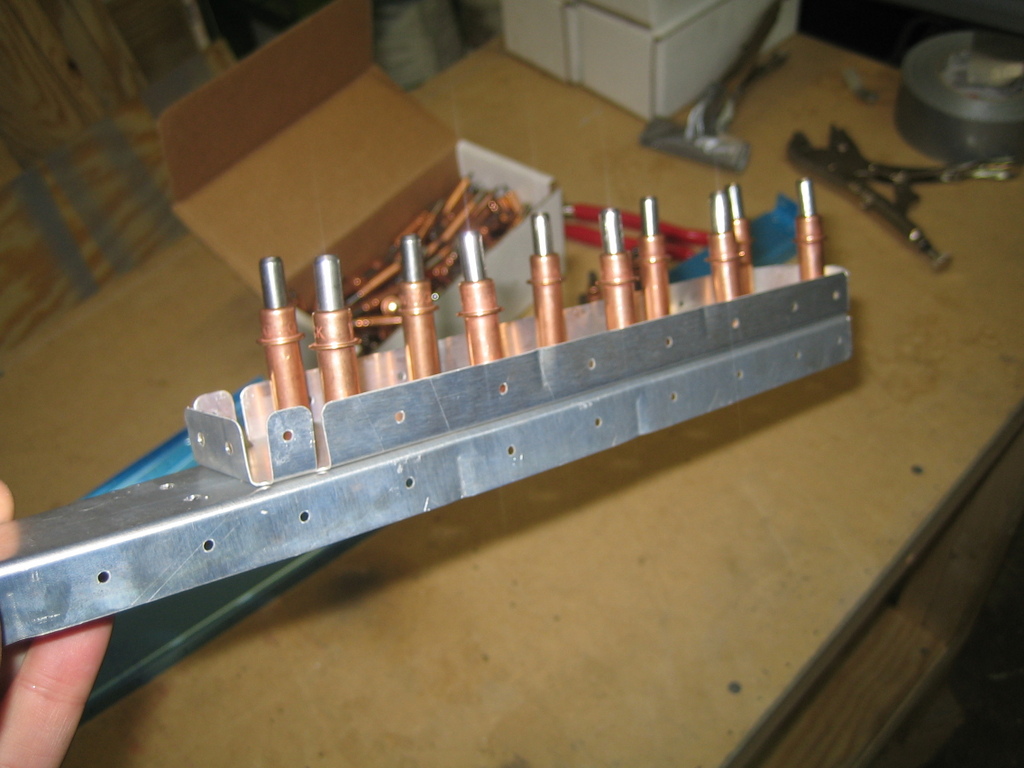
Next, I back riveted all of the stiffeners to the left elevator. Nothing exciting...

Here's the servo stiffener now riveted in place on the elevator skin.

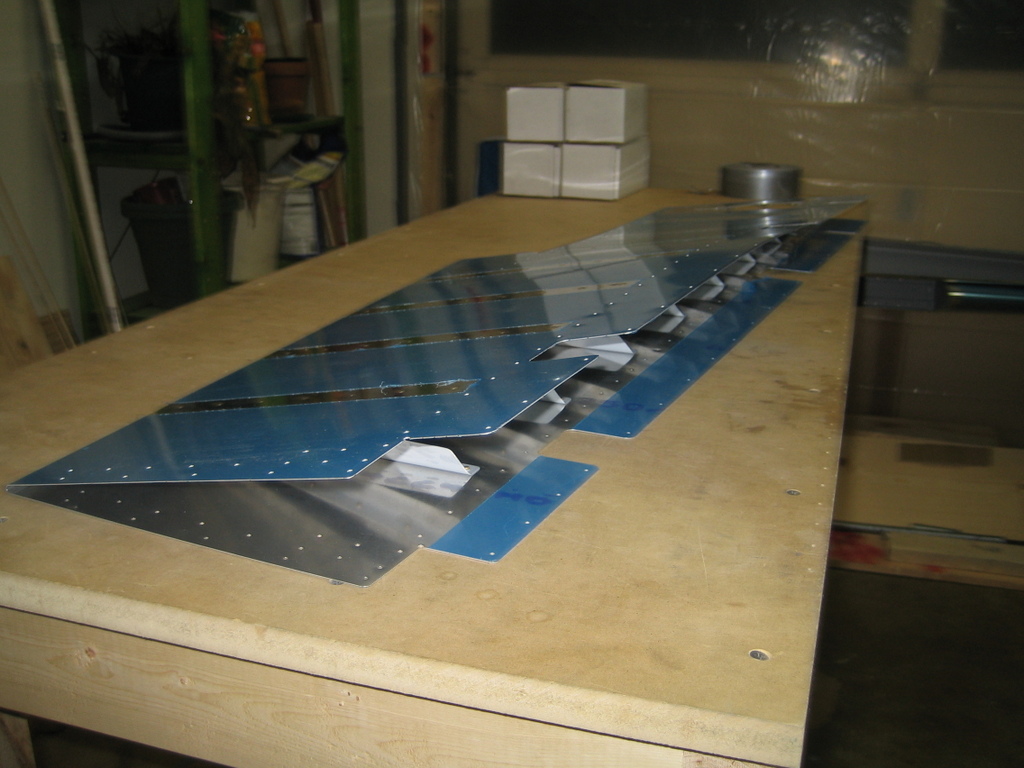
Then I used my homemade bending brake to bend the skin close to its final shape. I much prefer these one piece folded elevator skins, rather than the two piece rudder skin that require a riveted trailing edge. This is so much simpler.
Then I started drilling the left elevator skeleton. Here are the bolt attachment reinforcement plates drilled to the spar.
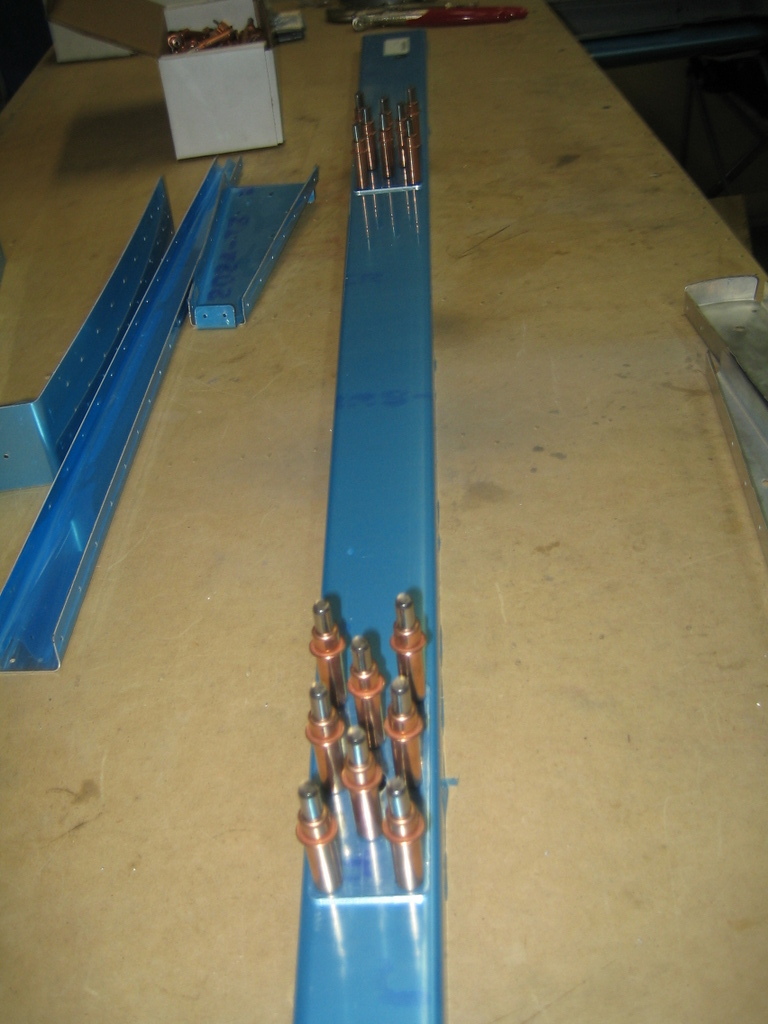
Counterweight ribs drilled...
Counterweight drilled to the skin and ribs...
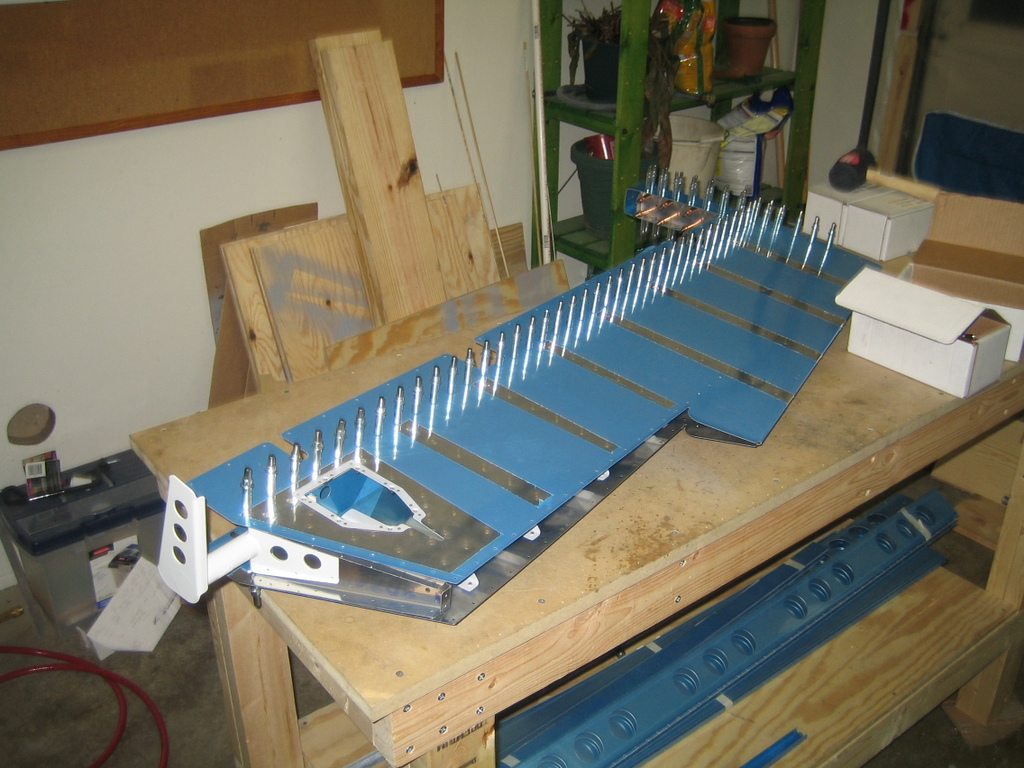
And one last shot of most of the left elevator cleco'd together. I ran into a problem here--the rivet holes on the control horn (the white part in the bottom left) refuse to line up with the holes on the E-705 end rib. Since it was after 11pm, I called it a night.
| Previous - Index - Next |
This work is licensed under Attribution-NonCommercial-NoDerivatives 4.0 International![]()
![]()
![]()
![]()