Log (By Day)
Log (By Category)
Pictures
Pics of Me Working
Links
| ||||||||||||
Tuesday February 20, 2007
Wing Rear Spar Prep, Misc
(Wings)
4.5 Hours
| Previous - Index - Next |
With the tie down parts were primed, I riveted the spacers to the tie down bars and slid some bolts in place to check alignment. I still need to tap the bars for the eye bolts, but I don't have a tap & die set yet.

I'm done with all of the main wing spar preparations, so I'm moving on to the rear wing spars. Here they are, along with their doublers and reinforcement plates.
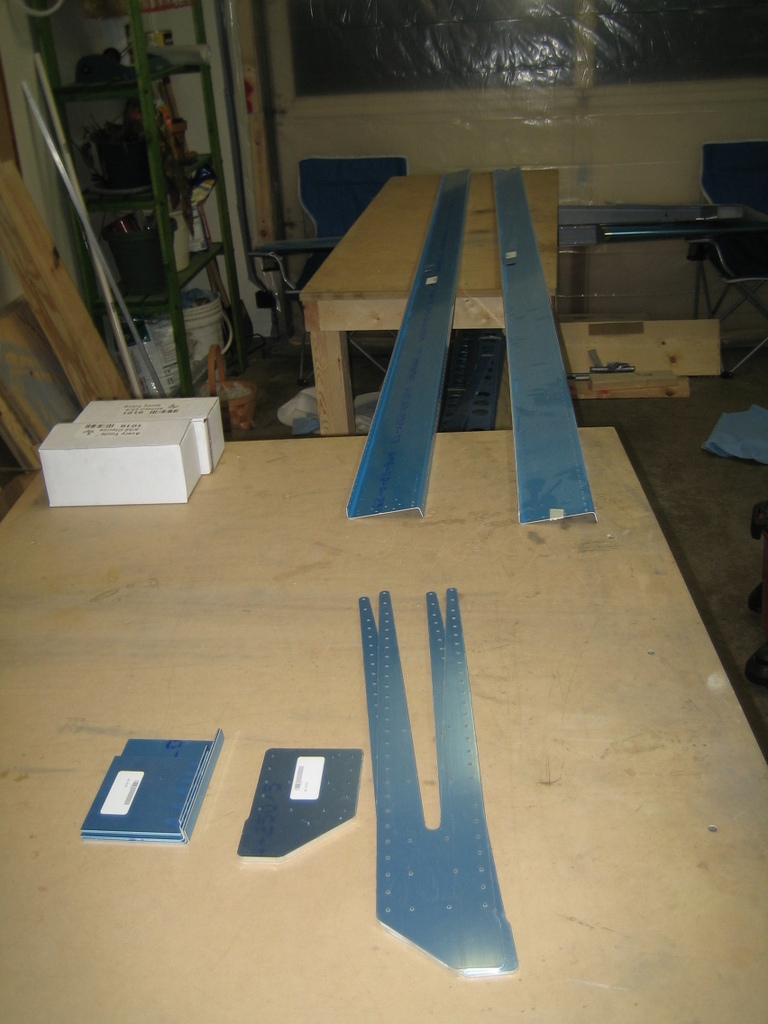
Again, after being deblued (a word I stole from some other builder's page) and deburred for a few hours. For the spars, I first ran down the edges with the Scotchbrite wheel in my die grinder, then worked the edges with medium grit Emery cloth, and finally to a smooth finish with the fine grit Emery. For the other parts, I work them with the Scotchbrite wheel in my bench grinder and finish with the fine grit Emery cloth.

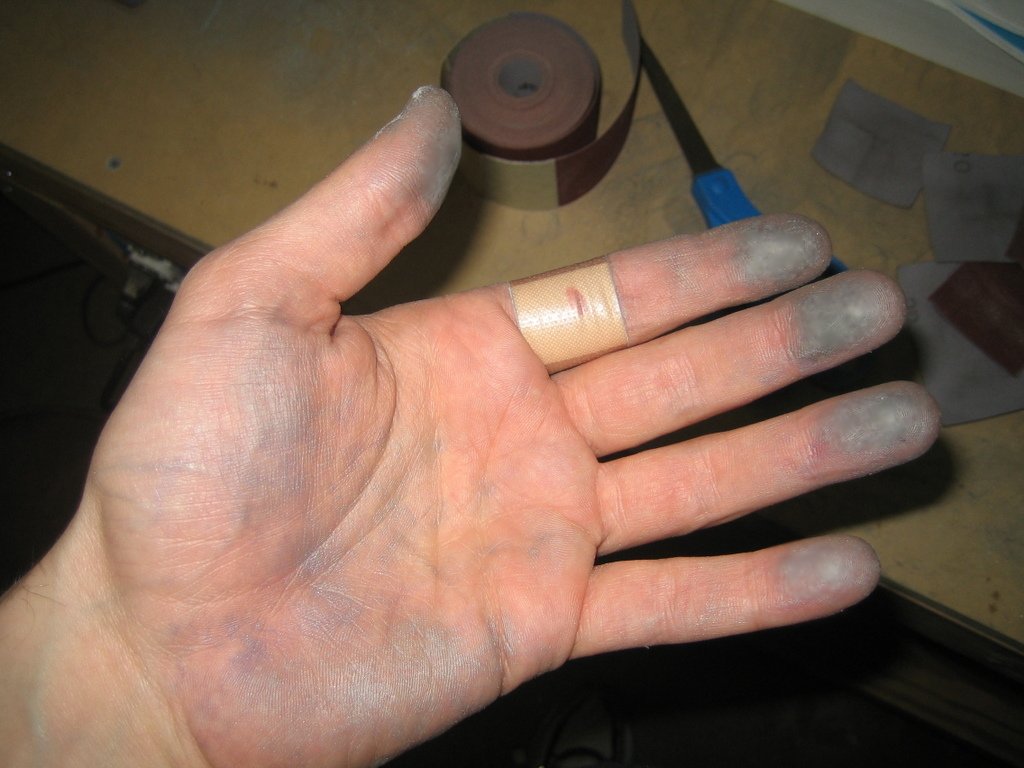
And here's my hand after being abused with sanding for a while...
The doublers extend off the inboard edge of the spar and eventually get bolted to the fuselage. For the RV-7/7A models only (these parts are also used on the RV-8), you have to trim them to fit the future fuselage parts. The plans refer you to drawing DWG 38 for the exact trim dimensions. Guess what? DWG 38 isn't included in the wing drawings, so you have to refer to the miniature version that came with the preview plans and that beautiful full scale drawing goes to waste.
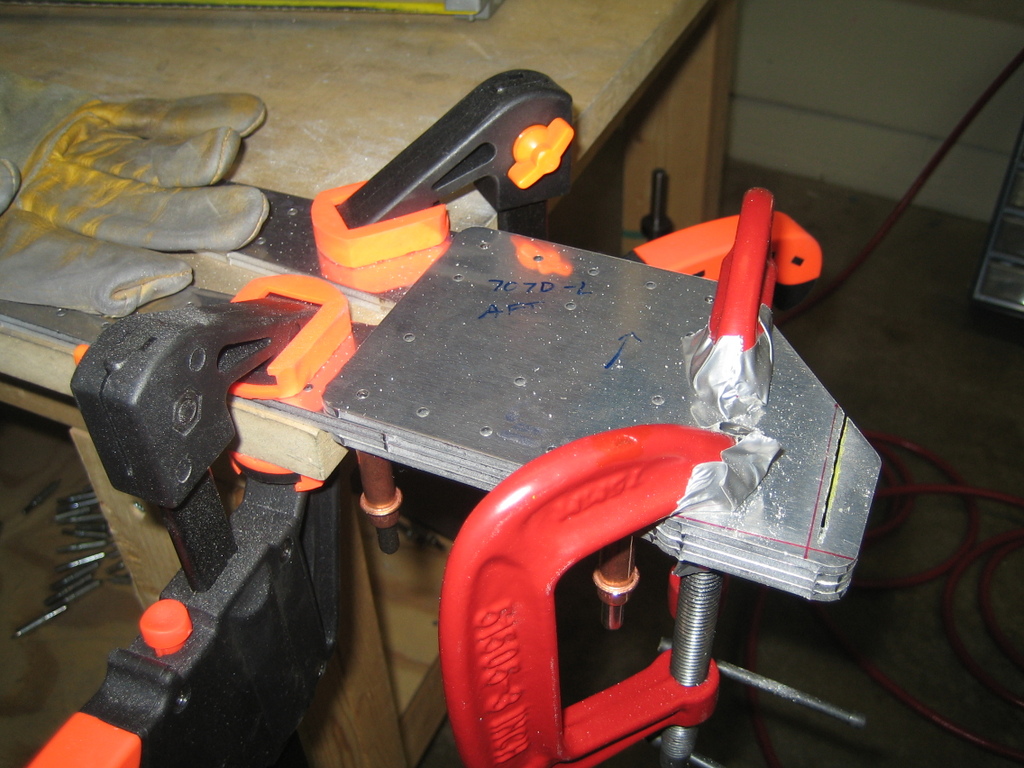
I decided to mark the dimensions on one of them and clamp them all together for the trimming, to save time and to make them all the same. I used four clecos to make sure the plates stayed well aligned during cutting.
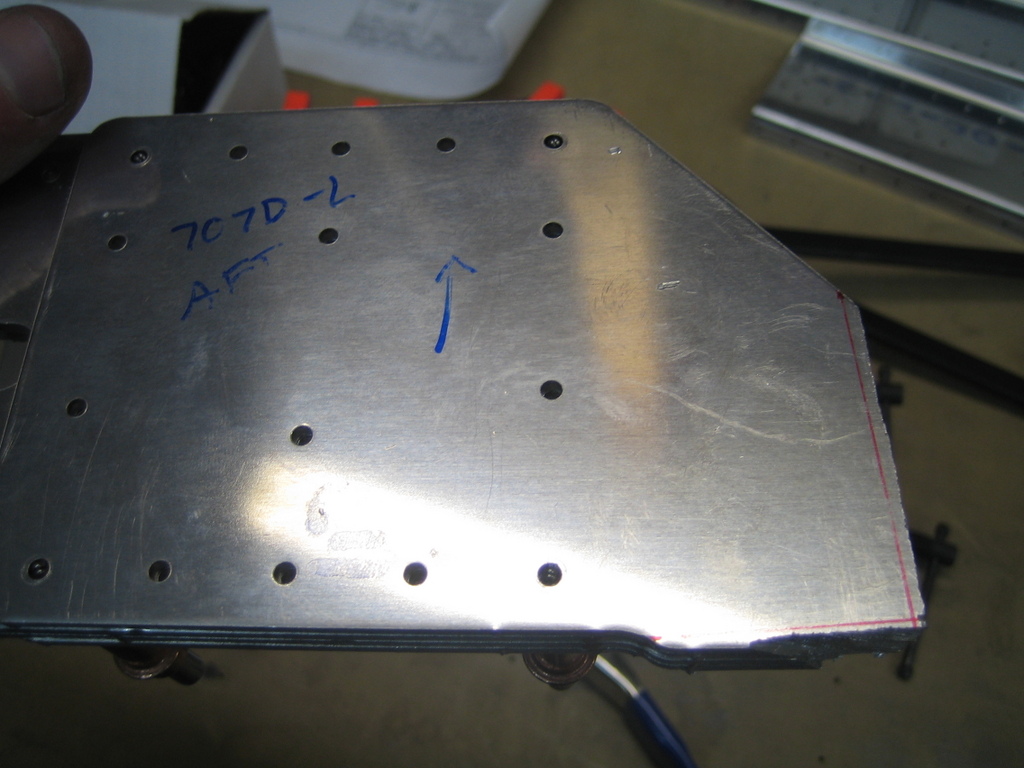
In this next shot, you can also see a few nicks in the face of one of my W-707D parts that were there when I deblued it. I'm going to have to smooth those out.
It was late and the grinder is noisy, so I stopped here for the night.
| Previous - Index - Next |
This work is licensed under Attribution-NonCommercial-NoDerivatives 4.0 International![]()
![]()
![]()
![]()