Log (By Day)
Log (By Category)
Pictures
Pics of Me Working
Links
| ||||||||||||
Sunday March 25, 2007
More Wing Assembly, Drilling
(Wings)
3.8 Hours
| Previous - Index - Next |
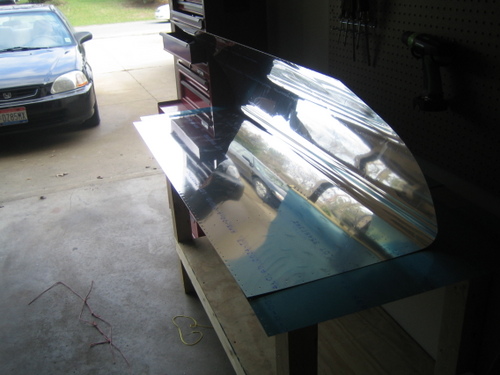
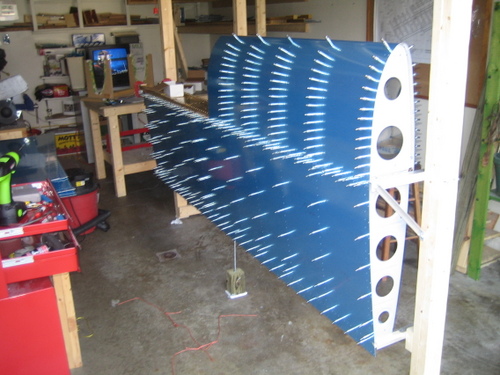
I deblued the inside of my right wing's leading edge skin.
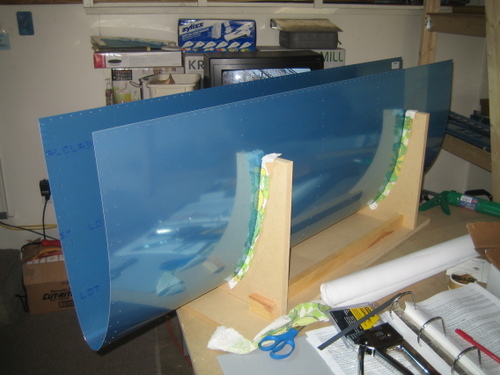
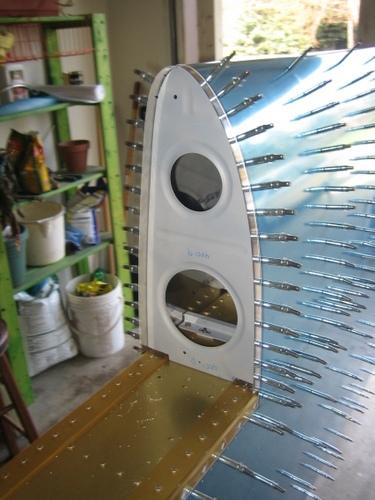
And then stuck it in the cradle to be clecoed together (ok, so these pictures were slightly out of order, because the blue is still on in this picture, but trust me, I put it back in the cradle after I deblued it).
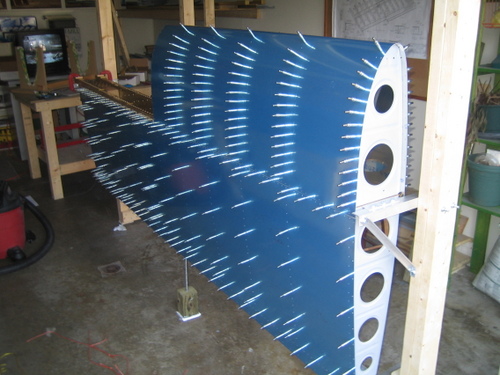
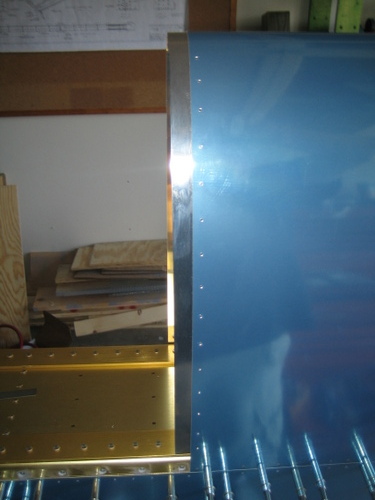
Then, I set the assembly on the spar to try and cleco it together, but...
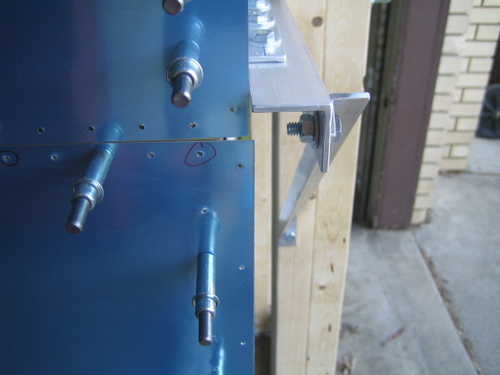
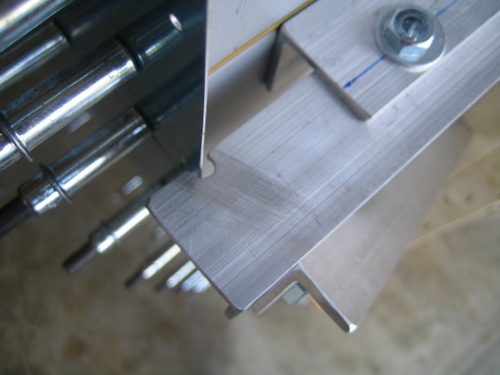
...had this interference issue with the support angle.
So I filed away some little notches on both sides and the leading edge fit just fine.
This looks cool!
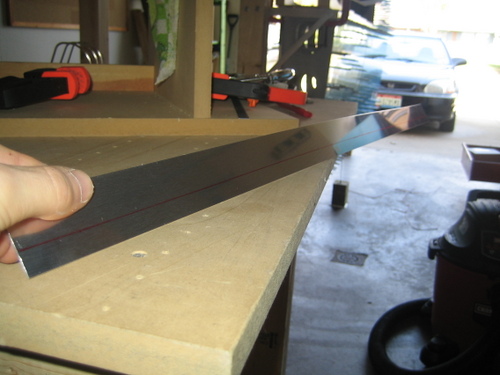
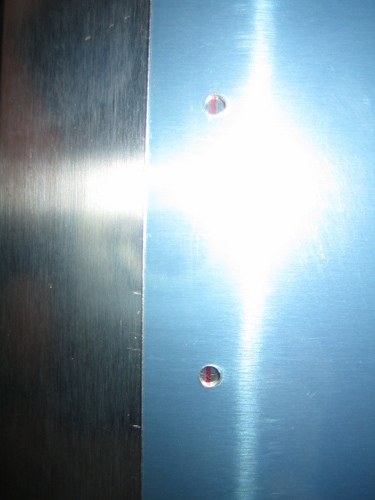
In the middle of the leading edge of the wing, where the fuel tank and leading edge sections join, there's this "joint plate" that helps to keep things stable. It has to be drilled out of this strip of aluminum sheet. I drew a line 0.5" from one side of the strip, per the instructions.
Then, I slid it into place around this rib (which also has to be drilled--it's the only rib in the wing that comes undrilled.
See how the line shows up through the holes now.
And here it is completely drilled.
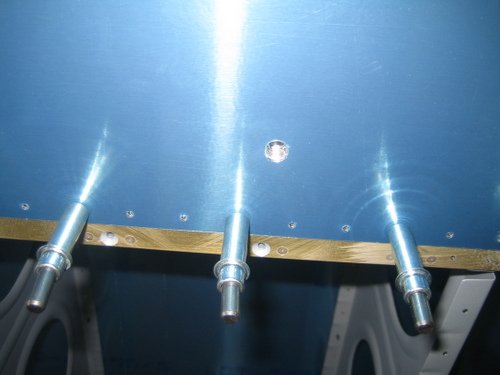
I match drilled all of the other holes in the leading edge before centering and enlarging this hole that allows access to the tie down hole.
Later, I tried to put the fuel tank together, but the skin is very thick and it's difficult to get it into the correct shape, so I stopped for the day.
| Previous - Index - Next |
This work is licensed under Attribution-NonCommercial-NoDerivatives 4.0 International
