Log (By Day)
Log (By Category)
Pictures
Pics of Me Working
Links
| ||||||||||||
Wednesday April 2, 2008
Fuel Tank Sealing
(Fuel Tanks)
4.7 Hours
| Previous - Index - Next |
Last night, I realized that the time to begin sealing the tank was upon me. Today, I went to the hardware store and picked up a new respirator and a bunch of latex gloves.
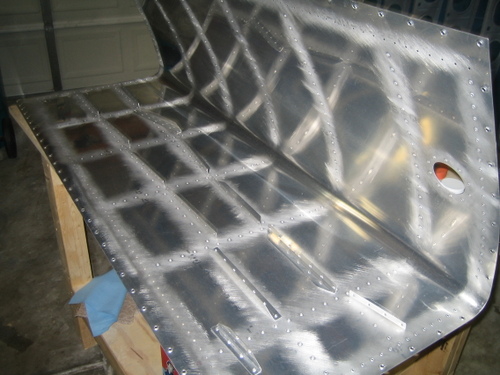
Here's the tank, scuffed and ready for stiffener sealing.
Here are a bunch of 3-3.5's soaking in MEK. These disposable ziploc containers seem to hold up to the MEK just fine. Some crappy plastic cups I got from the grocery store melted when I poured MEK in them.
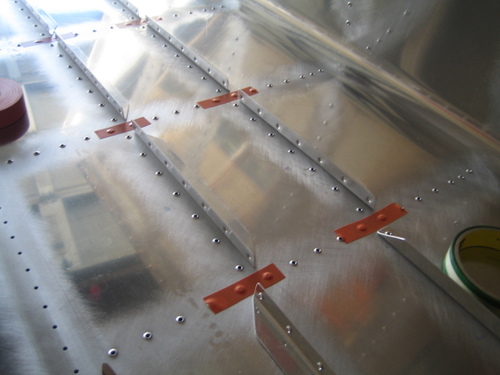
I taped off the rib lines between stiffeners with electrical tape to keep them clean and free of sealant.
Pro Seal is nasty, sticky, tough stuff to work with. In the fairly cool ambient temperature of the garage, it has a consistency quite a bit tougher than molasses and peanut butter. I used a kitchen scale to measure the stuff in the specified 10:1 portions and then thoroughly mixed it with a giant popsicle stick.
I tried a few different strategies for applying the sealant and riveting. The one I finally settled on was to tape all of the rivets in place in the skin, then apply sealant to the skin (although now that I think about it in retrospect, I should have just buttered up the stiffeners themselves), push the stiffener into place, back rivet it, dab sealant on each rivet shop head, and fillet around the edges of the stiffener.
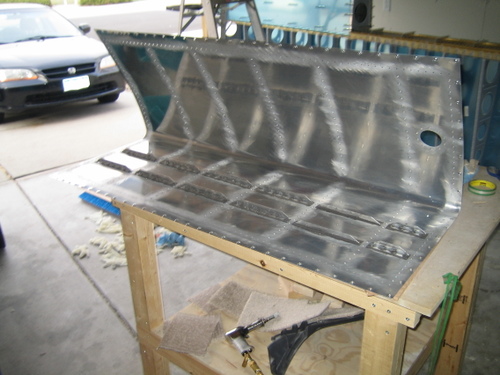
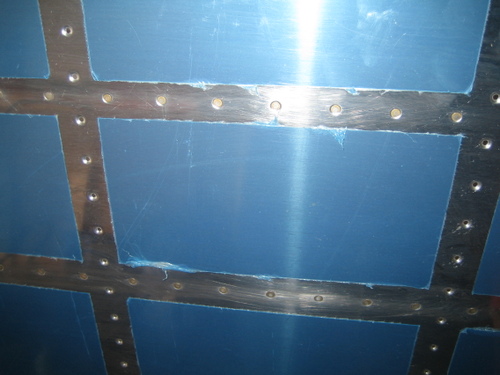
I didn't stop to take time for pictures during the process, so here is the finished product.
I don't think it's possible to do a "pretty" sealing job with this stuff, but nobody will ever see it. The good news is that the way things look with all of that sealant, I don't see how anything could possibly leak.
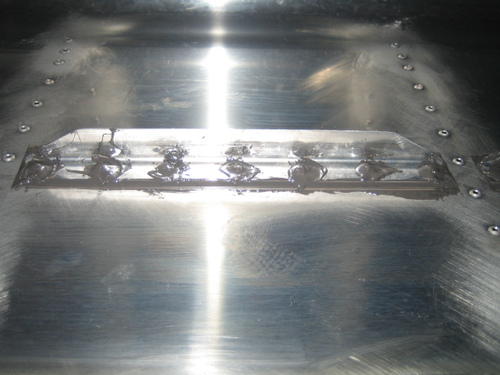
After lots of cleaning with MEK, the manufactured heads look great on the outside.
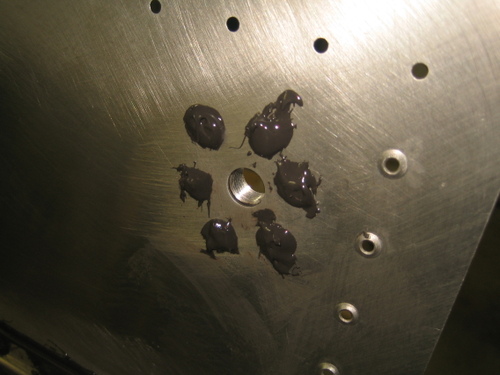
Here's my cup of sealant.
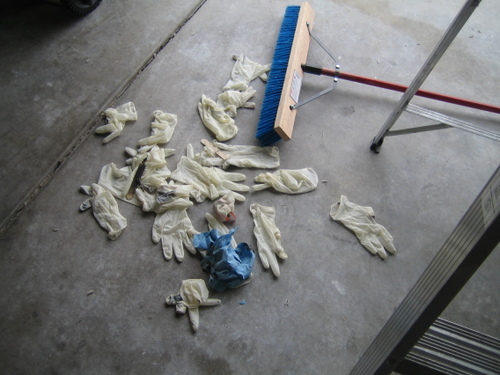
The pile of used latex gloves...
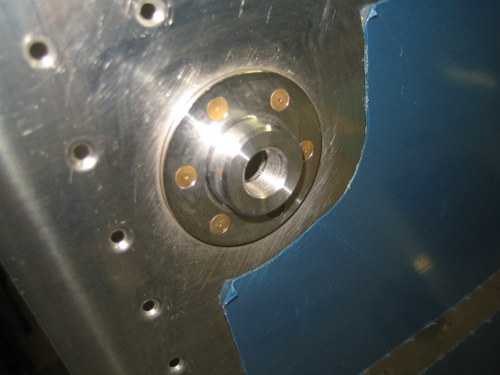
Later in the evening, I came out and sealed and riveted the drain flange.
Everything looks fine. It's important to leave clear space between the sealant on the rivet heads to allow water to flow to the drain.
Then I sealed and riveted the filler neck in place. With this tapered filler, you have to use different length rivets in the appropriate spots.
I couldn't see how to set the rivet through the vent line bracket without messing it up. If I had let go of it to set the rivet, it may have slid up on the rivet shaft and not been flush to the filler neck. (NOTE: It seems that a lot of people just backrivet the filler neck.) My solution was to stick it to the filler neck with pro seal and a cleco for now. I'll rivet it in permanently tomorrow after the sealant has set a little bit. It should hold the bracket in place and make setting the rivet a lot easier.
Some of the rivets on the fuel filler neck had to be bucked and shot. Emily was too tired to come help me, so I practiced solo shooting on some scrap and then shot the filler neck rivets all by myself. I think they came out great. Solo shooting is not that bad.
It feels crazy to be sealing the fuel tank already--this stage of construction has been firmly in the future in my mind for over a year now. The "future" is now! Tomorrow, I hope to start riveting ribs.
| Previous - Index - Next |
This work is licensed under Attribution-NonCommercial-NoDerivatives 4.0 International
