Log (By Day)
Log (By Category)
Pictures
Pics of Me Working
Links
| ||||||||||||
Saturday June 15, 2024
Baffles, Airbox, Cowl, Started New Rudder
(3.0 Hours
Firewall Forward, 1.0 Hours
Rudder)
4.0 Hours Total
| Previous - Index - Next |
I bent the forward end of the right front baffle side and then riveted the reinforcement plates to the two right side baffle plates. I also clamped the forward center baffle pieces in place to see how they fit into everything else.
I fabricated a 3" round piece of plywood to use to center the airbox on the fuel servo.
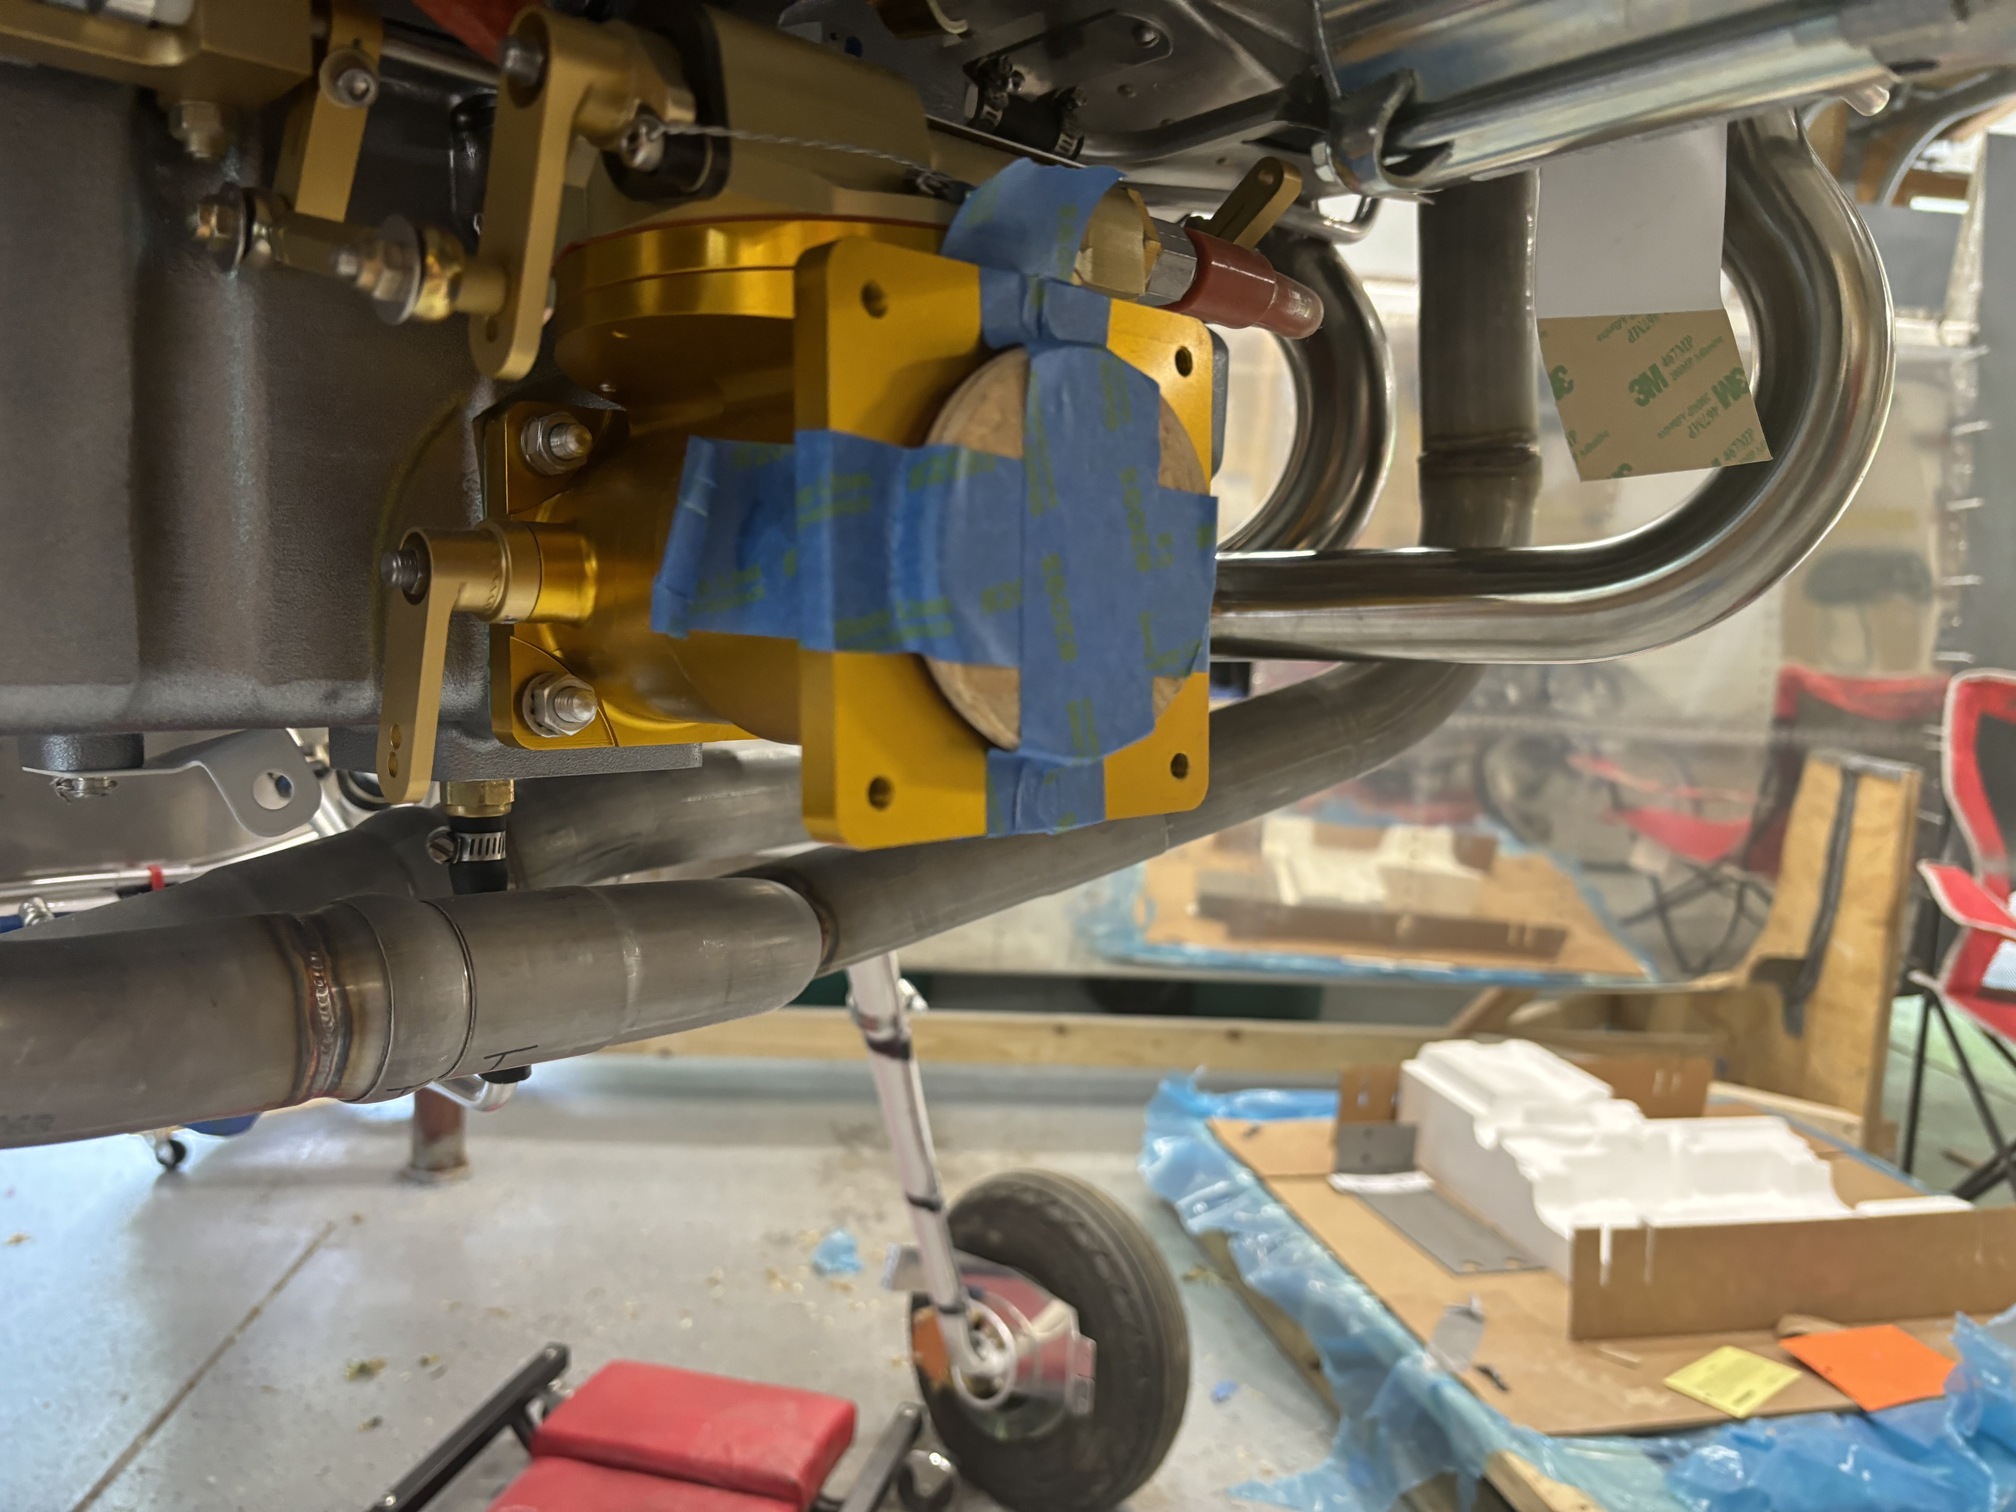
Then I test fit the airbox.
It turned out the gap up to the left front intake floor was too much, so I added some height to the airbox top end in those areas.
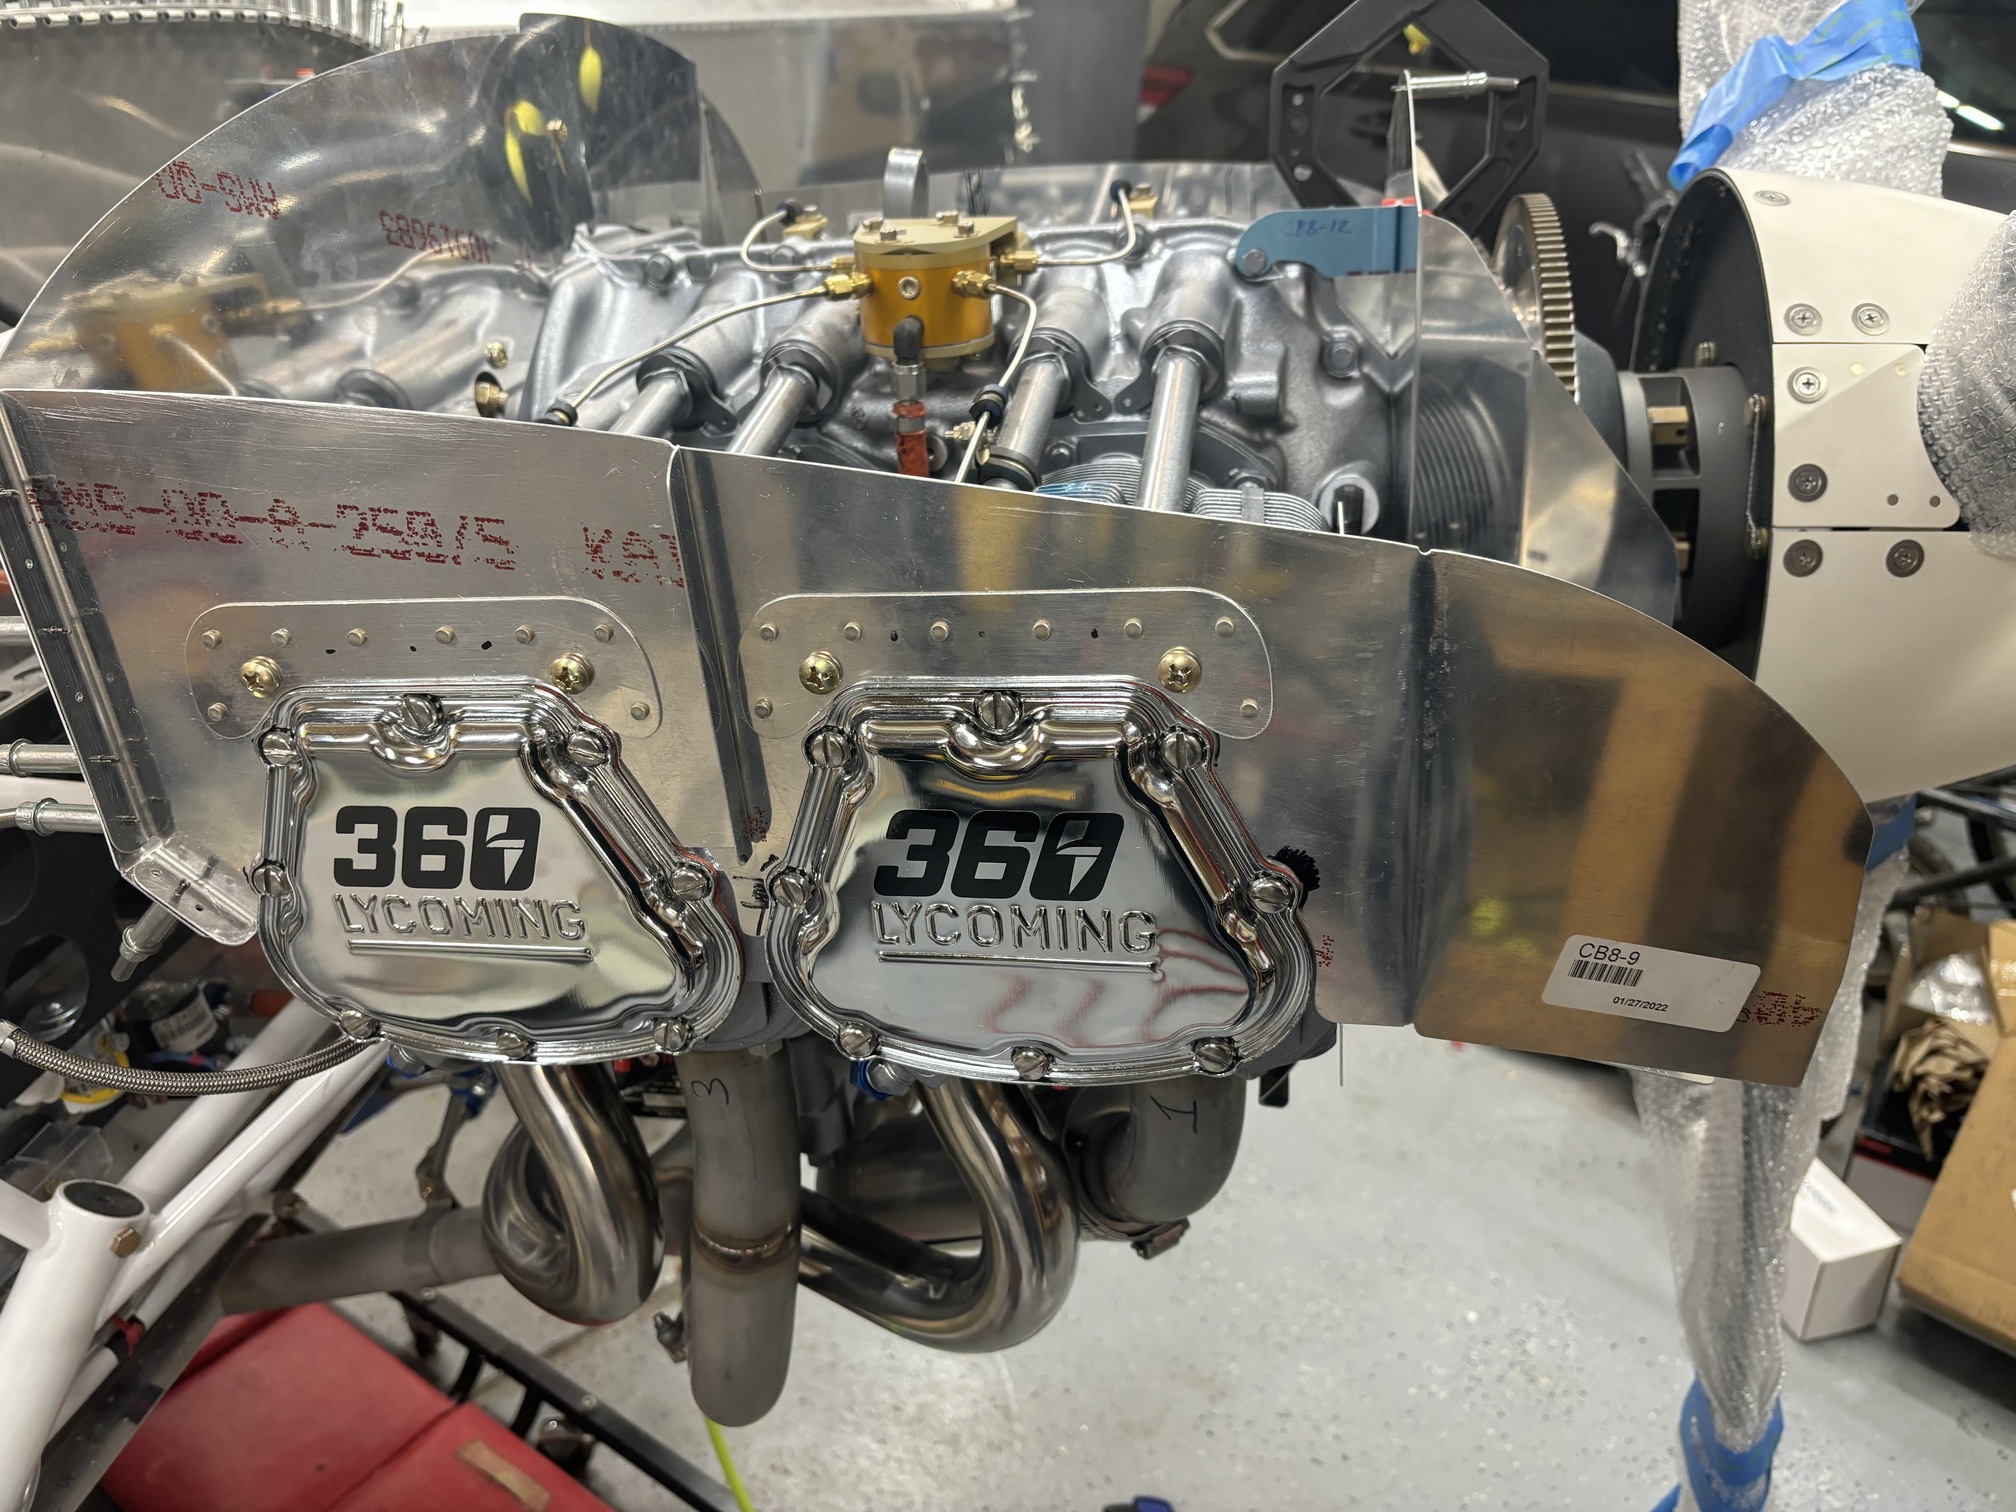
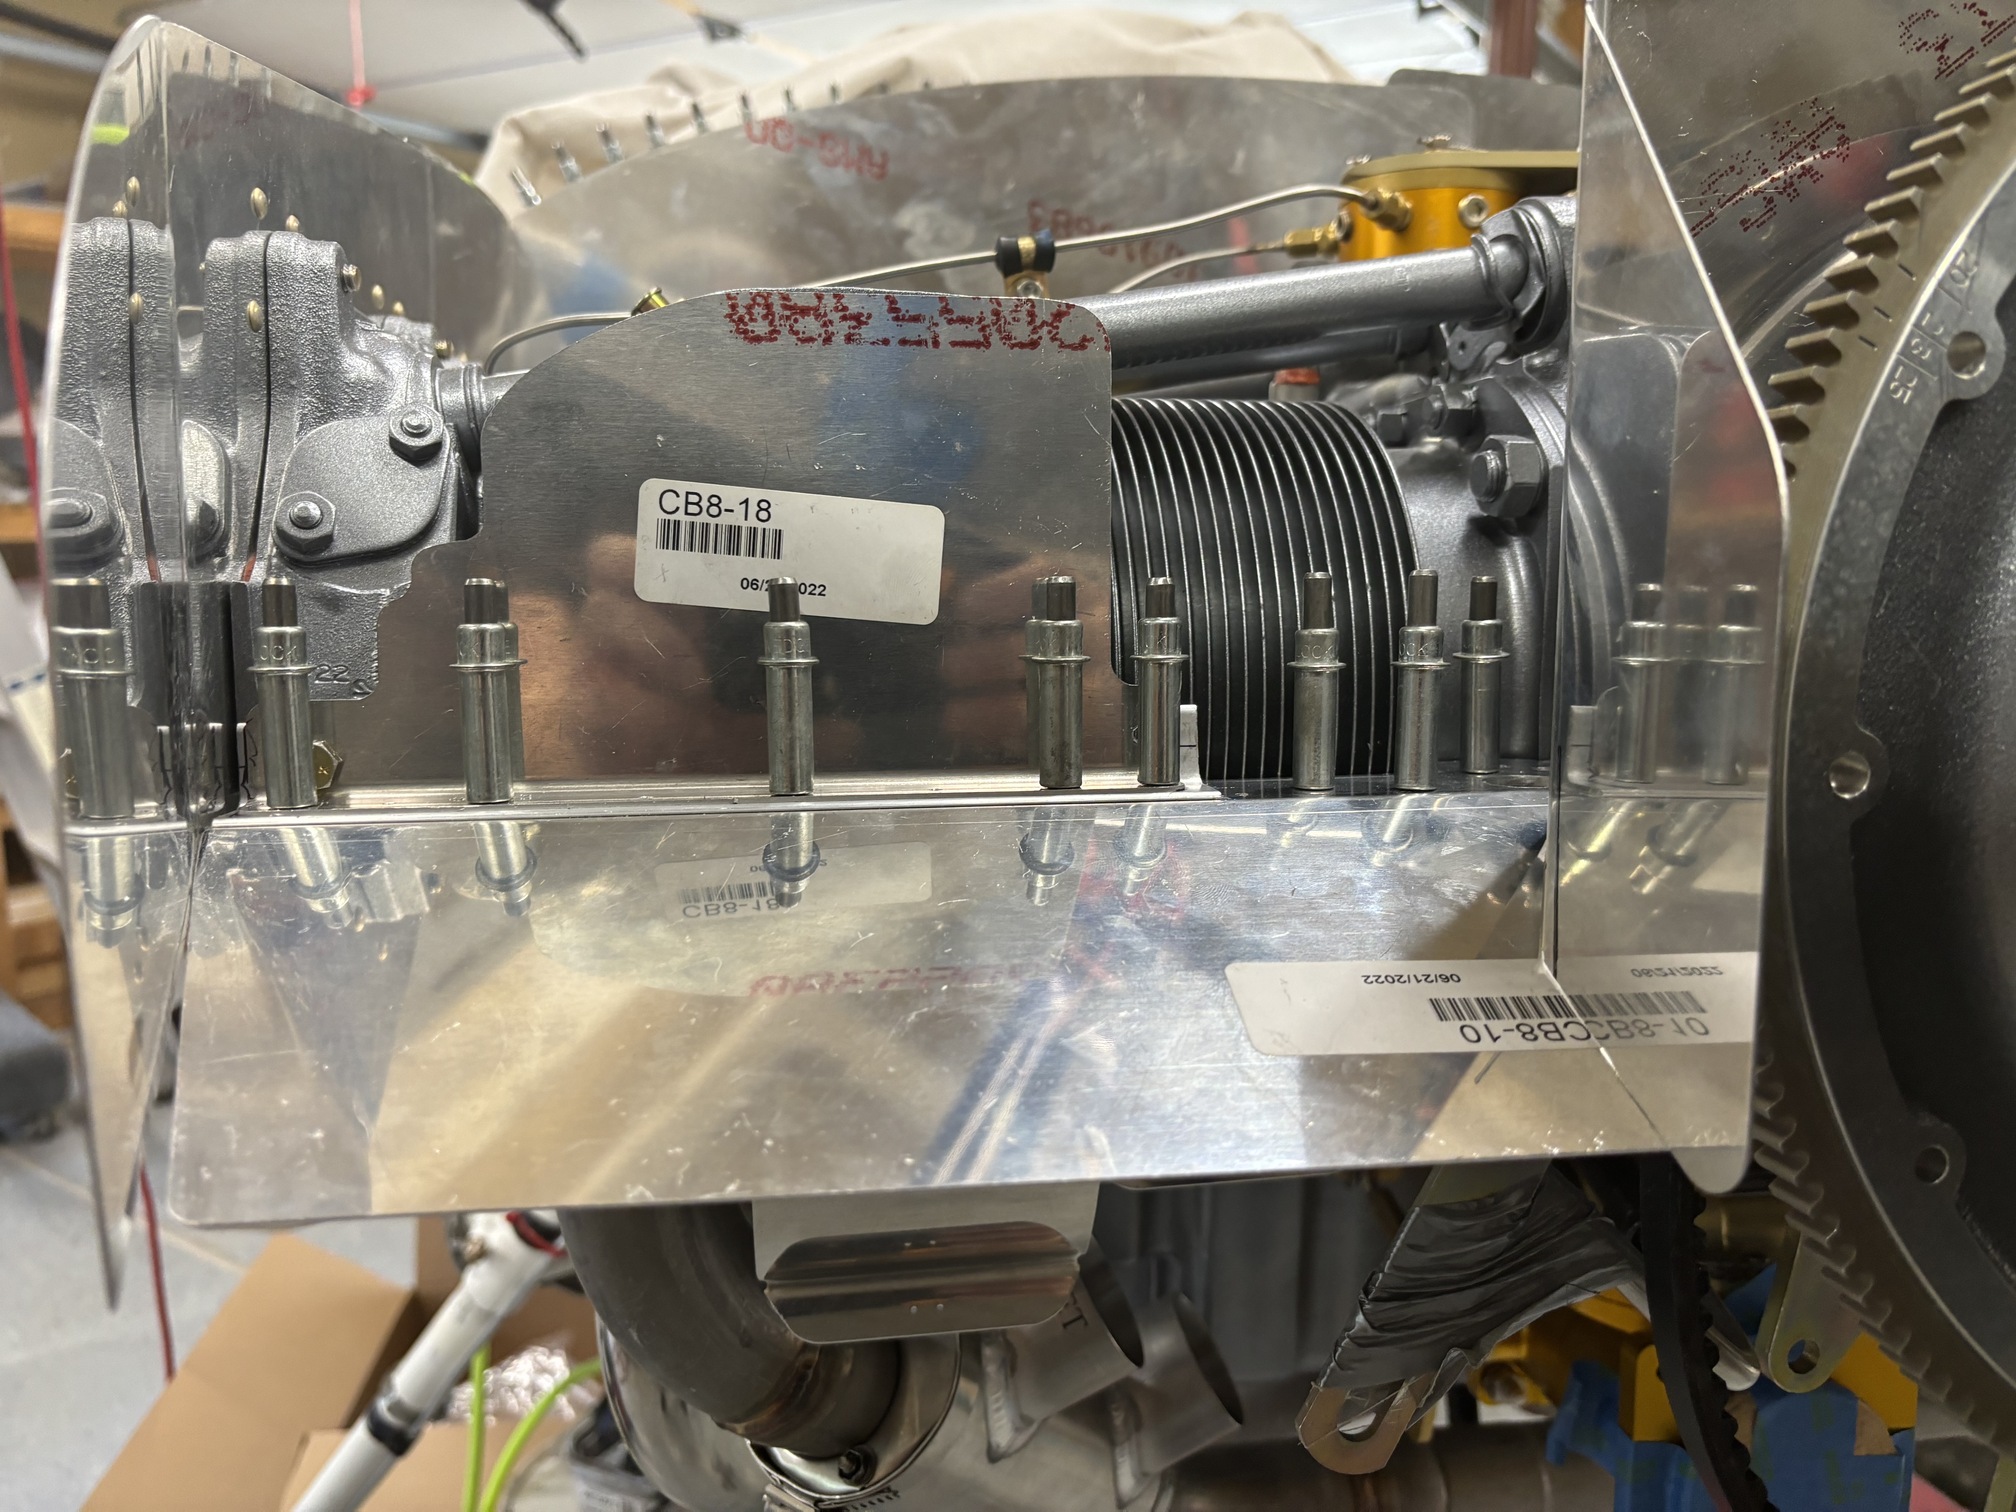
I installed the right front air dam in front of the #1 cylinder to the baffle system.
I trimmed some length from the lower cowl inlets to try to get it to be easier to install with the baffle floors in place. This will still require some iterative trimming.
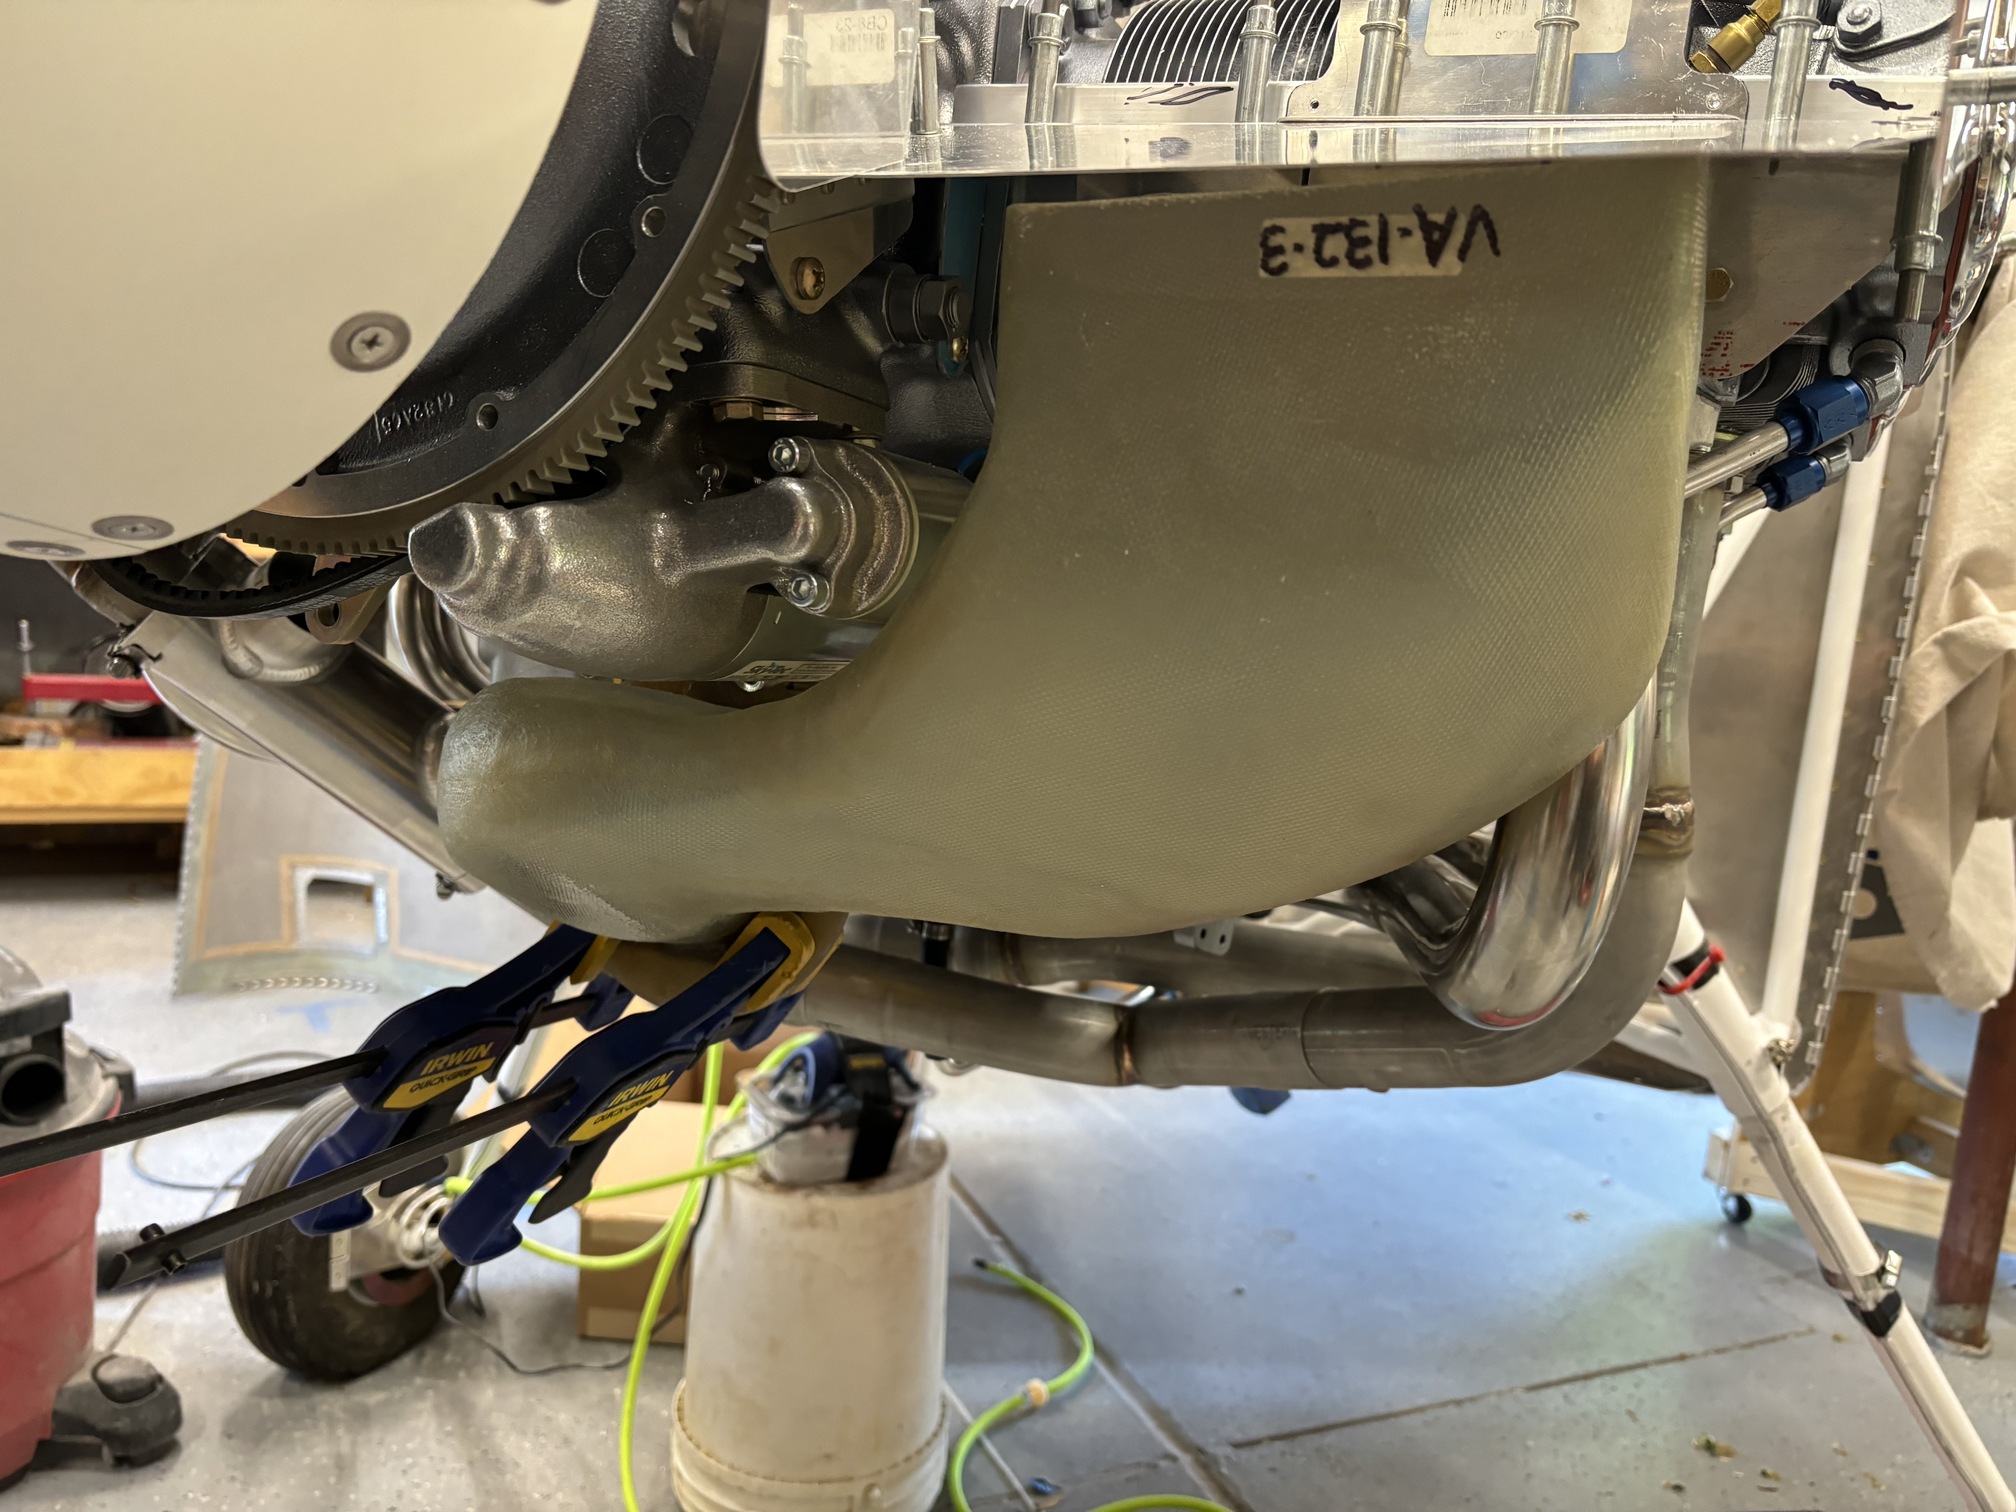
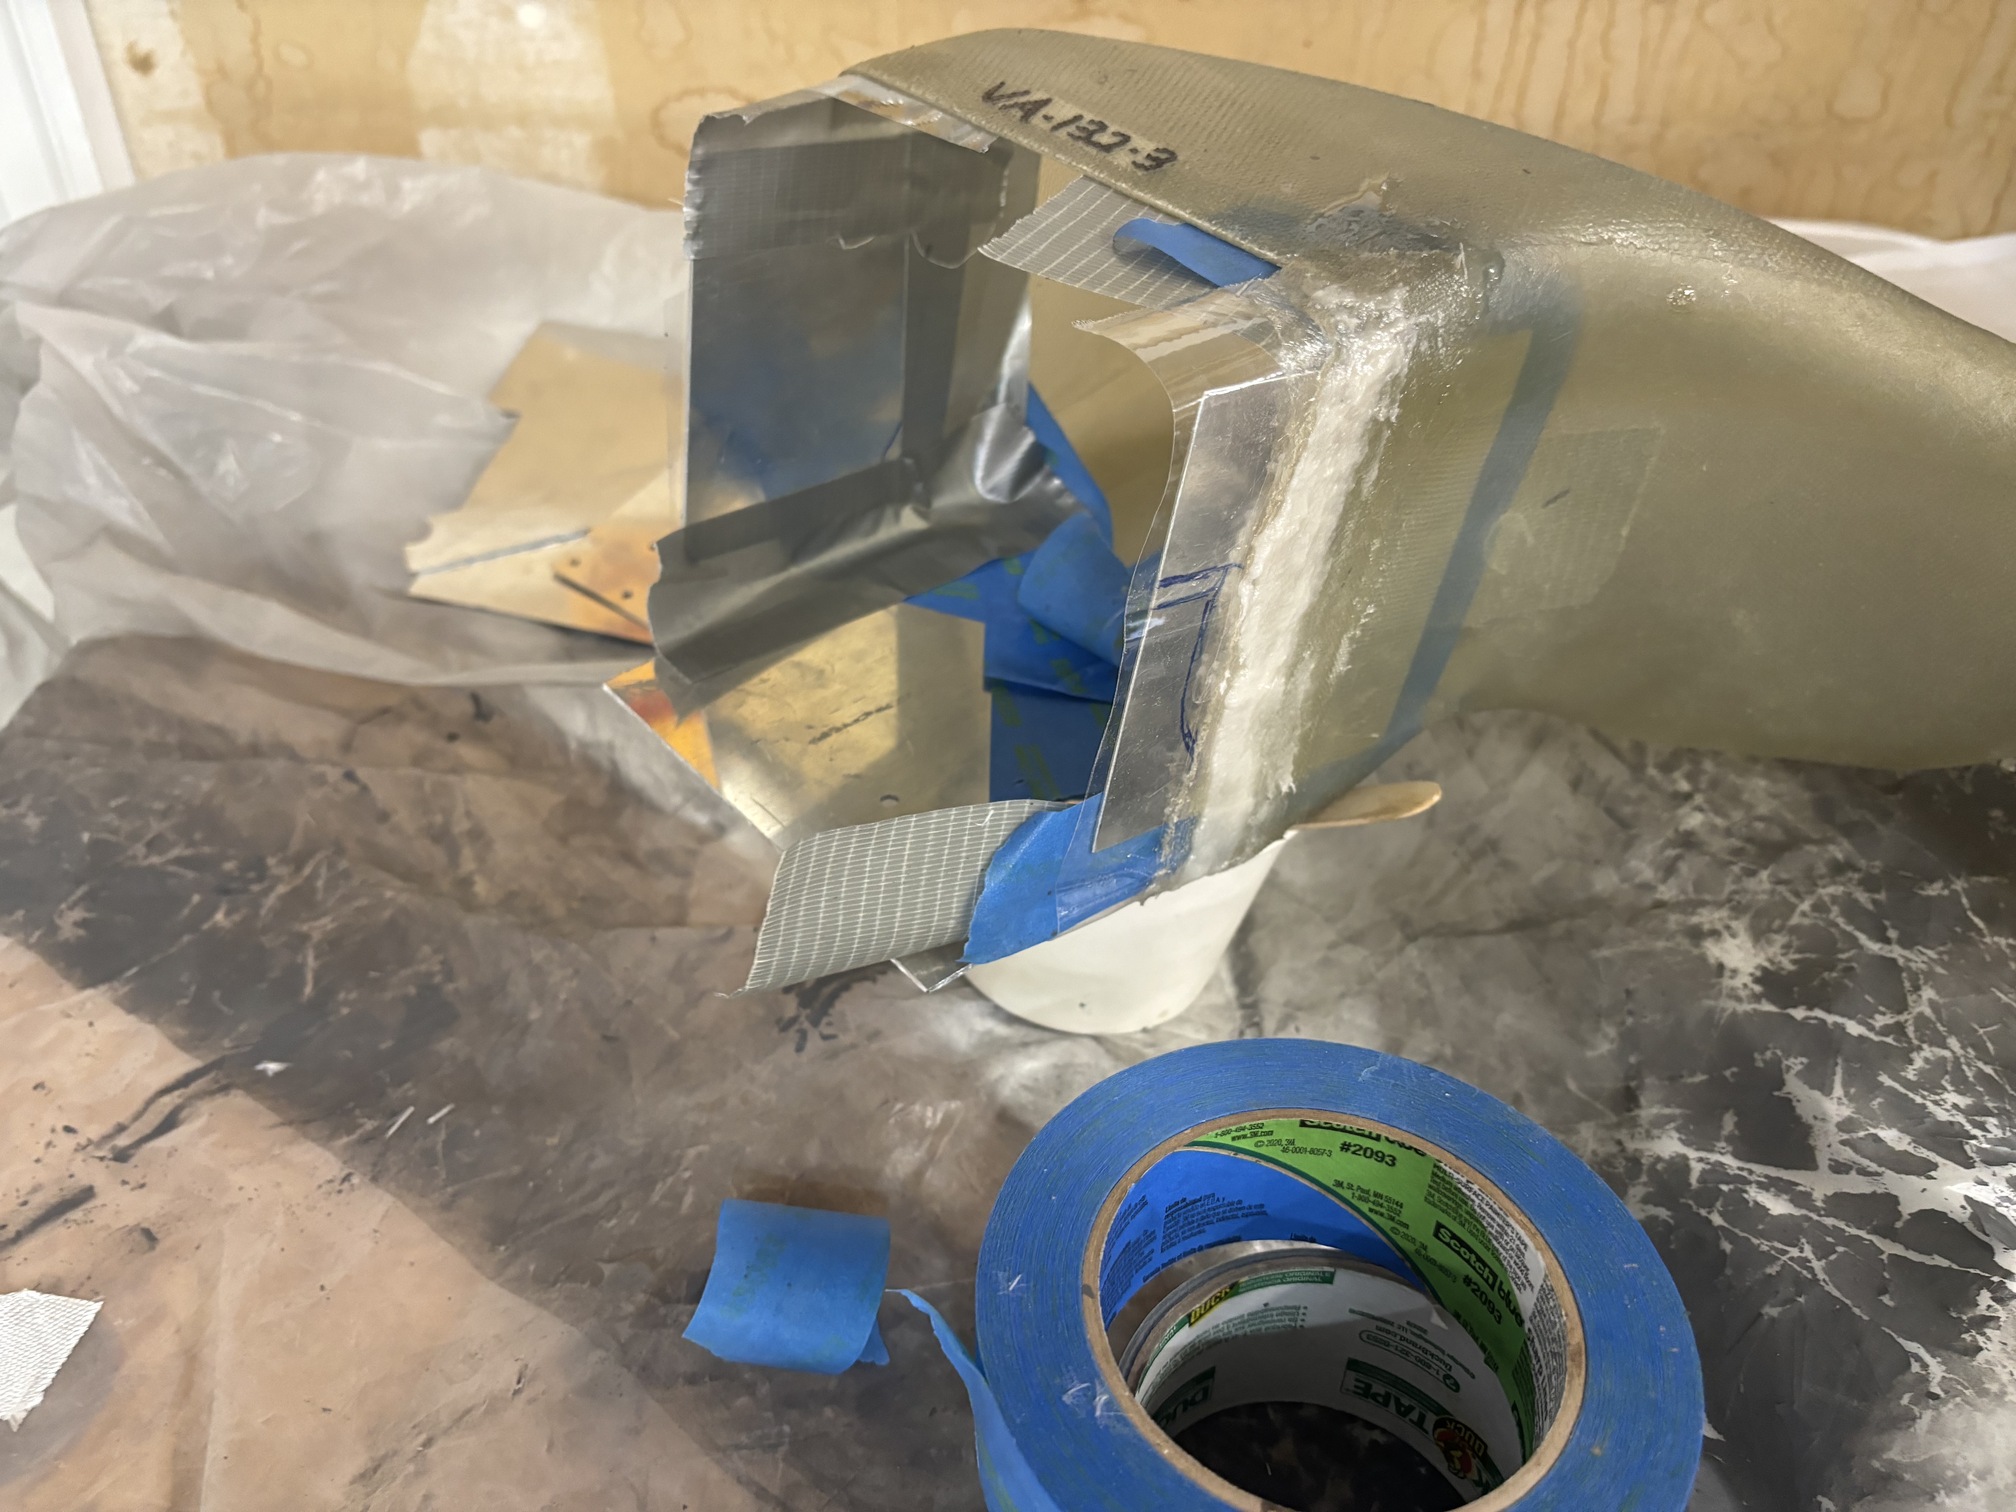
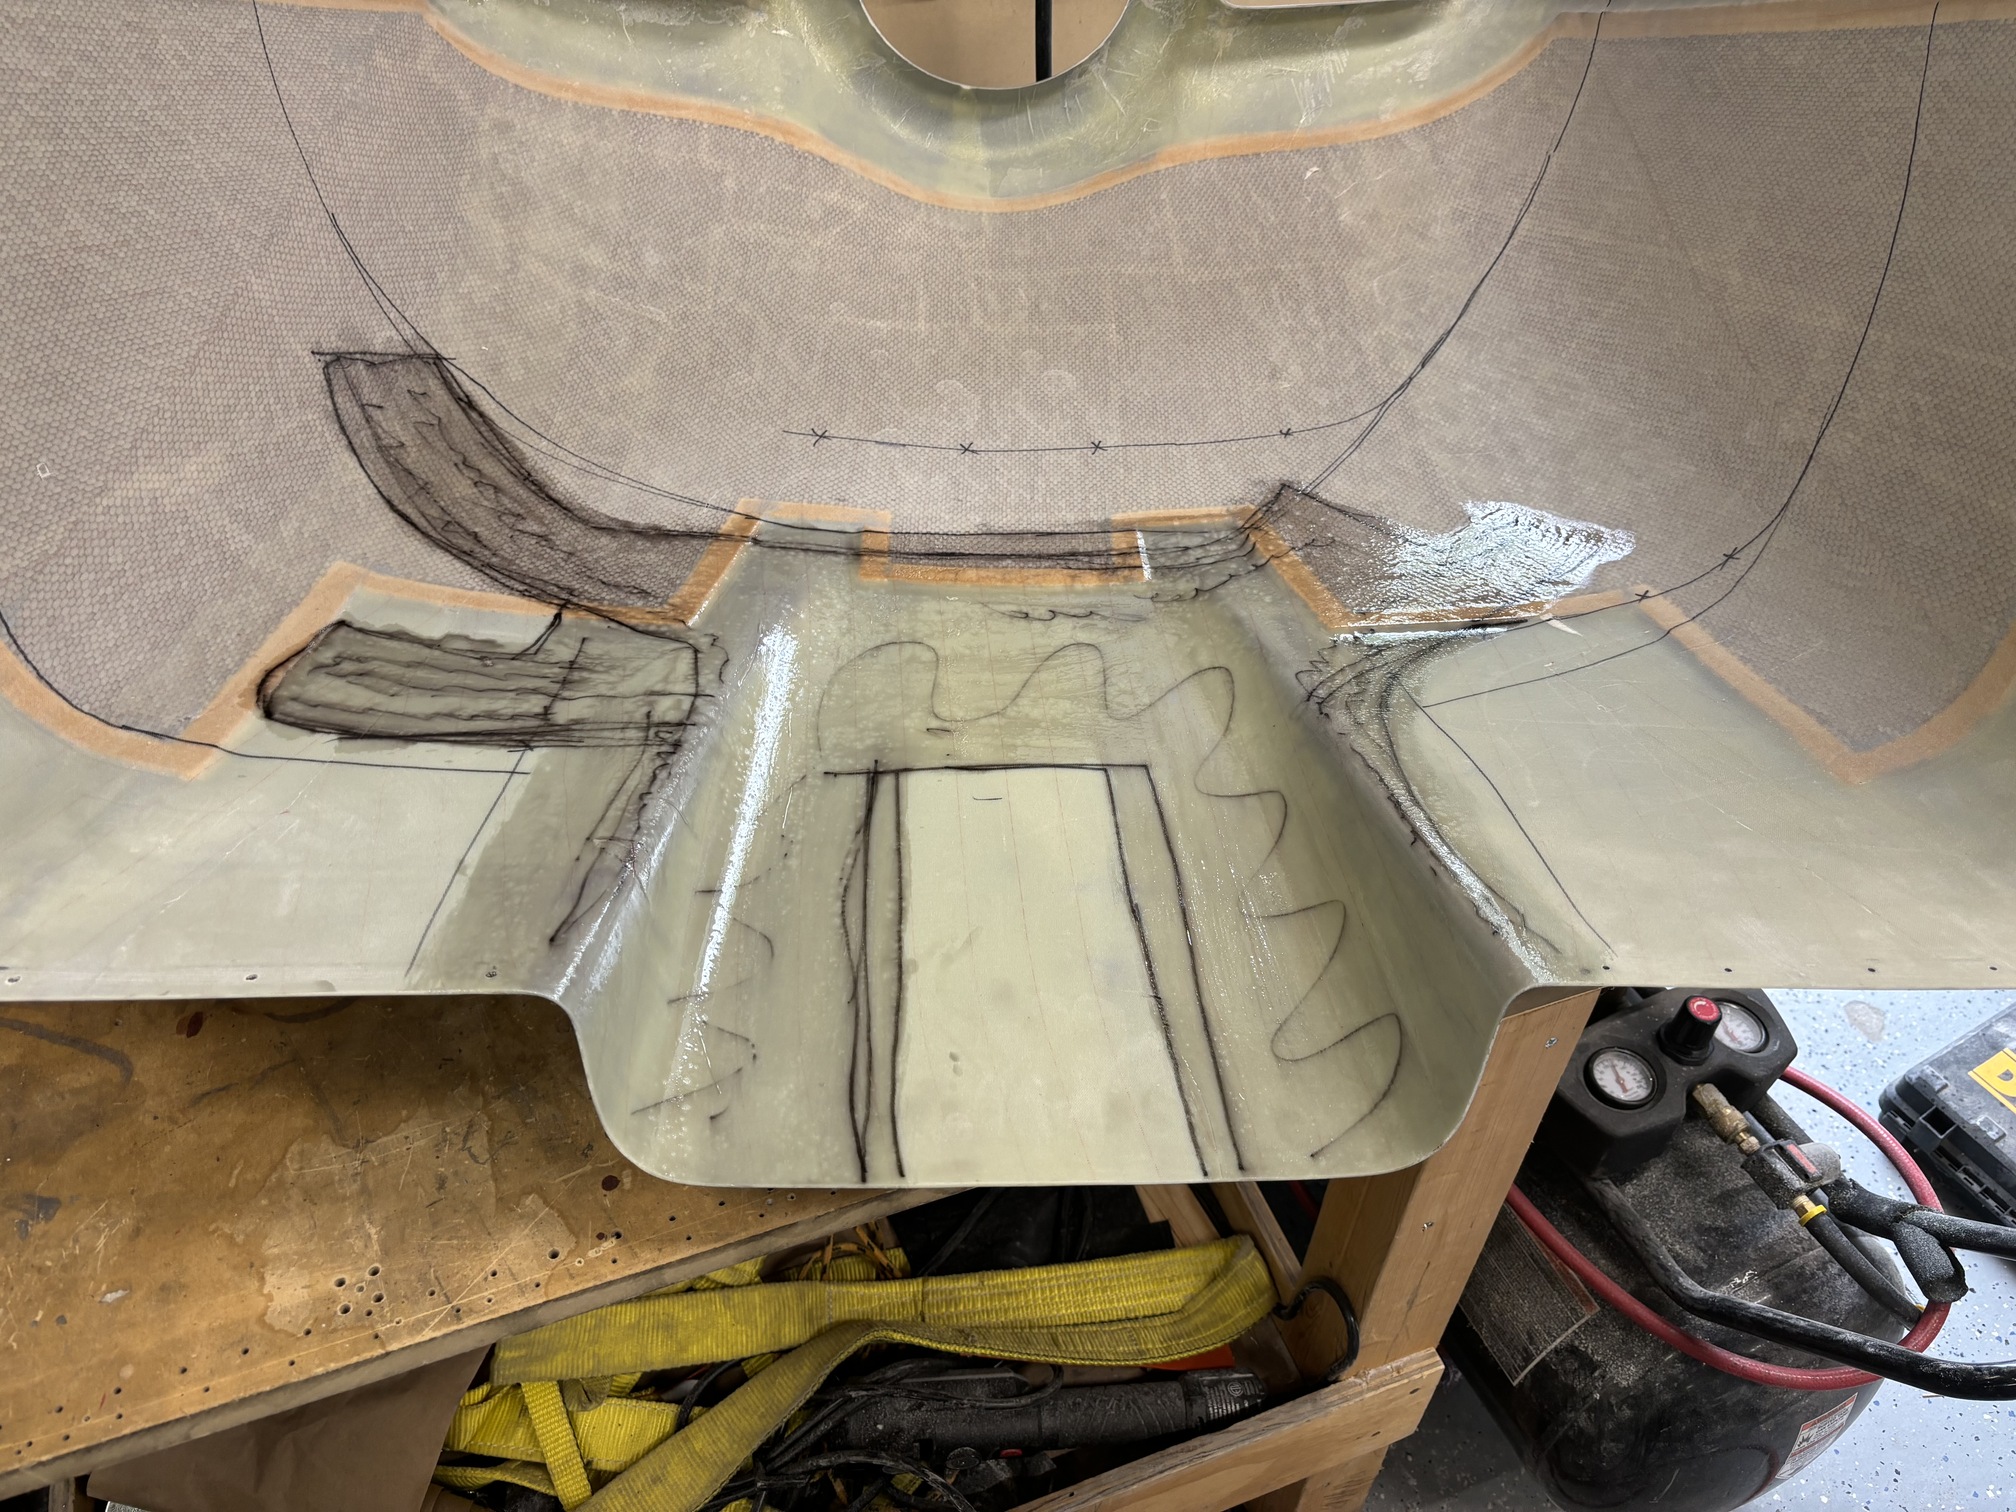
I laid down some thinned epoxy mixture on the cowl bottom where I intend to install the adhesive reflective coating. I limited this to areas that are relatively close to the exhaust pipes.
I decided to rebuild my rudder...I'm not a fan of how much oil canning the my old one has. There's also some questioning online about the strength of the large RV-9 style rudder that the RV-7 uses--it was originally designed to use the same rudder as the RV-8, but spin recovery was slightly slow, so they changed it. There have been a fair number of structural failures of RV-7 where the rudder seems to have been the first part to fail, although admittedly all of them were going significantly over VNE at the time. There doesn't seem to have been any similar failure of the RV-8 style rudder.
Still, these two factors combined to convince me to rebuild it and use the RV-8 rudder this time. The primary differences are that the RV-8 rudder is smaller and uses a single skin bent trailing edge design rather than the two piece with a wedge that the RV-7/9 design uses. Fortunately they fit identically to the vertical stabilizer other than the fiberglass fairing up at the top that I will have to swap out.
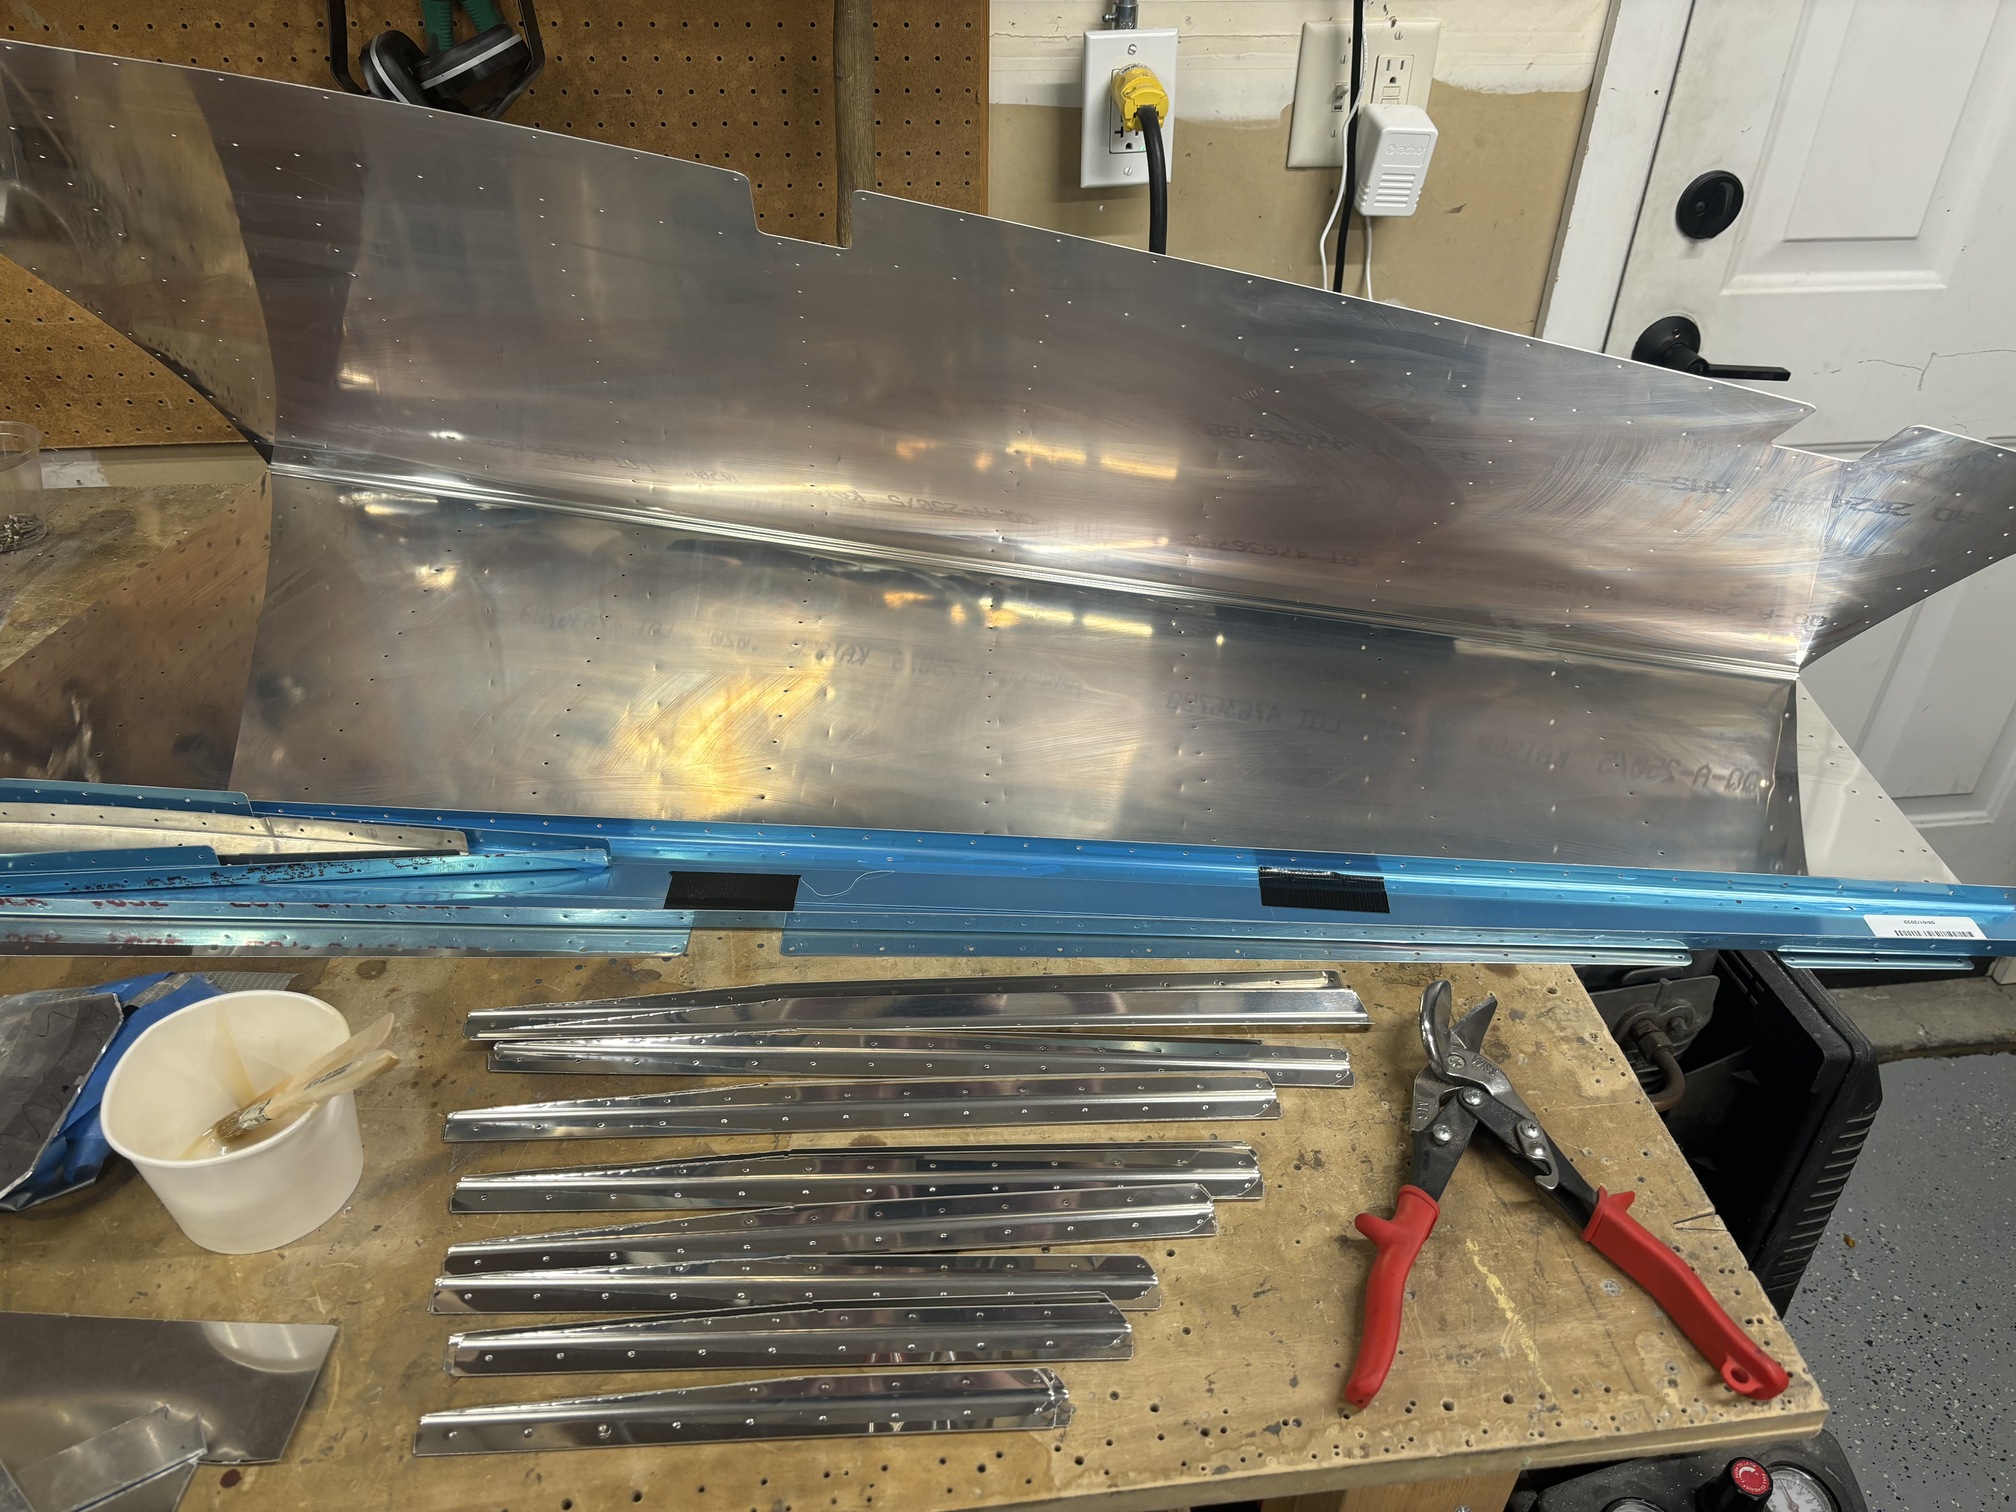
I snipped out all of the stiffeners and started trimming them.
| Previous - Index - Next |
This work is licensed under Attribution-NonCommercial-NoDerivatives 4.0 International![]()
![]()
![]()
![]()