Log (By Day)
Log (By Category)
Pictures
Pics of Me Working
Links
| ||||||||||||
Sunday July 14, 2024
Baffle Trimming, Oil Cooler Air Ducting
(Firewall Forward)
5.0 Hours
| Previous - Index - Next |
I continued trimming the baffles iteratively until I could get the top cowl tight against the bottom.
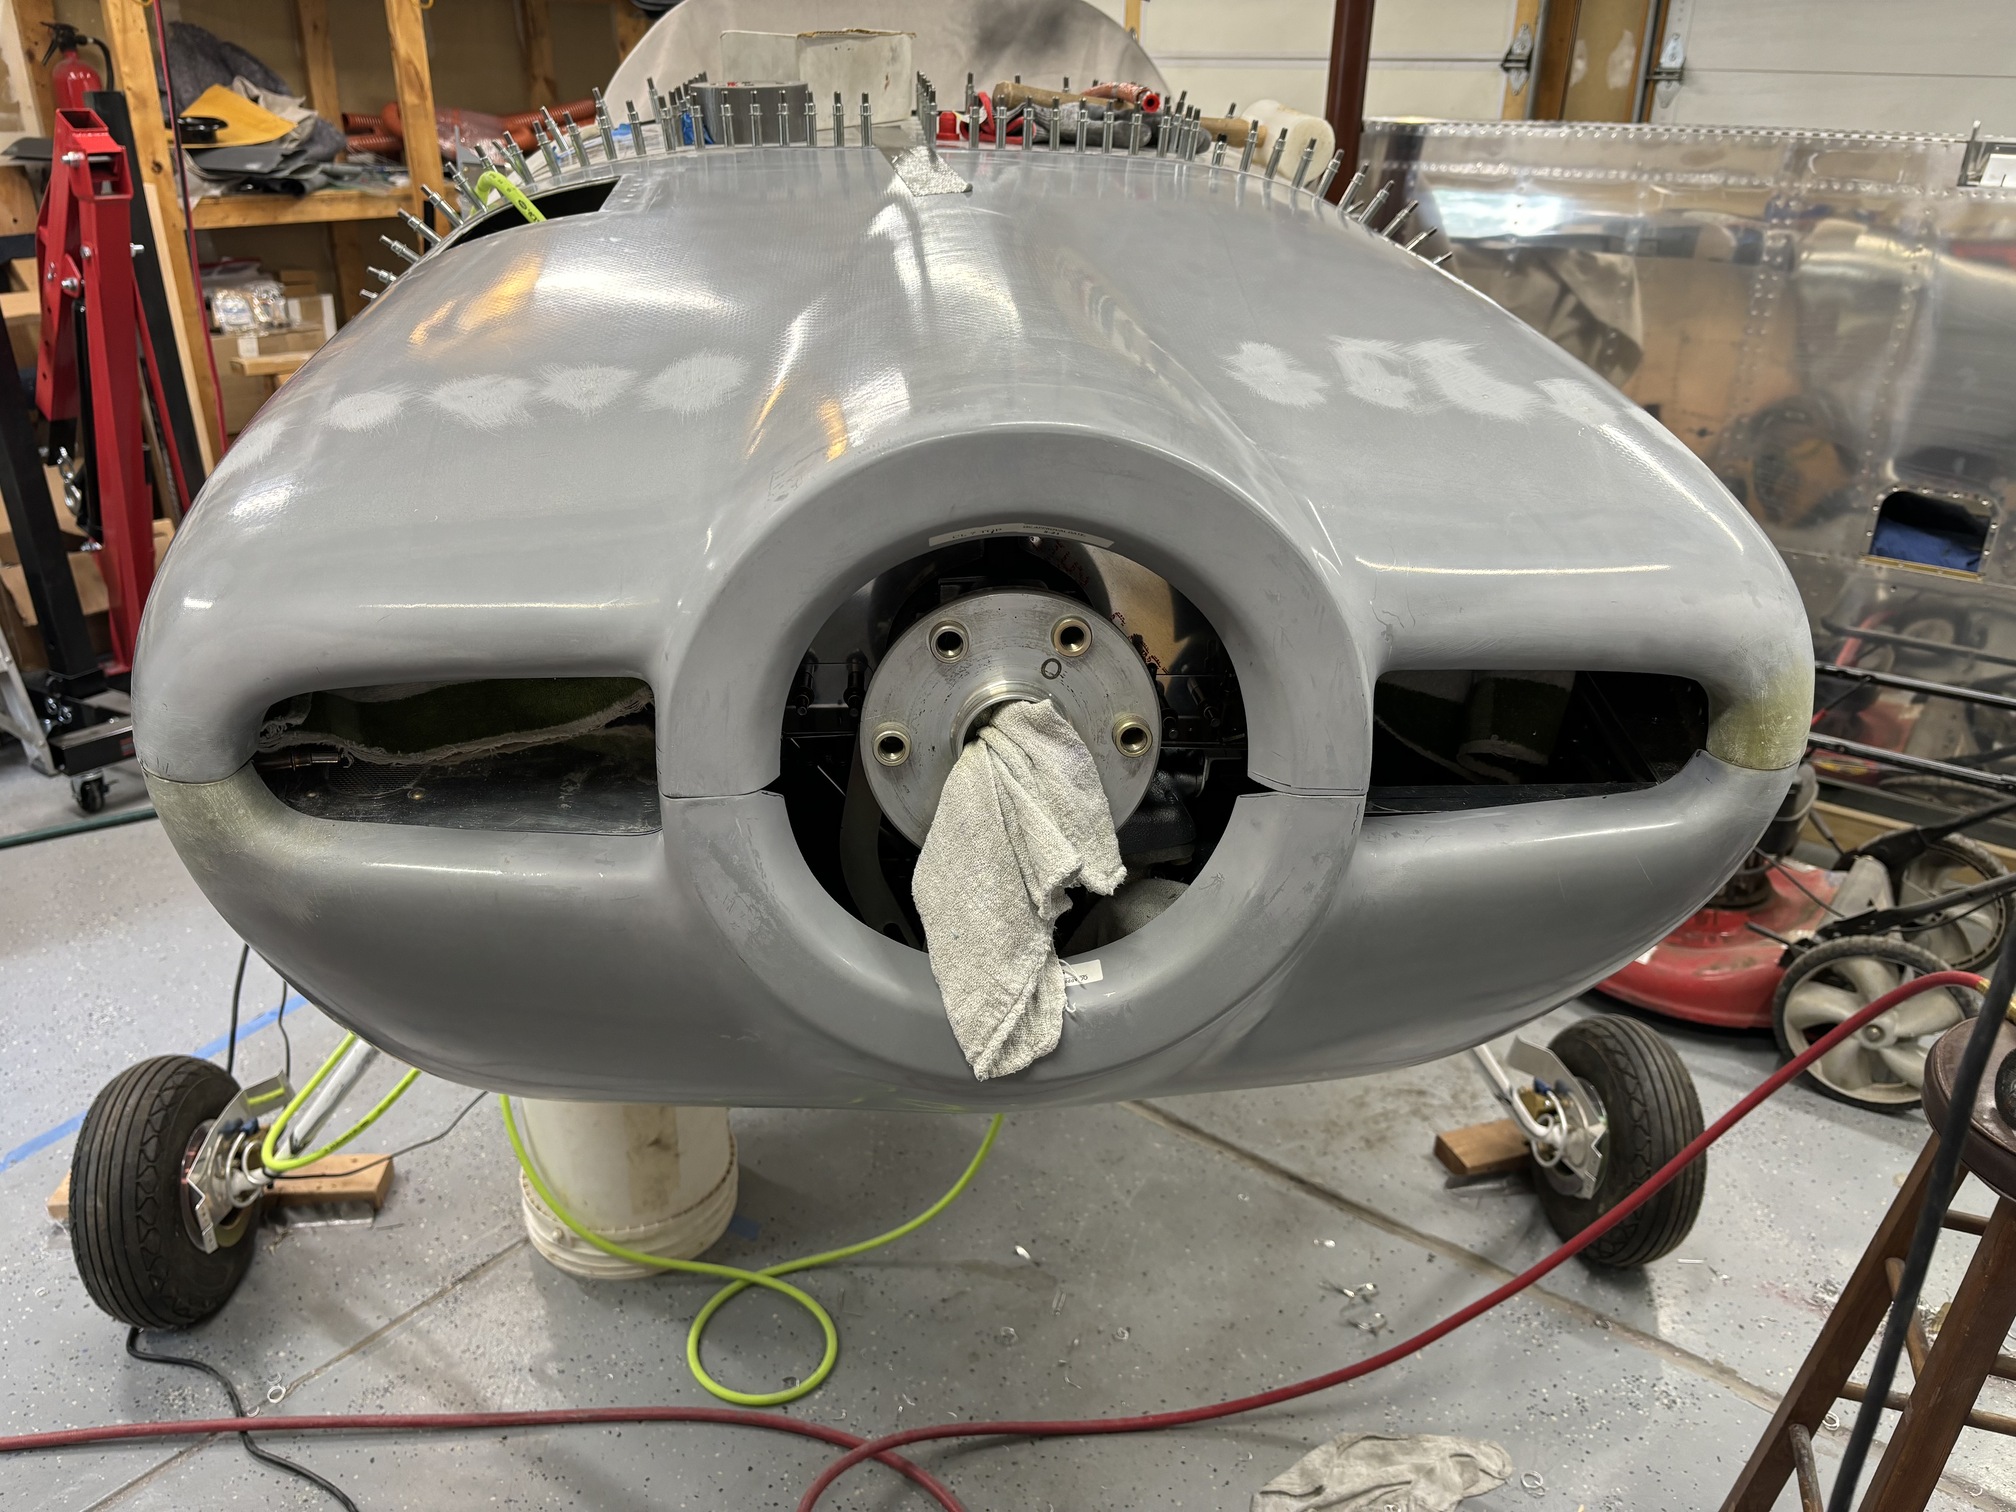
Then I used paper clips to help me get a 3/8" gap between all baffles and the top cowl. Basically: install paper clips, close upper cowl, open upper cowl, measure 3/8" down from top of paper clip, trim to that line.

Here they are completely trimmed. They get quite thin as they go over the #1 and #2 cylinders, but there will be enough room to route the air seal fabric through.
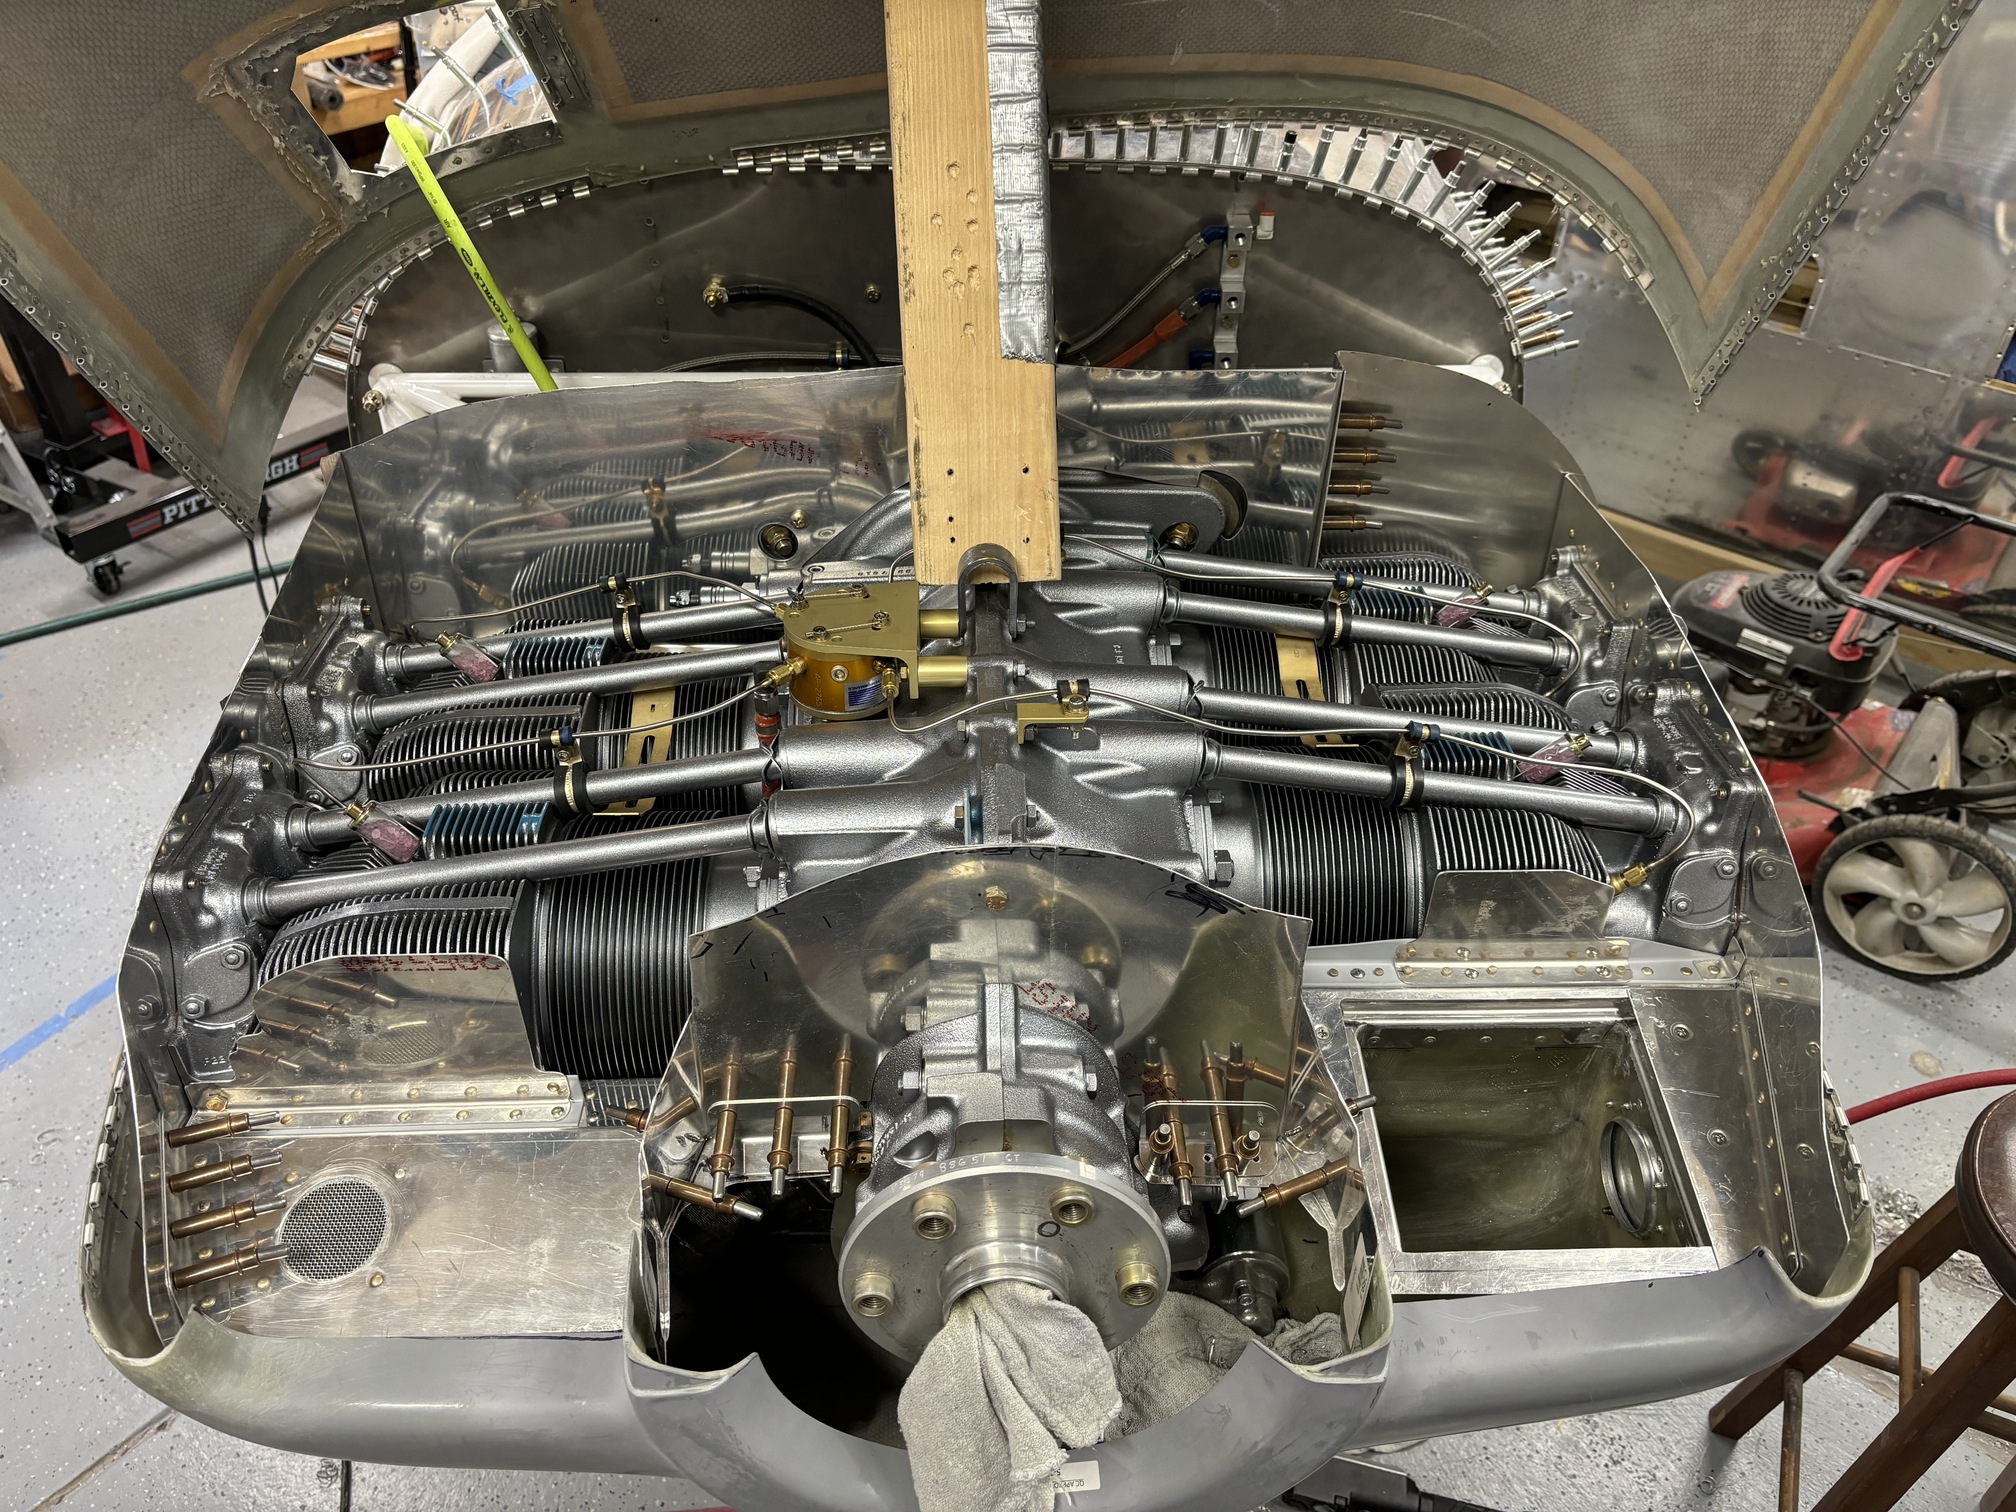
Then I finagled the diffuser and oil cooler into place. It was very tricky, but I did get them in place.
The fit is basically perfect...there's at least 1/8" gap between the diffuser and the engine mount supports.
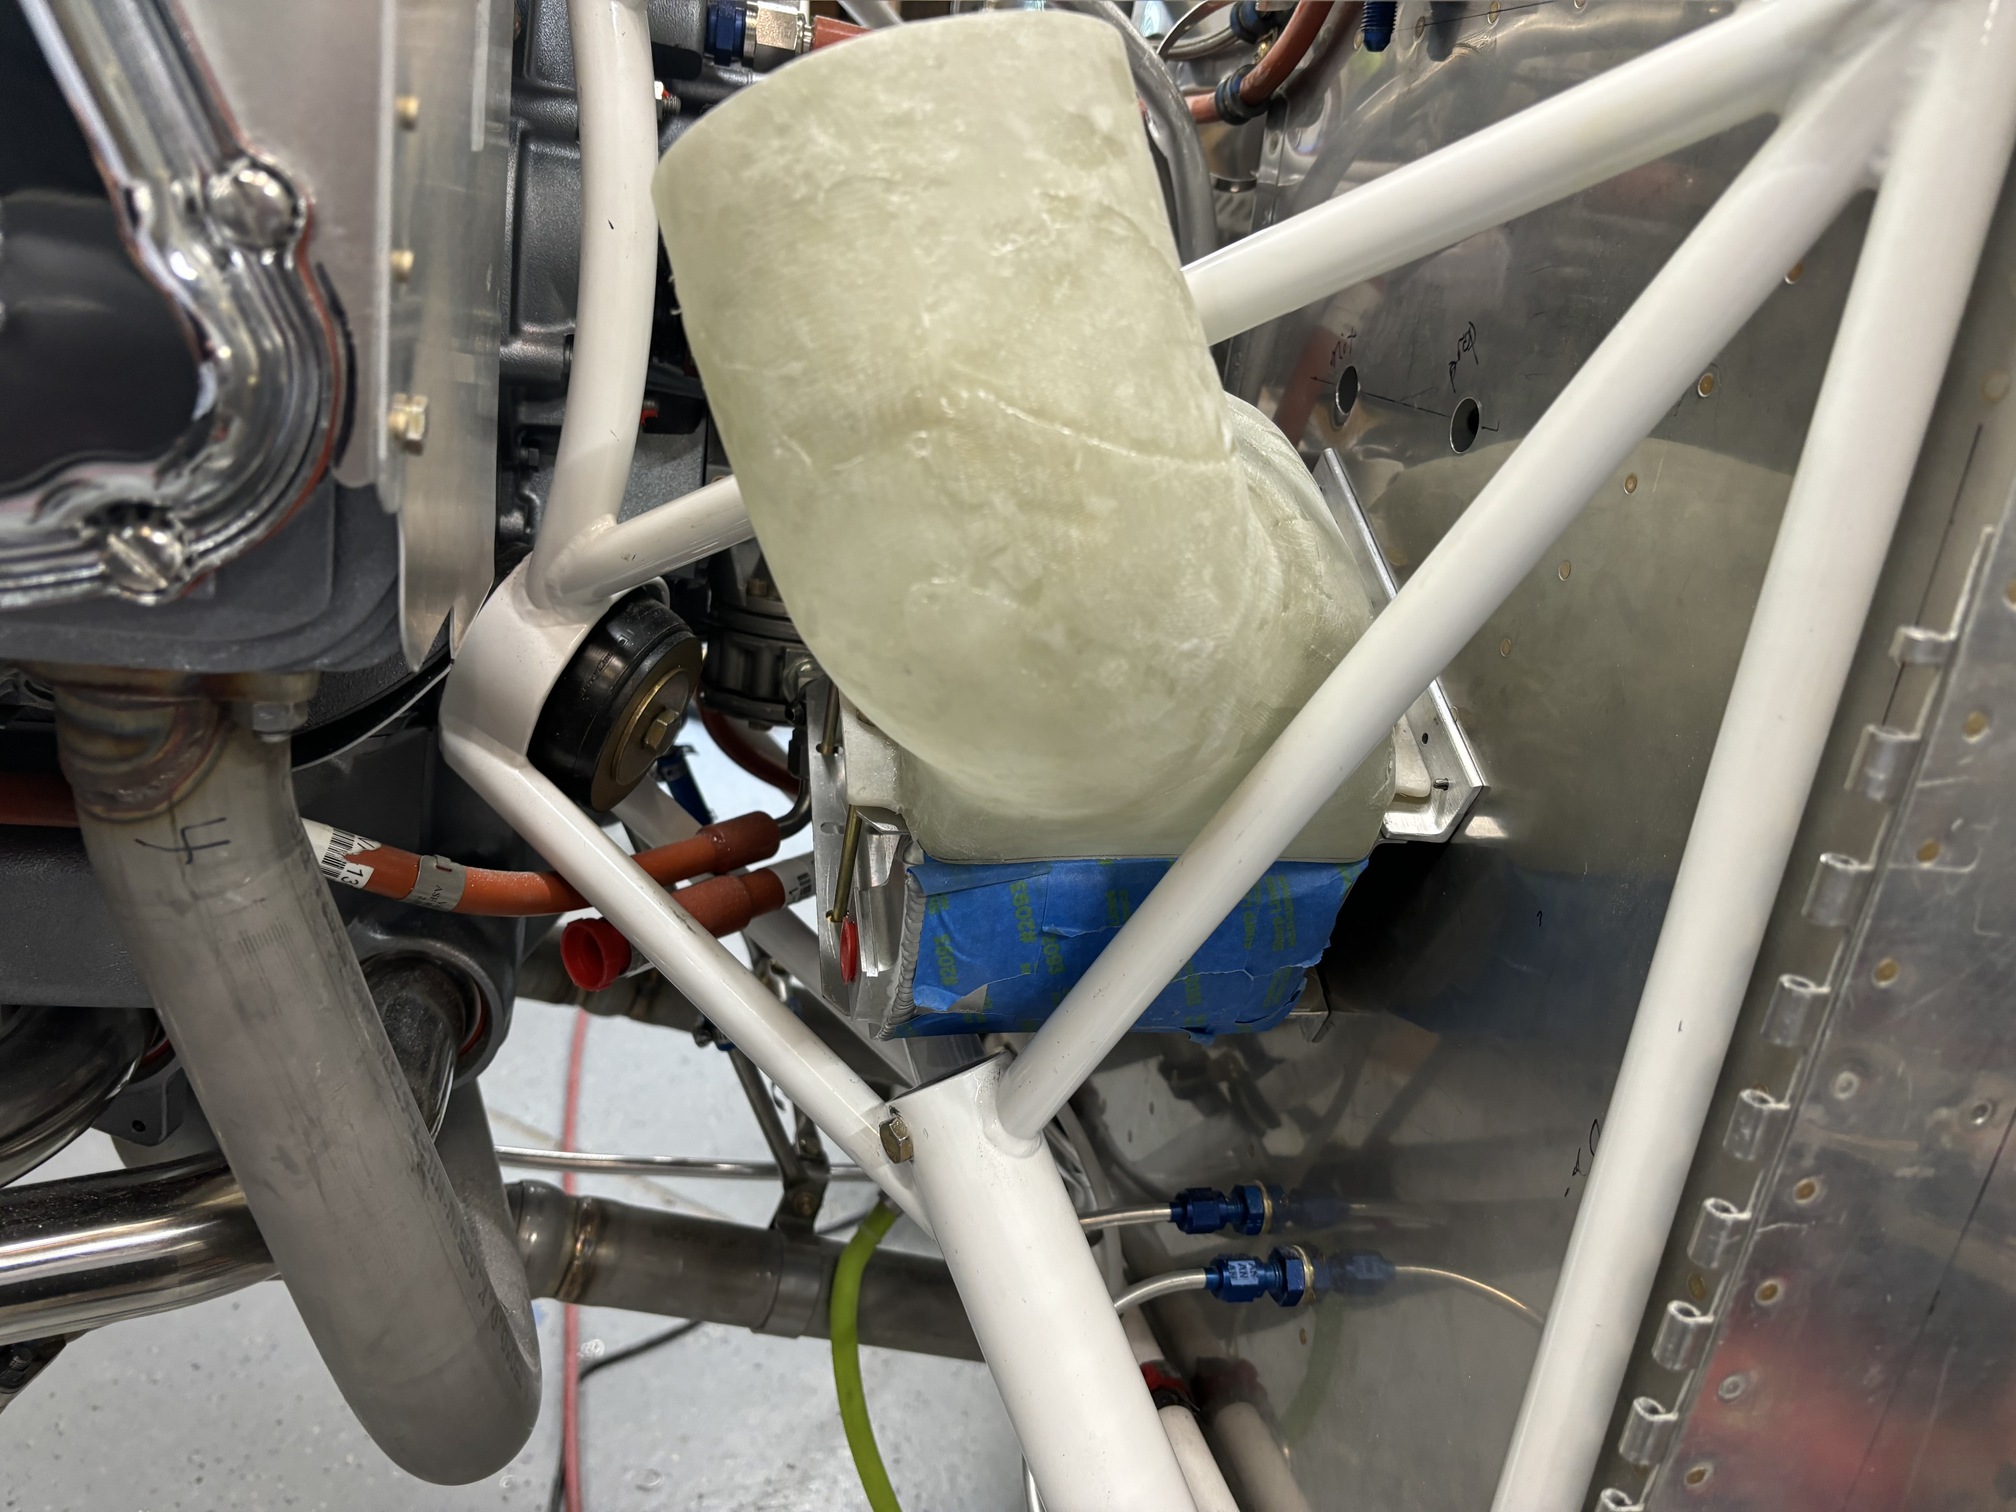
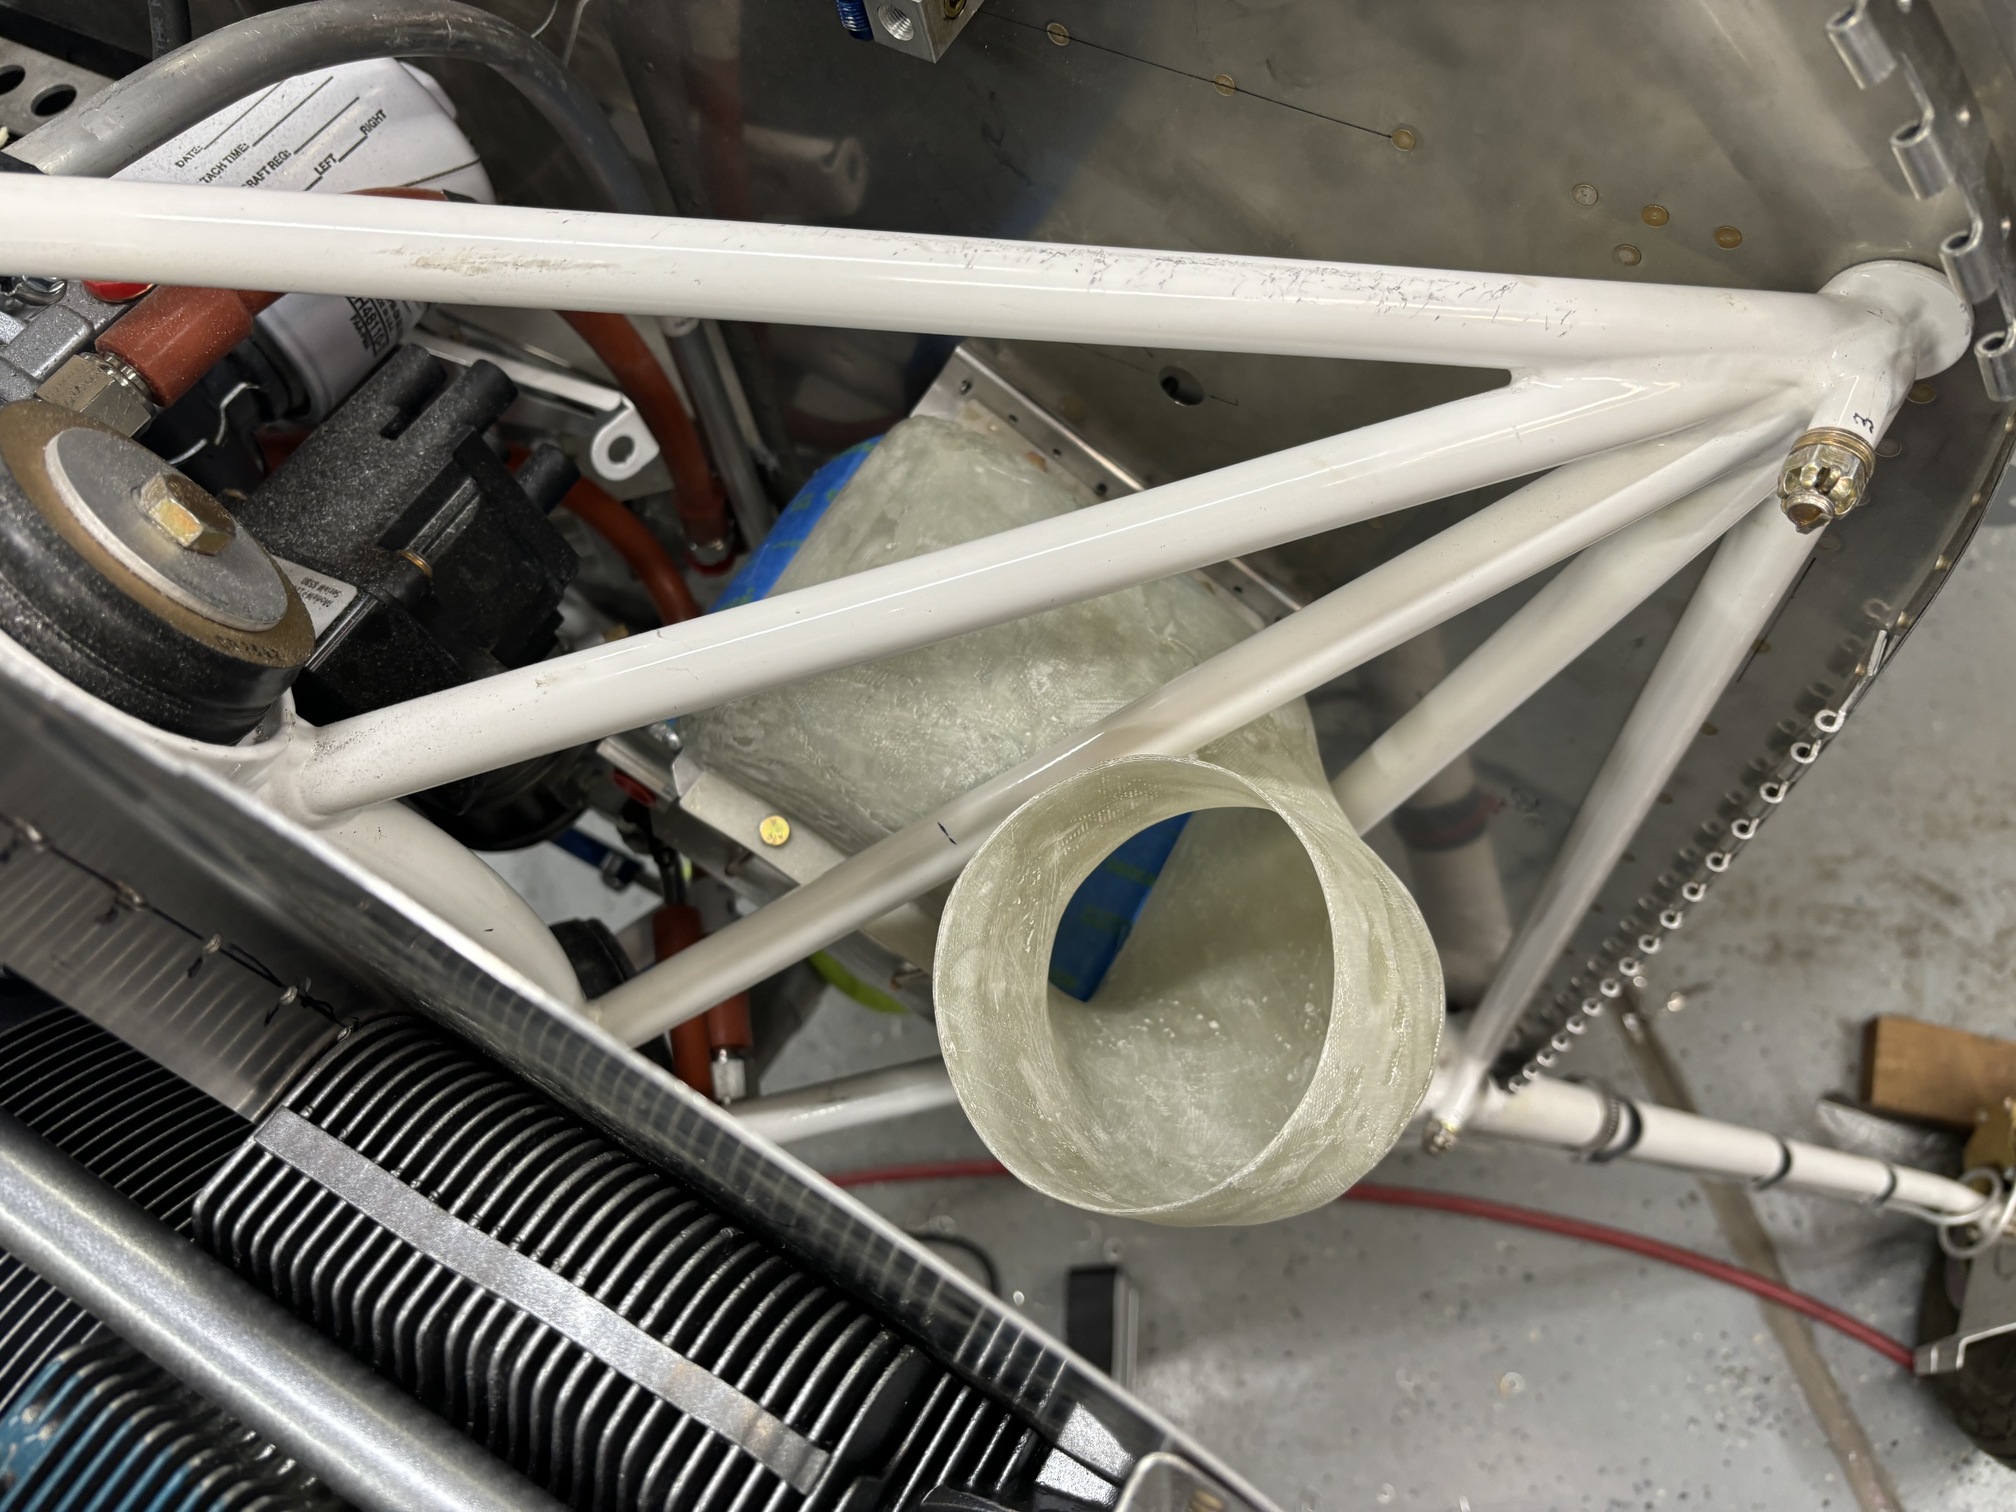
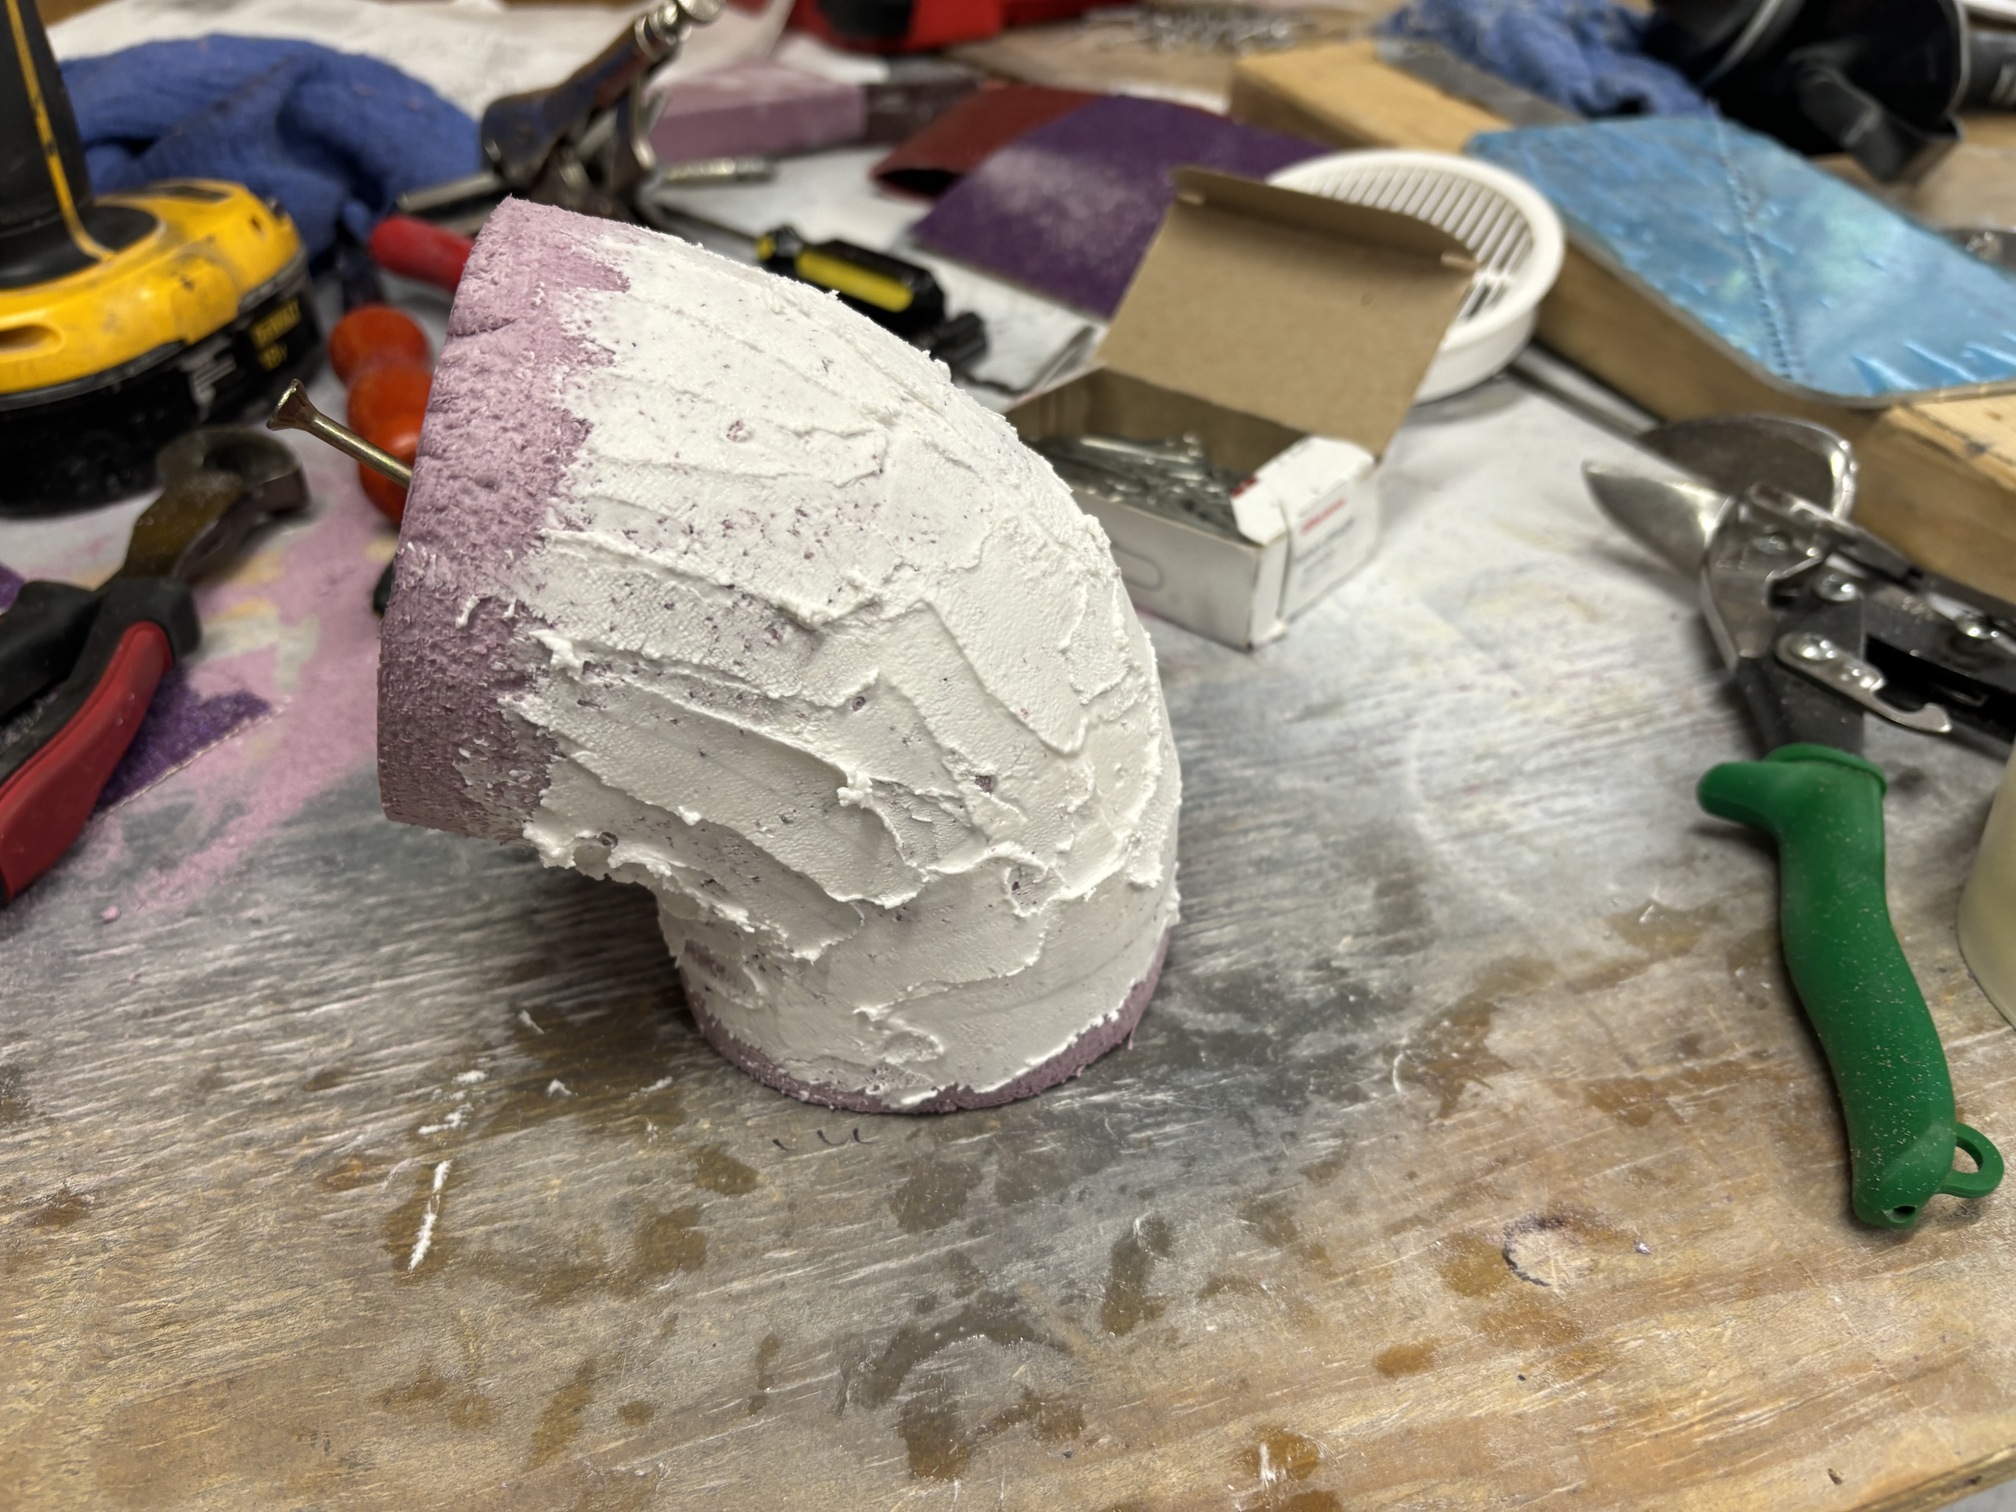
Then I worked on a mold for the upper end of the duct where it will come out of the back of the baffle behind cylinder #4. This is basically the plan...a small section of fiberglass ducting from the back of the cylinder into a short piece of silicon hose to connect to the lower duct and diffuser. I am also going to install a butterfly valve to regulate the air flow, probably in the lower duct.

I sanded down the upper duct mold and then slopped on some epoxy/micro to fill in gaps.
| Previous - Index - Next |
This work is licensed under Attribution-NonCommercial-NoDerivatives 4.0 International![]()
![]()
![]()
![]()