Log (By Day)
Log (By Category)
Pictures
Pics of Me Working
Links
| ||||||||||||
Sunday October 19, 2025
Various Updates/Fixes
| Previous - Index - Next |
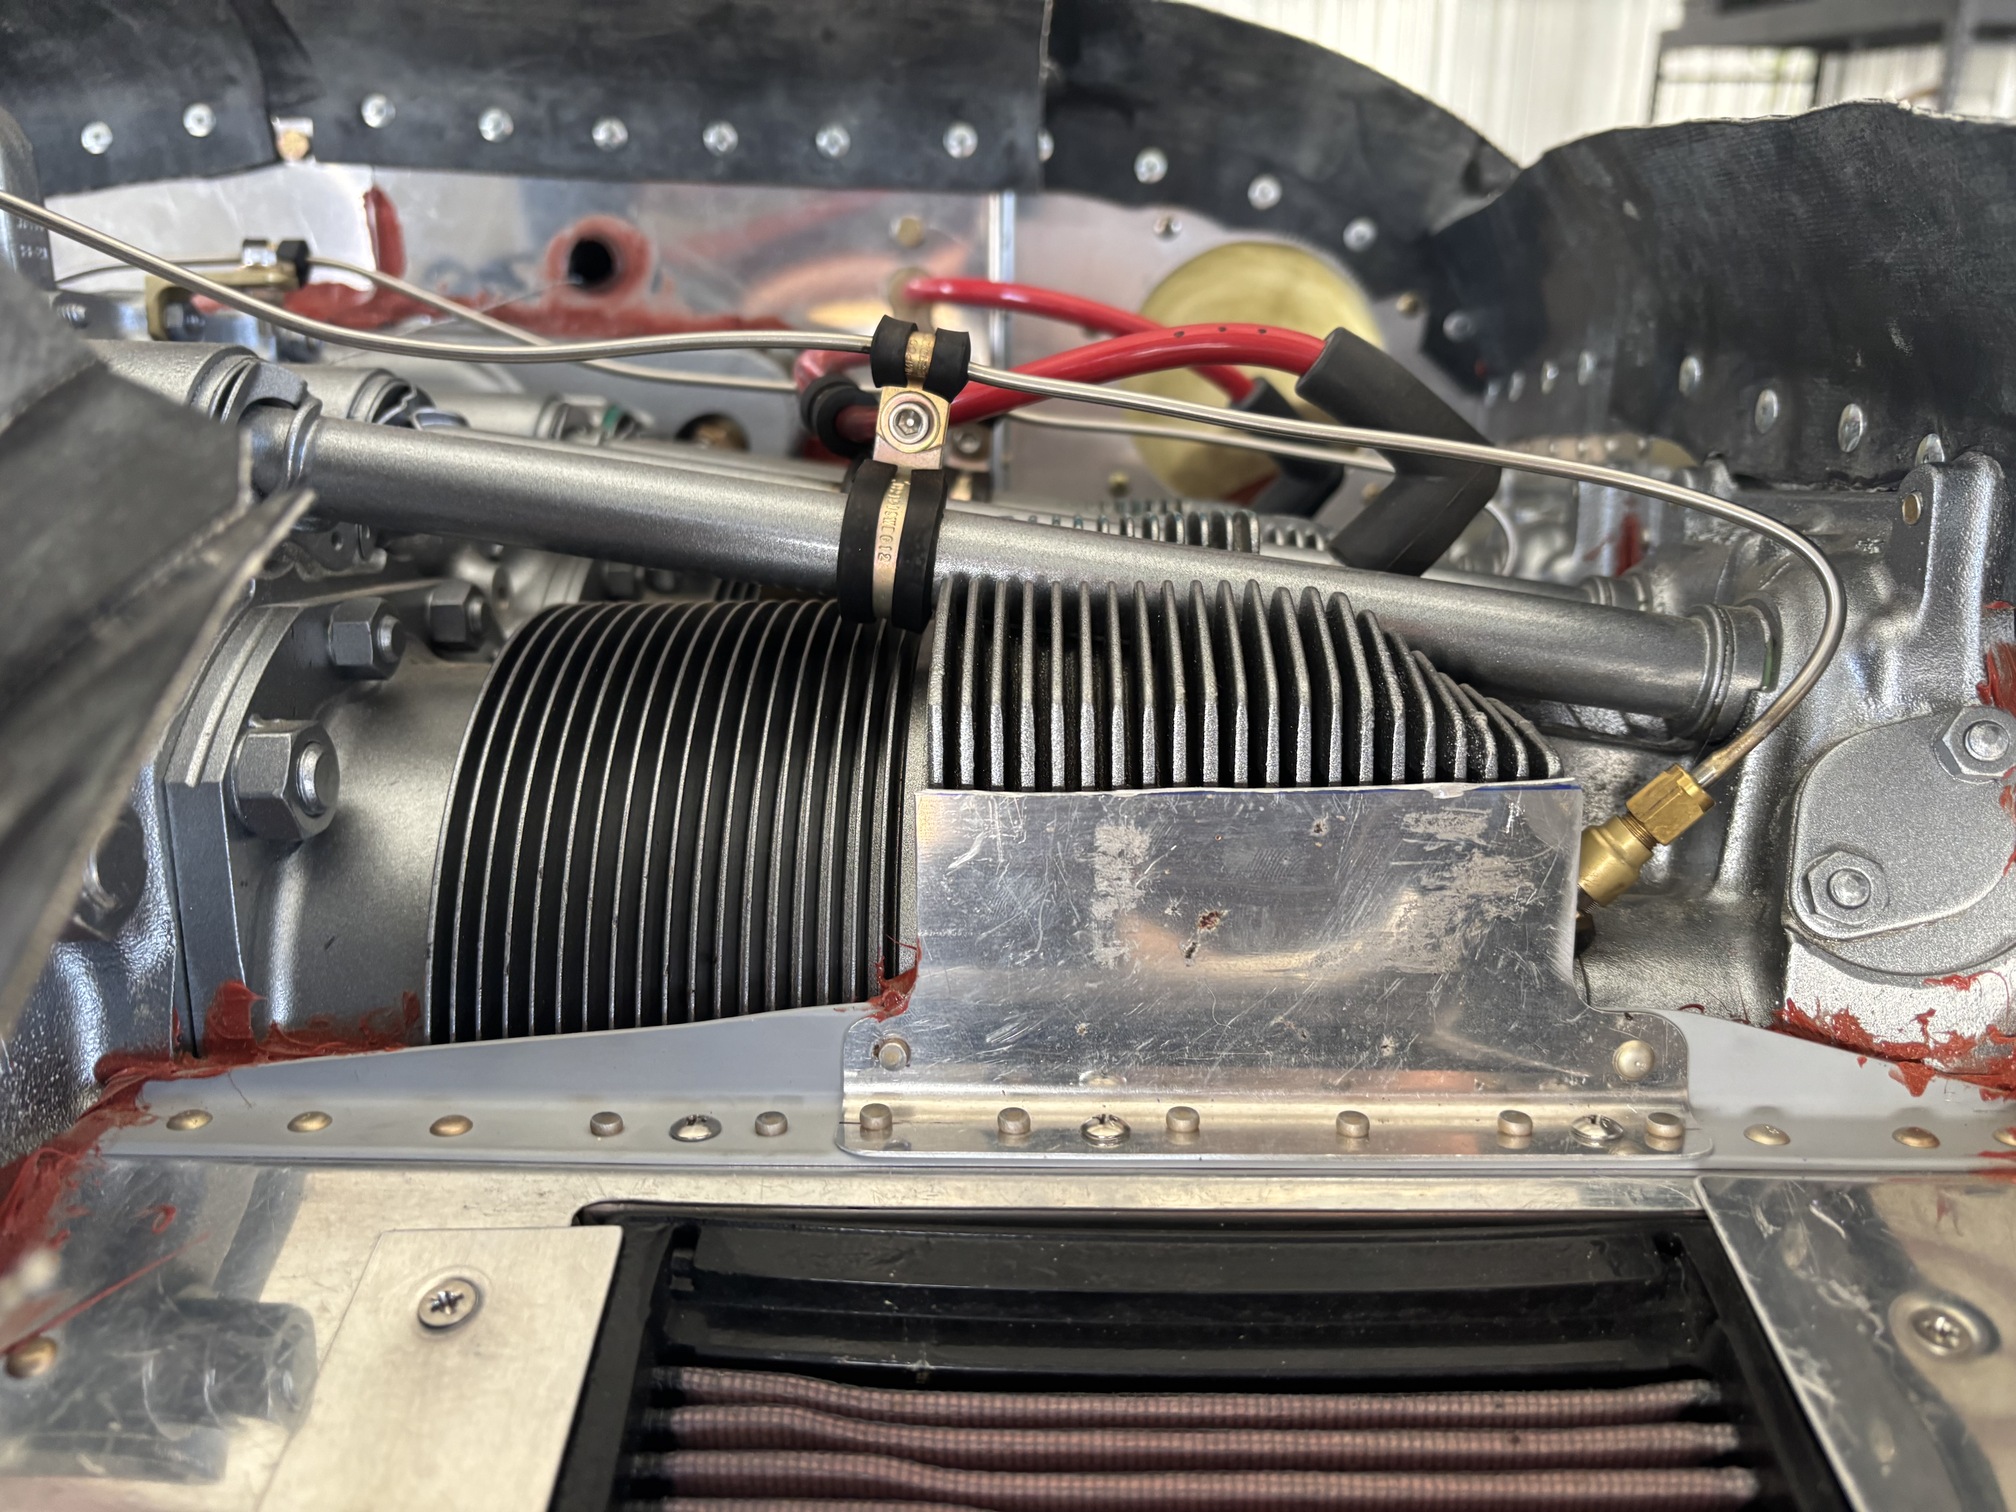
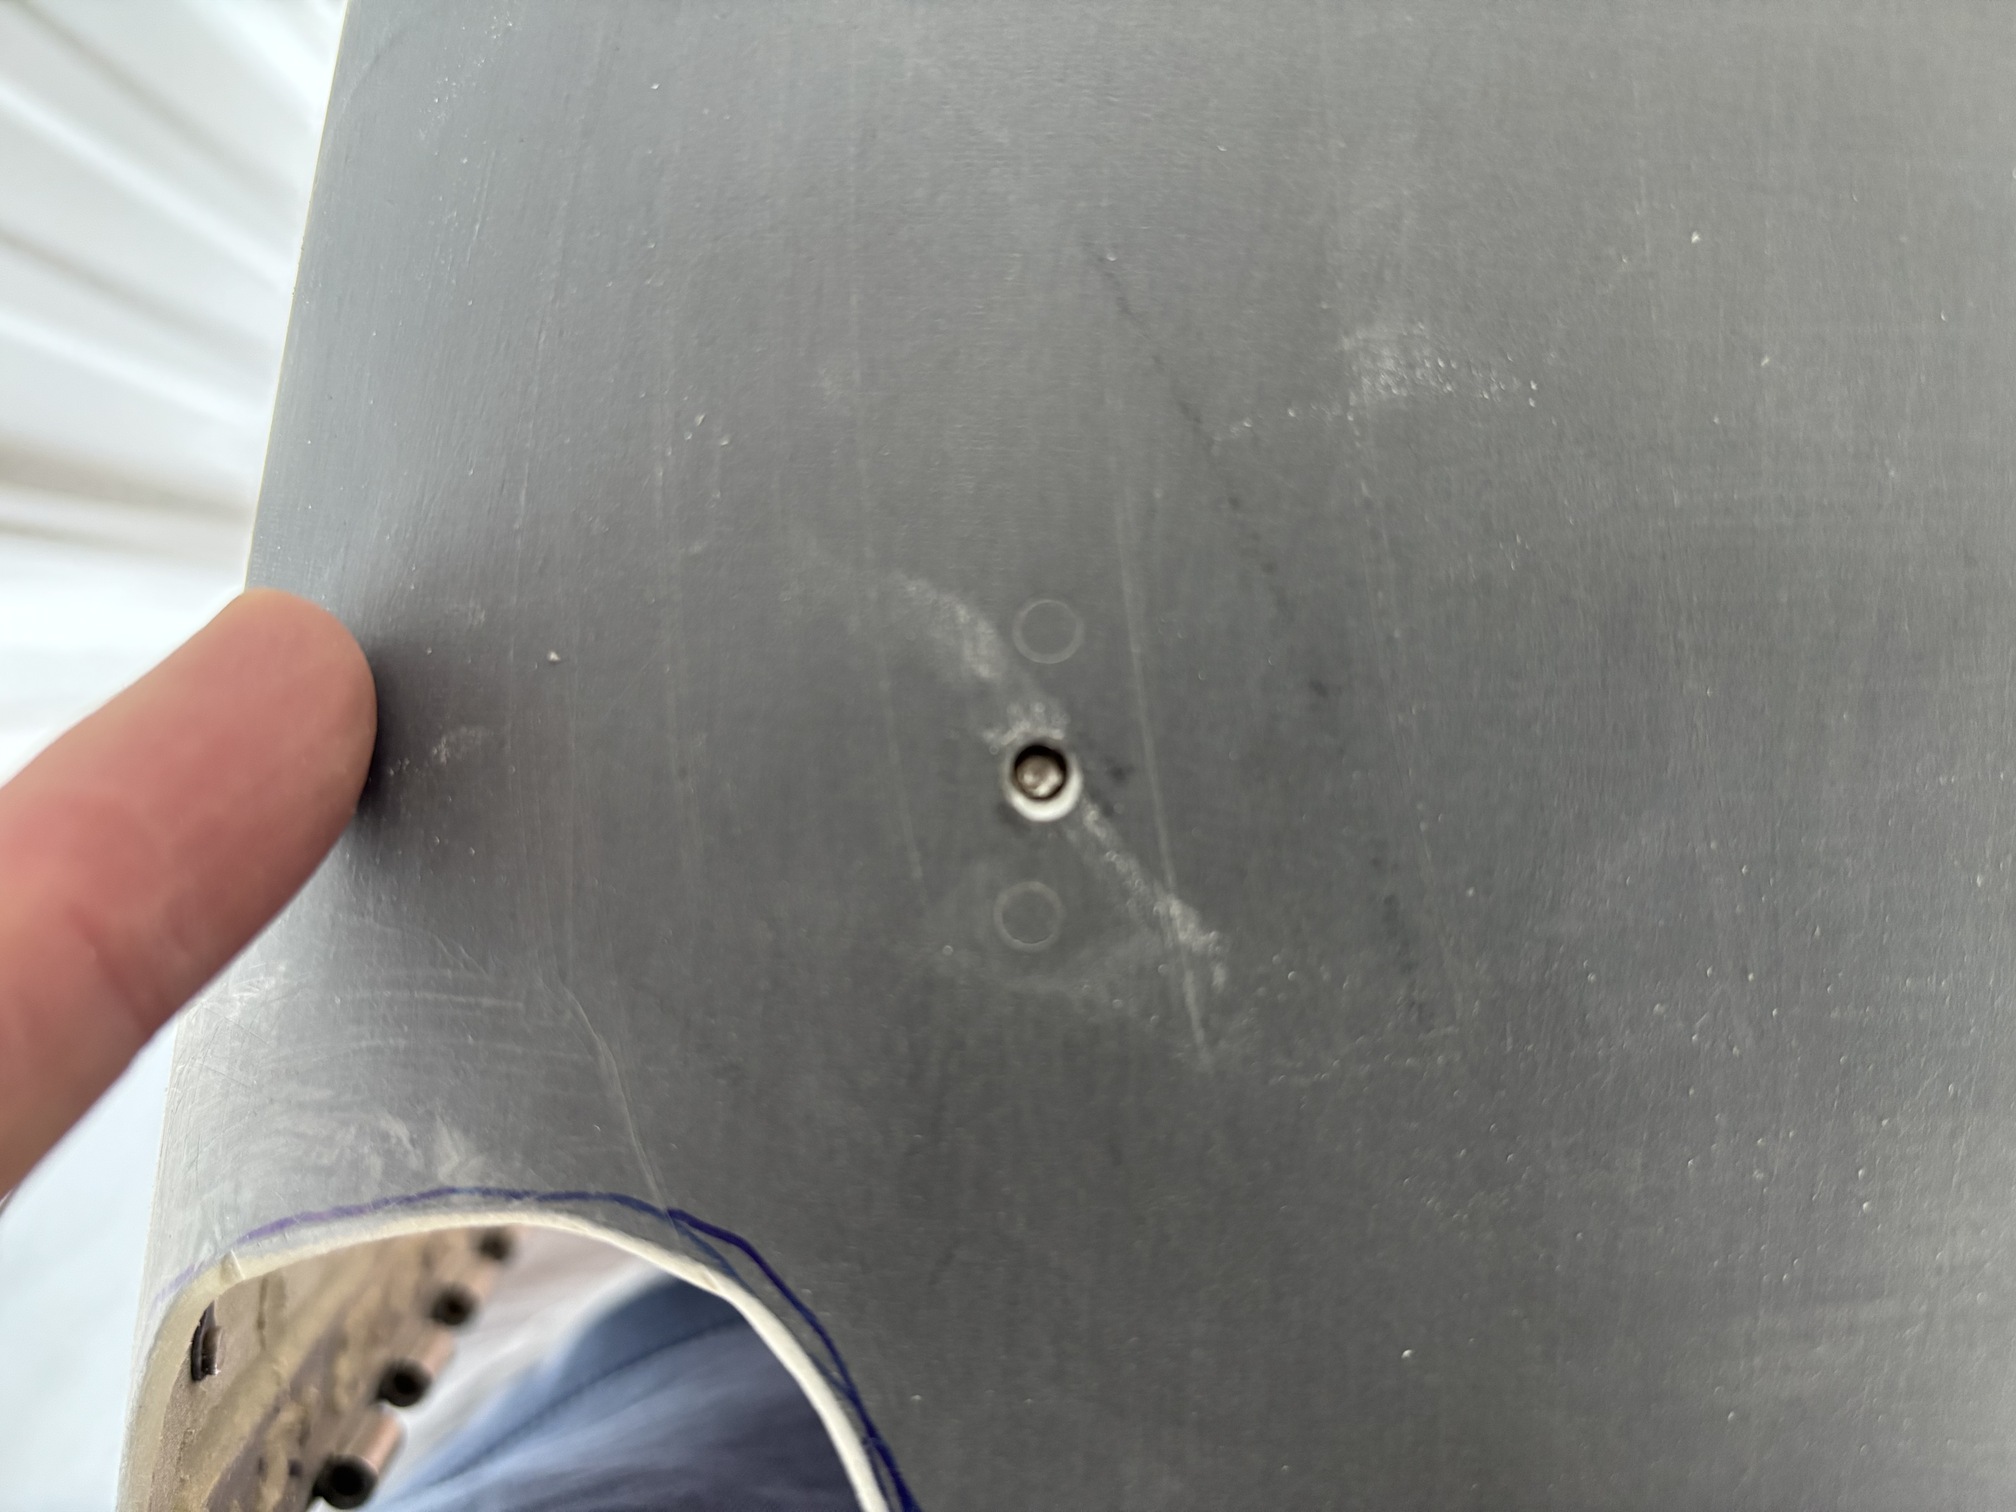
The #4 cylinder temps have been quite low compared to all of the others, including #2, so I cut off part of the baffle in front of #2.
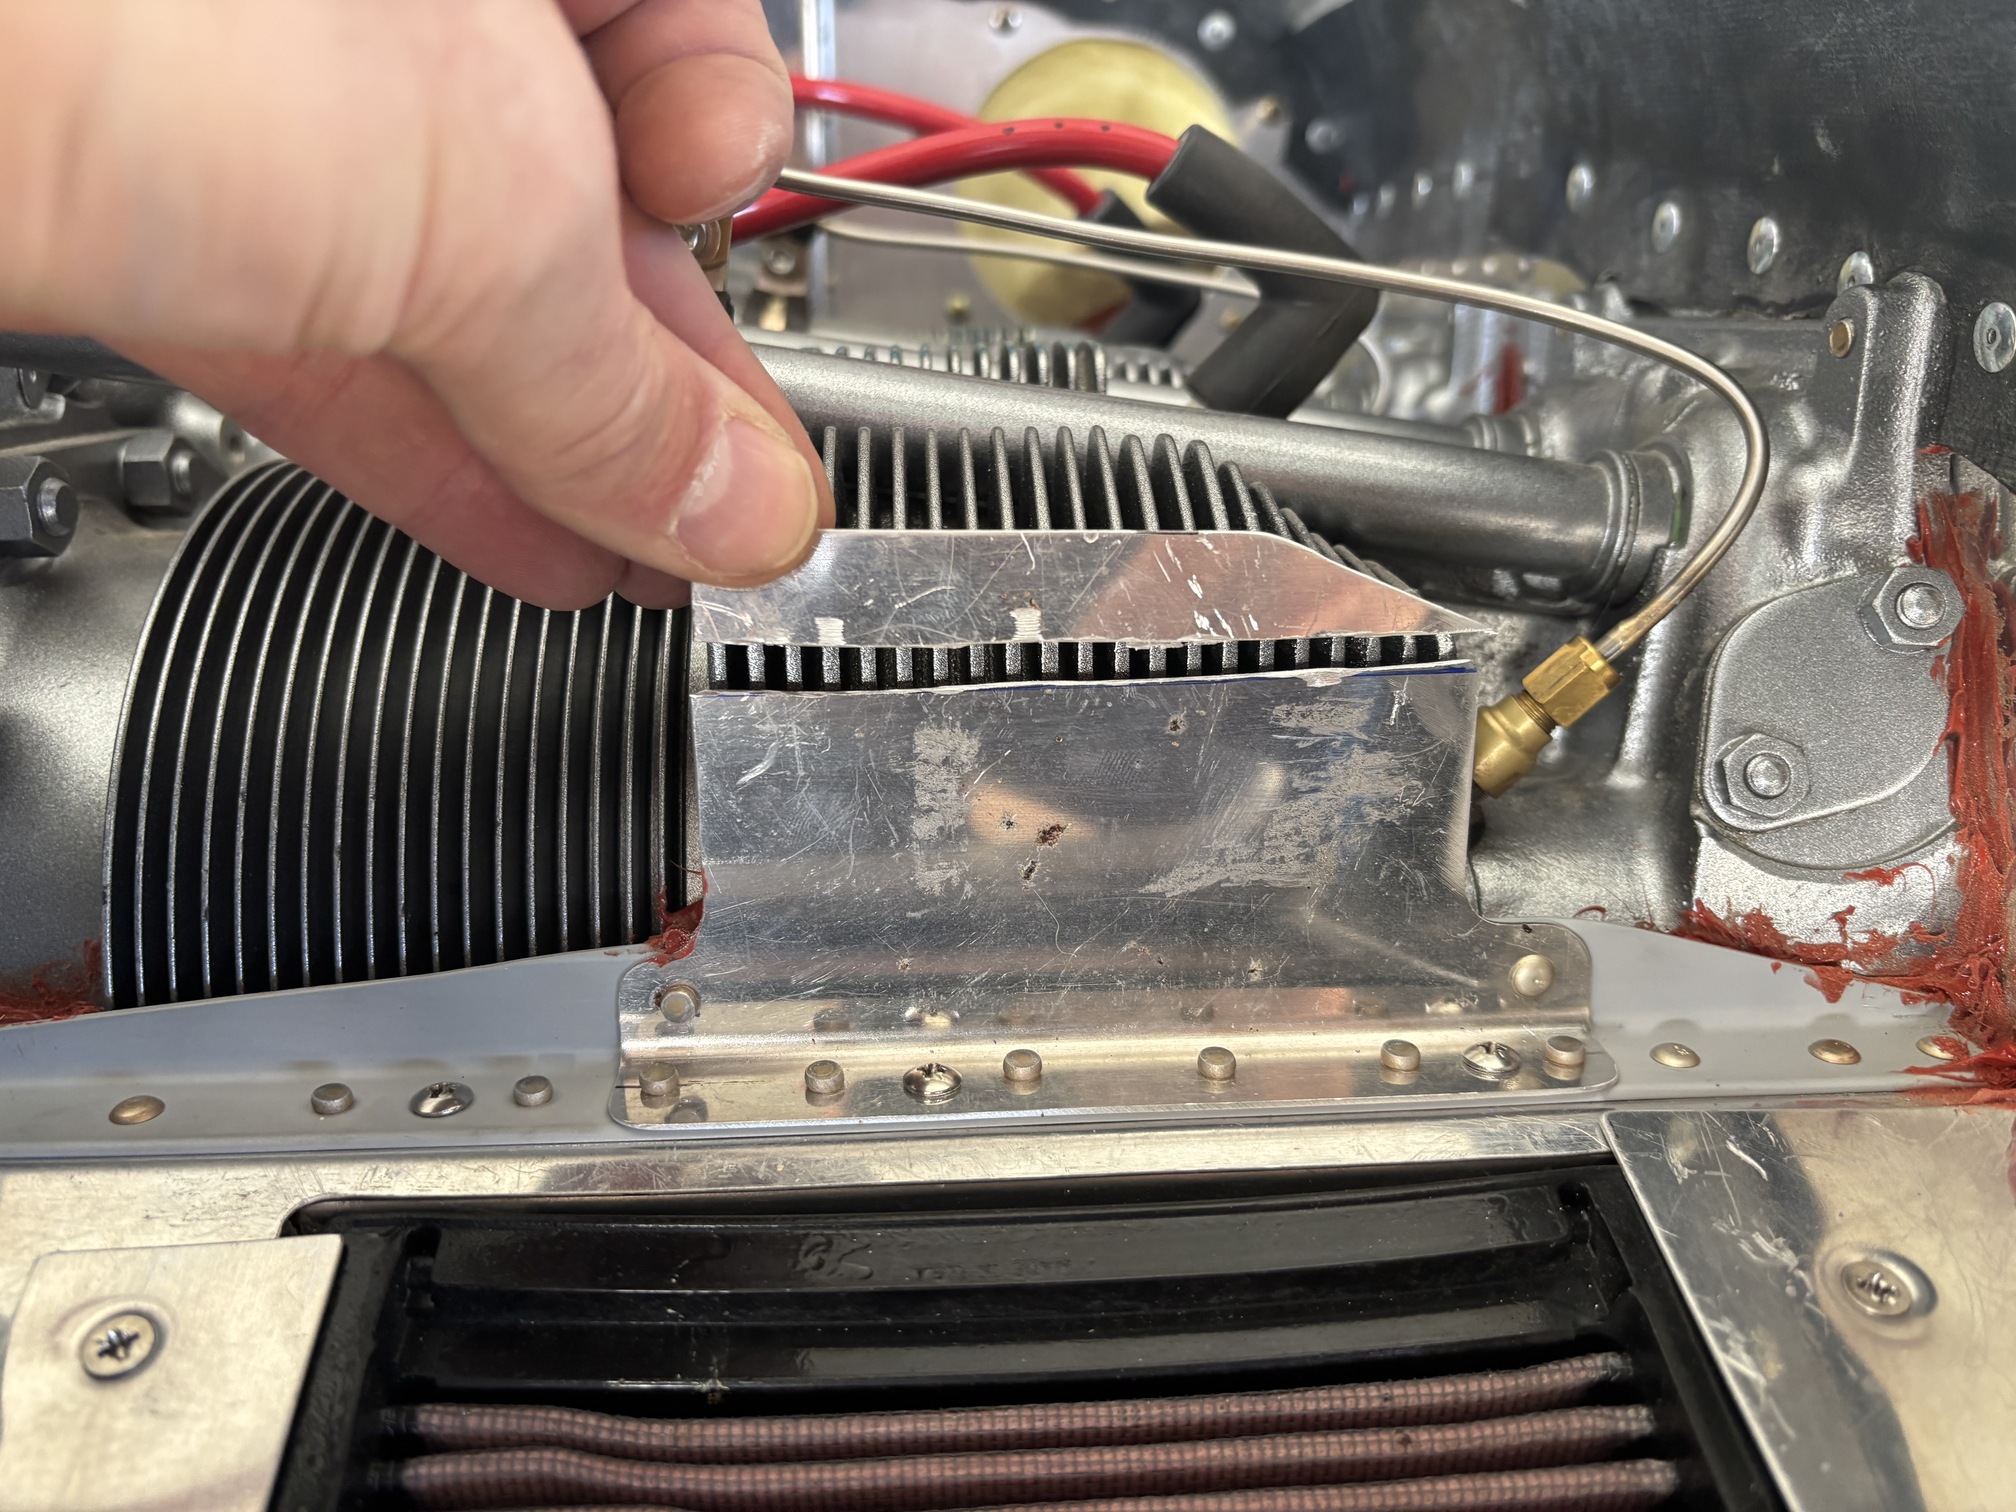
This didn't make much of a change in temps. I eventually checked the CHTs with an IR temp probe after a flight and compared them with my CHT temps on the engine monitor to make sure they were accurate, and they were.
After that, I completely removed the baffle in front of #2 and now my #2 vs #4 temps are much more similar in cruise.
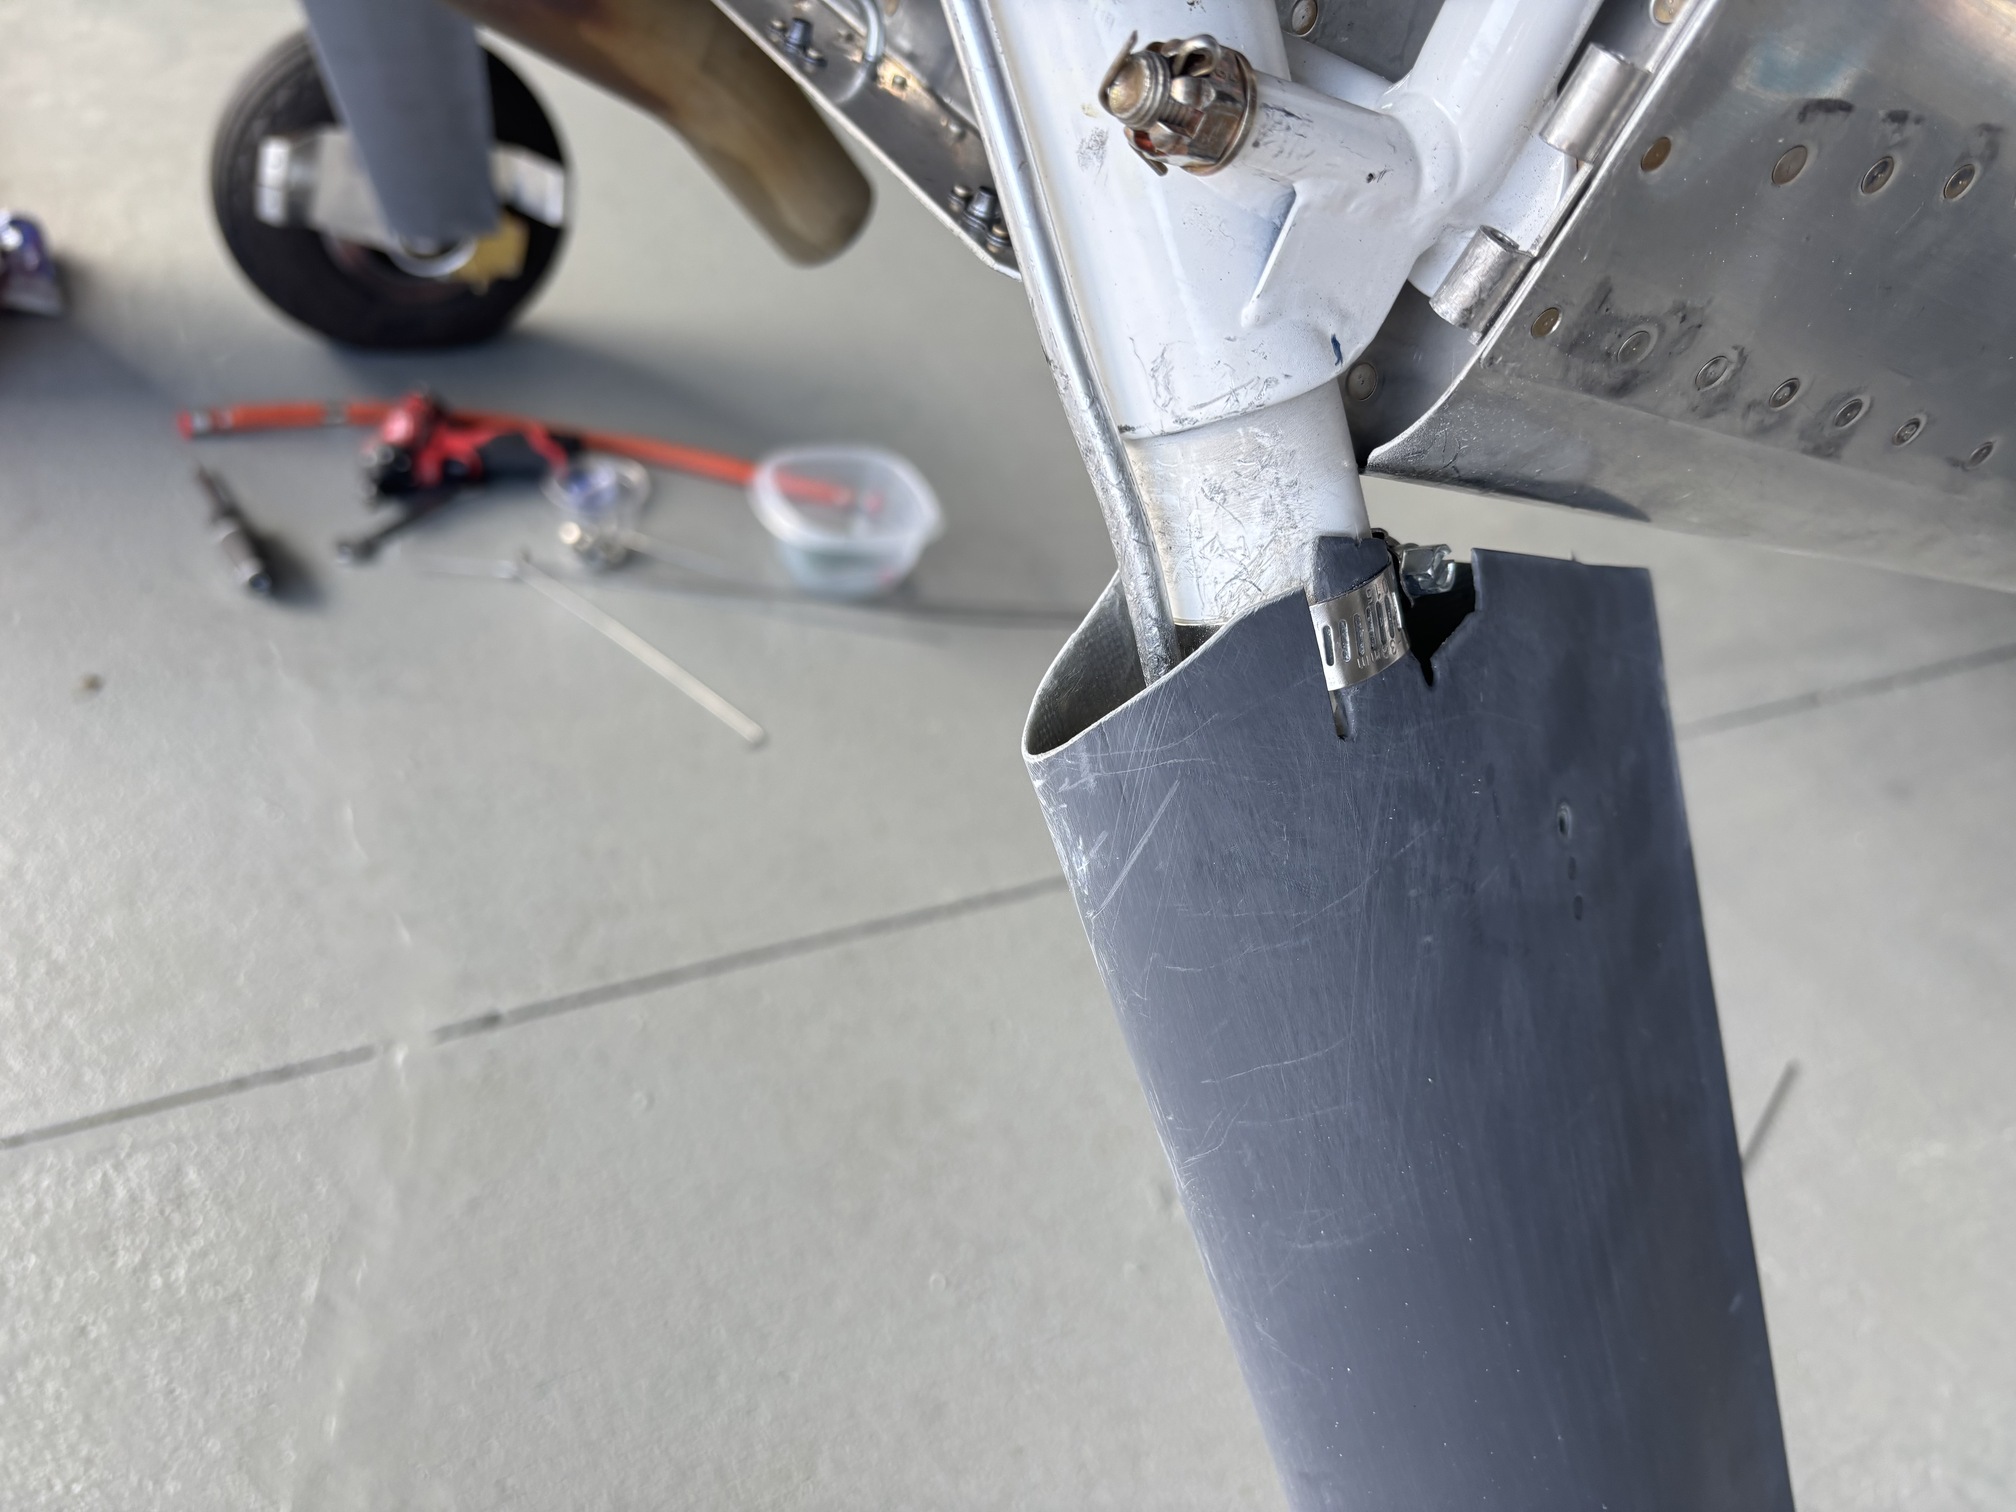
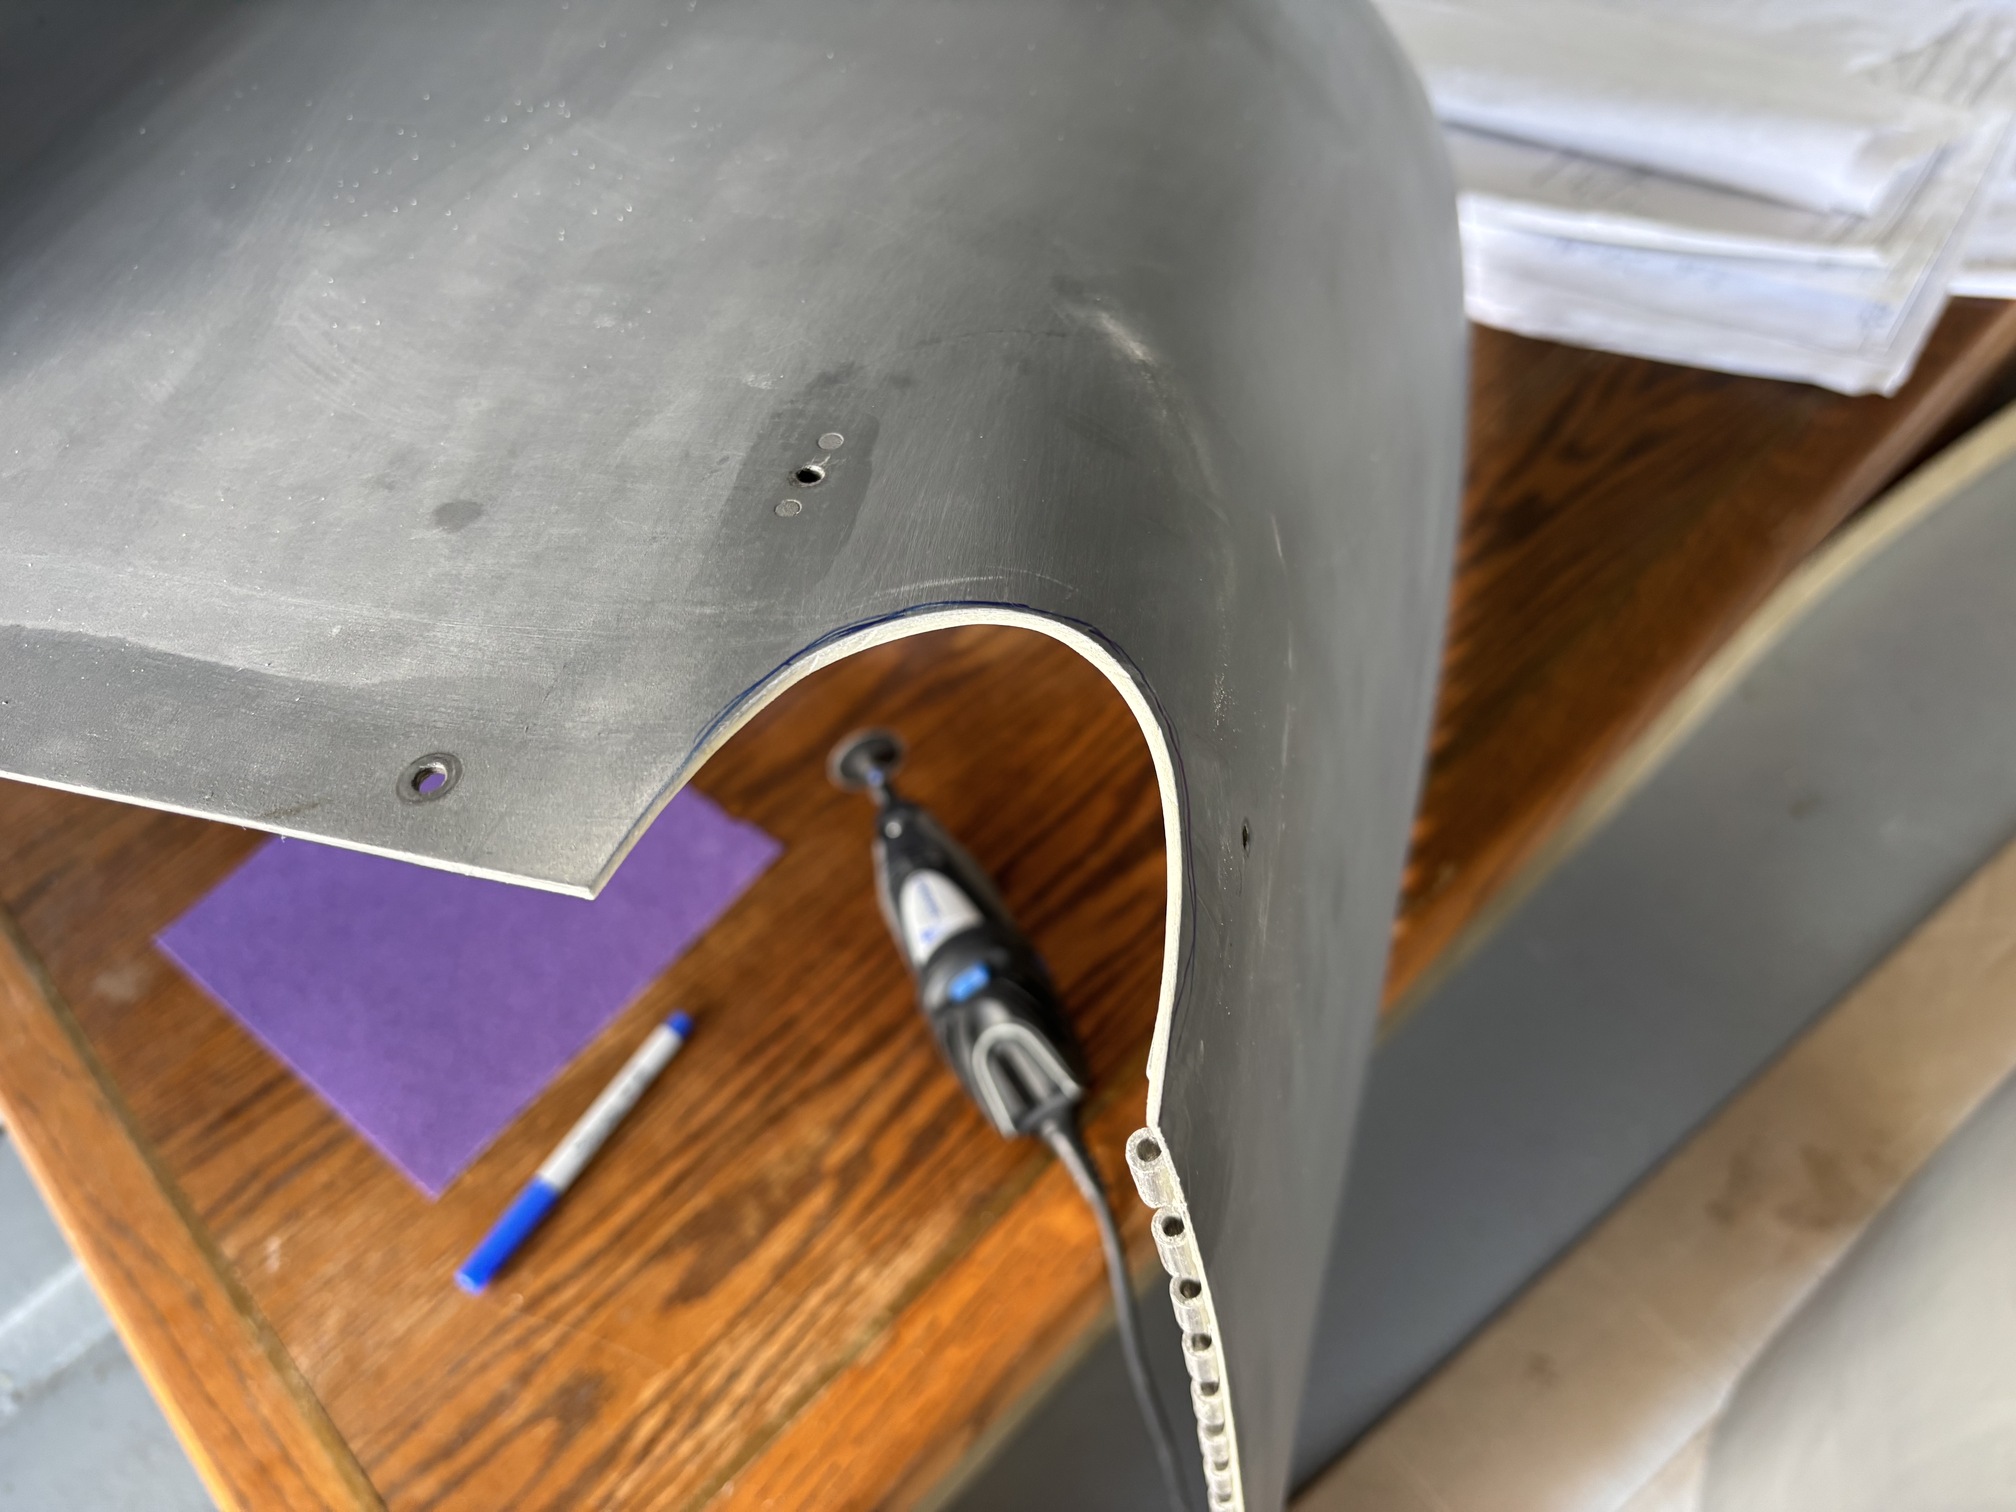
To make installing the lower engine cowl easier, I enlarged the holes in the lower cowl and also cut off a bit of the gear leg fairings.
One of the screws for the intersection fairing broke off in the nutplate on the bottom of the cowl, so I removed the nutplate and installed a new one.
On a weekend when I couldn't fly (because of the air show), I took home the wheel pants and sanded/primed them to cover up the areas that were unfinished. I also primed the upper intersection fairings.

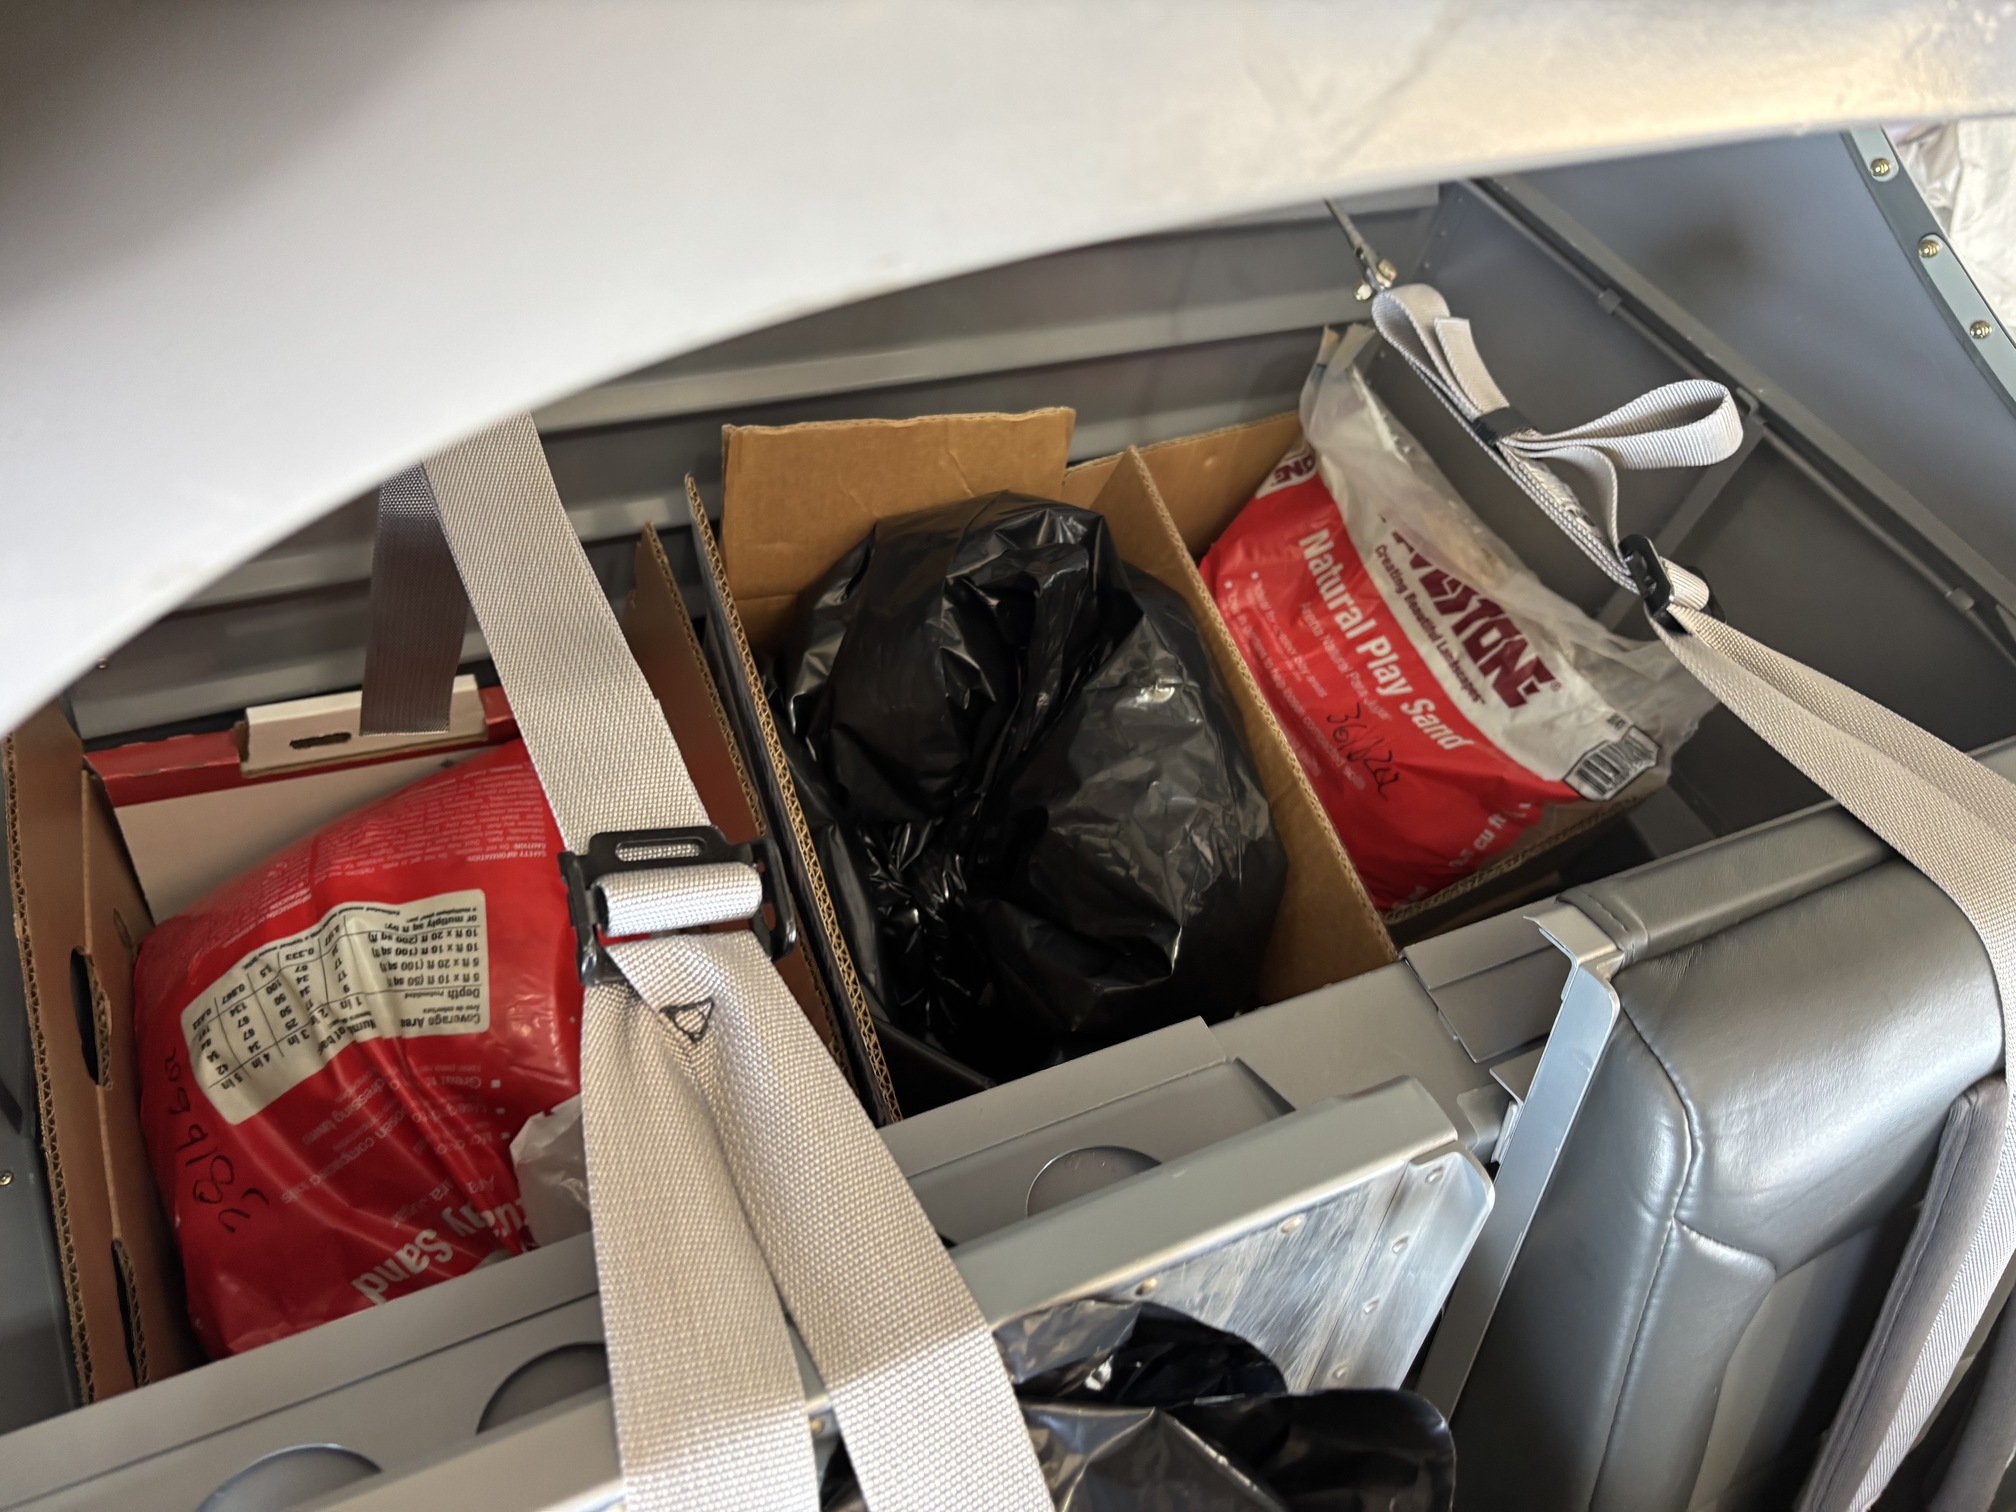
Here's how I simulated extra weight in the plane when testing aft CG and gross weight. Bags of sand from Home Depot inside of heavy duty trash bags secured into the passenger seat.
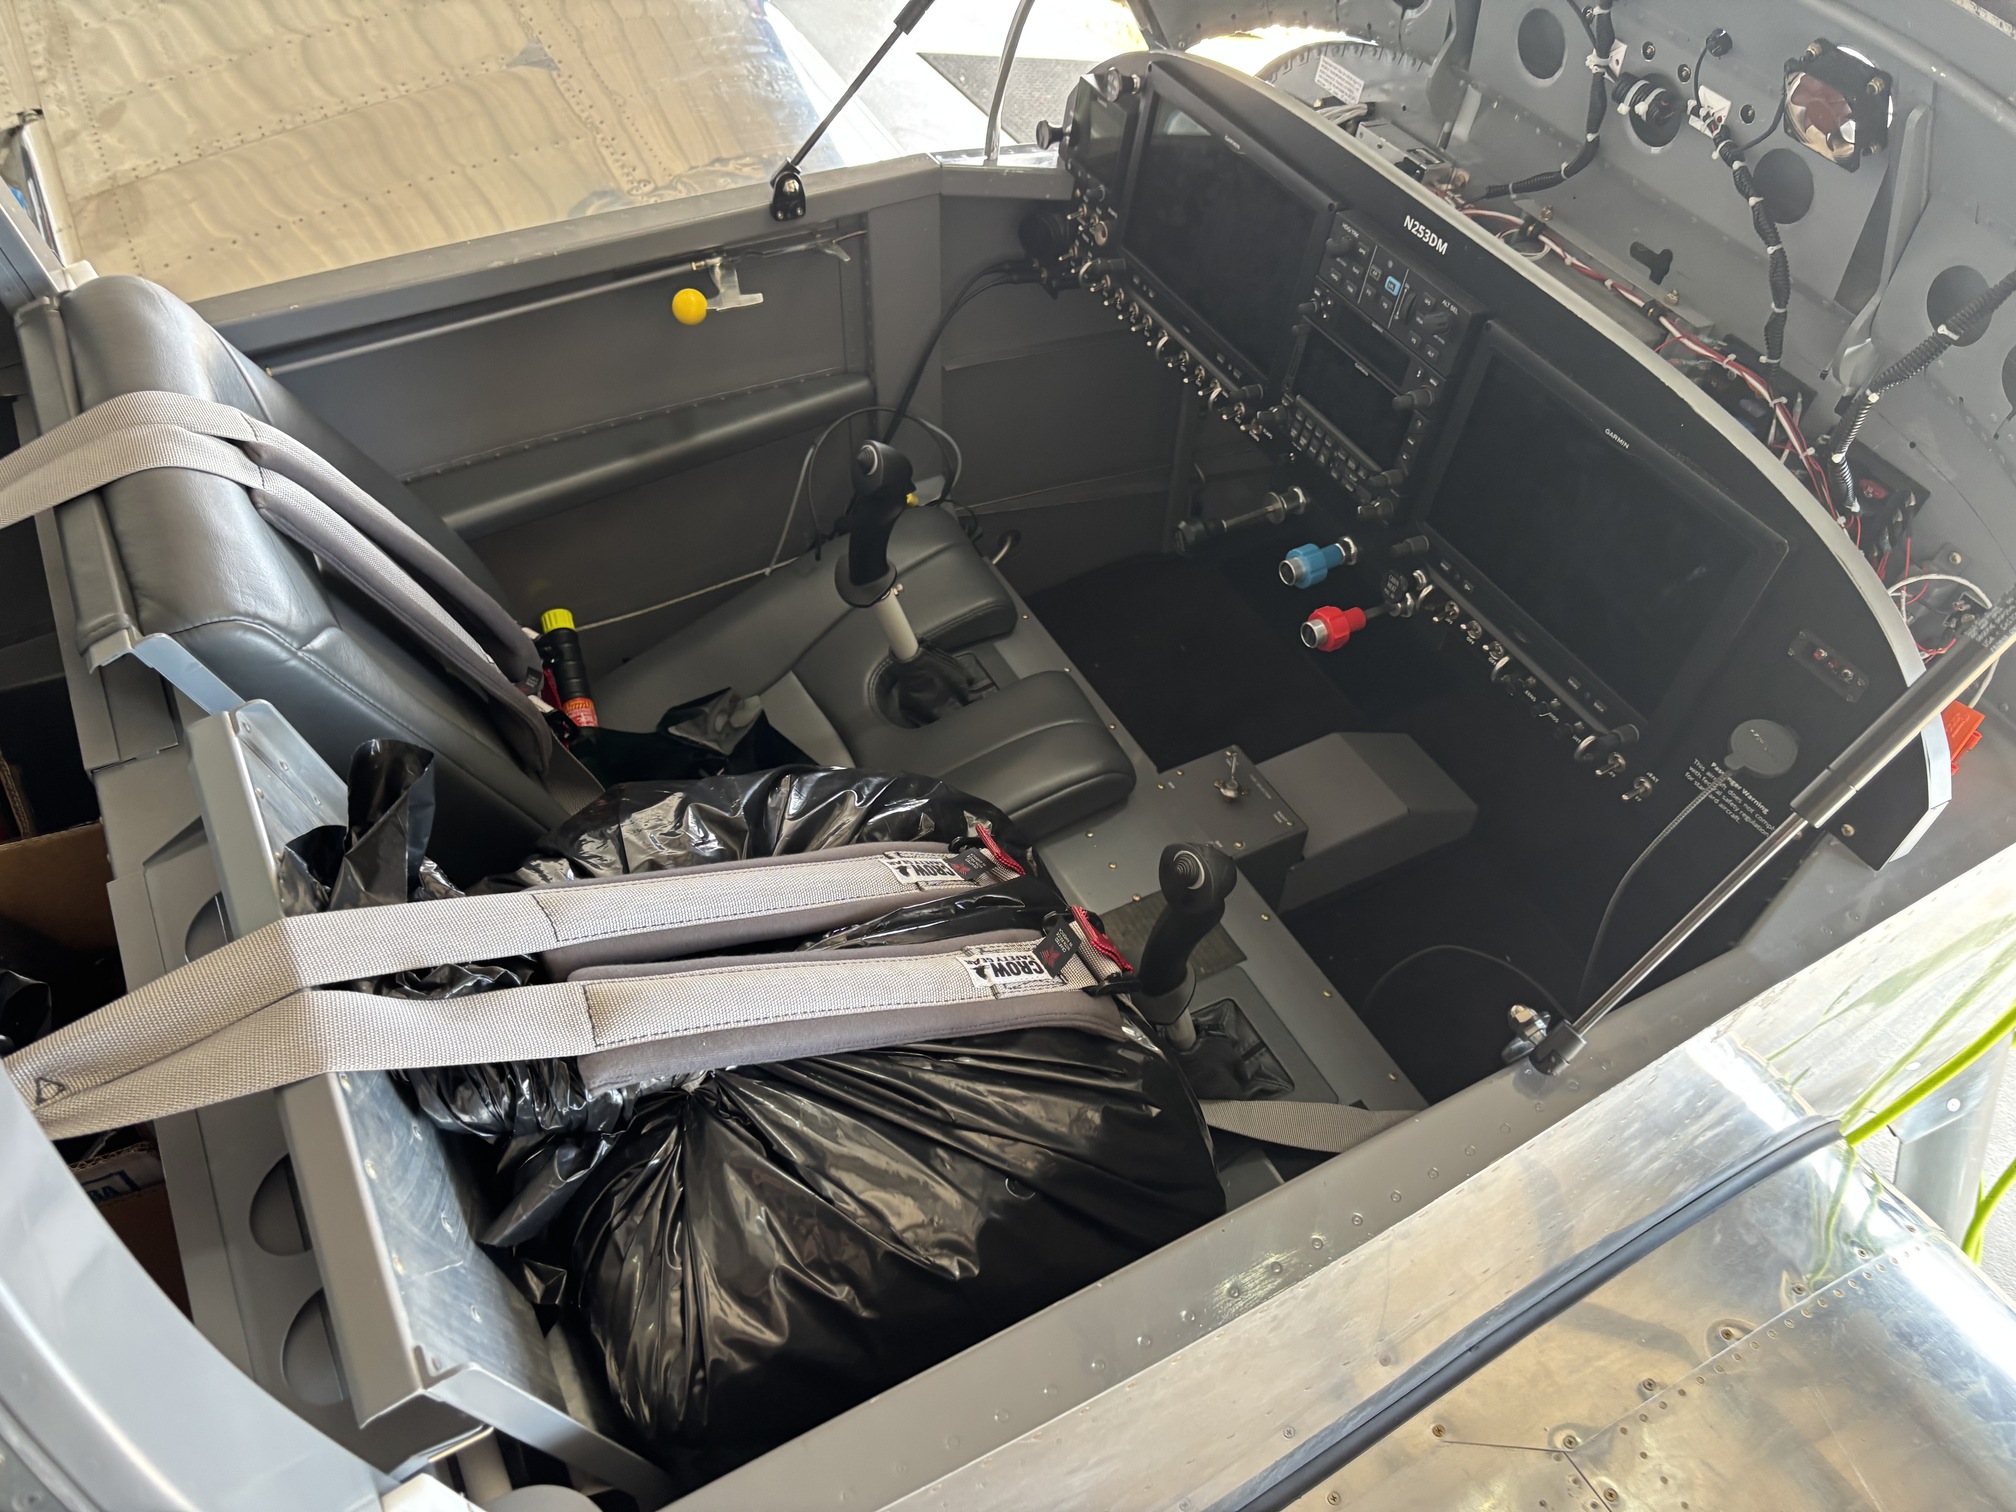
Same thing for the 100lbs in the baggage compartment.
After settling on the right size for my rudder trim tab, I permanently installed it with Proseal. This gets the ball centered at 23" and 2300 RPM cruise power settings/speeds.
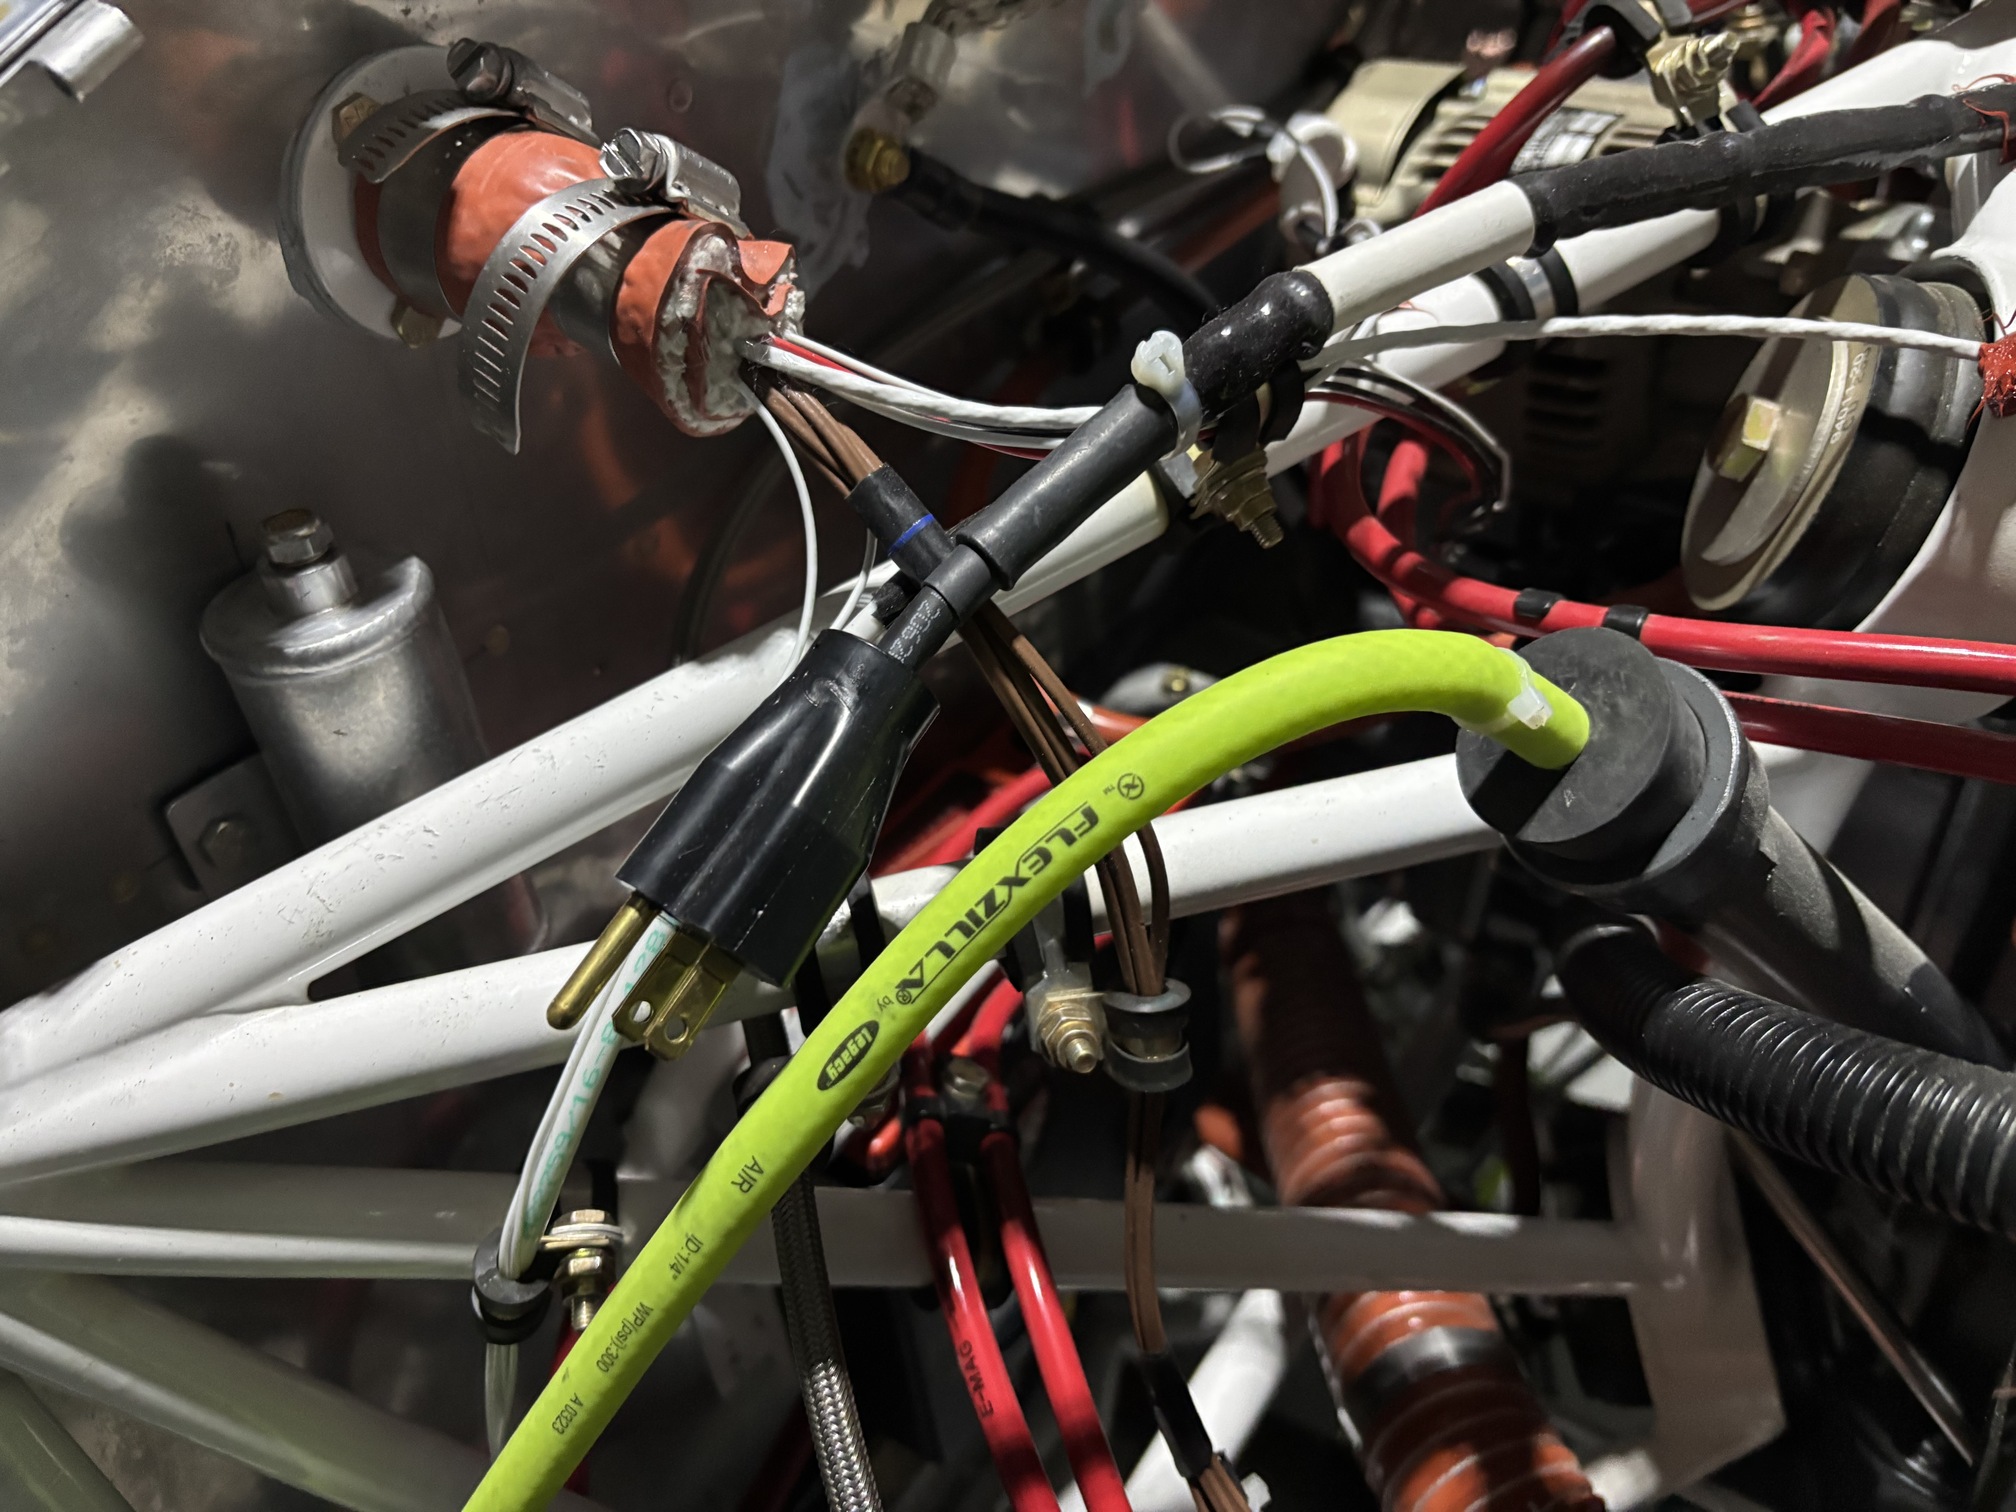
I installed a Reiff engine preheat system for those cold mornings. It has a heated band around the base of each cylinder plus a heater on the oil sump. I bought a Switcheon remote electrical switch so I can turn it on from home if I am planning to fly.

I routed the plug-in for the system to the oil door.
I didn't take an up-close picture, but I also installed a Koger sun shade in the canopy for those sunny days when the sun is beating down. I like it a lot.
Finally, my engine idles roughly, particularly when it's hot after a flight. One suggestion I had read was to apply extra insulation to the fuel lines forward of the firewall (the idea is that the fuel gets hot and boils in the lines). So I did that. I added another layer of firesleeve to all of the exposed fuel lines and then secured it with safety wire.
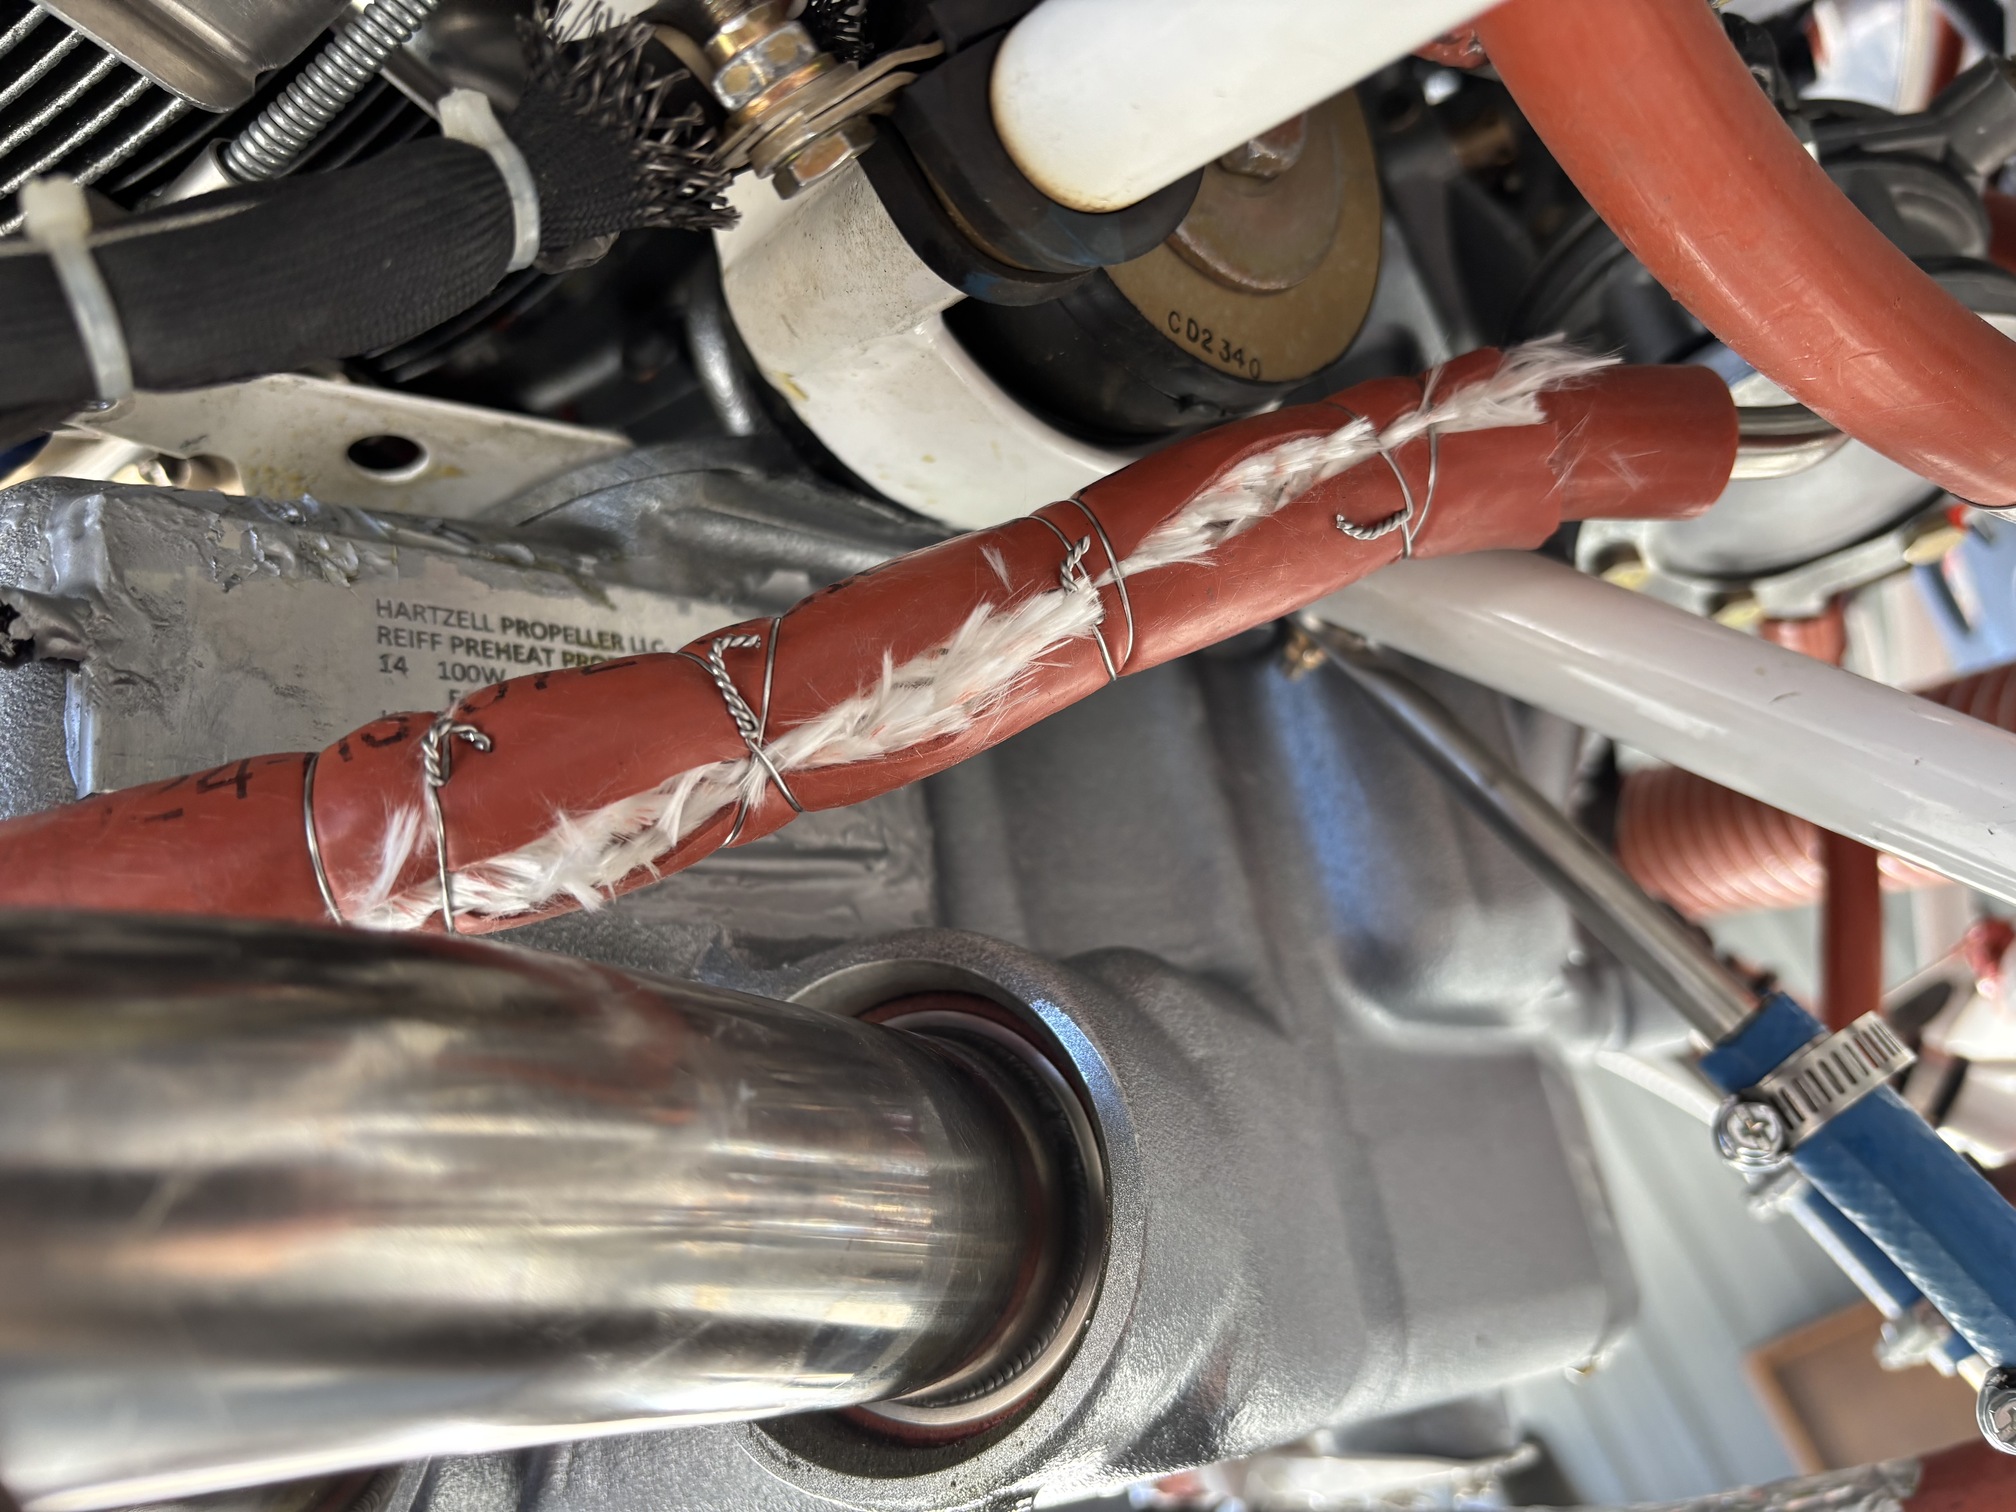
Then I applied a layer of metal tape to all of them to help with radiant heat. Incidentally, you can see the oil sump heater element in the background of this photo.
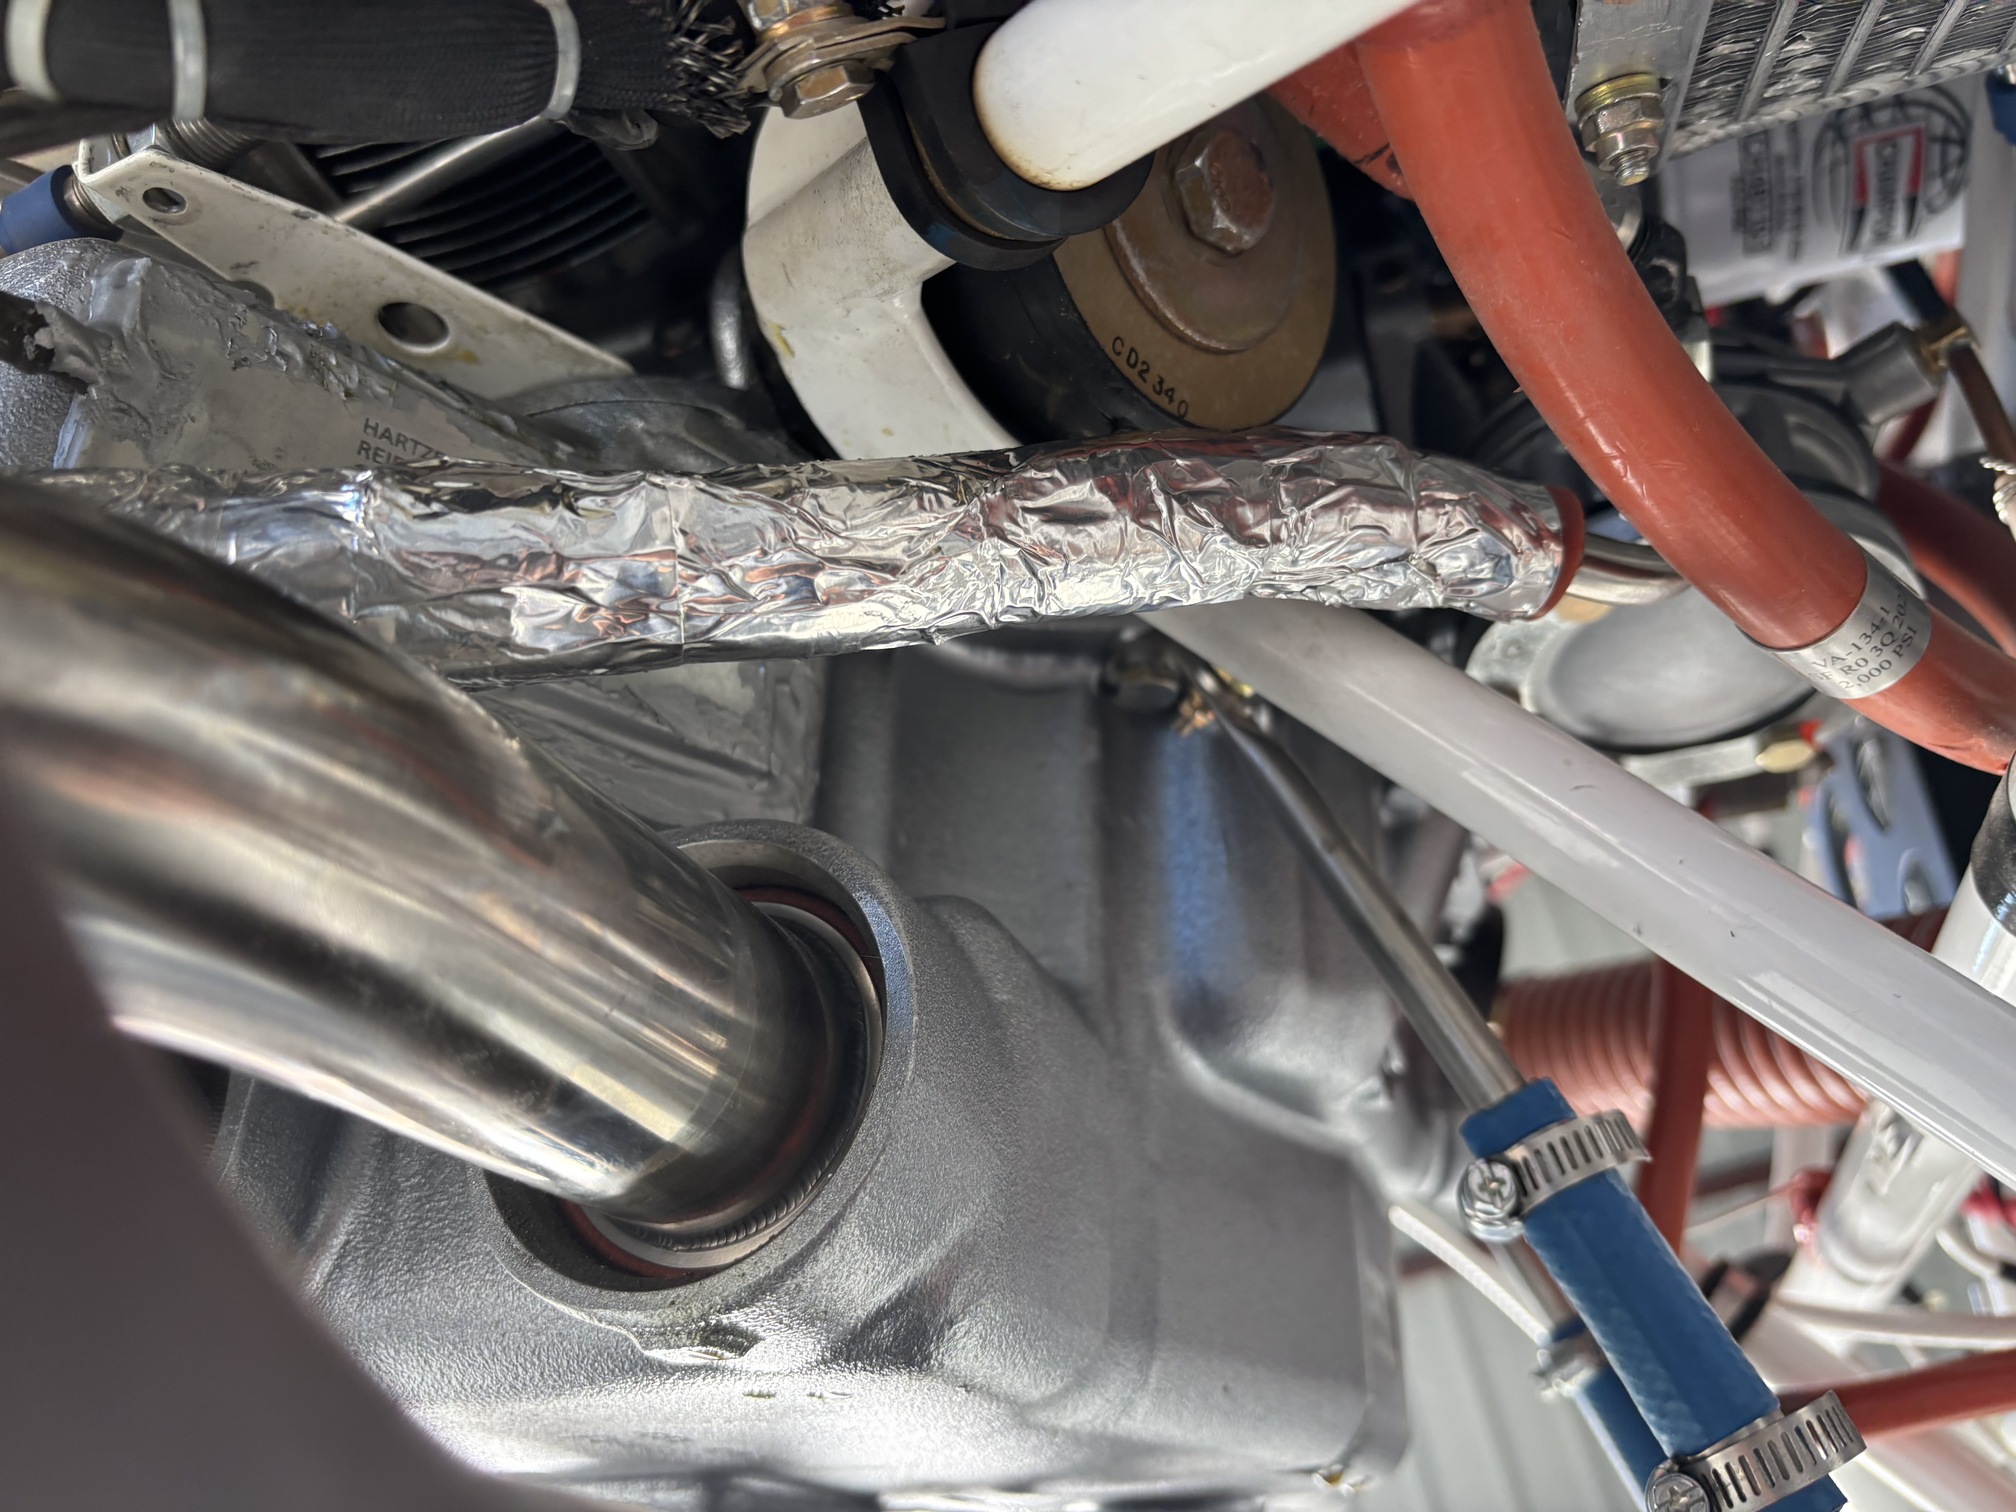
This actually made a really big difference in the quality of the idle! It is very smooth, even after a flight.
Interestingly, it also helped with my ability to run lean of peak. Throughout my testing period, I was able to get my fuel flows down to the 7.1-7.4 GPH range at cruise settings, but this was sometimes JUST lean of peak (not 50 degrees) and would still be a little rough. It seemed to vary a bit with outside temps and altitudes. After I insulated the fuel lines, I can now easily run down to 6.5 GPH (more than 100F lean of peak) without any roughness, although I still run in the ~50F lean of peak range, which is where the best fuel economy is found.
I concluded my Phase I test period the other day. I have not found any adverse handling characteristics or significant problems to fix. All of the flight testing went well. With an aft CG, the plane is certainly more twitchy, but completely controllable and still easy to stall/land. It climbs like crazy even at max gross weight and 8,000' density altitude or higher.
As a treat for finishing Phase I, I went out and did some sightseeing over the front range. It was beautiful.
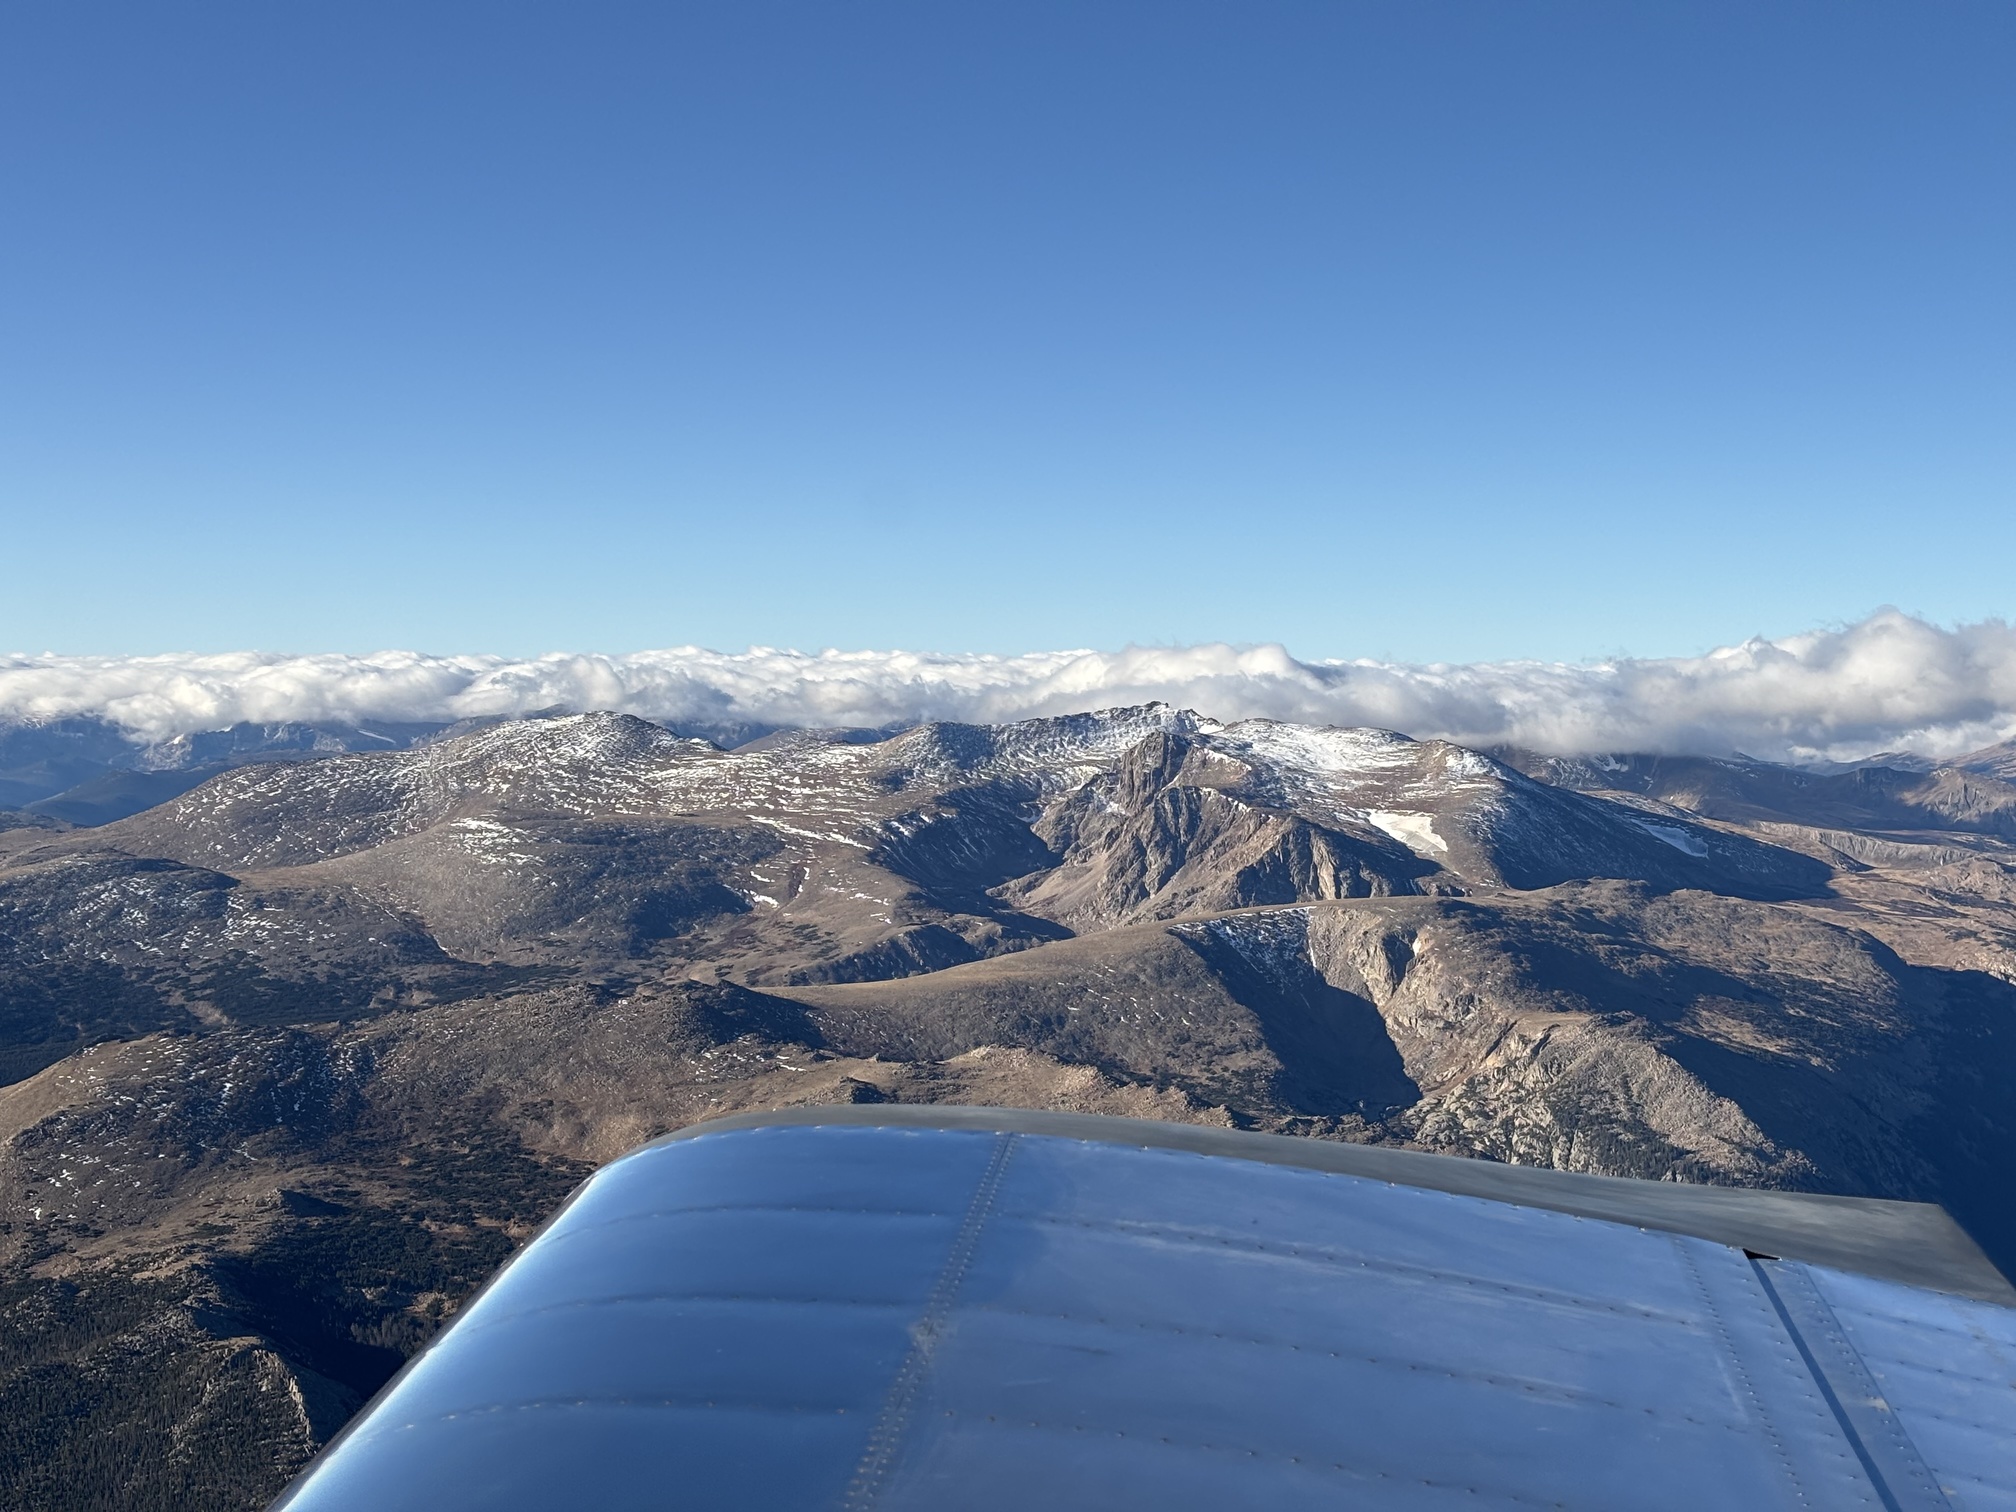
What an incredible little plane this is! At lean of peak, I can get nearly 6 hours of endurance at 155-160 knot true airspeed. I can easily climb to 14,000' or higher if desired. The only downside is that the plane is a little bit heavy with all of the nice avionics I installed I'm a big guy, so my useful load is on the tight side if I want to fly with someone else close to my size or weight.
| Previous - Index - Next |
This work is licensed under Attribution-NonCommercial-NoDerivatives 4.0 International![]()
![]()
![]()
![]()